• Skip to primary navigation
  • Skip to main content
  • Skip to primary sidebar
  • Home
  • Recipes
  • Features
    • Cookbook Reviews
    • Ingredient of the Week
    • Sunday Dinner
    • Fitness Goals
  • Travel
  • About
    • Privacy Policy
    • Cookie Policy
  • Work With Me

Katie at the Kitchen Door

Globally-inspired, seasonal recipes

Blog Page

1 October 8, 2012 Breakfast

Potato-Scallion Latkes and Apple-Ginger Chutney

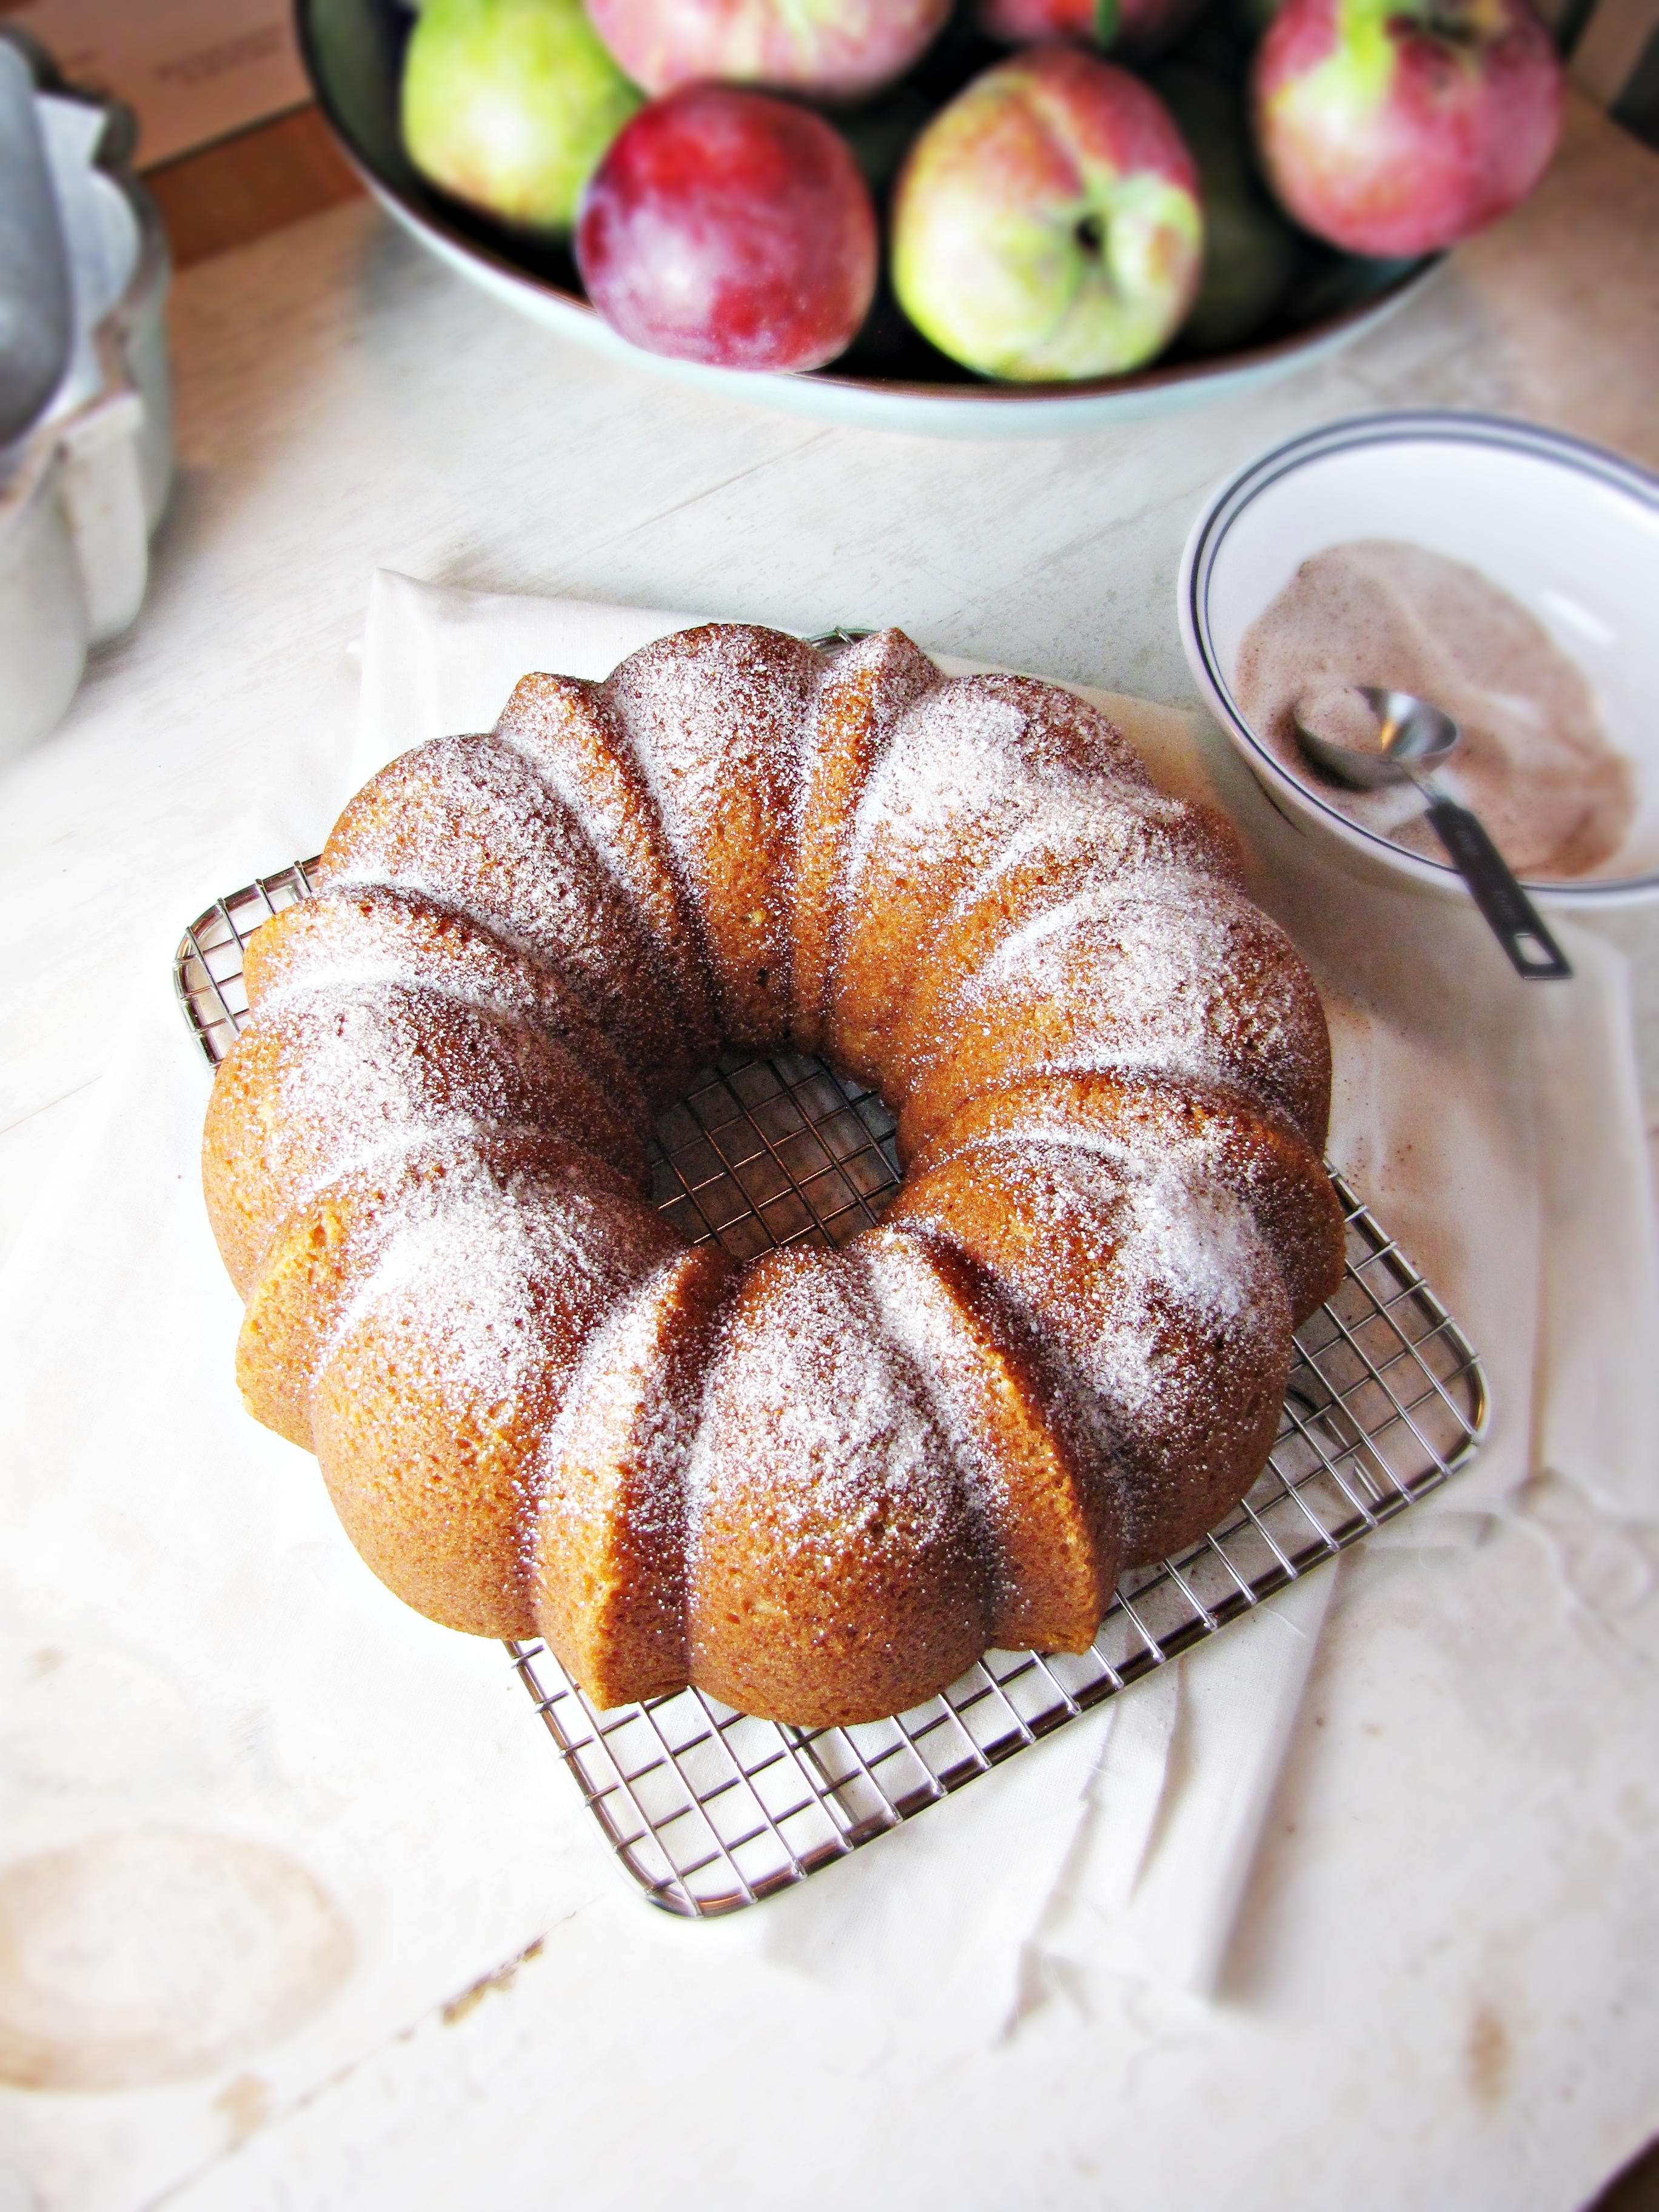
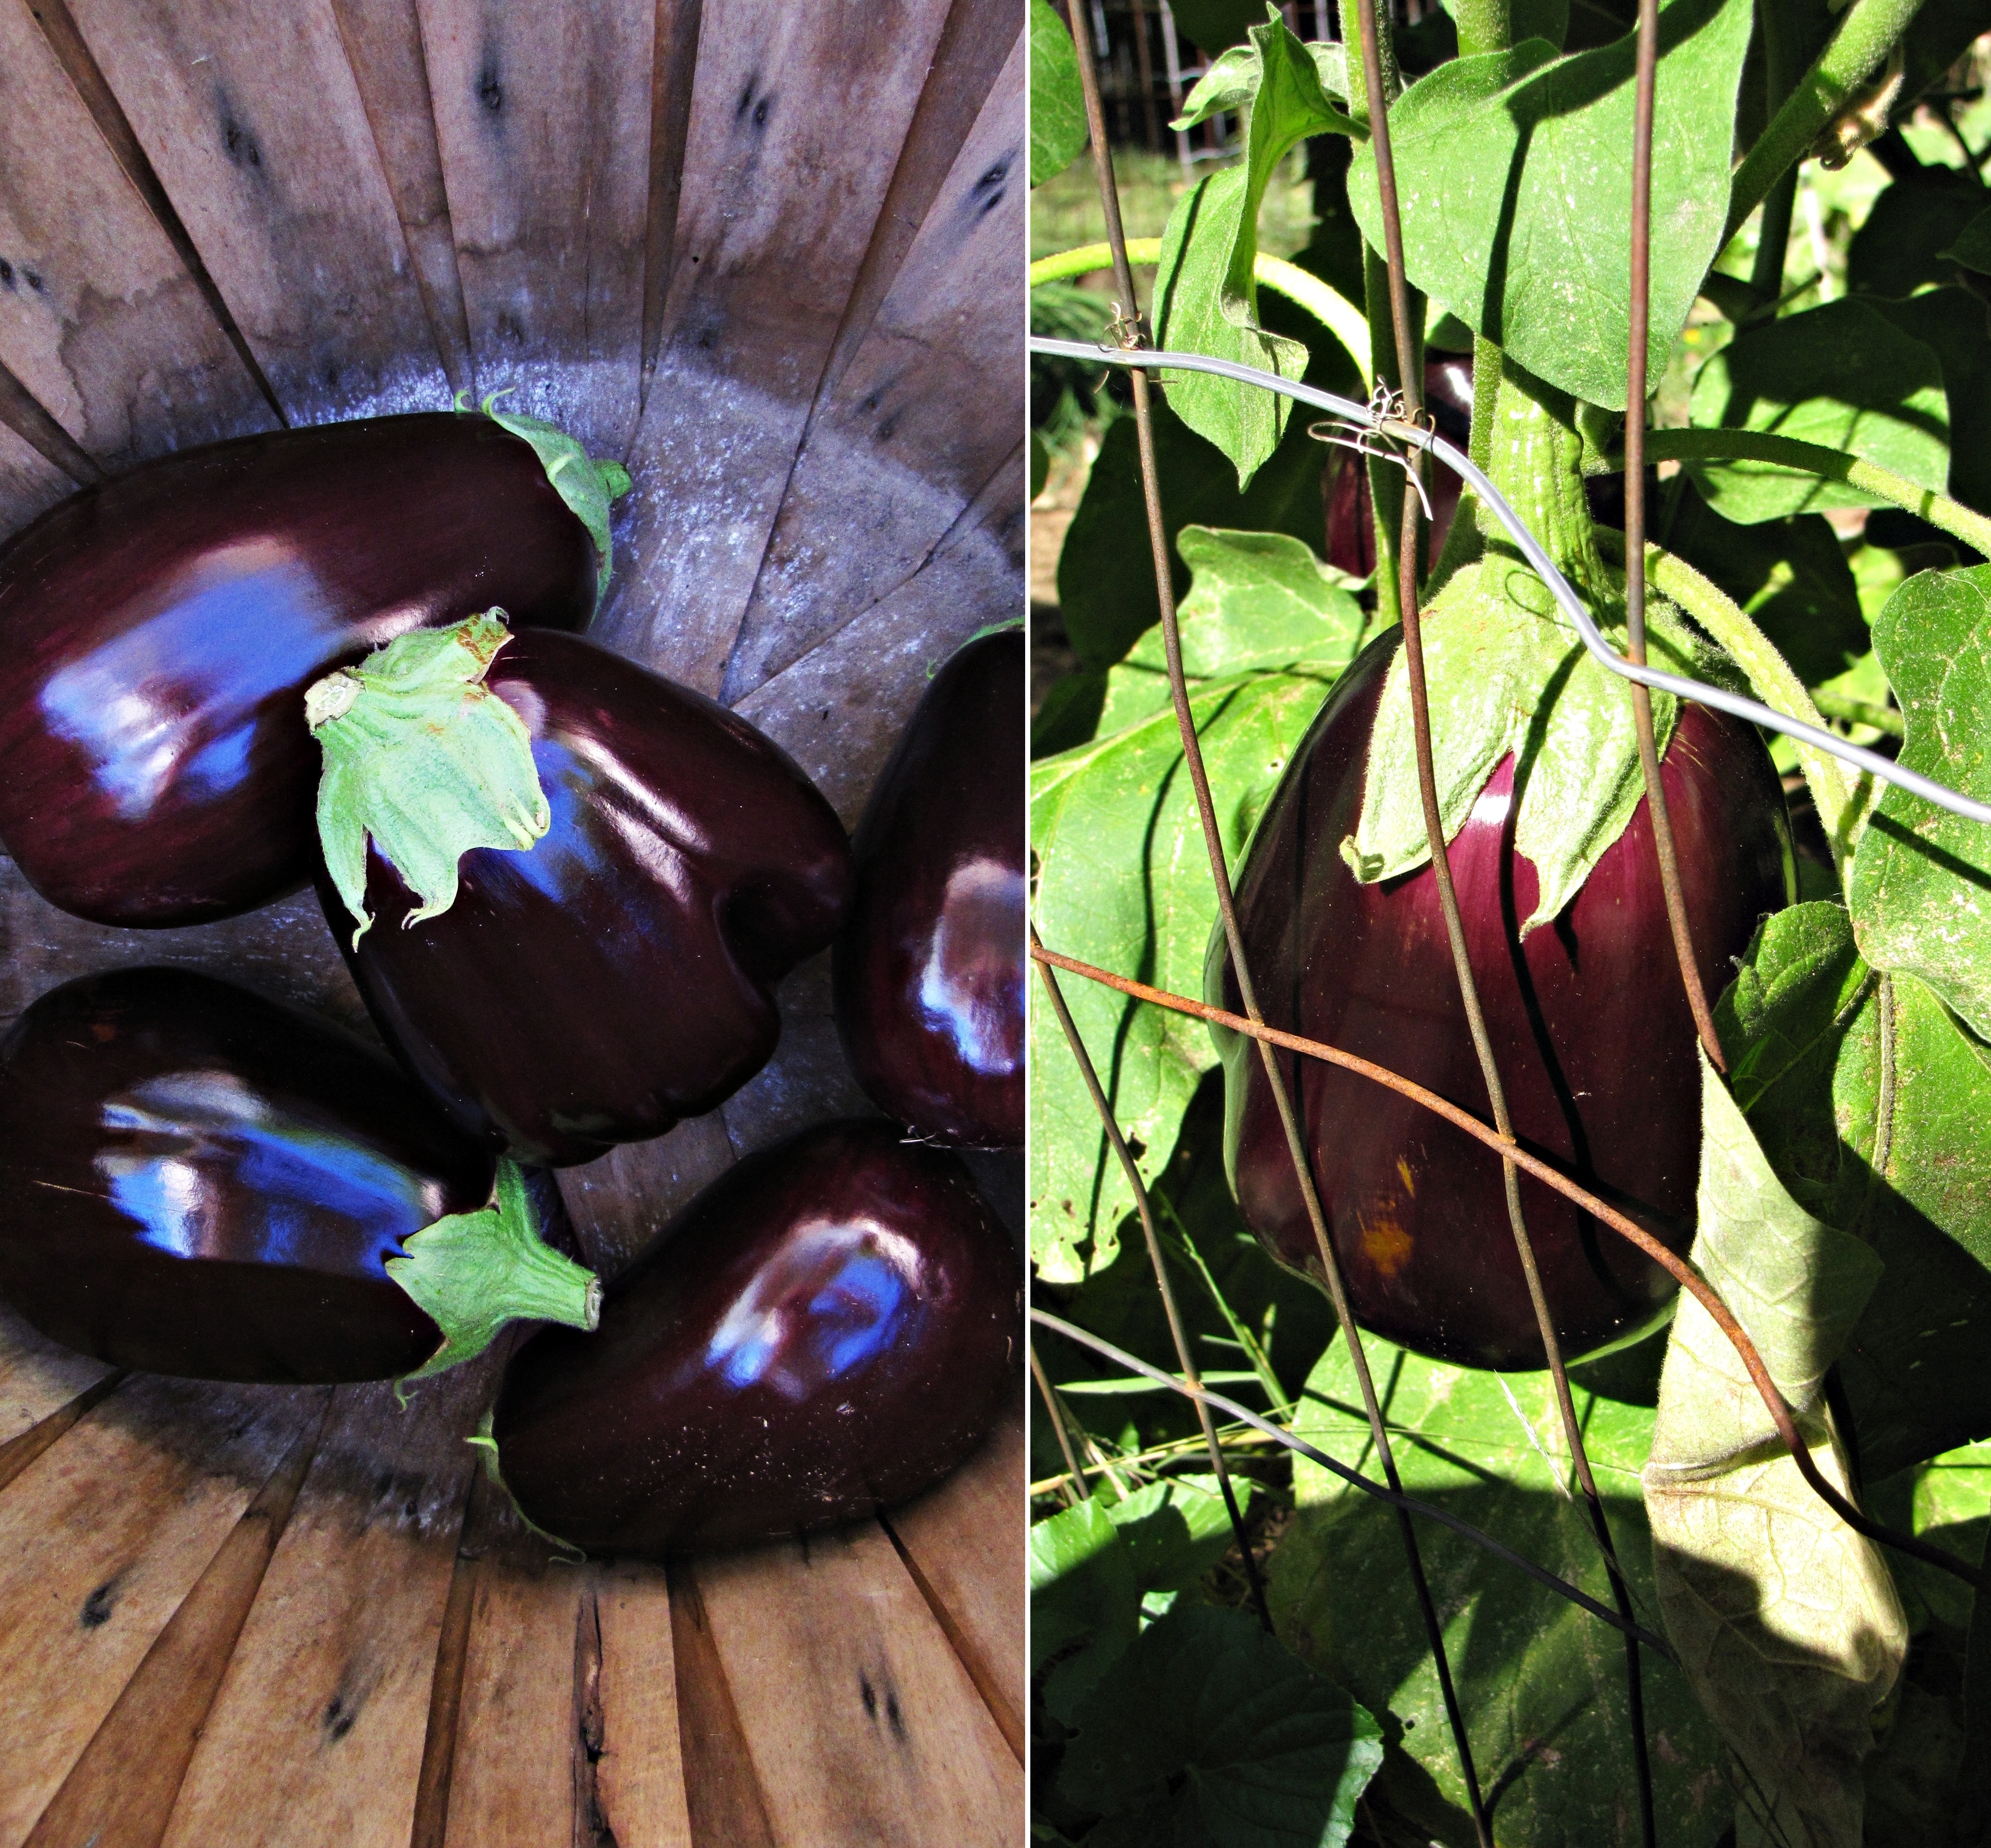
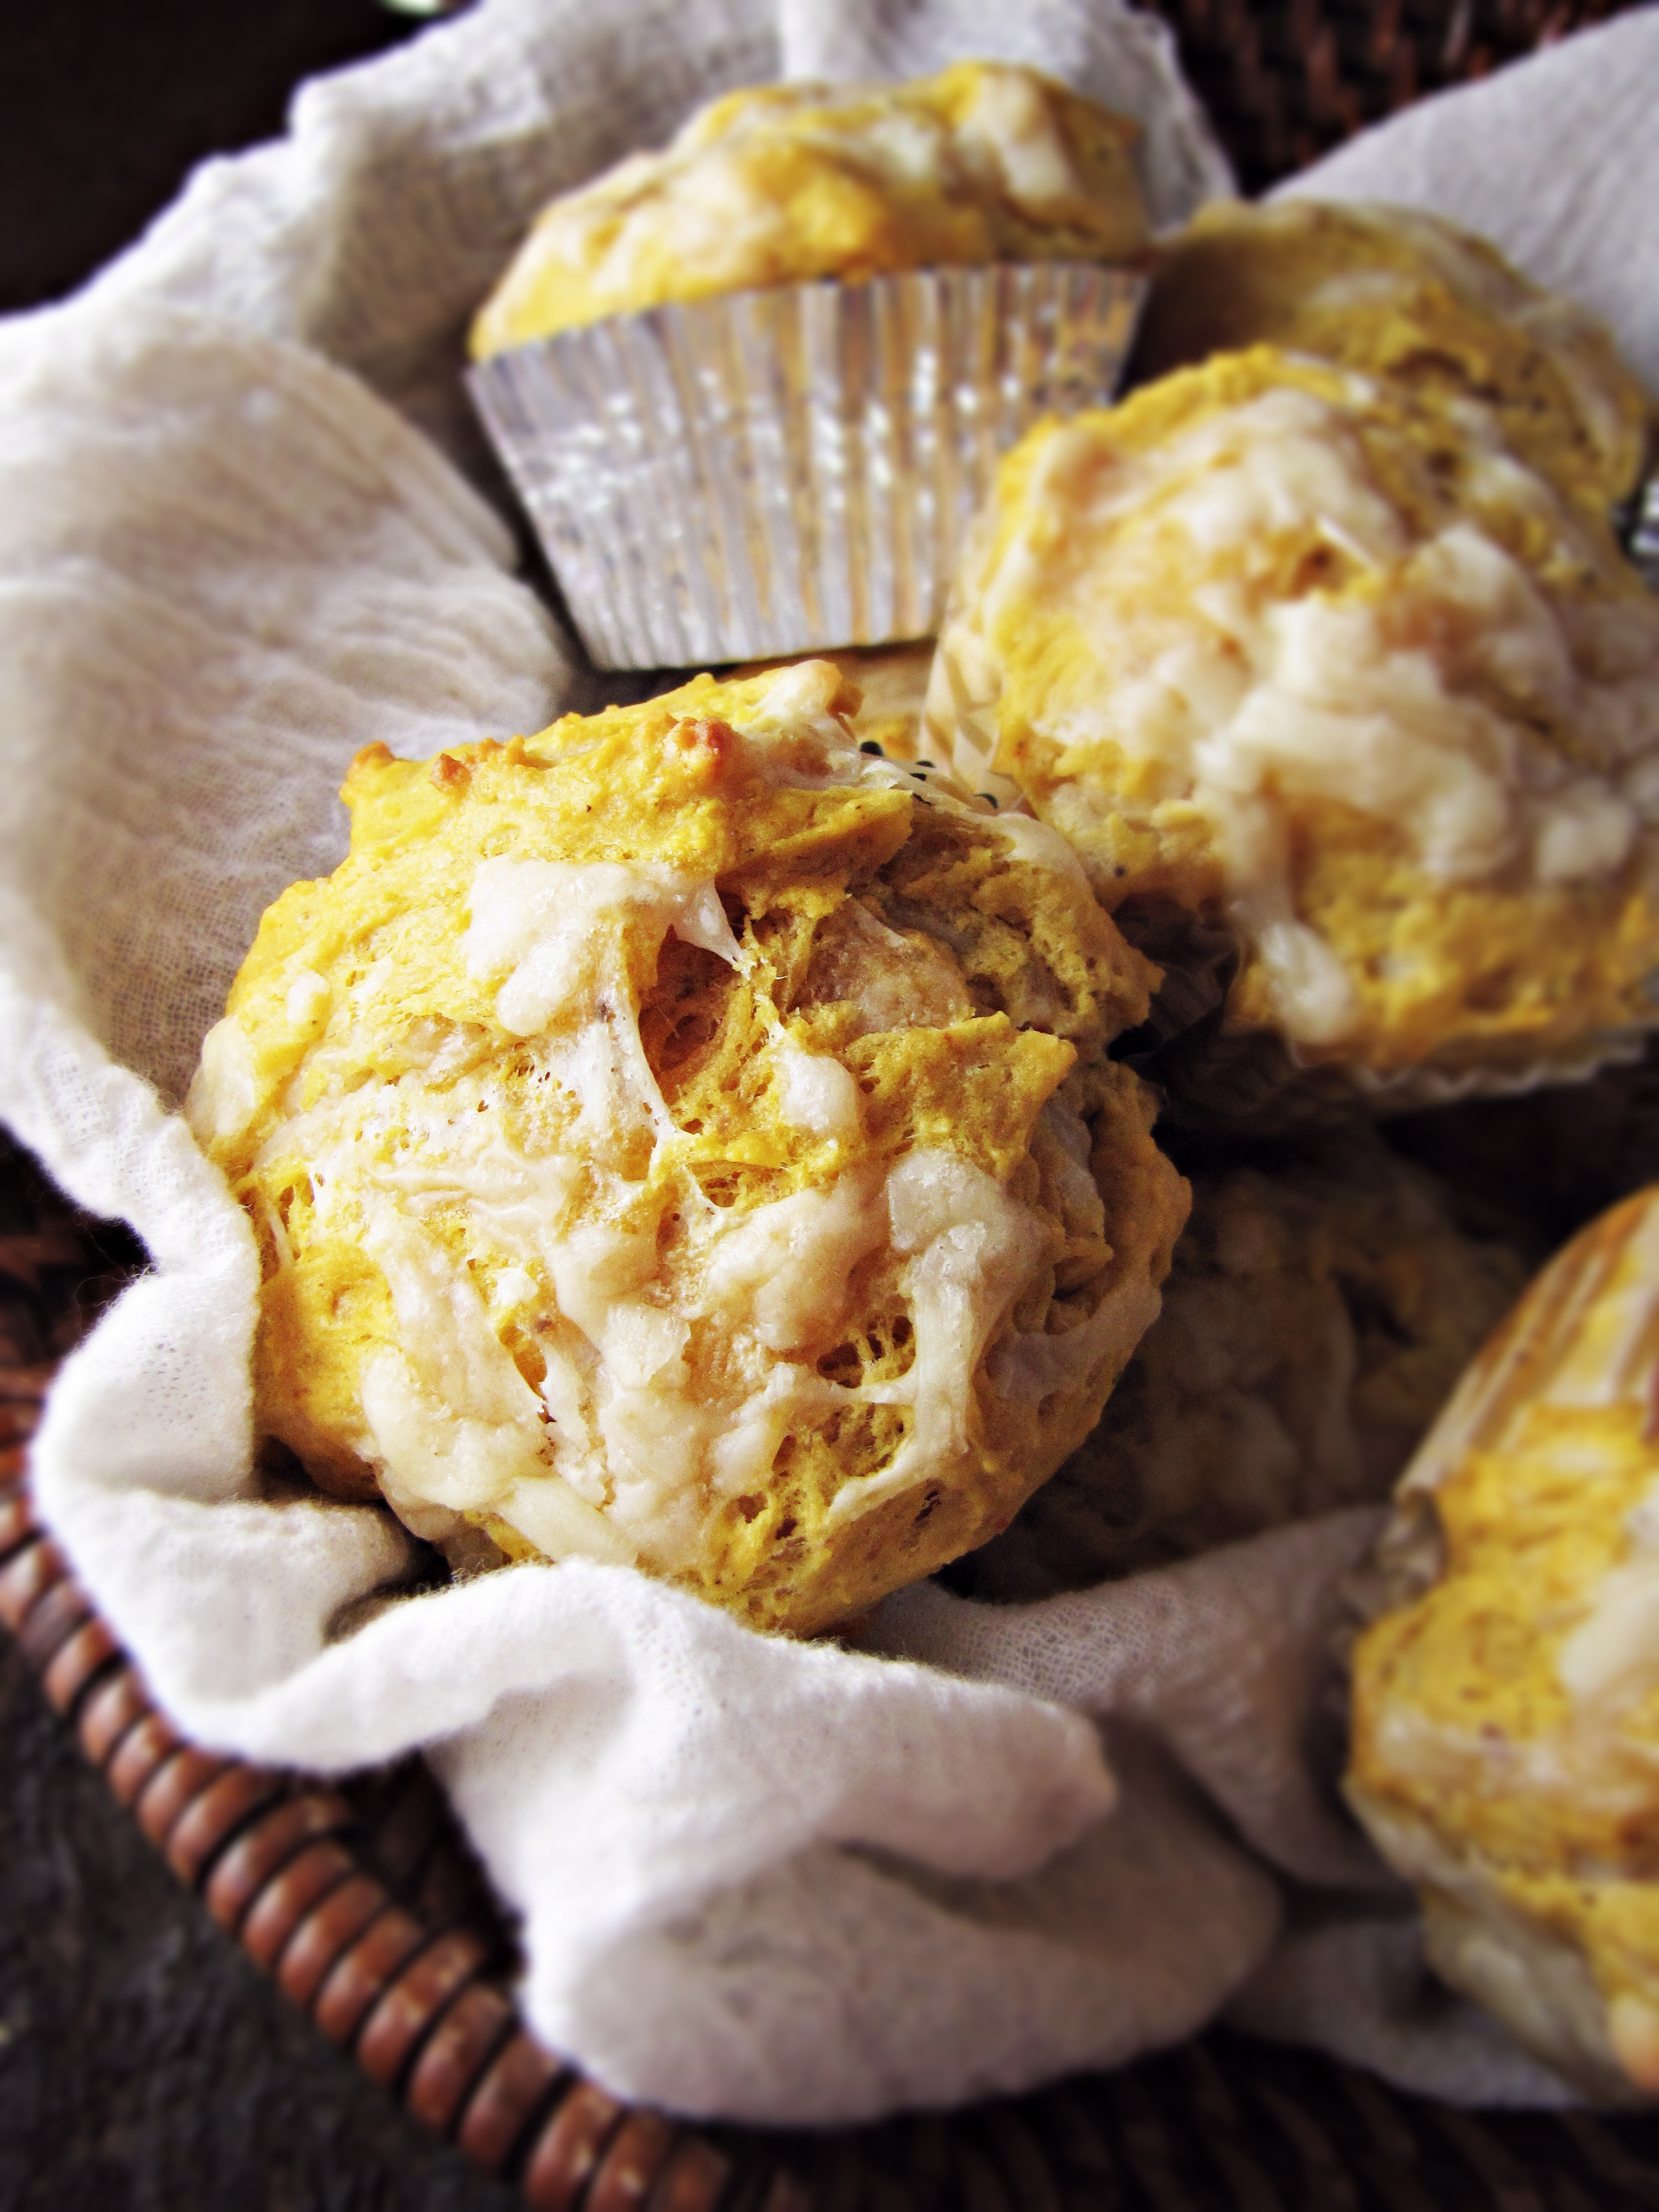
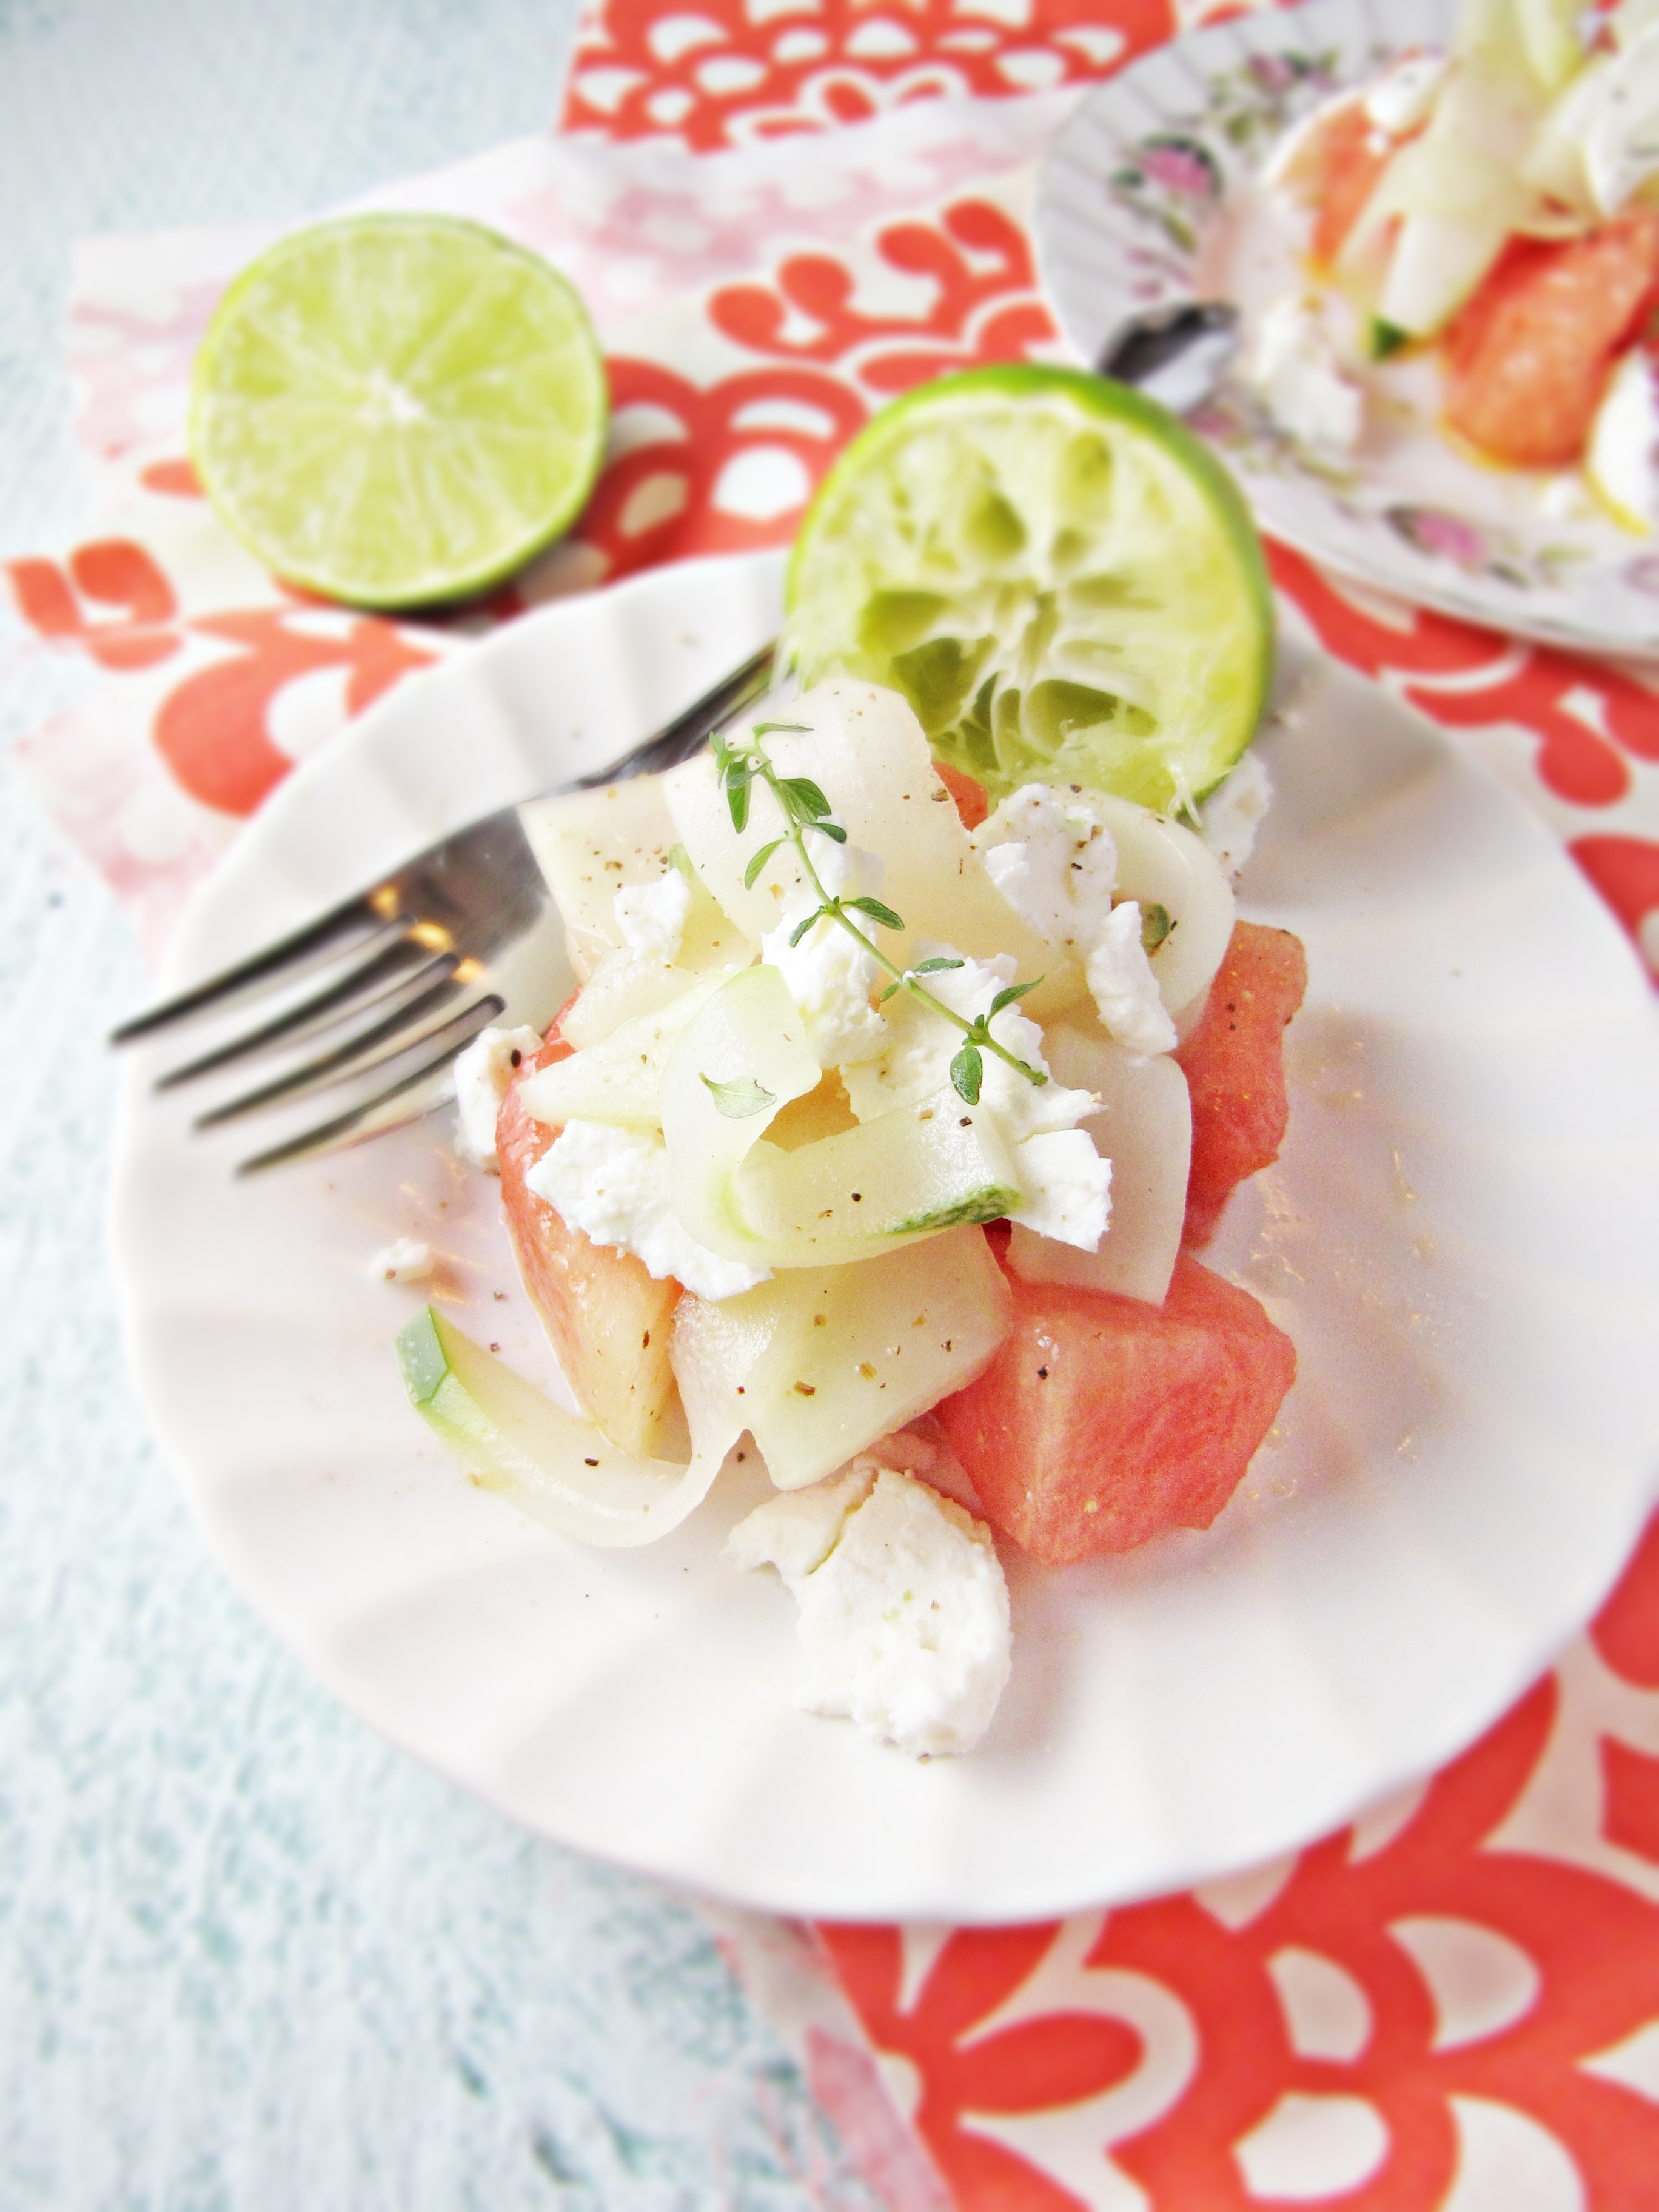
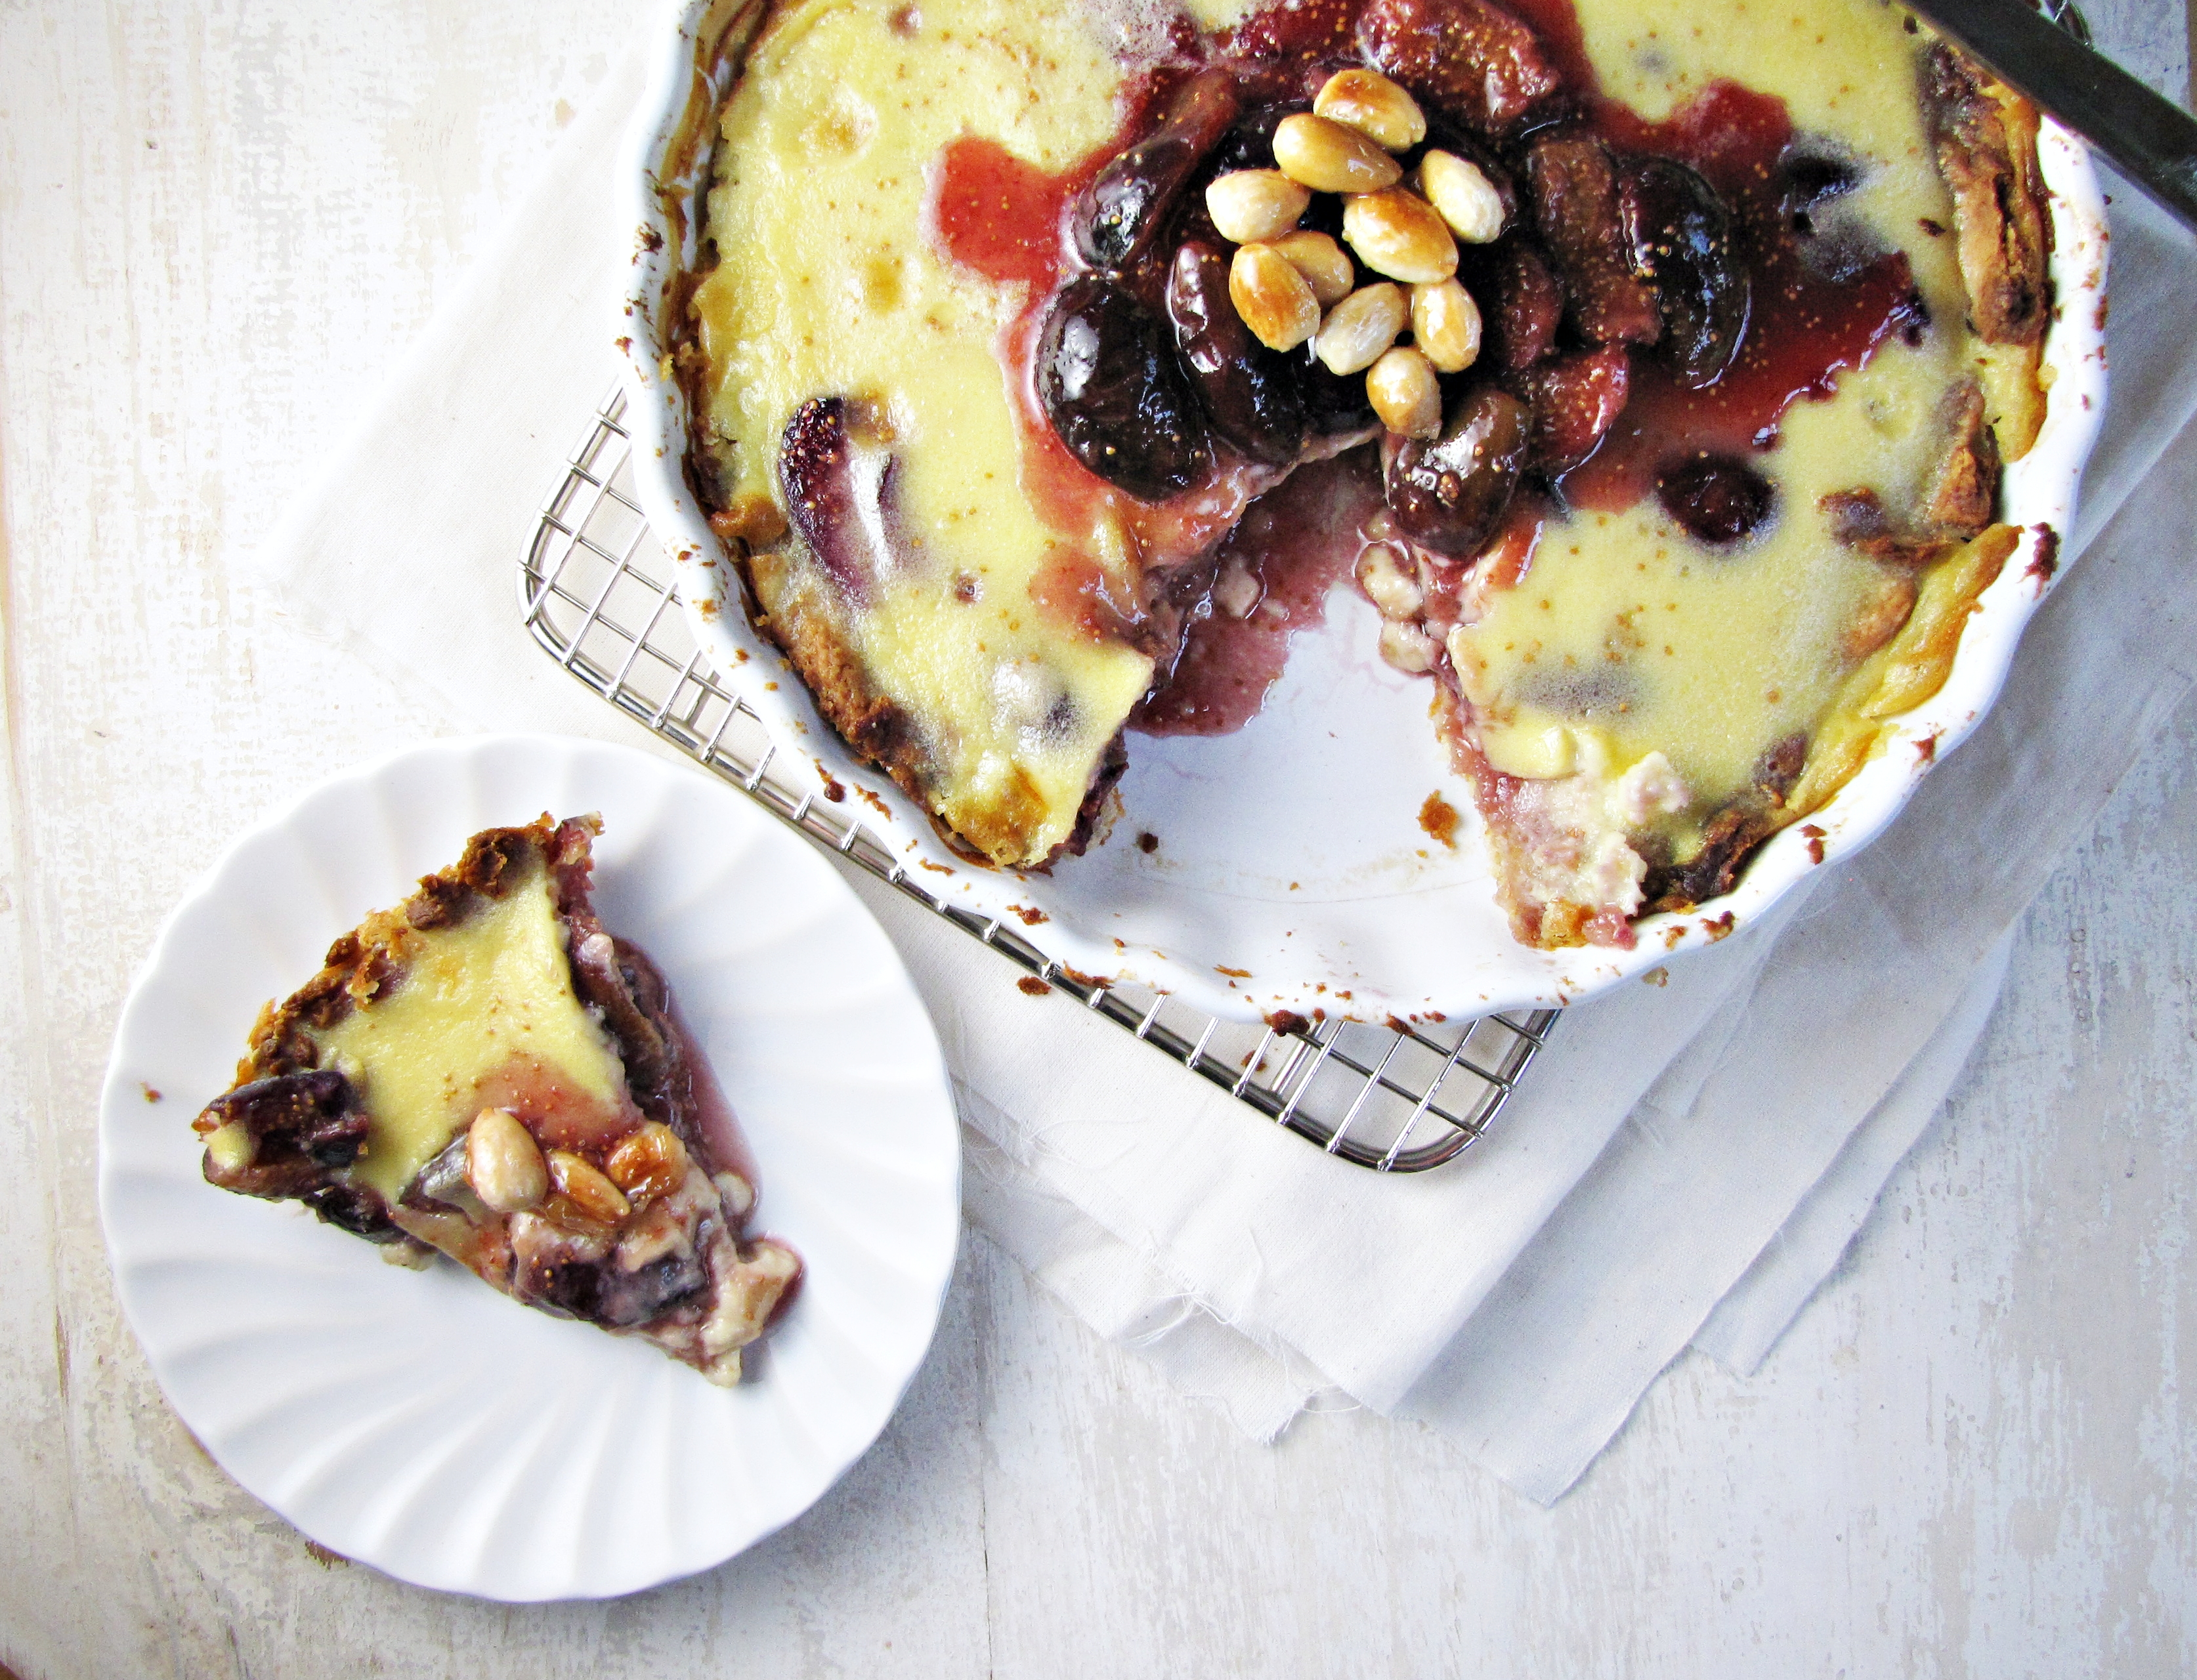
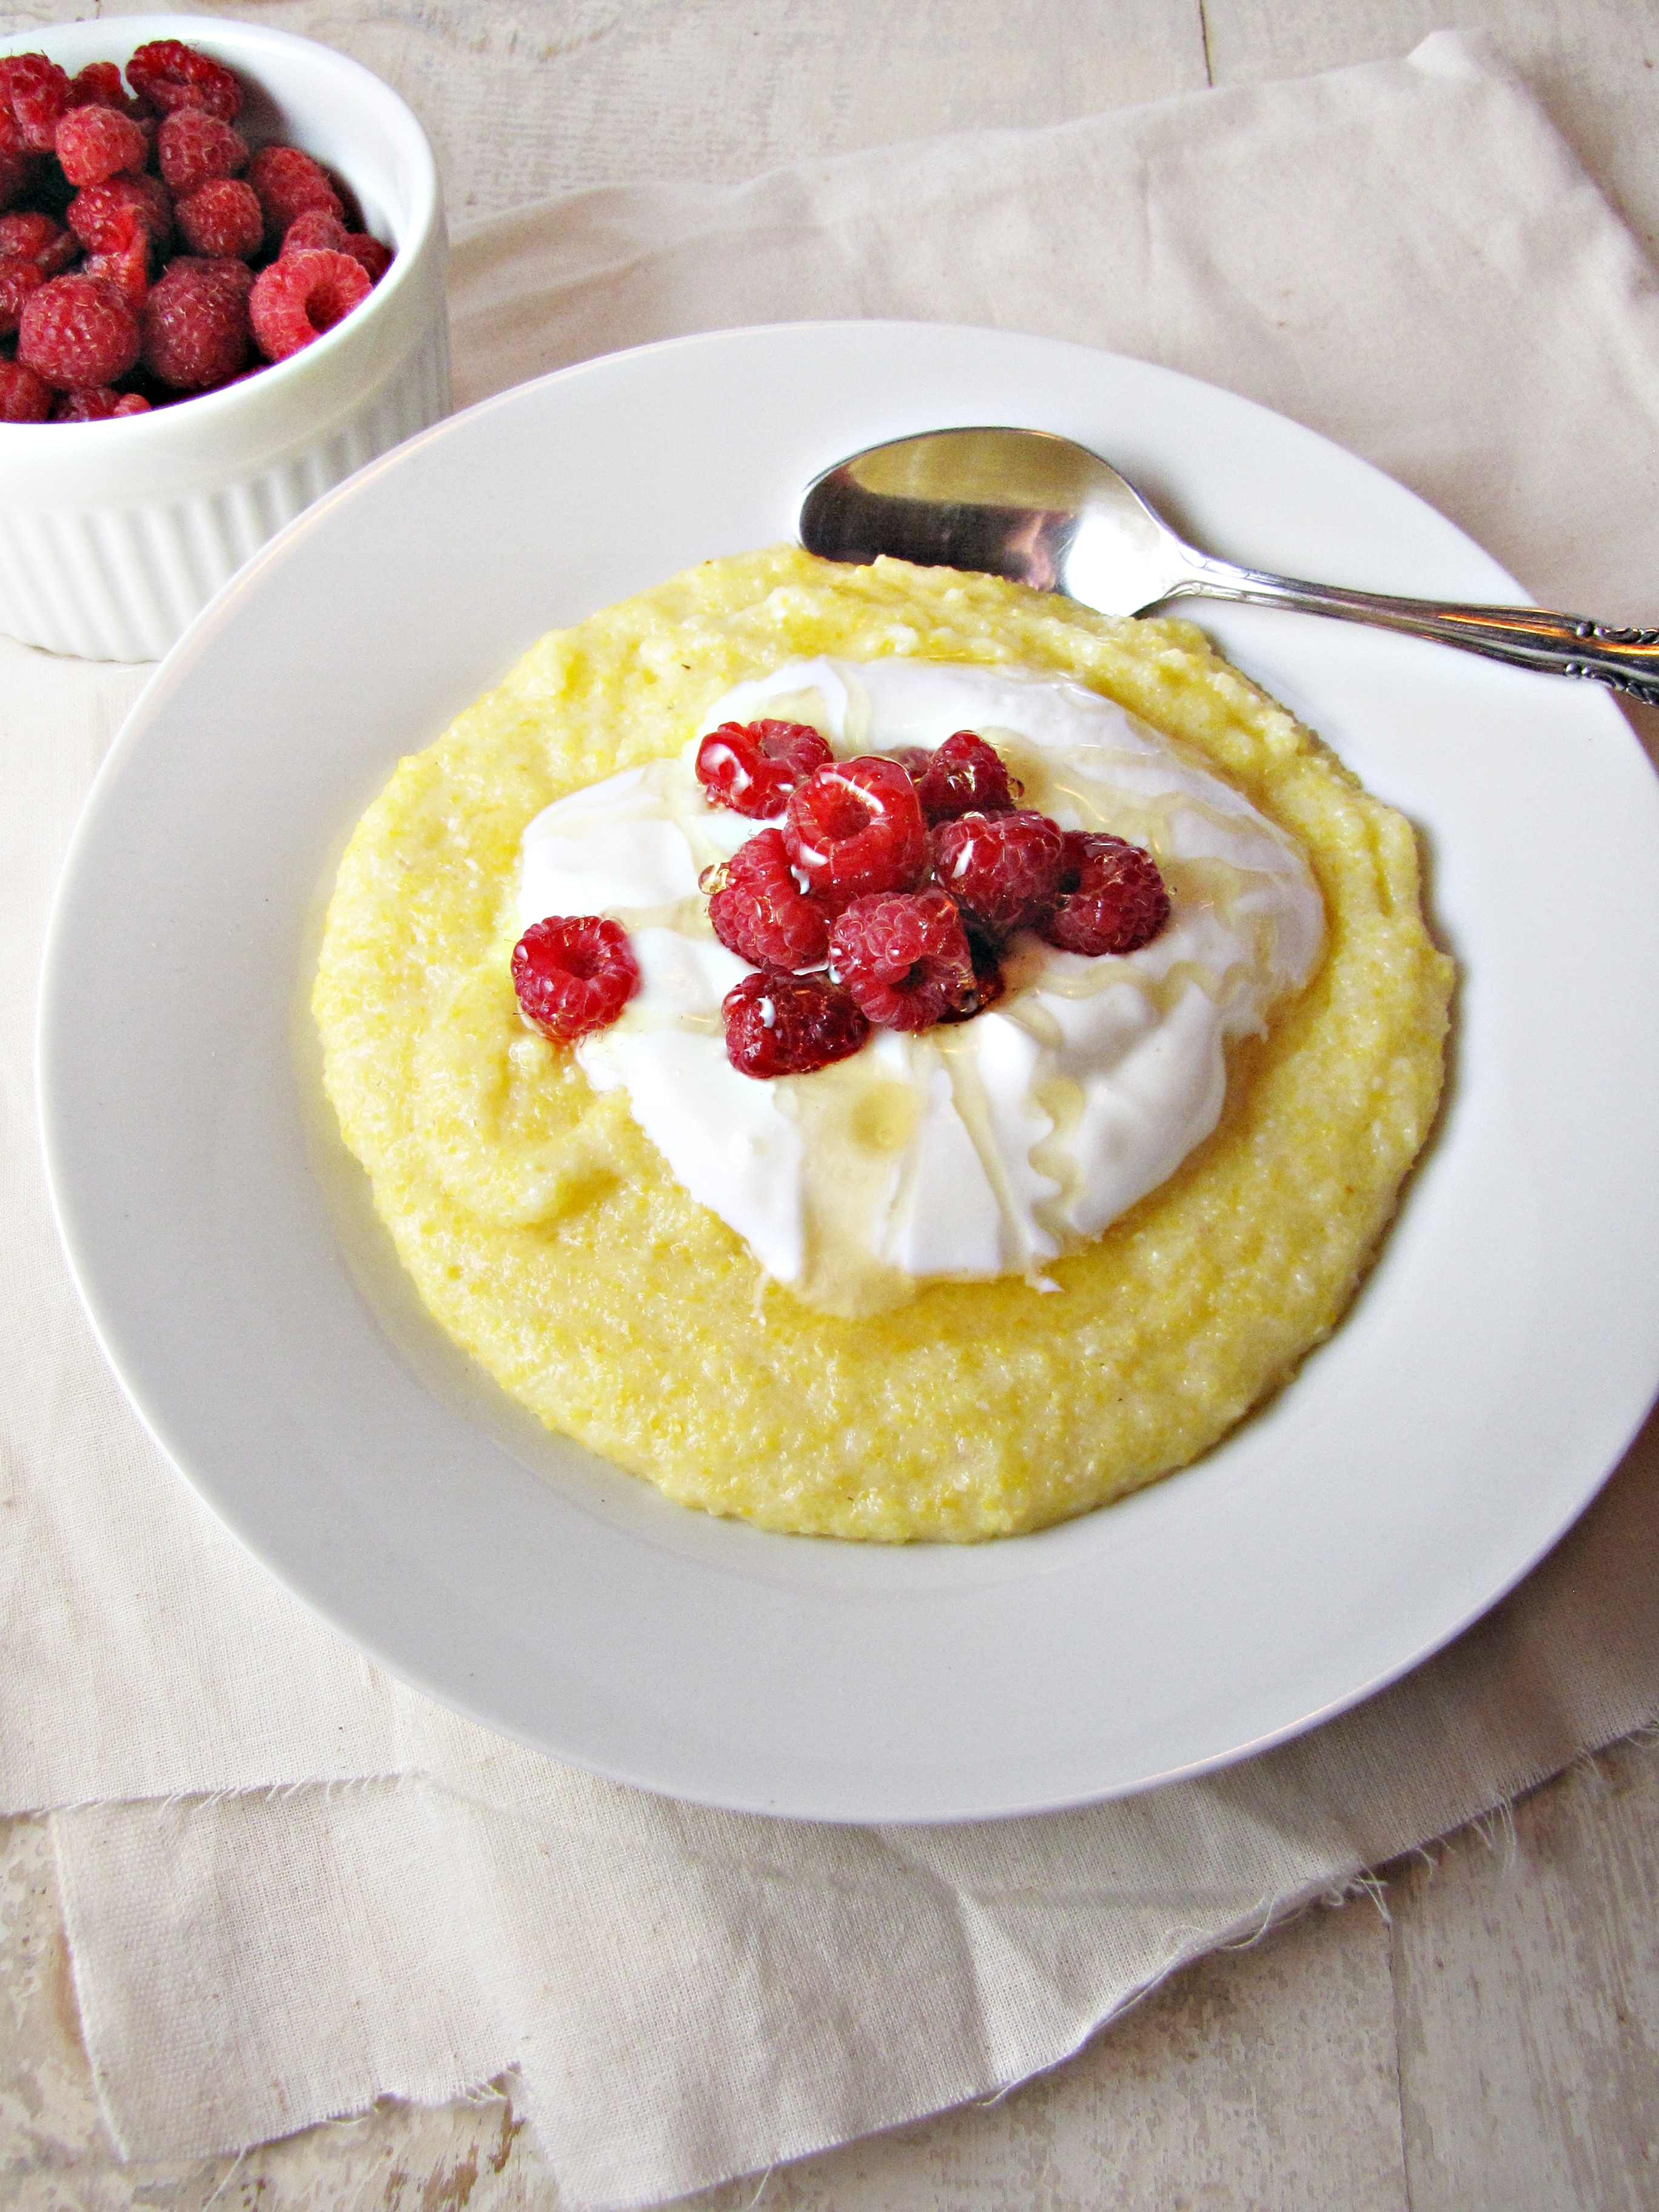
I had the best weekend.  Seriously, the best.  There wasn’t even anything super thrilling about it, just lots of tiny happy moments with my favorite person that added up together to make me feel totally relaxed and refreshed and joyful.  We went apple picking and then stopped in to say hi to my dad and check on the Andover garden.  We made apple cider doughnut cake, Kerala-style beef stew, pumpkin whoopie pies with maple-cream cheese, this chutney, and an amazing salad I’ll tell you about soon.  Saturday we went to the Ipswich River Sanctuary and Trevor let the birds land in his hands and there was almost no one there – it was so peaceful and so beautiful.  Sunday started off with Trevor bringing me a homemade cappuccino and a slice of this tart while I was still all tucked under the big white comforter, half-asleep and letting the sunshine and cool breeze and smell of coffee slowly stir me.  Then we lounged for 3 hours before walking a few miles to brunch at M3 and listening to all the crazy folks of Somerville play in the Honk! festival.  Later that day I ran 10 miles (and was proud of myself) before falling asleep watching Dark Shadows all warm and cozy.  I live the good life.

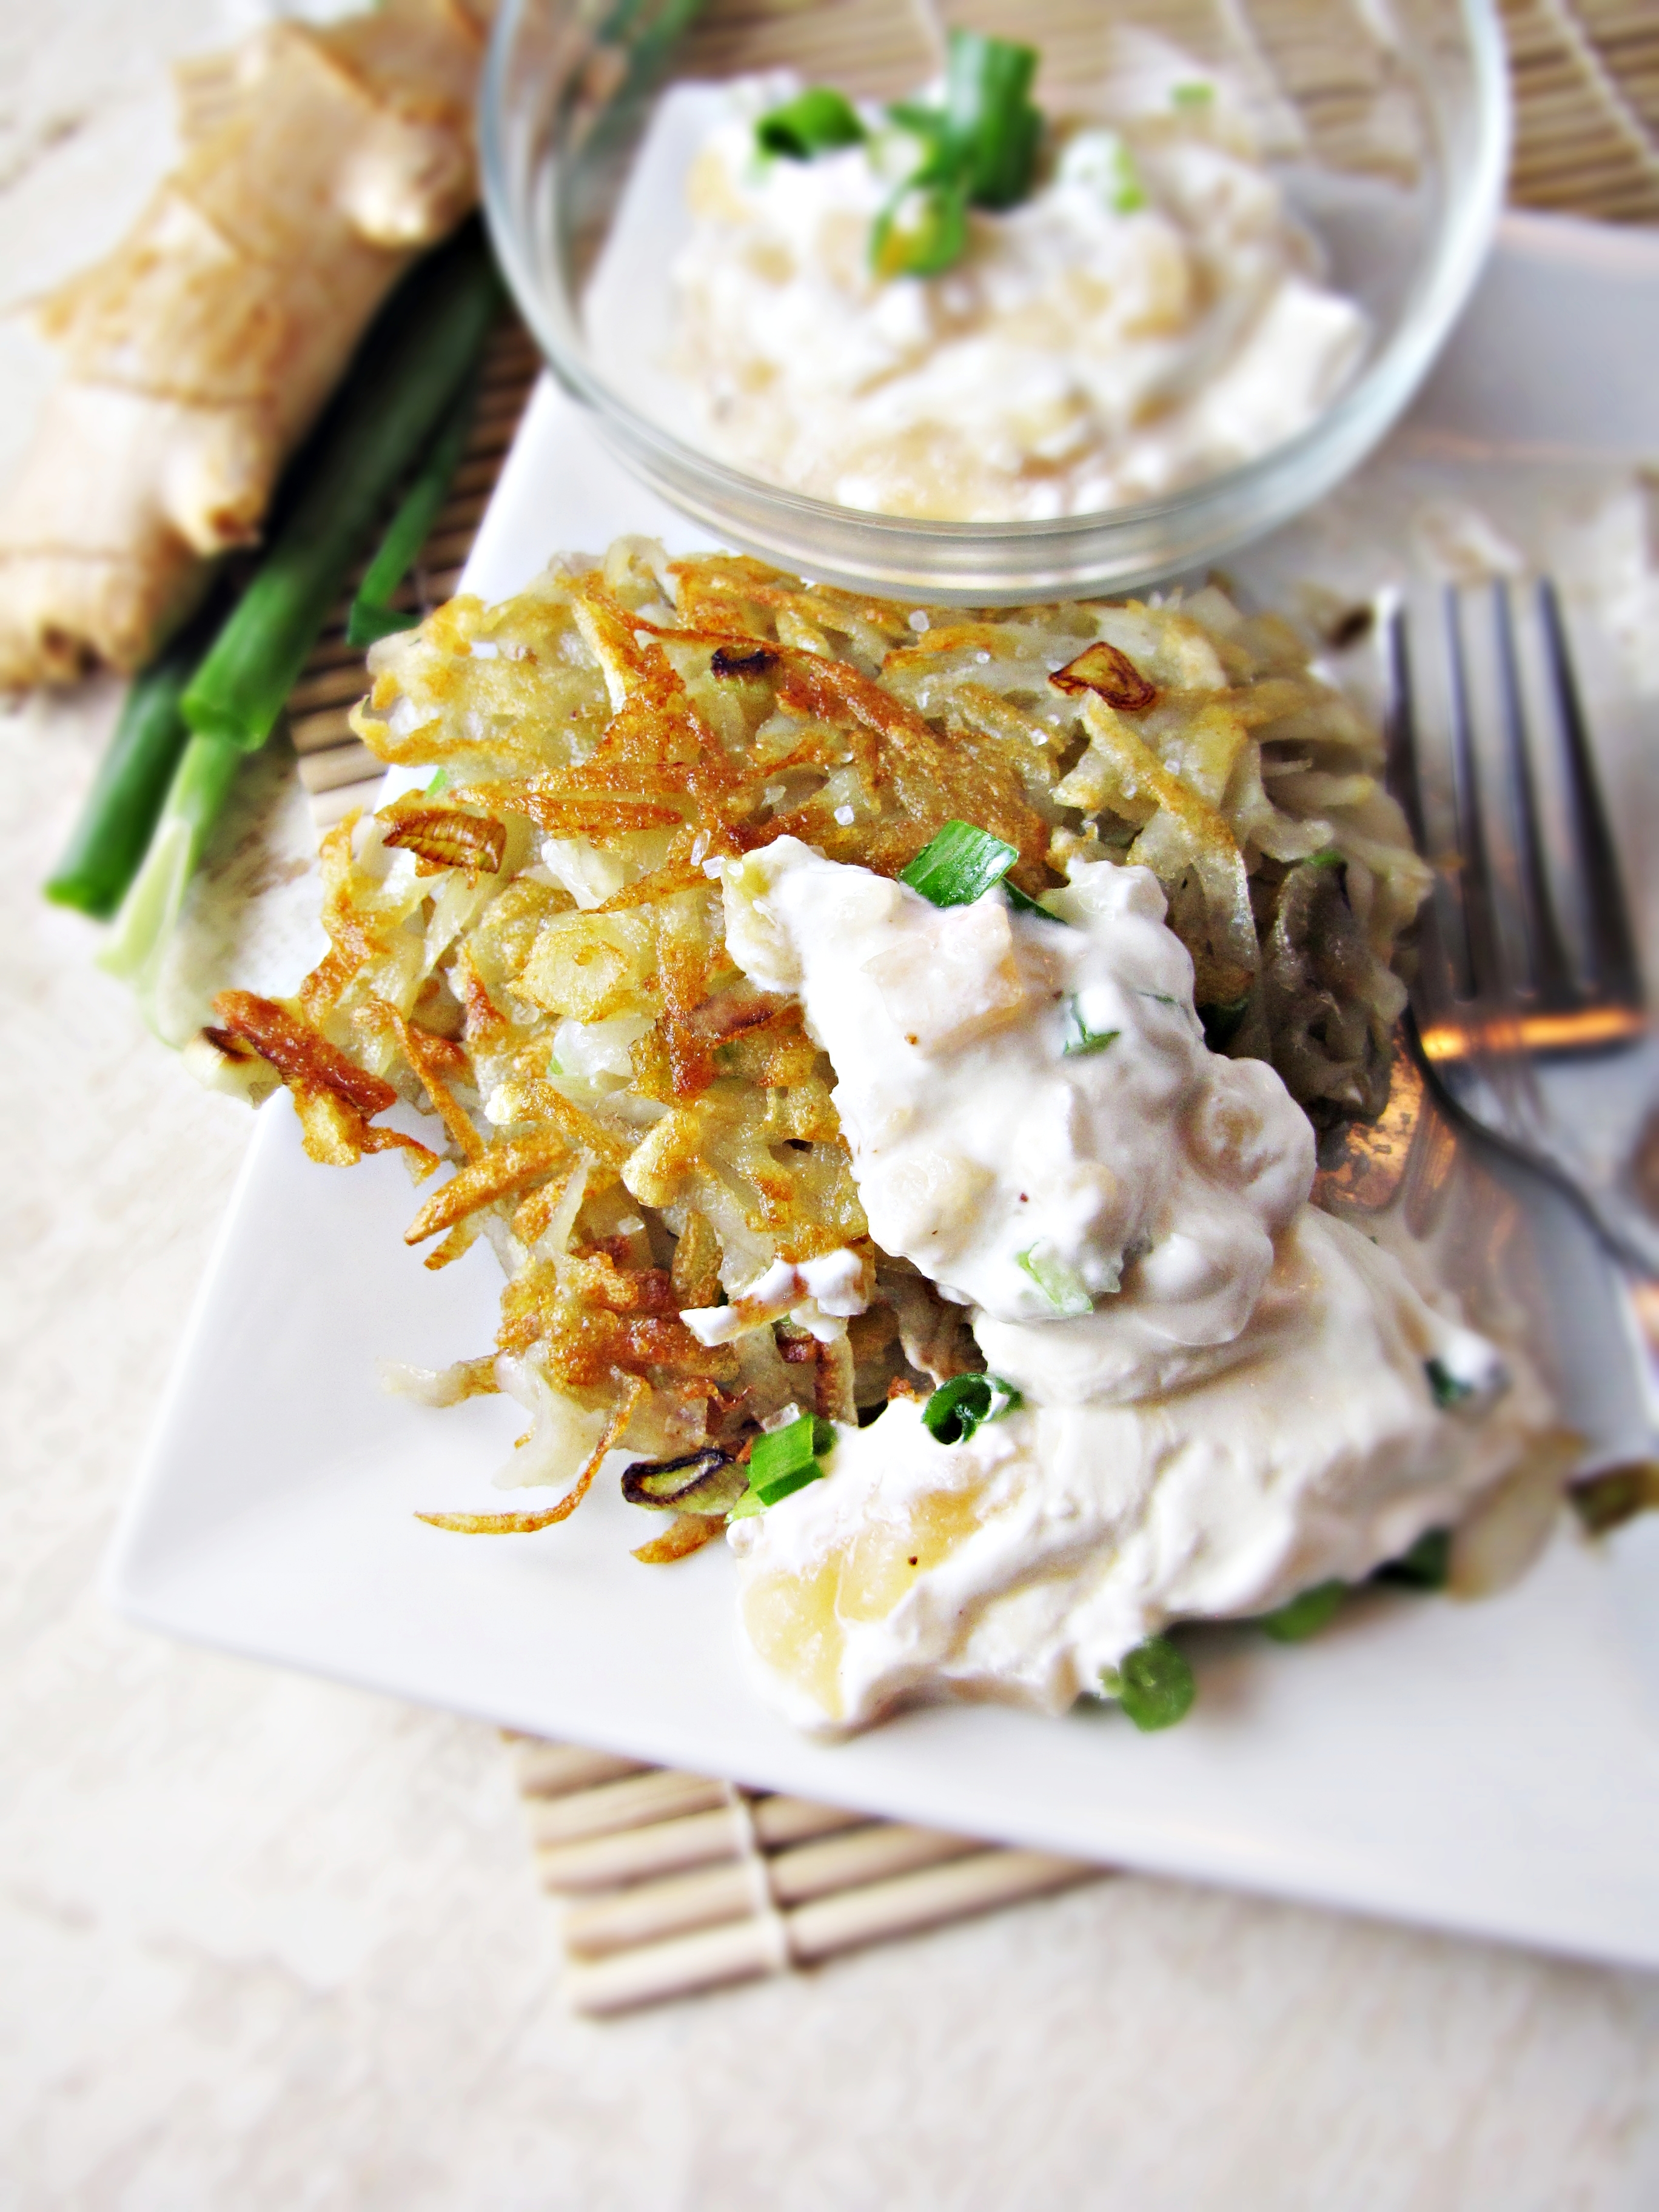
You want to know something else that’s good?  Ming Tsai’s recipes.  I’ve written about how he’s kind of my idol before, but seriously, this man puts great flavor into his food.  And now that I’m employed and everything, I’ve even been able to eat at Blue Ginger… where the food lives up to its reputation.  Knowing I had almost half a bushel of apples to use, this chutney immediately came to mind.  I’ve made it several times before, and I really love it – it’s tangy and a little bit spicy but still sweet.  It’s also great mixed with sour cream and slathered on potato latkes, which is how I chose to enjoy it for dinner tonight.  Leave it to Ming to revolutionize latkes and applesauce… give this one a try, for sure.  And stay tuned for more ways to use this chutney later this week!

Apple Ginger Chutney

Adapted from Ming Tsai.  Makes 4 c. chutney.

  • 2 onions, diced
  • 2 inches ginger, peeled and finely diced
  • 1 TBS canola oil
  • juice of 1 lemon
  • 8 non-mealy apples (such as Fuji, Honey Crisp, or Empire), peeled and cored
  • salt and pepper
  • 1 c. apple cider or apple juice
  • 1 c. rice wine vinegar or apple cider vinegar
  1. Cut apples into even 1/4 inch cubes (this will take longer than you think so budget extra time!).  Place cubes into a large bowl and squeeze lemon juice over them to prevent from browning.
  2. In a large stockpot, heat oil over medium heat.  Add onion and ginger and cook for 3-4 minutes, until onions soften.  Add apples, and season generously with salt and pepper.  Stir to coat, then cook apples for 3-4 minutes, until beginning to soften.  Add apple cider/juice and vinegar and simmer until liquid is reduced by three quarters, about 30 minutes.  Adjust seasoning to taste.  Keeps for about 1 week in the fridge.

Scallion-Potato Latkes with Apple-Ginger-Cream

Adapted from Ming Tsai.  Makes 16 latkes.

  • 1 c. apple ginger chutney (see above)
  • 1 c. sour cream
  • 8 scallions, thinly sliced, white and green parts separated
  • 4 medium russet potatoes, peeled
  • 2 eggs
  • salt and pepper
  • 2 TBS butter
  • 2 TBS olive oil
  1. Mix together apple chutney, sour cream, and green parts of scallions together.  Cover and place in fridge until latkes are ready.
  2. Grate potatoes on a large box grater.  Squeeze liquid out of grated potatoes into sink; place grated potatoes into large strainer set over large bowl, and continue to squeeze to remove as much liquid as possible.
  3. In a large bowl, whisk eggs together gently.  Add drained potatoes and white parts of scallions and mix together.  Season with salt and pepper.
  4. Heat 1 TBS olive oil and 1 TBS butter over medium-low heat in large frying pan for 3 minutes.  Form patties out of the potato mixture and place in frying pan.  Cook latkes in batches for 4-5 minutes per side, or until golden brown.  Replenish frying pan with butter and olive oil as necessary as you make multiple batches.  Place finished latkes on a plate line with a paper towel.  Serve hot with Apple-ginger-cream.

8 October 5, 2012 Boston

Cooking Fall & Apple Cider Doughnut Cake

Does seasonal eating ever stress you out?  It does me.  Knowing that there are so many foods available for only a few months, or weeks, even, makes me feel a huge amount of pressure to cook, cook, cook as much as possible with those ingredients before they’re gone.  I know this is the wrong way to think about it, that I should just be enjoying each season in its own right, cooking what I feel like when I feel like it, just eating the produce in my fridge rather than spending hours googling “savory apple recipes” and “things to do with figs,” but this mentality seems embedded into my list-making, multi-tasking personality.  I’m the same way about life in general.  I’m such a planner and there’s so much I want to DO that sometimes I don’t get around to any of the things on the list.  Planning vacations, for example – I’ve probably spent a collective 24 hours trying to plan a 48 hour weekend getaway for this fall. Yes, the daydreaming and planning is part of the fun, but sometimes, I wish I could be more spontaneous.  Just pack up and go.  Experience things without imagining the experience 40 times over before hand.  Not have a mild anxiety attack at the mere idea of my Saturday afternoon plans changing.

However, this personality trait is useful, to a certain degree.  It means I’ve never found myself in a crisis while on the road – I always have all the phone numbers and maps and back-up plans at hand.  And it means I don’t drop the ball or let things slip through the cracks at work, which can only bring good for my career.  Really, I just need to find an internal balance – stay well-prepared without over-thinking something to the point of causing myself stress about the what-ifs; agree to an impromptu afternoon out with friends rather than automatically declining; enjoy the seasonal food I do get a chance to cook without worrying about all the things I didn’t get to this time around.  Perhaps just another way of saying “live in the moment,” but worth reflecting on.

Let’s get back to food.  Fall food.  My mental list of seasonal ingredients for this season is long – apples, pears, figs, chestnuts, mushrooms, squash, grapes, beets, brussels sprouts, potatoes and probably more that are currently escaping me.  Then there are the soups and stews and slow-braised meats that are really only appropriate in cold weather – like this Braised Lamb with Polenta or this Sausage and Tortellini Soup.  We listmakers, we sometimes get caught up making the list and never get around to doing anything on it – and I’m determined not to let that happen for the next few months!  I’m off to a good start with this super delicious Cider Doughnut Cake.  Is there anything more fall than Cider Doughnuts?  Even better, I took today off from work to pick apples and hang out with Trevor and enjoy the sunshine and leaves… and eat real cider doughnuts.  So I can attest to the likeness of this cake to the real deal.  My roommate corroborated through text message: “Strong work, tastes just like the orchard!”  If you’re a fan of the doughnuts, do you need more reason than that to try this bake-able version?  I didn’t think so.

Stay tuned for more fall recipes, soon.  Especially ones with apples, as I’m now the proud owner of half a bushel…

Have a great weekend, everyone!

Apple Cider Doughnut Cake

Adapted from Serious Eats.  Serves 12.

  • 1 stick plus 1 TBS salted butter, softened
  • 2 medium Macintosh apples, peeled, cored, and cut into cubes (about 8 oz. total)
  • 1 1/2 c. apple cider
  • 1/2 c. milk, slightly warmed in microwave
  • 3/4 c. + 4 TBS sugar
  • 1/2 c. brown sugar
  • 3 large eggs
  • 1/4 c. canola oil
  • 2 1/2 c. flour
  • 1/2 tsp baking soda
  • 1 1/2 tsp baking powder
  • 1/2 tsp salt
  • 1/2 tsp nutmeg
  • 2 tsp cinnamon
  • 1 tsp vanilla
  1. Preheat oven to 350°F.  Melt 1 TBS of the butter and use a pastry brush to spread it around the inside of a bundt pan, making sure to get in all the creases.
  2. Place the chopped apple and the apple cider in a small saucepan and bring to a boil over medium heat.  Reduce to a simmer and simmer for 10 minutes, until apples are soft and cider has been mostly absorbed.  Let cool 5 minutes, then puree in a food processor.  Mix with the warmed milk, whisking quickly to avoid curdling the milk.
  3. In a large bowl or stand mixer, cream together the butter, 3/4 c. sugar, and 1/2 c. brown sugar until fluffy.  Add the eggs one at a time, incorporating fully between each addition.  Mix in canola oil, and set aside.
  4. In a separate bowl, whisk together flour, baking soda, baking powder, salt, nutmeg, and 1 tsp of the cinnamon.
  5. Add 1/2 of the flour mixture to the egg/butter/sugar mixture, and incorporate.  Add 1/2 of the apple cider mixture to the batter, incorporate.  Repeat with the remaining flour and cider mixtures.  Beat in vanilla until just incorporated.
  6. Pour batter into the prepared bundt pan.  Bake for 35-40 minutes, until a toothpick inserted in center comes out clean.  Let cool for 10 minutes in pan, then invert over a cooling rack and remove from pan.
  7. Whisk together remaining 4 TBS of sugar and 1 tsp of cinnamon.  Sprinkle cinnamon over warm cake.  Let cool, and enjoy!

1 October 1, 2012 Cookbook

Caramel Corn with Peanuts and Chocolate

This post is a result of the confluence of several forces.  Number one, Baked Explorations was going to be September’s cookbook of the month, until it was this weekend and I realized that I was going to be spending all my time taking my mom to tea at the Taj/ buying most of the stock at the Ann Taylor outlet/ eating homemade duck confit/ snuggled up in bed… not having a baking extravaganza like I had planned.  I’m not complaining, though, it was a great weekend.  Number two, as every food blogger and their mother has mentioned several times since the first chilly day in September, it’s fall, and fall makes us all want to eat lots of apples and stews and pumpkin-flavored things and caramel.  Number three, Trevor and I have gone to the movies every Friday for the past 3 weeks, and each time I got popcorn for dinner.  So it’s been on my mind.

The summer movie season was kind of disappointing.  I mean, Avengers was awesome, and OK, so was Prometheus, but other than that?  Not much doing.  The fall movie season though is looking pretty exciting.  The Hobbit on December 14th.  Les Mis (with Hugh Jackman!) on Christmas Day.  Cloud Atlas on October 26th.  Anna Karenina on November 16th.  Life of Pi on November 23rd. I could go on, but suffice it to say, I might be eating a lot more popcorn before Christmas.  And this particular popcorn – mixed with homemade caramel sauce, salty peanuts, and a drizzle of melted chocolate – will definitely be sneaking into the theater in my purse more than once.  The guys at Baked have gotten it right again with this recipe.  Maybe it’s hard to go wrong with caramel and chocolate and popcorn, but this recipe is addictive, and also super easy to make.  It’s a great addition to any baker’s repertoire!

I have to tell you two more things about this popcorn.  One, it would make a great holiday gift as part of a food package, especially tied up in cute little plastic bags.  I haven’t found a single reliable source for food safety information on caramel corn, but internet consensus says homemade caramel corn should last about two weeks in an airtight container.  If it’s in your house, I promise you it won’t last that long before you devour it, but I think you could get away with making it a few days before giving/serving it (and hiding it from your sight!).  If in doubt, wrap it up and freeze it until you’re ready to give it away.  Two, while straight-up air-popped popcorn is a great healthy snack, this recipe is a fat/sugar/calorie bomb.  Be careful with it.  Treat each cup of popcorn like you would a chocolate chip cookie – they have basically the same ingredients.  Now with that warning – go try it!

Caramel Corn with Peanuts and Chocolate

Adapted slightly from Baked Explorations.  Makes 10 cups.

  • 10 cups popped popcorn (about 1 regular sized bag)
  • 1 stick butter
  • 1 c. brown sugar
  • 1/4 c. light corn syrup
  • 1 TBS molasses
  • 1/4 tsp salt
  • 1/2 tsp baking soda
  • 3/4 tsp vanilla
  • 1 c. roasted, salted peanuts
  • 6 oz. dark chocolate, melted (1/2 regular sized bag)
  1. Preheat oven to 250°F.  Line a large roasting pan with parchment paper, and set aside.  Place popped popcorn in a large bowl.
  2. In a medium saucepan over low heat, melt butter.  Once melted, stir in brown sugar, corn syrup, and molasses.  Cook, stirring occasionally, until it begins to bubble.  Then, stir constantly until it reaches 240°F, also known as “soft-ball stage.”  To see how to test for this stage without a thermometer, see this article (basically, when a drop of syrup on a cold plate or in cold water forms a sticky “soft” ball – not immediately hard and not still fluid.)  Immediately remove from heat, and stir in salt, baking soda, and vanilla.  Careful – the baking soda will make it foam up slightly, so keep stirring and don’t let it spill over the edges.
  3. Pour caramel over popcorn and stir to coat evenly.  Sprinkle with peanuts, then spread in lined baking sheet.  Bake for 15 minutes, remove and stir, then bake for another 20 minutes.  Remove from oven and let cool for 10 minutes.
  4. Drizzle cooled caramel corn with melted chocolate.  Once the chocolate has hardened, break the caramel corn up into pieces and enjoy!

0 September 26, 2012 Food

Greatist Collaboration: Raw Kale and Pecorino Salad

I don’t want to scare anyone off… but it’s getting to be kale season.  I got some in my CSA last week, and it’s one of the few veggies still flourishing in my garden.  For some, this is great news.  I happen to love kale in all its forms, and prefer it to almost any other green – I’d forego spinach for kale any day of the week.  For others, though, this is not such a good sign.  For them, the beginning of kale season signifies the descent into a long winter of root vegetables, cold-hardy greens, citrus, and the occasional guilt-inducing trip to Wholefoods to pick up that so-not-local-but-oh-so-good Chilean peach.  Fear not, we’re not at that dark time quite yet – we’ve still got time for end-of-season corn, butternut squash, chestnuts, figs, plums, apples, and a myriad of pumpkin-flavored baked goods.  But still, kale has arrived, and why not start showing it a little love now?

Kale salad was a super-trendy restaurant dish last year.  Andrew Knowlton even wrote about the ubiquity of kale salad for Bon Appetit last month, when sharing this recipe for his favorite version.  If you’re not a natural kale-lover, an entire salad composed of the stuff might be a hard sell, but I urge you to give it a try.  A little cheese, lemon, and olive oil can go a long way in transforming this green into a tender, tasty salad that even Romaine-purists might grow to enjoy.  In fact, after I had finished this bowl I almost harvested the rest of my kale right then and there to make another bowl.  Give it a try – it’s simple, healthy, and zesty.  Head on over to Greatist for the recipe.

Other tasty kale recipes from here…

  • Portuguese Kale Soup
  • Creamy Chevre and Kale Pasta
  • Lemon Cream Spaghetti with Kale and Peas
  • White Bean, Kale, and Pesto Soup
  • Raw Kale and Avocado Salad with Apples, Almonds, and Nori
  • Baked Eggs with Sun-Dried Tomatoes and Garlicky Kale

… and around the blogsophere

  • Creamed Kale with Caramelized Shallots – from Food Network
  • Parsley, Kale, and Berry Smoothie – from Bon Appetit
  • Crispy Baked Kale with Gruyere – from Ezra Pound Cake
  • Kale and Cranberry “Crackers” – from House and Home
  • Coconut Quinoa and Kale with Tropical Pesto – from Cookie and Kate
  • Kale and Ricotta Galette – from My Fair Baking

0 September 24, 2012 Boston

Garden: Roast Eggplant, Pesto, Whipped Goat Cheese, Wheat Berries,

Gardening  season is winding down.  Our raised bed is barely getting 3 hours of sun a day, the last few tomatoes are ripening, and while I’m still hoping for the brussels sprouts to actually produce their sprouts, I’m not holding my breath.  It’s a little bit sad, but we’re already taking notes and daydreaming about everything we’re going to do next year.

This first year of gardening has been a roller coaster, if you can believe me that gardening qualifies as something in which I have a large enough emotional investment to describe it as a roller coaster.  It’s had extremely fulfilling moments – snacking on super-sweet sun-ripened grapes on my way out the door in the morning; moments of defeat – pulling the umpteenth San Marzano off the vine with more blossom rot; and moments of triumph – a flush of new growth on my lovely lemon tree, despite it having been close to death from a mealybug infestation a month before.  Our most successful crop was probably the cucumbers, which took over the raised bed, climbed up and over the 8 foot fence, and produced at least a dozen mammoth cucumbers.  Our least successful?  The broccoli, as it was the only crop that produced nothing at all, despite some hopeful moments early on.

Success or failure, I think it’s safe to say that both Trevor and I derived a lot of satisfaction from the whole experience.  So much satisfaction, in fact, that we’re upgrading.  My dad has (so nicely!) agreed to share the cultivation of his “back 40” with us.  There’s already a sizable vegetable plot, a dozen or so fruit trees, a raspberry patch, well-established grape vines, and blueberries, with plenty of sunshine and room for expansion.  Since my family spends the majority of the growing season in Maine, having us around to take care of the garden means they might get more than one measly peach and a glut of over-sized kale each year, and for us, well… owning land is not something that we are close to accomplishing, so having a spacious plot to play around with is the equivalent of winning the garden lottery.  Needless to say, we’re excited.

We’ve spent the last 7 or 8 Sundays at the Andover garden, getting a handle on things and caring for a fall crop of beans, peas, beets, and carrots.  Spending a few hours outside working in the dirt – sometimes dripping sweat as you shovel and rake, sometimes peacefully pulling weeds from between the carrots – is deeply satisfying.  It’s also a great way to be with Trevor, working quietly side by side, each with our own task but the same ultimate goal.  I’ve wondered once or twice if gardening is just a fad for me – will I still be this enthused next year? – but it seems so natural to work with the earth that it’s hard to imagine moving on.

Plans for next year are a constant source of conversation – should we add a melon bed?  What structures need to be replaced?  Do we want to add more fruit trees? – but for the time being we’re mostly concerning ourselves with clean up and harvest.  In particular, we’ve had a bumper crop of eggplants (which is in no part due to our efforts, as my dad put them in long before we showed up), and I’ve been struggling to eat my share.  I’ve had my eye on a recipe for Lamb and Eggplant Stew with Farro, Parsley, and Harissa in Sunday Suppers at Lucqes for a while now, but every time it comes down to it, I’m just too busy to put together the multi-day recipe.  Instead, I used the flavors of that dish and a little inspiration from Tender to put together this quicker, vegetarian version.  Eggplant gets roasted with a chile-garlic oil, then added to nutty wheat berries, parsley pesto, and a bit of whipped goat cheese.  It’s balanced in both flavor and texture, and makes an interesting and healthy vegetarian main course.  Feel free to play around with the components – would feta be a better counterpart, or perhaps a traditional basil pesto?  Should the wheat berries be dressed in a chile-paste to amplify the heat? – to see what works for you.  And let me know if you try any variations!  Or if you can think of a better name than I could…

Roast Eggplant, Parsley Pesto, Goat Cheese, and Wheat Berries

Serves 3-4.

  • 2 large globe eggplants
  • 1/3 c. + 1/4 c. olive oil
  • 7 cloves garlic, peeled
  • 1/2 tsp harissa or chile powder (may need more or less depending on the heat level of your chile powder_
  • sea salt
  • 2 c. uncooked wheat berries, cooked according to these directions
  • 3 c. fresh parsley leaves
  • 1/4 c. pine nuts or walnuts
  • 4 oz. soft goat cheese
  • 1/2 c. heavy cream
  1. Wash and dry the eggplants, then slice into 1 inch thick rounds.  Salt both sides and set on a baking pan for 15 minutes.
  2. Preheat the oven to 425°F.  In a food processor, blend 6 cloves of the garlic, 1/3 c. oil, and harissa until a smooth paste is formed.  Use a paper towel to wipe salt and liquid from the eggplant slices, then cut the slices into 1 inch cubes.  Brush the eggplant with the chile-garlic oil, coating all pieces, then sprinkle with salt.  Roast for 40 minutes, stirring eggplant pieces about half way through.
  3. Cook your wheat berries while the eggplant is roasting according to directions in link.
  4. Make the pesto: In a food processor, blend 1/4 c. olive oil, remaining 1 clove garlic, and nuts to form a paste.  Add parsley and blend until fully combined.  Taste and season with salt if desired.
  5. Place the goat cheese in a bowl and use a whisk or fork to break it up.  Add the heavy cream, and whisk together until a smooth, thick cream is formed.
  6. Place a scoop of wheat berries in each bowl.  Top with a few spoonfuls of pesto, a scoop of roast eggplant, and a dollop of whipped goat cheese.  Serve hot.

23 September 20, 2012 Breakfast

Pumpkin Cheddar Muffins


September has gotten off to a really busy start.  (Is it OK to say “start” when you’re two thirds of the way through the month??)  Busy in a good way – two trips back down to Durham for recruiting – and for snagging a quick lunch with Marco; a quick weekend in Chicago to run my first ever half marathon and see Steph; a visit from the lovely Phoebe; celebrating the arrival of my friends Dave and Noah in Boston with not one, not two, but three different parties; a tequila-pairing dinner at Lolita with out-of-this-world-good food; visits to Andover to work on the “farm” (more on that soon!); and all the other regular things that make life busy.  I’m not at all complaining, but I am glad that the next few weeks will be a little bit quieter and give me time to enjoy the beginning of my favorite season.

One thing that I’ve been meaning to do since the beginning of the month is make these muffins.  As soon as that crisp note filled the air and pumpkin beers started to line the shelves of every liquor store, I thought about them.  Sweet and savory at the same time, with just the slightest hint of heat from the cayenne, these might just be my favorite muffins ever.  (Well, maybe not better than my mom’s pumpkin muffins… I don’t think I’ve ever eaten less than four of those in a sitting.  Hey, they’re small.  I should get the recipe for you guys.)  These are great either for breakfast – I’ve even used them as the “sandwich” around a fried egg – or for a mid-afternoon snack, with a hot cup of coffee.  The recipe is adapted from Baked Explorations, and makes me think that Matt Lewis and Renato Poliafito might just be geniuses.  In fact, now that it is decidedly baking season again (my coworkers are gonna be so excited), I’m hoping to try a few new recipes from this gem of a book.  Caramel apple cake, anyone?

Pumpkin Cheddar Muffins

Adapted slightly from Baked Explorations.  Makes 12 muffins.

  • 1 c. canned pumpkin puree
  • 3 TBS sour cream
  • 2 eggs
  • 1 stick butter, melted, then cooled slightly
  • 2 c. flour
  • 1 tsp black pepper
  • 1 1/2 tsp baking powder
  • 1/4 tsp cayenne
  • 1/2 c. brown sugar
  • 5 oz. extra sharp or raw milk cheddar cheese, grated
  1. Preheat the oven to 375°F.  Line muffin tin with paper muffin liners and set aside.
  2. Mix together pumpkin and sour cream until evenly combined.  Whisk in eggs and butter until mixture is smooth, and set aside.
  3. Whisk together flour, pepper, baking powder and cayenne until evenly combined.  Whisk in brown sugar, then pour wet ingredients into dry and stir to combine.  Batter will be fairly thick, not runny.  Stir in 3/4 of the grated cheese.
  4. Spoon batter into muffin cups, filling to the top.  Sprinkle each muffin with some of the remaining cheese.  Bake for 17-20 minutes, until golden-brown on top and a toothpick inserted into the middle comes out clean of any batter (it may have melty cheese on it, but you don’t want still wet batter).  Let cool for 5 minutes, then remove from pan.  Serve warm!

2 September 12, 2012 Breakfast

Greatist Collaboration: Chocolate Blueberry “Decadence” Smoothie

When the folks over at Greatist asked if I’d be interested in coming up with a healthified version of a chocolate milkshake to celebrate National Chocolate Milkshake Day, this recipe immediately popped into my head.  From Lucid Food, which I reviewed earlier this year, this “surprisingly refreshing” (to quote the bf) drink manages to mimic a chocolate milkshake without the primary ingredient – chocolate ice cream.  Instead, it uses cocoa powder and skim milk for a super chocolaty milk base, made frothy and cold by the addition of frozen blueberries.  Chocolate and blueberries may not be a classic combination, but I’m a fan, as evidenced by this chocolate and blueberry galette I made a few years ago.  Finished off with cinnamon, nutmeg, vanilla, and a touch of maple syrup, this smoothie makes a perfect healthy dessert or post-workout treat.

In other healthy, Greatist-worthy news, I finished my first half-marathon this past weekend!  Given that I only had 6 weeks to train, I’m quite proud of myself (and Trevor too).  Point of pride number one – I finished, and I only walked for about a minute, less than on any of my (much shorter) training runs.  Point of pride number two – my time, 2:03:51, was way faster than expected, and not too shabby at all.  It helped that I ran the first 7 miles with Trevor, and also that it was a beautiful, slightly breezy morning running up Lakeshore Drive with stunning views of Chicago just after sunrise.  I won’t lie, the last few miles felt like they took a year, my brain buzzing with that singular focus that exhaustion brings and my lower shins and knees twinging with every step, but I did it!  The next challenge?  Keeping up my mileage base and staying injury-free so I can do even better at the Newburyport half I’m running with my mom in 2 months.  Also losing 10 pounds so that I can be just that much faster.  You’d think that it would be super easy to lose weight when you more than double the amount of running you’re doing every week – it’s not.  Maybe the trick is swapping out the post long-run Sunday brunch for something lighter – perhaps a chocolate blueberry smoothie?  I’ll keep you posted.

Head on over to Greatist for the smoothie recipe.  And while you’re over there, let me know if you find any half-marathon training inspiration!

0 September 10, 2012 Boston

M3 Davis Square and a Pickled Watermelon Salad

A few weeks ago, my 9 mile training run was rewarded with a special treat – a tasting brunch at M3 Davis with the Boston Brunchers.  It had been a while since I last got together with the Brunchers for an event – the last one I joined was for the Farm School, back in March.  When I saw that they were headed to the new Southern place in Davis, I signed up right away – I’d really been wanting to try this place, and it’s only a 10 minute walk from my house.  Which was about all I could manage after my run, anyway.

Somerville has had a spat of awesome new restaurants opening in the past 6 months or so: the new falafel bar, the tequila bar and Mexican restaurant Painted Burro, the speakeasy style Saloon, and the surprisingly classy i-Yo cafe and fro-yo shop, to name a few.  Actually, Davis in general feels much hipper, cleaner, and more bustling than it did even a year ago – it’s definitely a good place to be.  M3 joins the ranks of classy Davis eateries as a representative of the classic “Meat and Three” concept that grounds Southern dining.  Although it has a small interior, it’s bright and trendy, with most of the surfaces covered in chalkboard paint – bring your creative side with you as there’s plenty of chalk provided (I could only imagine this gets really fun when settling in for a night of drinking).  The atmosphere is super relaxed – fun, young, and casual.

The folks at M3 served us a little bit of what seemed like practically everything on their brunch menu.  Pickled watermelon and goat cheese salad, scotch quail eggs, pomegranate mimosas, chicken and biscuits, fried chicken and cherry-pecan waffles, blueberry-ricotta pancakes, bloody mary’s, texas french toast with chocolate-covered bacon… by the time we left M3, I could barely move.  In a good way, if that’s possible.  I didn’t love all of the dishes – the pancakes, for instance, were a little dry (but then again, my pancake standards are pretty high), and the scotch egg was nothing to write home about, but the bloody mary, french toast, and chicken and waffles were all delicious.  Not delicious in an innovative high-end way, but delicious like your mom just made you a bunch of your favorite breakfast foods, and it’s a cool fall Saturday, and you’ve got all day in front of you to play, and you just can’t help taking seconds of everything.  If that makes any sense at all.  I guess what I mean is it’s good homey food, with just a little bit of twist to make it interesting.  This time around we received brunch gratis, but the price point is about what I’m looking for, with most of the brunch items in the $8-12 range.  I’ll likely be heading back soon – I think it’s going to make a great neighborhood spot.

Since I know most of you aren’t from around here, and because restaurant reviews aren’t really my niche anyway, I decided to recreate one of our brunch treats to share with you.  This pickled watermelon salad wasn’t my favorite dish (although I did like it quite a bit), but it was the one I felt I could recreate most reliably (the perfect bloody mary mix was going to be a lot more challenging).  This is a light and refreshing summer starter, with a bit of tang and lots of juice.  My version isn’t quite as good as the one at M3 – but it’s a starting point!

Disclaimer: M3 provided us with a tasting brunch free of charge, but all opinions included here are my own.

Pickled Watermelon and Goat Cheese Salad

Pickled watermelon recipe adapted from Bon Appetit.  Serves 4.

  • 1/4 of a large seedless watermelon, cut into 1 inch cubes (about 3 c. cubes)
  • 1 small shallot, minced
  • 1/4 tsp ground coriander
  • juice from 2 medium limes
  • 1 tsp honey
  • 1/4 c. white wine vinegar
  • 1/4 c. olive oil
  • kosher salt
  • black pepper
  • 1 large cucumber, peeled and thinly sliced lengthwise
  • 4 oz. fresh goat cheese
  1. Make the dressing: vigorously whisk together honey, vinegar, olive oil, shallot, coriander, lime juice, and honey.  Taste, and season with salt and pepper as desired.  Pour over cubed watermelon in a large bowl, cover, and refrigerate for 1 hour.
  2. Lightly salt cucumber slices and place in a strainer over a large bowl.  Let sit for 20 minutes, then wipe dry.
  3. To assemble salad, place watermelon cubes on each of 4 plates, then top with slightly curled slices of cucumber.  Dot each plate with 1 oz. goat cheese, then sprinkle with fresh black pepper.


0 September 4, 2012 Boston

Summer Bucket List Update and a Fig and Almond Tart

As the official end of summer is upon us, it’s high time I post an update on my summer bucket list from June.  While in my mind summer’s not over until tomatoes leave the farmer’s market and the water’s too cold to go swimming, it is true that the number of nice days left in the season is quickly shortening, and I better make the most of what’s left!

  1. Go to the Cape.  While I haven’t done this yet, I haven’t given up on it, either.  Shoulder season on the Cape might even be nicer than the height of summer, who knows?
  2. Pick berries.  Blueberries, raspberries, blackberries, even a few straggler strawberries on my landlord’s tiny plants – berries have been picked.  Sadly, the backyard raspberry patch season was ended early by raspberry fruitworms – I will get you next year, worms.
  3. Learn to grill.  I did light the grill one or two times… and even flip things over on it… but I still haven’t done it myself, so I’m not checking it off yet.  What are some recipes that will entice me to grill?
  4. Make Cassis.  Success!  After much searching, Trevor secured enough black currants to make a batch of homemade creme de cassis and it came out perfectly.  I’m so glad I have enough to last me through several evenings of Kirs.
  5. Visit the Harbor Islands.  Ditto the Cape.  We actually tried to go to the Harbor Islands – as in, we went all the way to the dock, waited in line for tickets, only to find that tickets were mostly sold out for that day.  Thankfully, the ferry keeps running on weekends until October 8th, so perhaps an early fall picnic is in order.
  6. Ride my bike.  You would think this was an easy one, right?  Wrong.  Apparently I have some sort of anxious relationship with my bike – I own a bike, but have managed to draw out the process of getting ready to ride it for over a year.  First the lock, then the helmet, then finding a pump to put air in the tires – easy things, took me forever.  Anyway, as of today it’s all set to go – I haven’t actually gotten on it yet, but I’m for sure doing it this week, so I’m crossing it off anyway.
  7. Train for a half marathon.  I’m 100% surprised that this is one of the things I actually managed to accomplish this summer.  When my friend Steph suggested that Trevor and I join her and her boyfriend in Chicago for a half, I said yes and registered without too much thinking ahead, only to realize immediately after that I had only 6 weeks to whip my butt into shape.  But with Saturday’s 10-mile run under my belt, I’m feeling almost ready to hit the pavement – next weekend!  If that one’s a bust though, I’ve a bit longer to keep training for the Newburyport half with my mom – which isn’t until the beginning of November.
  8. Do a producer interview.  Still an idea I like, just haven’t gotten around to it!
  9. Plan a trip.  Fail, Katie.  We are going to Chicago, but that’s not exactly the trip I had in mind.  I’ll keep you posted.
  10. Make at least 3 kinds of ice cream.  Well this one was super easy – making and consuming ice cream has never been much of a challenge for me.  I started the summer off with cherry-chocolate ice cream, proceeded to Bailey’s fudge ripple ice cream, and most recently popped a batch of super-easy and surprisingly healthy plum sorbet in the freezer.  Now that pumpkin beer has started to show up in stores, I’ve had a custardy pumpkin ice cream on my mind – ice cream has no season!

So 5 for 10.  Not too terrible, not too great.  It’s still possible I’ll finish all of them before the end of September, but if not, it was fun to do the things I did.  And as for the tart you’re seeing here, it’s included because the arrival of figs at the market is a sure sign that summer is slowly shifting into fall.  Figs aren’t my favorite fruit, but even I liked this custardy almond tart with caramelized figs and almond brittle enough to have a big slice.  After that, I handed it over to Trevor to finish off our first dinner in his new house.

Fig and Almond Custard Tart

Adapted from Sunday Suppers at Lucques.  Serves 8.

For the pate sucree (crust):

  • 2 TBS cold heavy cream
  • 1 egg yolk
  • 1 1/2 c. flour
  • 3 TBS sugar
  • 1/8 tsp salt
  • 1 stick cold butter
  • 2 TBS ice cold water
  1. Whisk together flour, sugar, and salt in a large bowl.  Cut butter into 1/2 inch chunks and add to flour mixture.  Use a pastry cutter to cut butter into flour until dough resembles coarse meal, with even pieces about the size of a pea.  In a small bowl, beat together egg yolk and cream until even in color.  Slowly drizzle egg mixture into dough while stirring with a wooden spoon.  Then add ice water 1 TBS at a time, stirring at the same time.  At this point, dough should hold together loosely when pressed.
  2. Wrap dough in plastic wrap and chill for 10 mintues.  Remove from fridge and turn out onto a lightly floured surface.  Roll out into a 10 inch circle about 1/4 inch thick, then carefully lift over top of tart pan.  Press crust into edges of tart pan, and chill crust in pan for 1 hour.
  3. Preheat oven to 400°F.  Prick the bottom of the chilled crust 4-5 times with a fork.  Line chilled tart crust with parchment paper, then fill with pie weights.  Bake for 15 minutes, then remove parchment paper and pie weights, and bake for another 15 minutes, until golden brown.  Set aside to cool for at least 20 minutes.

For the filling:

  • 18 black mission figs, de-stemmed and quartered
  • 3 TBS butter, divided
  • 1 tsp vanilla extract
  • 10 TBS sugar, divided
  • 1/2 c whole blanched almonds
  • 2 eggs
  • 1 c. heavy cream
  • 1 tsp almond extract
  • 1 TBS cognac
  1. Caramelize the figs: add 2 TBS butter to a large frying pan and heat over medium heat.  When butter begins to foam, add 3 TBS sugar, then swirl/stir until sugar has dissolved.  Add quartered figs, and cook, stirring, until figs have released their juices and are coated in sugar.  Remove from heat and stir in vanilla extract.  Set half of the fig mixture aside.  Spread the other half over the bottom of the pre-baked tart pan.
  2. Wipe out the pan used to caramelize the figs and add remaining 1 TBS of butter and 3 TBS of sugar and stir to dissolve.  Add almonds, and caramelize, stirring frequently, until almonds are a toasty golden brown and sugar has begun to caramelize on them.  Remove from pan onto wax paper and let cool, then break almond brittle into bite sized pieces.
  3. In a large bowl, whisk together eggs, remaining 4 TBS of sugar, cream, almond extract, and cognac until evenly combined.  Pour custard over fig mixture in tart shell, then bake for 30 minutes (still at 400°F), until custard is set and slightly puffed.  Let cool on a rack for 10 minutes, then top with remaining fig mixture and almond brittle.  Serve warm or after chilling in the fridge.

0 August 29, 2012 Breakfast

Greatist Collaboration: Breakfast Polenta with Honeyed-Yogurt

The raspberries at my parents house are out of control.  It’s an unruly patch out way behind the house, that’s difficult to get into but so worthwhile.  Picking from that patch is my ideal berry picking experience – fingers stained red, jammy berries just barely this side of overripe, some already with a hint of yeasty fermentation, easily picking quarts of berries at a time, taking home just enough to last a week, until the next time I’m there.  A precious treat the rest of the year, raspberries now adorn most breakfasts and desserts – cereal, oatmeal, smoothies, ice cream, cake – and this breakfast polenta.

A steaming bowl of creamy polenta, a handful of fresh raspberries, a cup of hot coffee… as we get into the cooler mornings of fall, a hot breakfast while wrapped up in your favorite sweatshirt becomes infinitely appealing.  In fact, I can’t get enough of the weather right now: fresh, chilly mornings followed by warm, dry days… there’s a reason fall is my favorite season!

Although I’ve always thought of it as a dinner food, polenta is a filling and satisfying way to start off your day.  During the week, 1/2 a cup of instant polenta, some skim milk, and a few minutes of stirring gets you a hot breakfast that still gets you to work on time.  On the weekend, use traditional polenta and whole milk for a creamier, more luxurious version.  Inspired by Ancient Grains for Modern Meals, I topped this batch with greek yogurt, honey, and raspberries; the next day, I took the leftovers in a savory direction, adding some shredded cheddar, chopped basil, and a fried egg.  Both were delicious and kept me full until lunch – which can be a challenge!  Head on over to Greatist for the recipe, and give it a try.

  • « Go to Previous Page
  • Go to page 1
  • Interim pages omitted …
  • Go to page 38
  • Go to page 39
  • Go to page 40
  • Go to page 41
  • Go to page 42
  • Interim pages omitted …
  • Go to page 57
  • Go to Next Page »

Primary Sidebar

Subscribe!

Get creative recipes and menu ideas delivered straight to your inbox.

Most Popular

A House // Sweet Potato and Coconut Milk Soup with Brown Rice and Lentils

Monthly Fitness Goals: July // Homemade Spinach Wraps with Chopped Greek Salad

A New Job // Classic Seven-Layer Bars

Butternut Squash Carbonara with Fried Sage and Caramelized Onions

Happy Birthday, Trevor! // Peanut Butter Fudge

Cookbook Review and Giveaway: Home Made Winter

Drizly

Please note!

Full disclosure: if you purchase anything at Amazon using the above links or any other links to Amazon on this site, I will receive a small commission. Just so you know!

Copyright© 2025 · Cookd Pro Theme by Shay Bocks

This site uses cookies: Find out more.