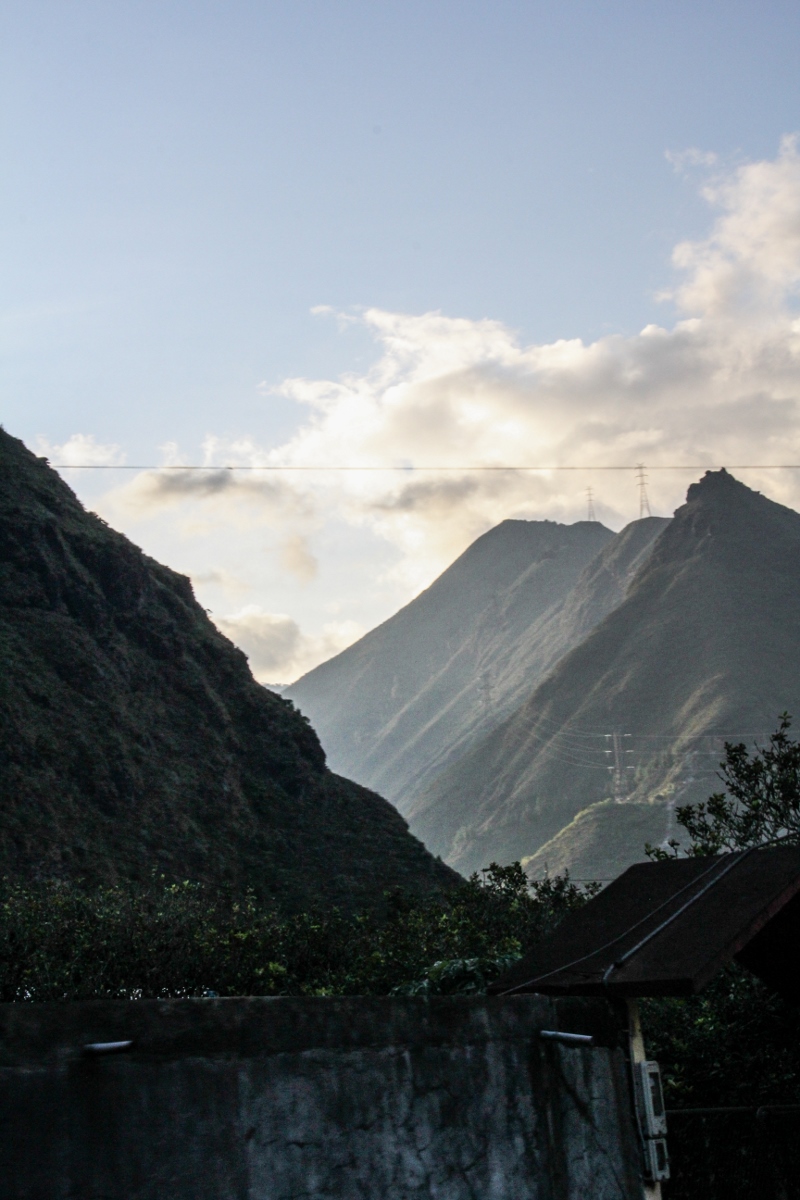
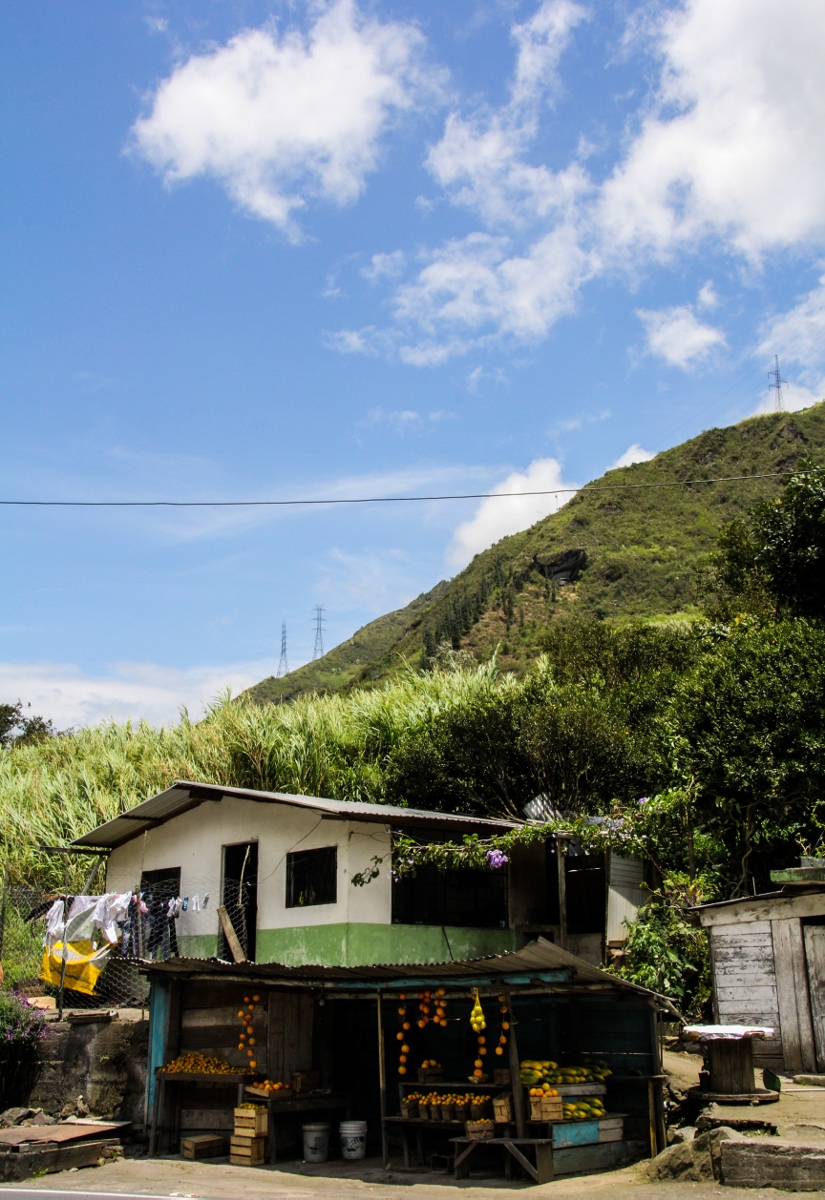
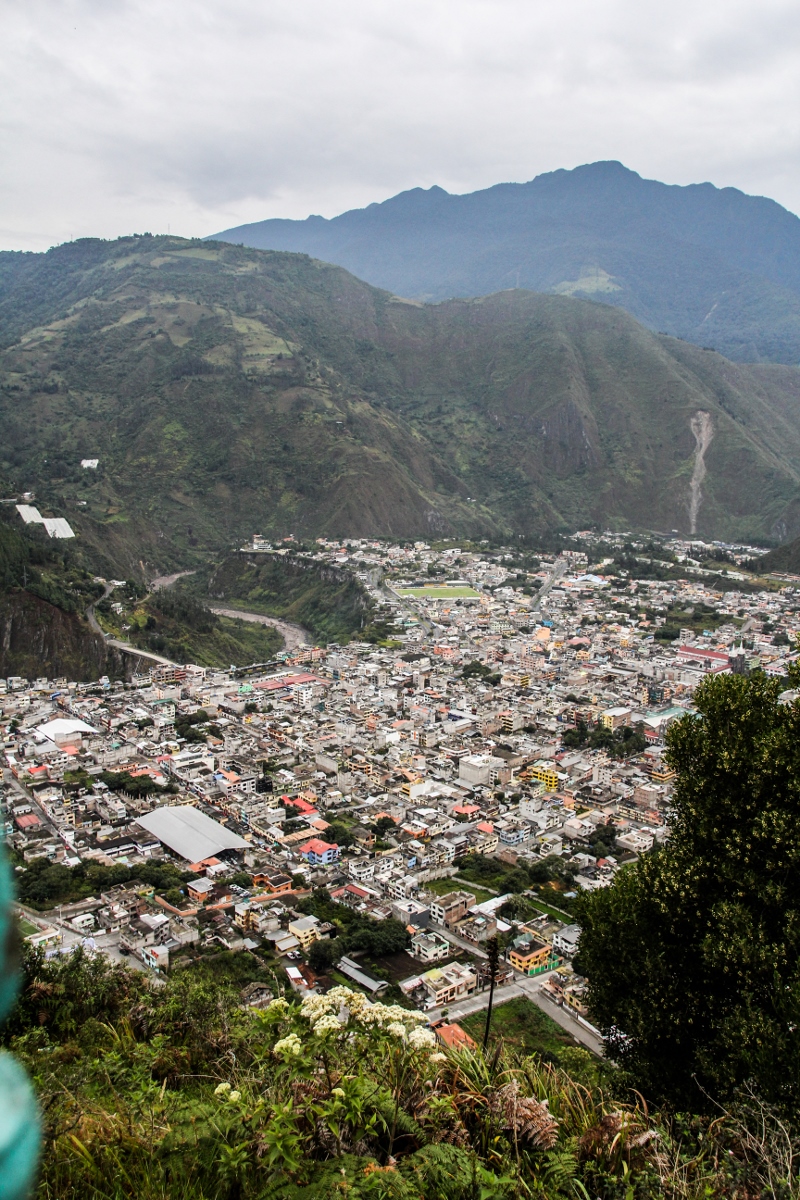
Town of Baños
We spent the third leg of our trip to Ecuador in Baños, a small town nestled between mountains that’s a hotspot for adventure tourism and hippie expats. It has a laid-back party-town vibe, and it was definitely the most touristy stop on our trip, but not in an obnoxious way – it’s a town where tourism just feels like a lifestyle. There’s a lot to do in and around Baños: hiking, biking, rock climbing, rafting, ziplining, etc., and we only got a small taste of the town and the adventures it has to offer in our two days there, but I would definitely go back for more. Right after arriving we headed to the town hot springs, which were super-crowded and a little grungy, but with very hot pools and a gorgeous view of the waterfall running right next to it. I found the springs a little stressful because they were so busy, but for an entry fee of $2, it’s worth giving them a try. After a quick soak and a shower we headed to dinner at Casa Hood, where I was surprisingly excited to eat “gringoized” food – I had a plate of fried eggs with potatoes, black beans, salsa and avocado, basically my ideal meal at any time of day or night. They also had real espresso drinks and a smoothie bar – I was tempted to go back in the morning for a green smoothie, but figured the fresh fruit juice at our breakfast buffet was probably enough sugar for one morning. Trevor was still really sick at this point and sleeping in the hotel, so we didn’t linger for too long, but it was a fun little restaurant.
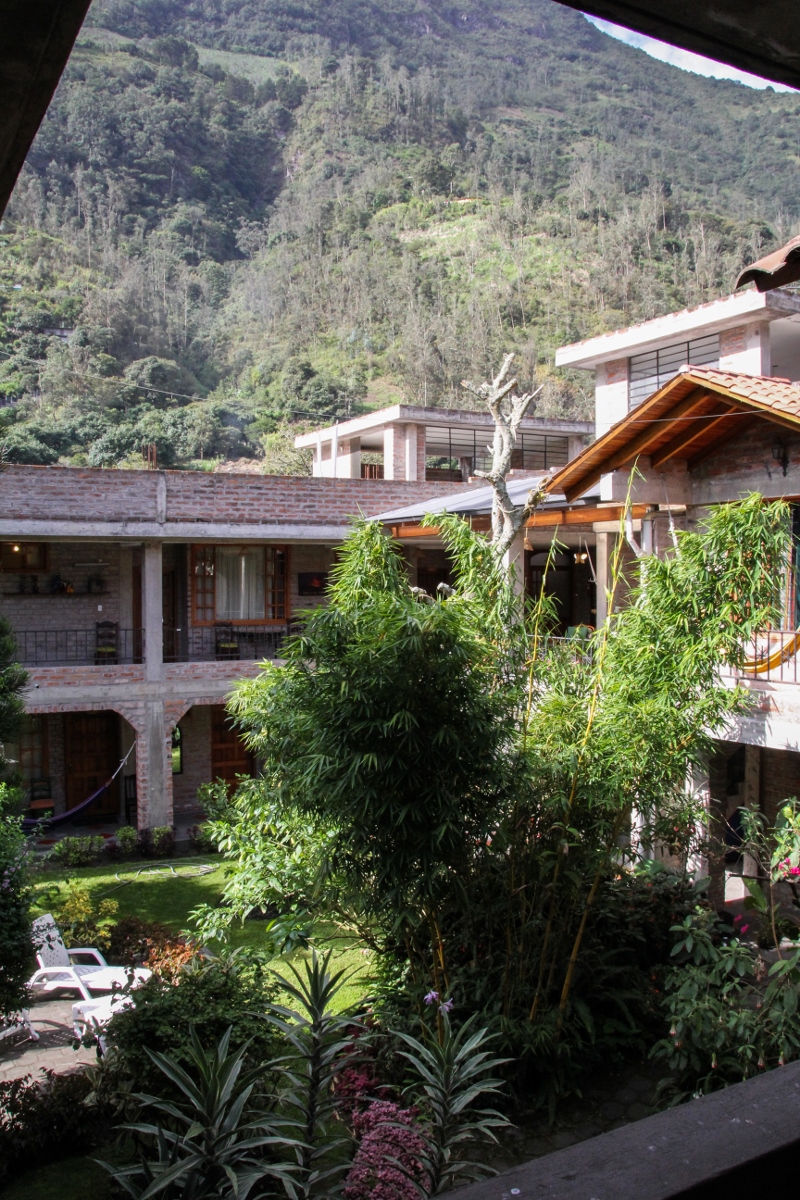
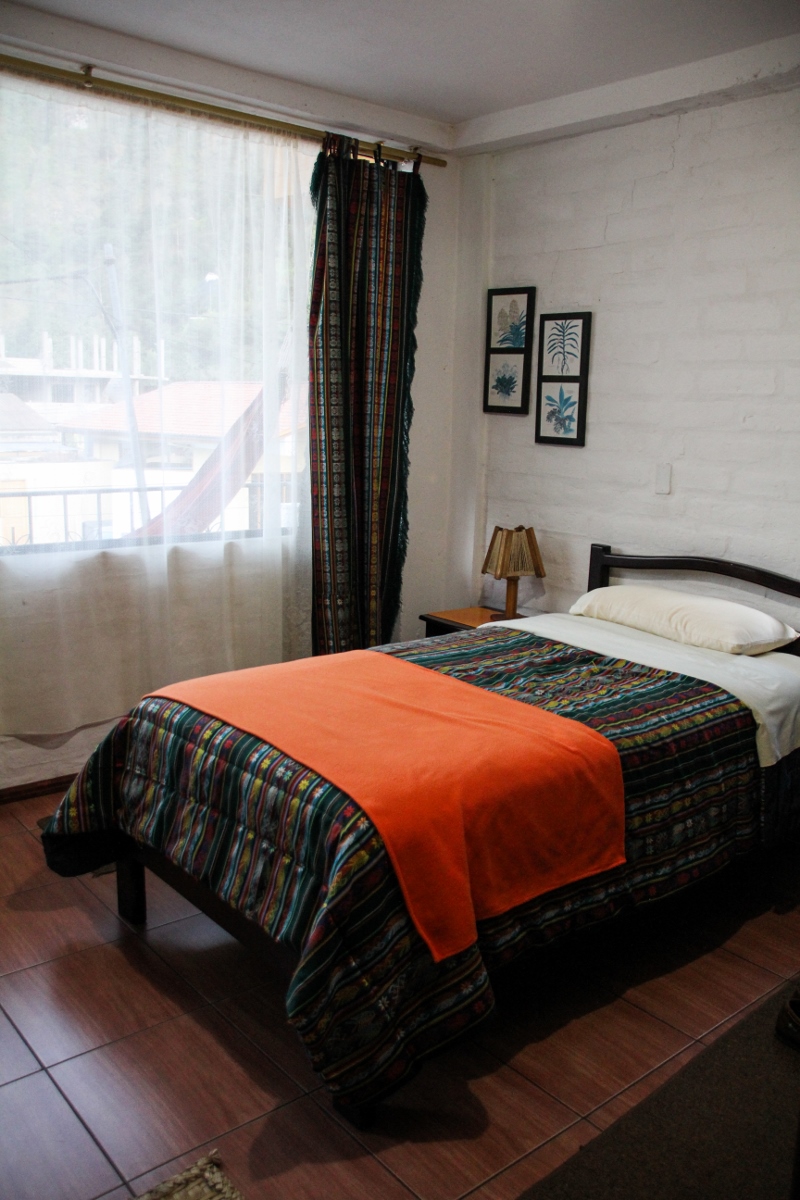
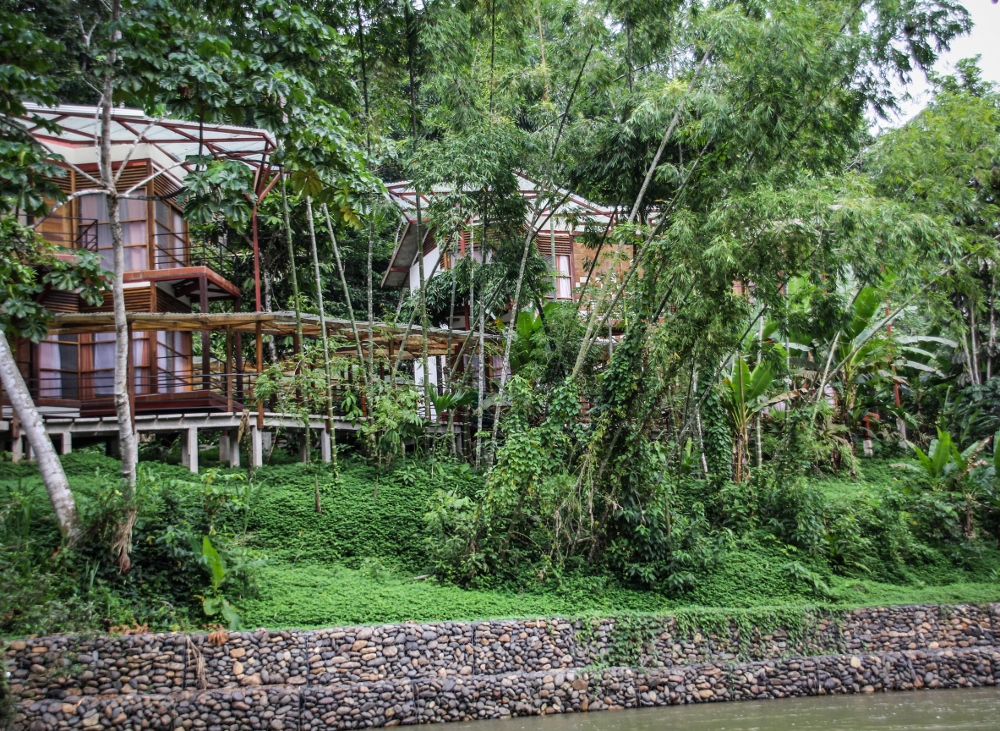
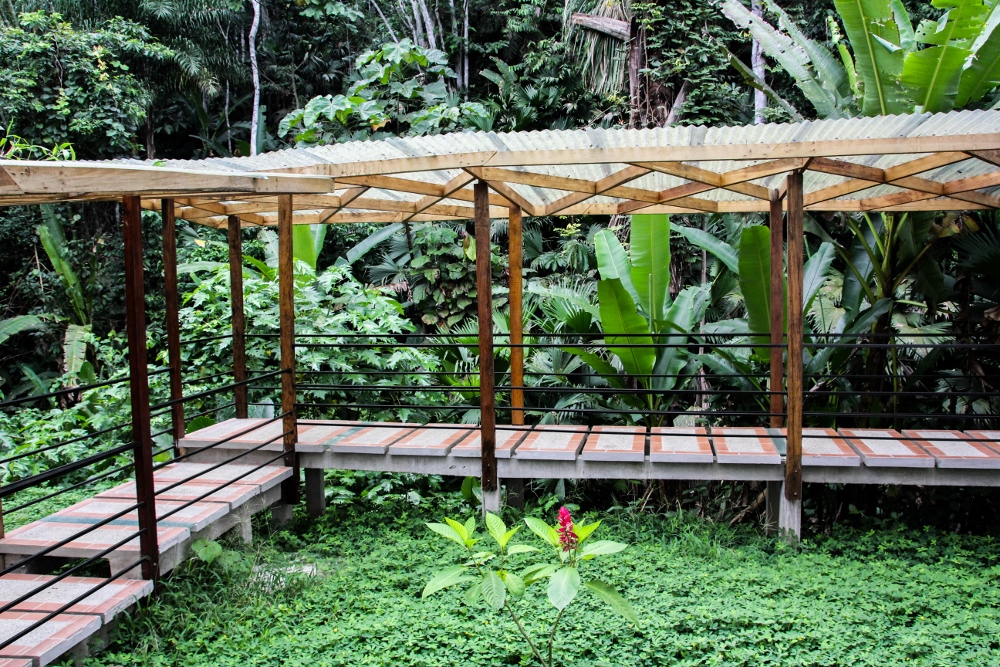
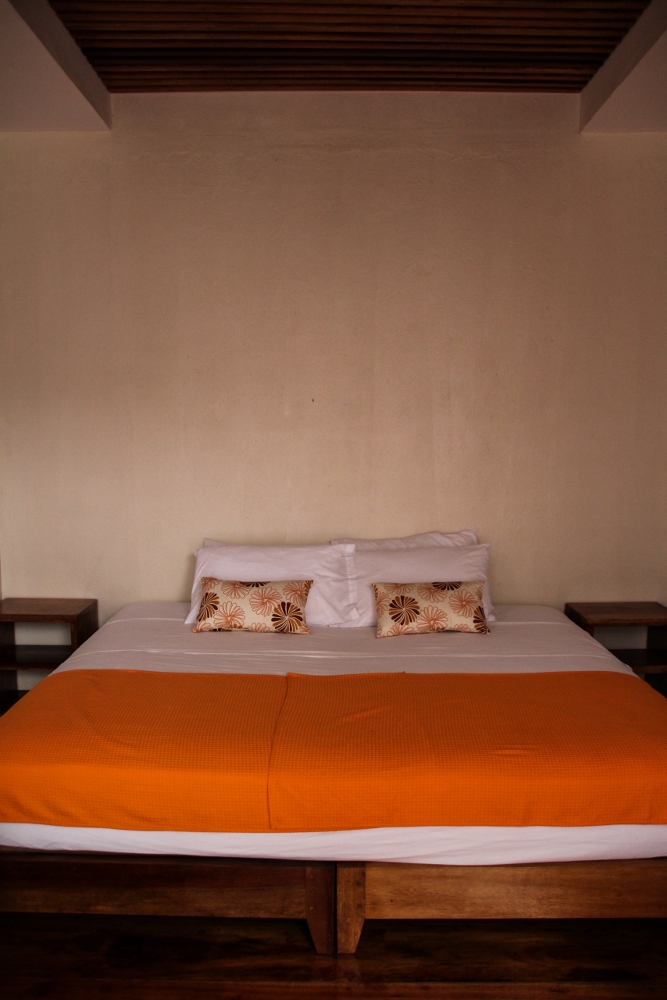
Hotel La Floresta
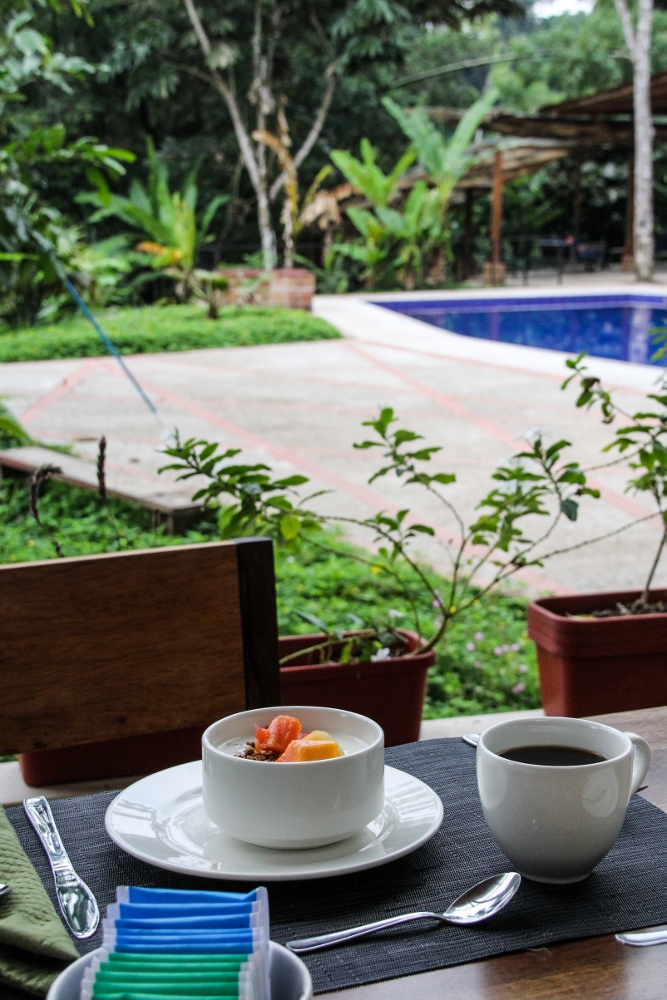
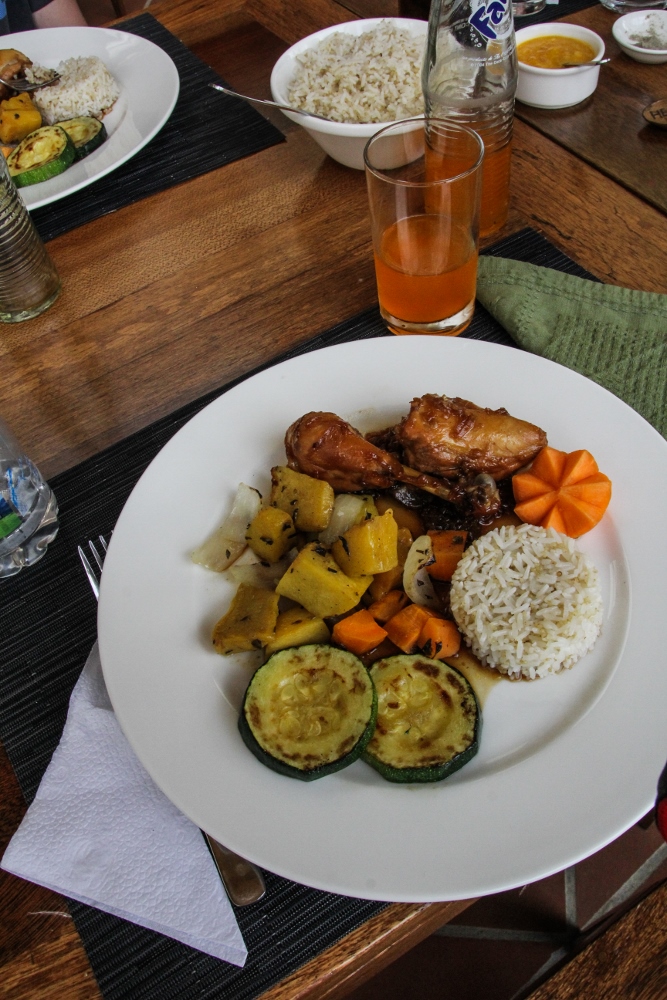
During our short time in Baños we stayed in Hotel La Floresta, a modest but comfortable hotel on the edge of town (it’s a small town). The rooms were simple but comfortable enough, and I liked our little balcony with its woven hammock. The hotel had an open courtyard design with a beautiful interior garden, and it was really pleasant to sit in one of the alcoves and chat – in fact, we did just that with a bottle of wine and a few surprisingly good local cheeses instead of going out to dinner our second night. Like everywhere we stayed, breakfast was plentiful and delicious, the fresh fruit juices and strong coffee (always served with cocoa!) being a highlight. I’d recommend it for anyone looking for reasonably priced but still comfortable accommodations in town.

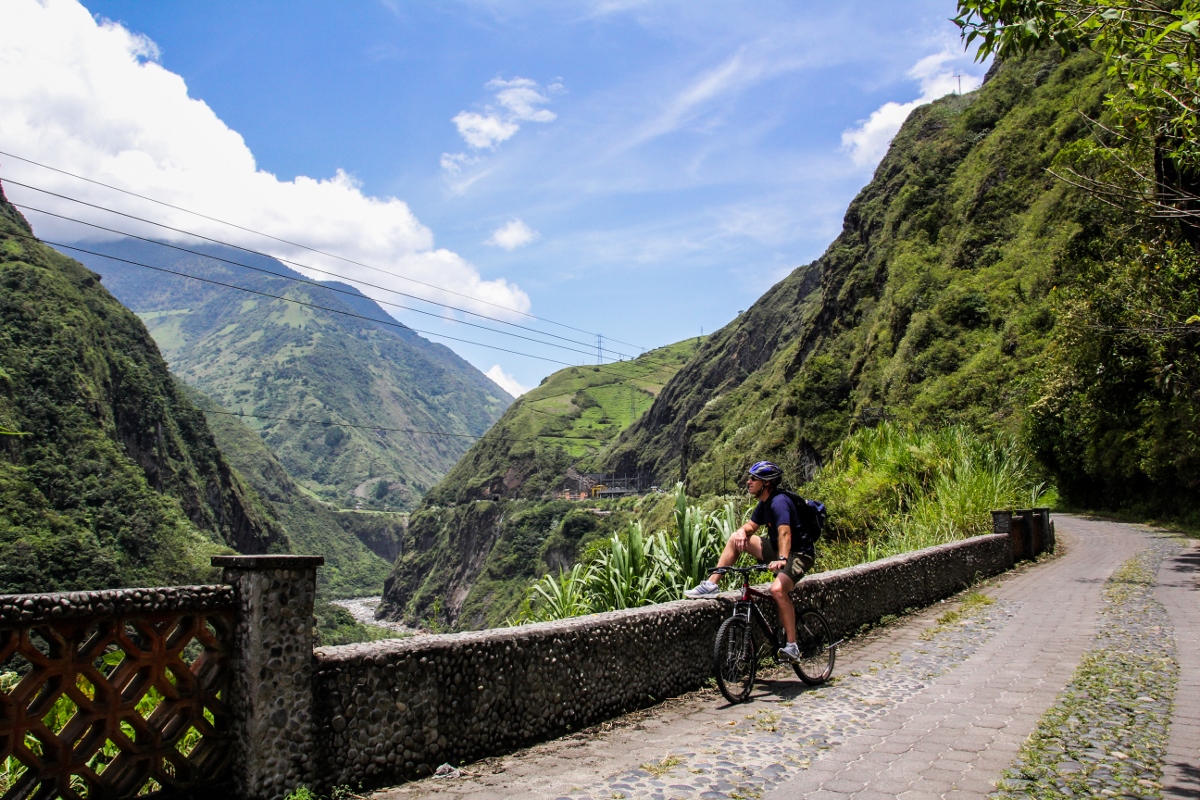
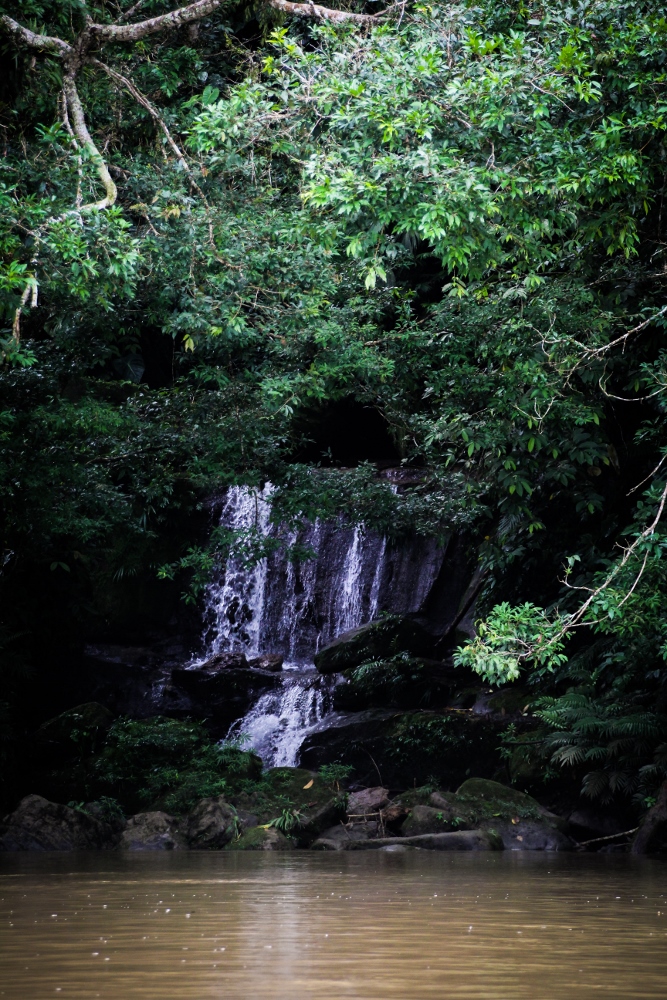
Route of Waterfalls / Ruta de Las Cascadas
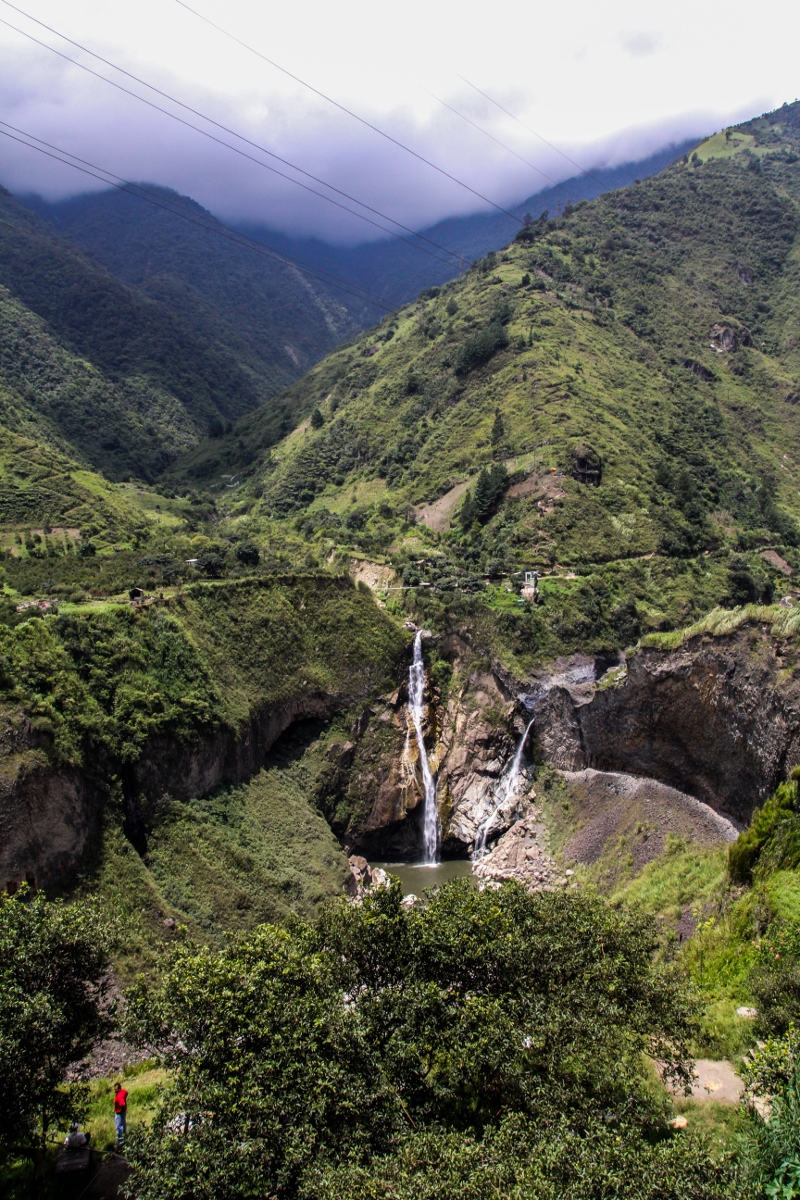
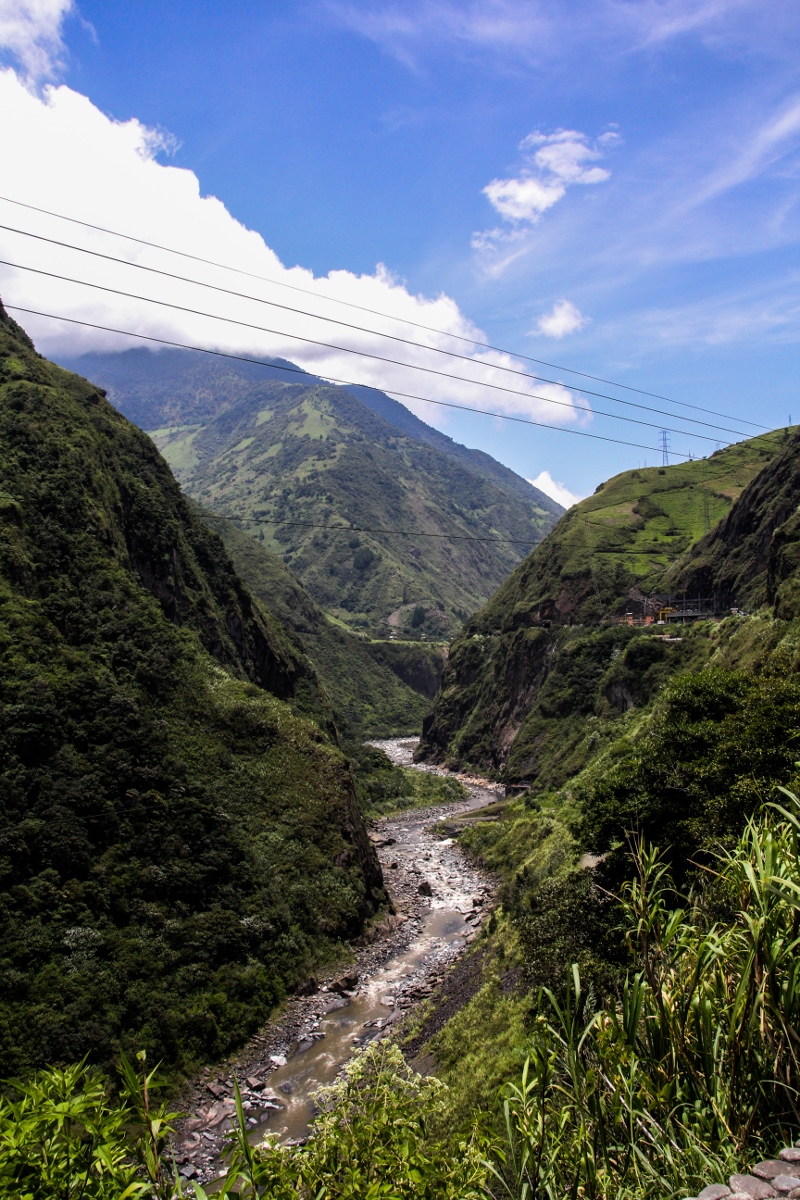
The highlight of our time in Baños, and perhaps even of the entire trip for me, was the bike trip we took along the Route of Waterfalls. It was a gorgeous morning, the only truly sunny day we had for the whole trip, and the views the whole way were absolutely breathtaking. The biking is a little precarious, since you’re biking along the shoulder of a busy two-lane highway for about 70% of the time, so it’s not for the faint of heart. I’m not a very confident biker, though, and I never felt unsafe – so I think as long as you’re expecting to be on a busy road, you’ll be fine. And when you’re off the road, on an old cobbled path that winds along the edge of the mountain, it’s amazing. It took us about 3 hours to do the whole thing, stopping frequently to take in the views of the numerous waterfalls you pass, and for a longer break to take a cable car across one of the larger gorges.
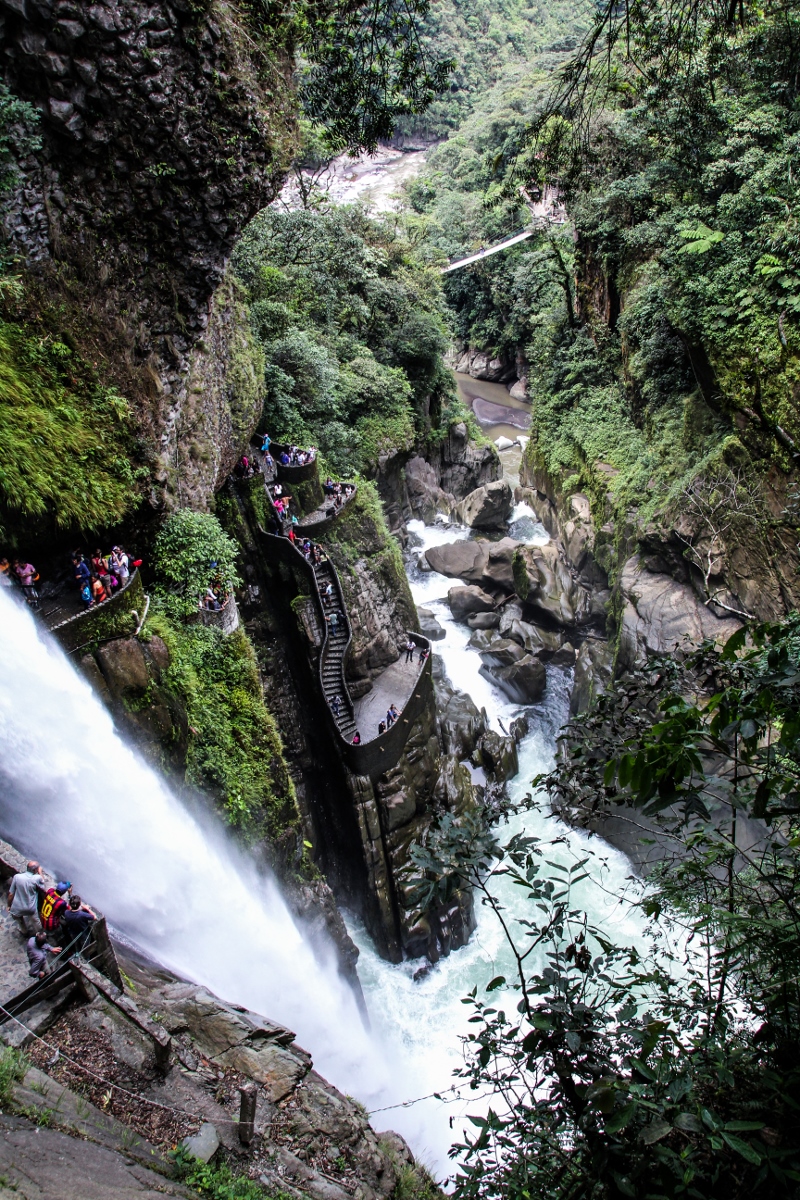
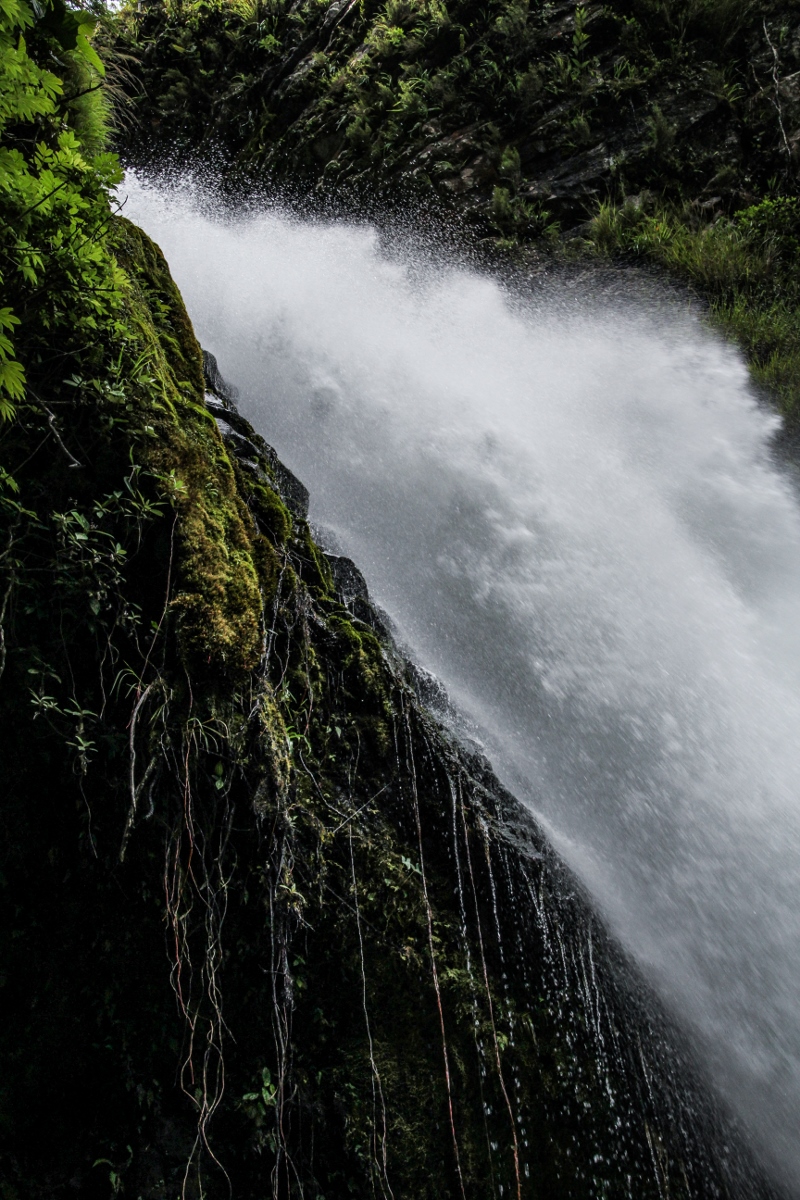
El Pailon del Diablo
At the end of the Ruta de las Cascadas you reach the big attraction – El Pailon del Diablo, a huge, beautiful waterfall that’s been built up with staircases and wooden bridges so that you can get right up close to the pounding falls. We spent about an hour hanging out at the waterfall, which is reached by an easy walk down a well-maintained path (and left by a not-so-easy walk back up). It was really an awe-inspiring sight, and worth the short trip from Baños even if you aren’t up for the biking portion. A little town has sprung up around the waterfall, and we had a late lunch at a little hotel/restaurant in town called Miramelindo – I had potato and avocado soup with chocho salsa, a fresh blackberry milkshake, and a giant burrito, and it pretty much hit the spot. After lunch, we threw our bikes and ourselves in the back of a canvas covered flatbed truck for a ride back to town, which was far more harrowing in my opinion then being a biker on the road.
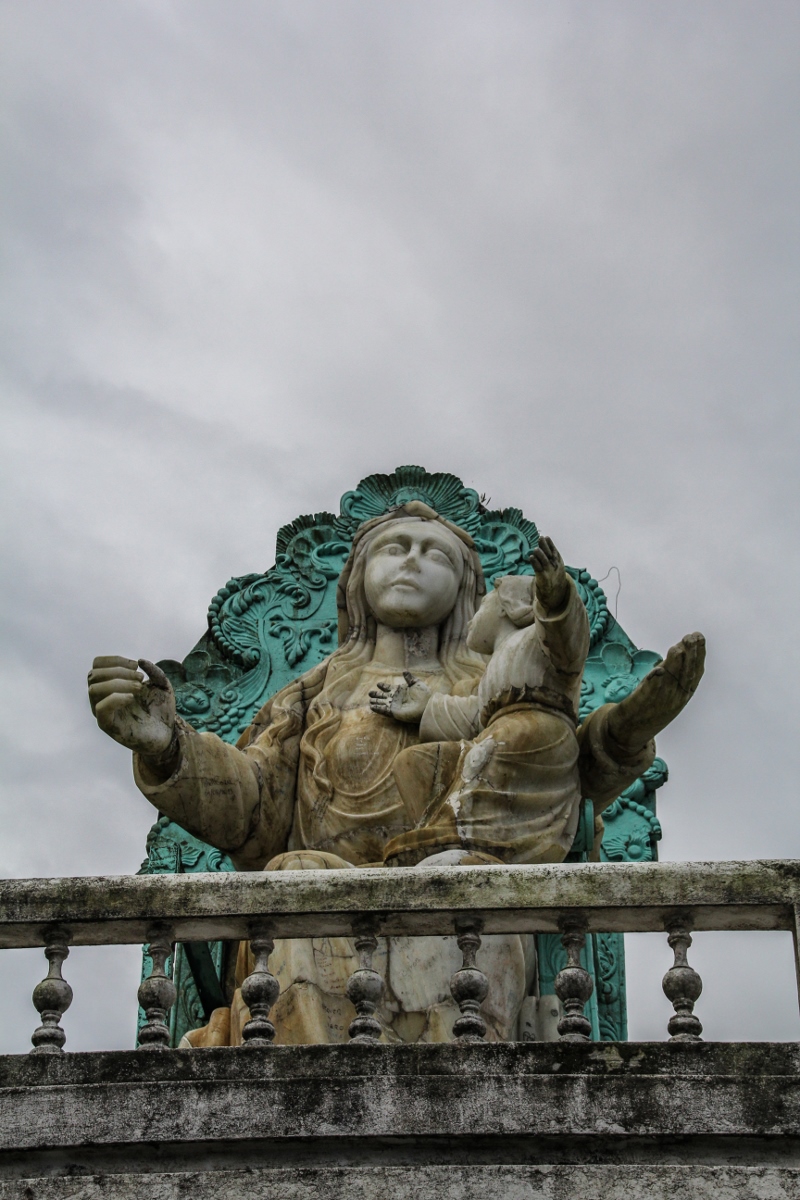
El Virgen
We didn’t get to do much hiking while we were in Baños, but I did convince my parents and Trevor to get up early our last morning and hike the 600+ steps up to the statue at El Virgen. Two friendly stray dogs decided to join us on our walk and impressively made it all the way up and back down again without leaving our side. I’m not really a dog person, but these had to be the friendliest and least needy stray dogs ever. It made for a memorable walk. It’s not the prettiest hike, but it’s certainly a good way to get your heart pumping and there is a great view of the town and surrounding mountains at the top. If you want, you can continue your hike from the statue and loop around to some other viewpoints around the town, but we had to get back for breakfast and our next adventure.
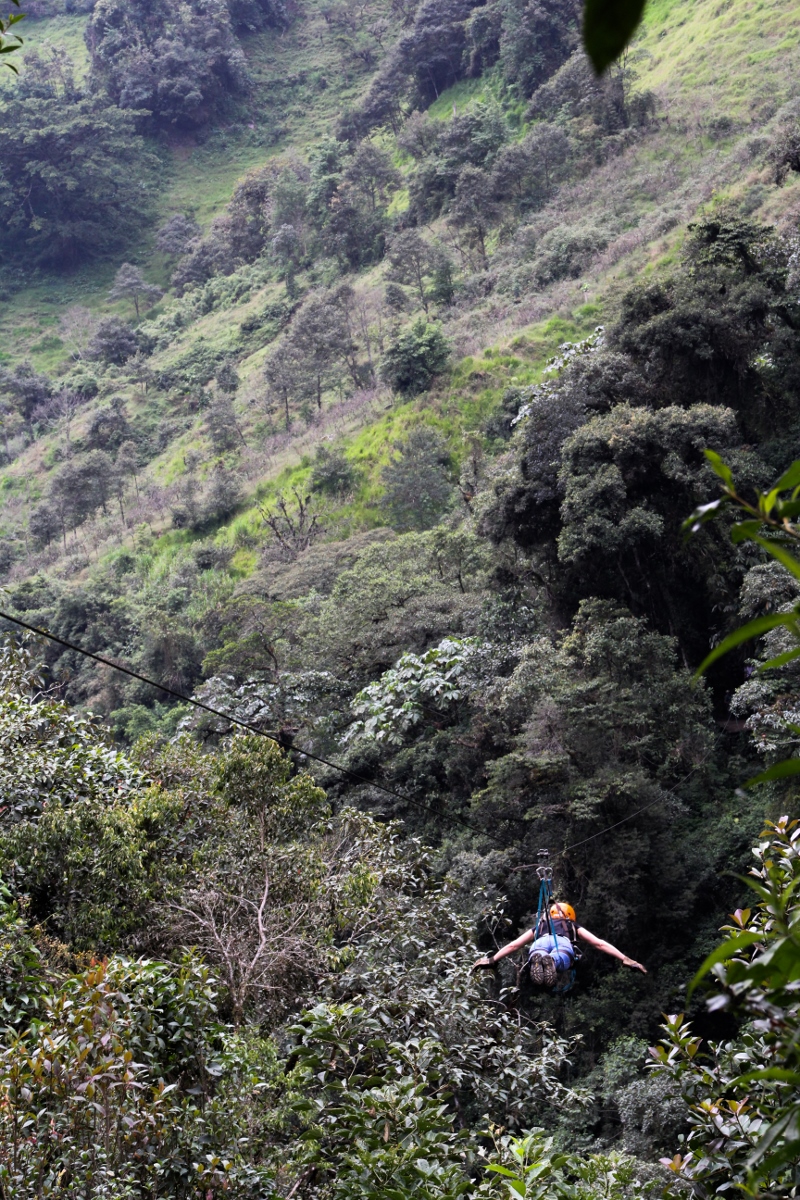
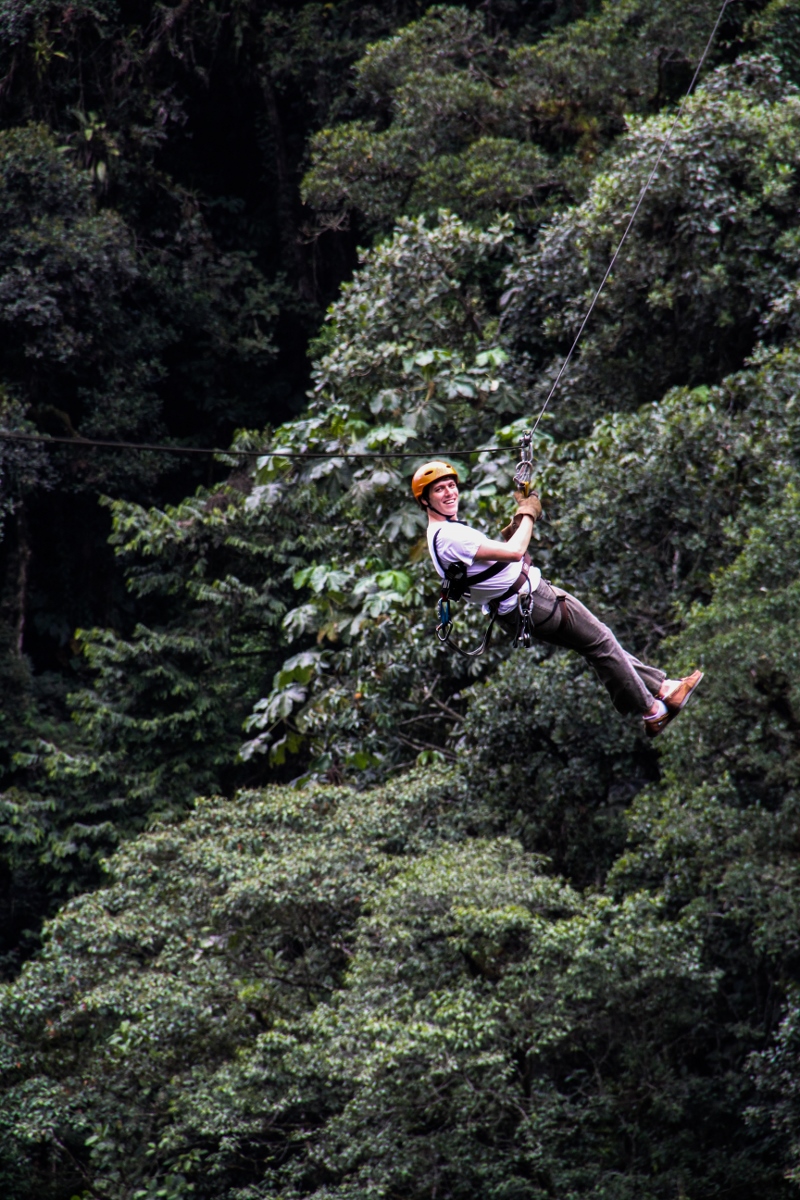
Ziplining at the Canopy
On our way out of Baños towards Cotopaxi, we stopped for one last jungle adventure: ziplining at a place called The Canopy, which was about 20 minutes out of town and well up the mountainside, but doesn’t seem to have a web presence I can direct you to. Heights are not my strong point, but I convinced myself that I would at least try it – since there were 6 different segments of the route, crossing back and forth across the river with short hikes in between, I knew I could stop after the first two short segments, if I wanted. I actually felt really safe – the equipment and cables were seriously heavy duty and the guys helping us were really cautious and obviously knew what they were doing. Still, I didn’t love the short segments, so was pretty sure I wasn’t going to love the 500m segments, so I designated myself the official photographer while my family and Trevor finished the course. If you’re into ziplining, this is definitely the place to go – much more pleasant than the terrifying-looking one that we rode by on our bikes!

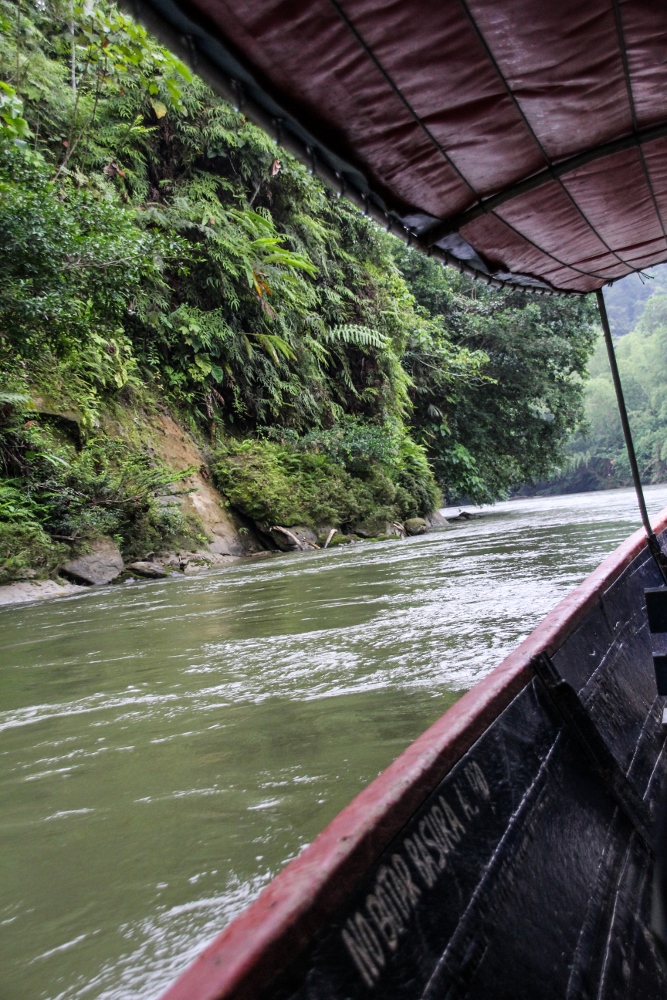
Papallacta Hotsprings
We actually stopped at Papallacta on our way from Quito to the Amazon, before we made our way to Baños, but the climate there was much more similar to Baños than the Amazon, so I’m including it here. Papallacta is a small village with natural hot springs, and there’s a very clean, very nice resort at the top of the town. We spent a few pleasant hours lounging in the pools, enjoying the tropical landscaping, and admiring the views of the surrounding mountains. It’s a really cool spot, and well worth the $7 admission fee. We also enjoyed people-watching: there was a really fun group of tiny old Ecuadorian ladies plus one little old Ecuadorian man who were just having the time of their life. If you’re driving along the road from Quito to Tena, or even looking for a day-trip from Quito, I’d definitely recommend Papallacta. The drive there is beautiful, too.
More from our Ecuador adventures…
Ecuador Travelogue: Quito
Ecuador Travelogue: The Amazon & Itamandi Lodge
Ecuador Travelogue: Cotopaxi