
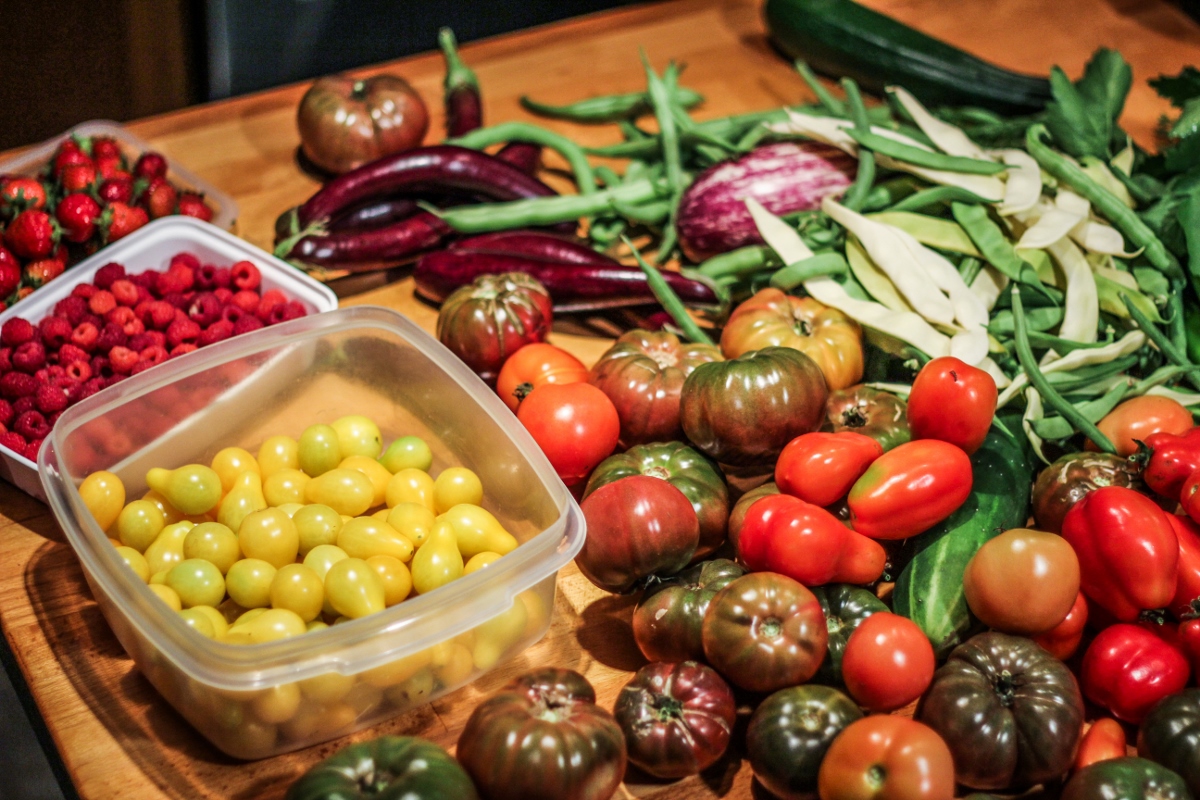
As you might imagine, a lot has changed in our not-so-little garden since I last wrote about it in May. Now we’re in the thick of things, and walking through the vegetable garden, where perhaps we were a bit too aggressive with our plant spacing, is like being in a jungle. The tomatoes tower over my head, the beans brush against my legs, and the whole space is filled with the hum of busy pollinators.
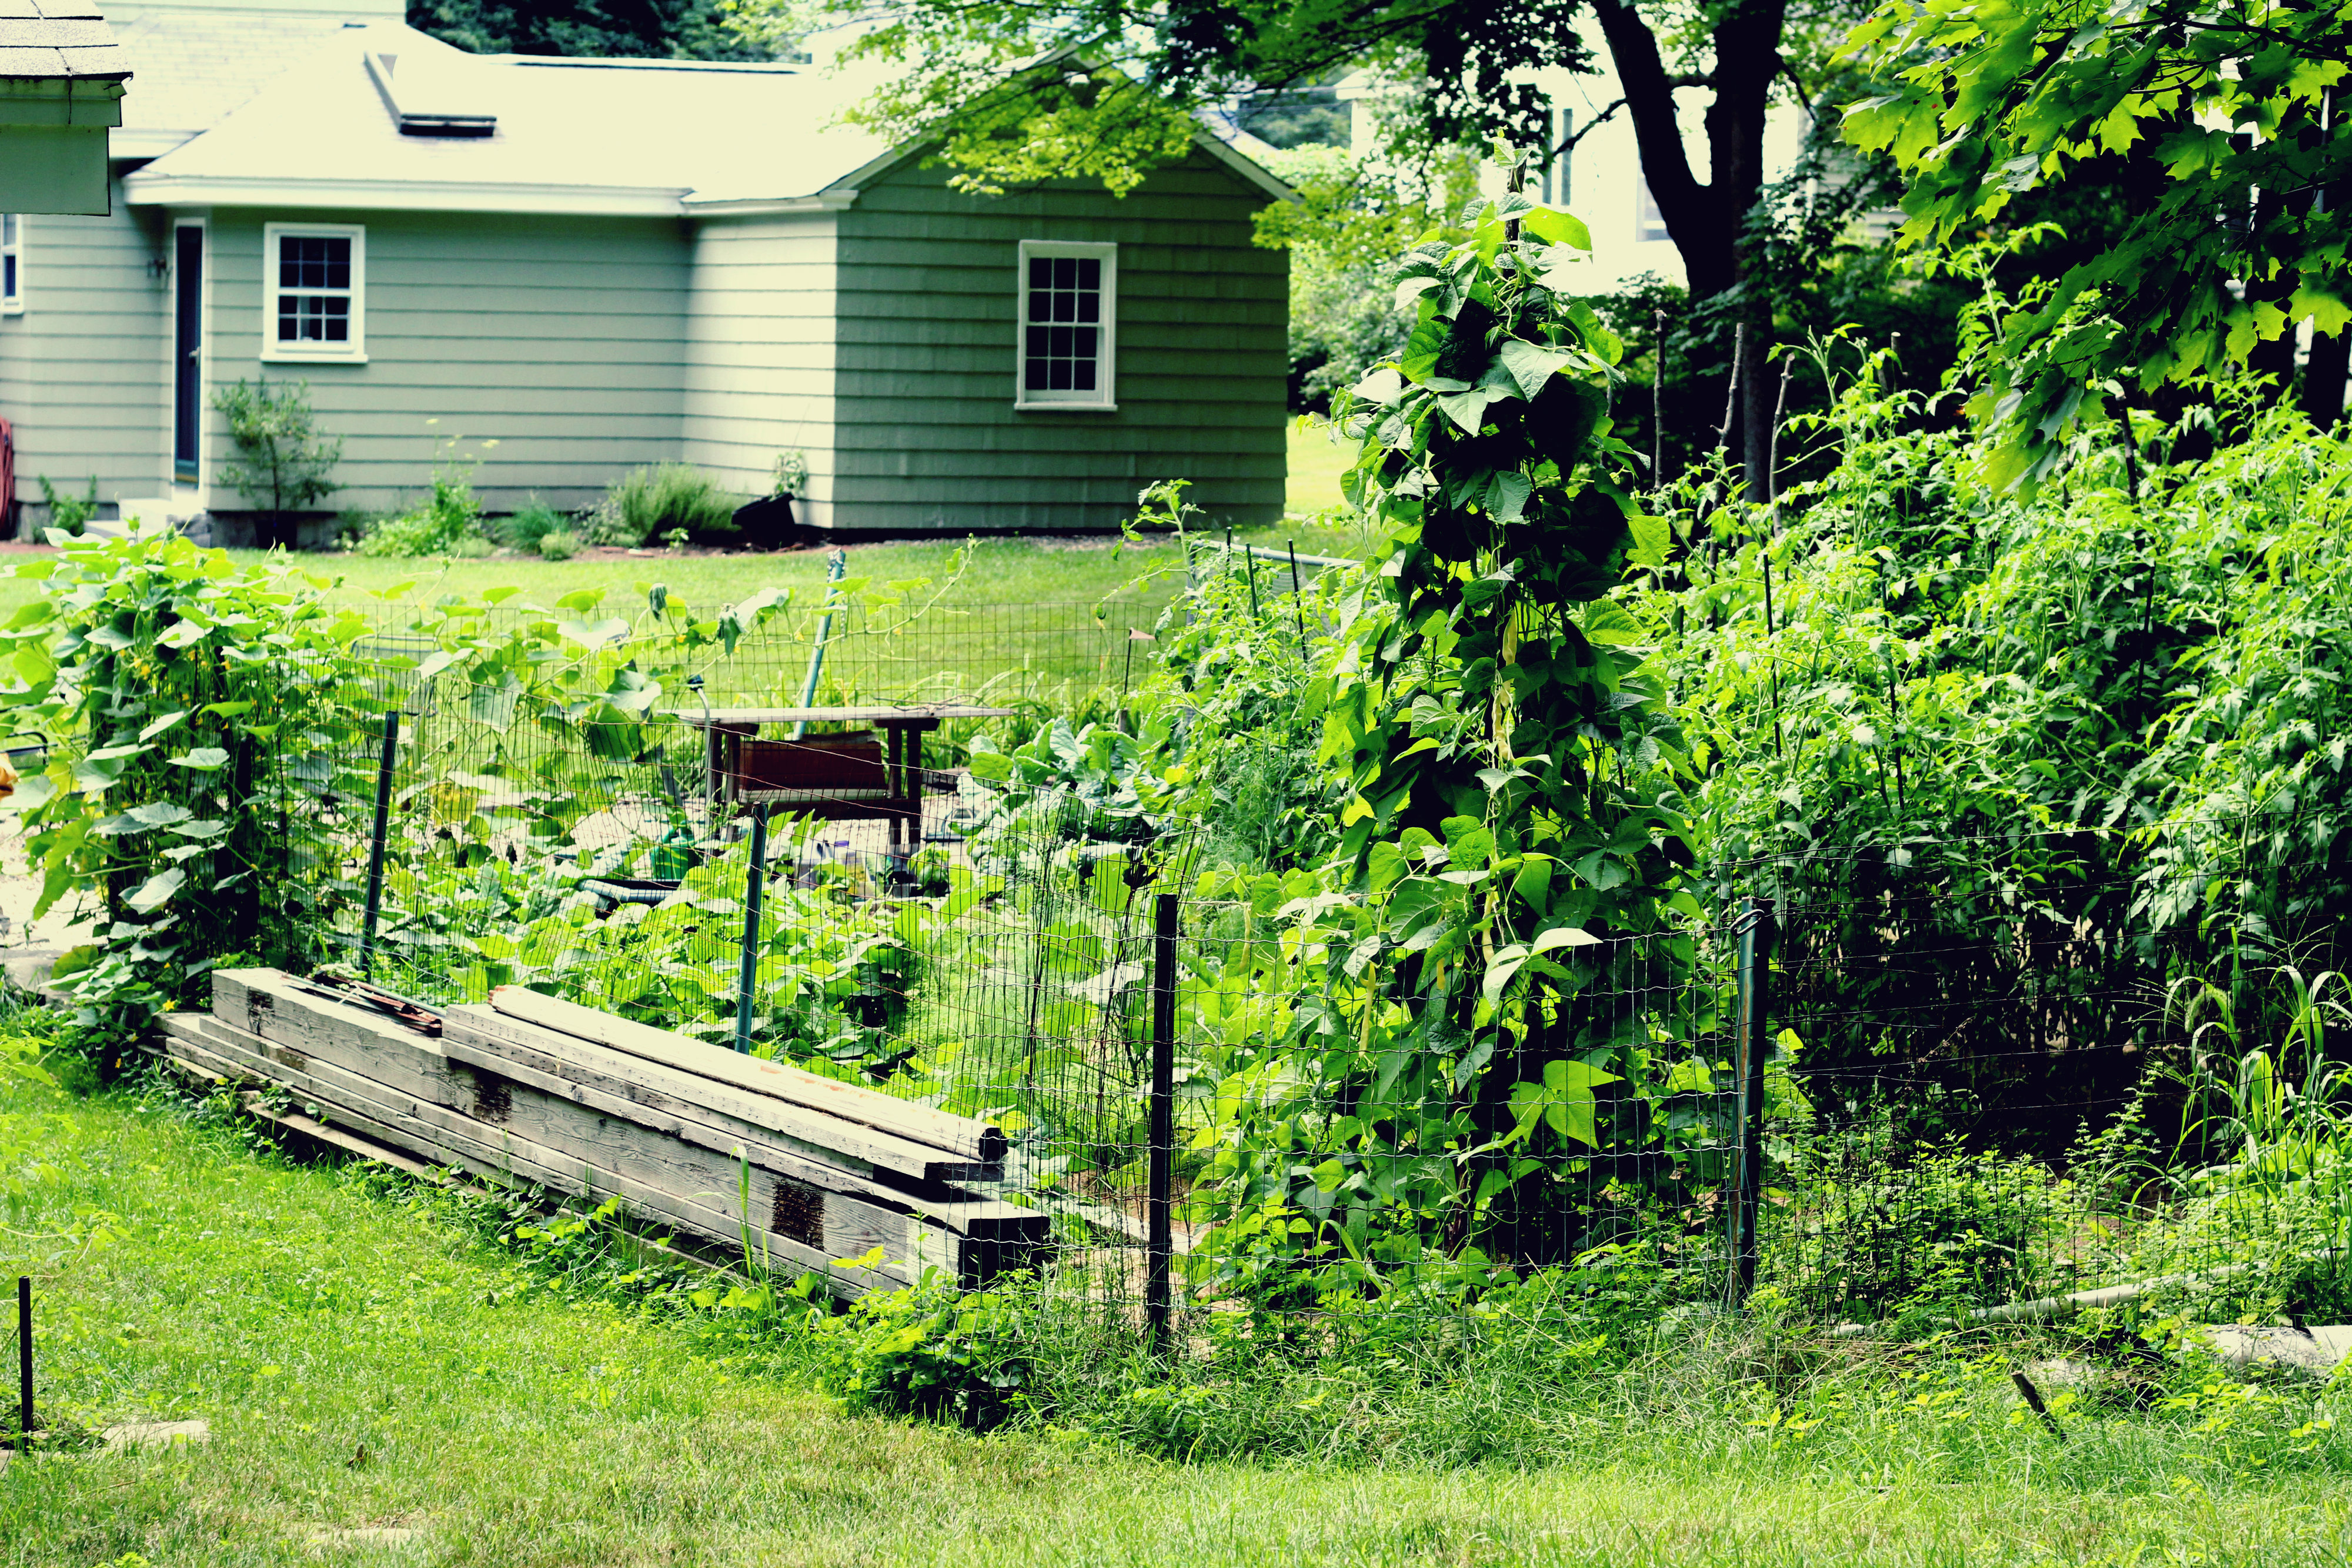
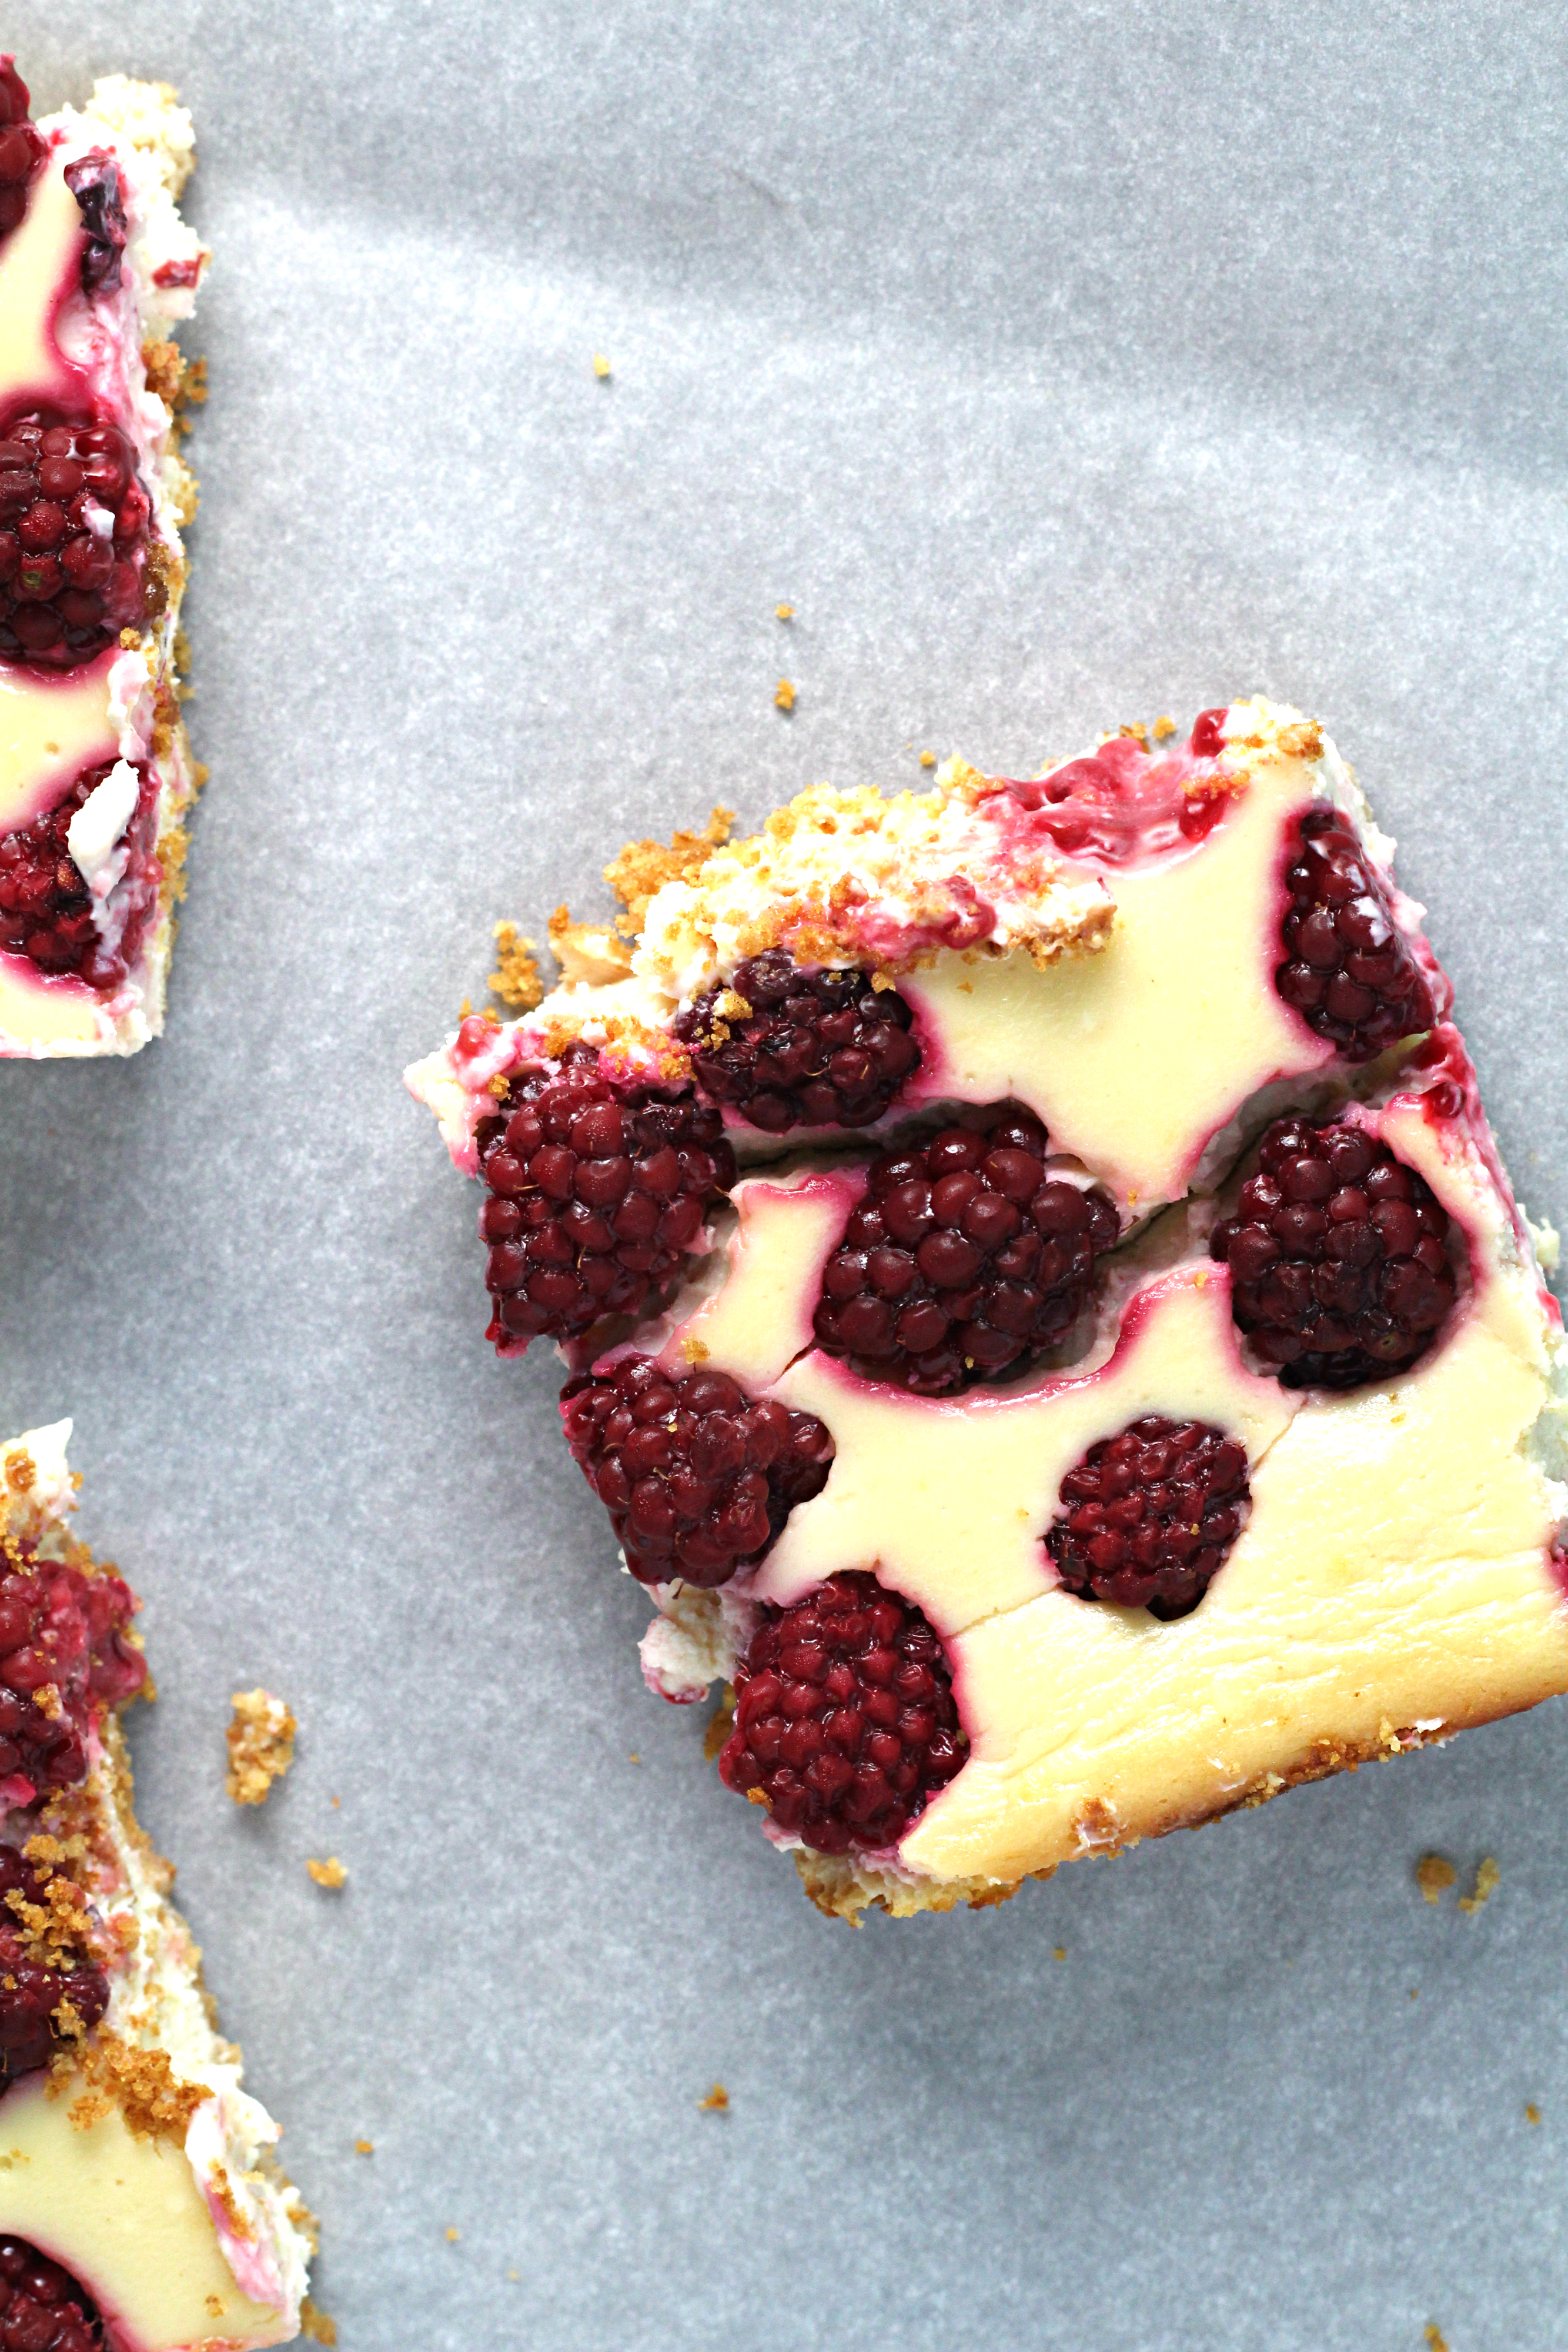
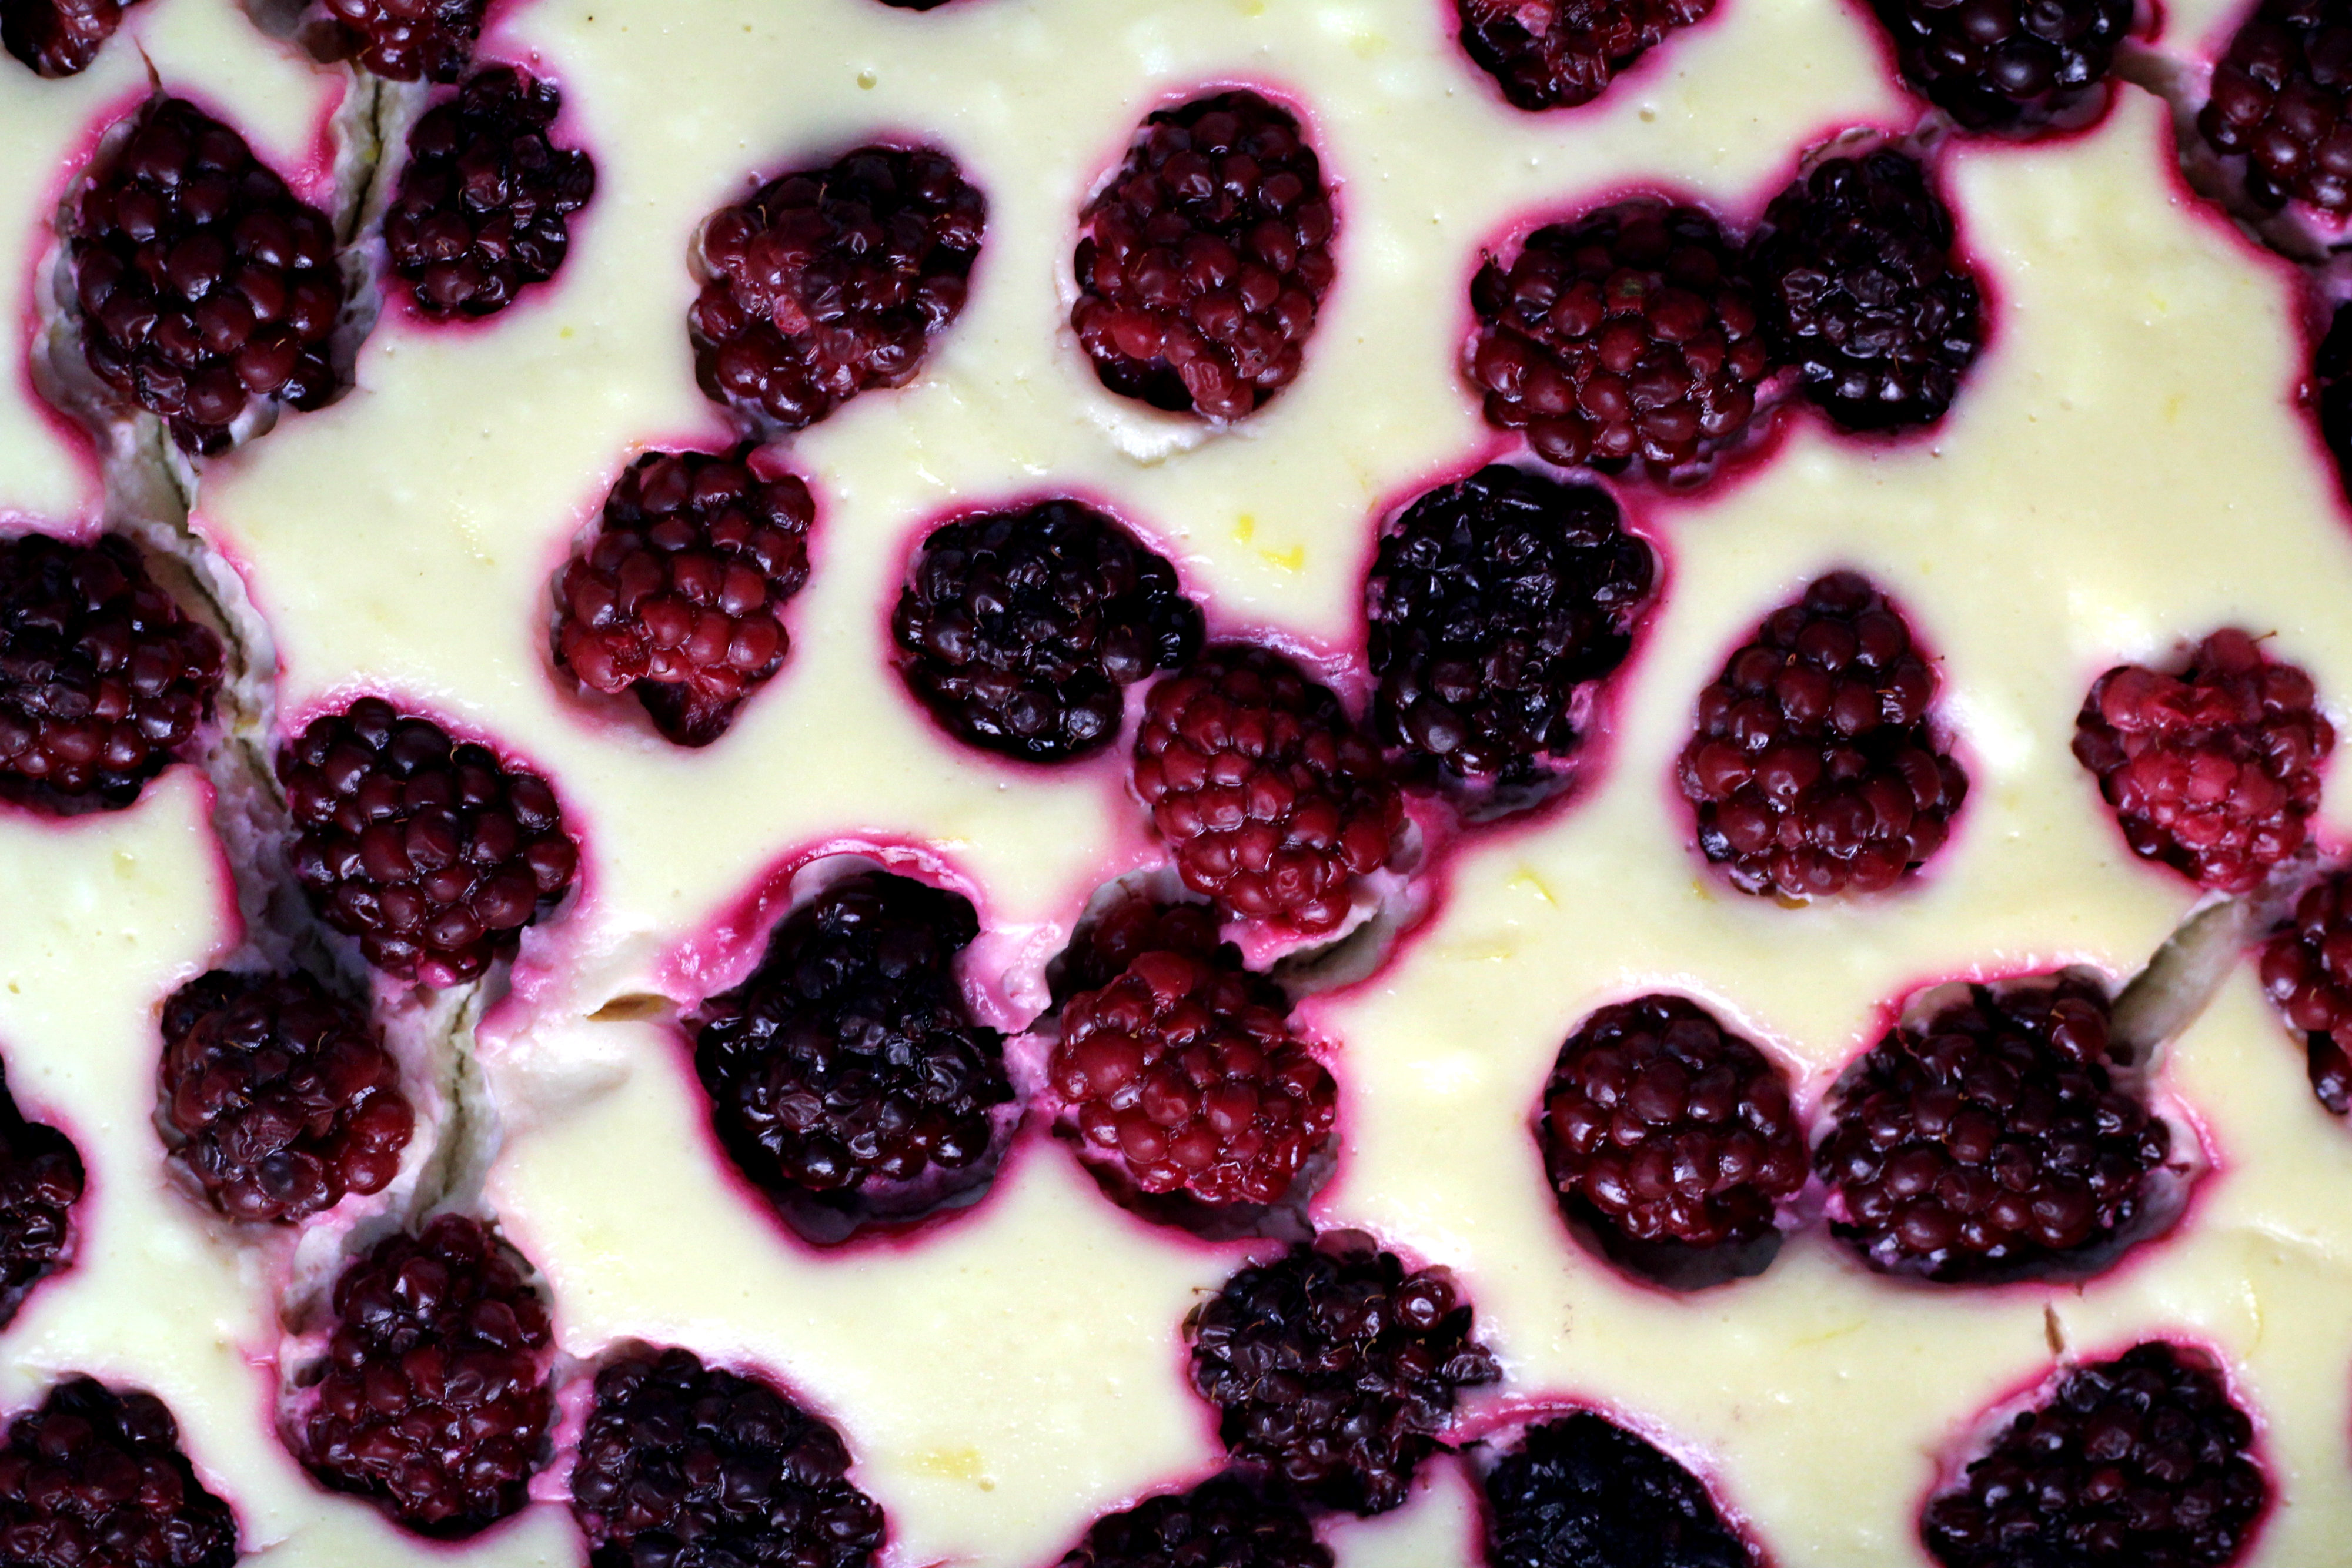
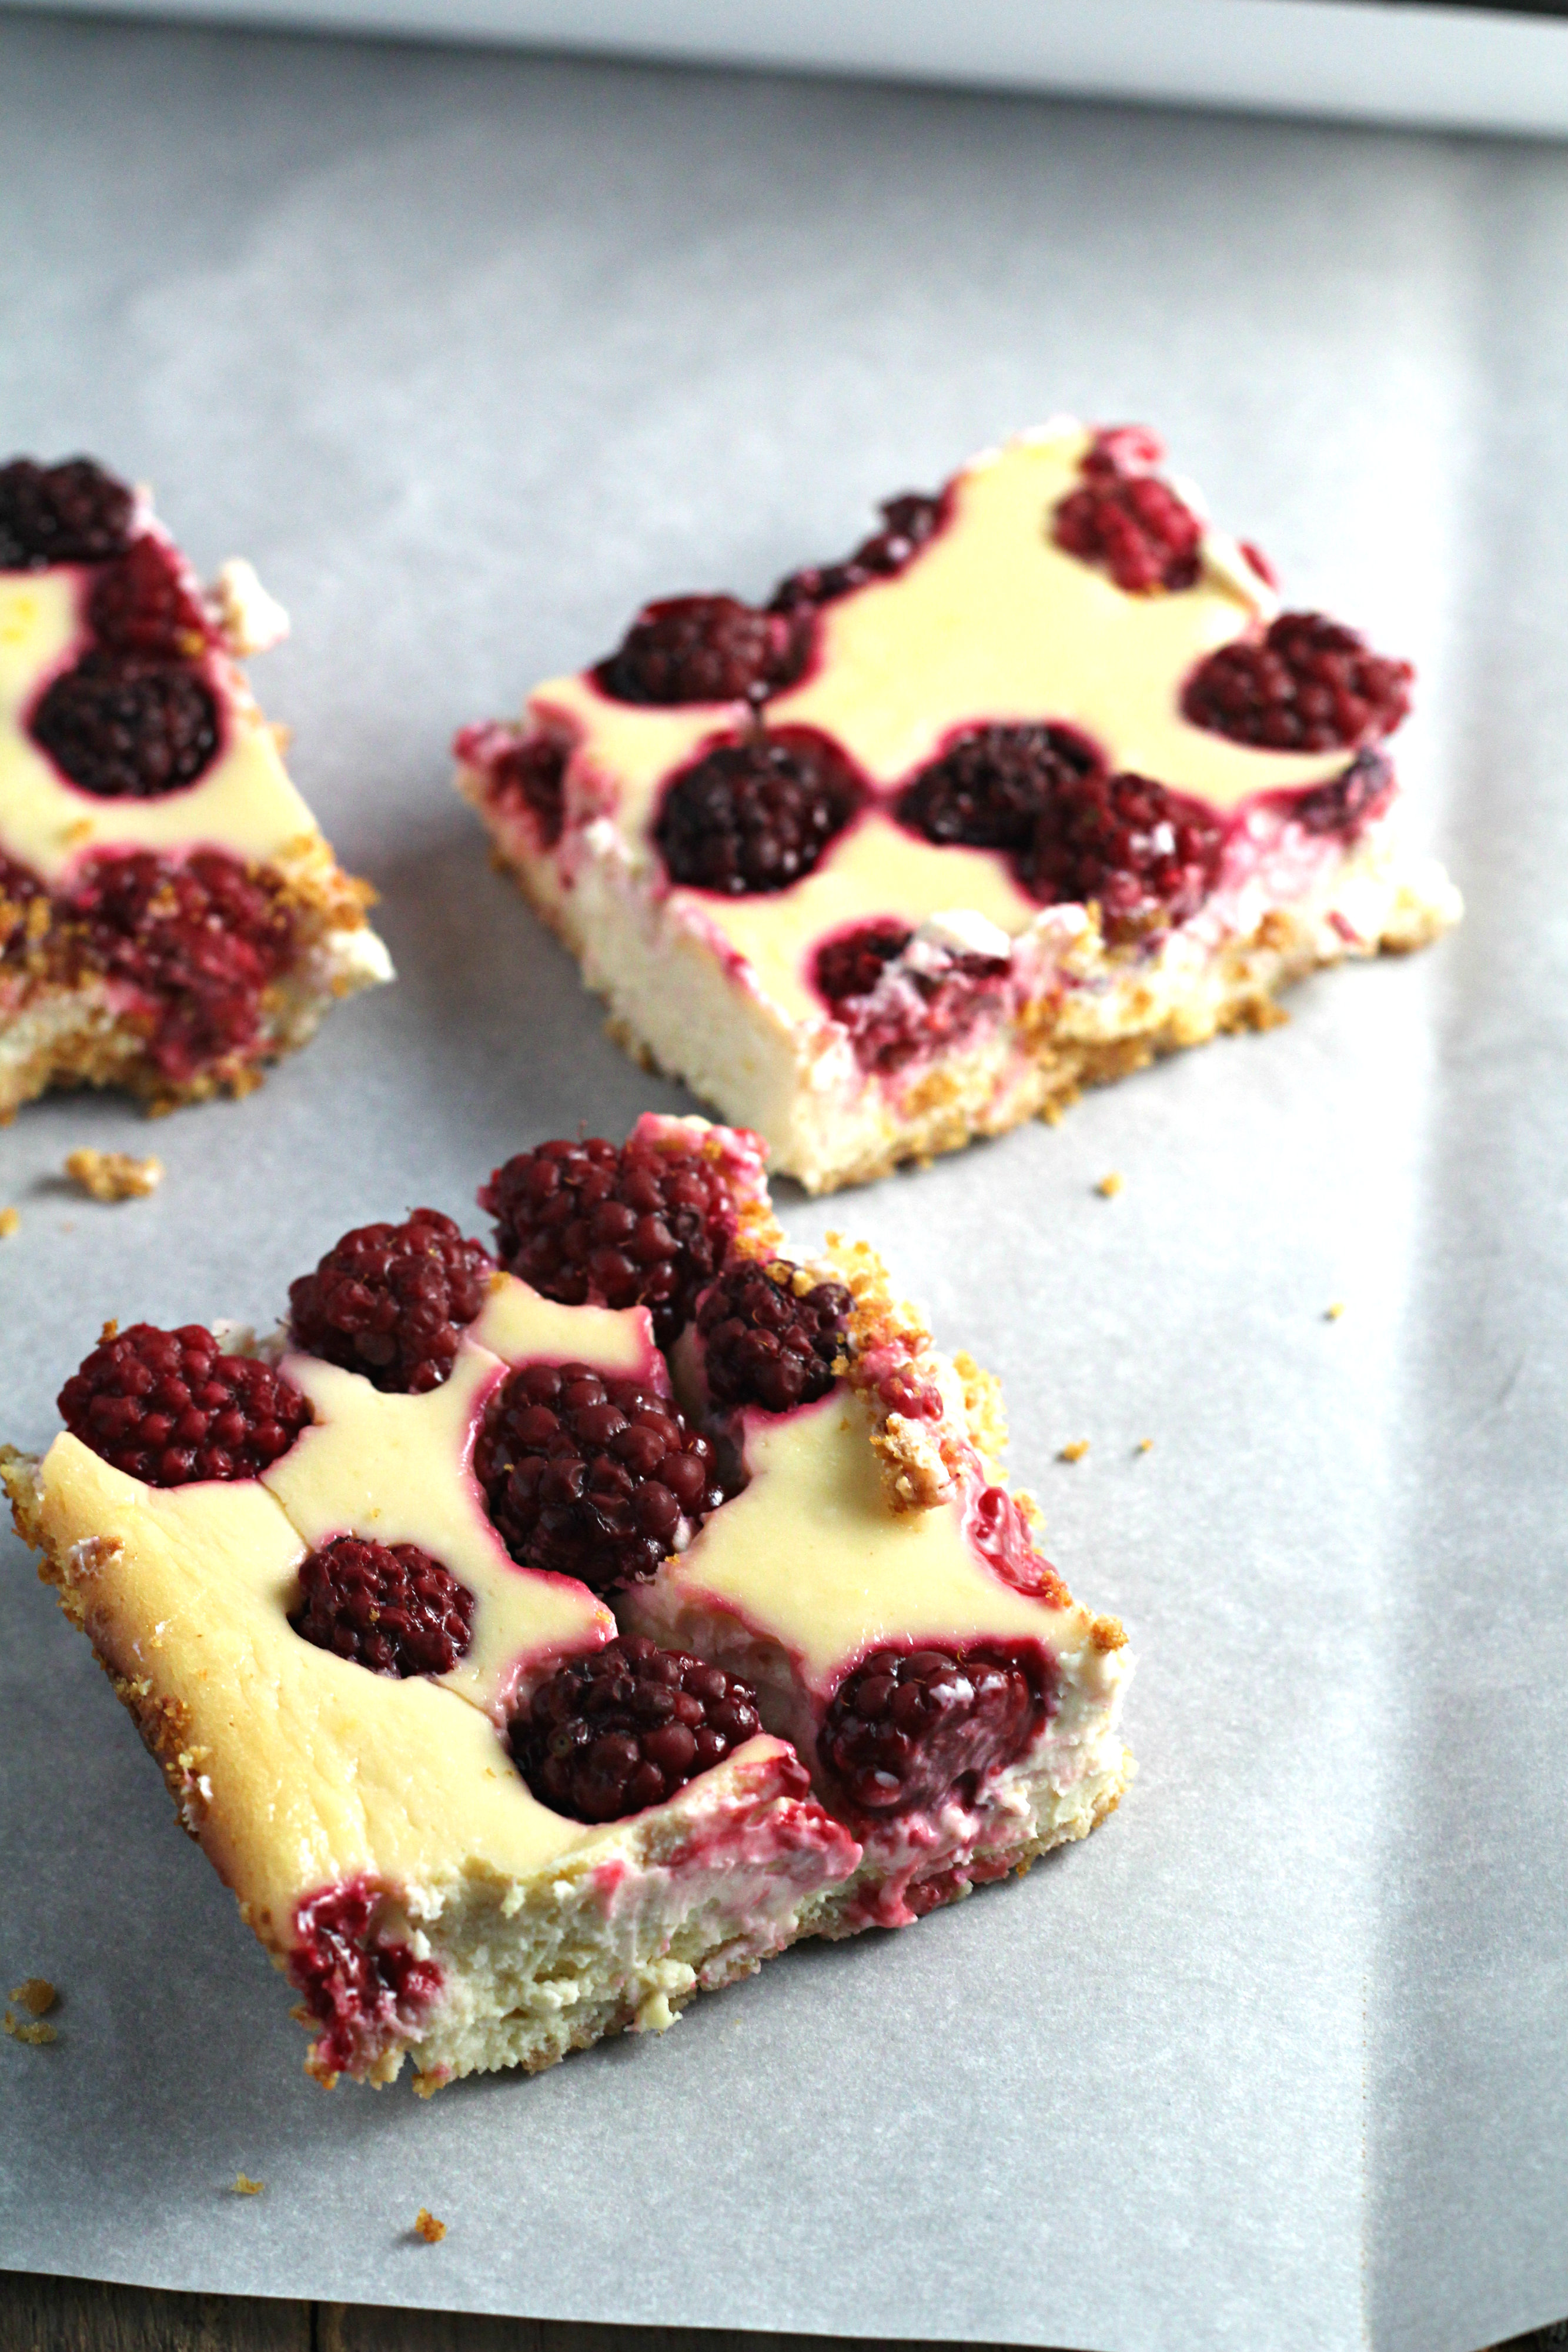
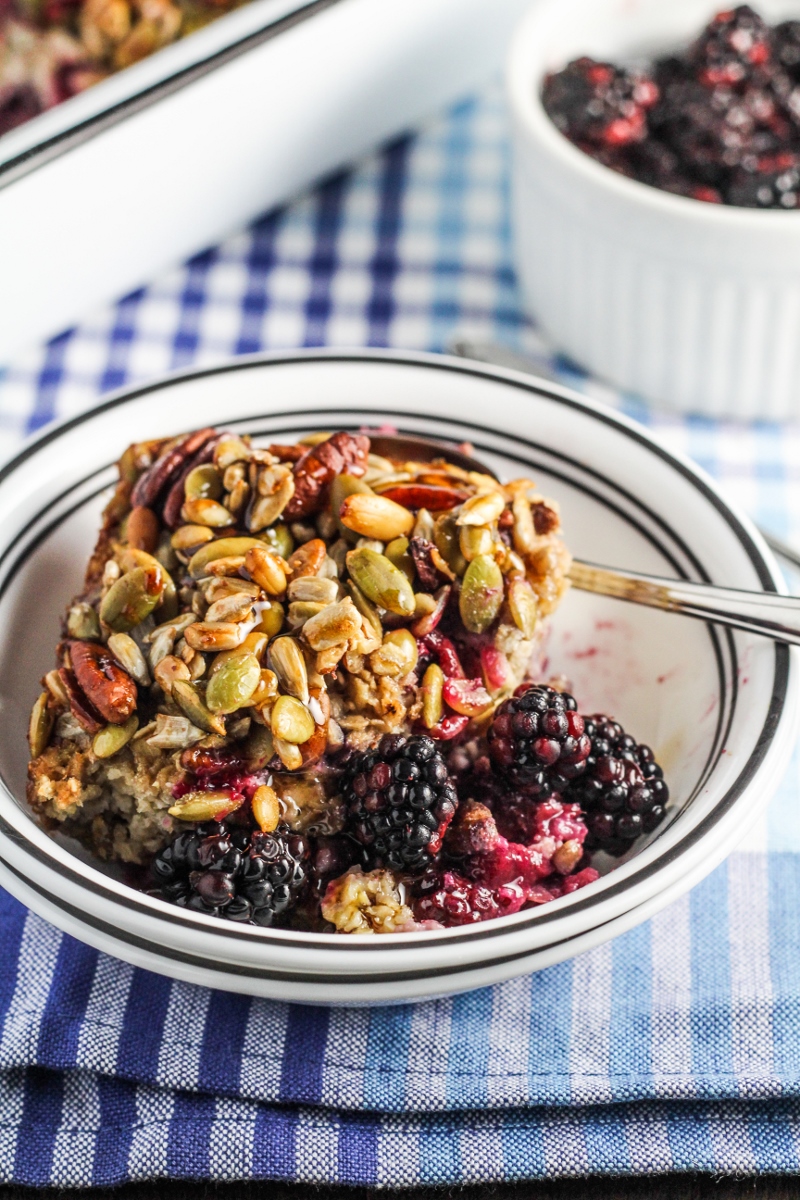
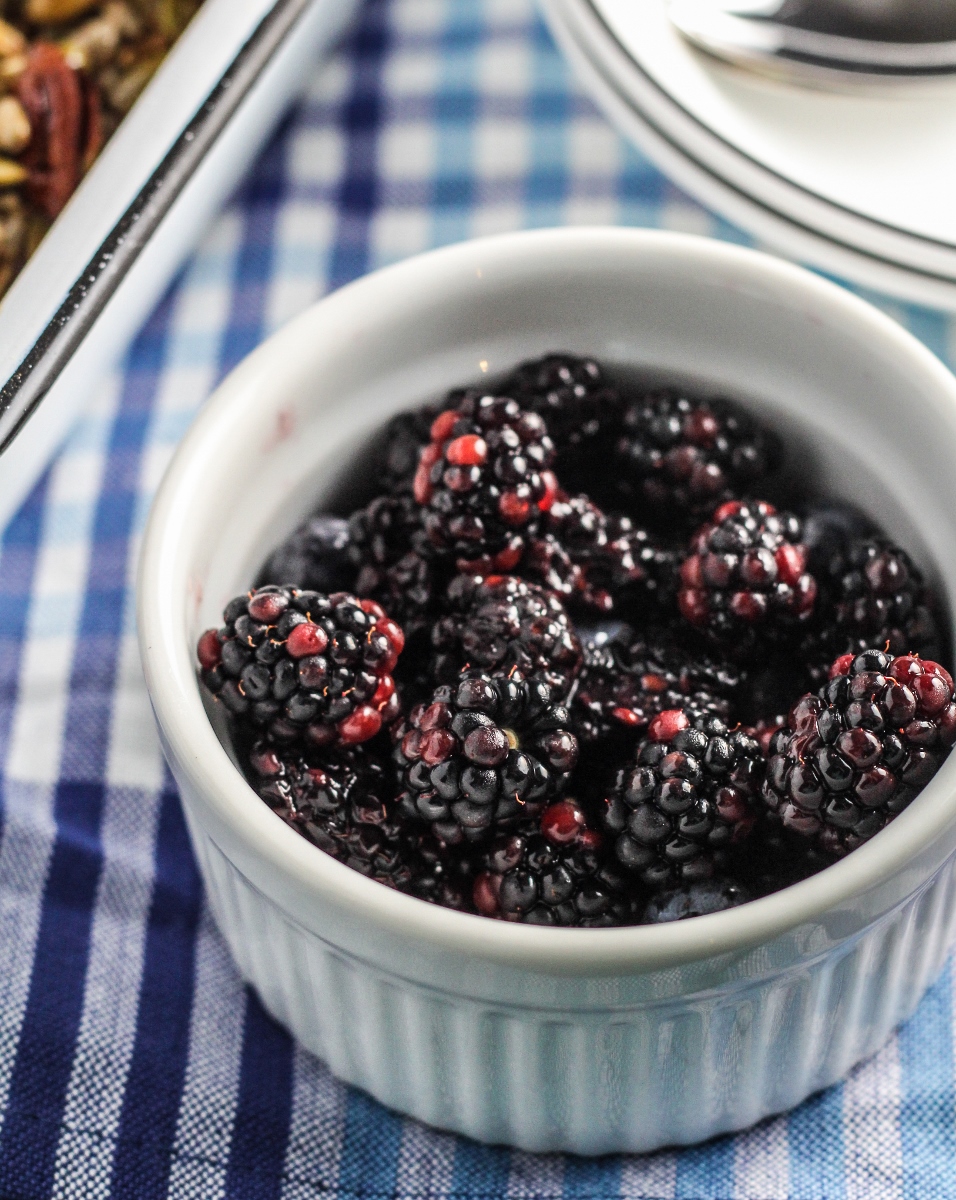
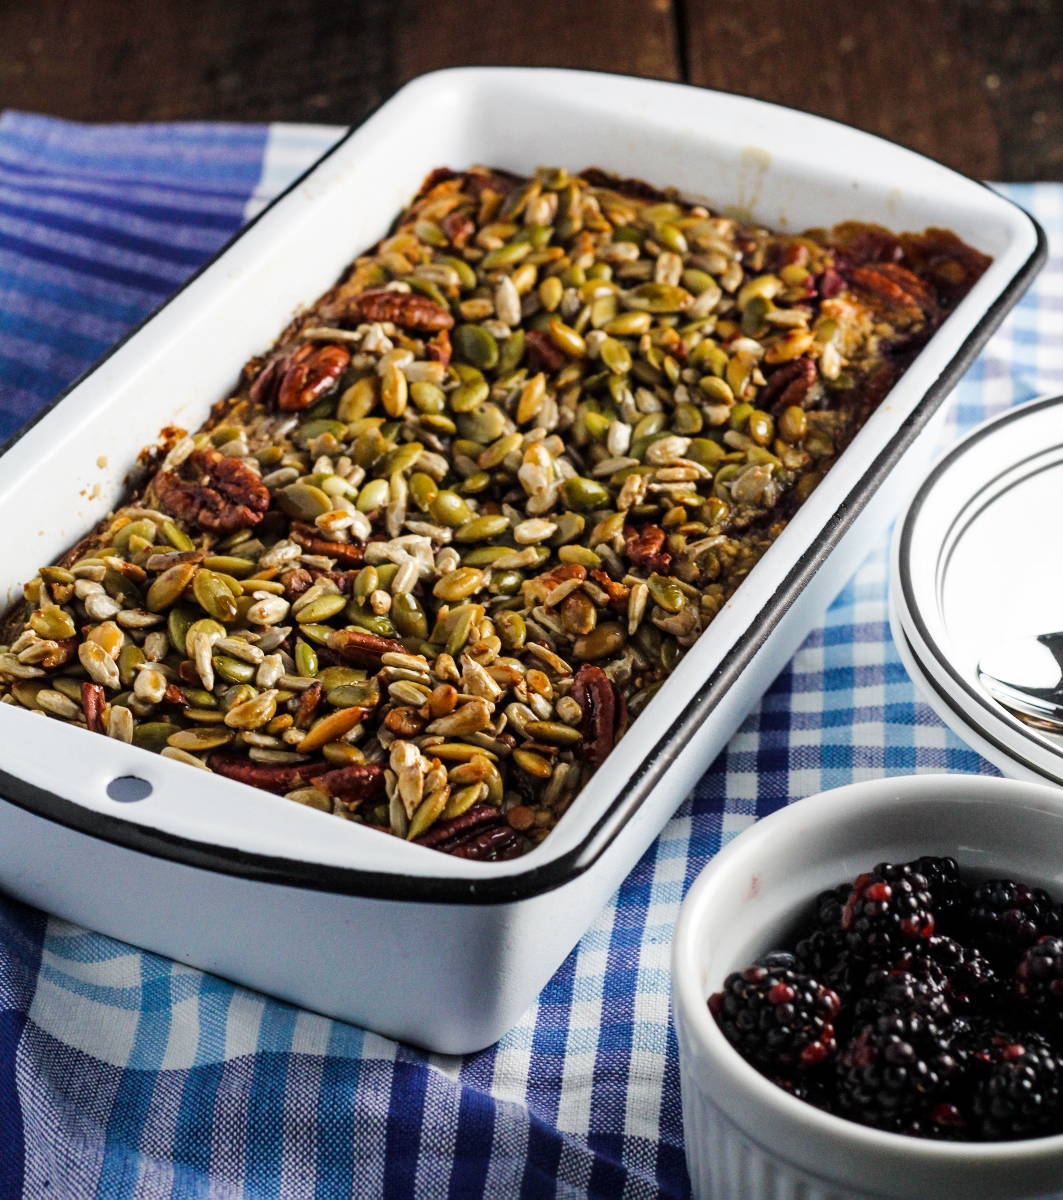
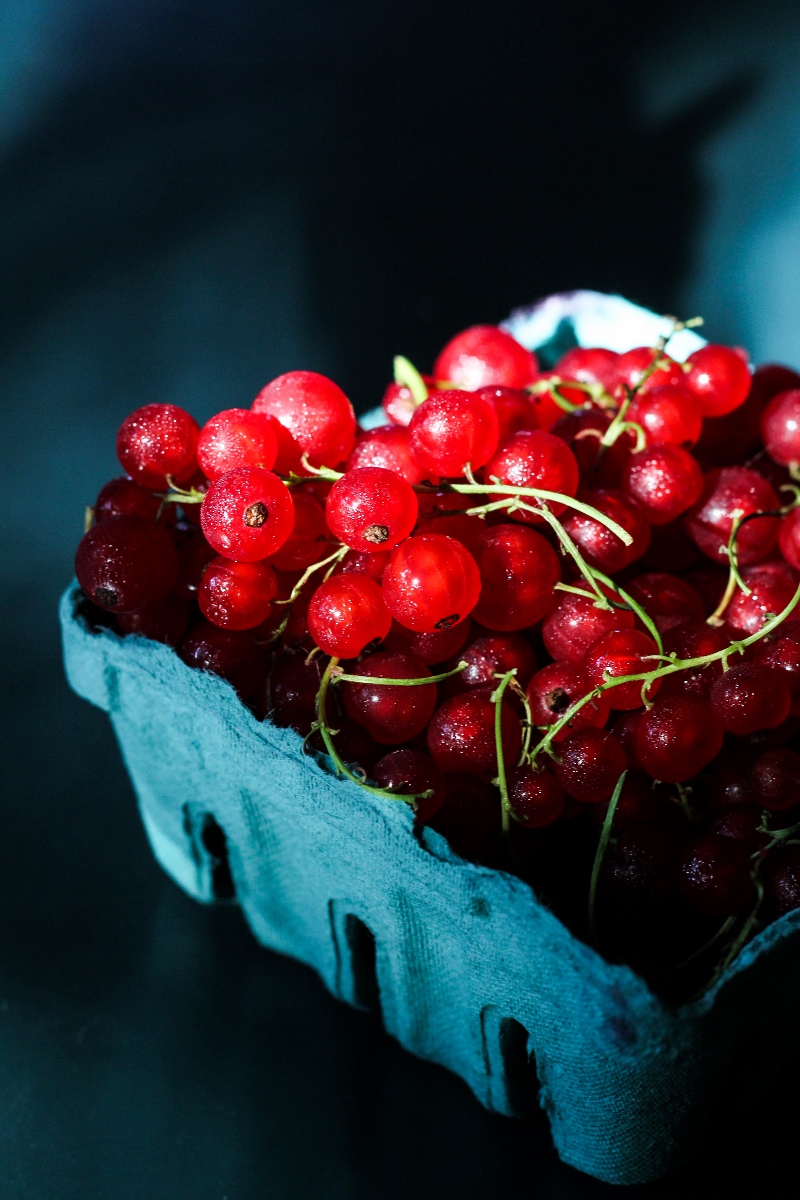
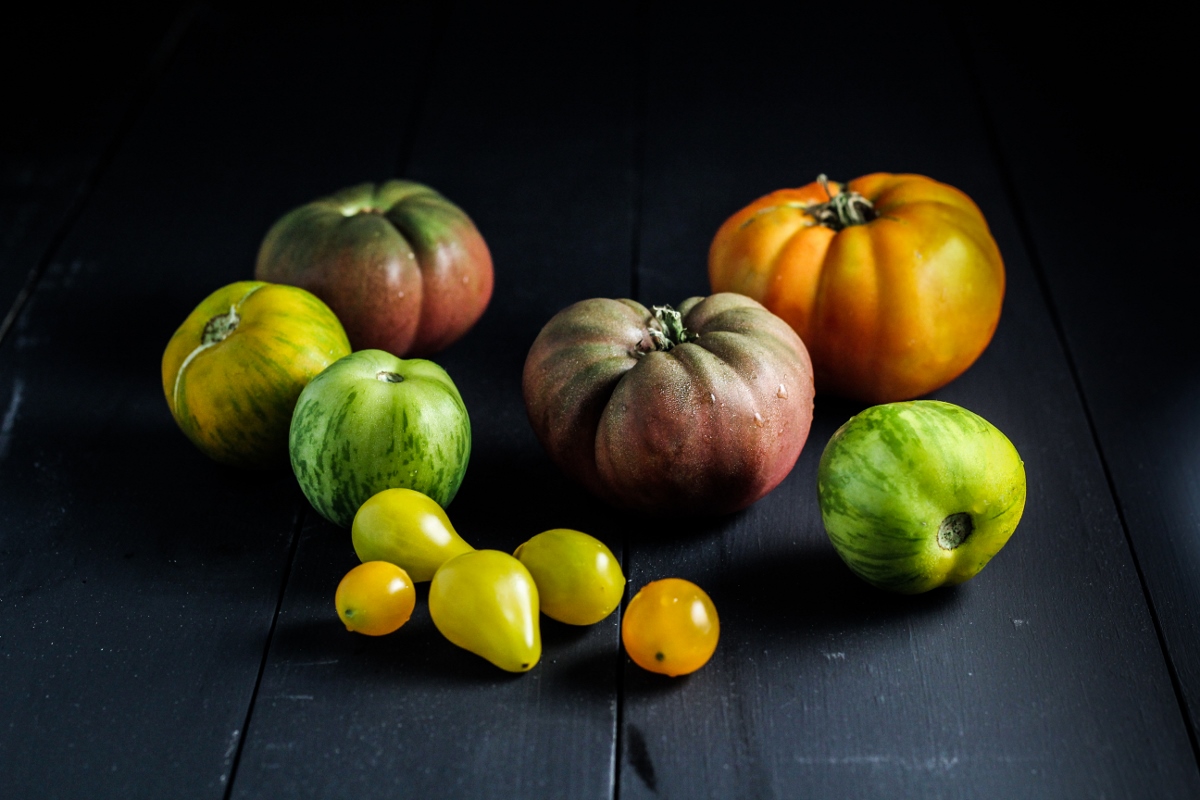
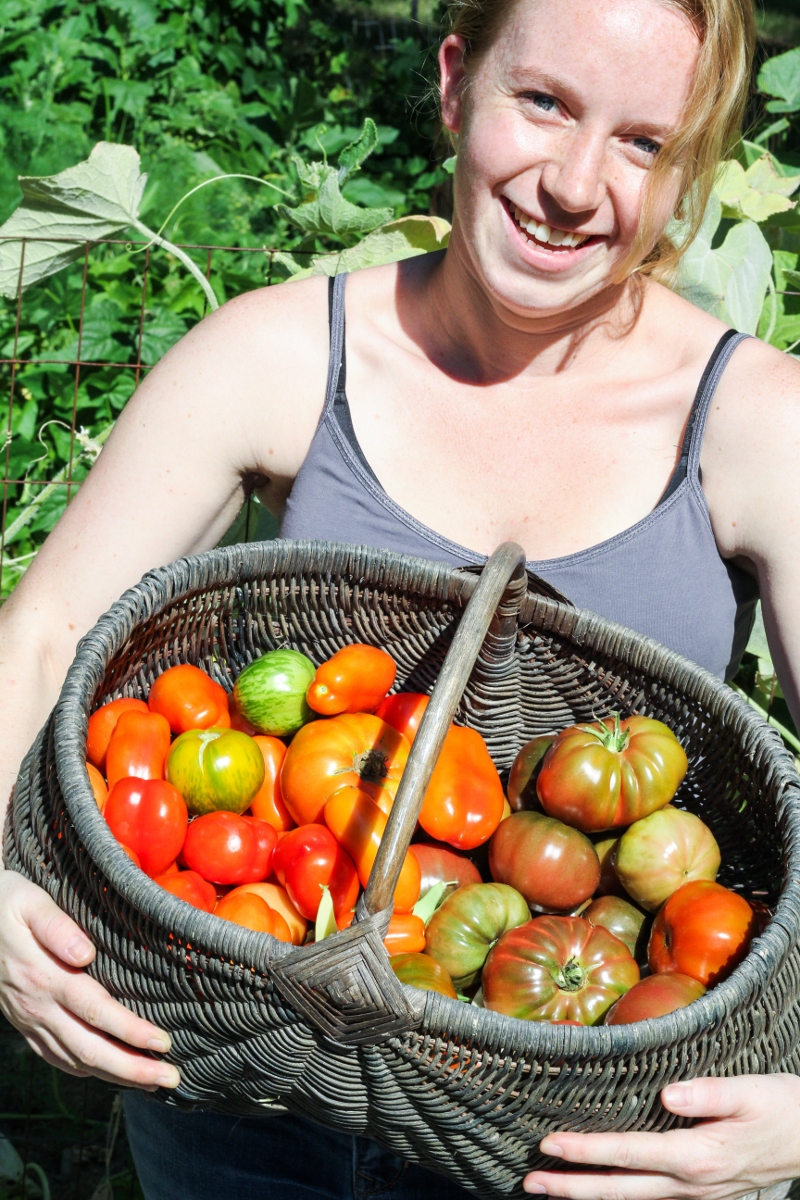
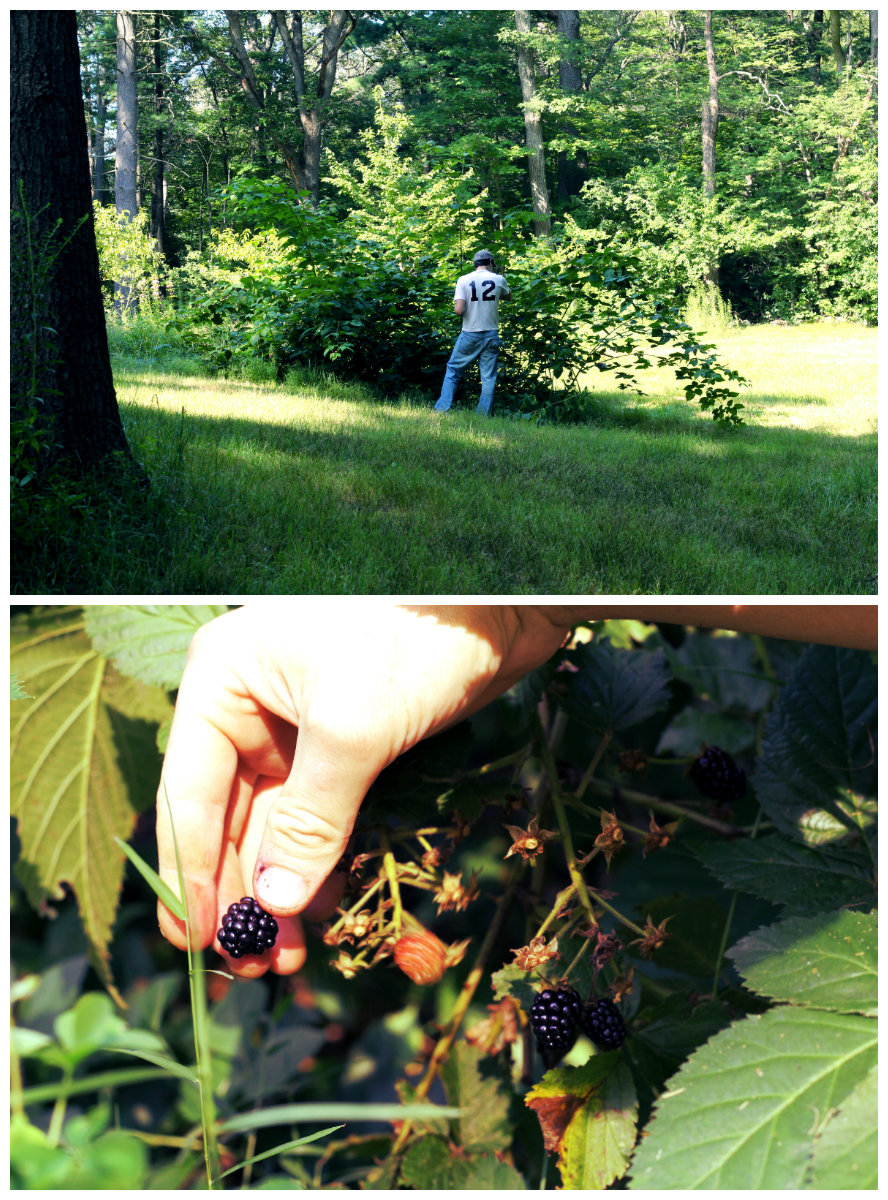
We’ve had a number of huge successes this year. Starting in May, the rhubarb has been prolific, so much so that I’d have to bake three pies a week just to use it up. In July we were picking blackberries by the gallon off our one sprawling bush, with enough leftover after baked oatmeal and blackberry cheesecake bars to make a huge, bubbling batch of blackberry wine that we’ll savor all winter. Cucumbers seem to ripen by the dozen, and pounds and pounds of green beans fill our fridge. Last weekend alone, we picked 20 pounds of tomatoes, which have already been turned into canned sauce, pickled cherry tomatoes, and gifts for coworkers. The lesson the garden seems to be telling us, is go with what what works. Blackberries and rhubarb? They grow easily in New England with no care at all. Green beans and cucumber? Same story. Tomatoes are known to be fussier, but they do fantastically in my dad’s soil.
On the other hand, there have been disappointments. Perhaps it’s only because we set our hopes so high this year, but it does feel as though this season has had more than it’s fair share of setbacks. It seems as if every week I say to Trevor, maybe next year, as we discover another failed crop. Every single peach (of dozens!) picked off the trees one by one by raccoons or possums or some other critter a week before they were ripe. No flowers on the apple trees. A measly pound of fava beans from 20 plants. Daily flowers on the pumpkin but no baby pumpkins to speak of. A broccoli harvest of approximately .15 pounds. All but one bunch of grapes falling off the vine. Of course, with every failure comes a wealth of knowledge, but in the moment, that doesn’t dampen the sting of disappointment.

But whether or not a crop is successful does little to dampen our enthusiasm for the process. I feel so much joy when I’m in the garden – all this childhood energy and excitement comes rushing over me when I’m standing outside in our gorgeous clearing on a beautiful summer morning or sunny afternoon. I feel connected to my surroundings, to my dad, to Trevor, and maybe most importantly, to myself. I’m engaged and moving and living. I love it. And it’s given me so much respect for the people who do this everyday, who struggle with the same challenges we have but grossly multiplied, who grow enough food not just to feed themselves, but the whole country. A part of me thinks that everyone who touts the local/free-range/organic lifestyle should have to try growing their own food, just to more fully understand the effort that goes into creating that resource. If three people with a fairly generous supply of time, money, and land, struggle to raise enough food to make a few weeks’ worth of summer meals, imagine the challenge for those with no land, no time, and limited finances. My thoughts are getting away from me – I truly don’t have well-formed opinions on these matters, but they’re worth thinking about. And also, they make me want to read The $64 Tomato. A fascinating concept.
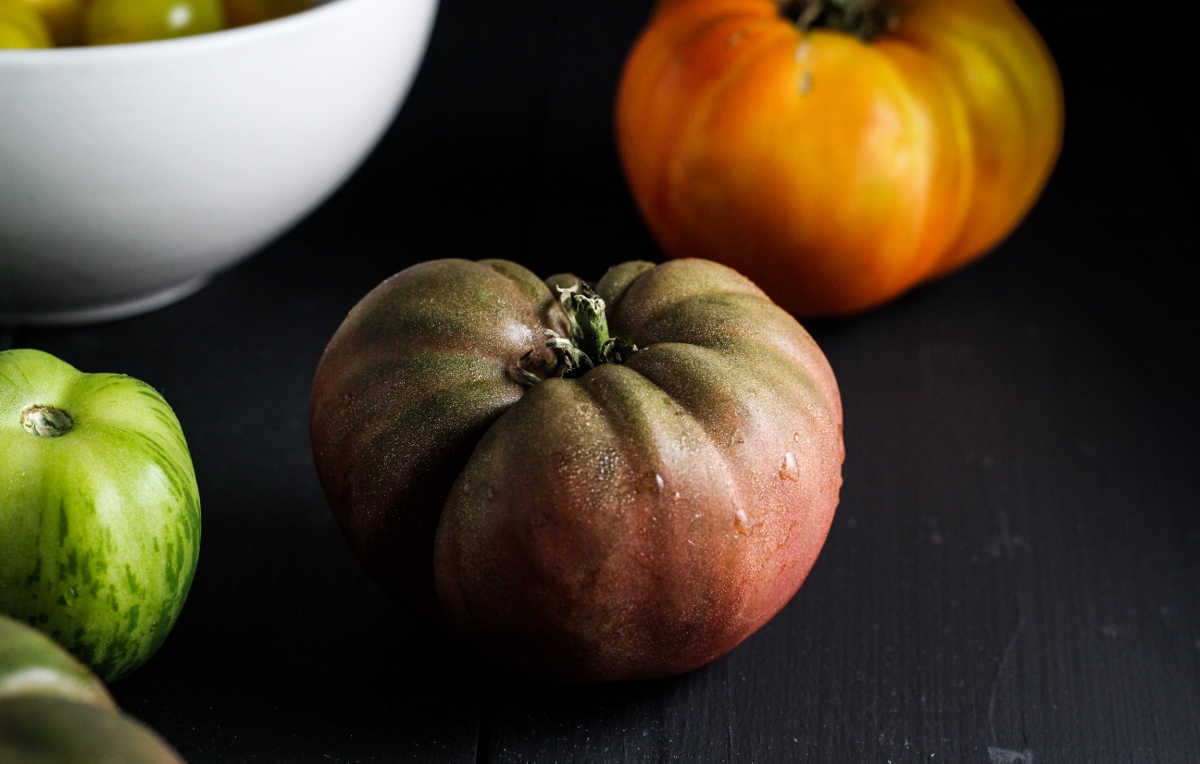
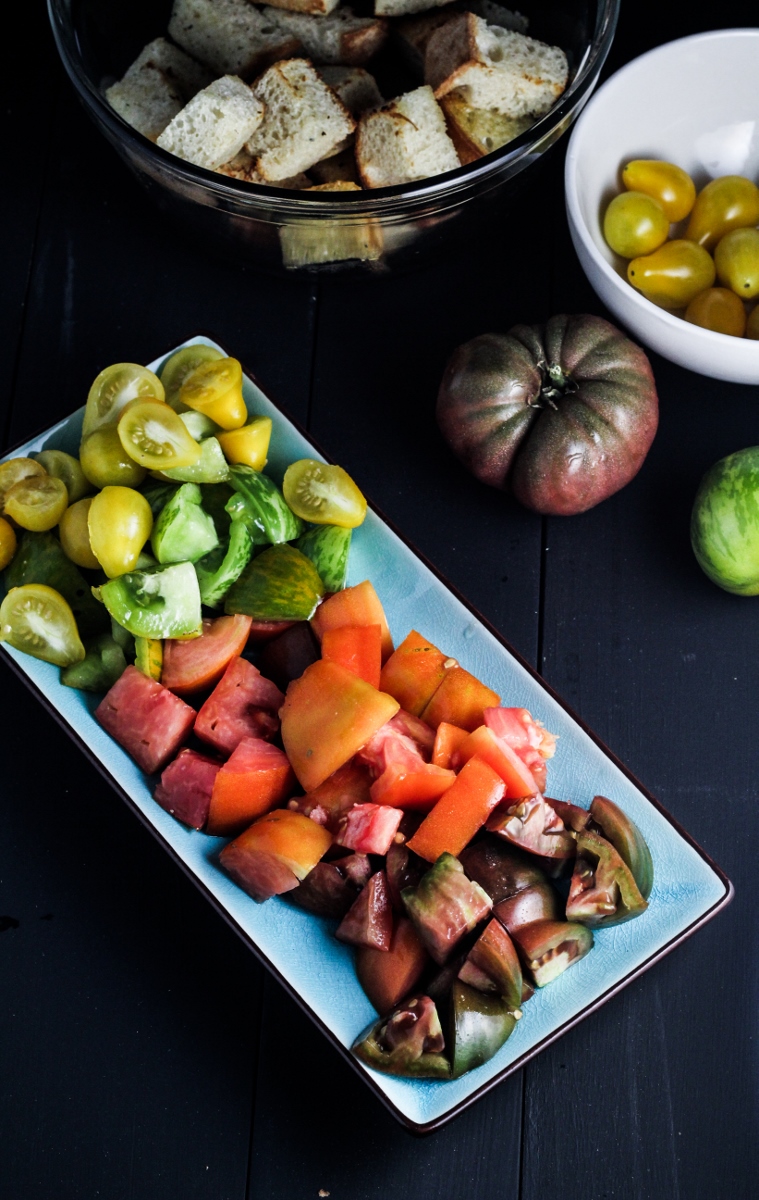
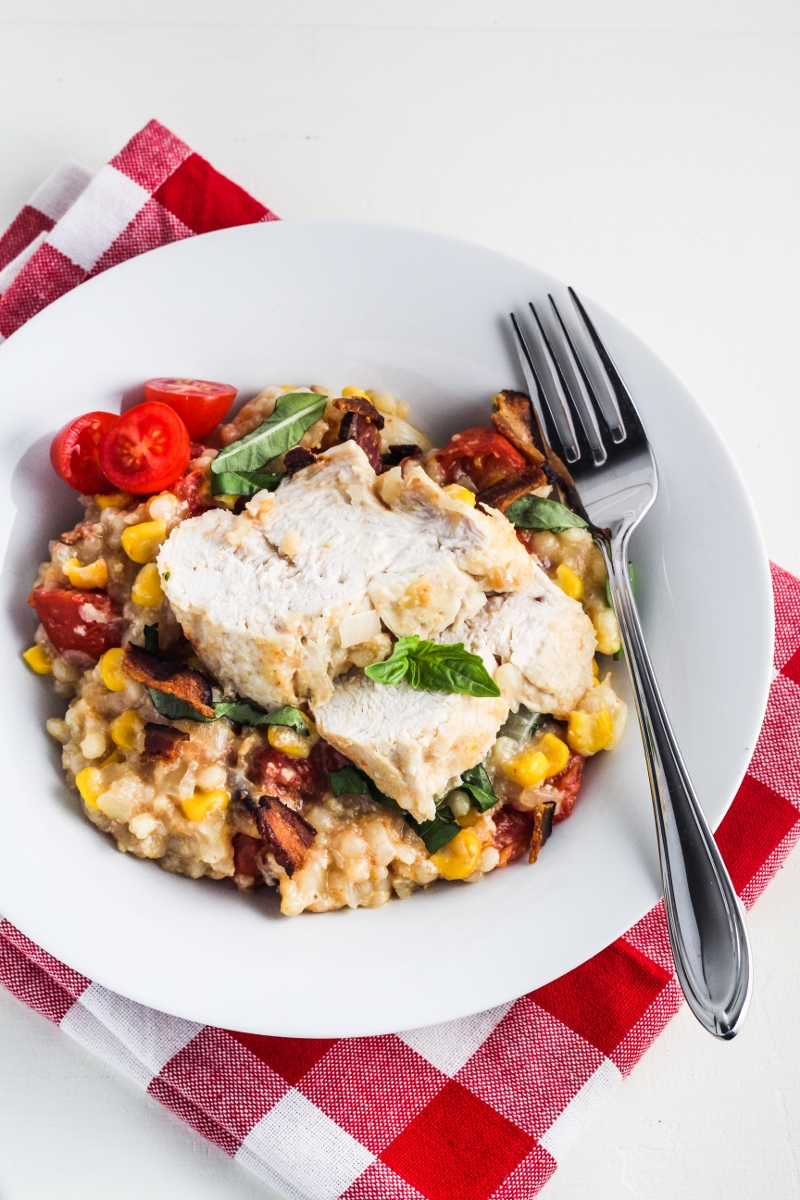
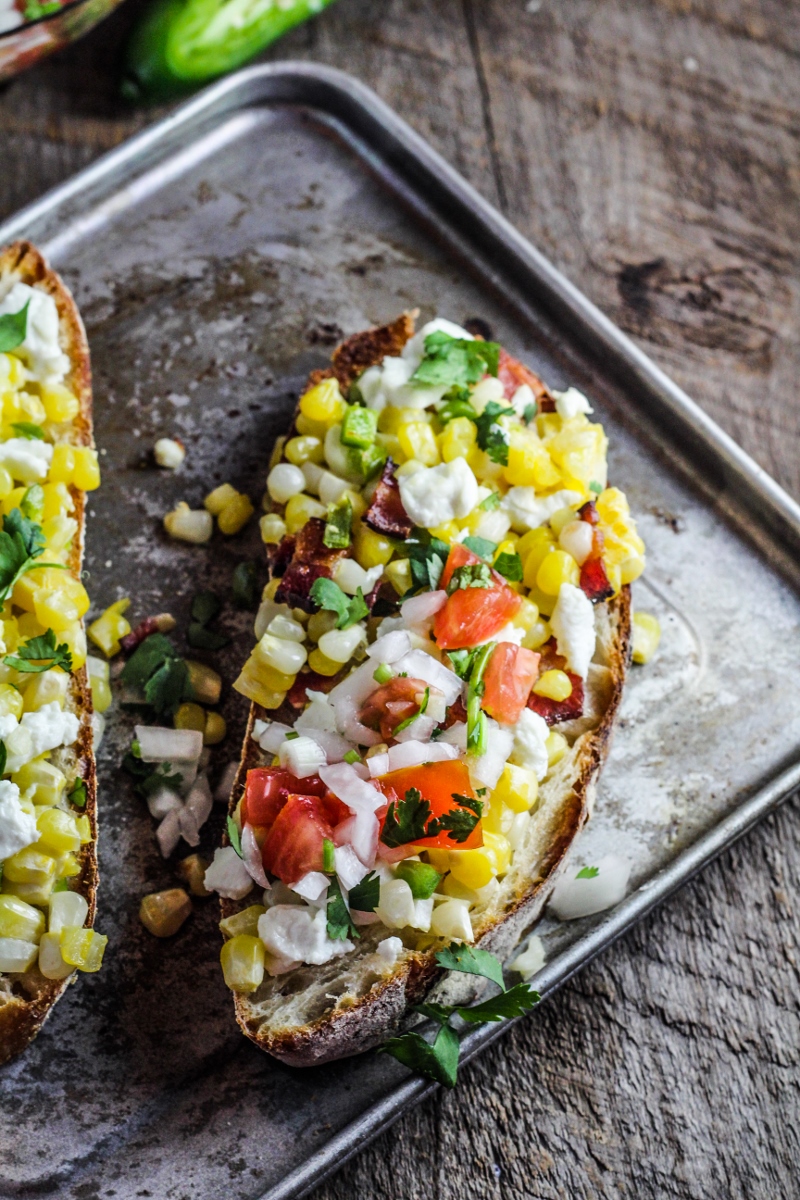
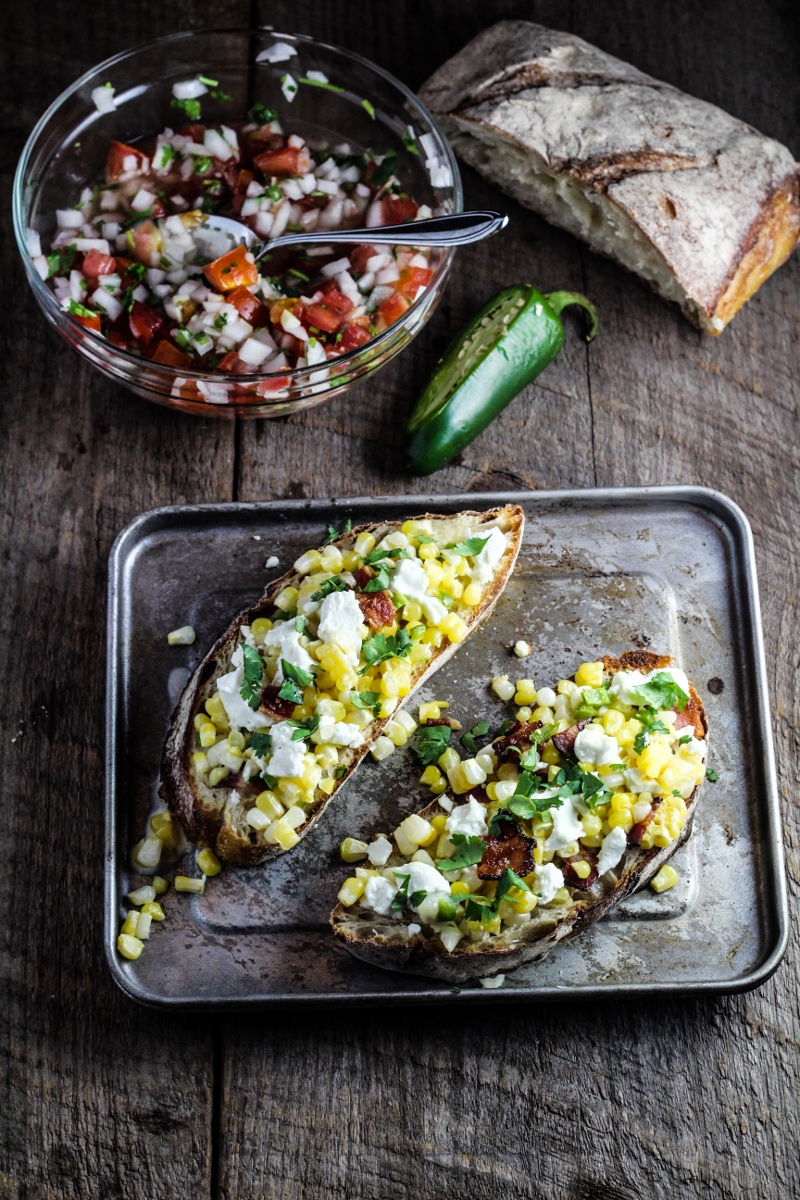
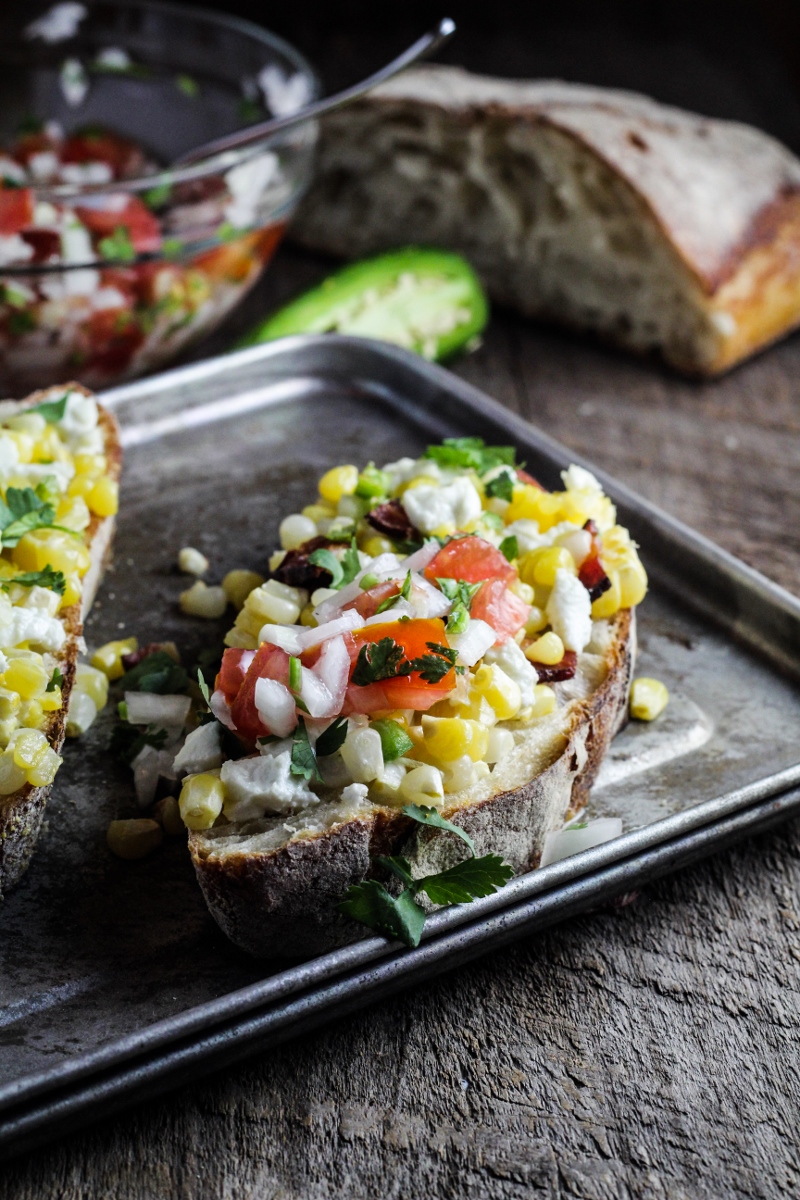
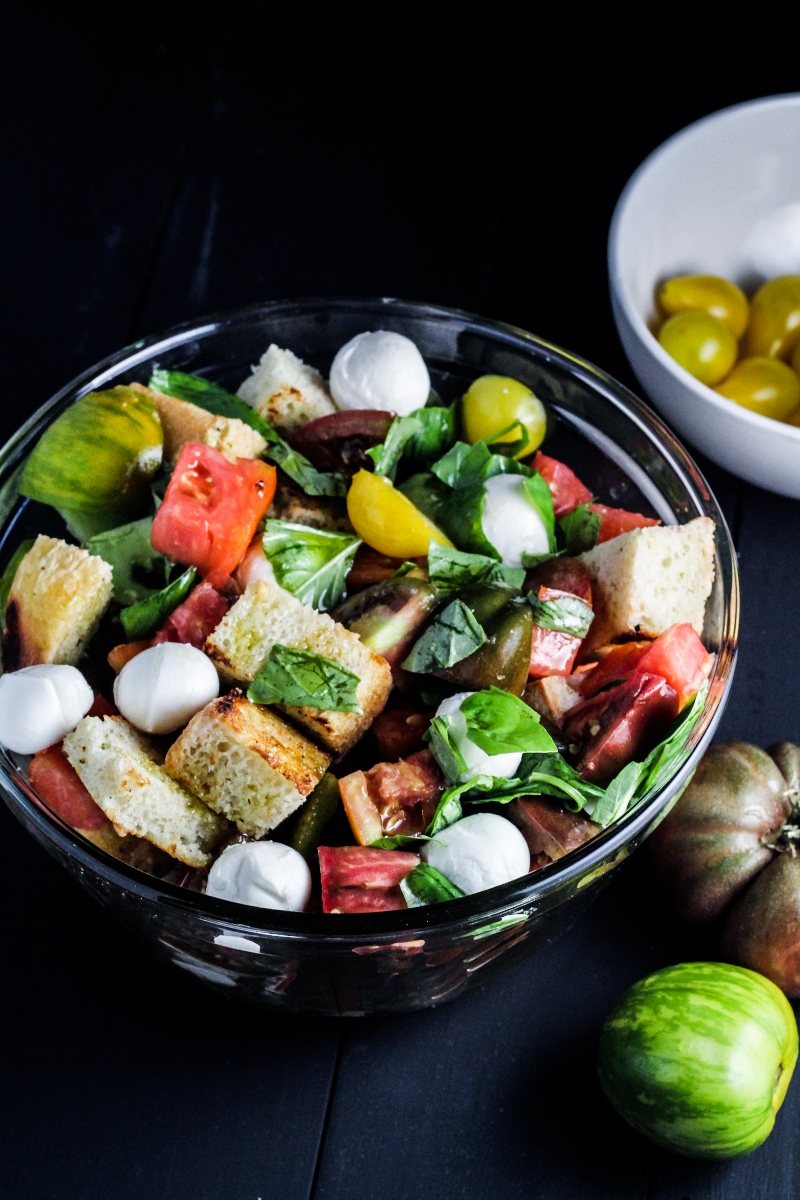
And that brings us back to something that I do know something about – tomatoes. Eating them, cooking with them. What to do when you have 20 pounds of them. Besides the sauce, and the toss-everything-in-a-pan-pastas, and the pickled cherry tomatoes, I also made this beautiful panzanella, a salad of toasted bread and fresh tomatoes, tossed with salt, olive oil, basil, and fresh mozzarella. It’s both filling and fresh, a burst of summertime flavor in every bite. I read in Nigel Slater’s Tender that his trick for the perfect panzanella is to toast the bread first, and so that’s what I did, to excellent effect. It really couldn’t be a much simpler meal, and if you use tomatoes in a variety of sizes and colors, it’s a stunning dish as well.
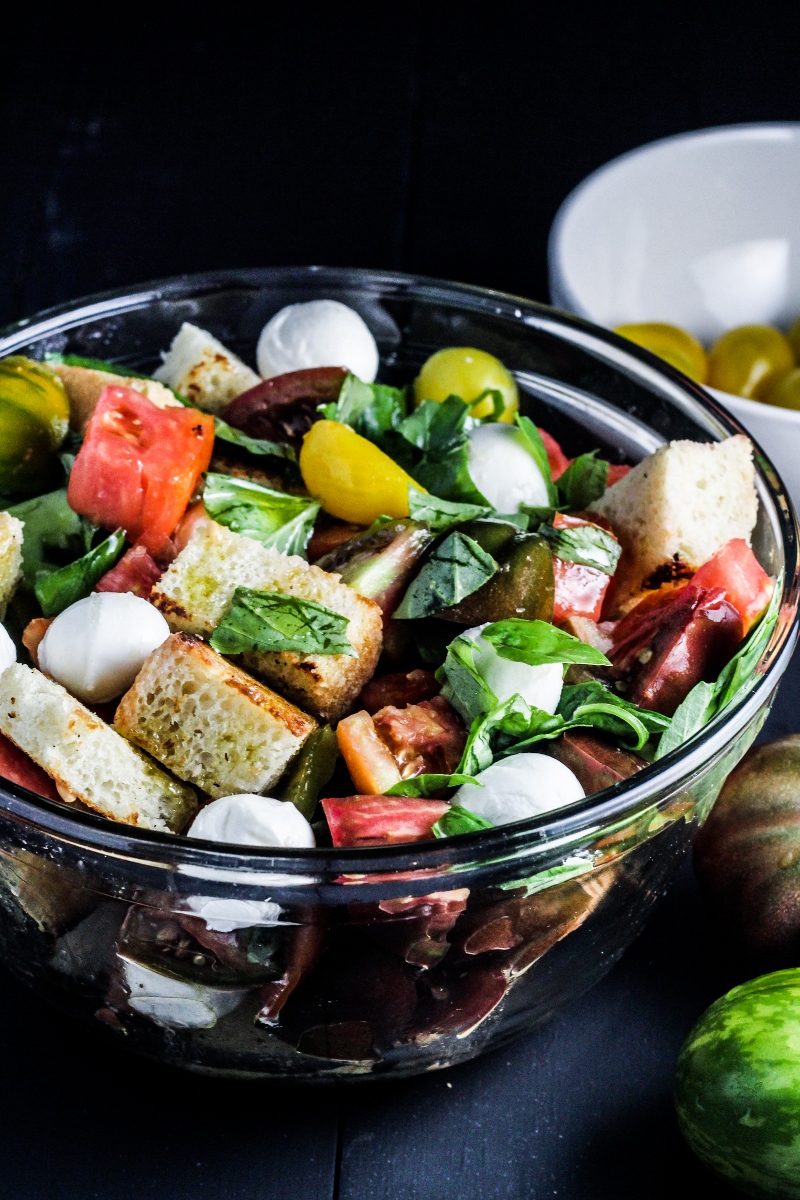
Heirloom Tomato Panzanella with Mozzarella and Basil
Serves 4.
- 6 thick (1-inch) slices sourdough bread, cut into bite-sized cubes
- 6 TBS olive oil, divided
- coarse sea salt
- 2 pounds heirloom tomatoes, cut into bite-sized pieces
- 3/4 c. small fresh mozzarella balls (cillegine)
- 15 leaves fresh basil, torn into pieces by hand
- Toss 4 TBS of the olive oil with the bread cubes in a large bowl, then transfer to a wide frying pan or dutch oven, sprinkle with sea salt, and toast bread cubes over medium heat, stirring frequently, until bread is golden brown on much of it’s surface, about 5-10 minutes.
- Toss the warm bread cubes with the tomatoes, mozzarella balls, and torn basil. Drizzle with the remaining 2 TBS of olive oil and season to taste with sea salt. Serve at room temperature.