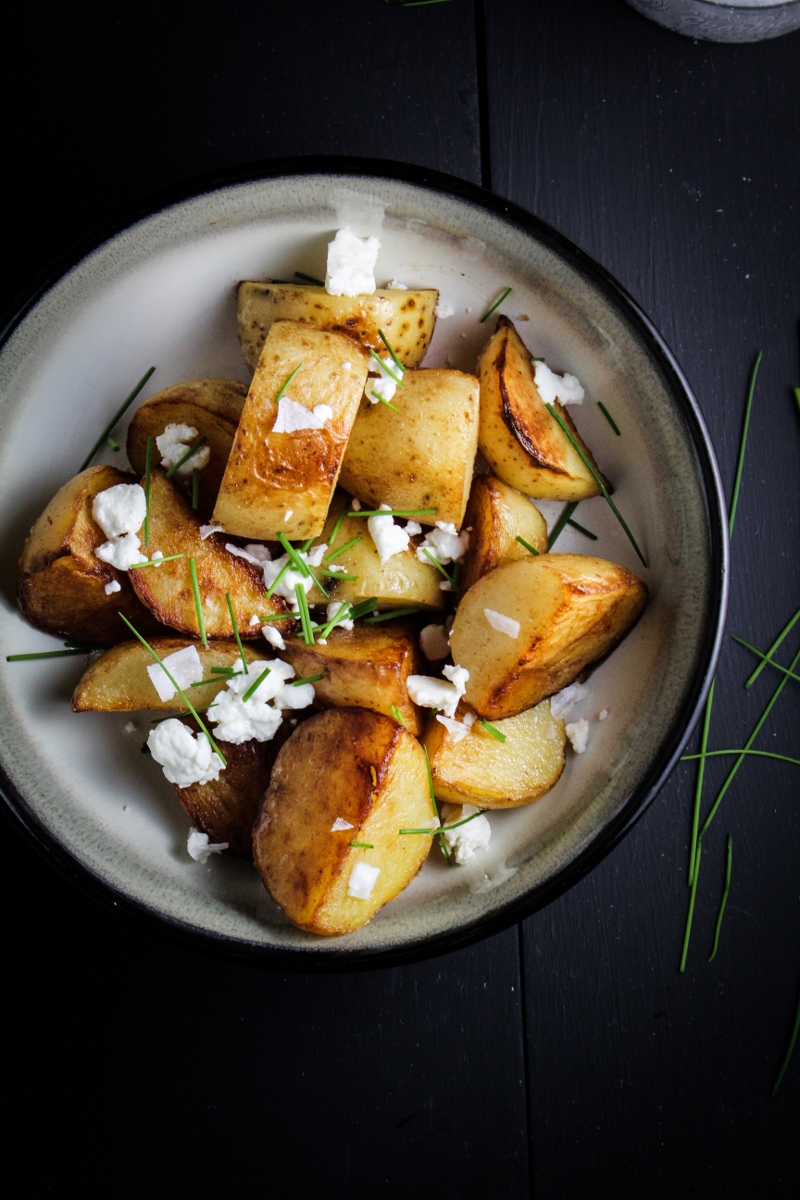
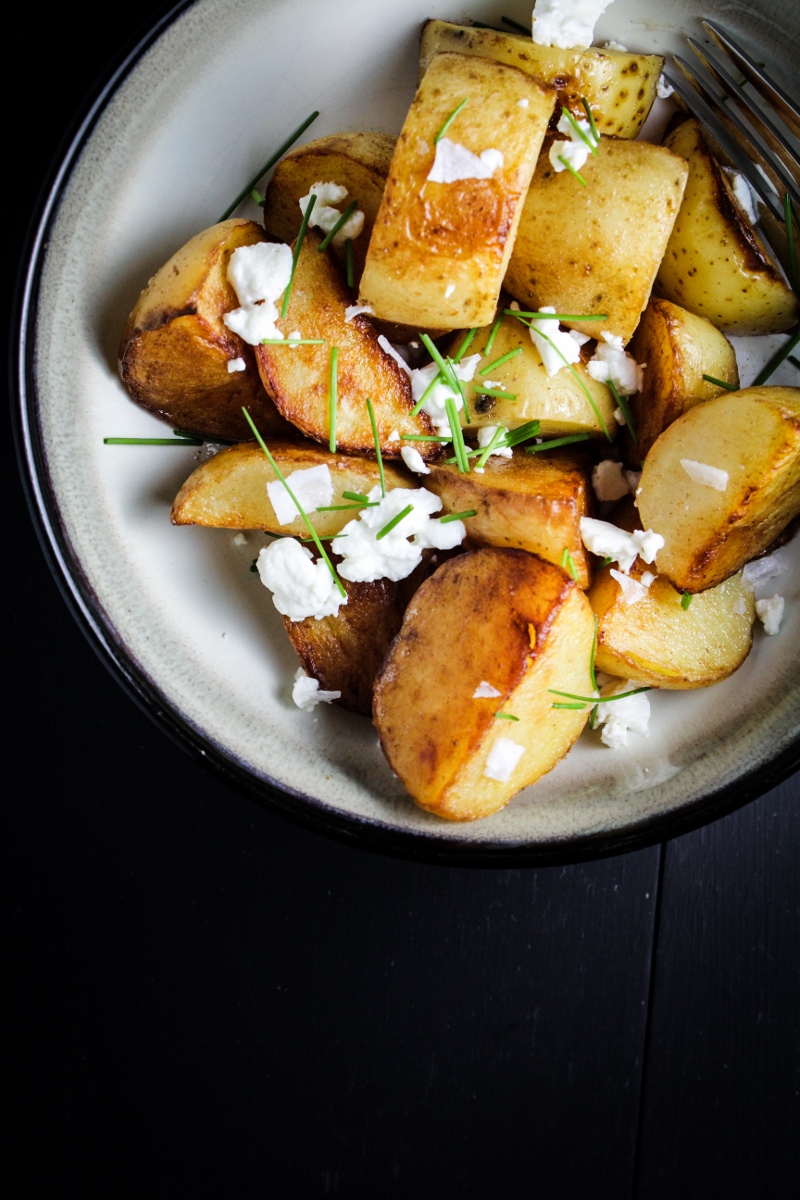
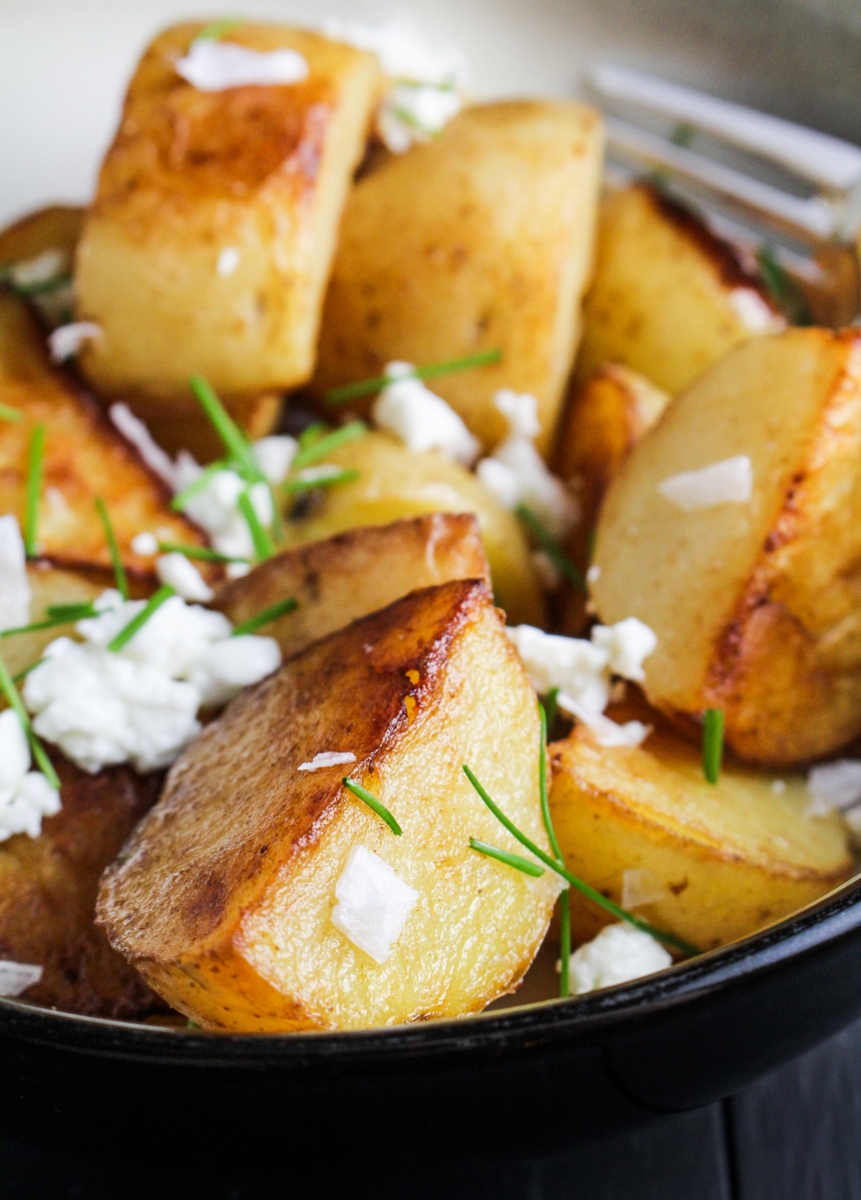
I just have a quick little side dish recipe for you today, but I promise, it’s a good one. I made these crispy salt and vinegar potatoes the same day that I saw them in Bon Appetit, and I’ve since tweaked the recipe to get them just how I like them. I used to find salt and vinegar chips to be too strong, but now I find the combination addictive, and this recipe embodies the combo well. In order to get creamy-on-the-inside, crispy-on-the-outside potatoes, you boil them until just tender and then pan-fry them until golden brown. Served hot and dotted with fresh goat cheese and chives, they’re a very satisfying and craveable side dish. Or, if you’re the kind of person who considers a bowl of potatoes to be a perfectly acceptable dinner, like I am, they make a very satisfying dinner.

In other news, I’m on the second-to-last day of a 10 day business trip, and I have to run out and enjoy the generous free afternoon I’ve been given to explore Rome (!). If you want to follow along, come join me on Instagram, but be warned, I’m doing my best to make everyone I know jealous. I swear I’m going to make up for it by doing lots of real work on the plane tomorrow, though. I’ll be back with another recipe at the end of the week once I’m home – I hope everyone had a great Memorial Day Weekend!
Like what you just read? Subscribe to Katie at the Kitchen Door on Feedly or Bloglovin‘, or follow along on Facebook, Twitter, Pinterest, Instagram, or Google+. Thanks for reading!
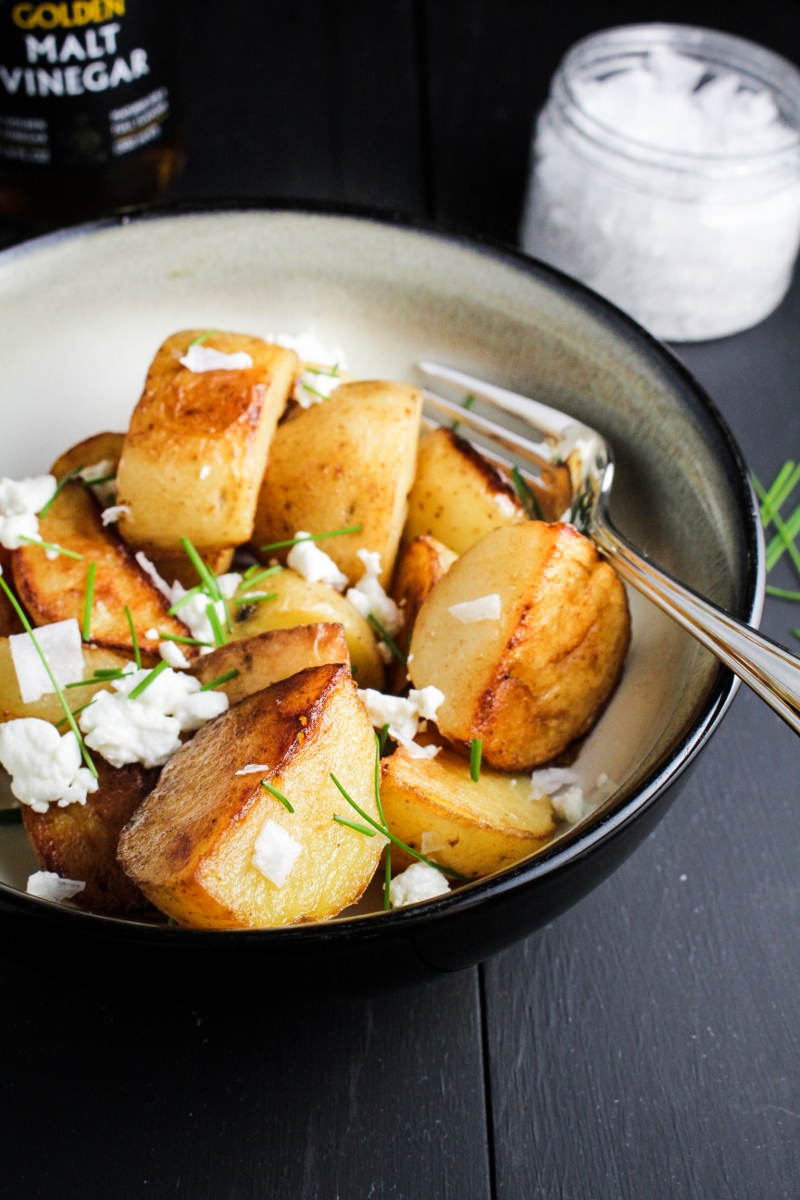
Crispy Sea Salt and Vinegar Potatoes with Goat Cheese and Chives
Adapted from Bon Appetit. Serves 3-4 as a side.
- 2 lb. small Yukon gold potatoes, quartered
- 1 cup distilled white vinegar
- 1 TBS sea salt
- 2 TBS butter
- 1 TBS malt vinegar
- 2 oz. goat cheese crumbles
- 1 TBS chopped fresh chives
- flaky sea salt, for finishing
- Place the potatoes, vinegar, and sea salt in a large saucepan, and cover by one inch with cold water. Bring to a boil over medium heat. Keep at a gentle boil until potatoes are just tender when poked with a fork, about 20 minutes. Drain.
- In a large frying pan, melt butter over medium heat. Add potatoes and saute, stirring occasionally, until they are golden brown and crispy on all sides, about 15 minutes. Remove from heat and stir in malt vinegar.
- Serve the potatoes sprinkled with goat cheese, chives, and flaky sea salt. Serve hot.