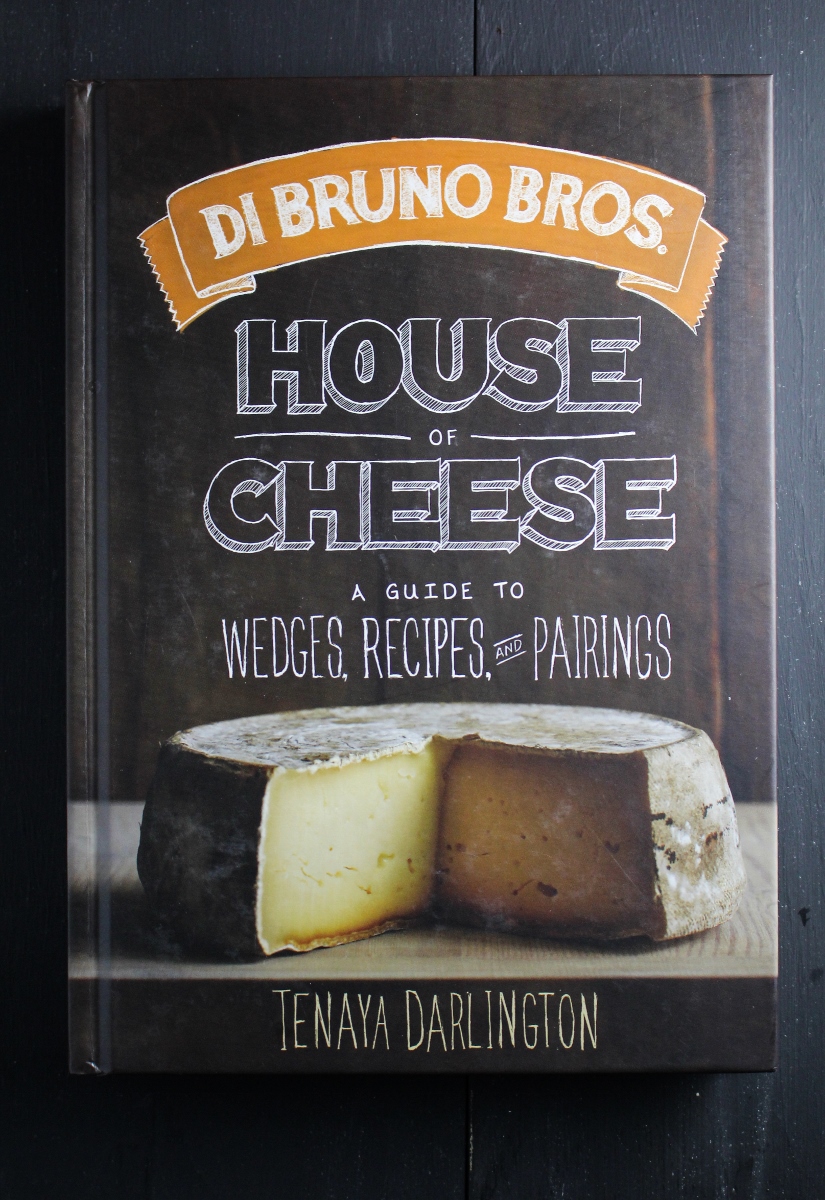
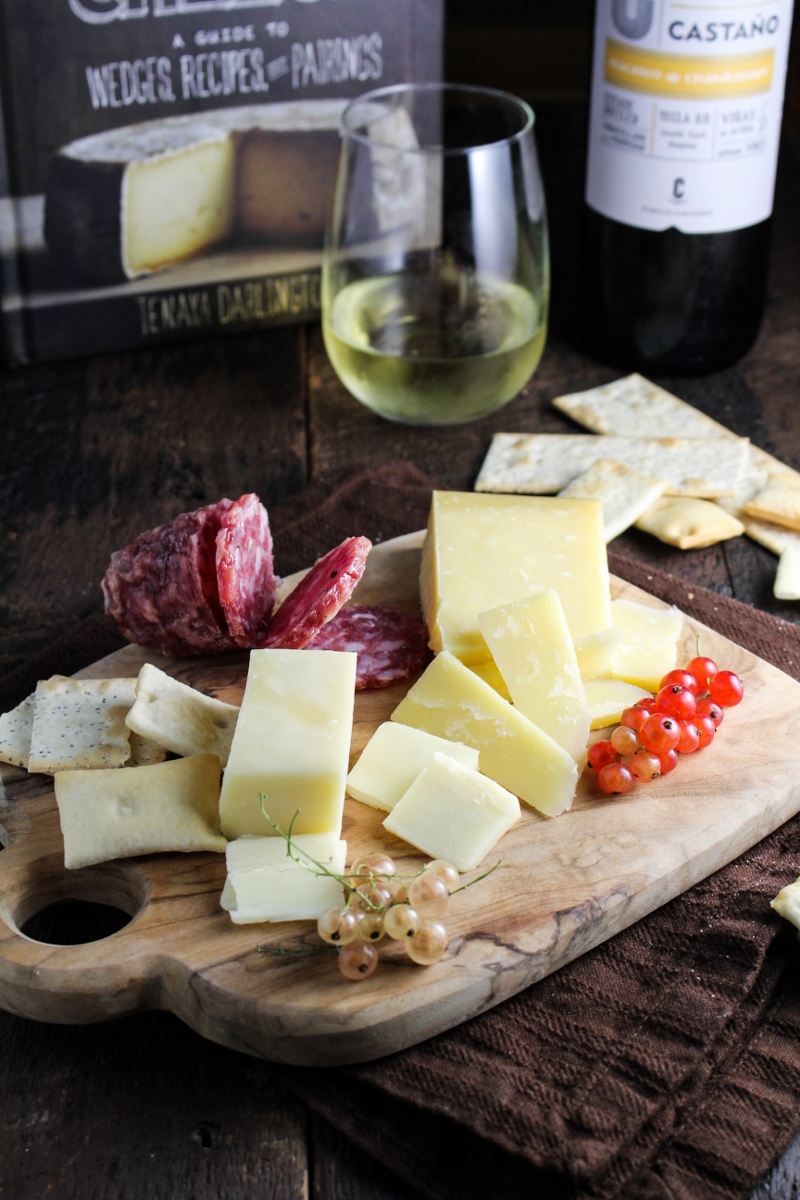
The Book: I have a special book review for you today, one that involves a lot of cheese, an anniversary, and an awesome giveaway (scroll down for details). Although I’m not from Philly, I’m thrilled to be helping Philly-institution DiBruno Bros. celebrate their 75th anniversary as well as their first book, DiBruno Bros. House of Cheese: A Guide to Wedges, Recipes, and Pairings. DiBruno Bros. is a gourmet market specializing in high-end cheeses and cured meats, as well as other specialty food products. Family owned and operated, its the kind of gourmet culinary institution that’s worth supporting and preserving. Their only brick and mortar locations are in Philadelphia, but the rest of us can enjoy their delicious products by purchasing them through their online store.
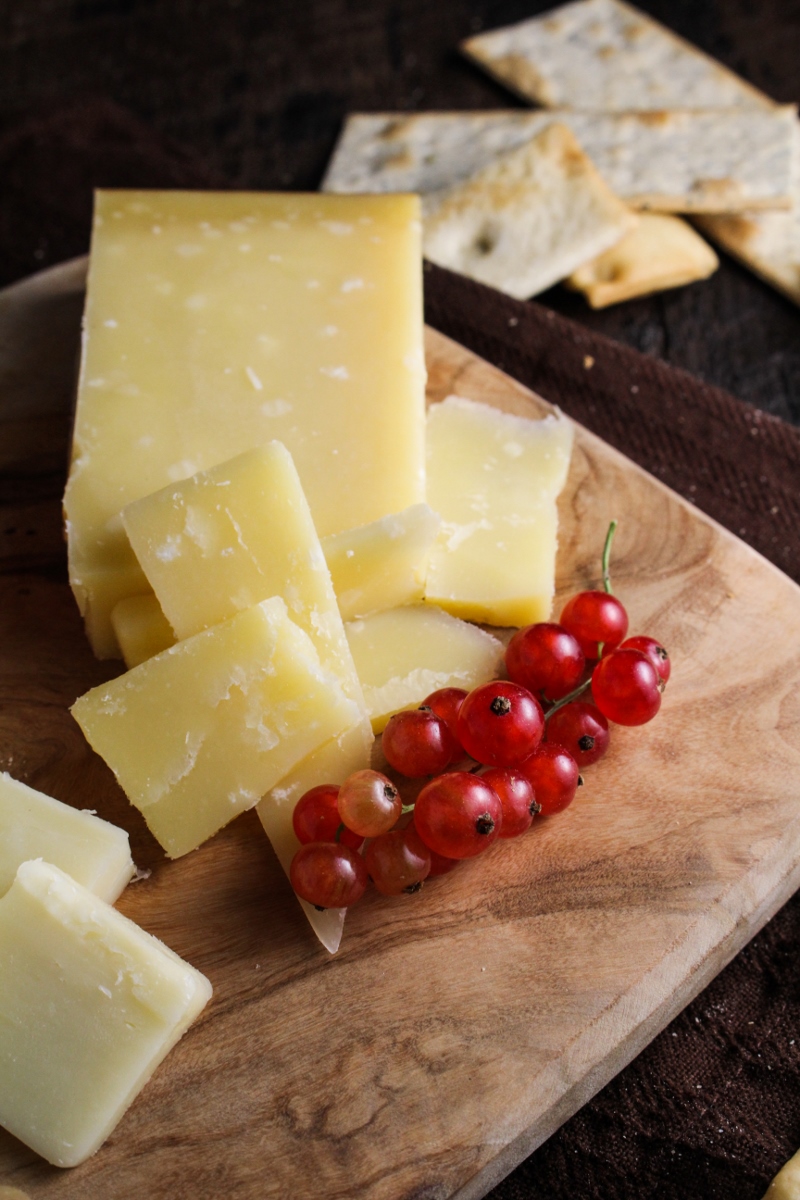

Last year, DiBruno Bros. released their first book, House of Cheese, in partnership with blogger Tenaya Darlington, author of Madame Fromage. The bulk of the book is composed of descriptions of various cheeses, separated into 10 categories, from “Free Spirits” to “Pierced Punks.” The descriptions of each cheese are quirky and engaging – I’ve never heard cheese described with such personality and detail! – and each includes a series of food and drink pairings for that particular cheese. Tenaya writes with a subtle sense of humor that had me cracking a smile at descriptions like “full of wild, fatty-licious stink – prepare yourself for the smell of boiled peanuts, pick-up truck exhaust, and bare feet [Cato Corner Farm’s Hooligan]” and “wrapped in walnut leaves and aged in mountain caves, it’s the sort of cheese you want everyone to see that you’re eating [Foja de Noce].” Interspersed throughout the descriptions are notes and anecdotes about making, serving, and eating cheese, cheese board suggestions, and simple recipes for appetizers to serve with your cheese. The themed cheese boards with pairings will ensure that you really impress your guests at your next party – I, for one, will be trying the “fireside party” board when the weather turns colder, which includes Truffle Tremor paired with roasted chestnuts and Stilton paired with dark chocolate. Yum. All told, the book is both pleasantly engaging and very informative, covering a much broader range of cheeses than I expected to find. The next time I step up to the cheese counter, I’ll certainly have done my research about what I really want to try.
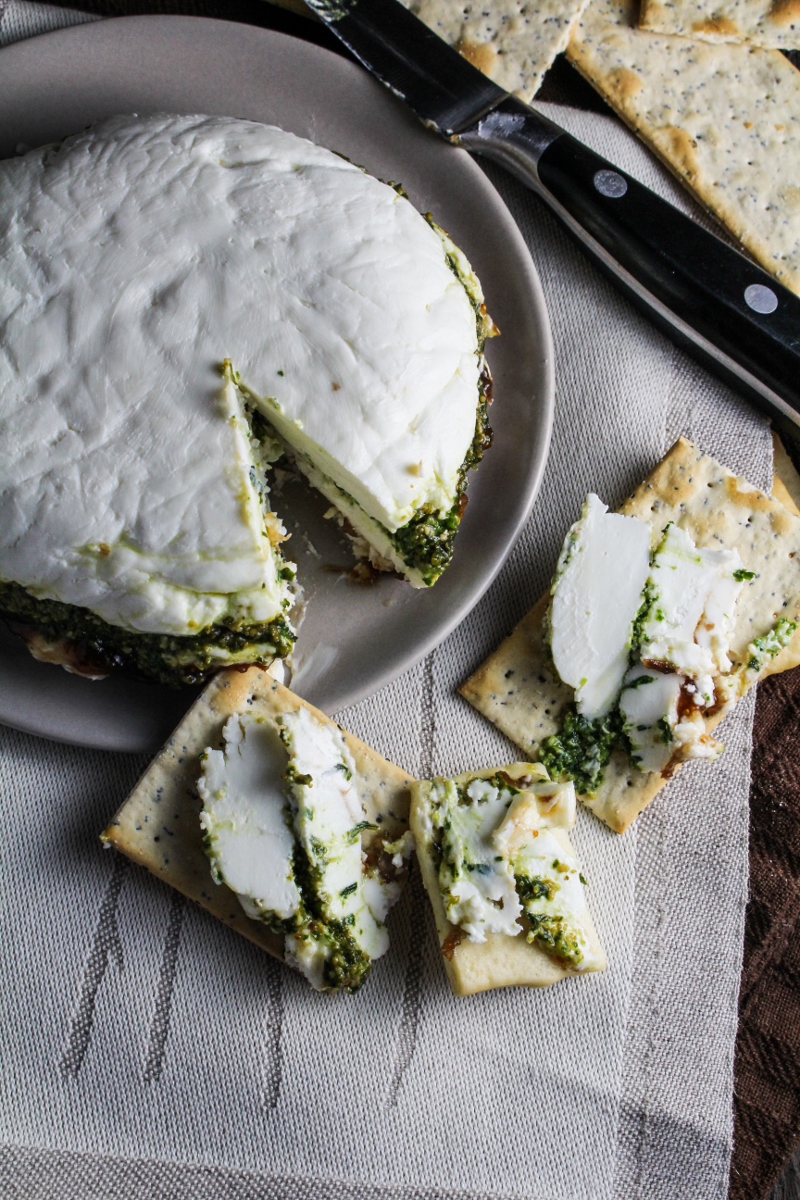
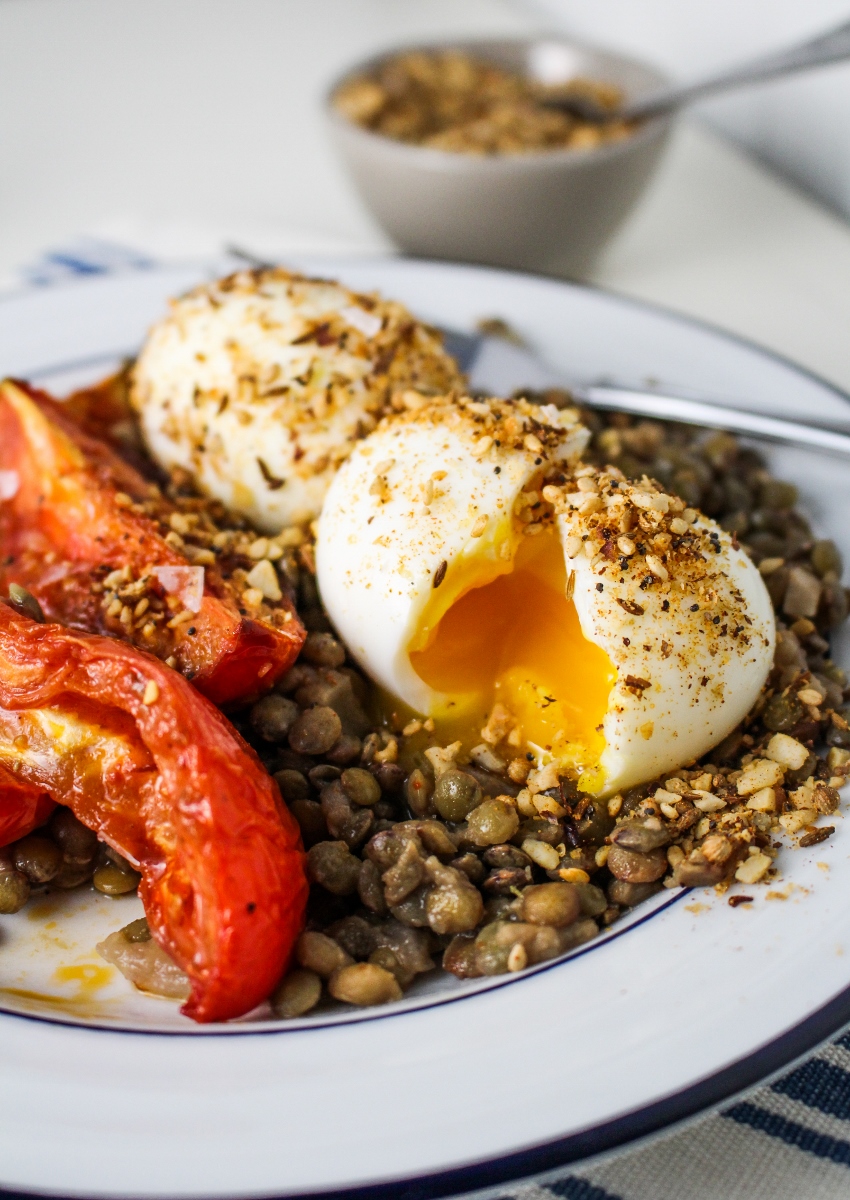
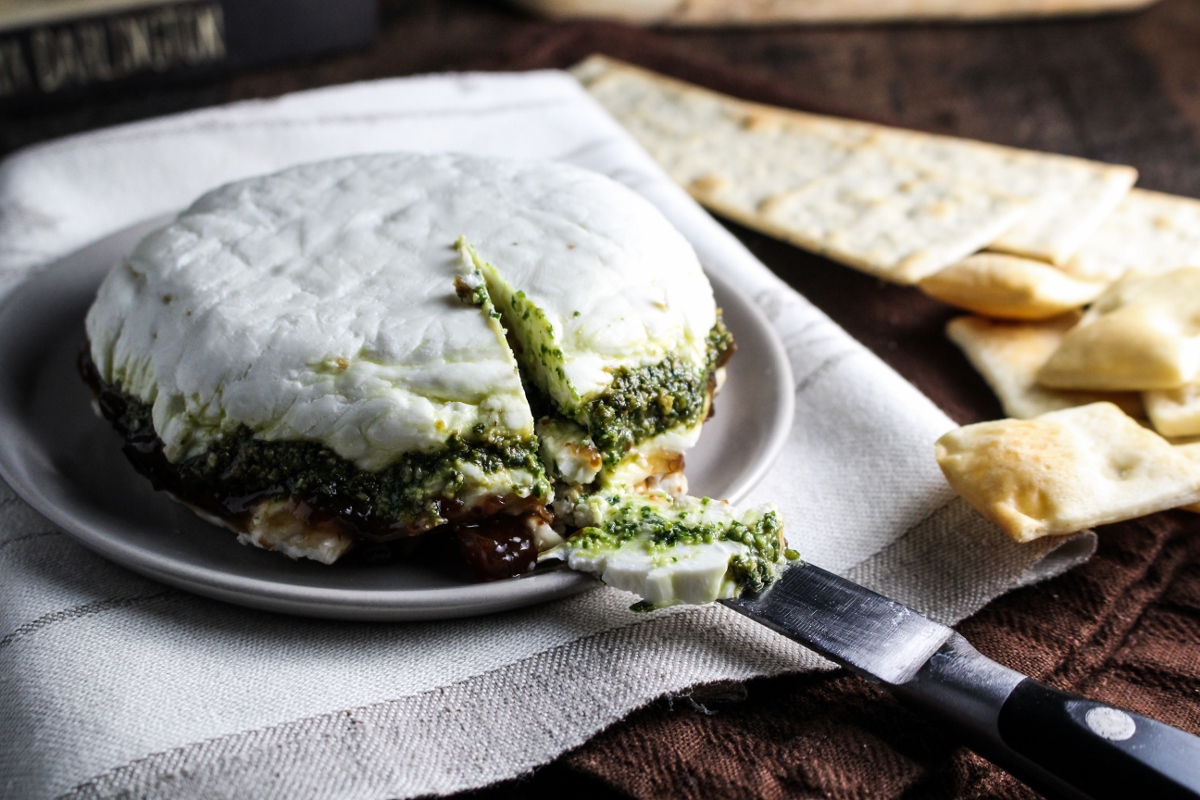
The Food: While there’s only a handful of recipes included in House of Cheese (the focus is more on the cheese descriptions and pairings), I don’t like publishing book reviews without at least giving you a taste of whatever recipes there are, so I decided to make the Goat Cheese Terrine with Fig Jam and Pesto. Like most of the recipes in the book, it’s very simple to pull together – it only took me about 10 minutes to whip up – and the results are really lovely. I’m not sure I would have naturally come up with the combination of pesto and fig jam, but the sweet and herbal flavors are tied together well by the layer of goat cheese in between. This is the kind of appetizer that disappears in no time at a party, the sort of thing that draws everyone into the same room to stand around the table and nibble on cheese-covered crackers and chat. It takes a little bit of patience to get the cheese to spread out evenly, but that’s the only part that is even remotely tricky. Even my least culinary friends could handle this one.
Congratulations to Victoria C on winning this giveaway! Enjoy your goodies :-)
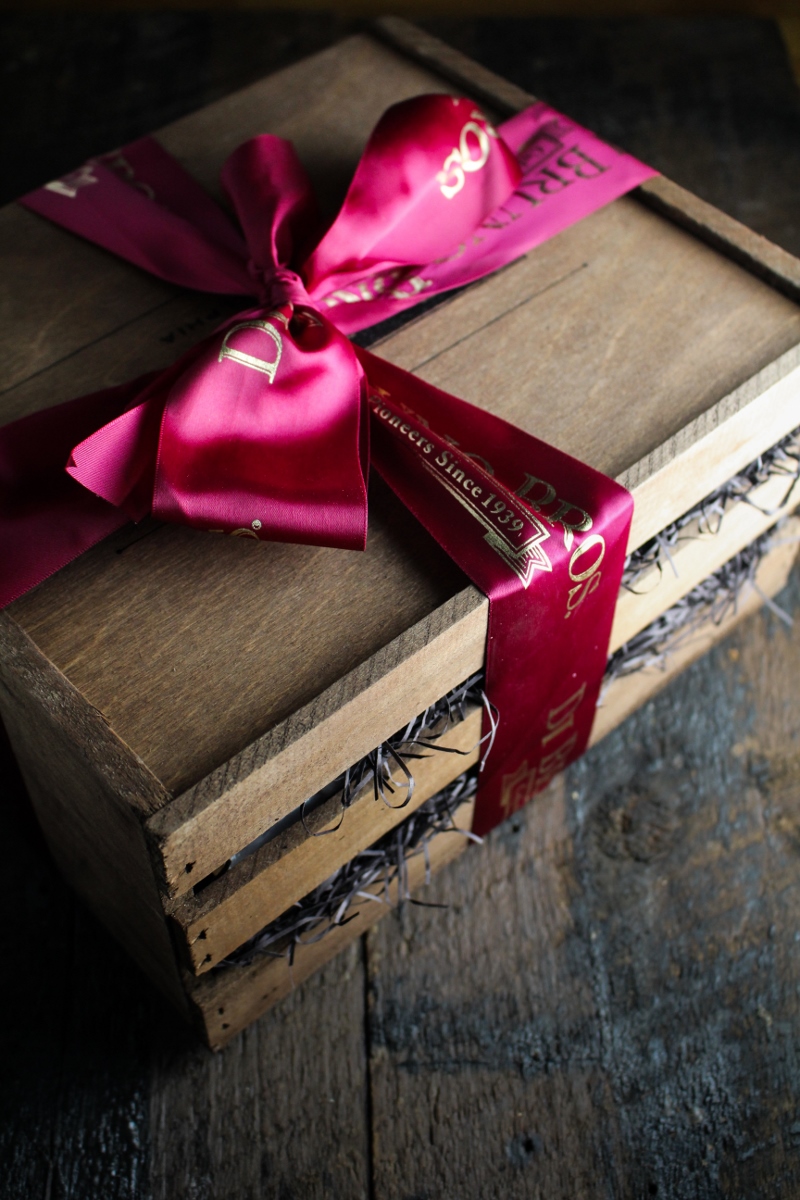
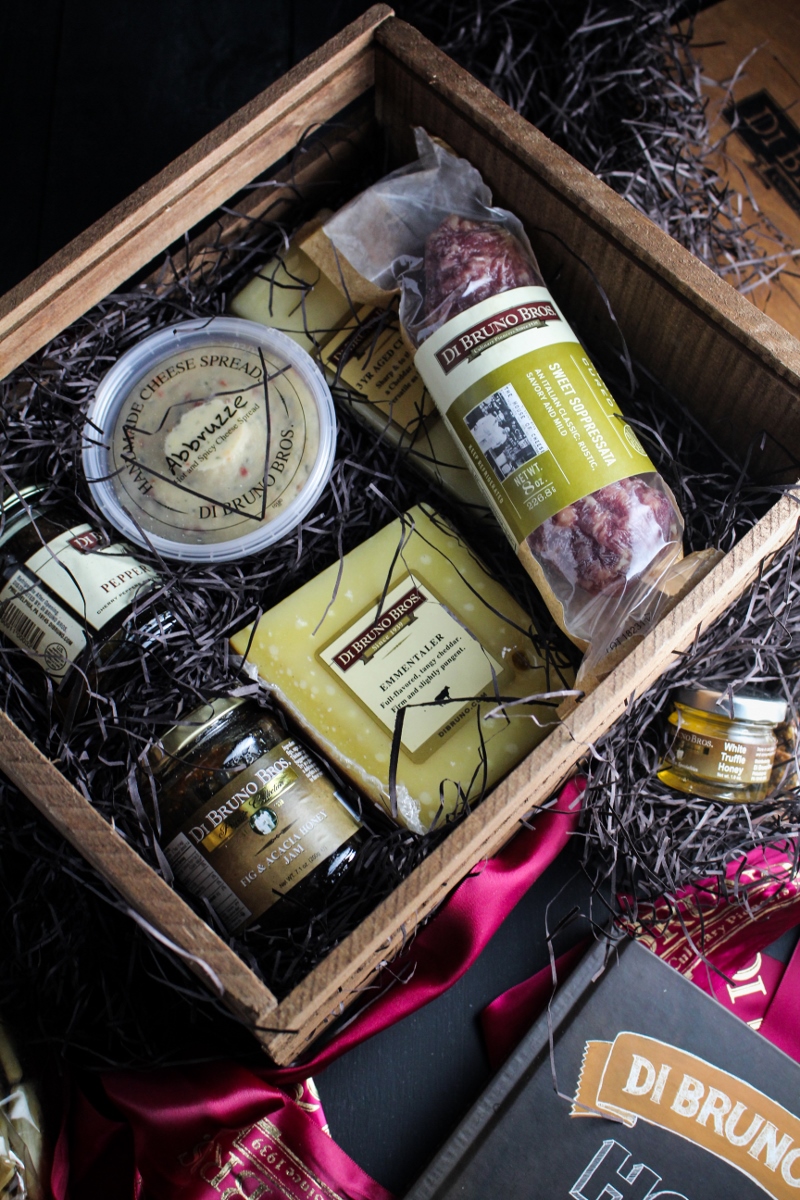
The Giveaway: I’m not the only one who gets a great new cookbook and a gorgeous cheese gift basket – one lucky reader will get one, too! The gift basket includes a few different cheeses, some tasty snacks to serve with your cheese (like addictive Black Lava Cashews), and a $25 gift card to DiBruno Bros. for you to try something new. To enter the giveaway, leave a comment below letting me know a) what your favorite kind of cheese is, and b) what your favorite cheese-centric recipe is. If you don’t win here, keep your eyes on Dine and Dish, All Day I Dream About Food, and Kitchen Confidante in the coming weeks for more chances to win. By entering the giveaway, you are agreeing to the official rules as listed below:
No purchase necessaryVoid where prohibitedOne entry per household, and only entries answering the question above will be considered!The sponsor of this giveaway is DiBruno Bros.The estimated retail value of the book and gift basket is $150The odds of winning will depend on the number of entries receivedThis contest is only open to U.S. Citizens over the age of 18The contest will open today, July 23rd, 2014 at posting time, and will close at 11PM EST on Wednesday, July 30th, 2014One winner will be selected randomly and contacted via email (so please leave an accurate email address!). If I do not hear from the winner within 48 hours, the winner forfeits their prize and an alternate winner will be chosen.I will post the winner here by Friday, August 8th, 2014
Recipe Shortlist: Manchego and Marcona Almond Pesto; Pickled Feta with Olives and Strawberries; Baked Brie with Pears and Apricots; Semolina Crackers with Sea Salt; Lavender Mustard; Zeke’s Bacon Maple Grilled Cheese; Tomato and Pancetta Strata
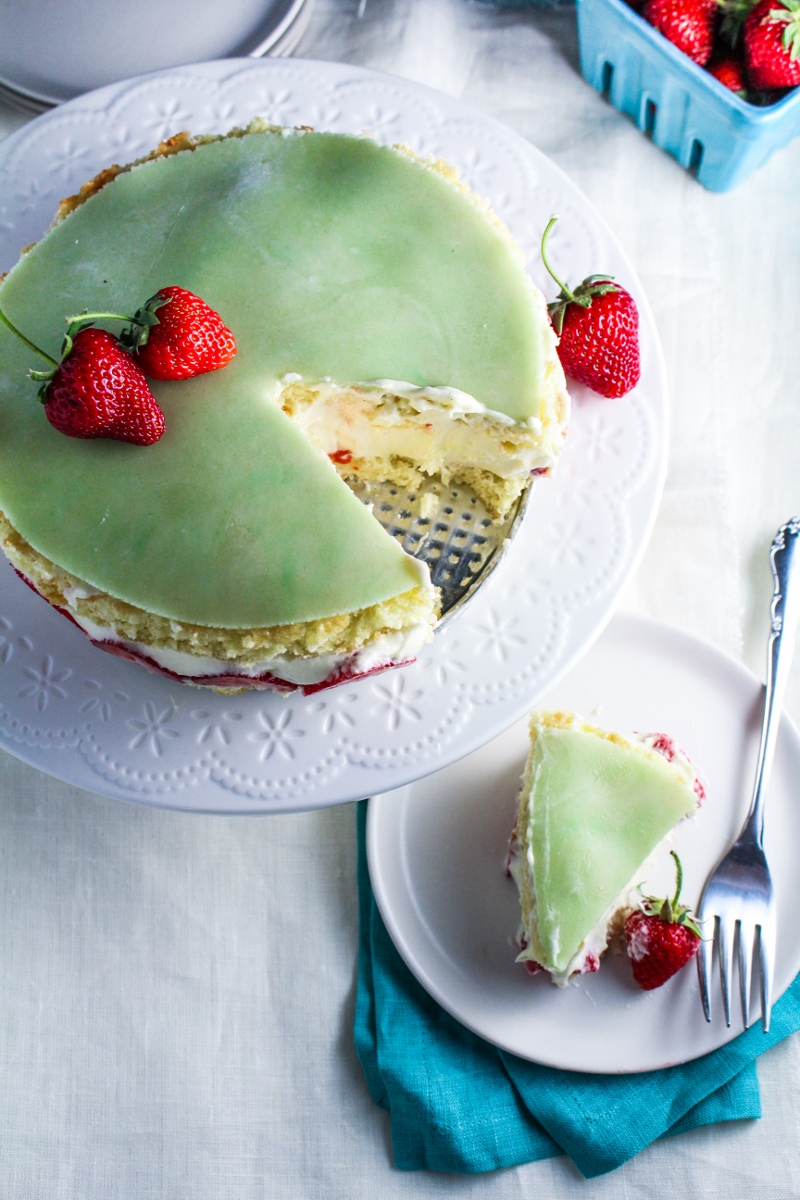
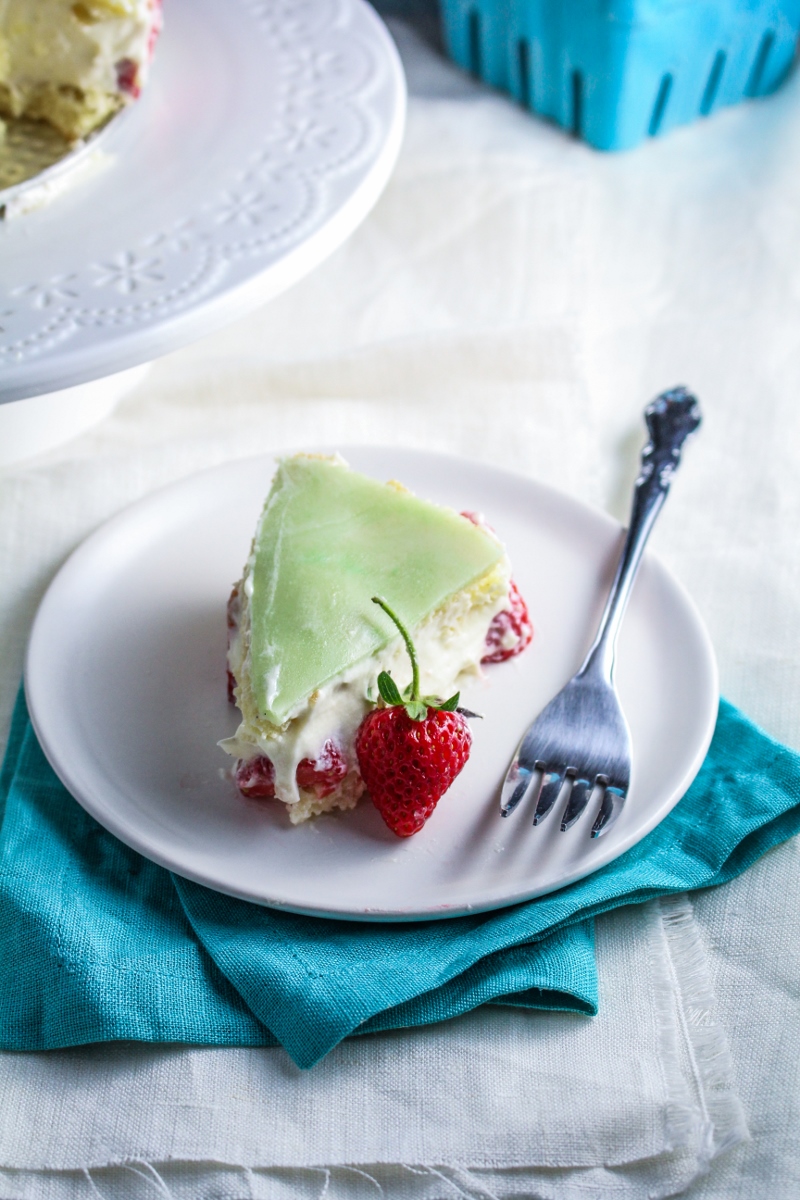
Like what you just read? Subscribe to Katie at the Kitchen Door on Feedly or Bloglovin‘, or follow along on Facebook, Twitter, Pinterest, Instagram, or Google+. Thanks for reading!
DiBruno Bros. sent me a copy of House as Cheese, as well as a 75th anniversary gift basket free of charge for this post. I was not otherwise compensated, and all opinions are my own.
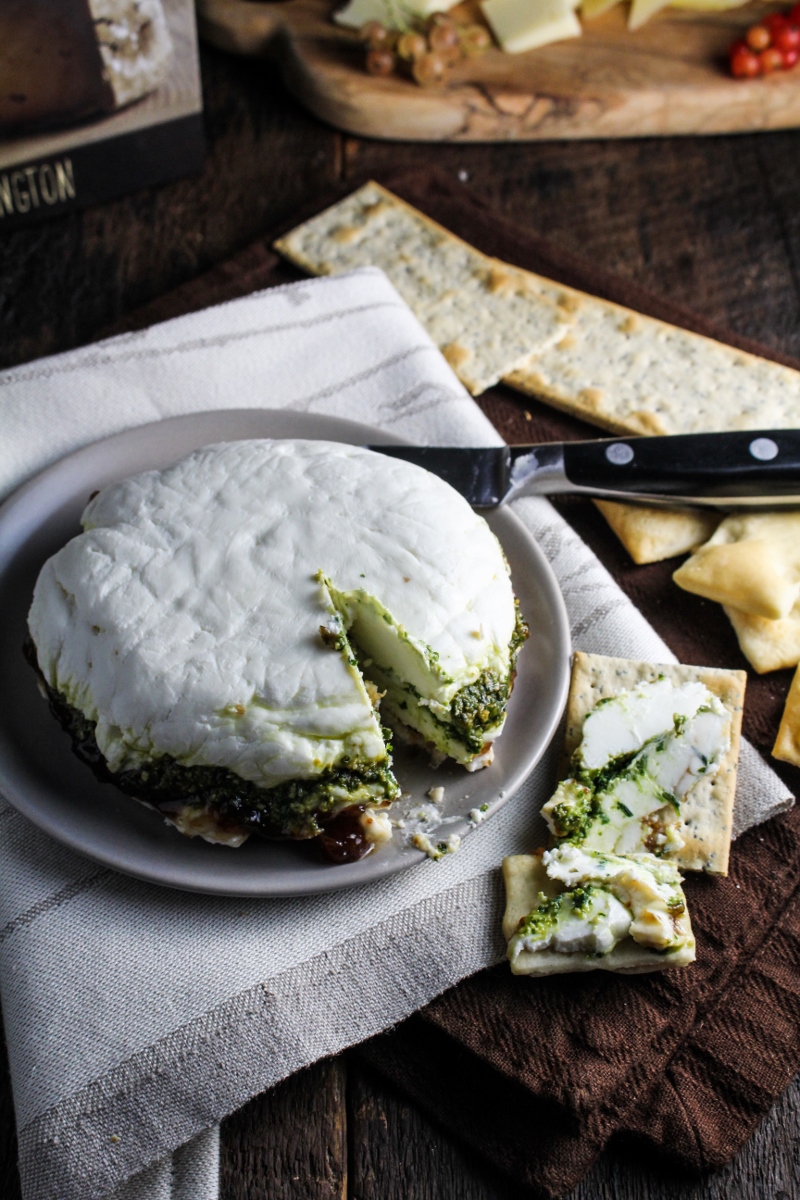
Goat Cheese Terrine with Fig Jam and Pesto
Recipe reprinted from DiBruno Bros. House of Cheese courtesy of DiBruno Bros. and Running Press. Serves 8-12 as an appetizer.
- 1 stick (4 oz.) unsalted butter, at room temperature
- 1 pound soft fresh goat cheese, such as Capricho de Cabra, at room temperature
- sea salt and freshly ground black pepper
- 1/2 c. basil pesto
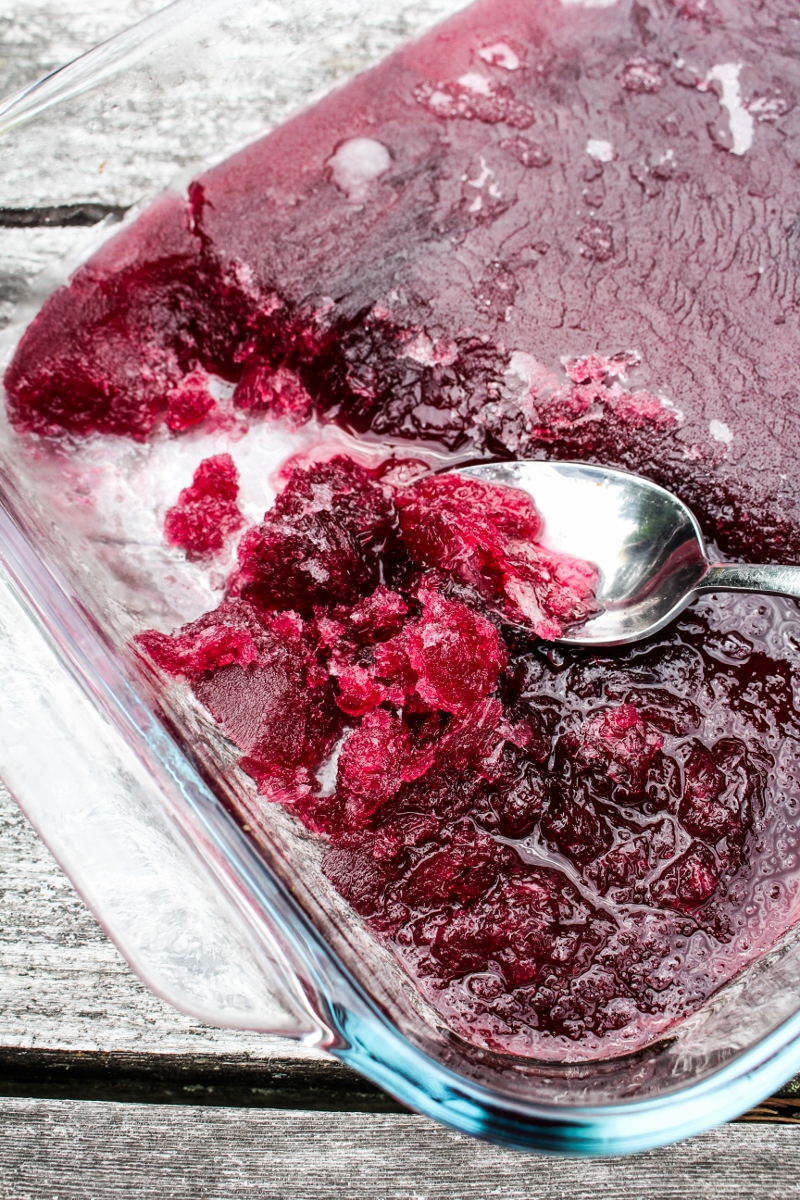
- 3/4 c. fig jam
- 1/2 c. walnuts or pecans, toasted and coarsely chopped
- Line the inside of a very deep 4-cup bowl with plastic wrap, allowing the edges to drape over the sides. Cream the butter and fresh goat cheese in a mixing bowl for 3 minutes, until fluffy. Add a dash of salt and pepper, to taste.
- Spoon one-third of the goat cheese into the plastic-lined bowl, and spread it evenly with a spatula to form your first layer. Top this with a layer of pesto (using up the entire 1/2 cup), but don’t spread it all the way to the edge (it will seep out on its own), followed by a second layer of goat cheese (there will be three total). Top the second layer of goat cheese with a layer of fig jam, followed by a final tier of goat cheese.
- Cover the dish with a layer of plastic wrap. Chill for 2 to 4 hours, or until set. Before serving, remove the top layer of plastic wrap and invert the bowl onto a plate (you may need to tug at the plastic wrap to get the terrine to fall out of the bowl), then remove the bowl and the plastic liner. Garnish with the toasted nuts. Serve with baguette rounds or crackers.