This week I found myself unexpectedly gifted with two weeks at home stretched out ahead of me. Two weeks with relatively little on the calendar, because I was supposed to be in Colombia, and now I’m not. I’m enjoying it immensely – just being able to settle into a little bit of a routine, grocery shopping, catching up on chores I’ve had on my list for months, eating dinner outside on these lovely June nights when the dusk lingers past 9pm. It’s a nice breather in the middle of what feels like an increasingly chaotic schedule.
Although I skipped setting a fitness goal in May, April’s goal went well – I managed to squeeze in some form of exercise on 26 out of 30 days (which definitely included some awkward, 11pm hotel room workouts while I was traveling). I still feel like I’m struggling to make progress overall – It seems like every time I take a couple of strong steps in the right direction, something comes up that takes it all back (bachelorette party! graduation weekend! another unexpected work trip to Colombia!). So it feels especially important to take advantage of a few quiet weeks and focus them on taking care of myself.
In the spirit of routines and good habits, I’m committing to two things this month (at least for the next few weeks that I’m home). First, meal planning. Meal planning is one of those things that requires dedicating 30-60 minutes to it at the beginning of the week, but makes it so much easier to stay on track with healthy eating when you go into each day with a plan. Build in treats, build in events you know you’ll be attending, and make sure the other days are balanced around that. The second thing? Drinking is reserved for weekends, and only for weekends. This one is harder. I already slipped and had a glass of rosé at a work happy hour before even writing this post, but I stopped at one and followed it up with two big glasses of water at home.

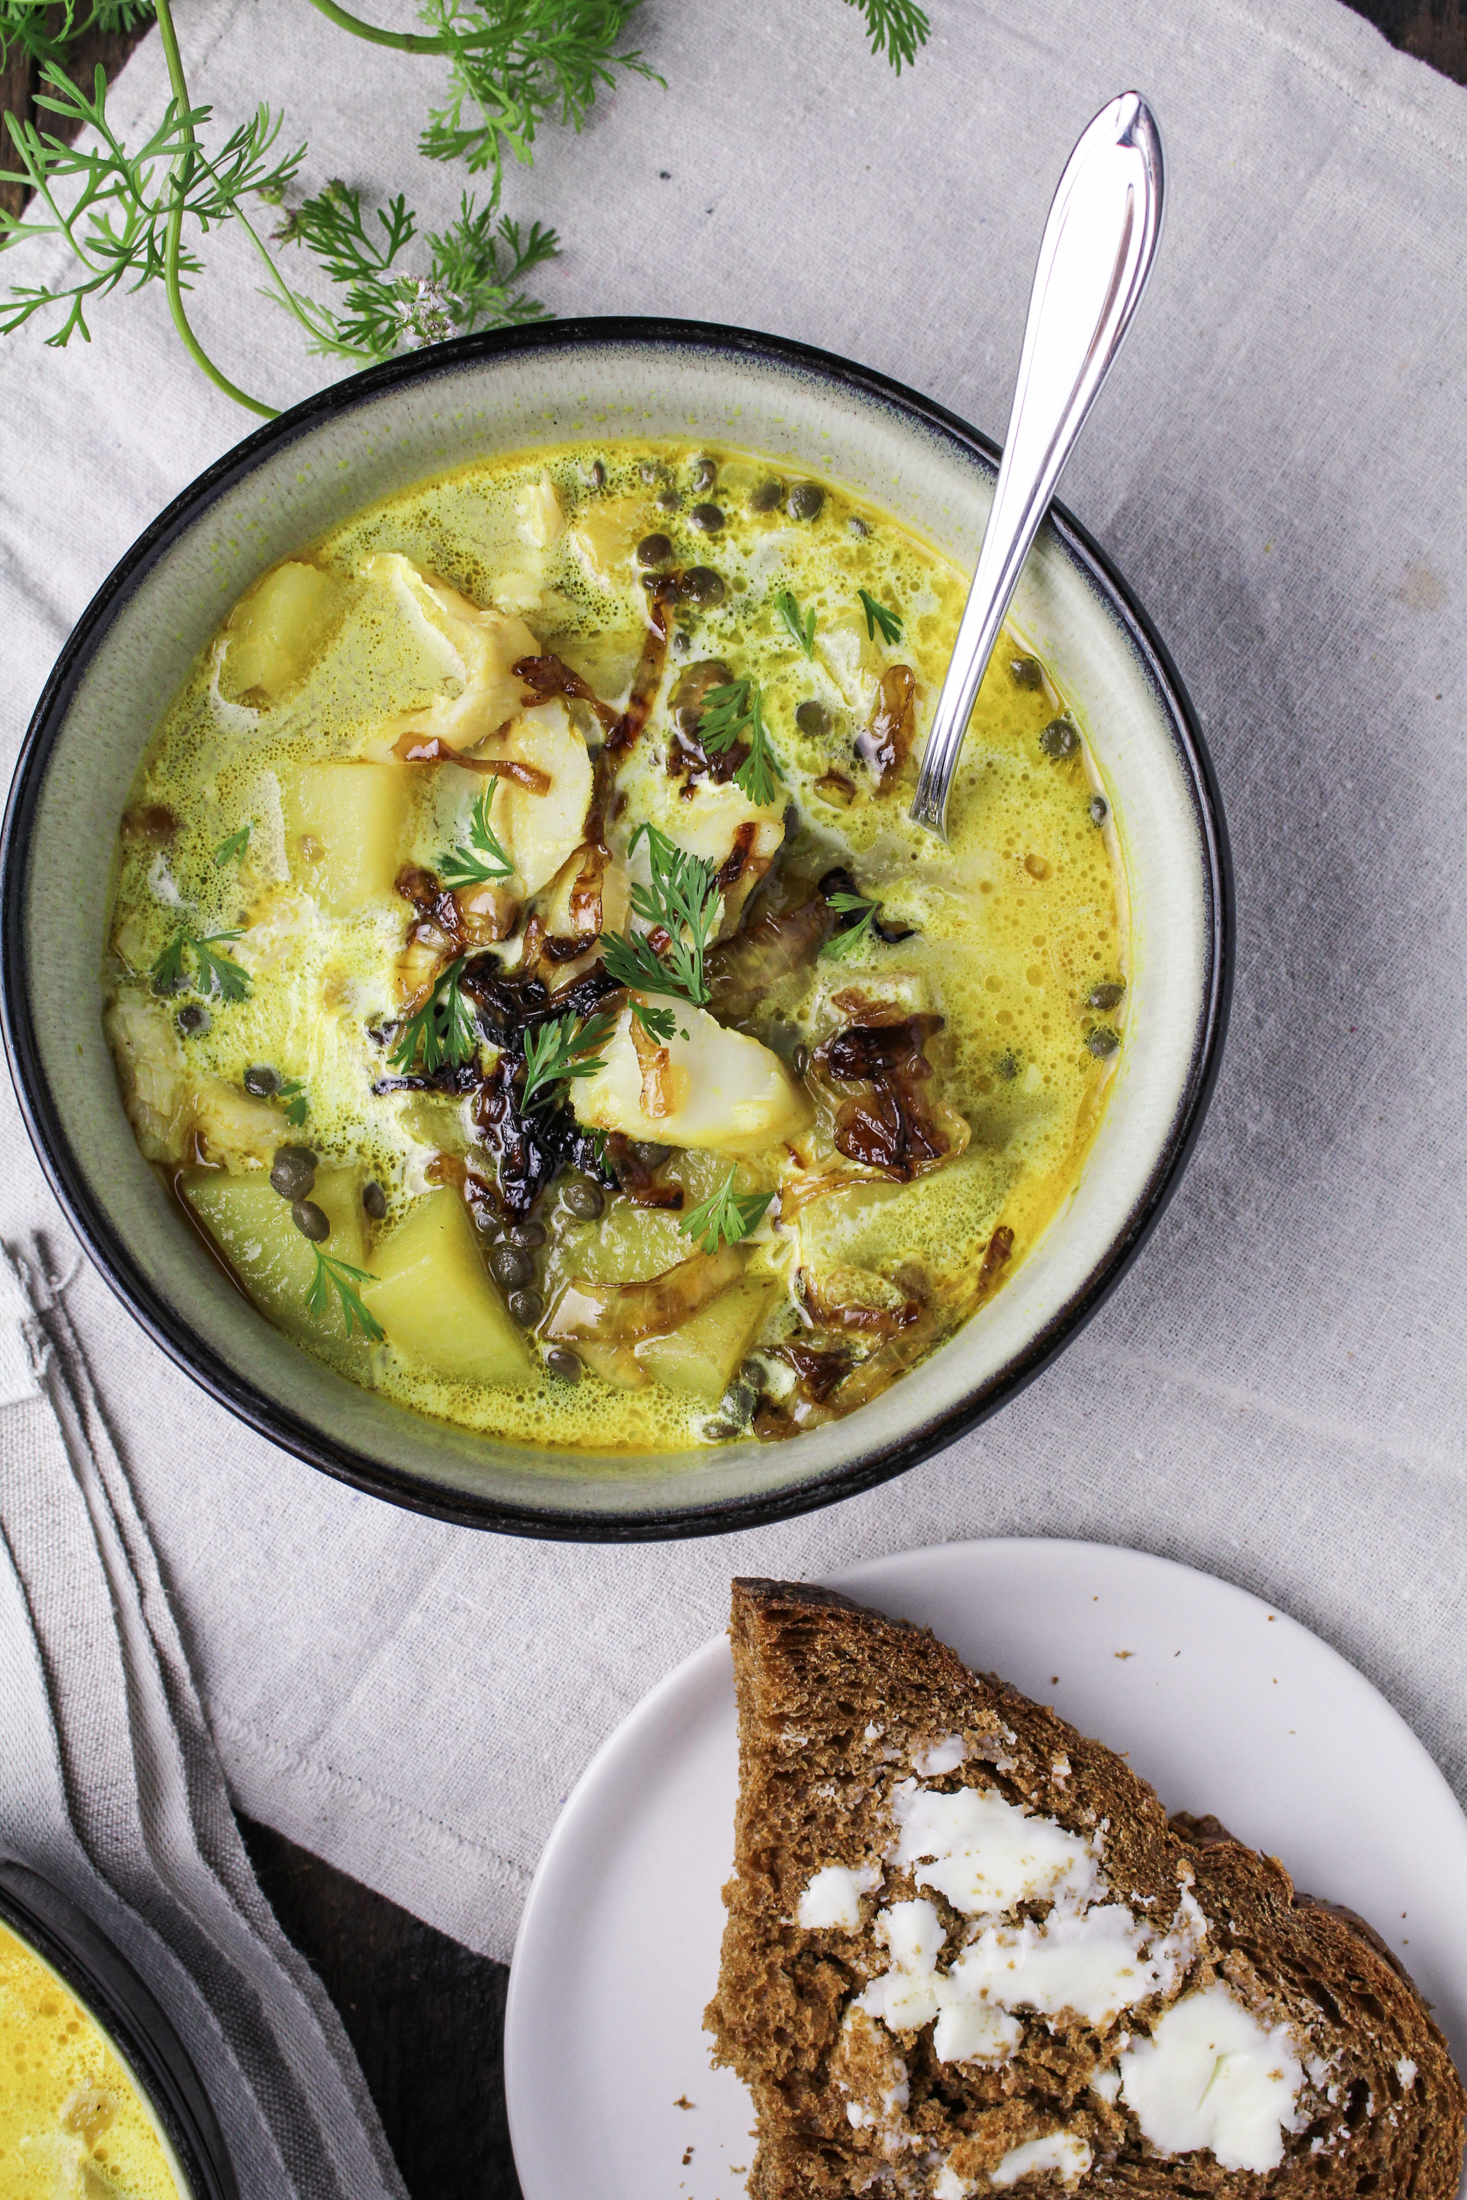
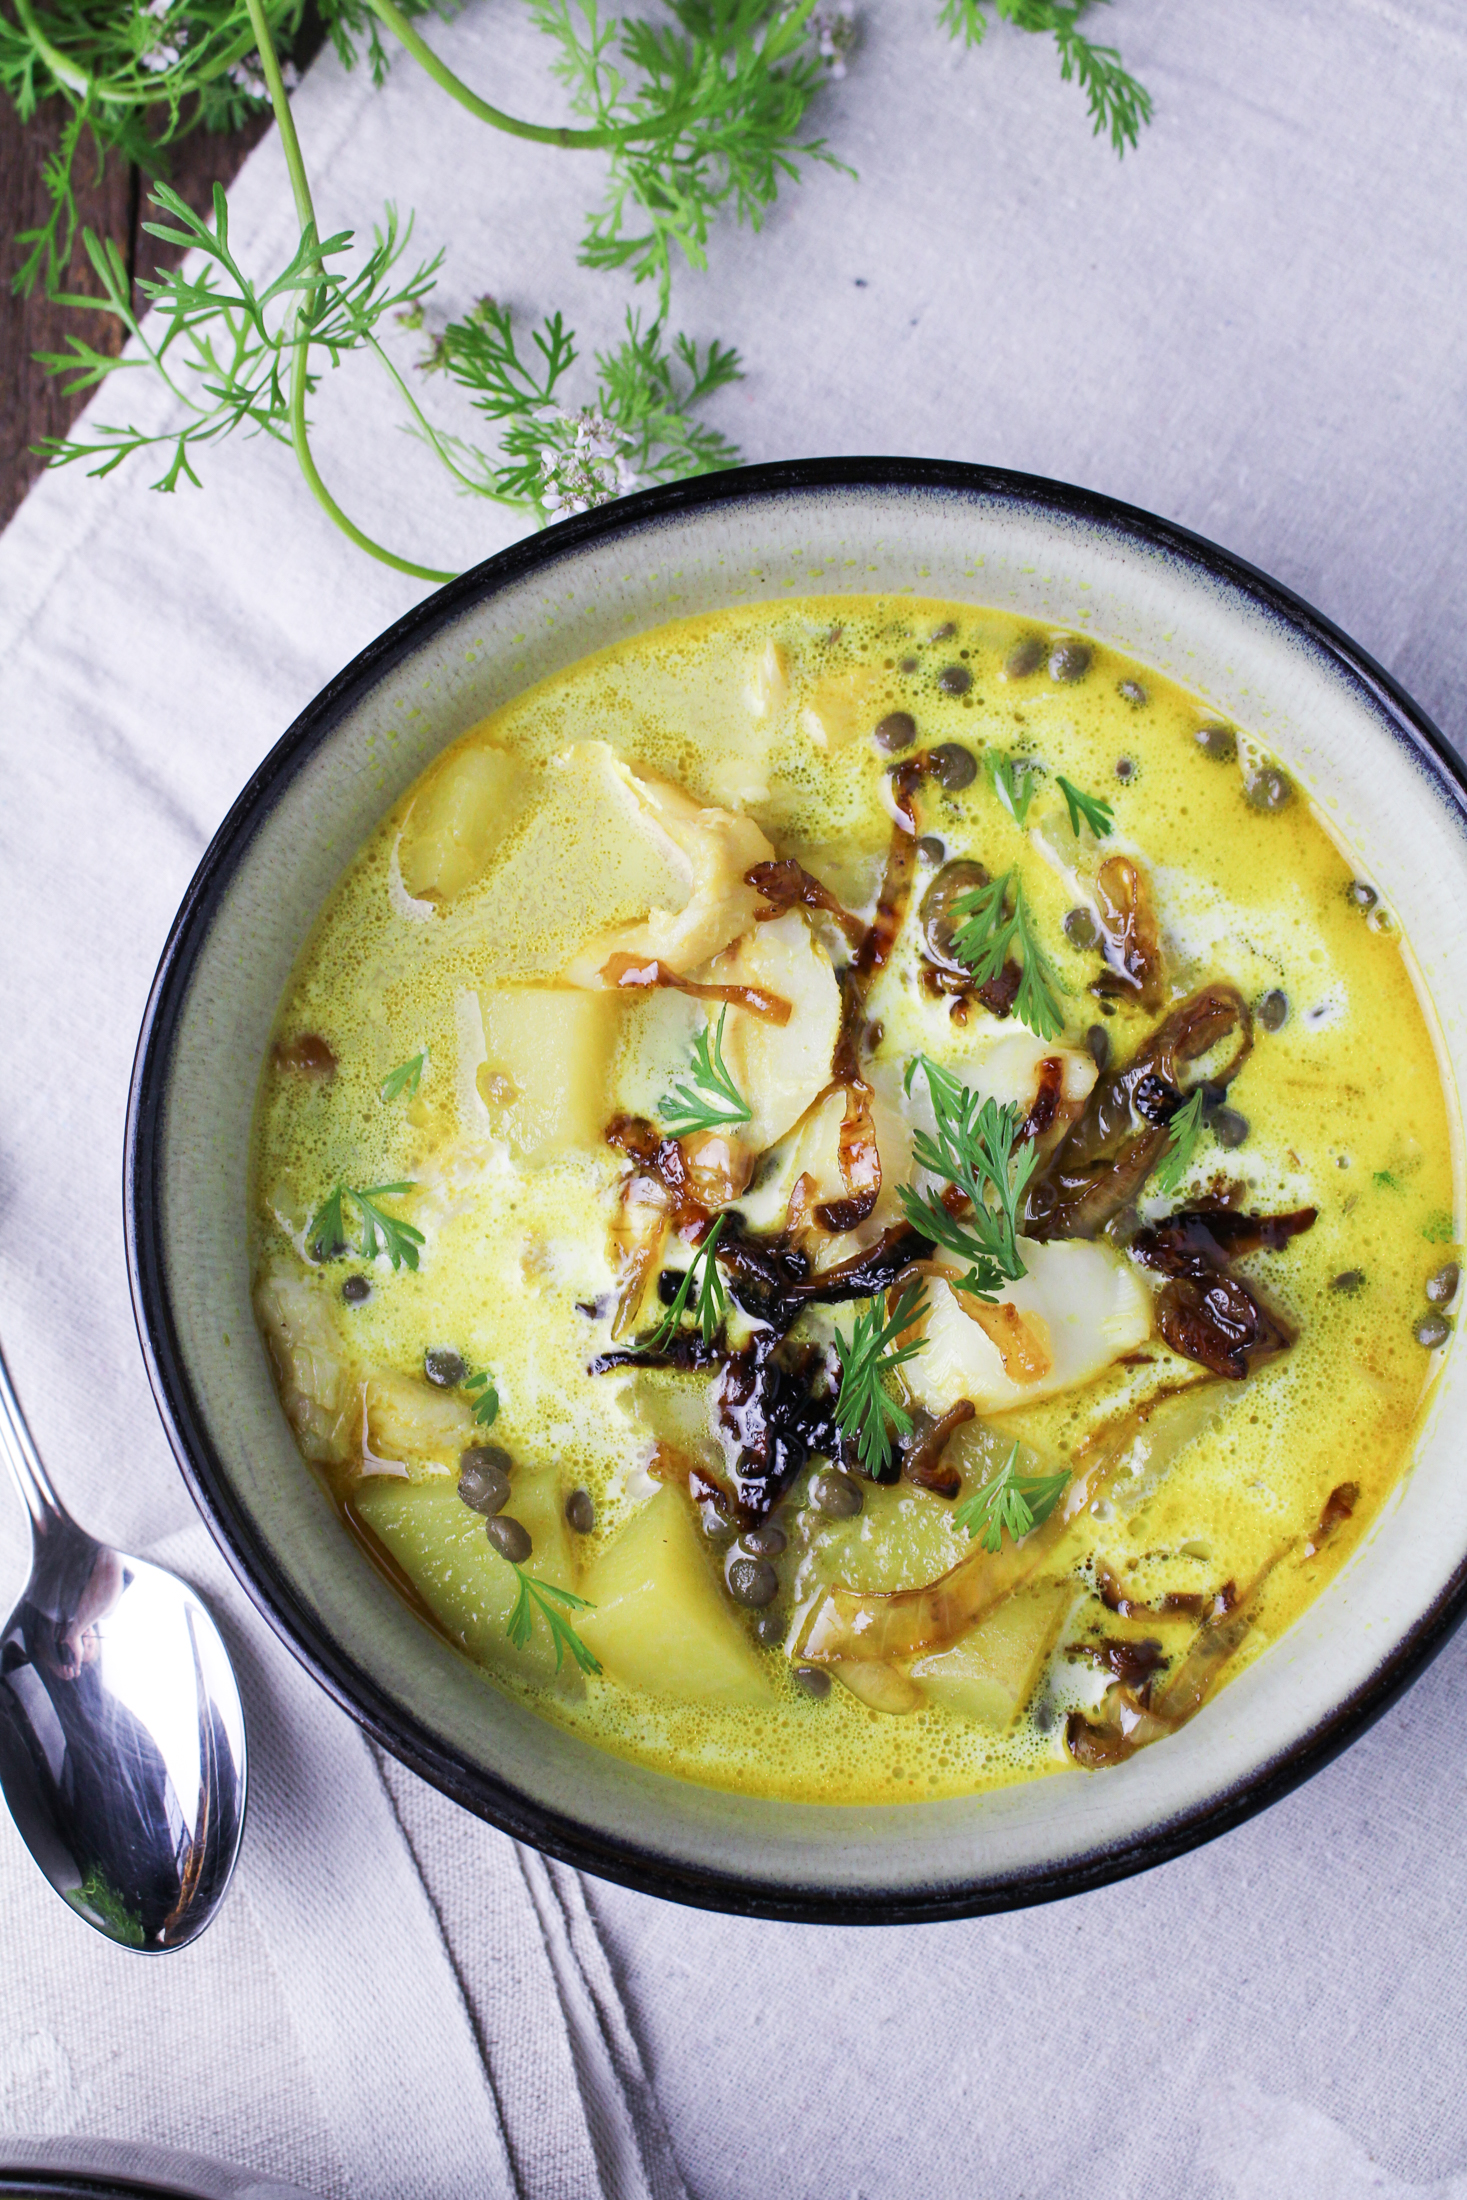
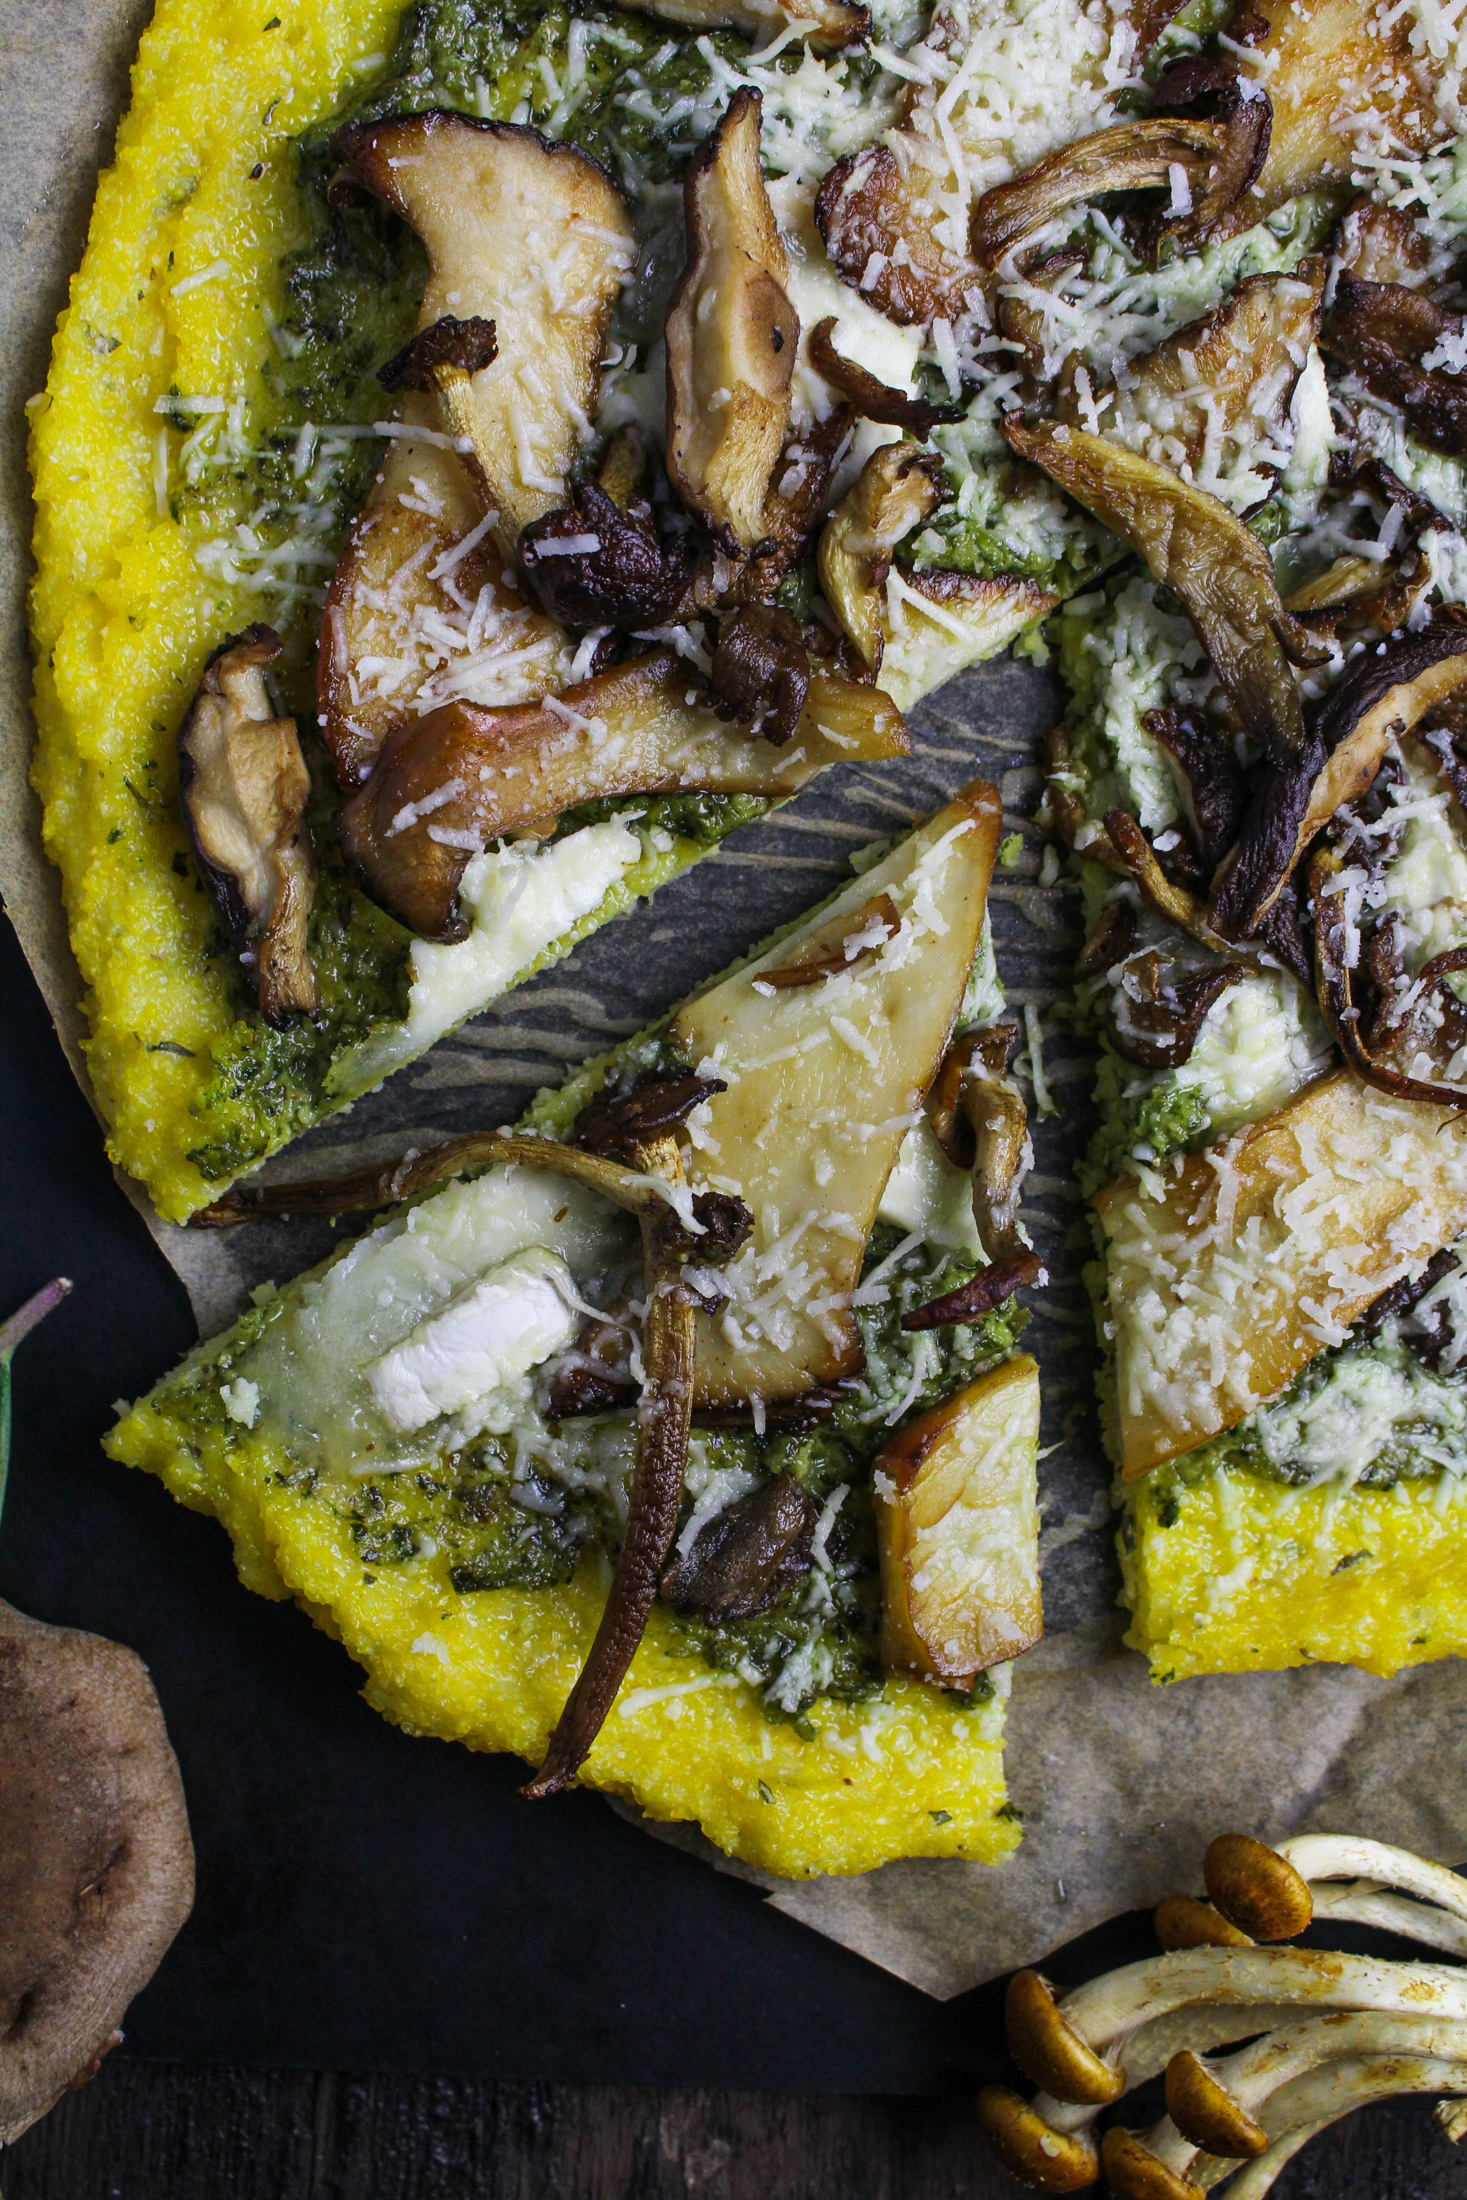
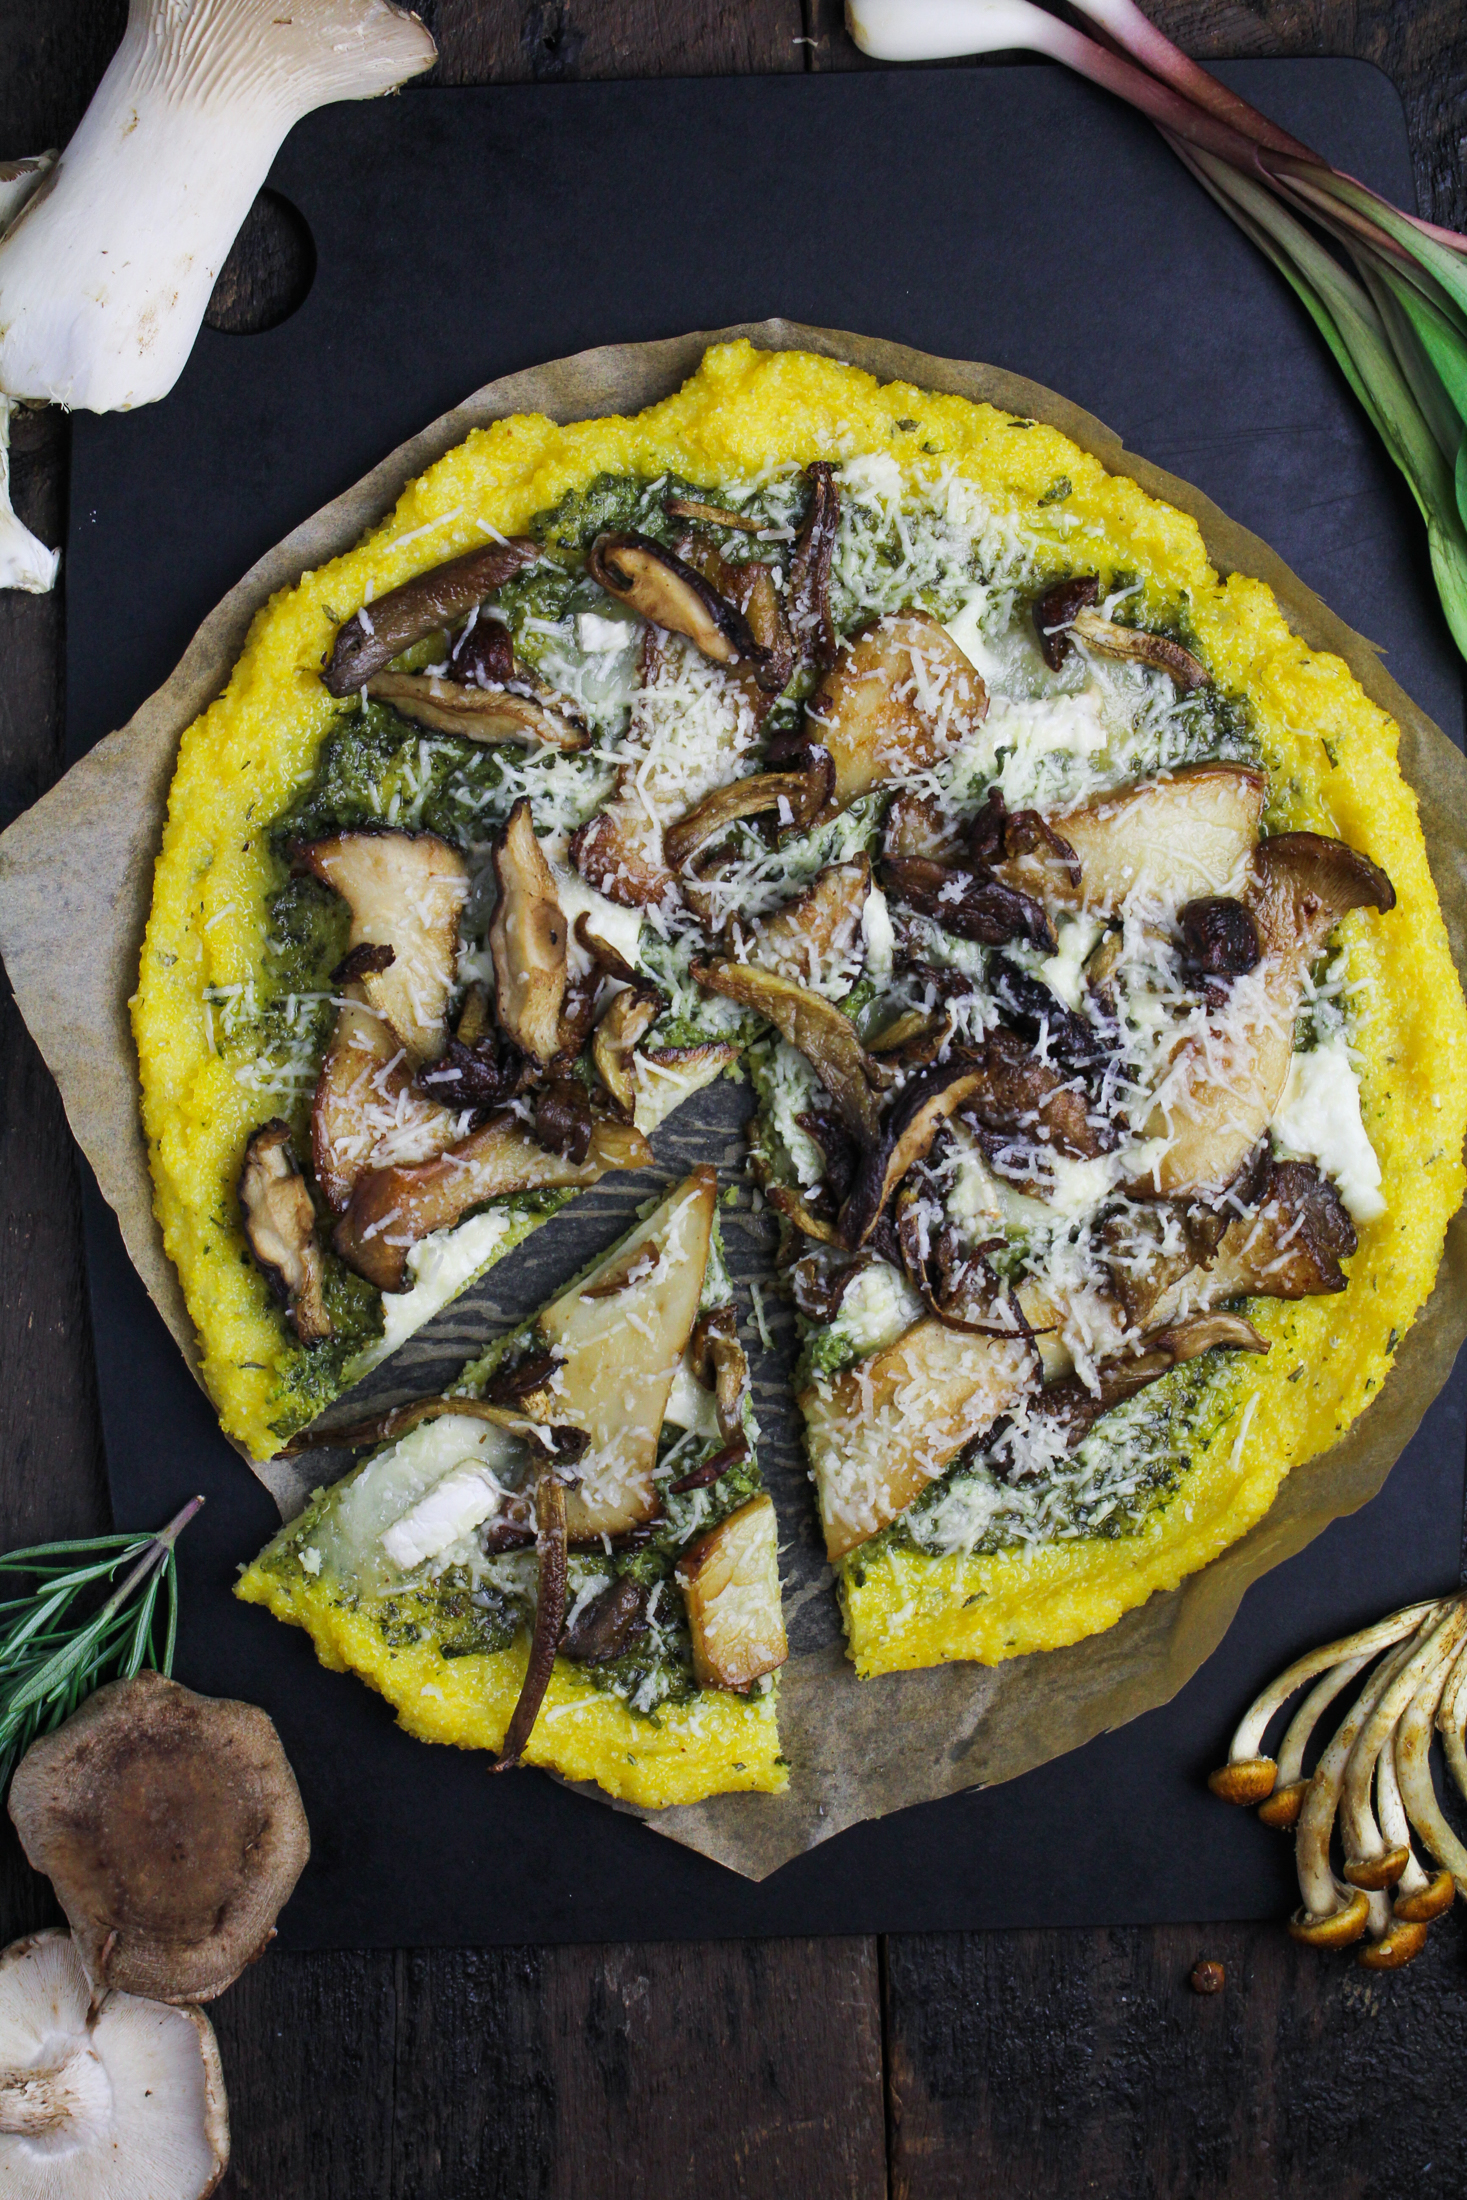
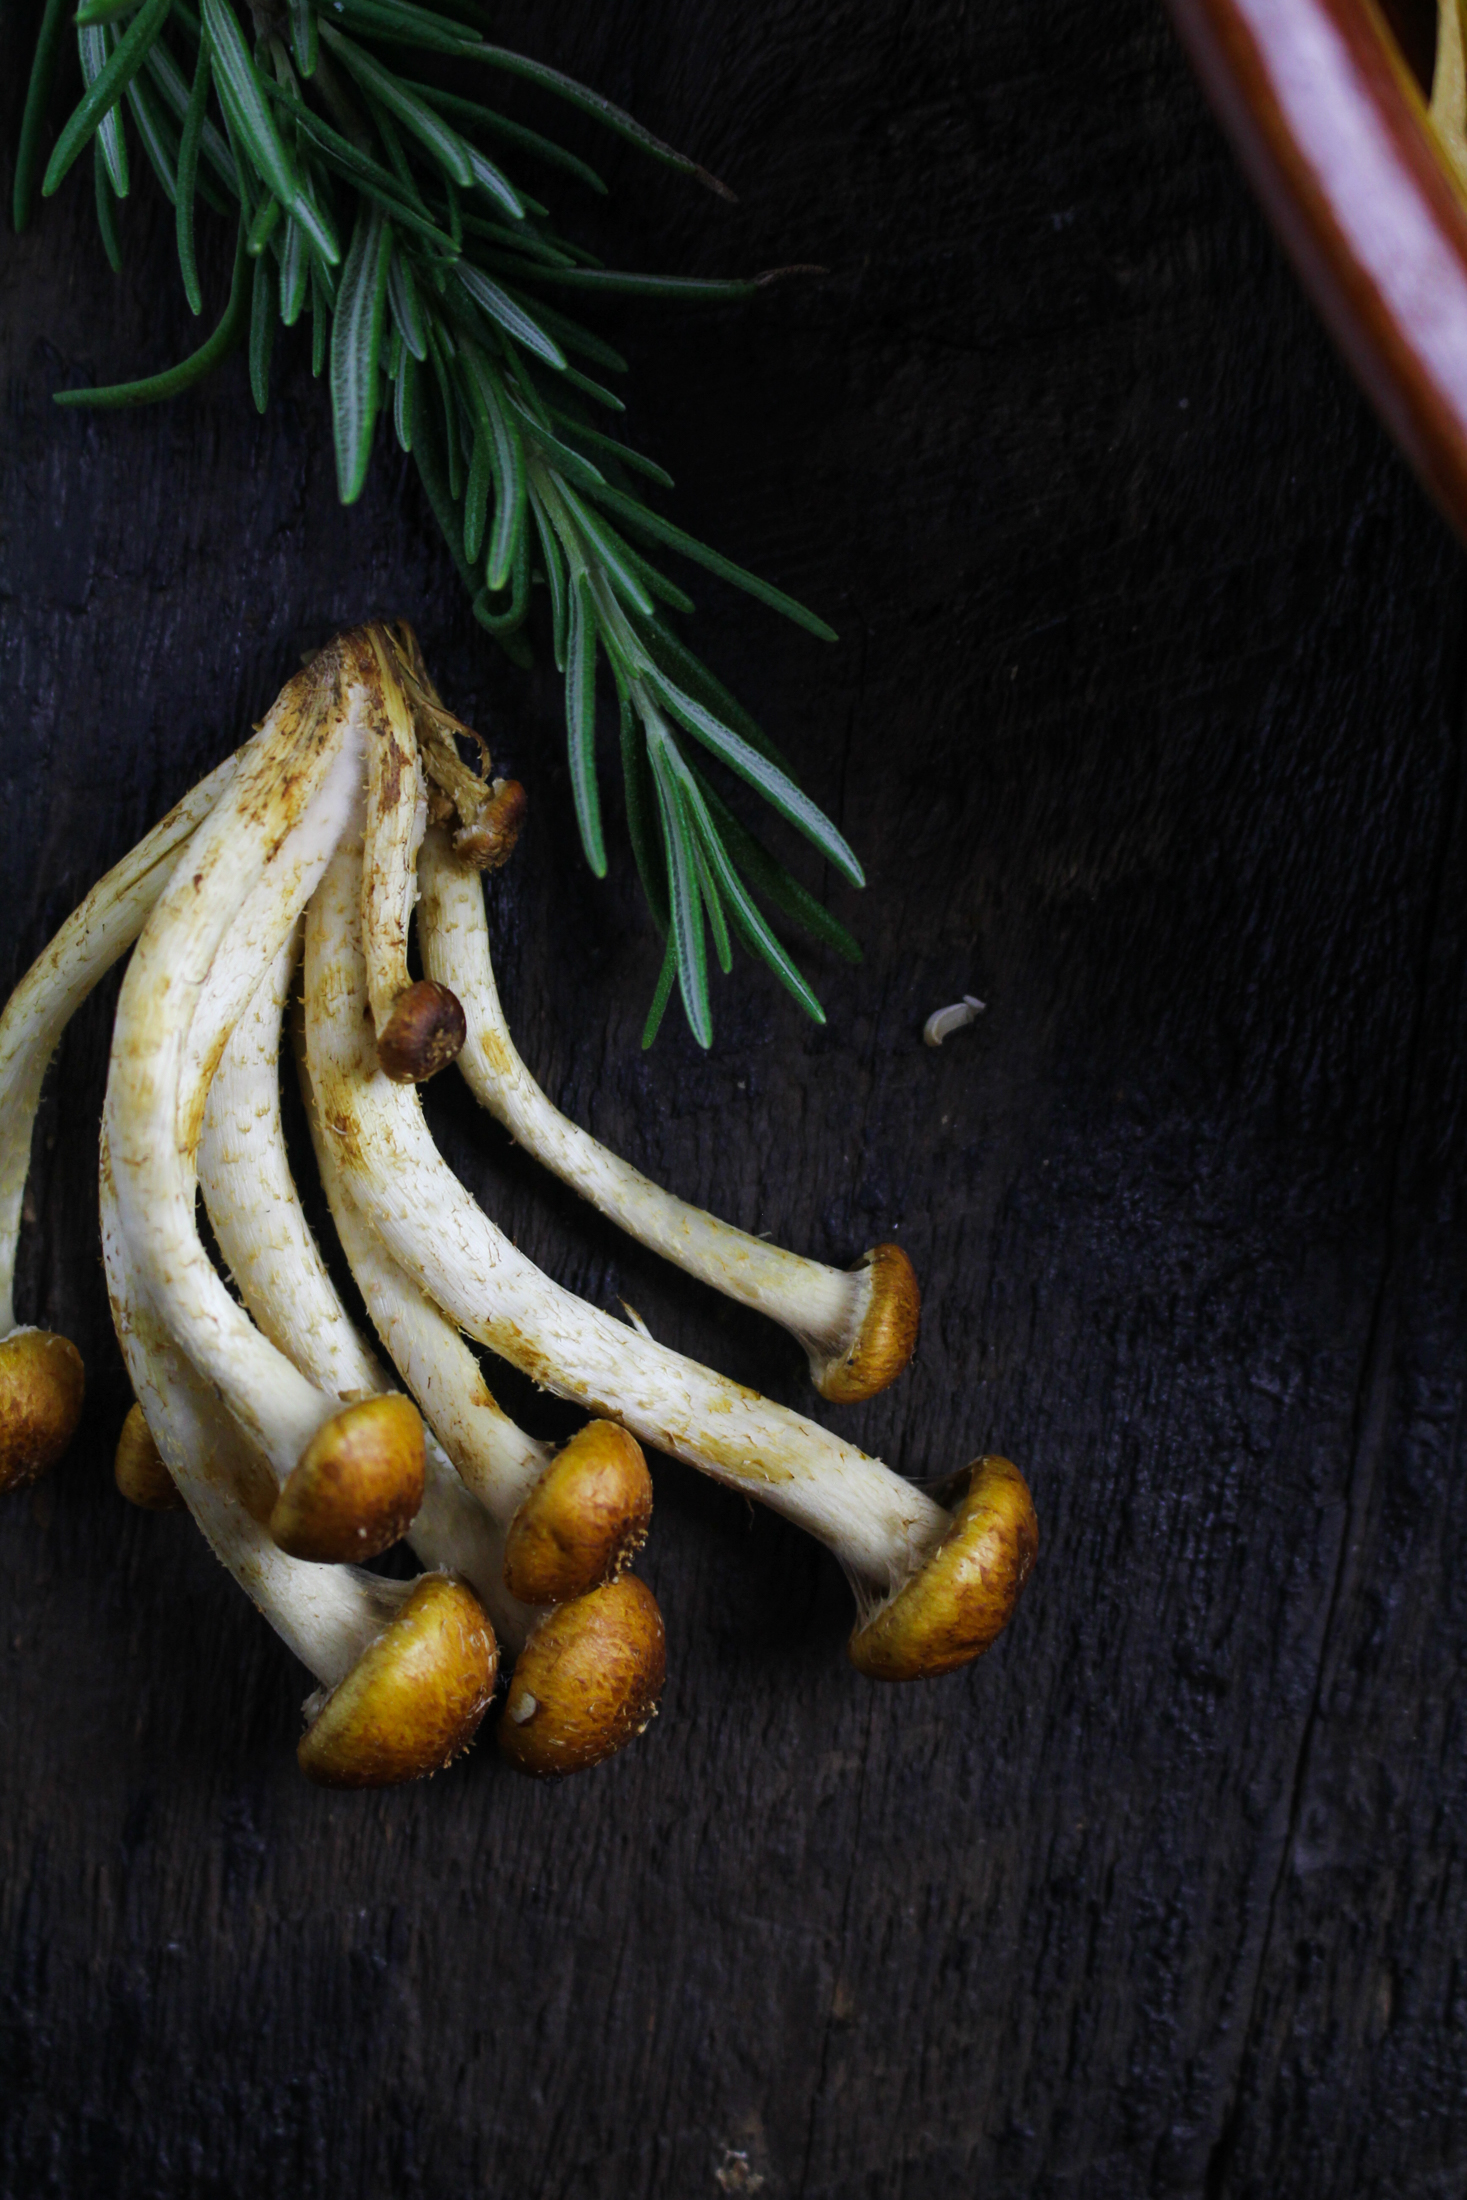
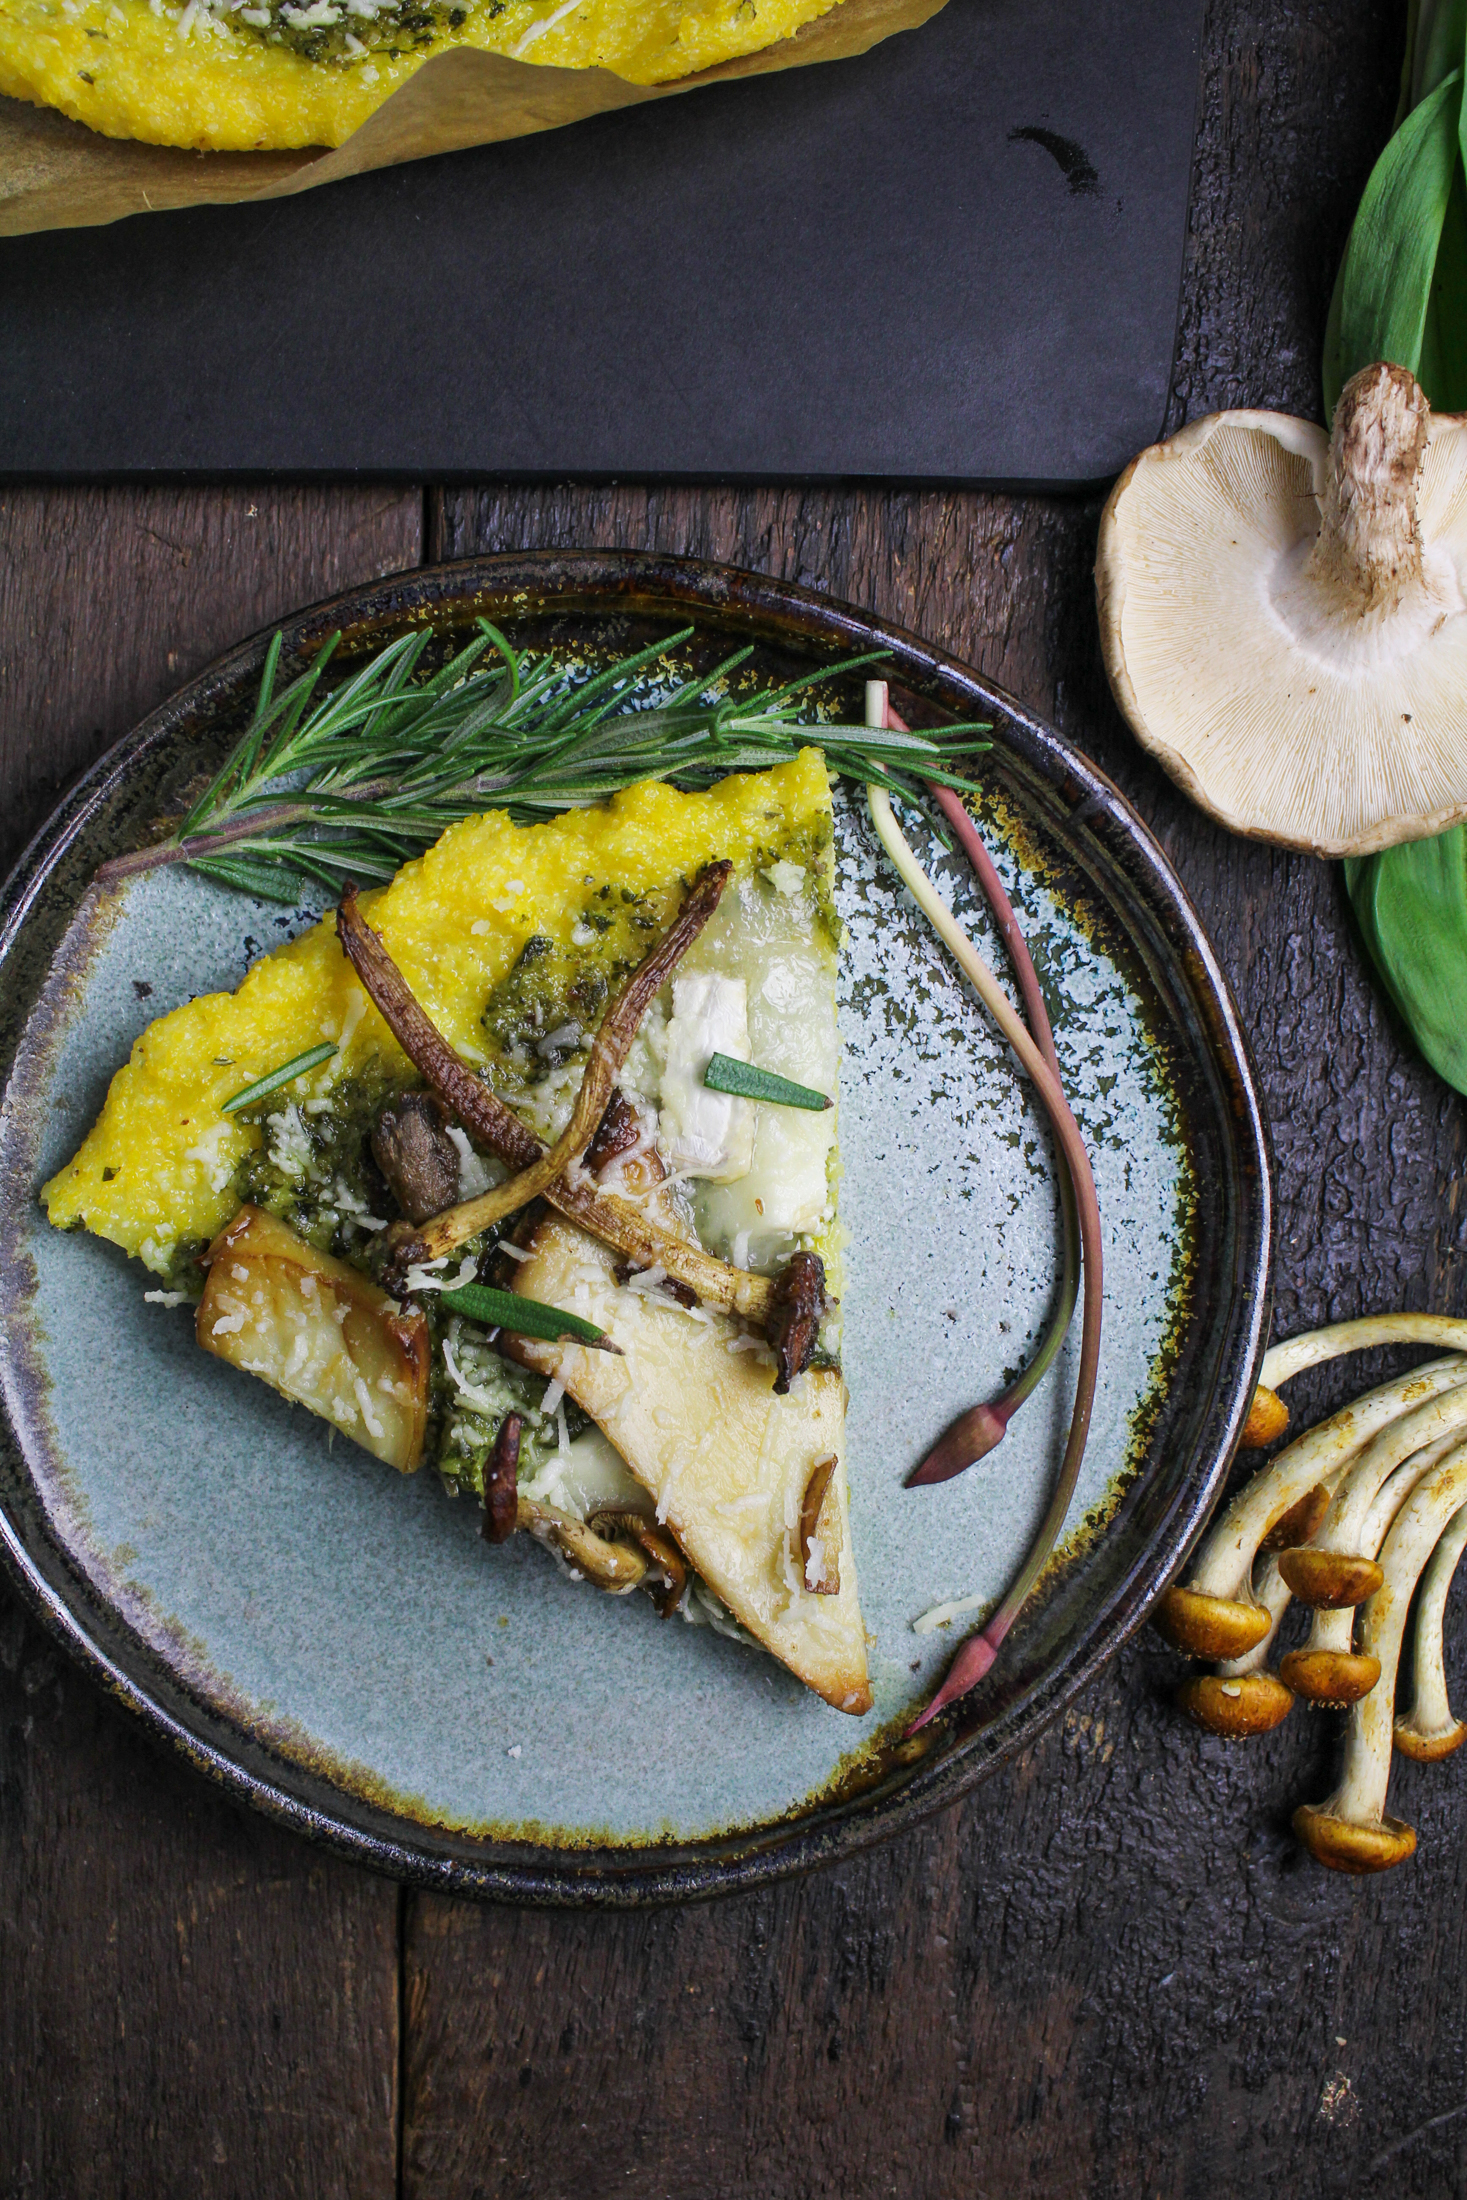
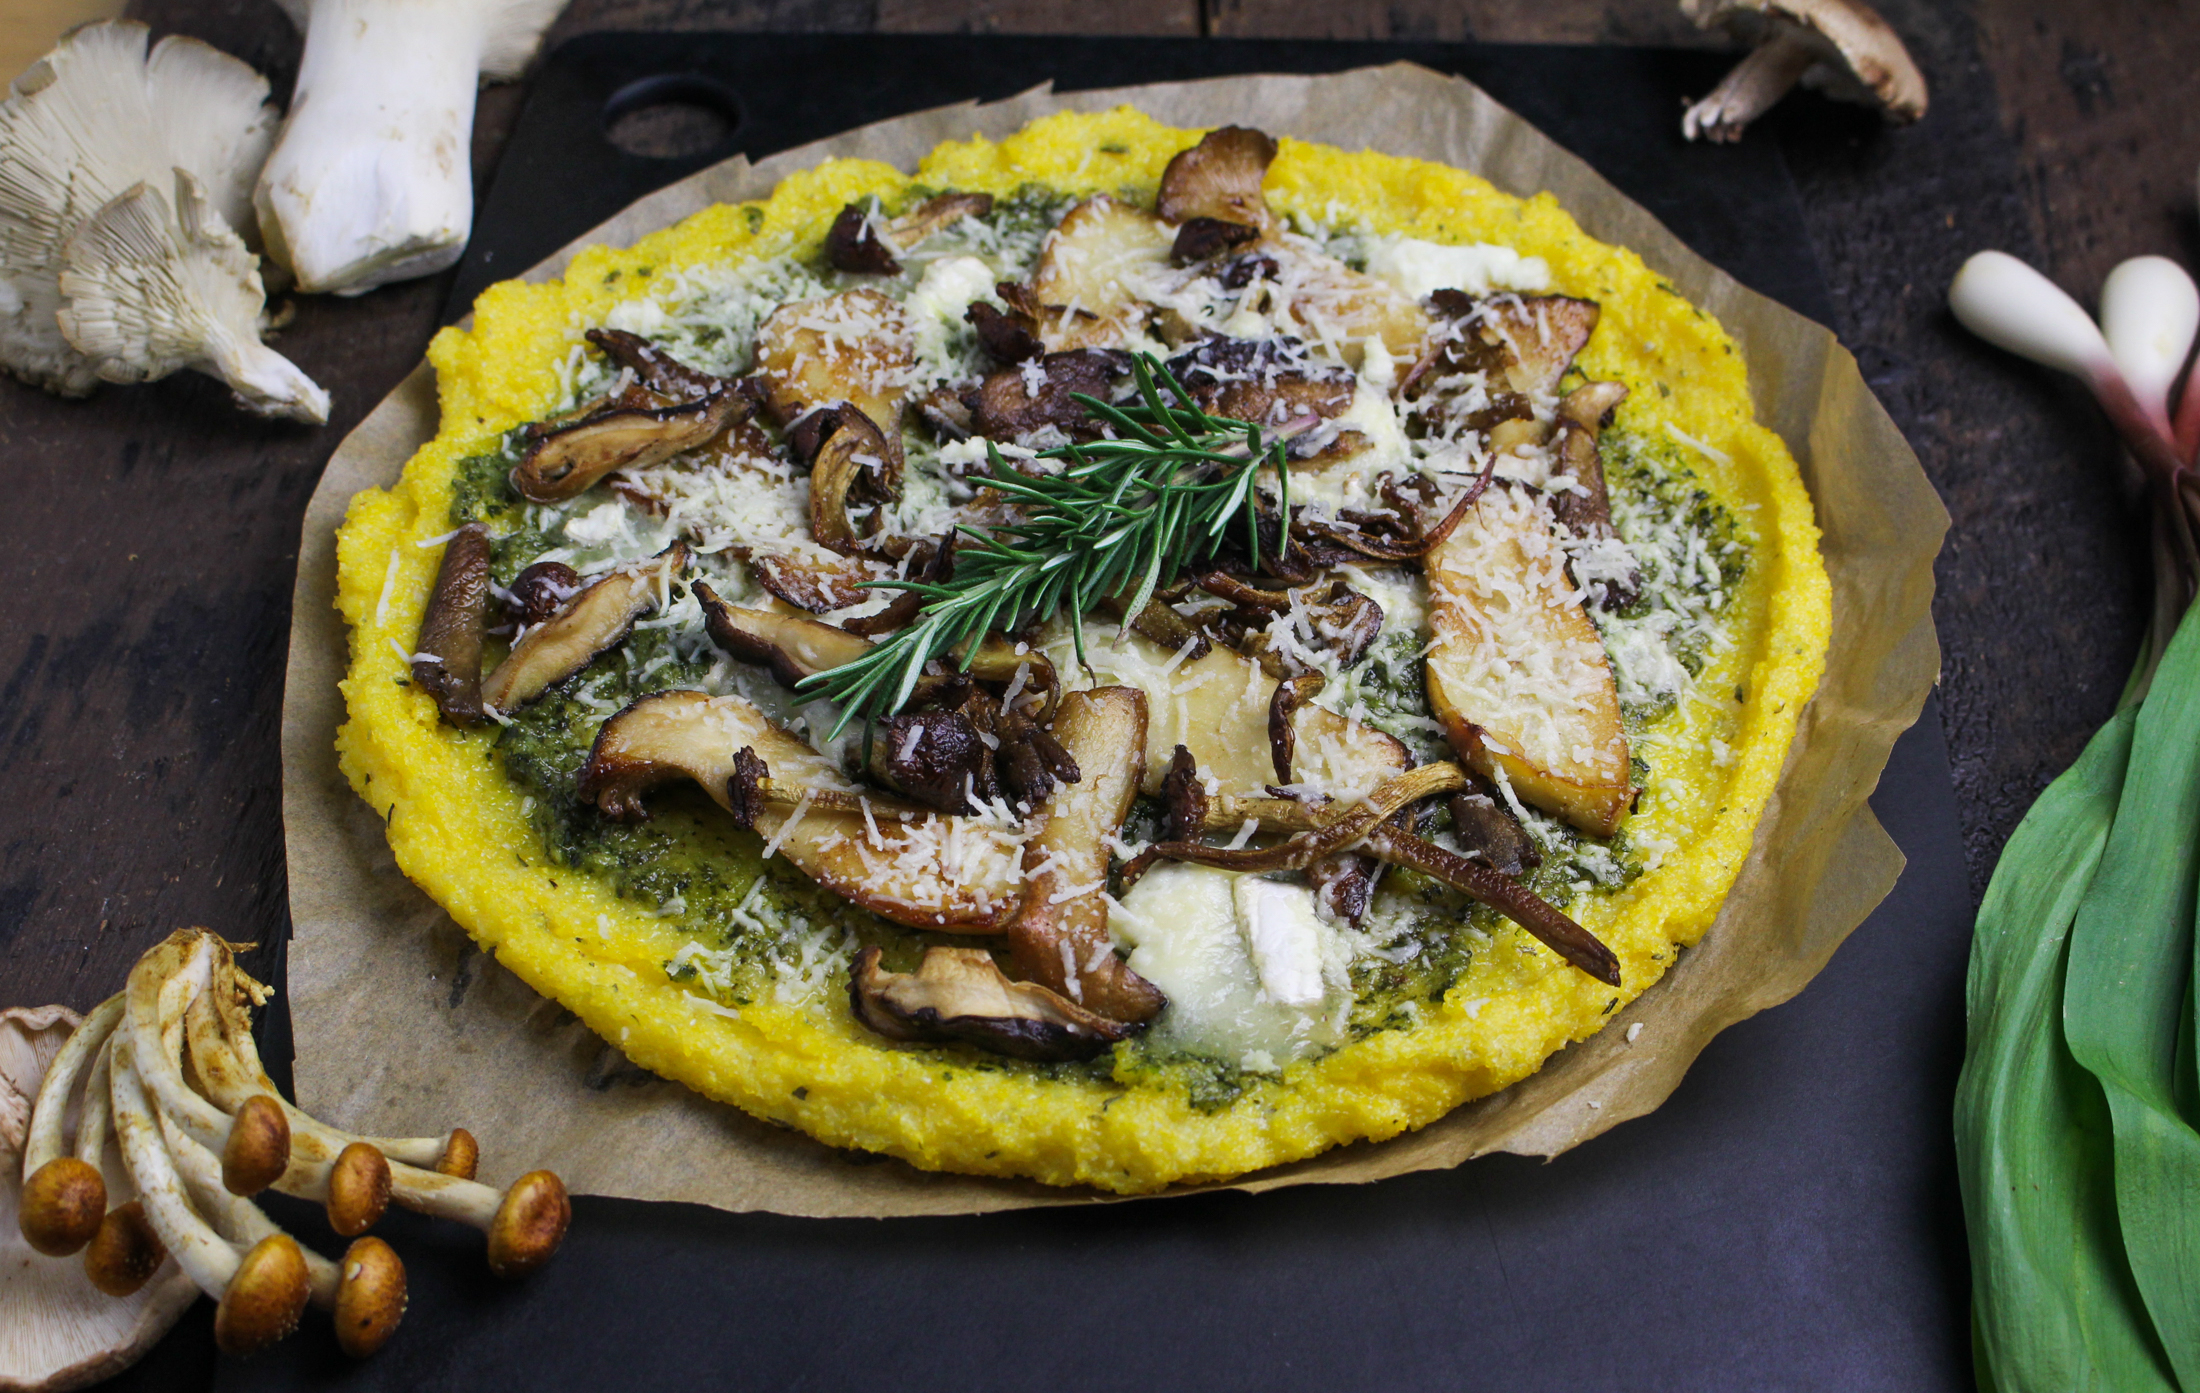
Back to the meal planning… on Sunday, I sat down with a pile of cookbooks and logged in to Huckle & Goose, a meal planning service with gorgeous recipes. Their recipes are fresh, seasonal, simple – exactly the type of food I should be trying to cook on weeknights. I saved a few recipes from their site, dogeared a few cookbook and magazine recipes, and added one or two recipes I’ve been meaning to make for the blog. And I had a plan! So far it resulted in this delicious and super simple Herb-Crusted Cod with Peas from The Broken Bread (see mine on instagram!), and the Polenta Pizza you see here – topped with ramp pesto (because ramps are still available in Boston!) and perfect oyster and chestnut mushrooms from the farmer’s market because I couldn’t resist. This pizza has several steps, but none of them are hard – if you can boil stock, stir polenta, and saute mushrooms, you’re all set. If you’re looking to save time, store-bought pesto is the way to go. You’ll lose the excitement of ramp pesto, but it will still be delicious, seasonal, and healthy (and totally doable on a weeknight). Stay tuned for more weeknight-friendly recipes over the next few weeks!
Like what you just read? Subscribe to Katie at the Kitchen Door in the box on the right, on Feedly or Bloglovin‘, or follow along on Facebook, Twitter, Pinterest, and Instagram. Thanks for reading!
Note: I do have a complimentary subscription to Huckle & Goose as one of their blogger partners, but this is in no way a sponsored (or even pre-planned!) post. I think it’s a great service and wholeheartedly recommend it.
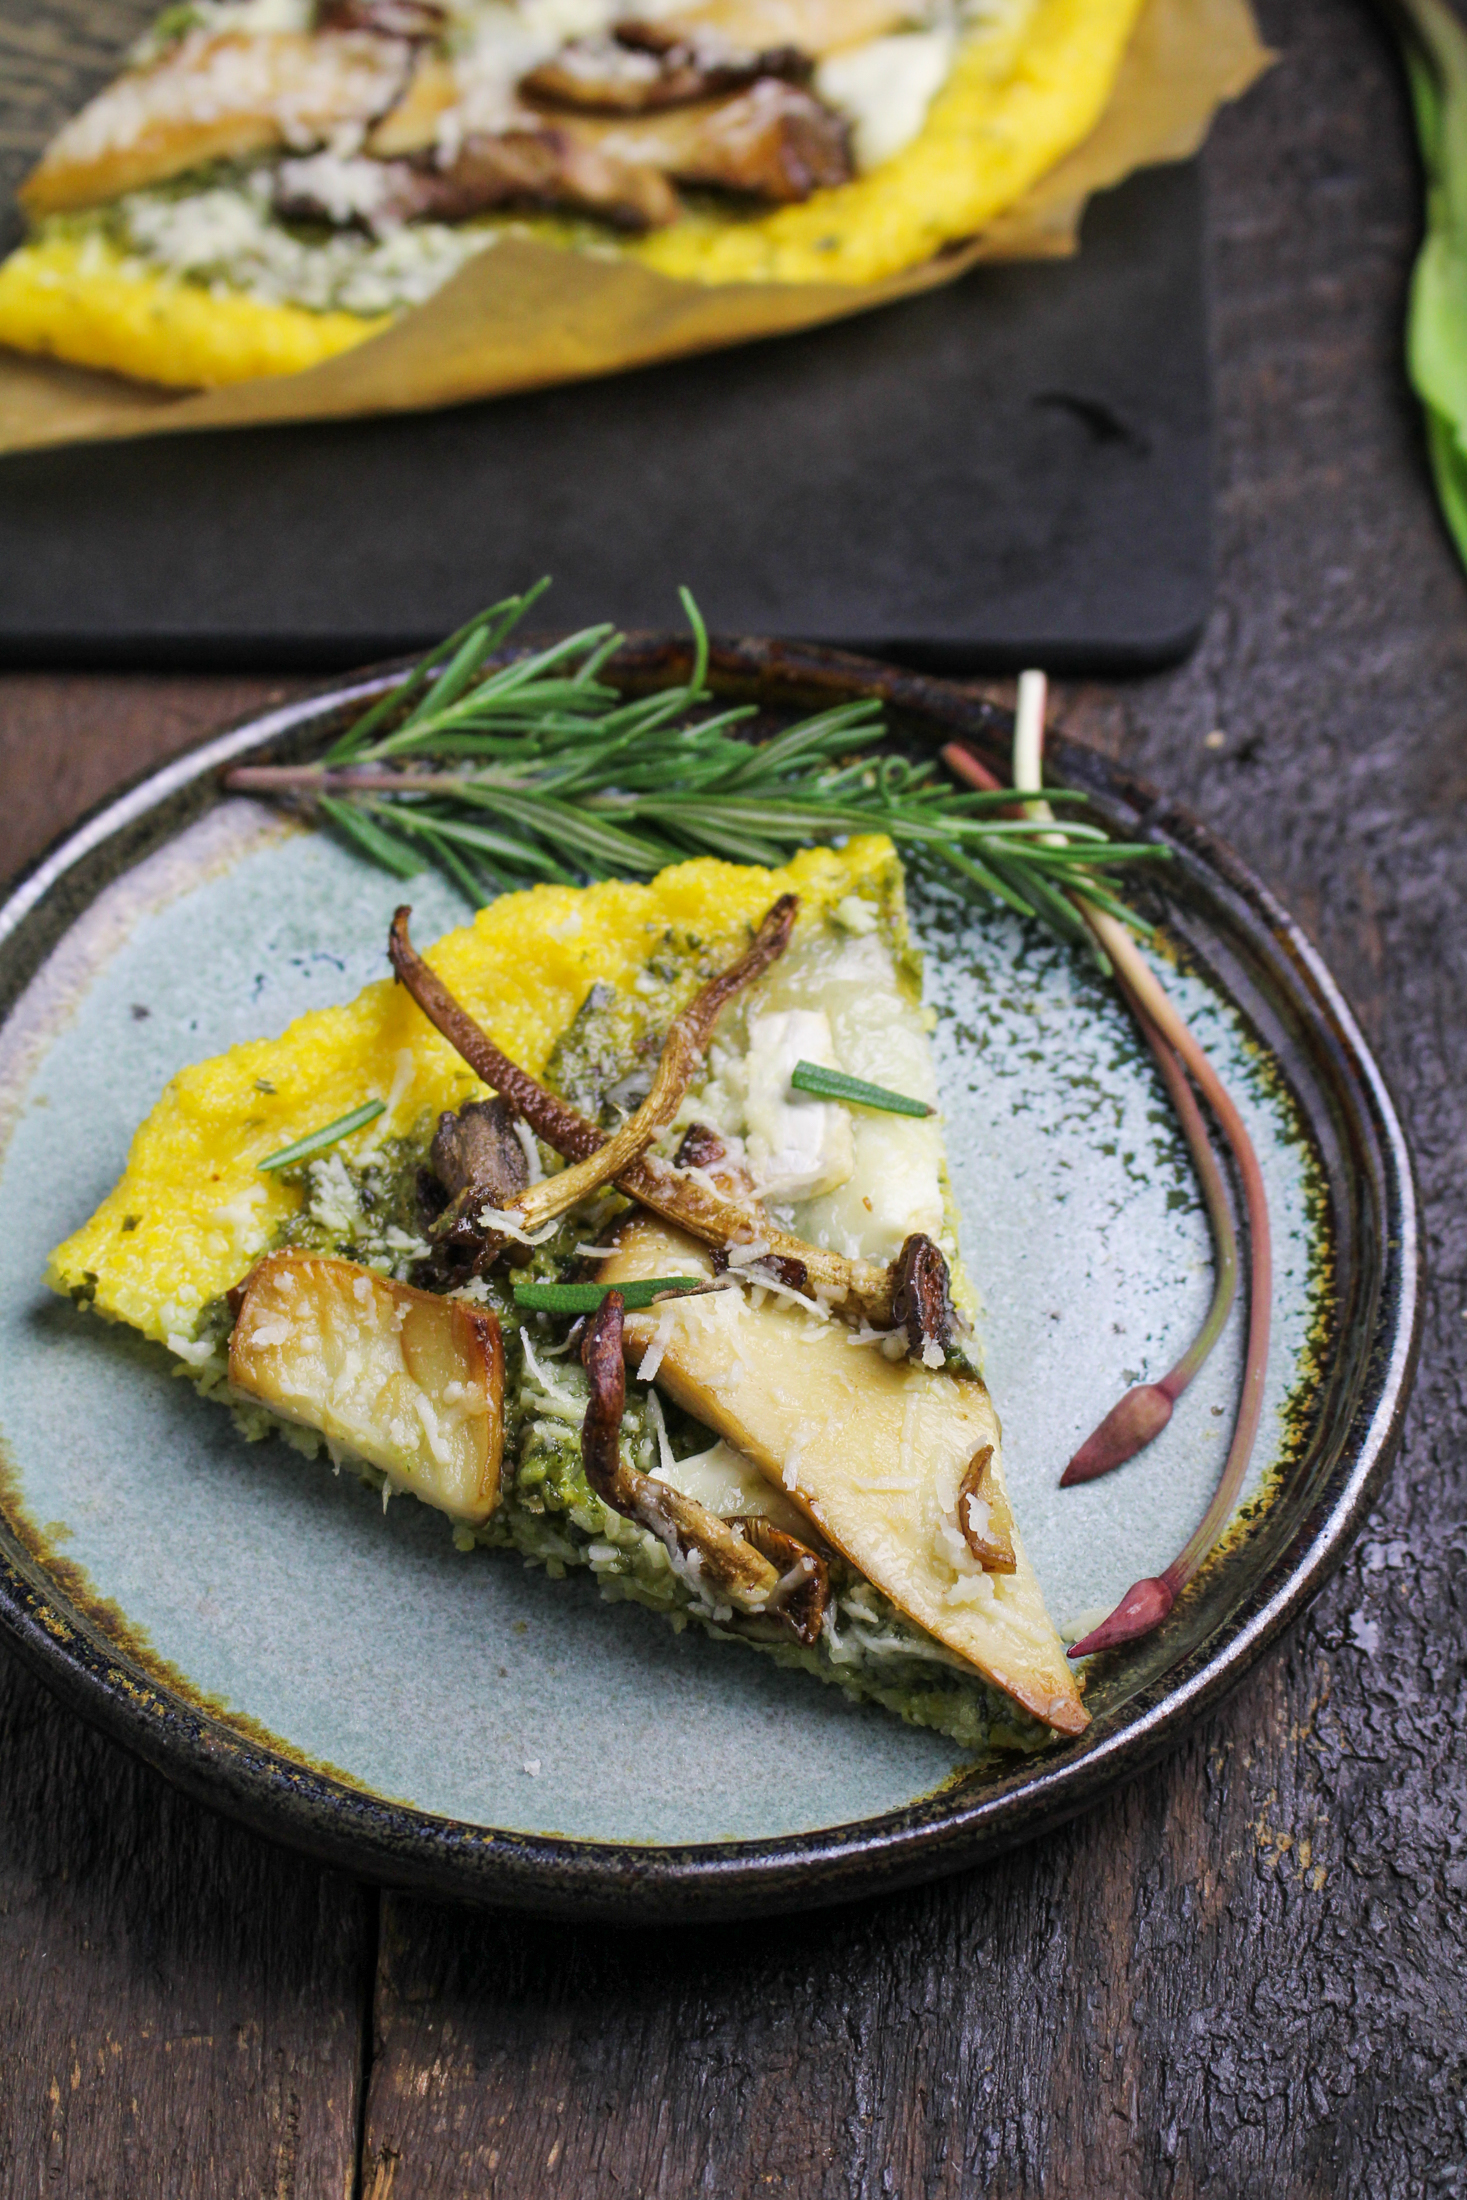
Polenta Pizza with Wild Mushrooms and Ramp Pesto
Polenta crust recipe adapted from Whole Living Lauren. Serves 2-3.
- 2 1/2 c. chicken or vegetable broth
- 1 TBS finely chopped fresh rosemary leaves
- 1 c. polenta
- salt to taste
- 8 large ramps, well cleaned
- 1/3 c. walnuts, roughly chopped
- 2 oz. parmesan cheese, cut into cubes
- 2 oz. pecorino cheese, cut into cubes
- 1/2 c. olive oil
- 30 leaves fresh basil
- juice from 1/2 lemon
- 1/3-1/2 lb. mixed wild mushrooms, such as king oyster, shiitake, and chestnut
- 1 TBS butter
- 1 TBS olive oil
- 2 oz. soft brie or goat cheese, cut into small pieces
- 1/4 c. grated parmesan cheese to top pizza
- To prepare the polenta crust, bring the chicken broth to a boil over medium heat. Add the rosemary leaves and the polenta all at once, lower the heat to low, and stir the polenta vigorously until it is very thick and bubbling, about 5 minutes. You want the consistency of the polenta to be thicker than you would prepare for eating in a bowl to help the crust hold it’s shape – err on the side of cooking too long rather than too short. Season the polenta to taste with salt and remove from the heat.
- Trace a large circle into parchment paper (use a large round pan or cake stand to trace if you can), then cut the circle out. Place on a large baking sheet or inside a large round baking dish. Spread the cooked polenta out on top of the parchment paper circle in a layer about 1/2 inch thick, then transfer to the fridge to chill for 20 minutes.
- While the polenta is chilling, prepare the ramp pesto. Bring a medium pot of salted water to a boil. Cut the green leaves apart from the white bulbs of the ramps, setting the bulbs aside. Add the greens to the boiling water and blanch for 30 seconds, then immediately drain and rinse several times in very cold water. Squeeze the excess water from the ramp greens and set aside. Roughly chop the ramp bulbs, then add them to a food processor along with the walnuts, pecorino cheese, parmesan cheese, and approximately 1/4 c. of the olive oil. Pulse in the food processor until finely chopped. Add the ramp greens, the basil, and the remaining 1/4 cup of olive oil to the food processor and process until smooth and creamy, adding more olive oil if necessary. Stir in the lemon juice and season to taste with salt.
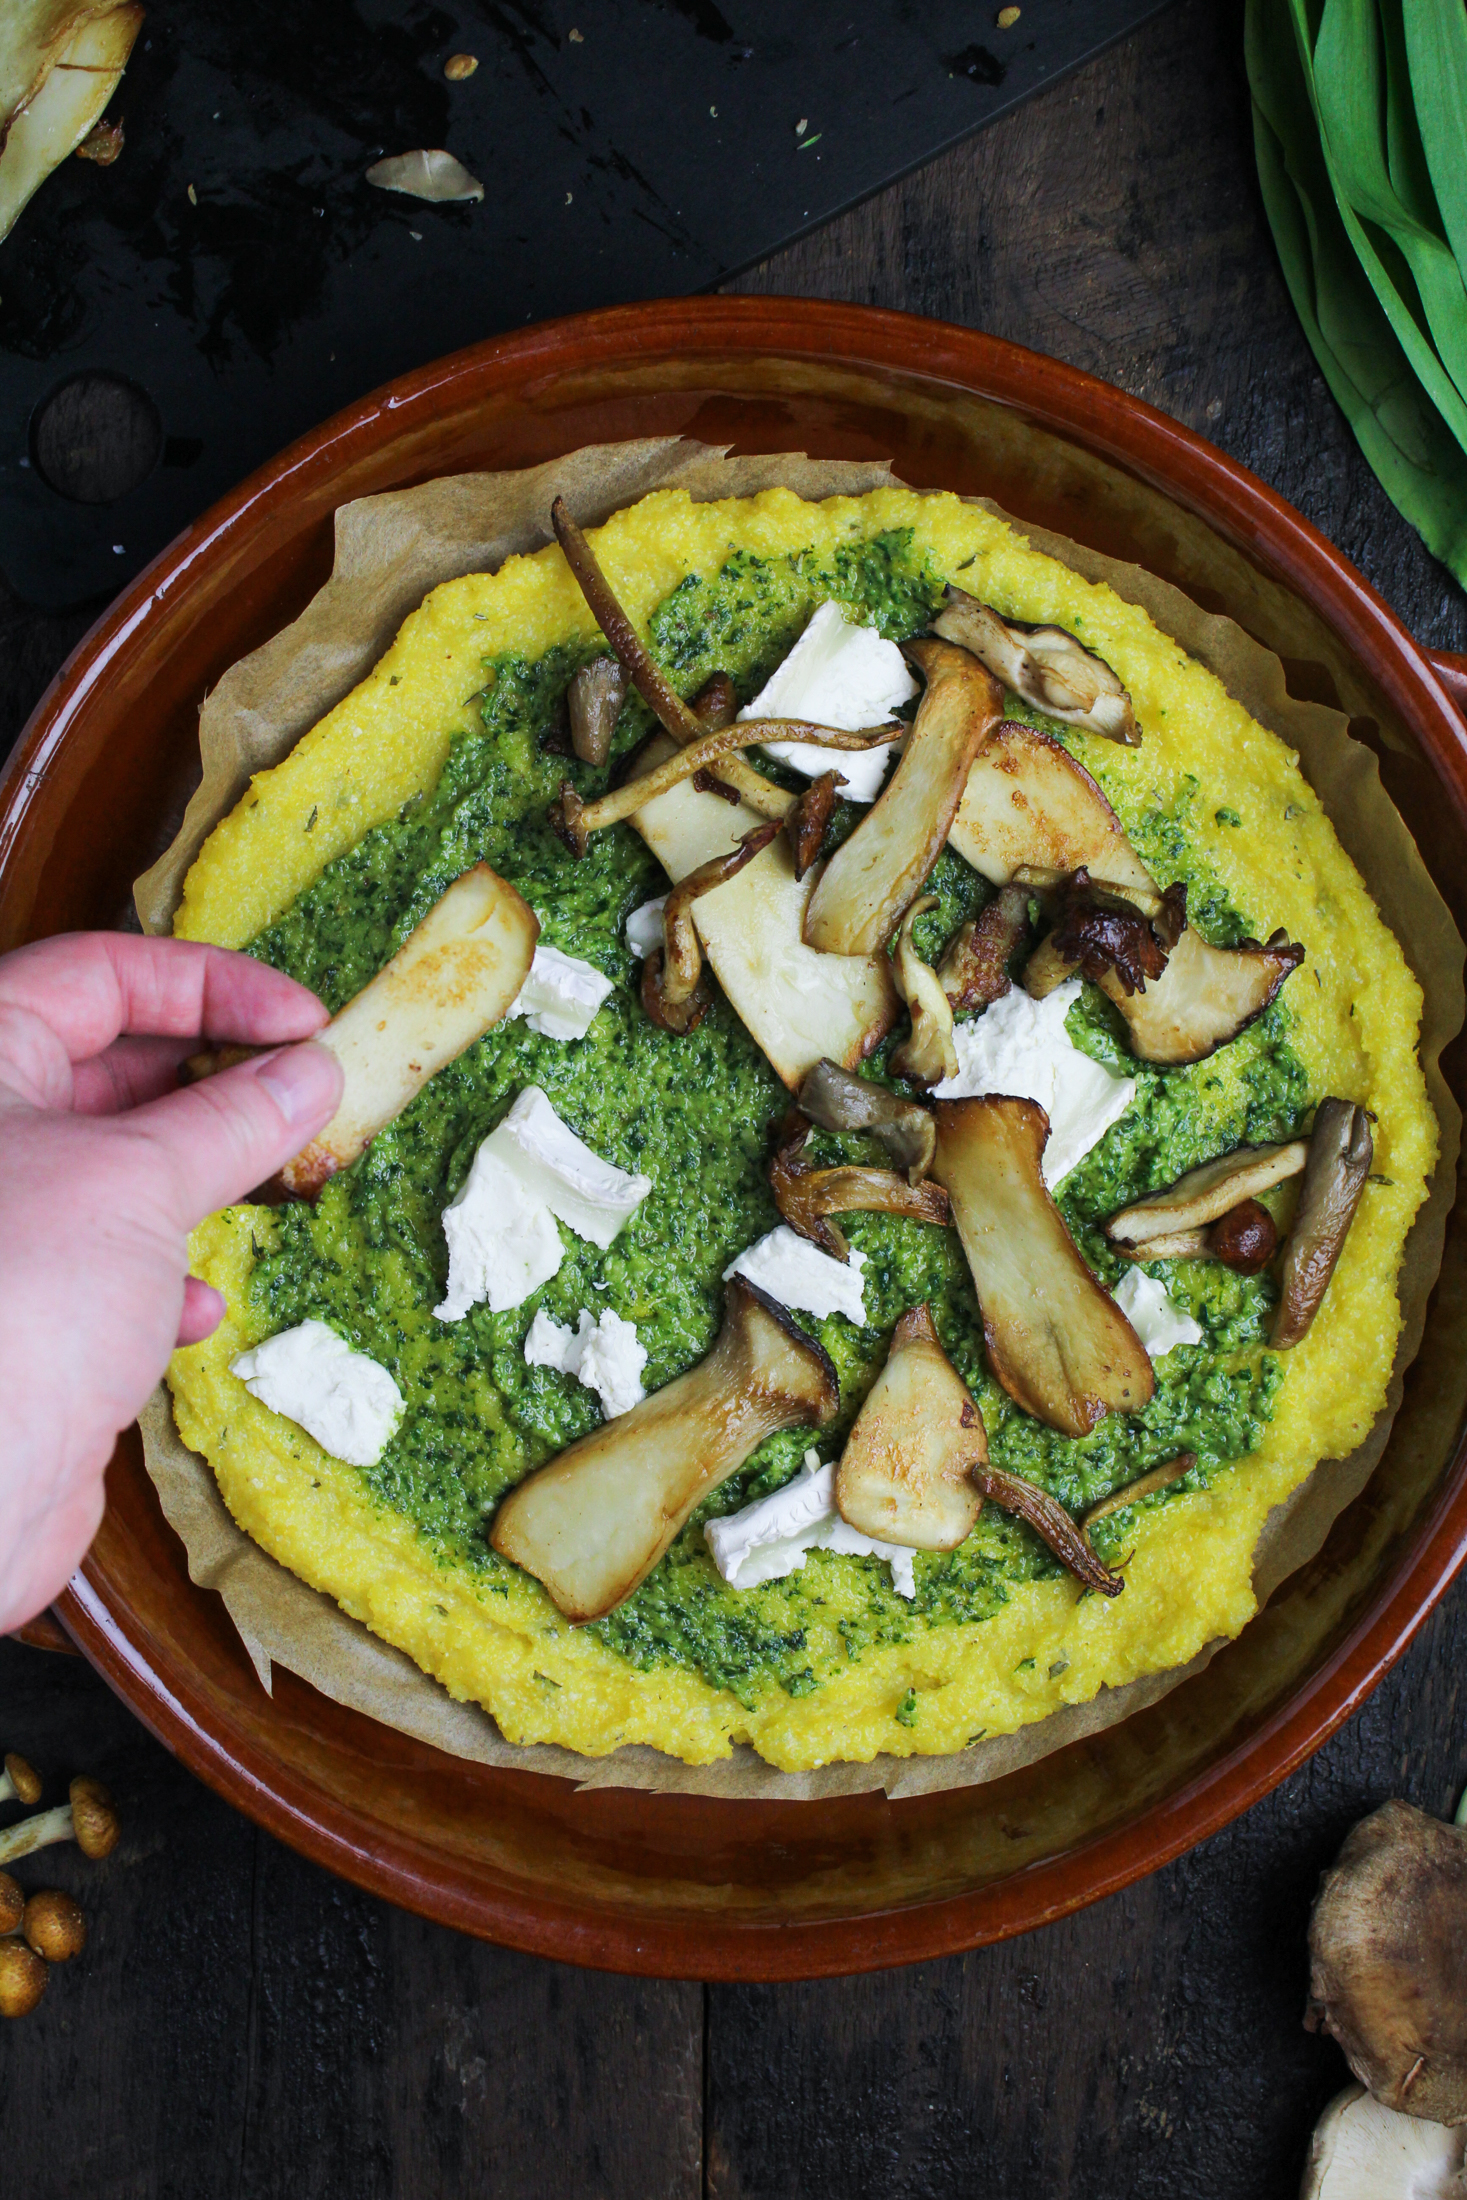
- Preheat the oven to 450°F. Bake the polenta crust for 15 minutes, then remove from the oven. While the crust is cooking, prepare the mushrooms – slice the different varieties of mushrooms into pieces about 1/4 inch thick. Melt the butter and the 1 TBS olive oil together in a large saute pan over medium heat. Spread the mushroom slices out in a single layer and cook until golden brown on each side. Cooking time may vary for the different mushrooms, and you may need to cook the mushrooms in several batches to avoid crowding them (which causes them to steam instead of brown). Season to taste with salt.
- Assemble the pizza by spreading a layer of ramp pesto on top of the partially baked polenta crust. (Store extra pesto in the fridge – you won’t use all of it). Top with several pieces of the brie or goat cheese and the sauteed mushrooms. Sprinkle with the grated parmesan cheese. Return to the oven and bake for an additional 10 minutes, then remove from the oven and serve immediately.
Past Fitness Challenges
January ’14: 10 Visits to the YMCA; Recipe: Gluten-Free Olive-and-Feta Corn Muffins
February ’14: One vegan meal every day; Recipe: Pakistani Chickpea Pulao with Sweet-Hot Date-Onion Chutney
March ’14: Run 40 miles in 20 days; Recipe: Chocolate-Dipped Almond Butter Cookie Bites
April ’14: Walk 8,000 steps a day; Recipe: Herb-Flecked Spring Couscous
May ’14: 180 minutes of Nike Training Club; Recipe: Warm Arugula Salad with Maple Mustard Dressing
June ’14: Fresh fruit/veggies at every meal; Recipe: Chickpea Crepes with Grilled Curried Chicken and Mango Salsa
July ’14: 8 different types of exercise; Recipe: Homemade Spinach Wraps with Chopped Greek Salad Filling
August ’14: Relax; Recipe: Green Tea and Zucchini Noodles with Honey Ginger Sauce
September ’14: Average mile pace below 8’10″; Recipe: Potato, Poblano, and Chard Enchiladas with Salsa Verde
November ’14: Go to 6+ dance classes; Recipe: Crispy Brussels Sprout, Lemon Chicken, and Pomegranate Rice Bowl
December ’14: Hit my goal weight; Recipe: White Bean and Parsnip Soup with Guanciale
December ’15: Regular yoga practice; Recipe: Vegetarian Chili
January ’16: Walk 10,000 steps a day; Recipe: Bananas Foster Oatmeal
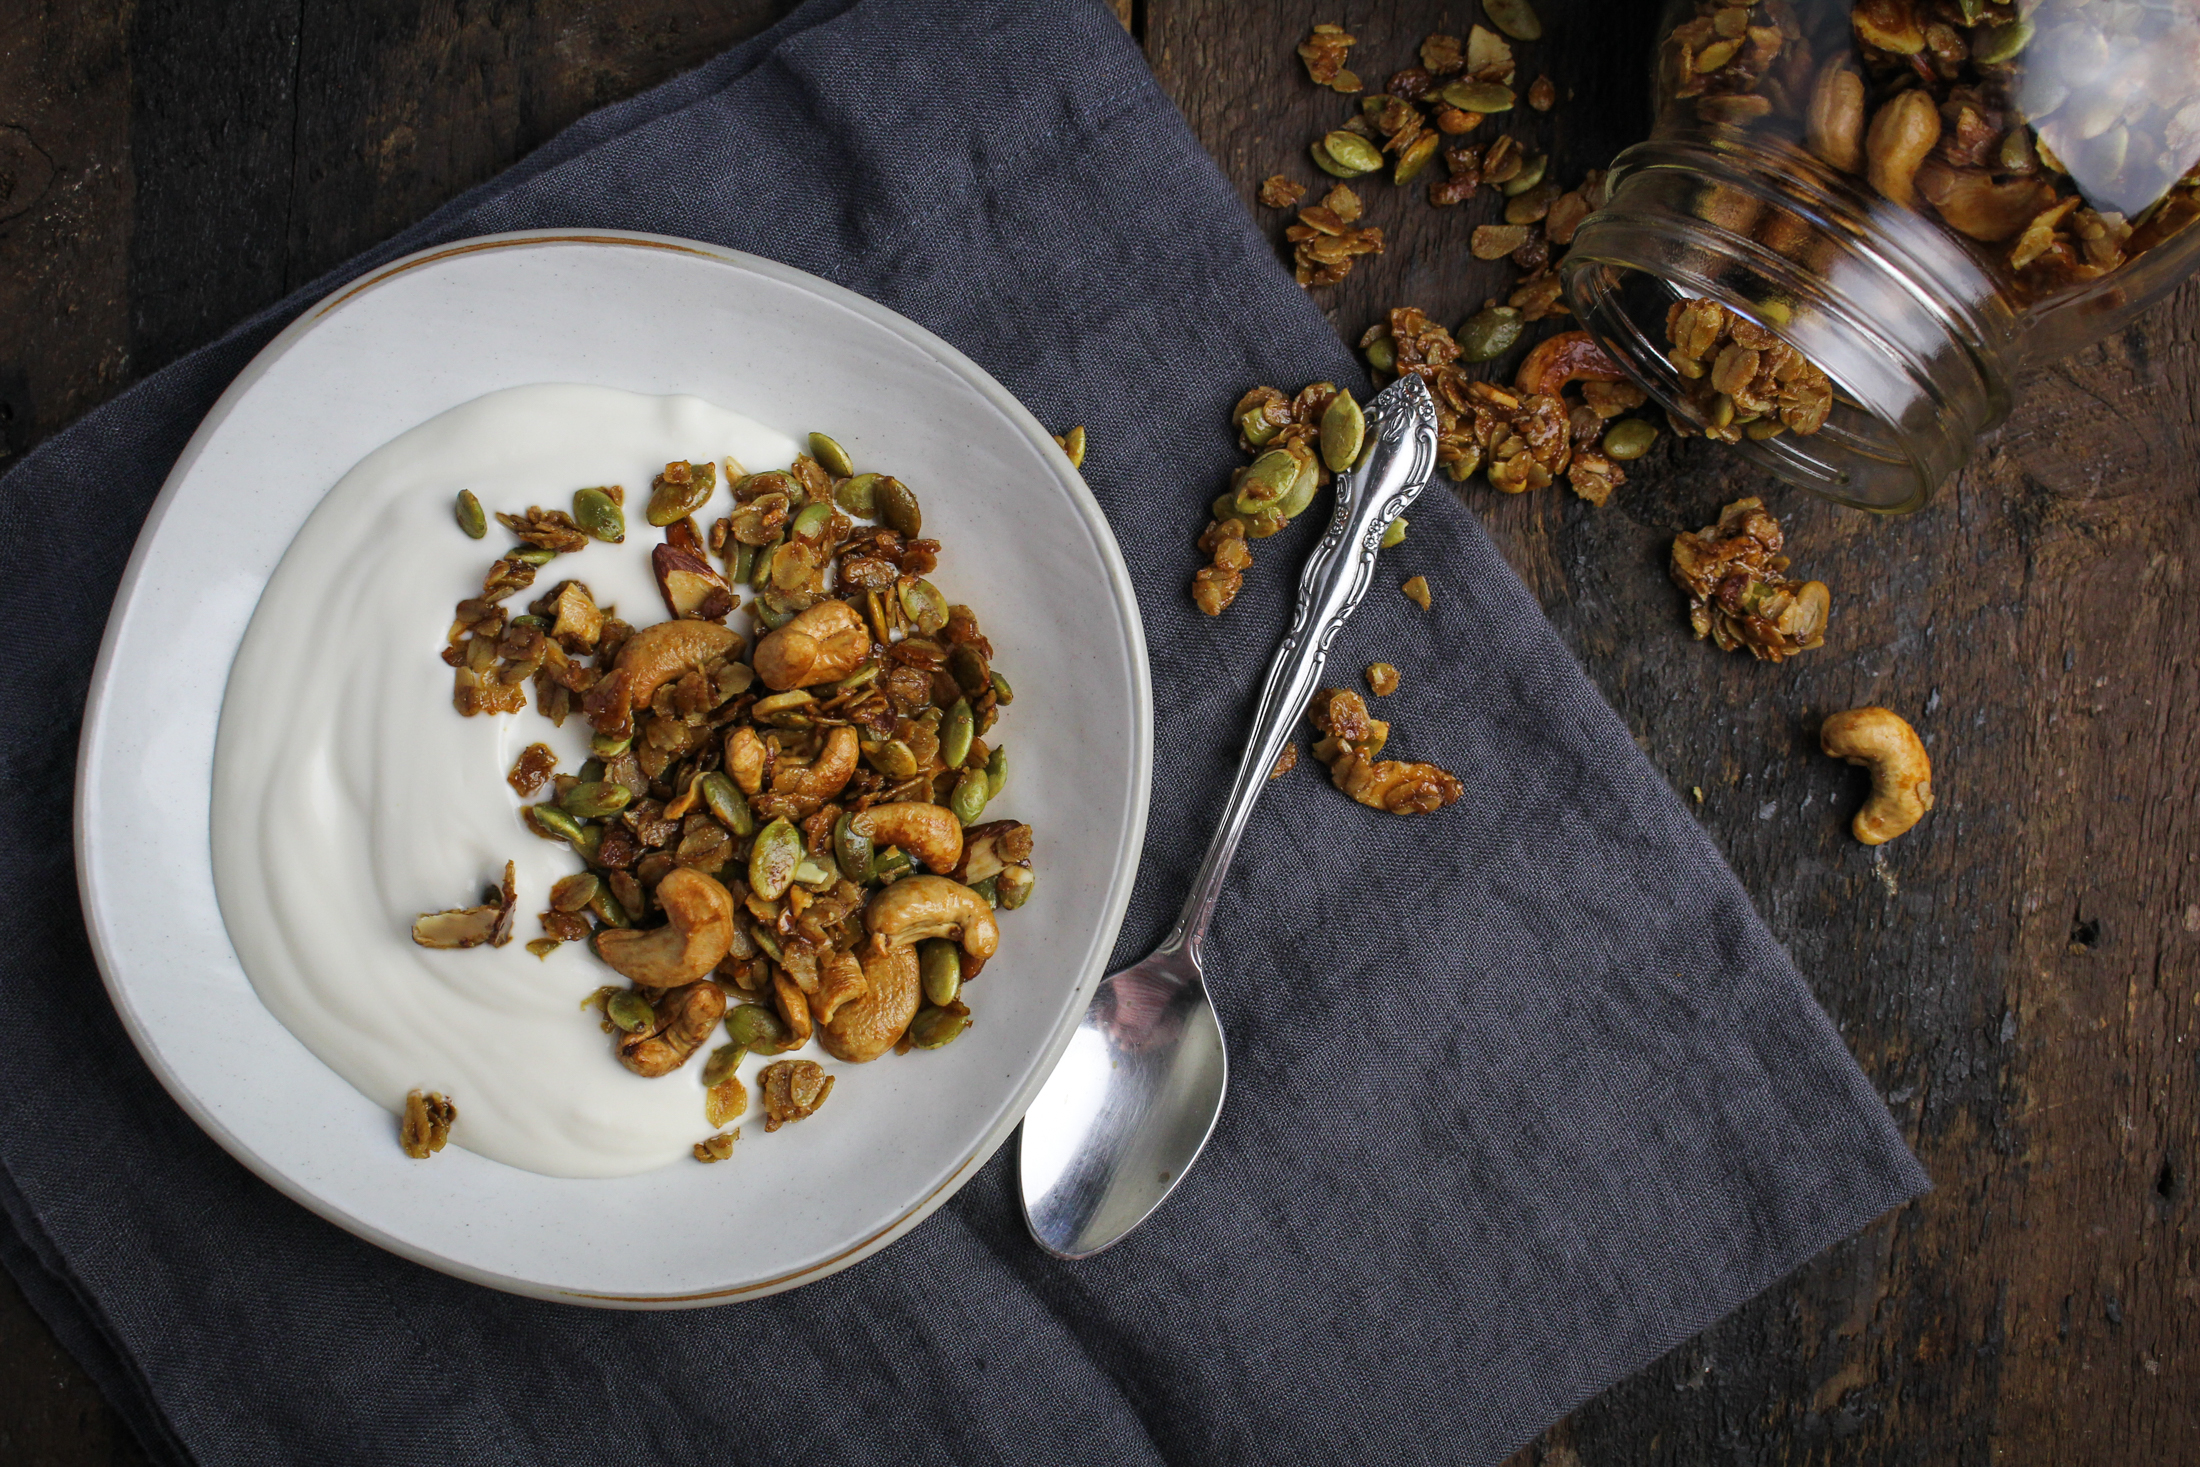
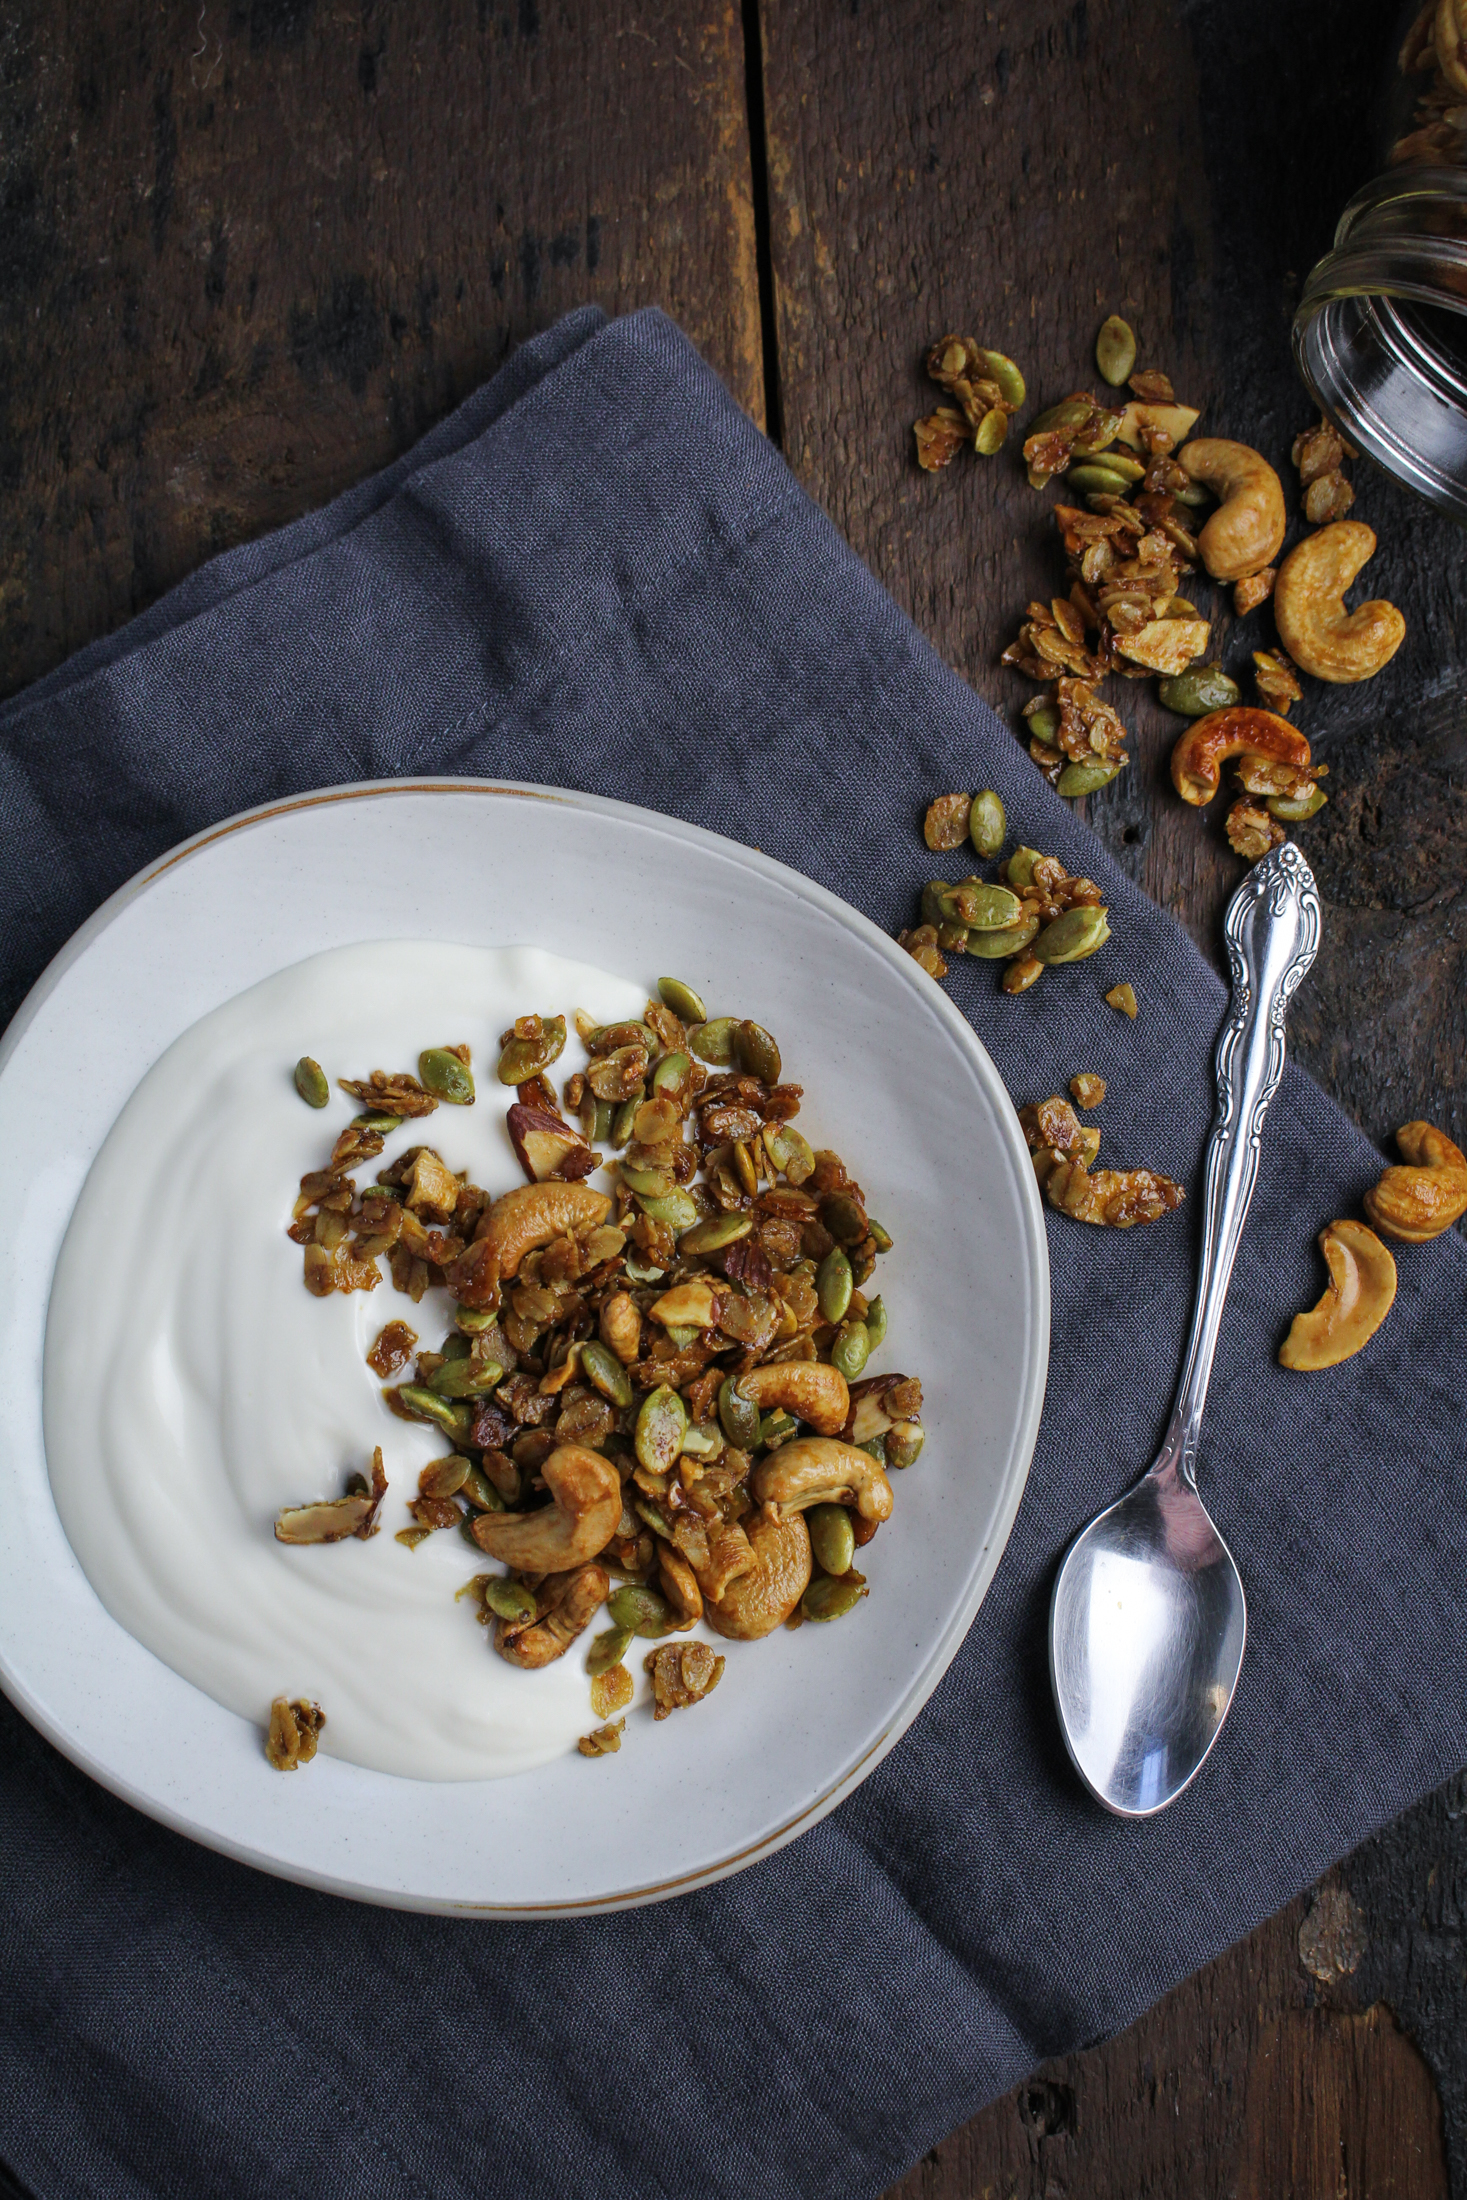
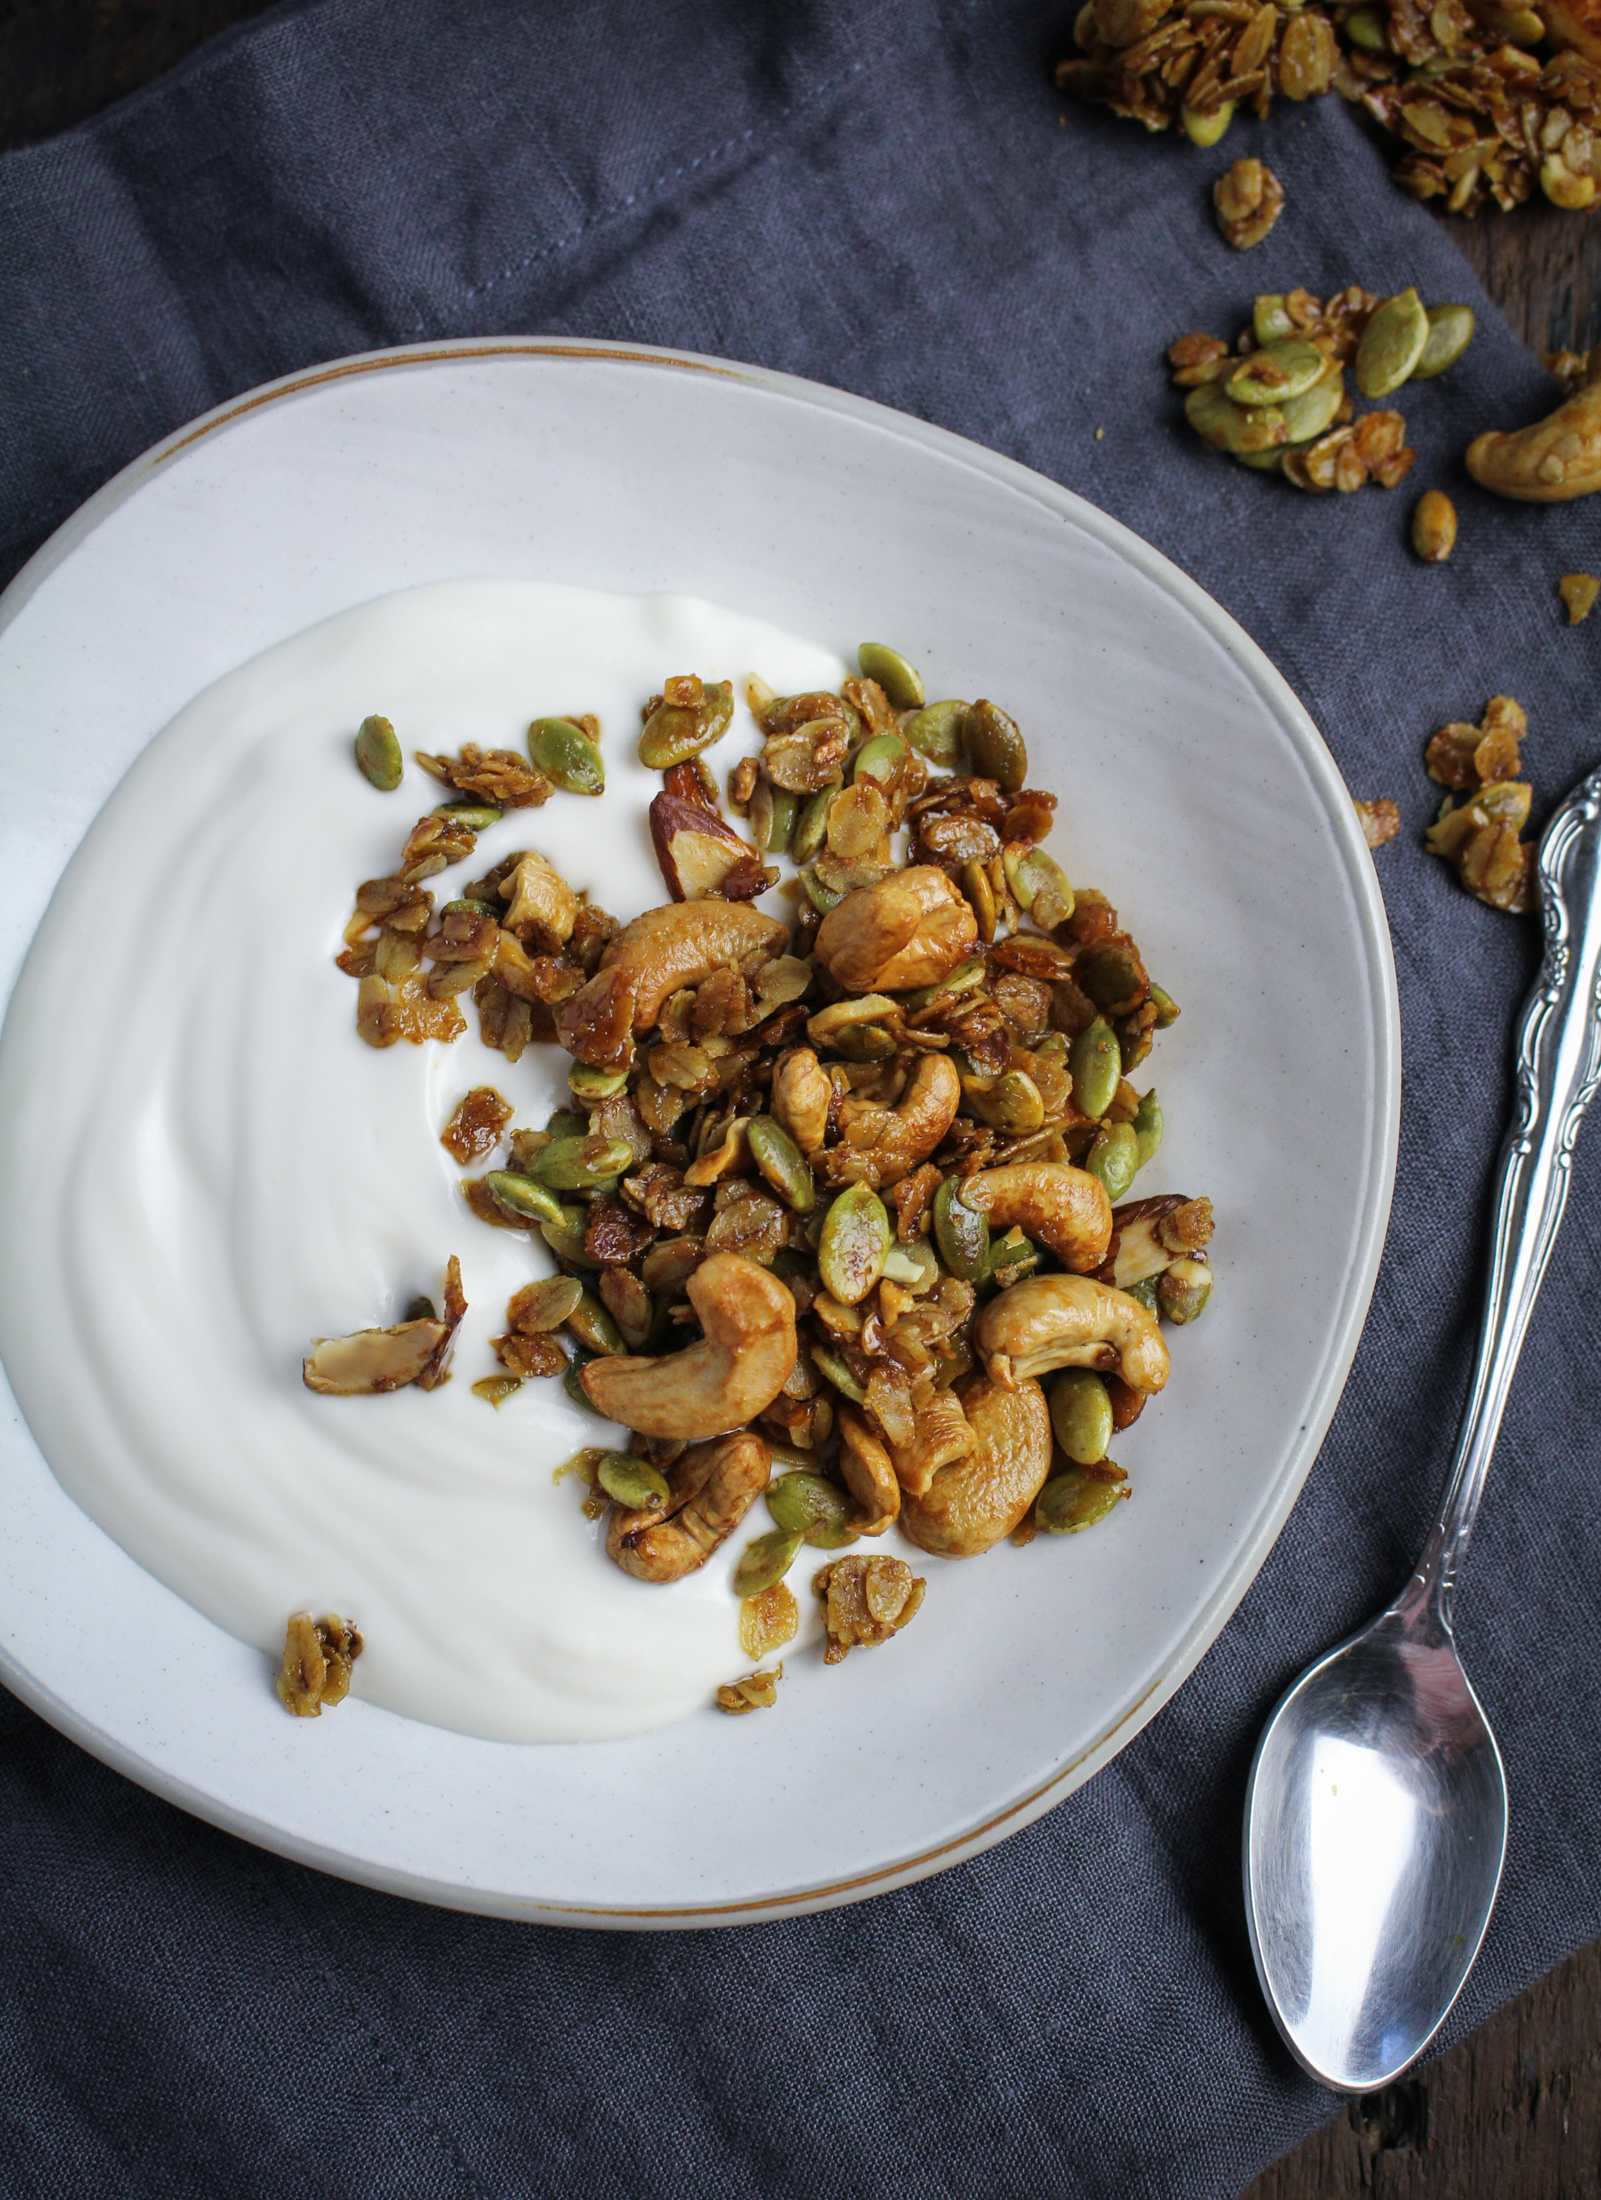
April ’16: Daily exercise; Recipe: Vanilla-Cashew Granola