After spending a few months last fall really diving into cookbook reviews (and recently picking it up again), I’ve come to recognize the things I truly love in a cookbook. Before, when I picked up a book and flipped through it, I had some immediate reaction to it which was either positive, negative, or neutral, and I bought the ones I felt positively about over multiple visits to the bookstore. I did sort of identify that the books that fell into the negative category were the ones where I said “eh, I’ve seen this before,” and my favorites were the ones with the most to teach me. But after writing 11 reviews since October, I’ve developed a whole new thought process for analyzing and talking about cookbooks – and, while I’ve discovered some really wonderful new books, it has also strengthened my love for some of my old favorites.
Roast Figs, Sugar Snow, is one of those favorites. It has everything I love in a book – a touch of whimsy, delivered via lovely quotes (the fact that this book opens with a Laura Ingalls Wilder quote probably sealed the deal for me before I even started reading it); a few travel stories, just compelling enough to make you close your eyes and envision another place; photographs evocative of both food and place; a strong voice that’s personal but not oppressive; and last, but most important, recipes that are new to me and make me want to eat them right away. Oh, and the fact that the first chapter is entirely devoted to cheese-based recipes doesn’t hurt either.
Since I wrote a full review last year, I won’t go into any more detail here. But I wanted to bring it back up to the top of my pile, since I always find myself flipping through it in the summer, dreaming of steaming mugs and rich stews, and well, winter is almost over, so now’s the time!
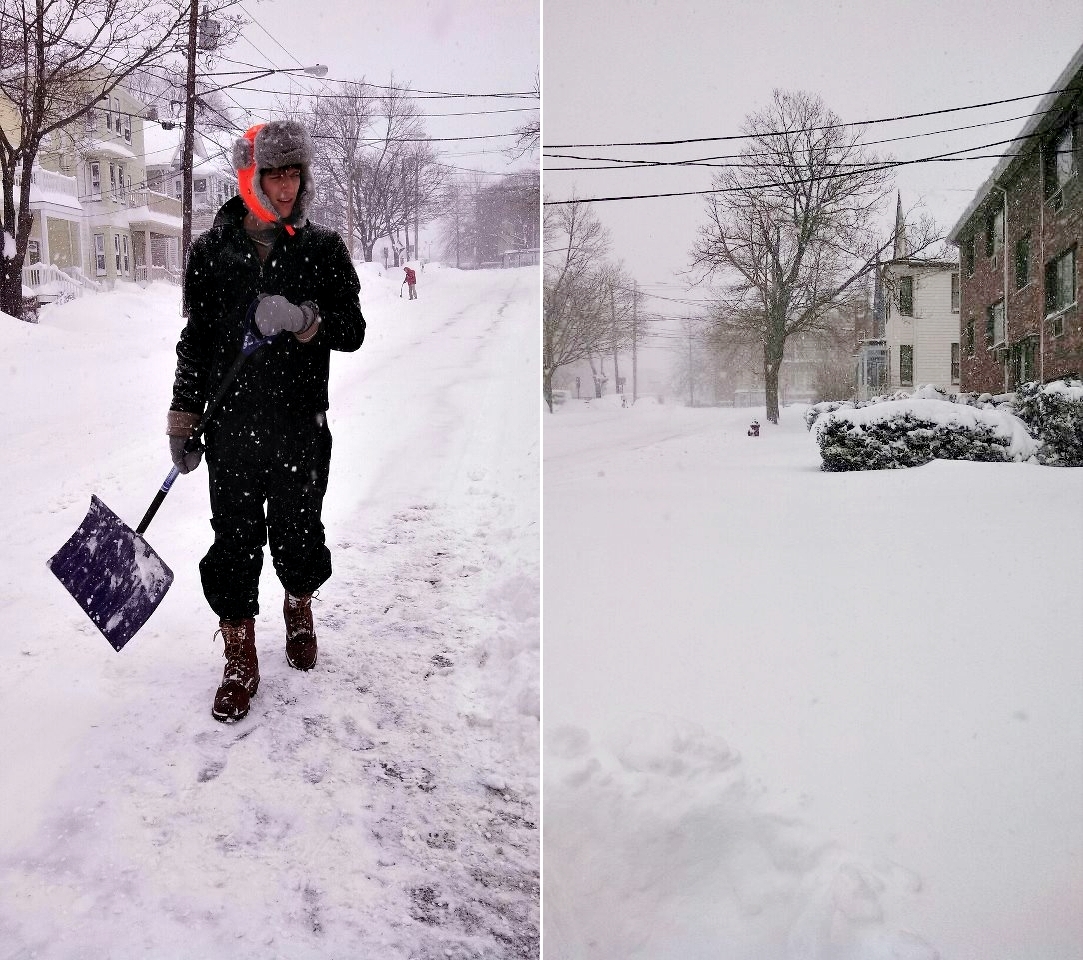
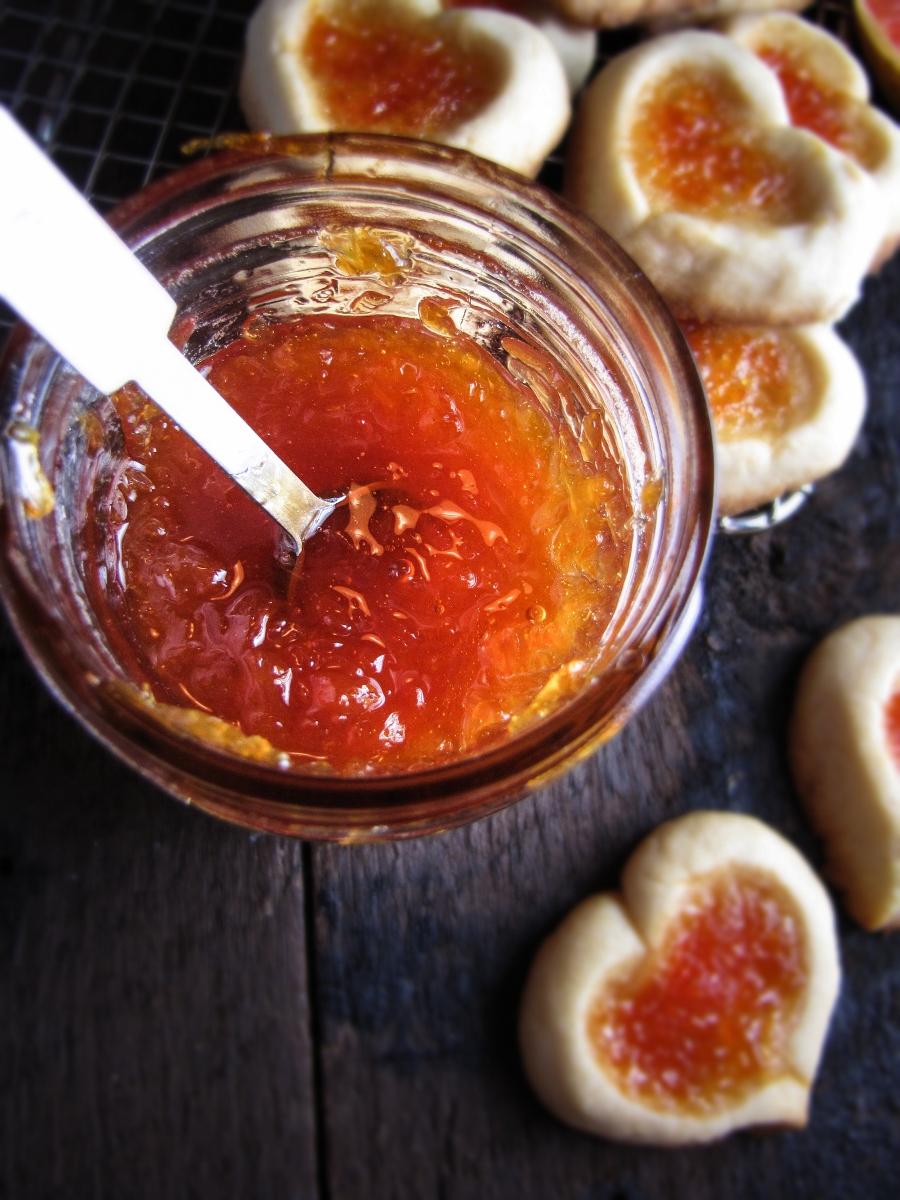
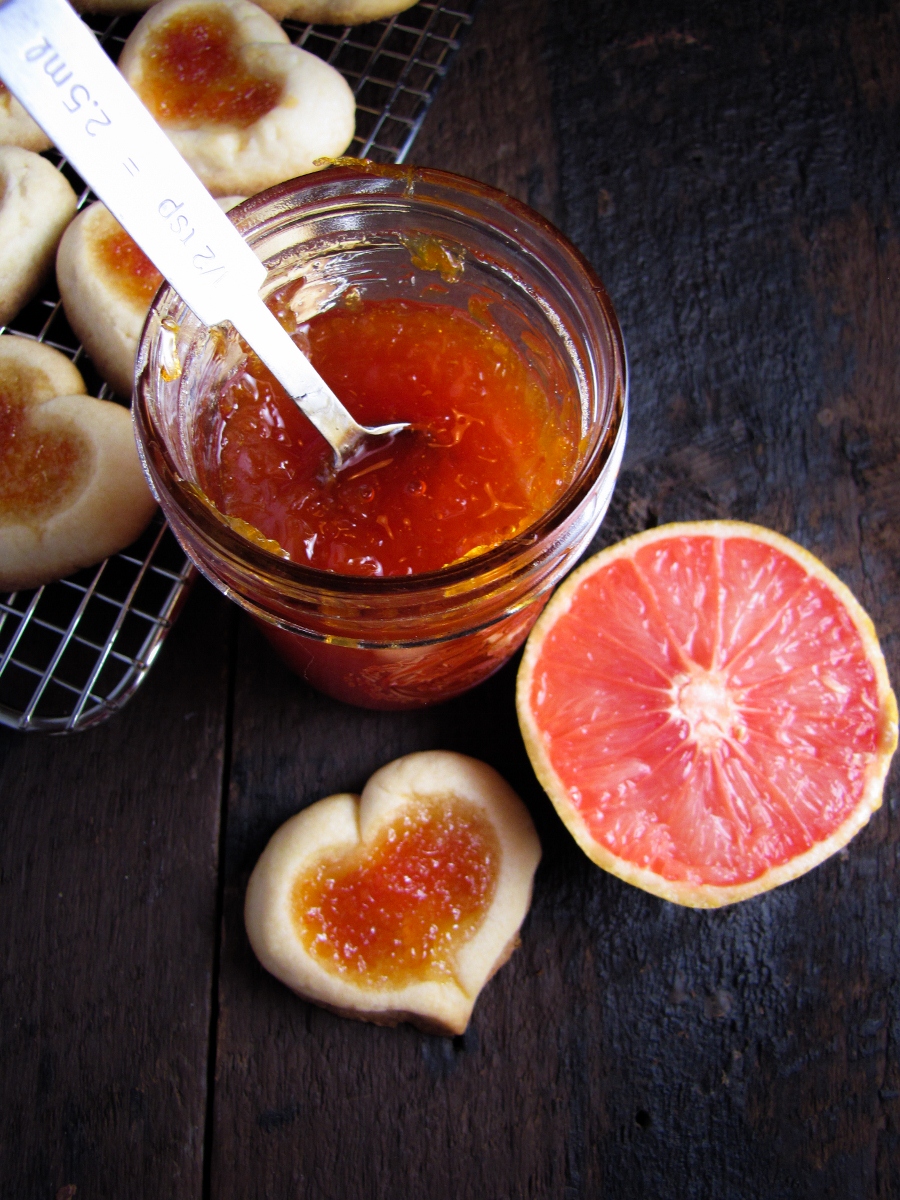
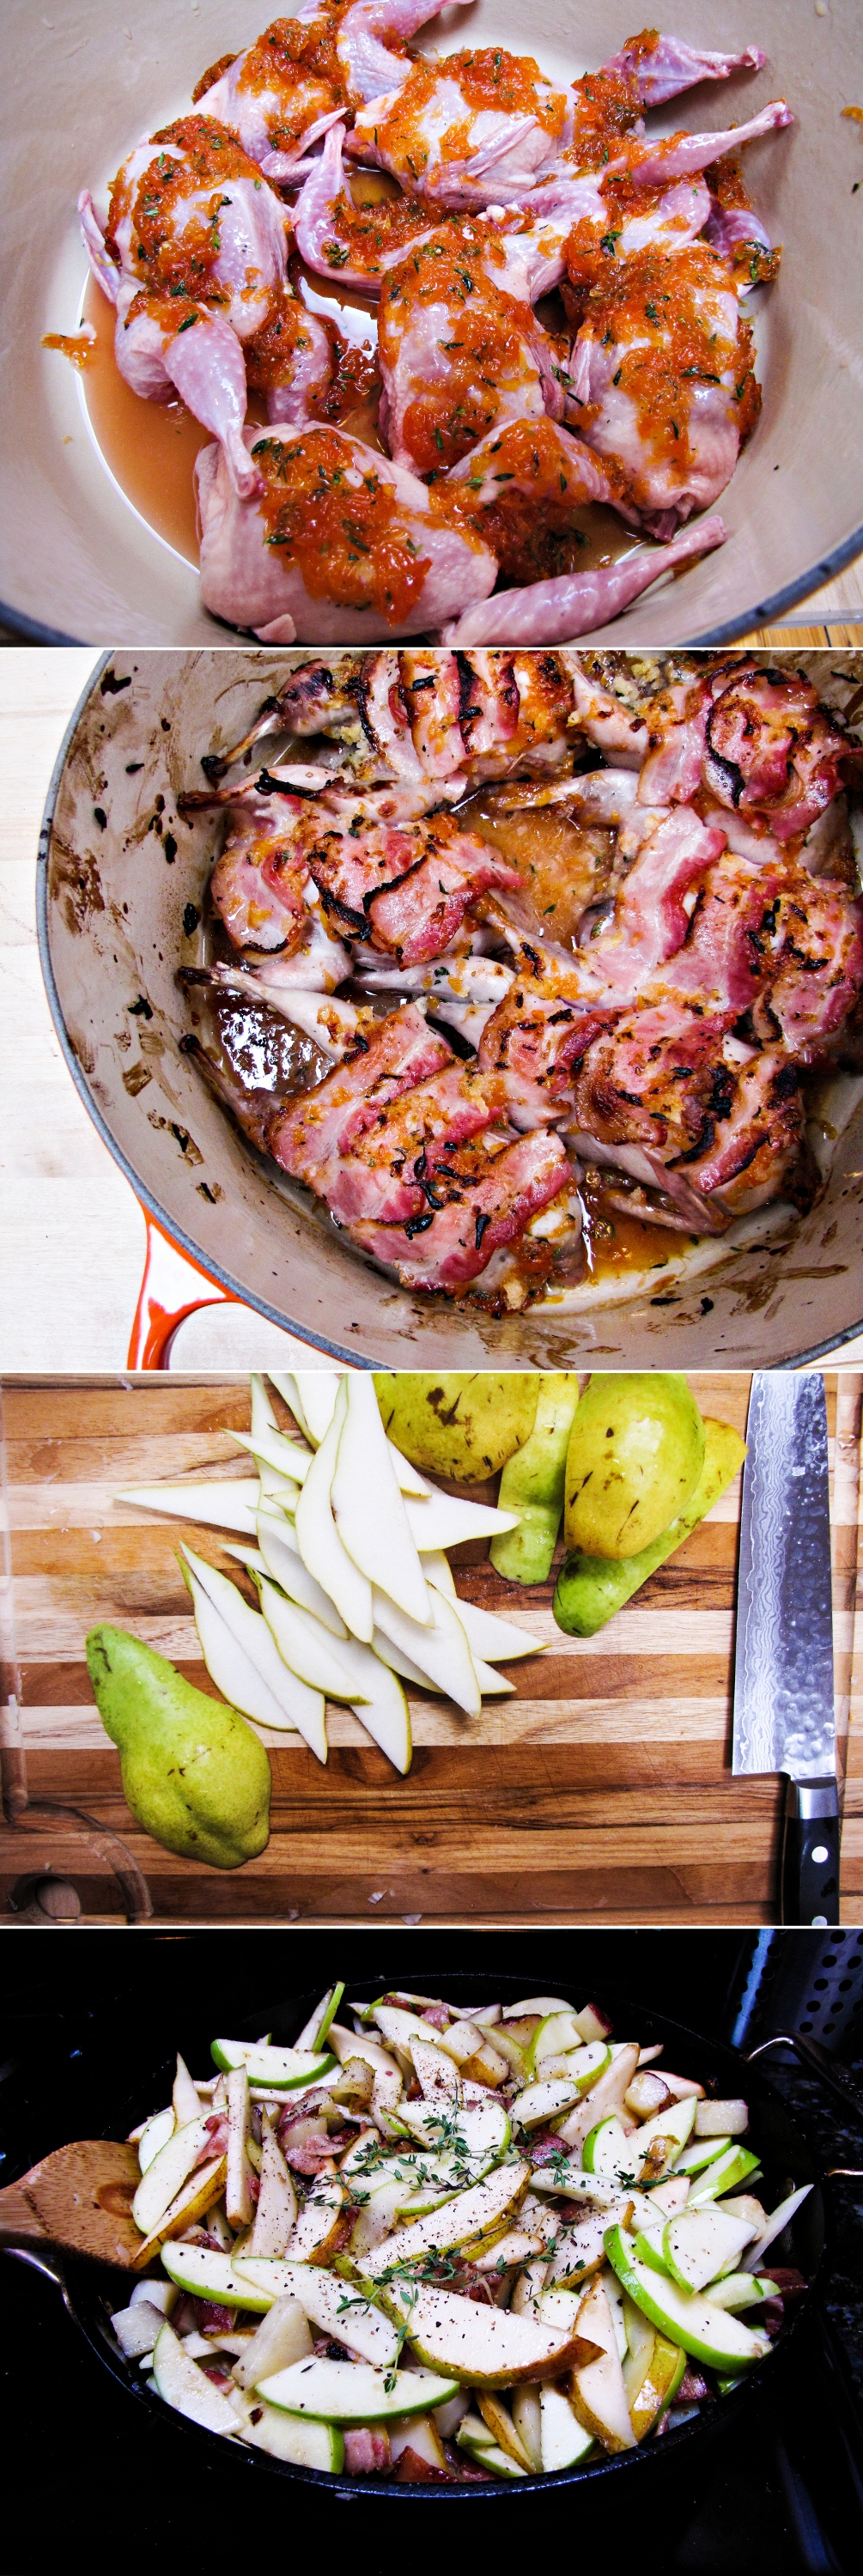
Trevor and I made this lovely meal for lunch on Sunday, while the snow was whipping around outside. I love the idea of a Sunday roast, and since Trevor’s good friend Merges got him a gift certificate to Savenor’s for Christmas, he decided to get something a little out of the ordinary to pop in the oven – six little quail (which he lovingly shared with me, like the good boyfriend that he is). The recipe we used called for whiskey and marmalade, for which we substituted the last of the grapefruit jam I made last week, as well as a large amount of bacon. A frighteningly large amount of bacon, which served to keep the quail moist and flavorful. I also made a side dish called “Hot Lightning” – a mix of potatoes, apples, pears, and, yep, more bacon. Both the quail and the veggies were really delicious, a treat on a winter afternoon.
While this was a comfy, cozy meal, and I’m glad I got the chance to make a few more wintery dishes from this book, I still kinda can’t wait for spring. Bring on the asparagus and fava beans, I’m ready for them.
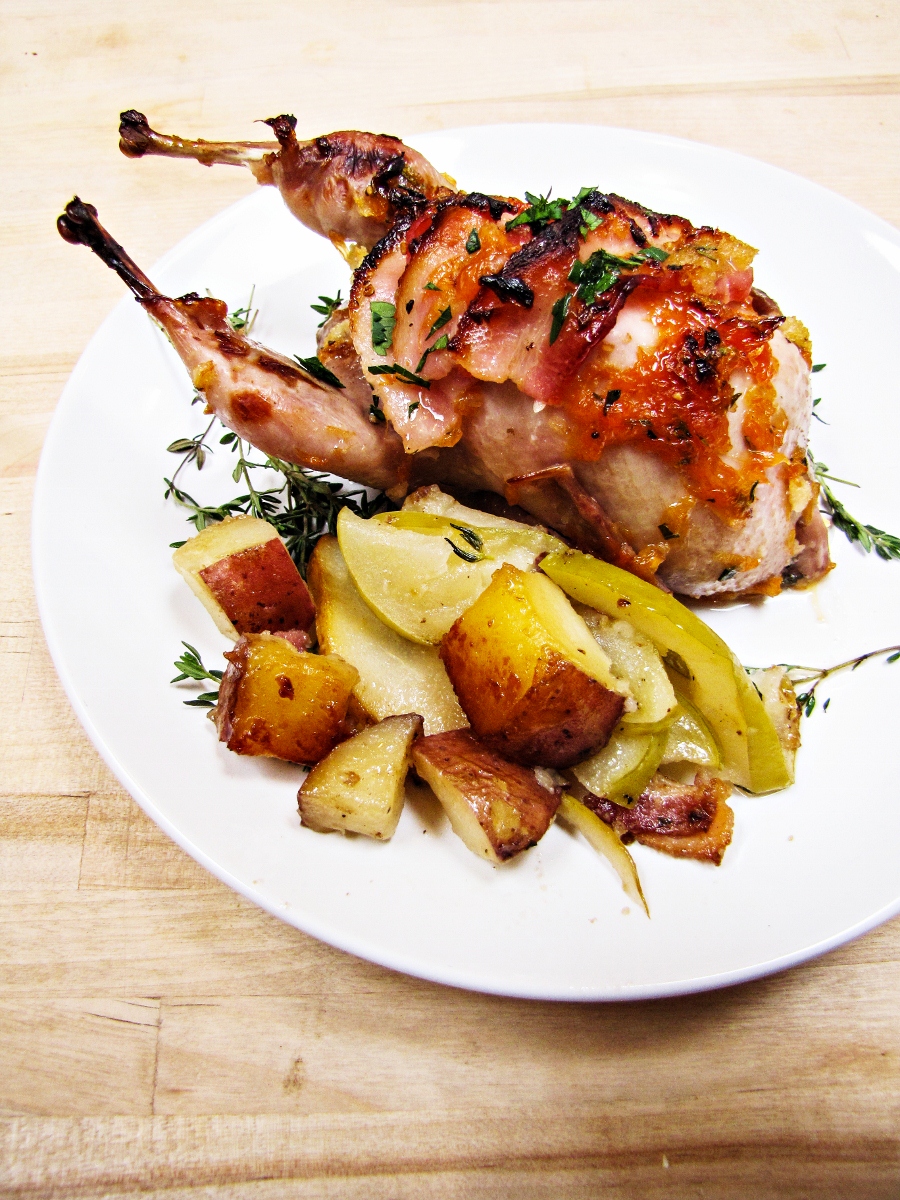
Stuffed Quail with Marmalade, Whiskey, and Bacon
Recipe from Roast Figs, Sugar Snow. Serves 4.
- 1/2 c. marmalade (or grapefruit jam)
- 1/2 c. plus 2 TBS whiskey, divided
- 1 tsp fresh thyme leaves
- salt and pepper
- 8 quails
- 10 slices bacon, divided
- 1/2 small onion, finely minced
- 1 TBS butter
- 2 oz. fresh breadcrumbs
- 1 TBS finely minced fresh parsley
- 1 egg, beaten
- 1 3/4 c. strong-flavored chicken stock
- Whisk together the marmalade, 1/2 c. of the whiskey and the thyme, and season with salt and pepper. Spoon the marinade over the quails, cover loosely and let marinate for at least one hour up to overnight (if marinating for more than 1 hour, do so in the fridge).
- Preheat the oven to 400°F. Take 2 slices of the bacon and finely dice them. Add the bacon, the onion, and the butter to a frying pan and saute over medium heat until bacon is crisp. Add the breadcrumbs and saute until golden. Remove from heat, and stir in the parsley and the beaten egg. Use this stuffing to stuff each quail. Cut the remaining 8 strips of bacon in half, and lay criscross on top of each bird. Season with pepper. Put the birds in a pot in which they fit snugly, and spoon the marinade over them again. Roast for 25-35 minutes, until quail is cooked through, spooning the juices and marinade over the birds every 10 minutes. If bacon is not crisp but quail is cooked, broil on high for 2-3 minutes to finish. Serve 2 birds per person.
- While the quail is roasting, reduce the chicken stock by half over medium heat, or until it is slightly syrupy. Add the remaining 2 TBS of whiskey. Serve gravy with the quail.
“Hot Lightning” – A Dish of Roast Potatoes, Apples, Pears, and Bacon
Recipe adapted slightly from Roast Figs, Sugar Snow. Serves 4.
Notes: I changed the cooking time and temperature of this dish so that it could be made at the same time as the quail – the original recipe called for 30 minutes at 325°F. I also reduced the amount of bacon since we would already be consuming so much with the quail! I didn’t think it needed any more bacon than we used. If you have slab bacon, cooking that in 3/4-inch cubes in place of the strips would be lovely. You don’t need to peel the potatoes or the fruit, but do take care to wash them well.
- 1/2 stick butter
- 2 lbs new potatoes, scrubbed and cut into 3/4-inch cubes
- 8 strips bacon, cut into 1/2 inch pieces
- 2 Granny Smith apples, cored, then thinly sliced lengthwise
- 2 pears, cored, then thinly sliced lengthwise
- 3 TBS light brown sugar
- 1 tsp fresh thyme leaves
- salt and pepper
- Preheat oven to 400°F. Melt butter in a large oven-proof and gas-proof casserole dish over medium heat. Add potatoes and bacon, and saute, stirring, until bacon is crisp and potatoes have begun to turn golden, about 10-15 minutes. Add the apples and pears and turn over in the buttery juices. Season with the sugar, thyme leaves, and salt and pepper and stir to combine.
- Remove the dish from the flame, cover with a lid or tin foil, and bake for 25-30 minutes. Serve hot.