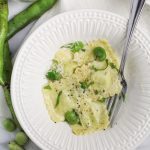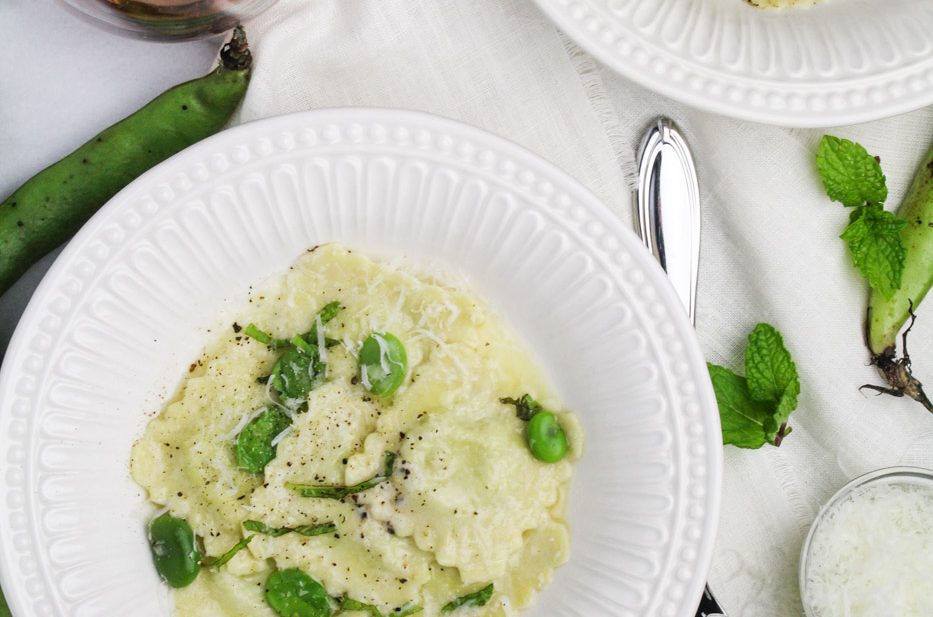
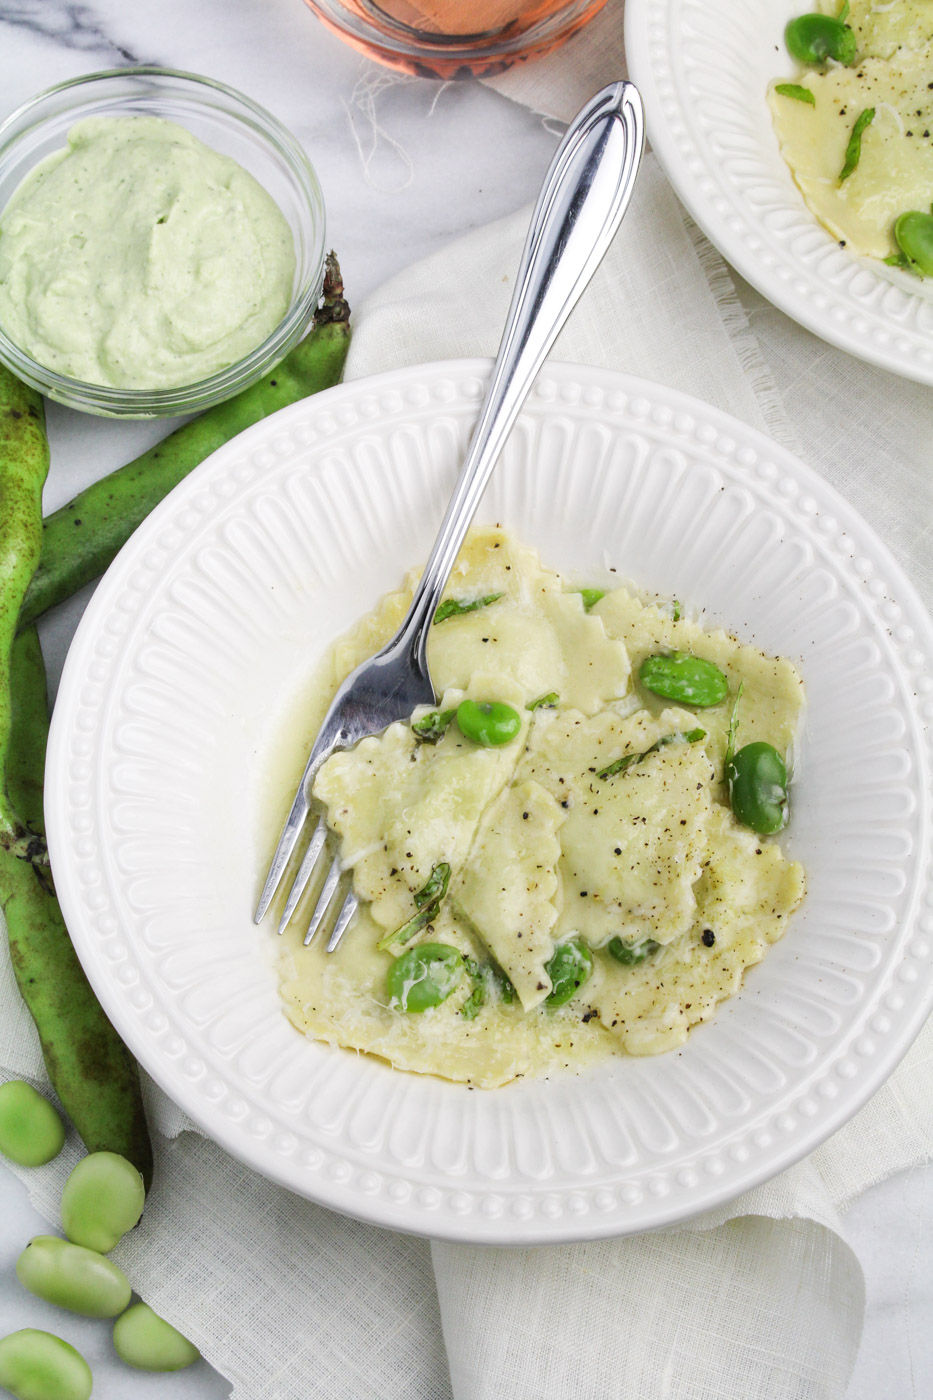
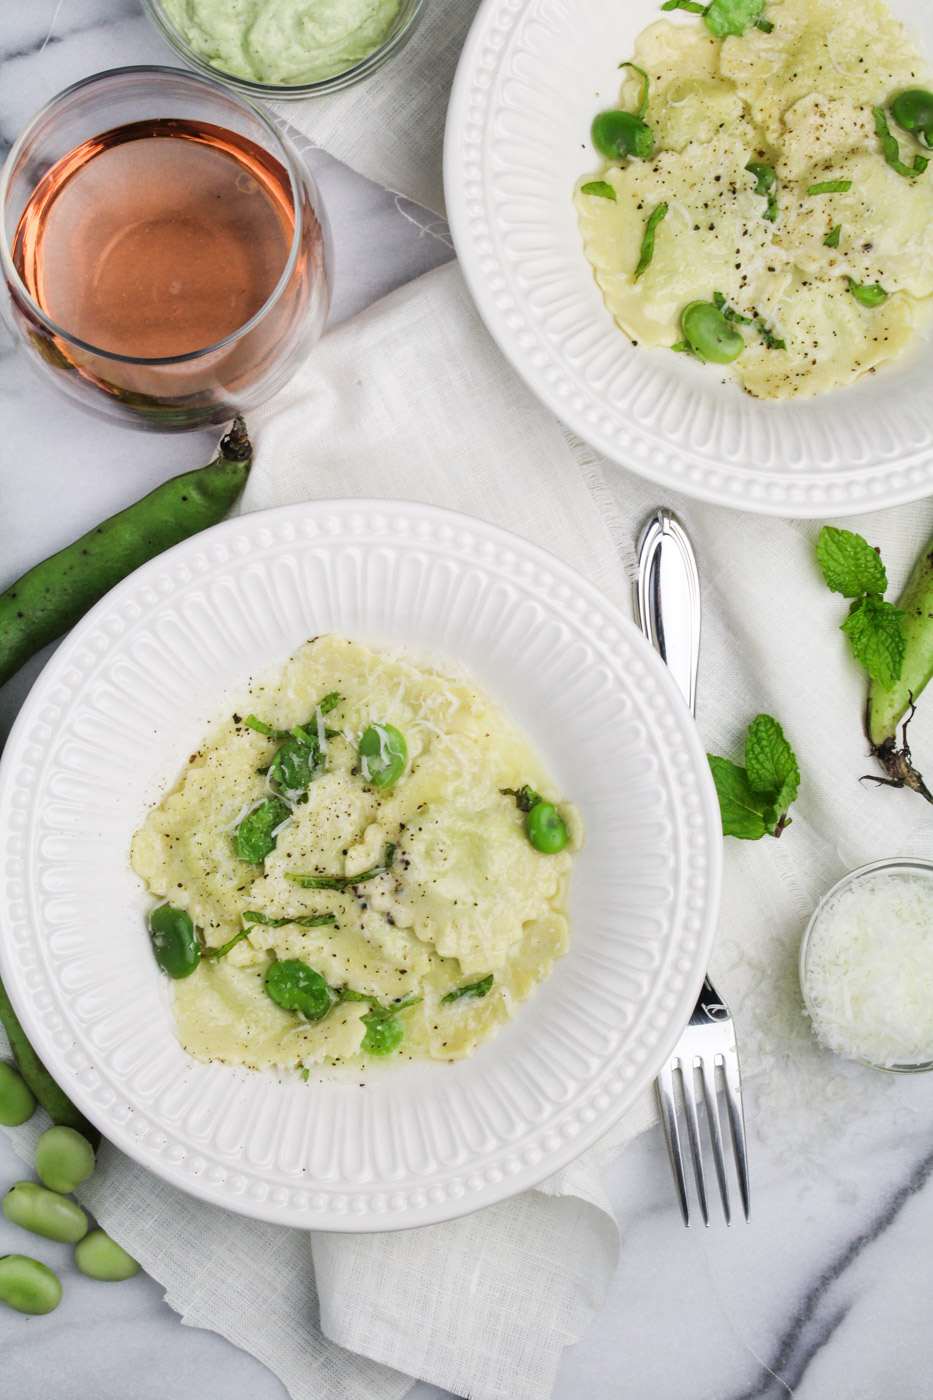
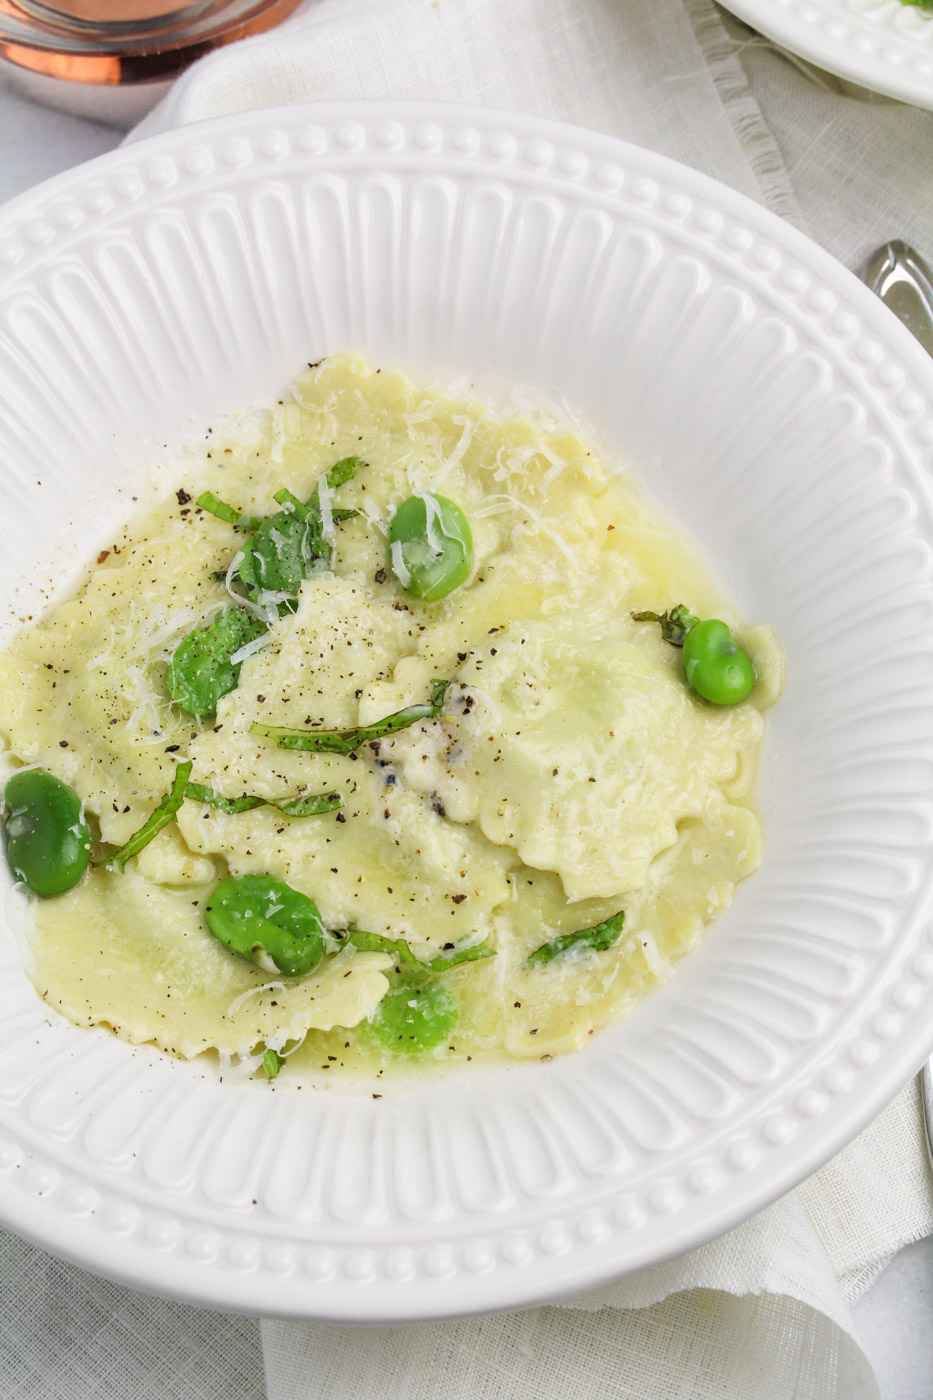
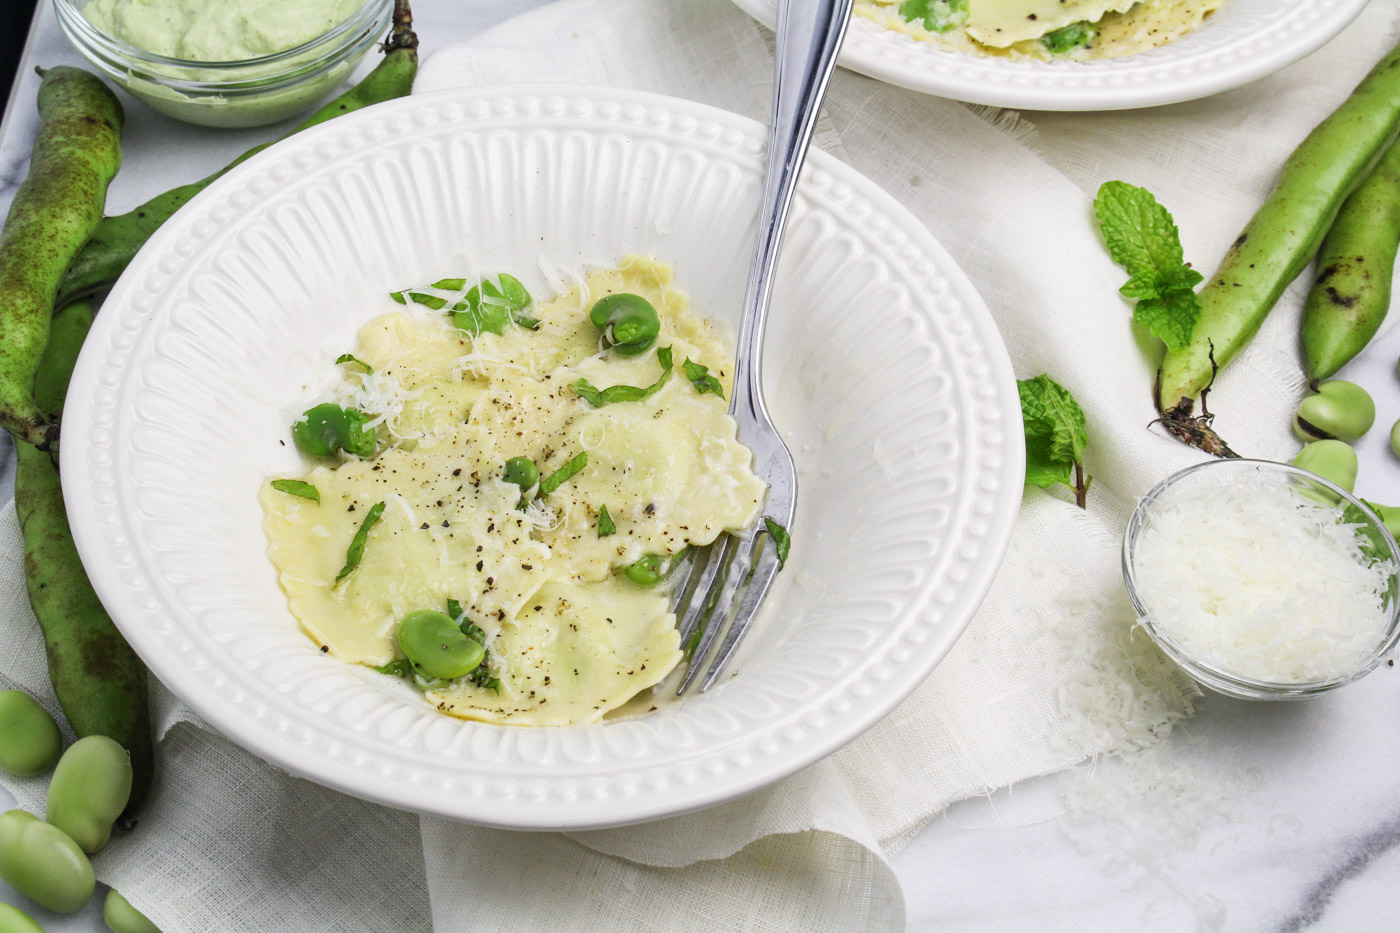
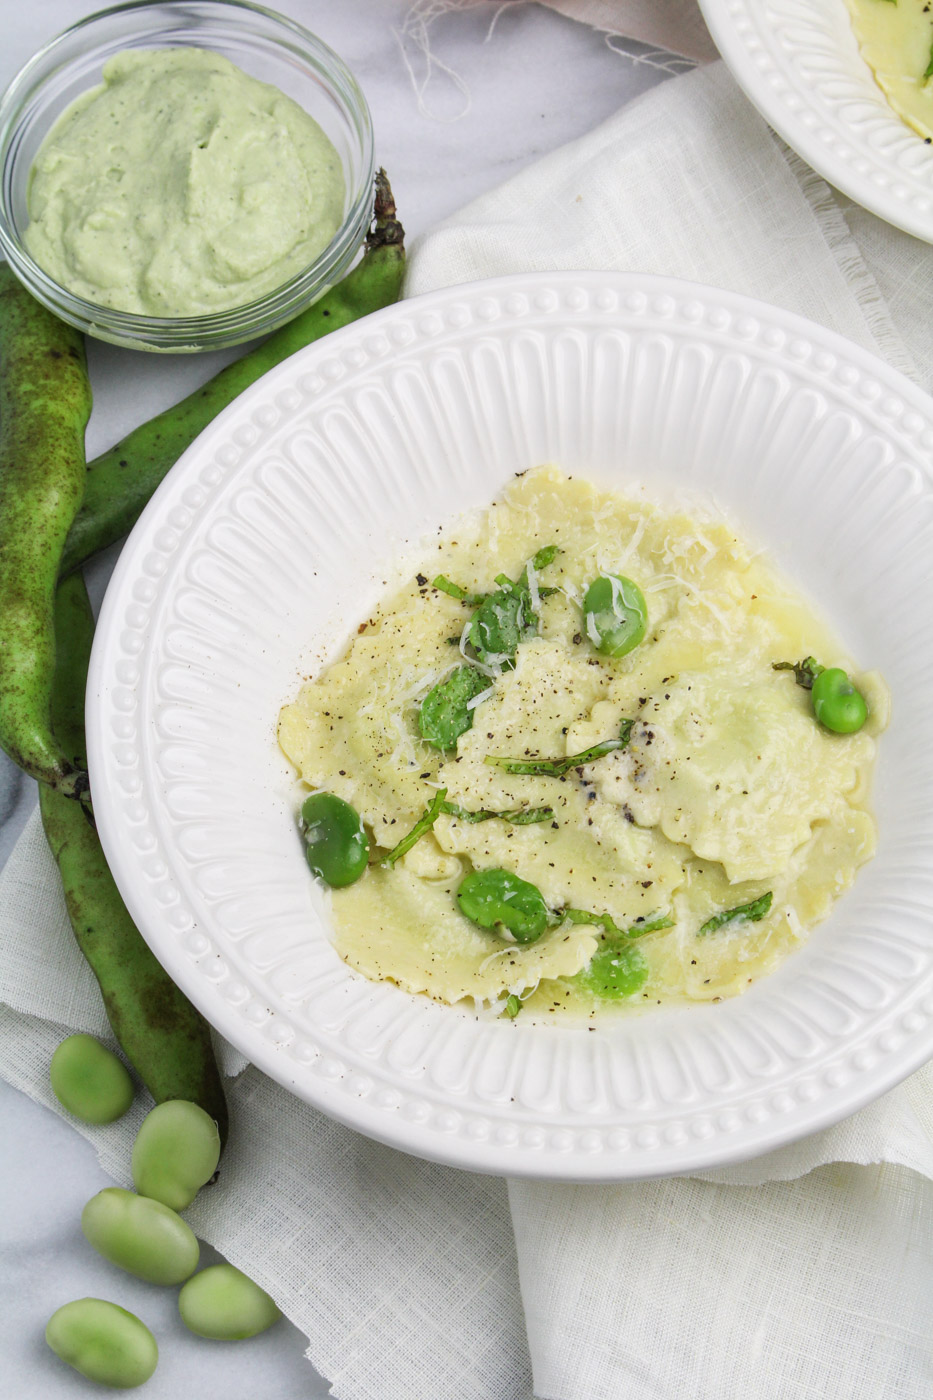
It’s time for the (slightly belated) final post for fava bean week. It’s another recipe inspired by Italy – homemade ravioli filled with a fava bean, mascarpone, and ricotta mixture and served in a two-ingredient truffle butter sauce. Because it turns out that when one of your ingredients is truffle butter, you don’t need much else.
While fava beans are abundant in Italy and Portugal, they aren’t particularly common in the US, even at the height of their season. They occasionally make an appearance at Wholefoods, and some people have found them frozen at Trader Joe’s, but I couldn’t find any near me. We are growing a long row of them, but they won’t be ready until late June, about the same time that Bostonians will be able to find them at local farmer’s markets.
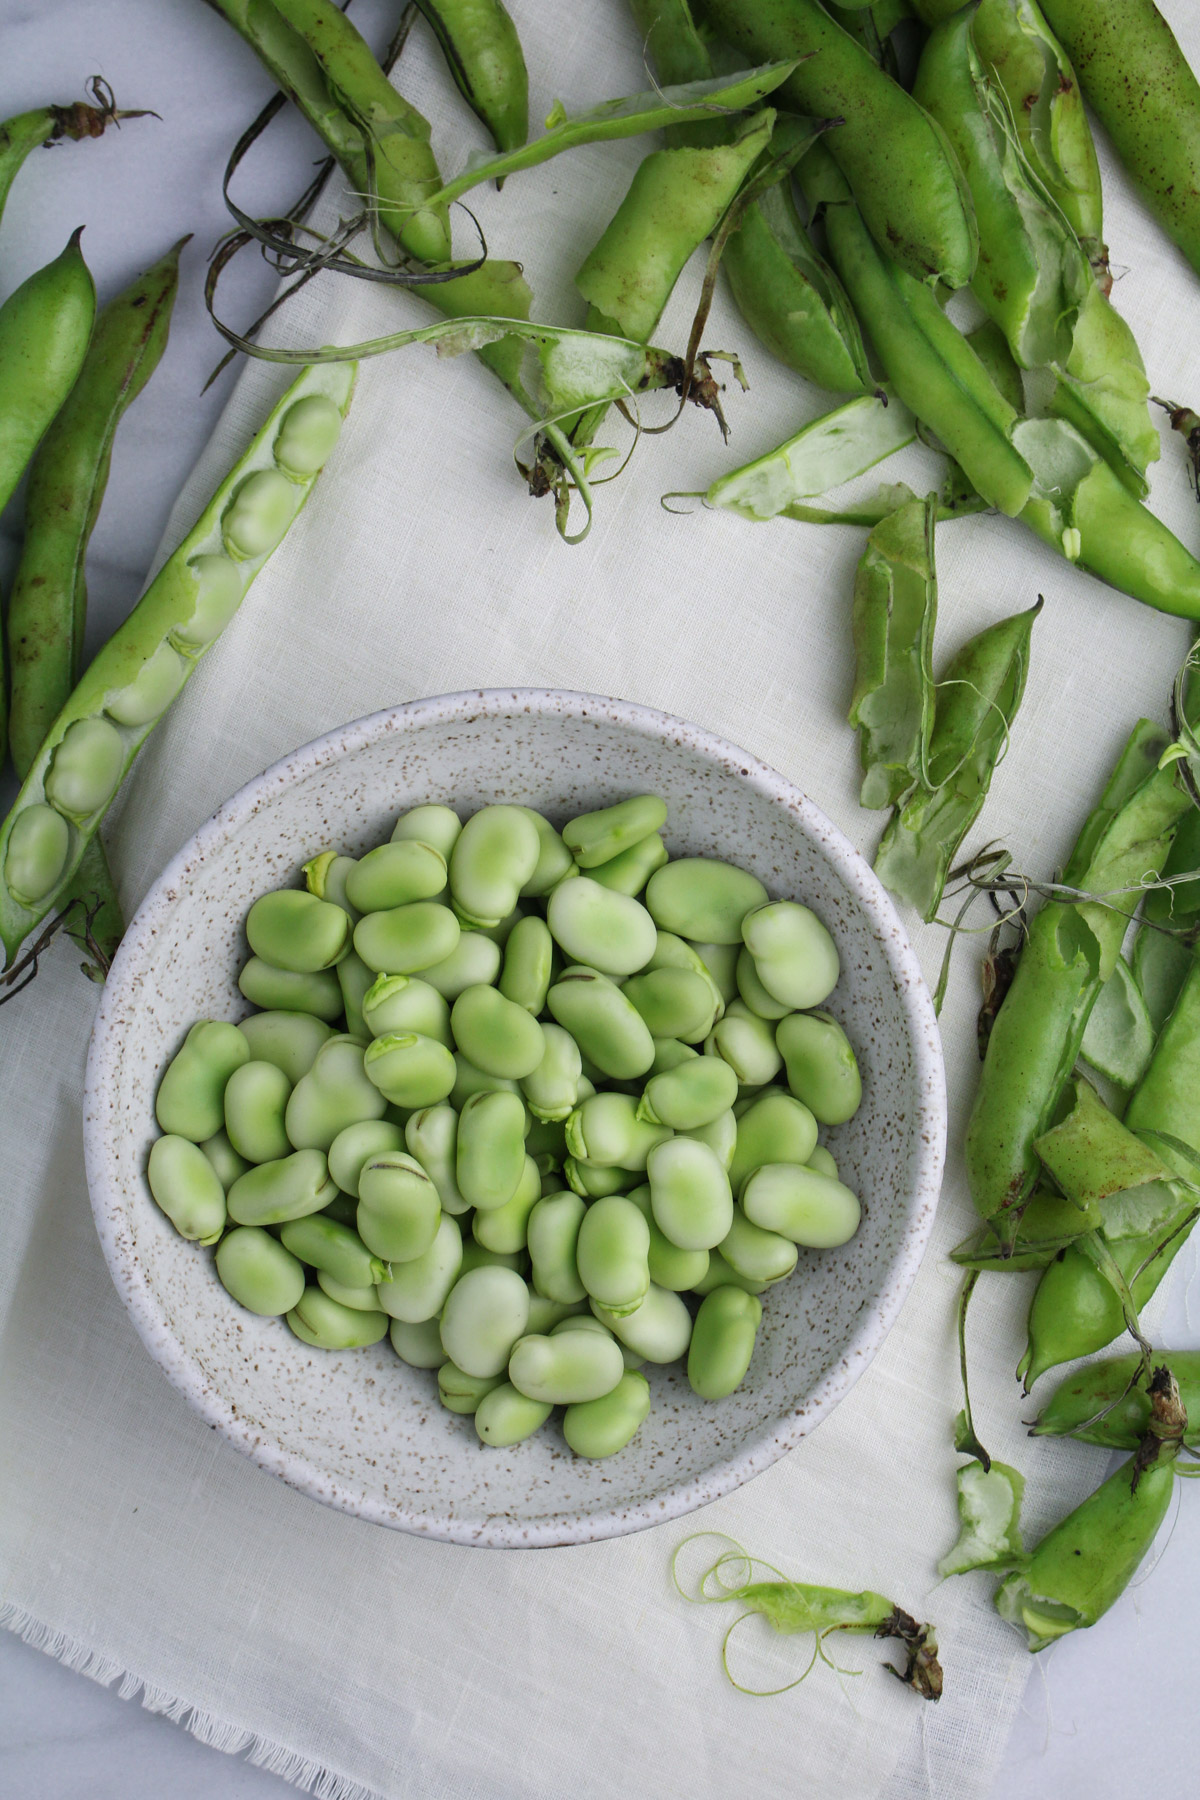
So what’s a fava bean lover to do? I’ve basically been rabid for them in anticipation of the series, knowing it would be difficult to get my hands on enough for several recipes. I’ve started harassing the staff at Wholefoods, begging for them to go back into the stock room and bring me a few pounds. I made my friend Veronika walk through all of the Wholefoods in Cambridge with me – surprisingly, the little Wholefoods had some and the big one didn’t. It doesn’t help that you need about 1 pound of pods for every cup of beans, so what may look like a lot of beans disappears surprisingly quickly.
And then, unexpectedly, I found fava bean nirvana – Eataly. While out shopping for wedding shoes with my mom, we stopped in at the new Eataly in Boston. I needed truffle butter for this recipe, and figured it made more sense to pay a little more at a store that I knew would carry it than to schlep all over looking for it. If you’ve never been, Eataly is like the Ikea of Italian food, except everything is expensive. You have to wind your way through the massive store in a certain order. You’ll pass the gelato and pastry counters, a case full of beautiful seafood, a deli counter with dozens of prosciuttos, and rows of dry and canned goods. After weaving my way through the tempting rows filled with jars of fancy tomatoes and olive oils and capers,I found the produce section. There, next to a beautiful basket of morel mushrooms, were all the fava beans I could want. So now I know. And if you’re in Boston, New York, or Chicago, you know too.
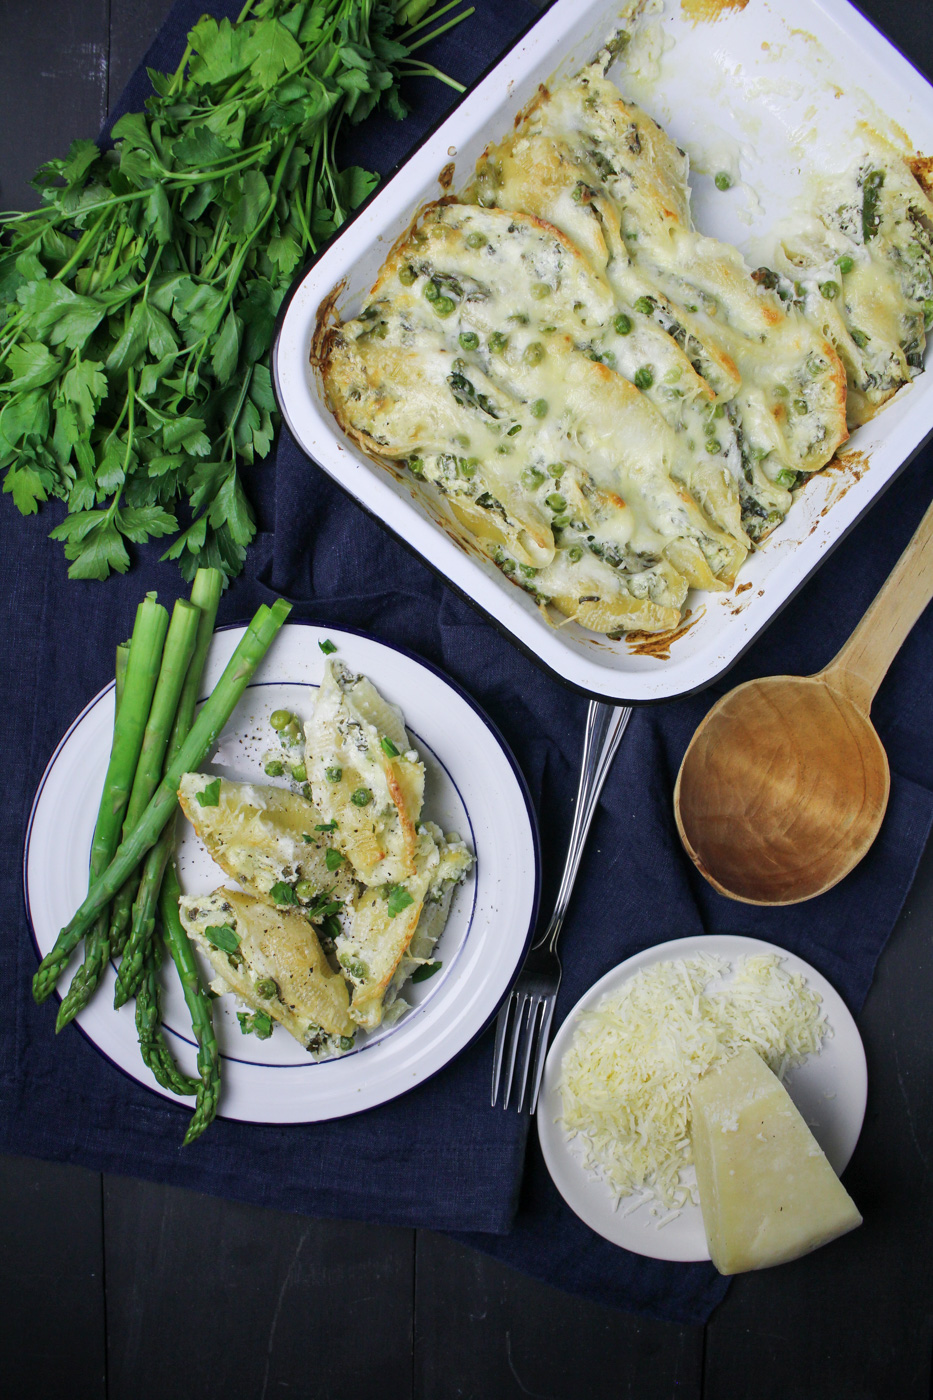
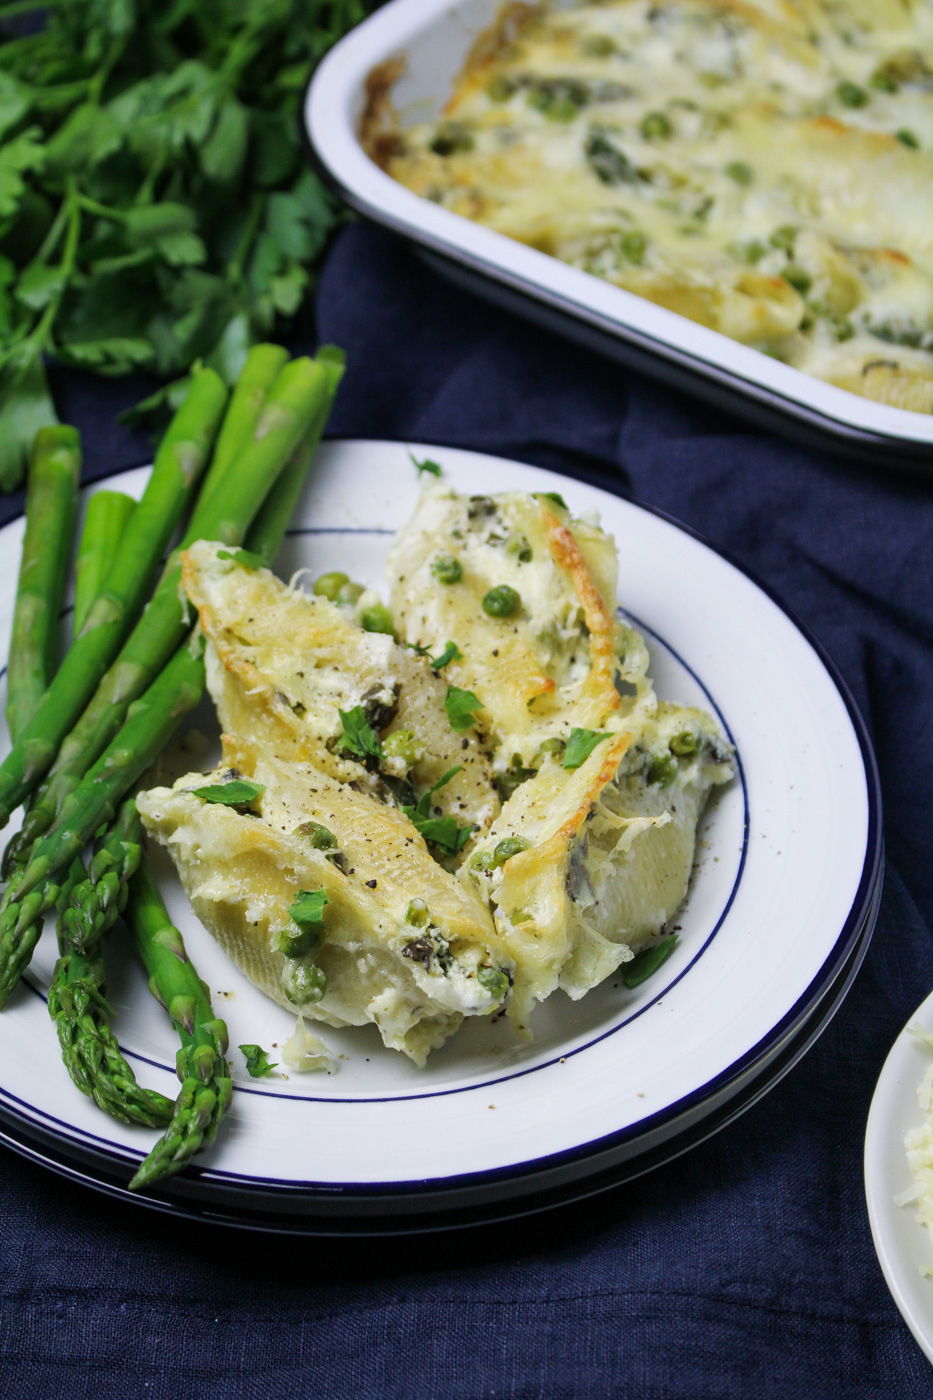
Back to the ravioli. Every once in a while Trevor and I break out the pasta machine and make a batch of homemade pasta. I find it quite therapeutic to make, although our pasta is never quite as tender as I want. It’s fun to customize, though, and this filling is really lovely. The sweet mascarpone and ricotta really mellow out the fava flavor. We tossed the ravioli with a quick burro fuso – truffle butter melted and whisked with a bit of warm water. Simple, elegant, and springlike, a homemade pasta worth the effort.
More Fava Bean Recipes…

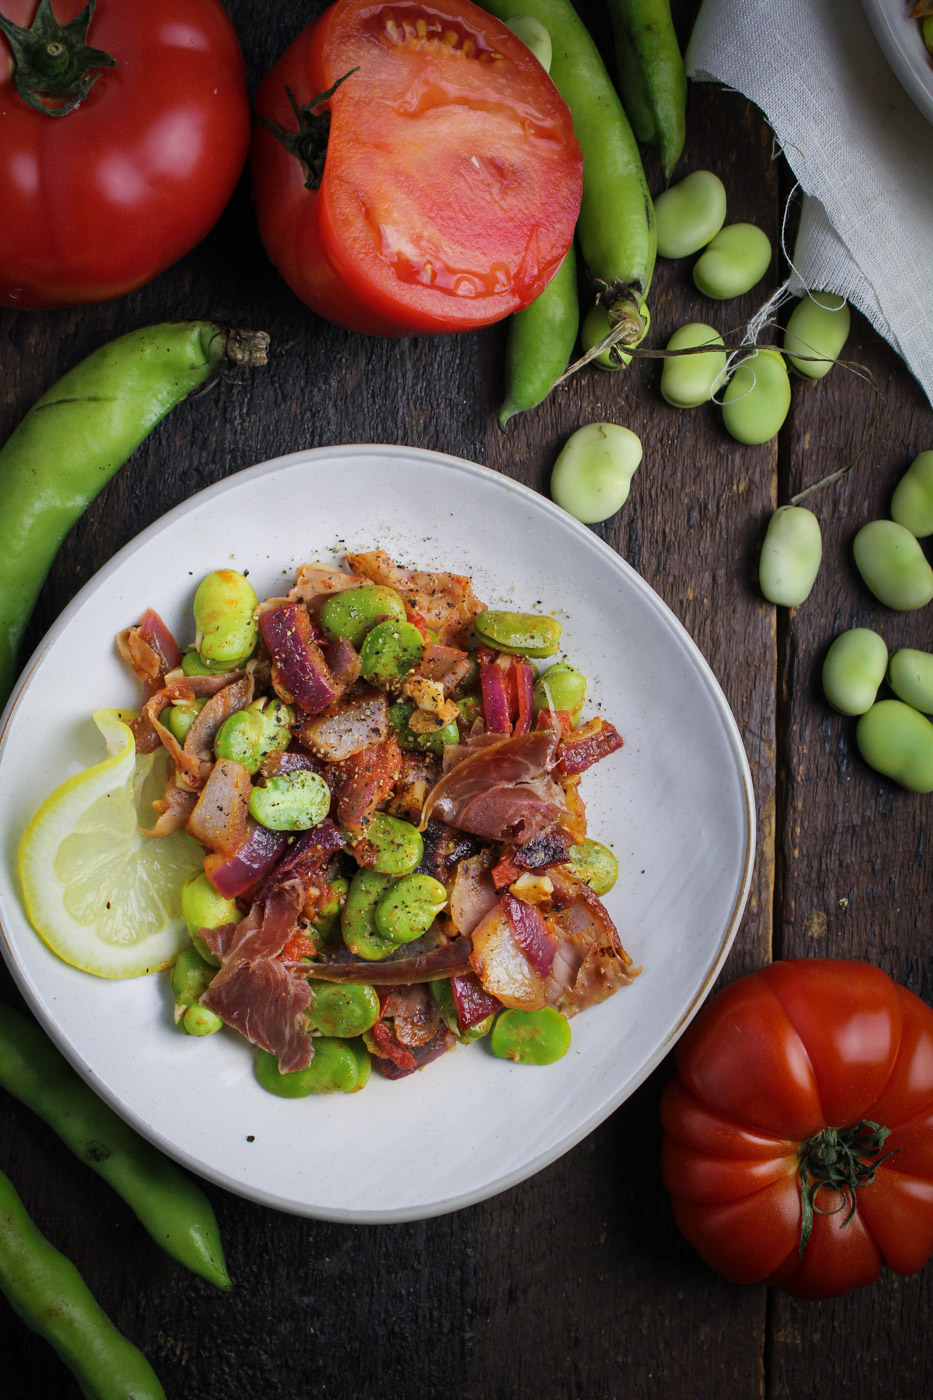
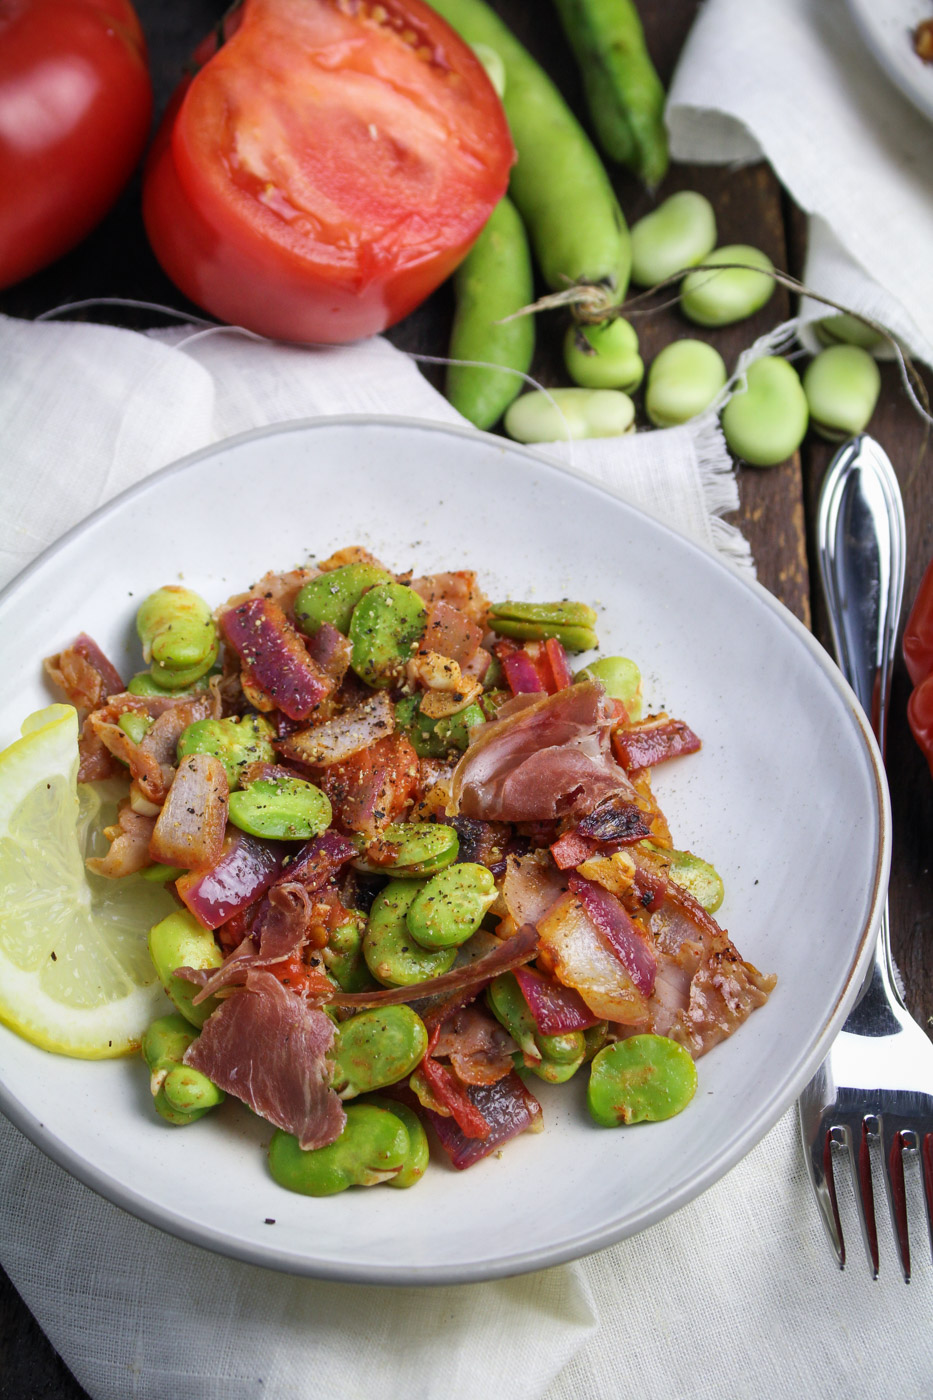
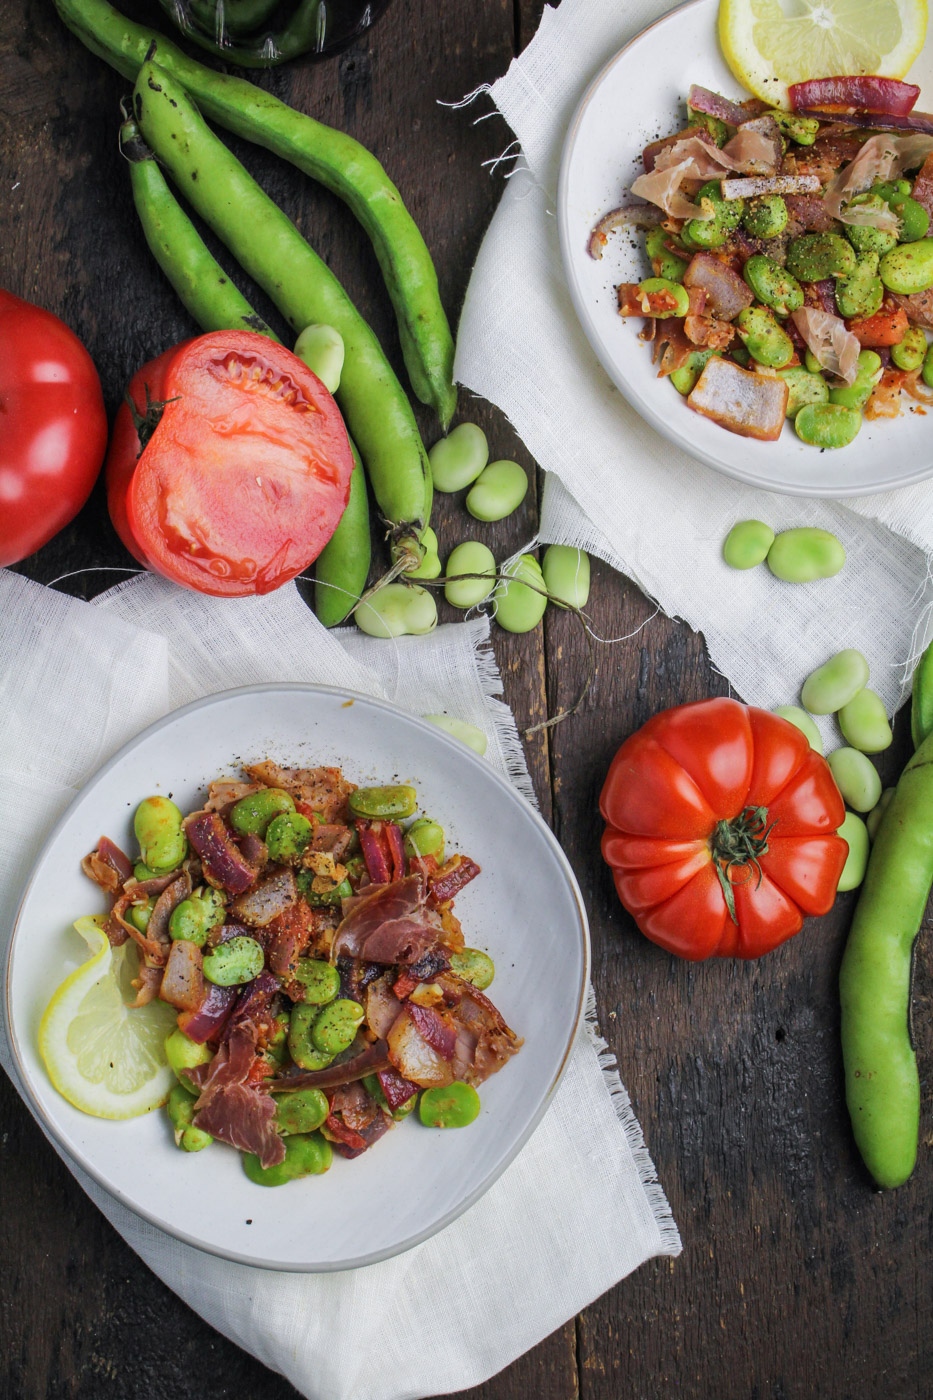
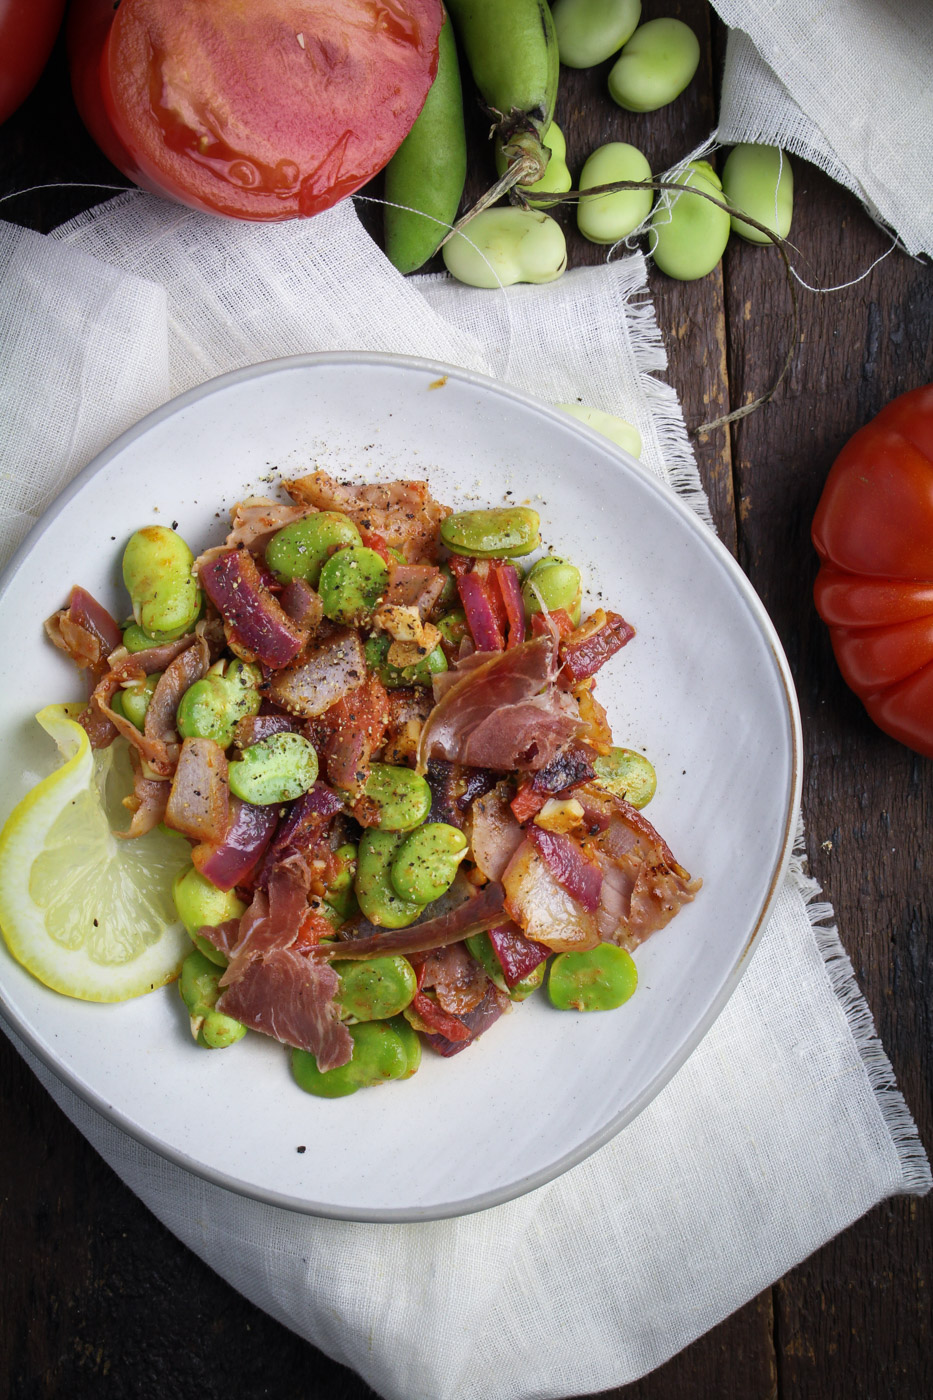
Spanish Fava Bean Salad with Tomatoes and Prosciutto

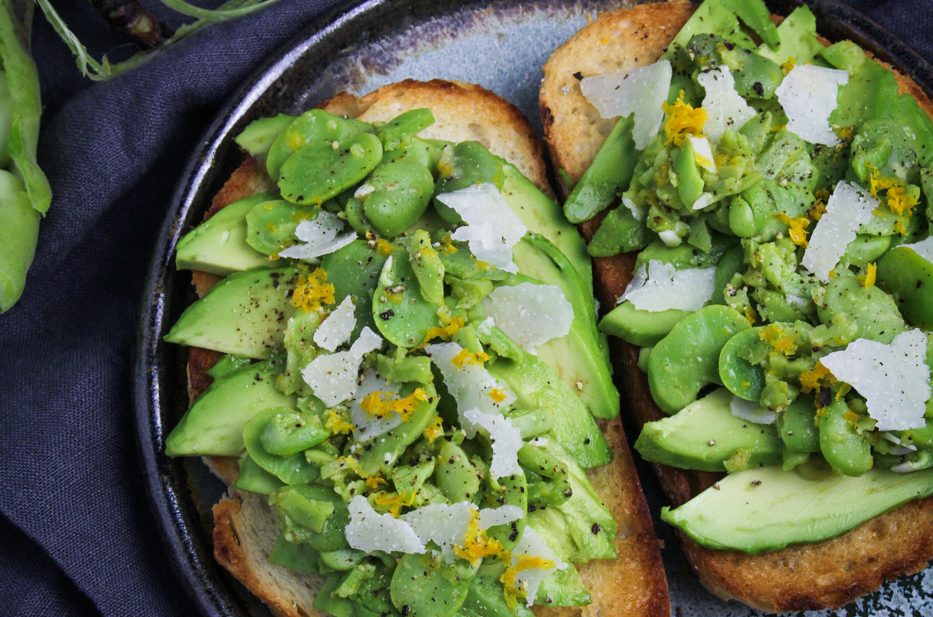
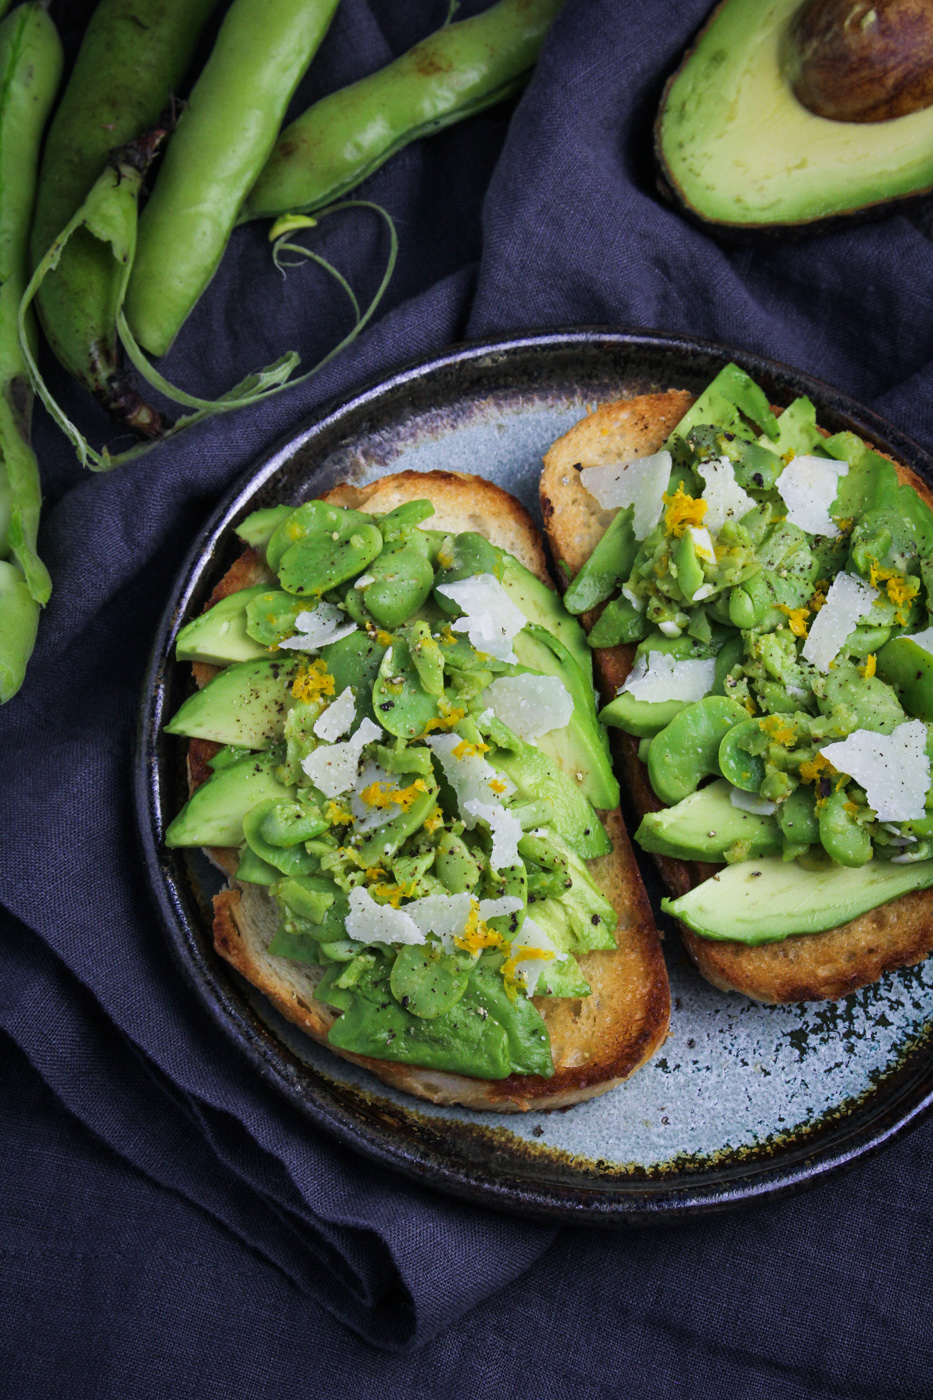
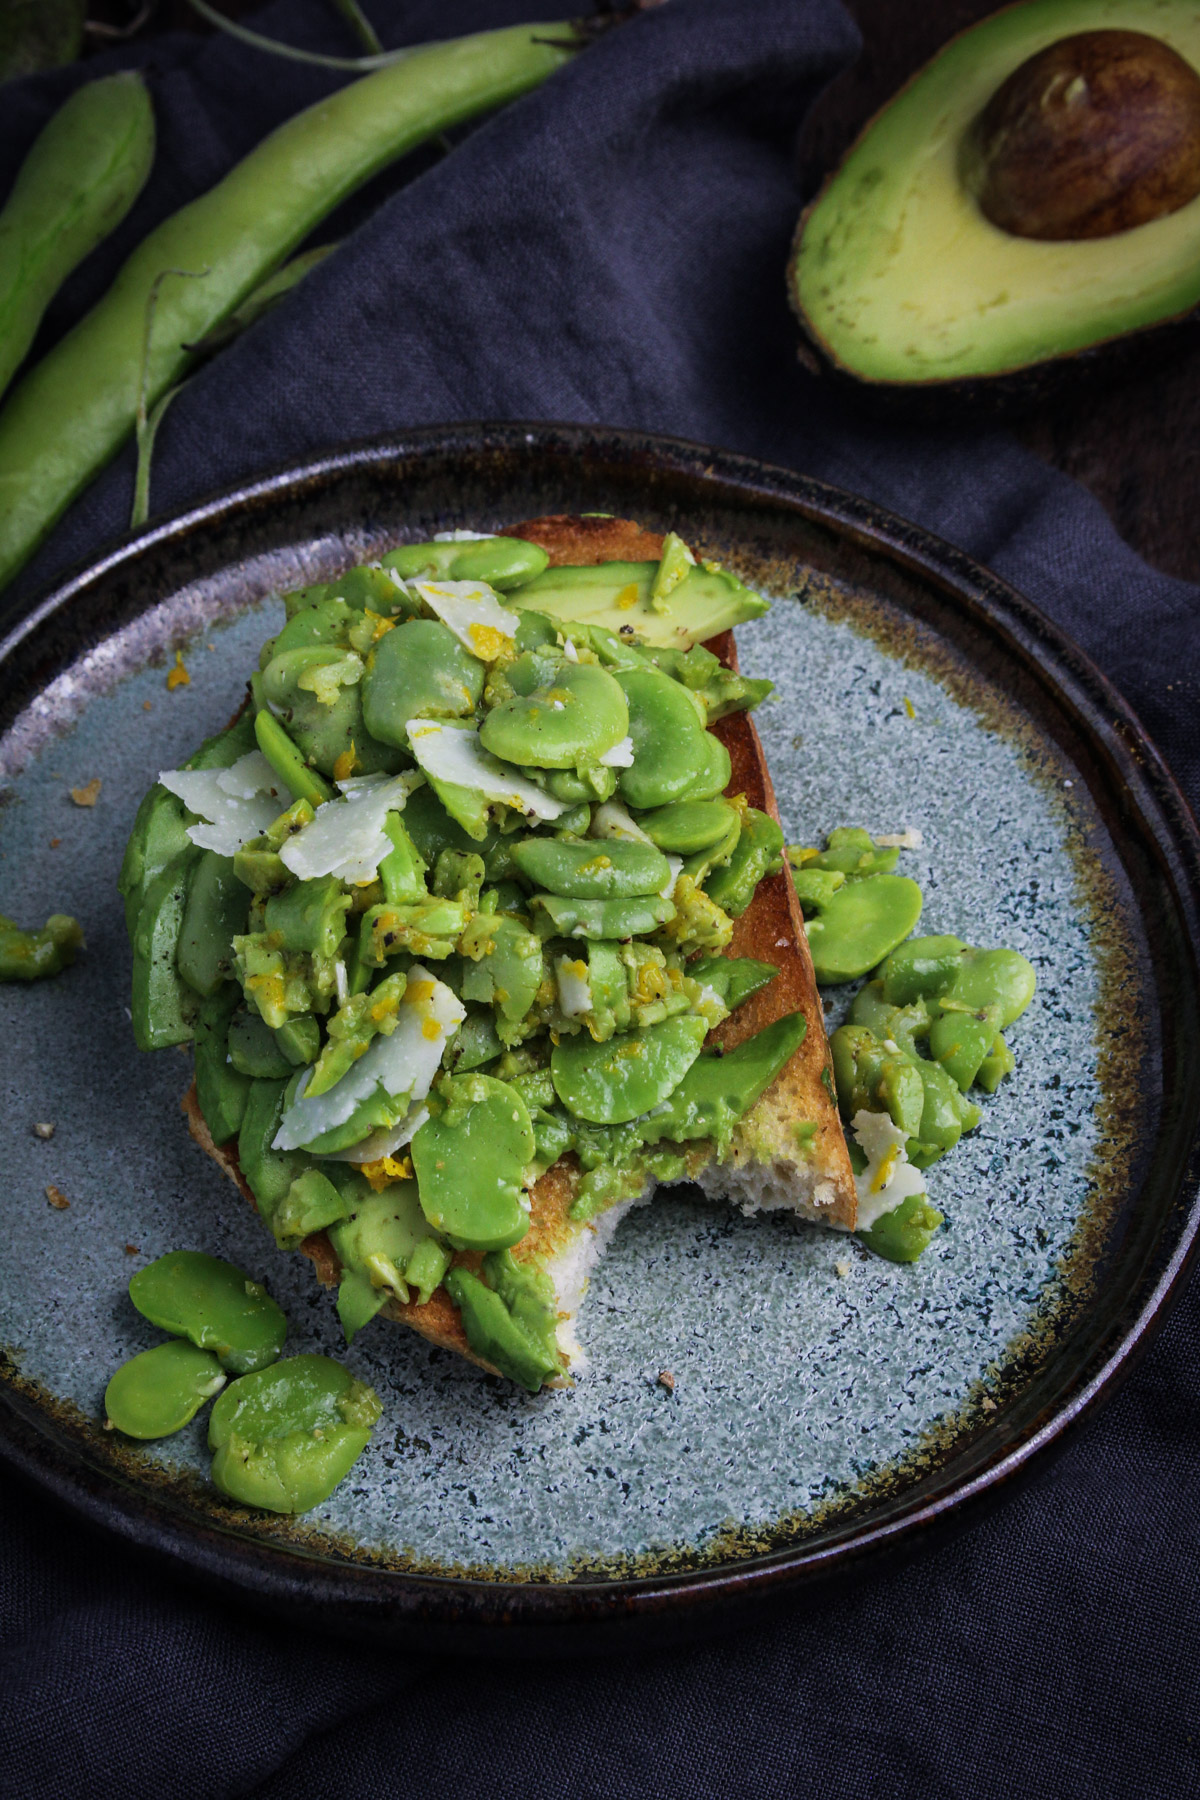
Avocado Toast with Fava Beans and Pecorino

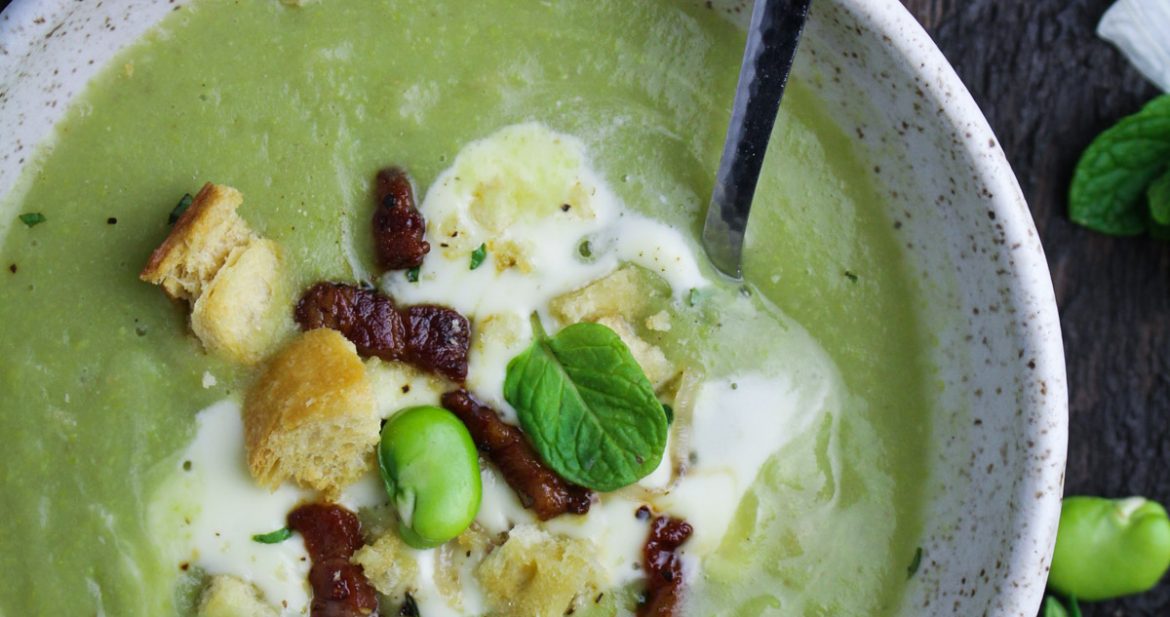
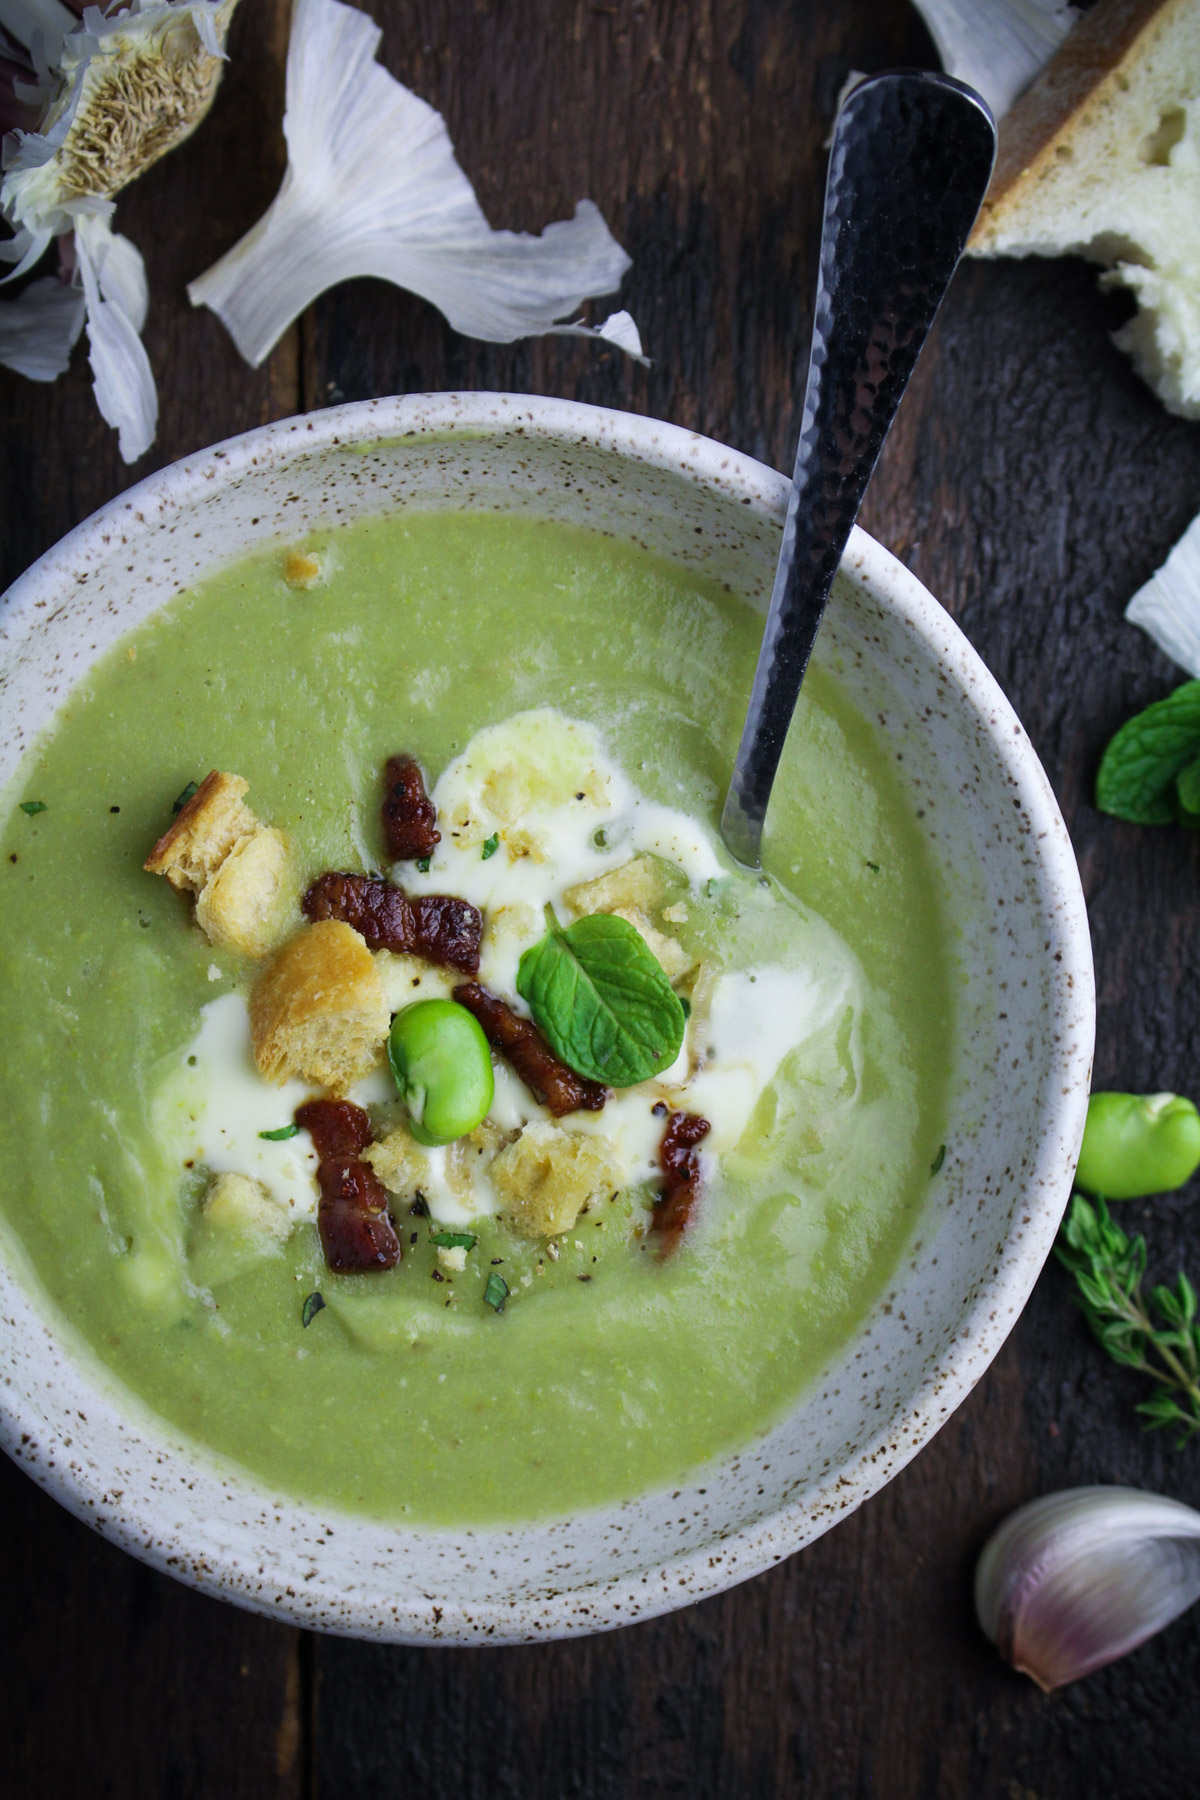
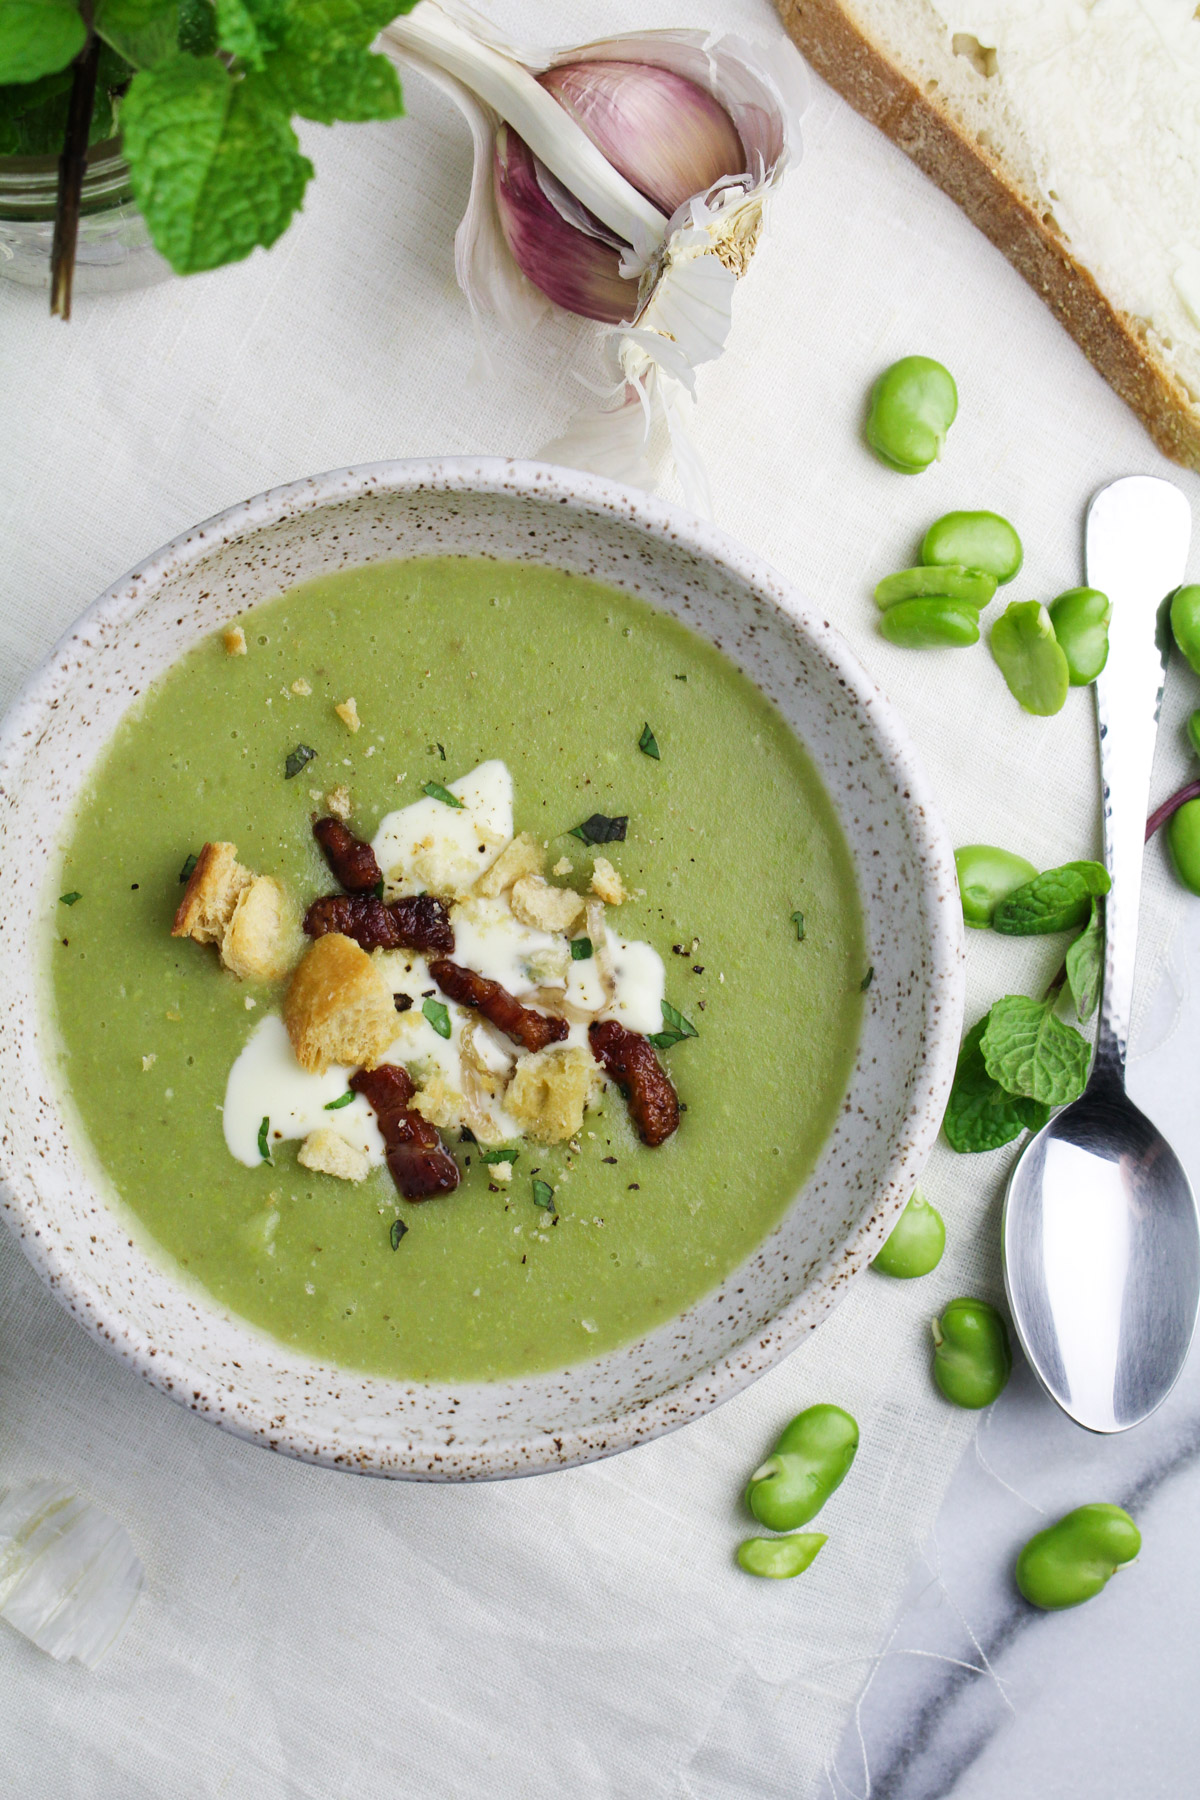
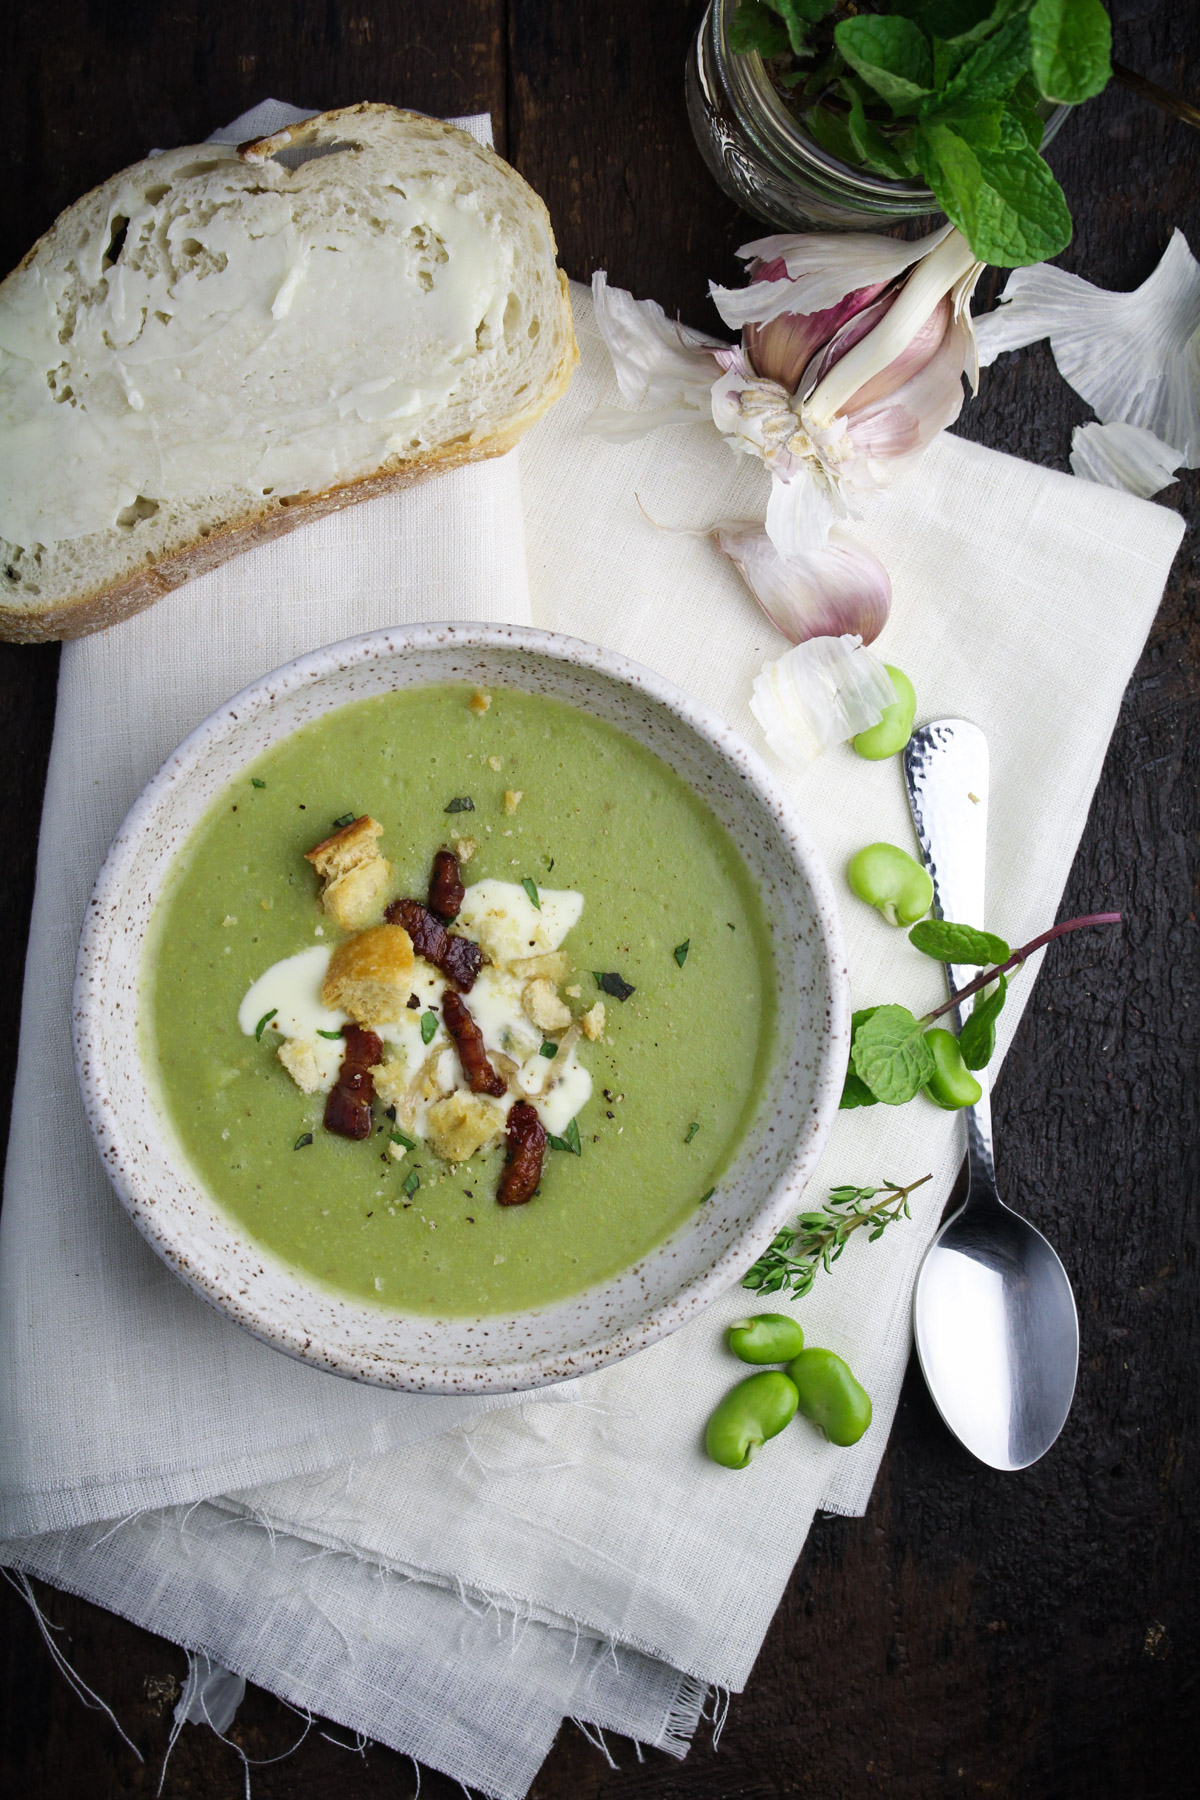
Fava Bean Soup with Mascarpone, Mint, and Pancetta
Like what you just read? Subscribe to Katie at the Kitchen Door in the box on the right, on Feedly or Bloglovin‘, or follow along on Facebook, Twitter, Pinterest, and Instagram. Thanks for reading!
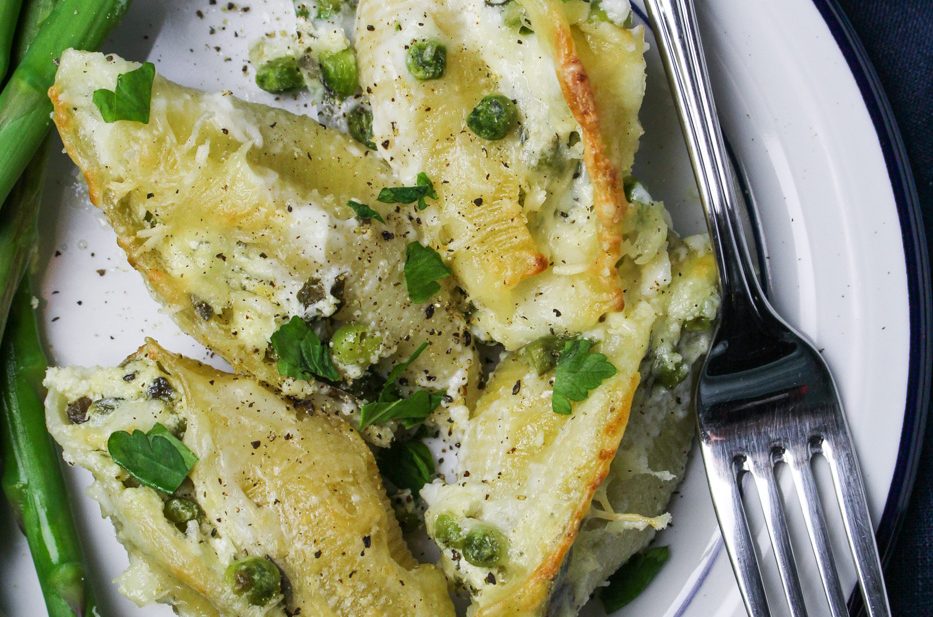
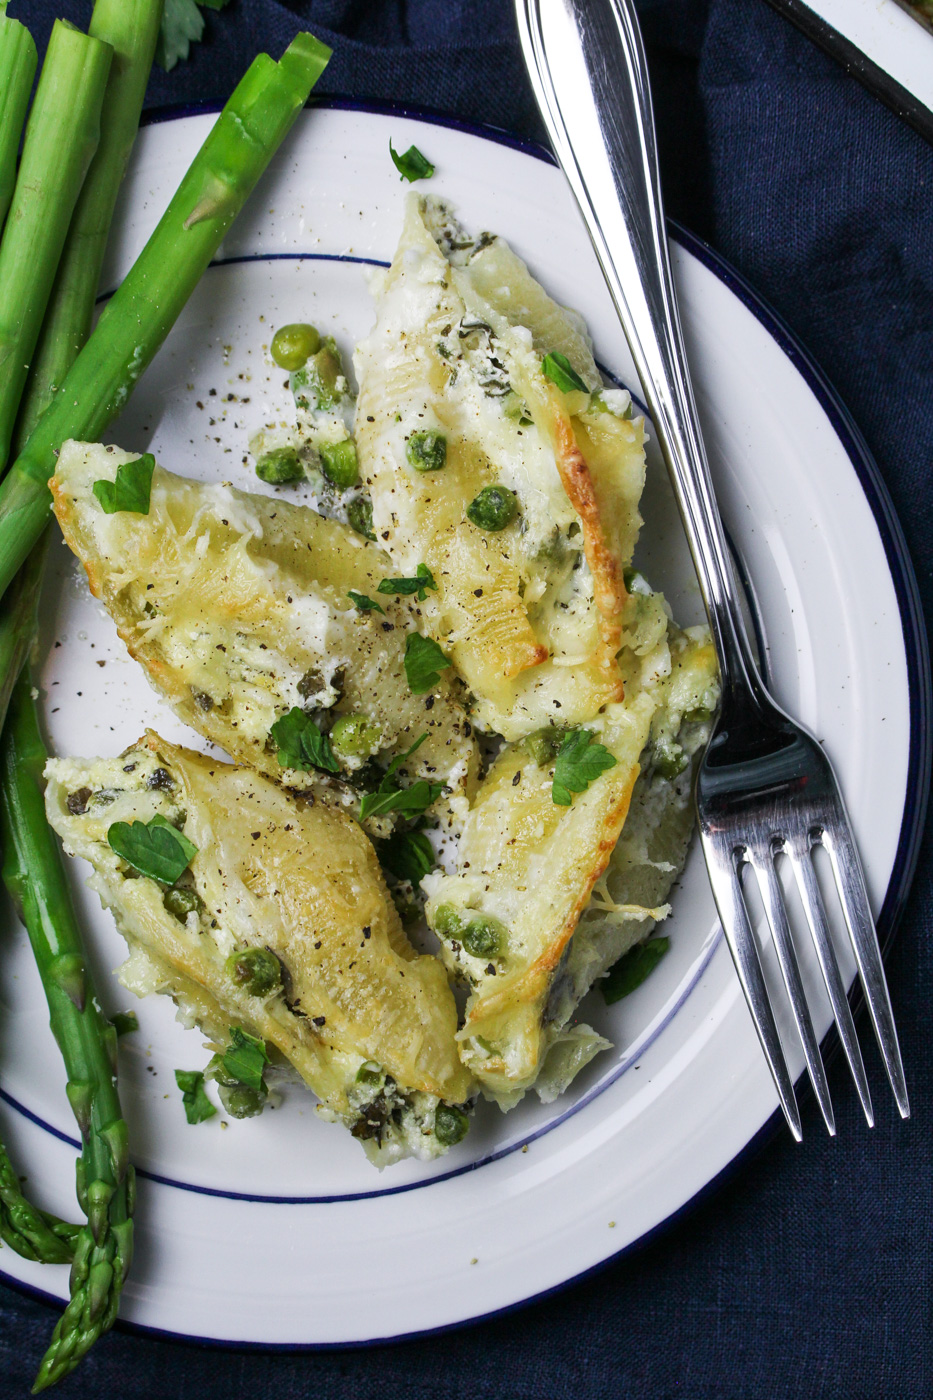
Fava Bean and Mascarpone Ravioli with Truffle Butter Sauce
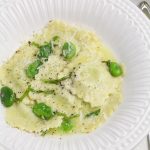
Homemade Ravioli with a Fava Bean, Mascarpone and Ricotta Filling. Served in a simple Truffle Butter burro fuso sauce.
Adapted from SPQR.
- Yield: 4 1x
Ingredients
- 1 cup blanched, peeled fava beans (from 1 pound of fresh beans)
- 1 TBS chopped fresh mint (from 10–12 leaves)
- 1/4 cup mascarpone
- 1/2 cup ricotta
- 1/4 – 1/2 tsp sea salt
- 1 recipe homemade pasta dough
- 2 oz. truffle butter
- 3 TBS warm water (preferably the pasta cooking water).
- grated pecorino cheese, for serving
Instructions
- Add the fava beans, mint, mascarpone, and ricotta to a food processor. Process until smooth and fluffy. Season to taste with sea salt. Transfer to a bowl, cover, and refrigerate.
- Use a pasta machine to roll out the pasta dough in thin sheets. Target the third or fourth thinnest setting as your ultimate thickness of the pasta.
- Lay the pasta sheets flat on a lightly floured surface, covering the sheets you aren’t using with a piece of plastic wrap. Use a knife to score the pasta sheets into 2 inch squares. Place 2 teaspoons of the chilled filling in the center of half the squares. Wet your finger with water and run it along the edge of each square, then cover the squares with filling with another sheet of the pasta. Press the sheets firmly together around the edges of each filled square, forming ravioli. Use a ravioli cutter or knife to cut the ravioli apart, then firmly press the edges together again to ensure there are no air bubbles. Repeat until you have used all of the pasta dough, re-rolling any dough scraps as needed.
- Bring a large pot of salted water to a gentle boil. Gently place the ravioli in the boiling water and cook just until al dente, about 2-3 minutes. They should be floating at the surface of the water when they are ready. Remove them from the water with a slotted spoon and place them on a large plate. Drizzle the ravioli with just a little olive oil to keep them from sticking.
- Add the 3 TBS of the pasta cooking water to a small frying pan, and bring to a simmer over low heat. Whisk in the truffle butter one piece at a time, allowing the butter to melt between additions. When you have incorporated all of the truffle butter, add the cooked ravioli to the frying pan and toss gently to coat with the butter sauce. Divide between plates, sprinkle with the grated pecorino, and serve immediately.