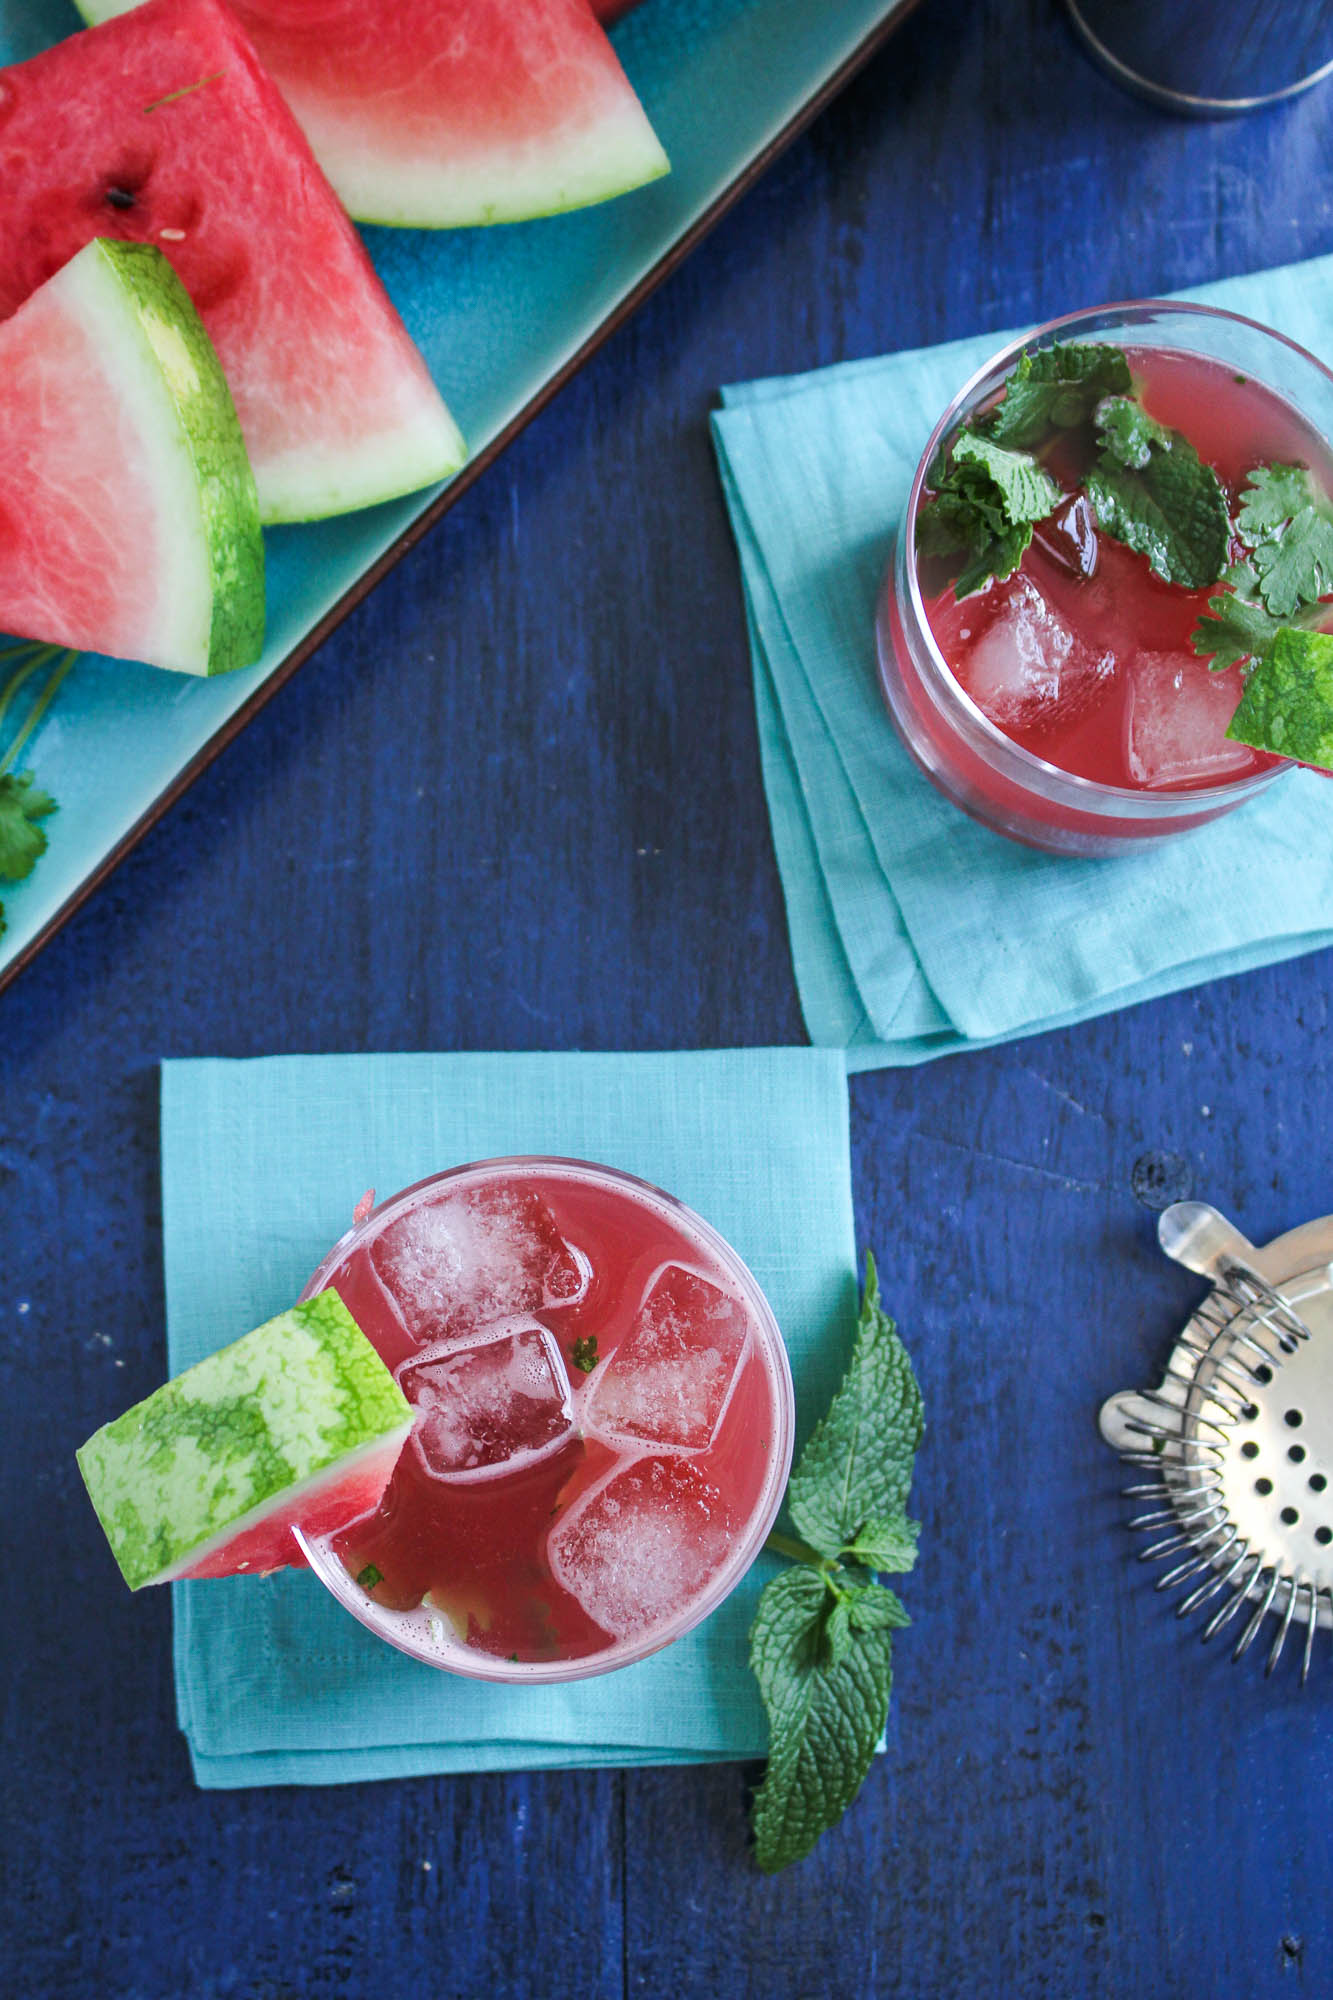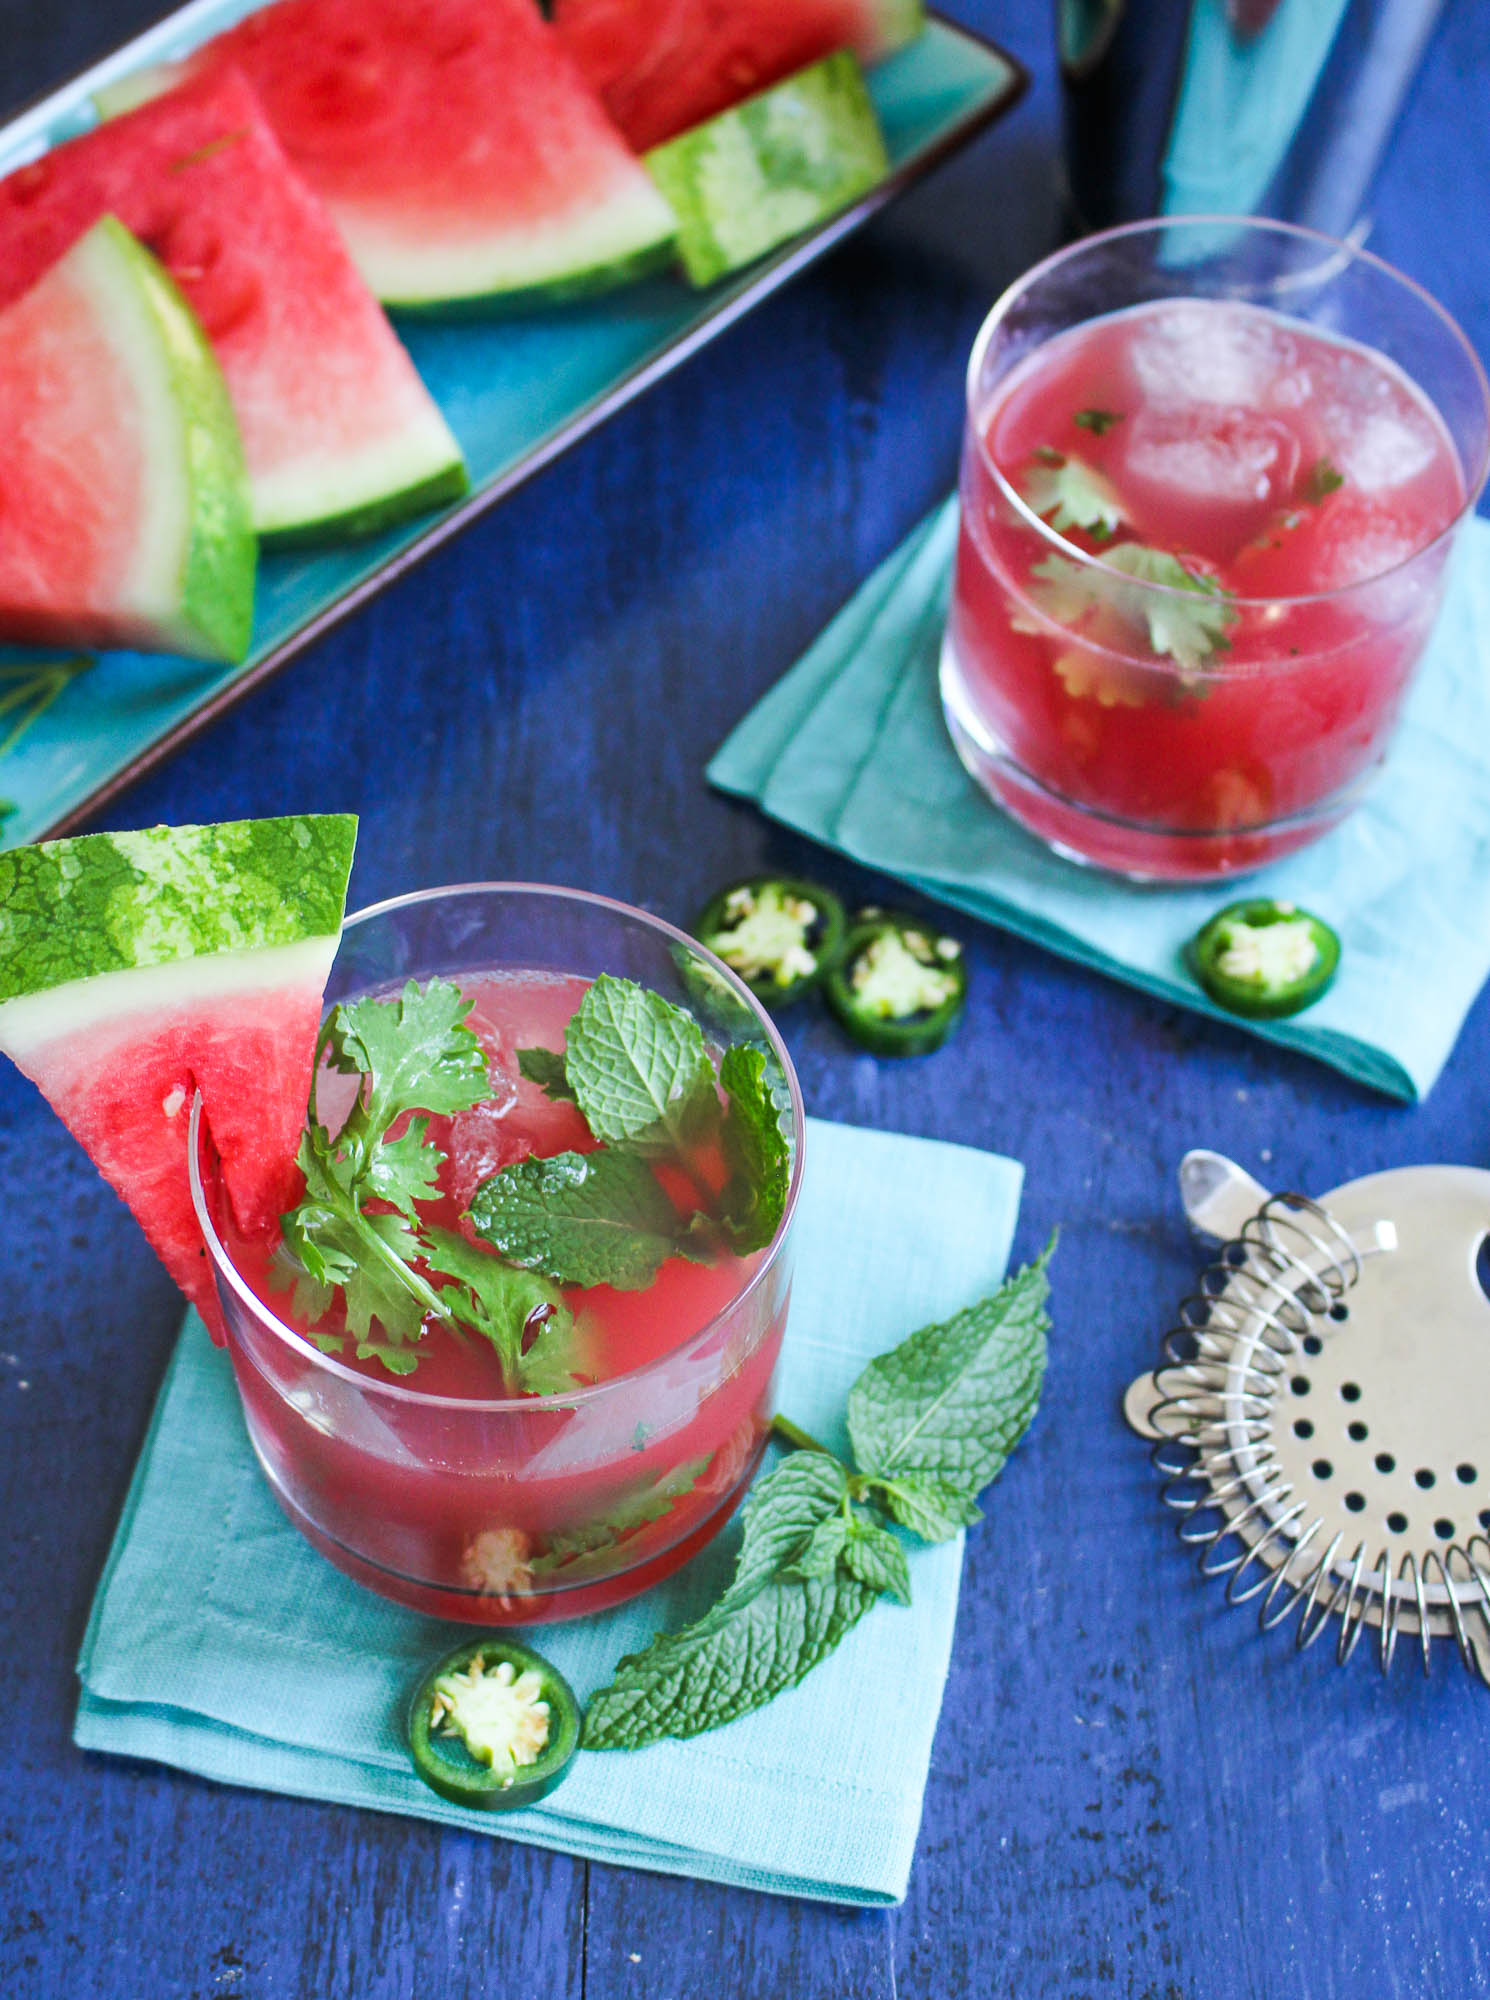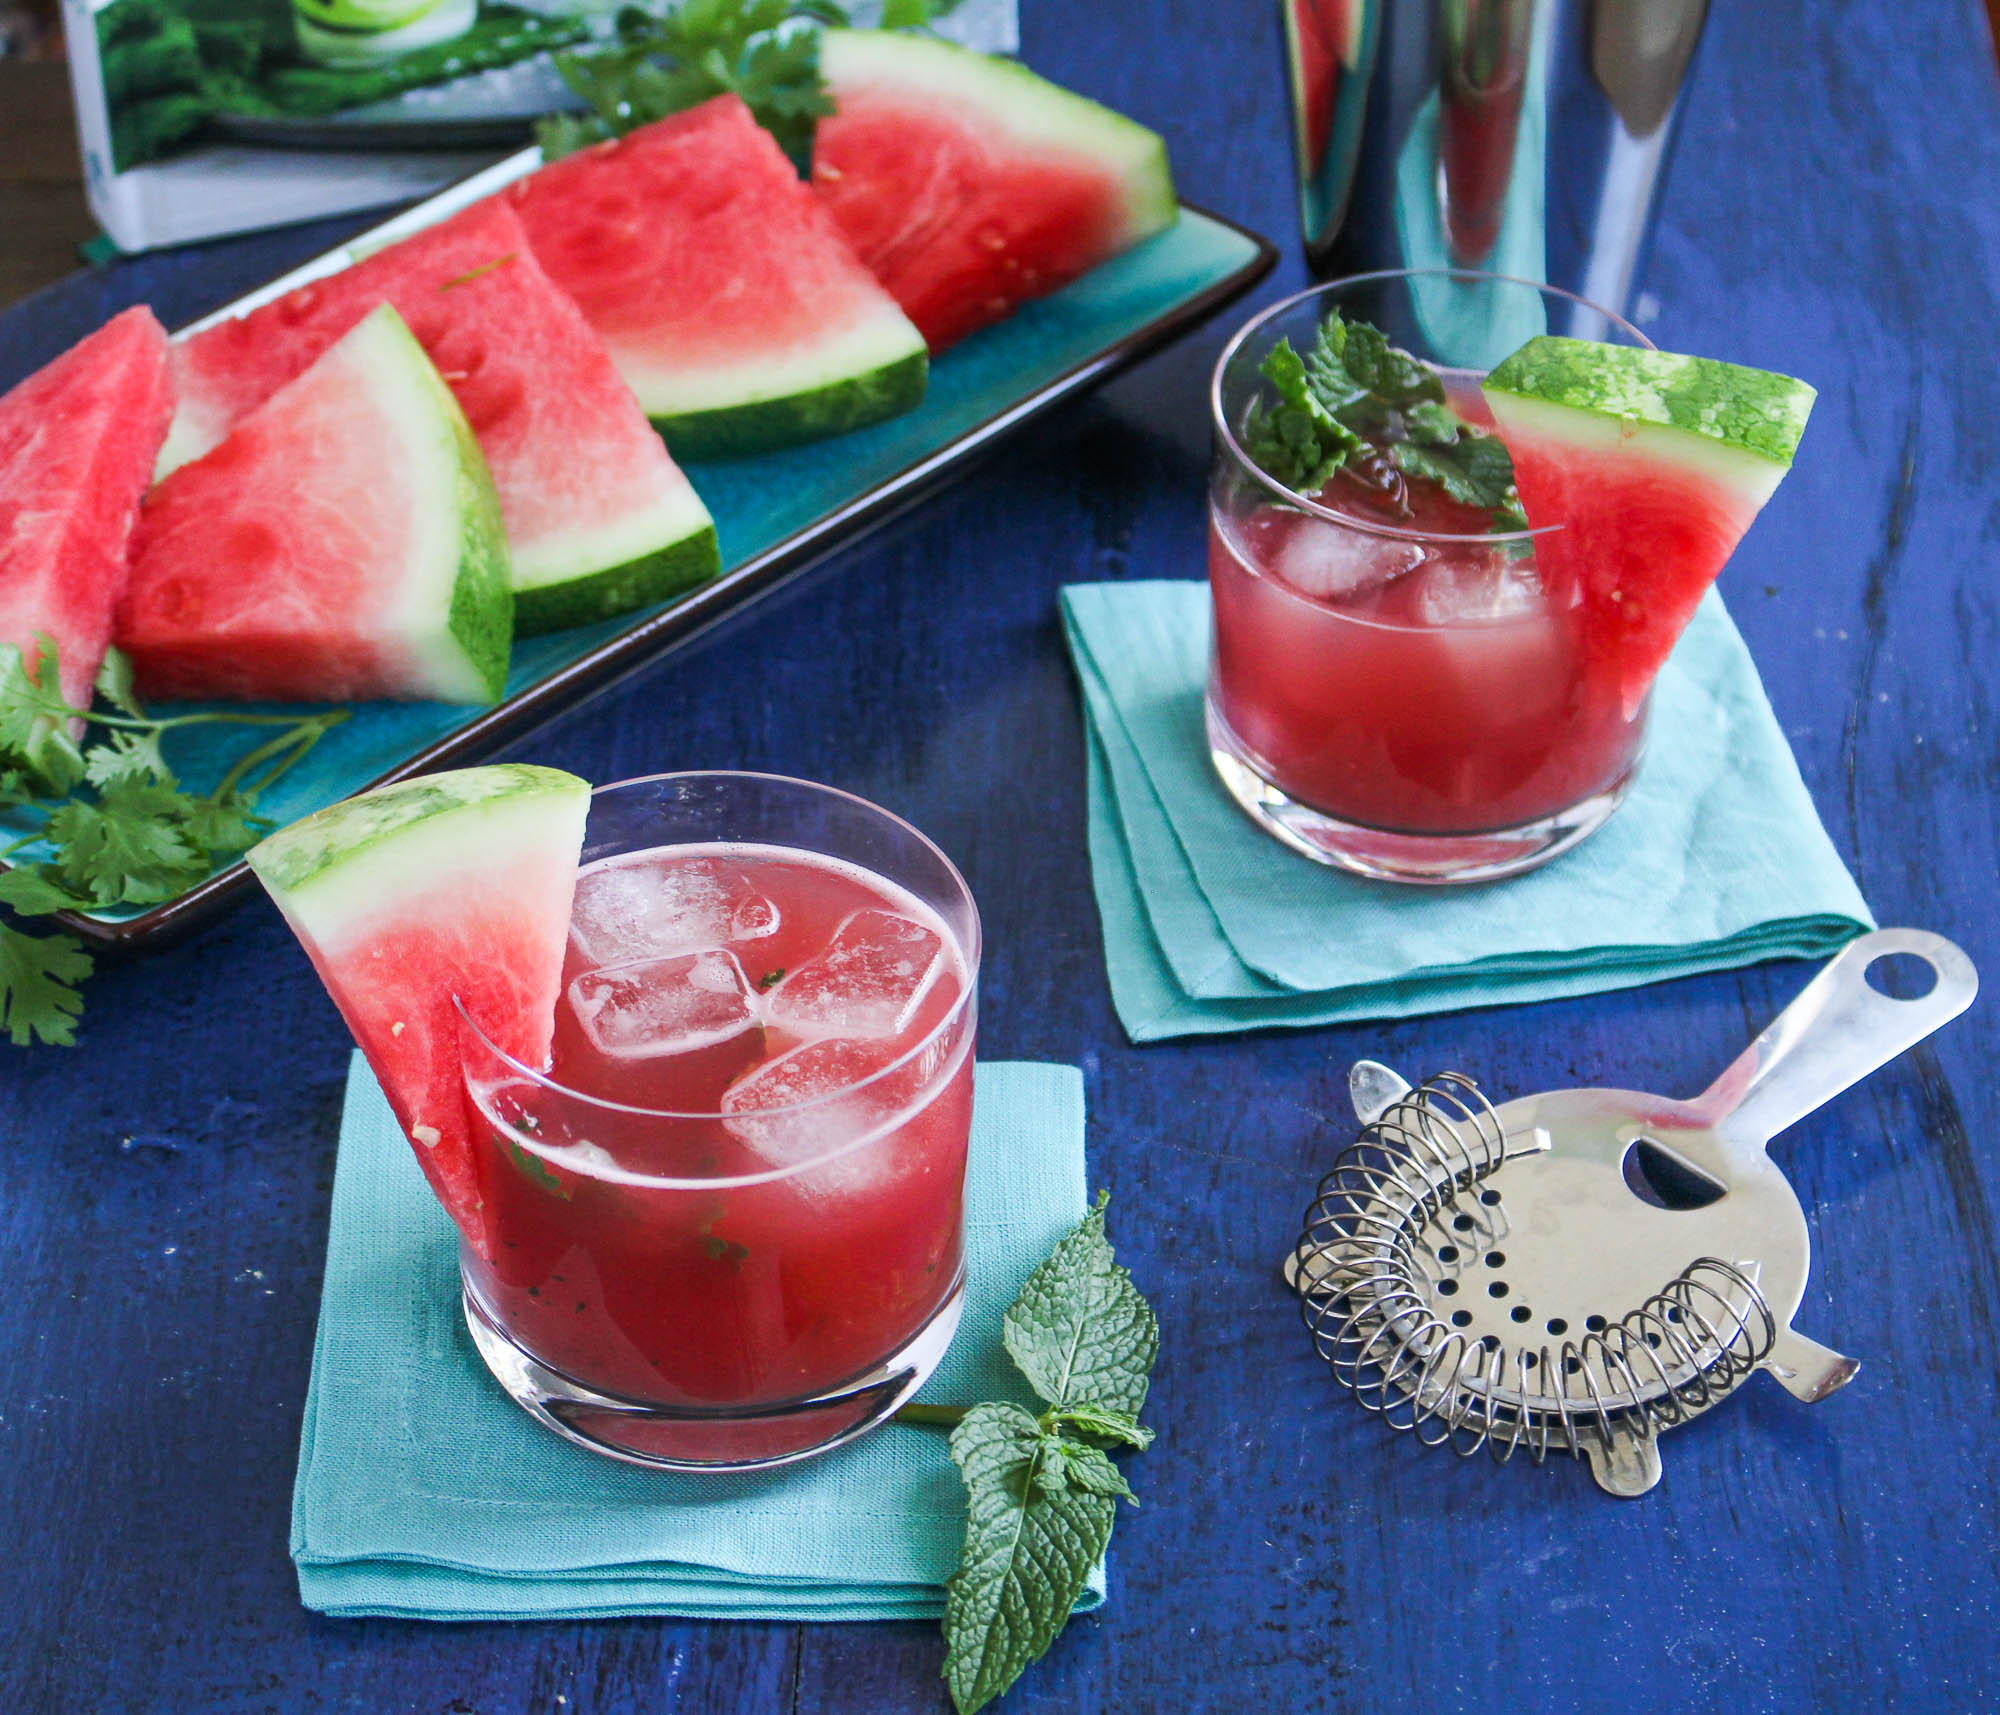
Well, summer is officially over, with Labor Day come and gone. I have to admit, though, that it doesn’t feel like it yet (and I’m still hoping to get one or two more beach days in, having been forced to cram all of my summery activities into the last few weeks). And grilling season, well that’s certainly not over. In fact, you could argue that we’re getting into one of the best times for grilling – it’s a little bit cooler and pleasant to spend time outside, there’s an incredible abundance of produce available that benefits from a slight charring (think peppers, corn, peaches, eggplant…), and when does a nice piece of steak or rack of ribs not sound appealing?
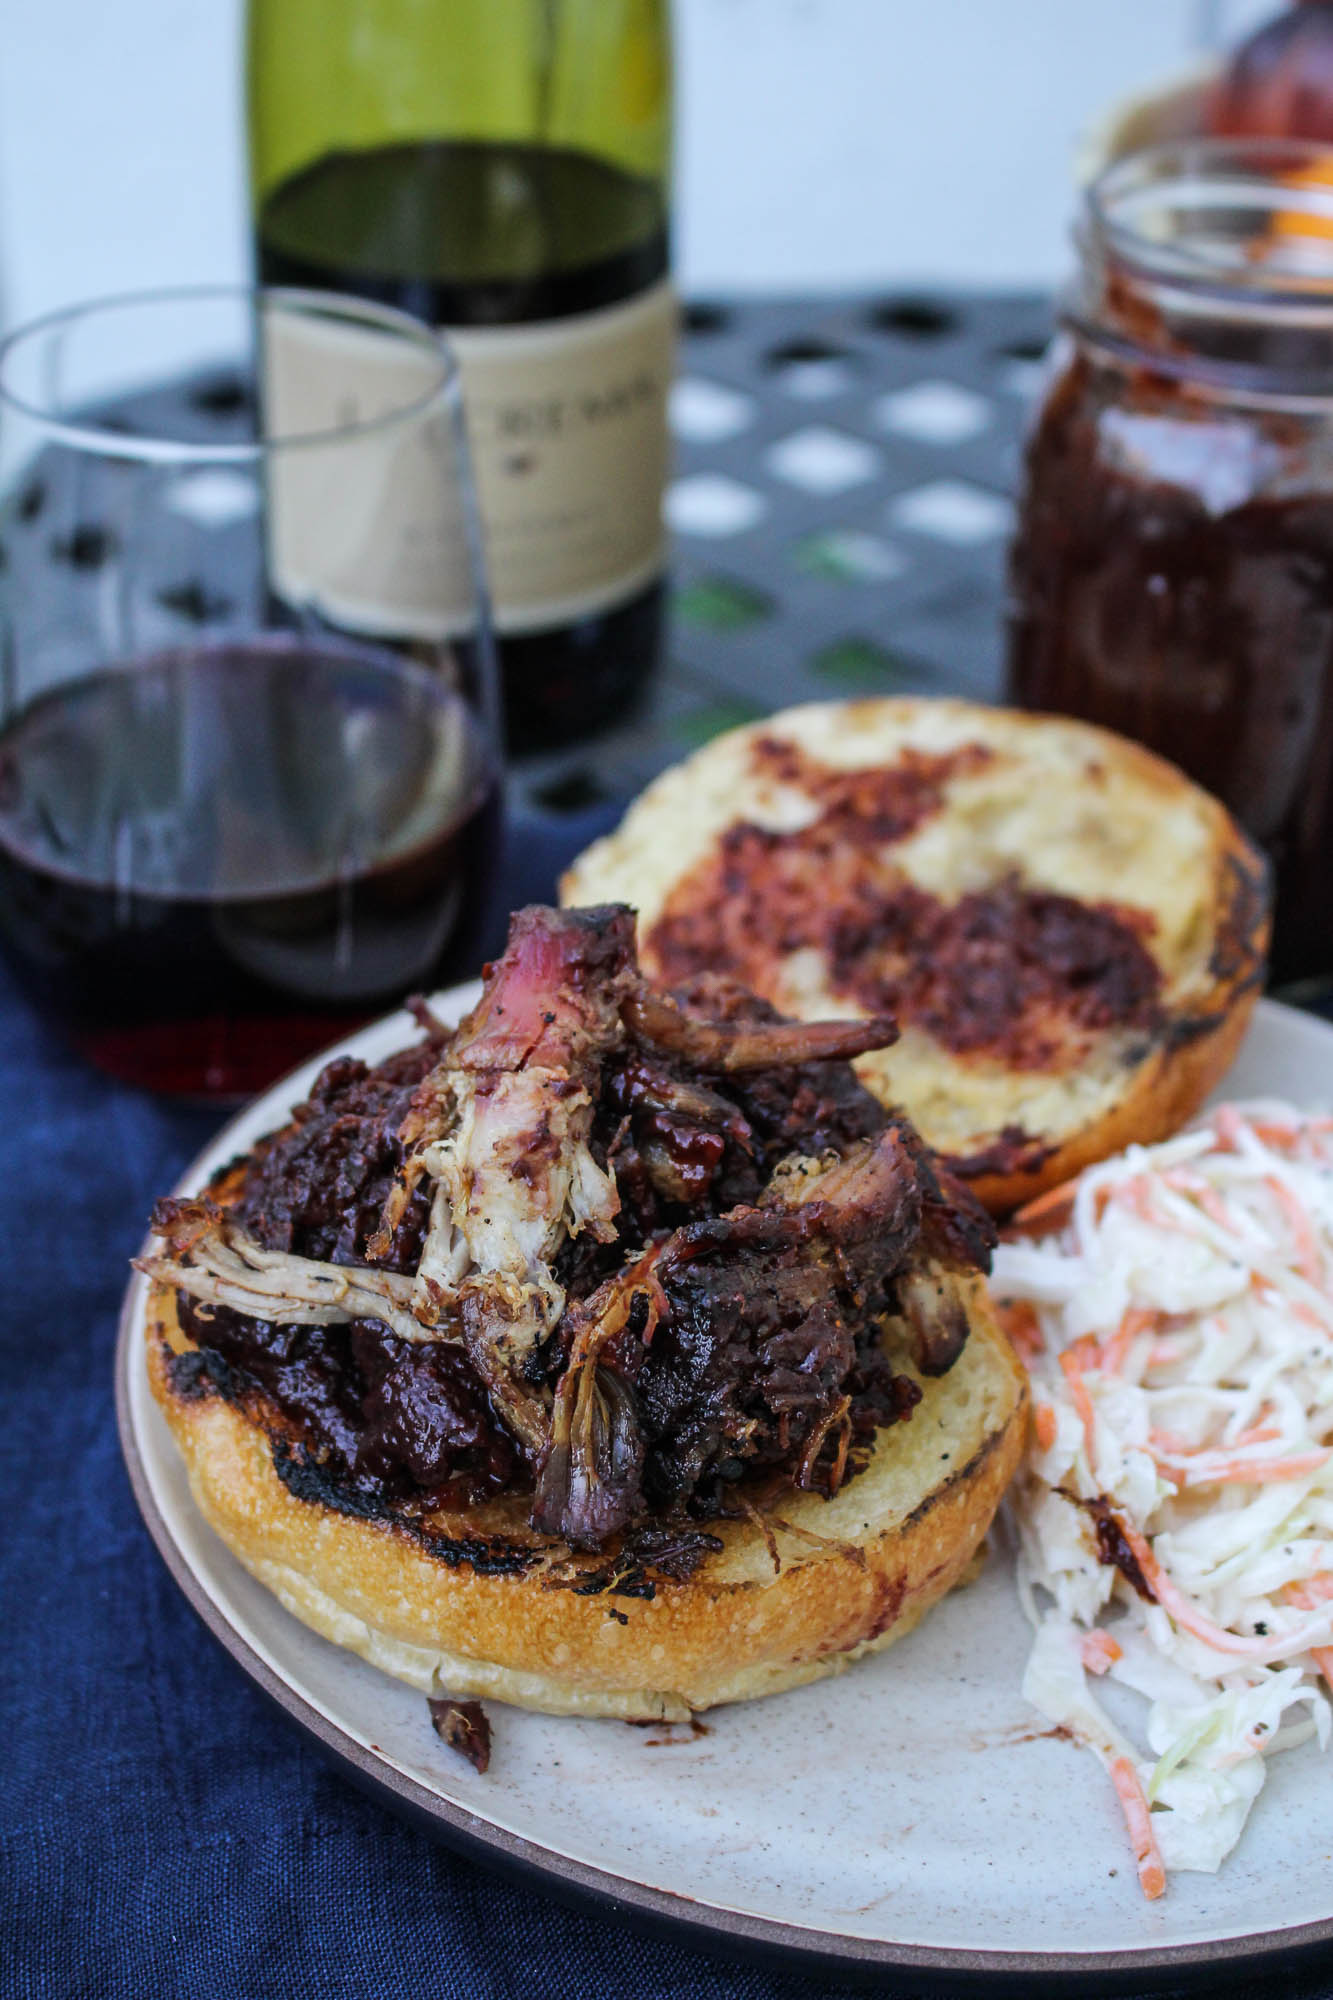
For the last installment of my summer Pork and Pinot collaboration with La Crema Wines, we headed out to the grill, for what is arguably America’s favorite form of pork – barbecue. One of Trevor’s favorite things to cook is big cuts of pork (ribs, Boston butt, etc.) long and slow over a smoky charcoal grill. And it just so happens, having spent my college years in North Carolina, a great pulled pork sandwich is one of my favorite things to eat. We’re a good match, no?
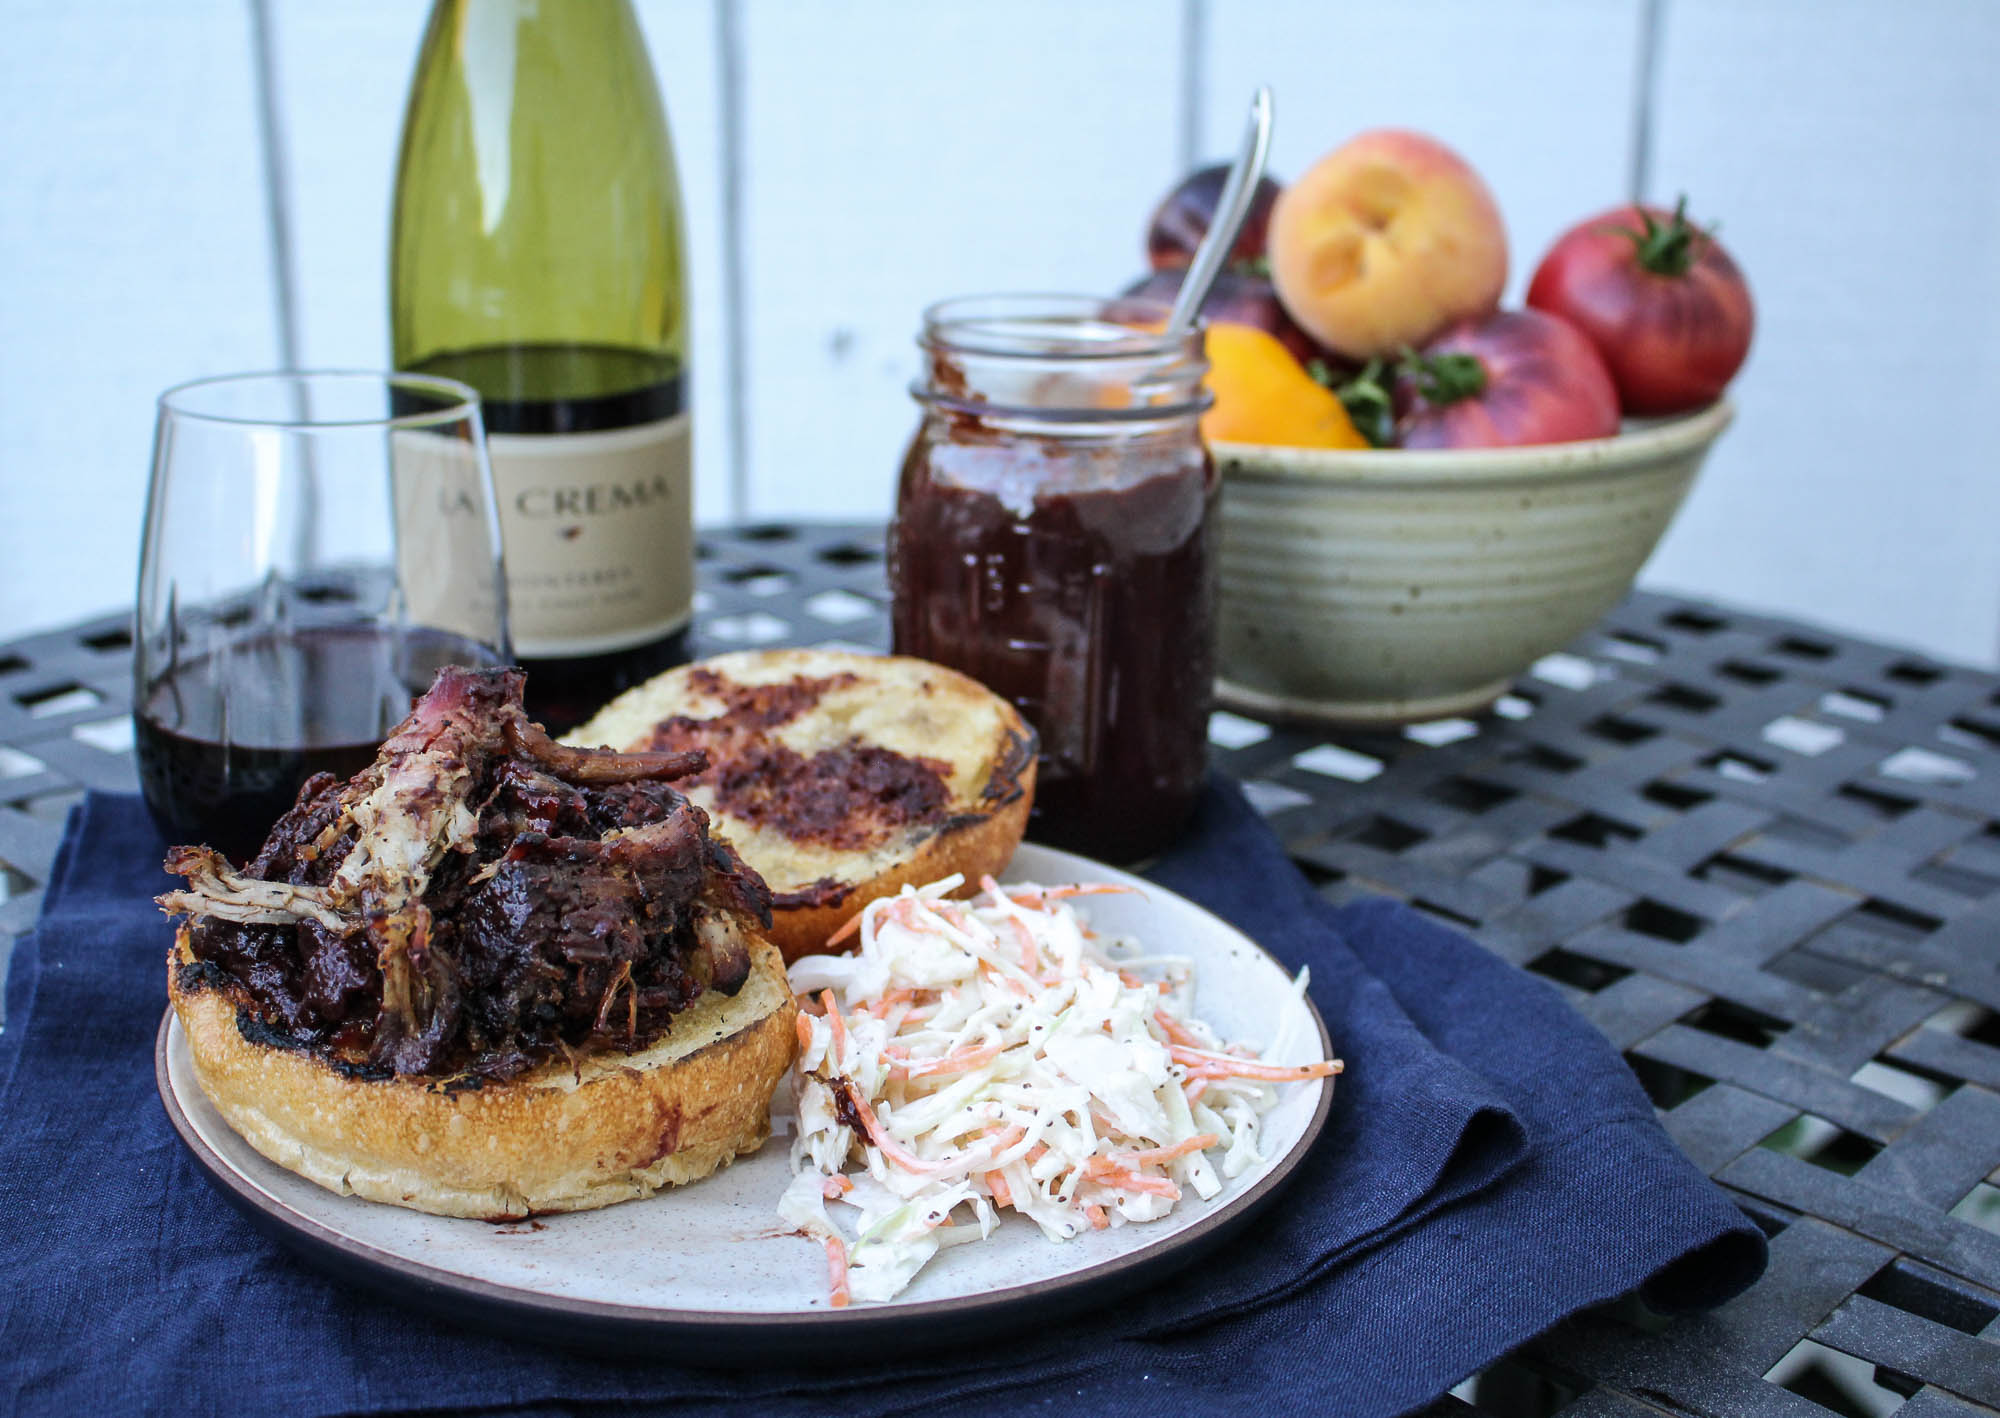
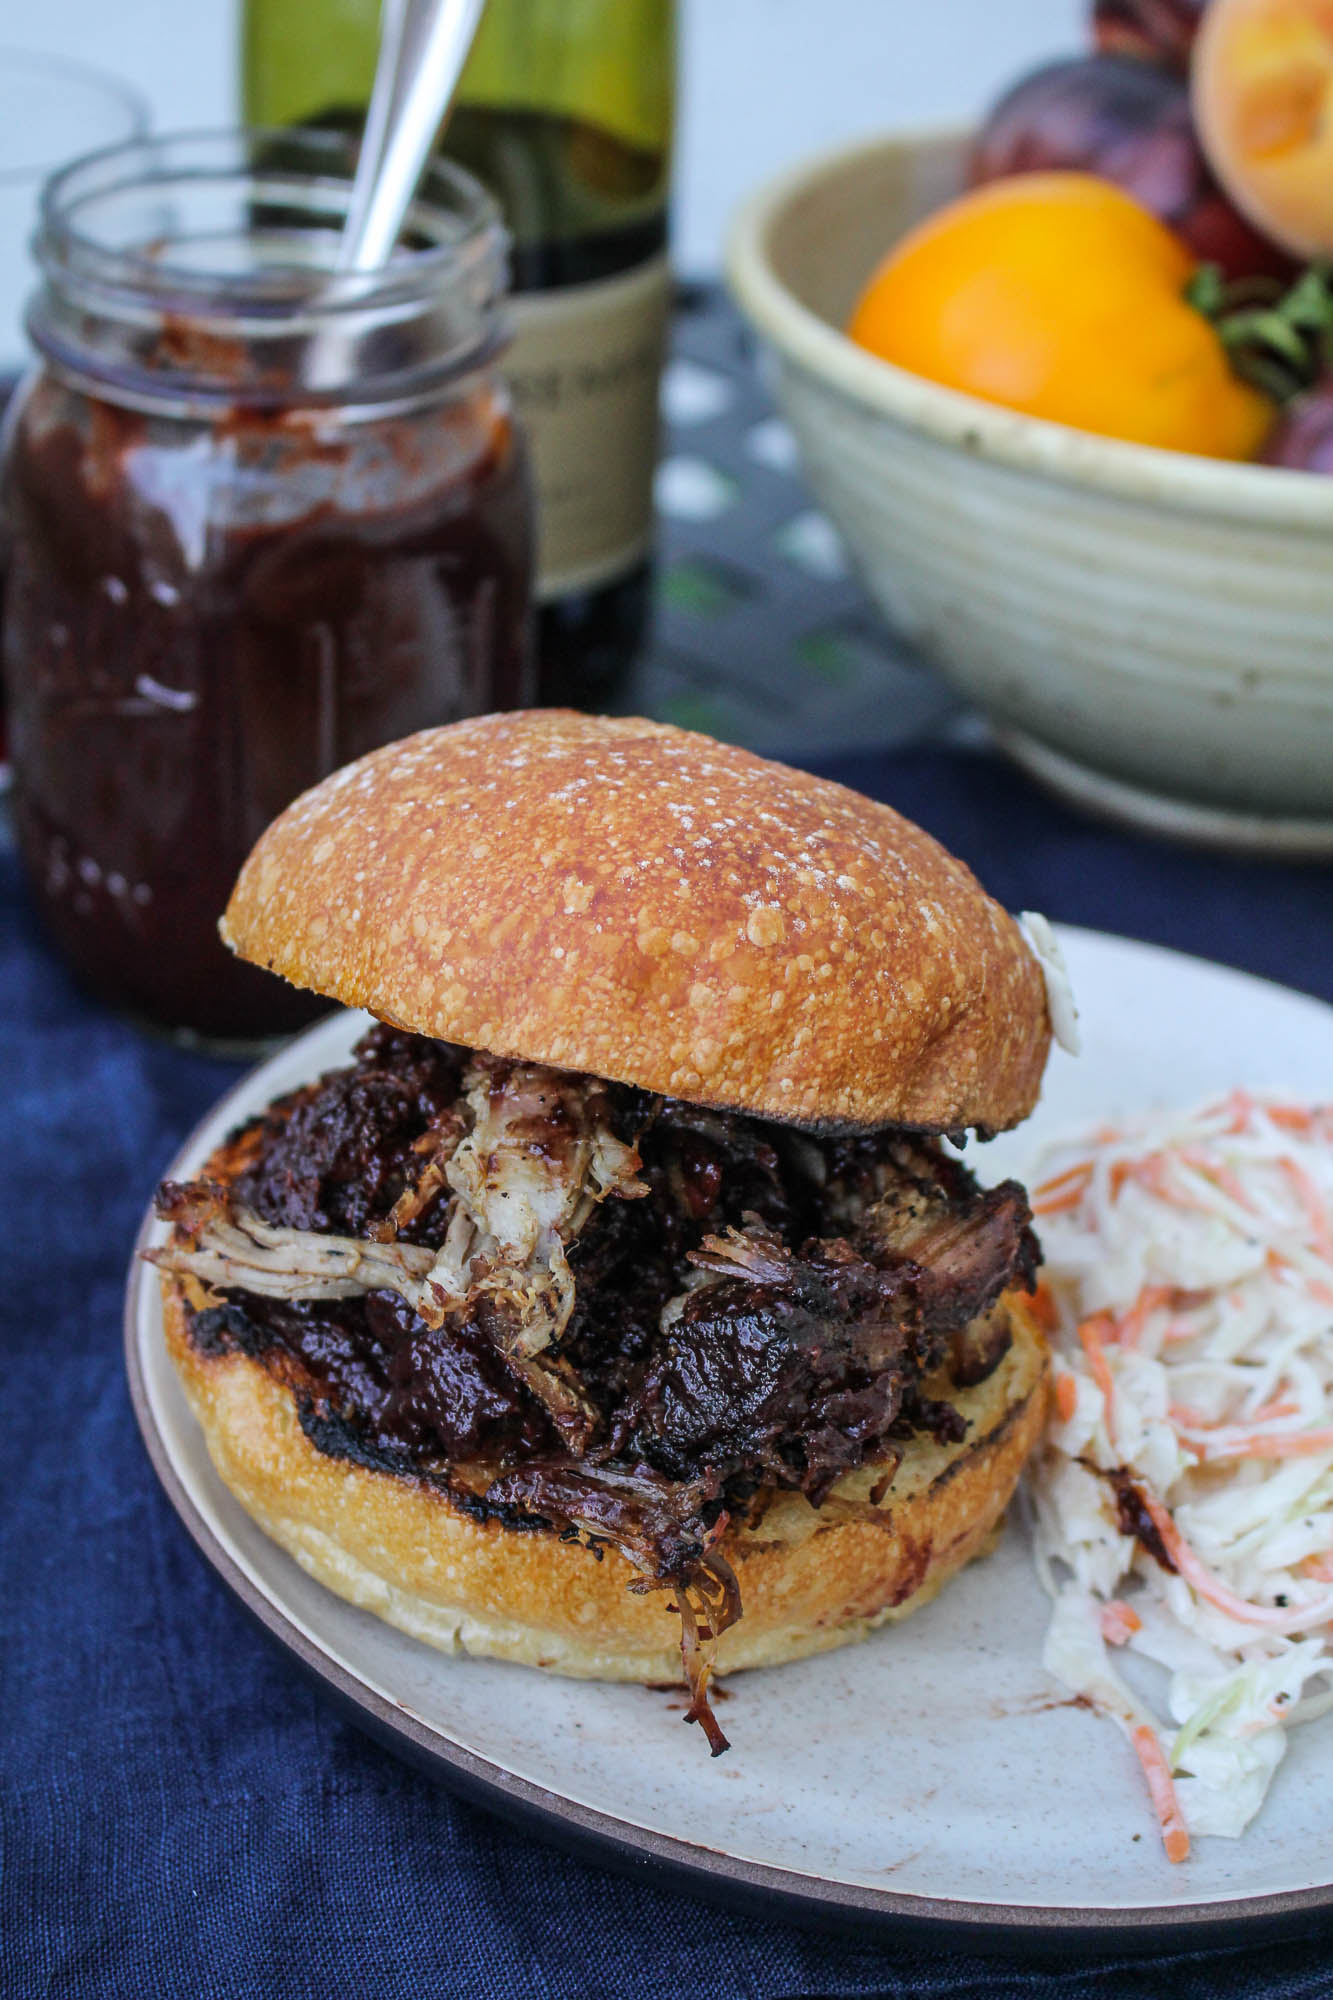
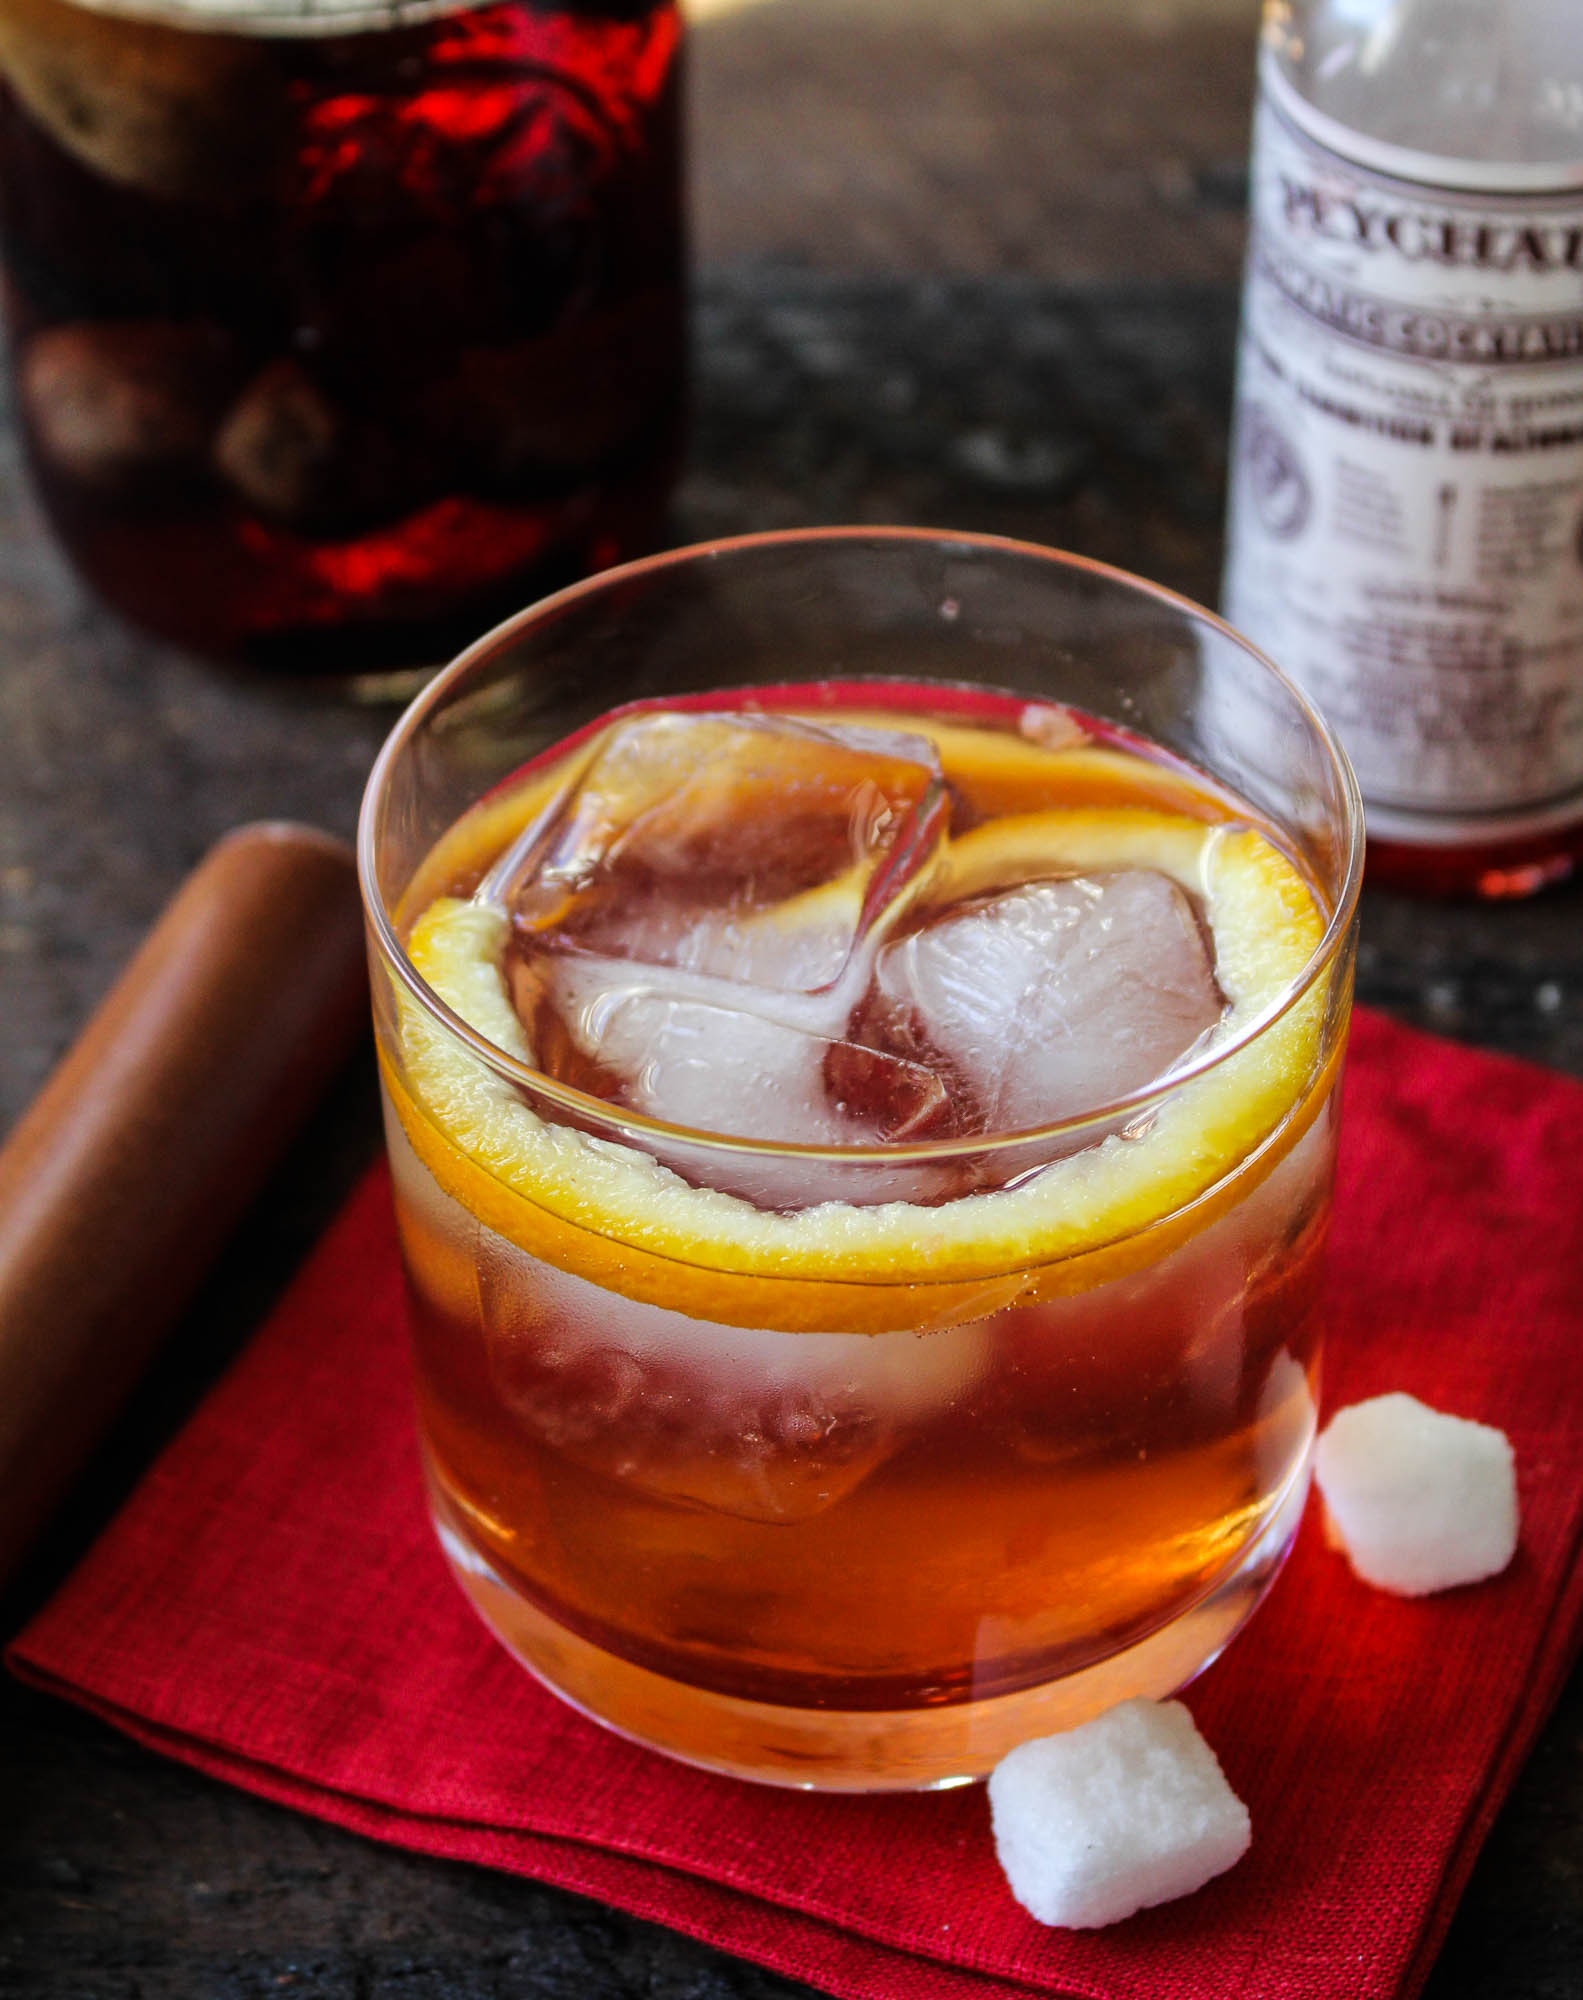
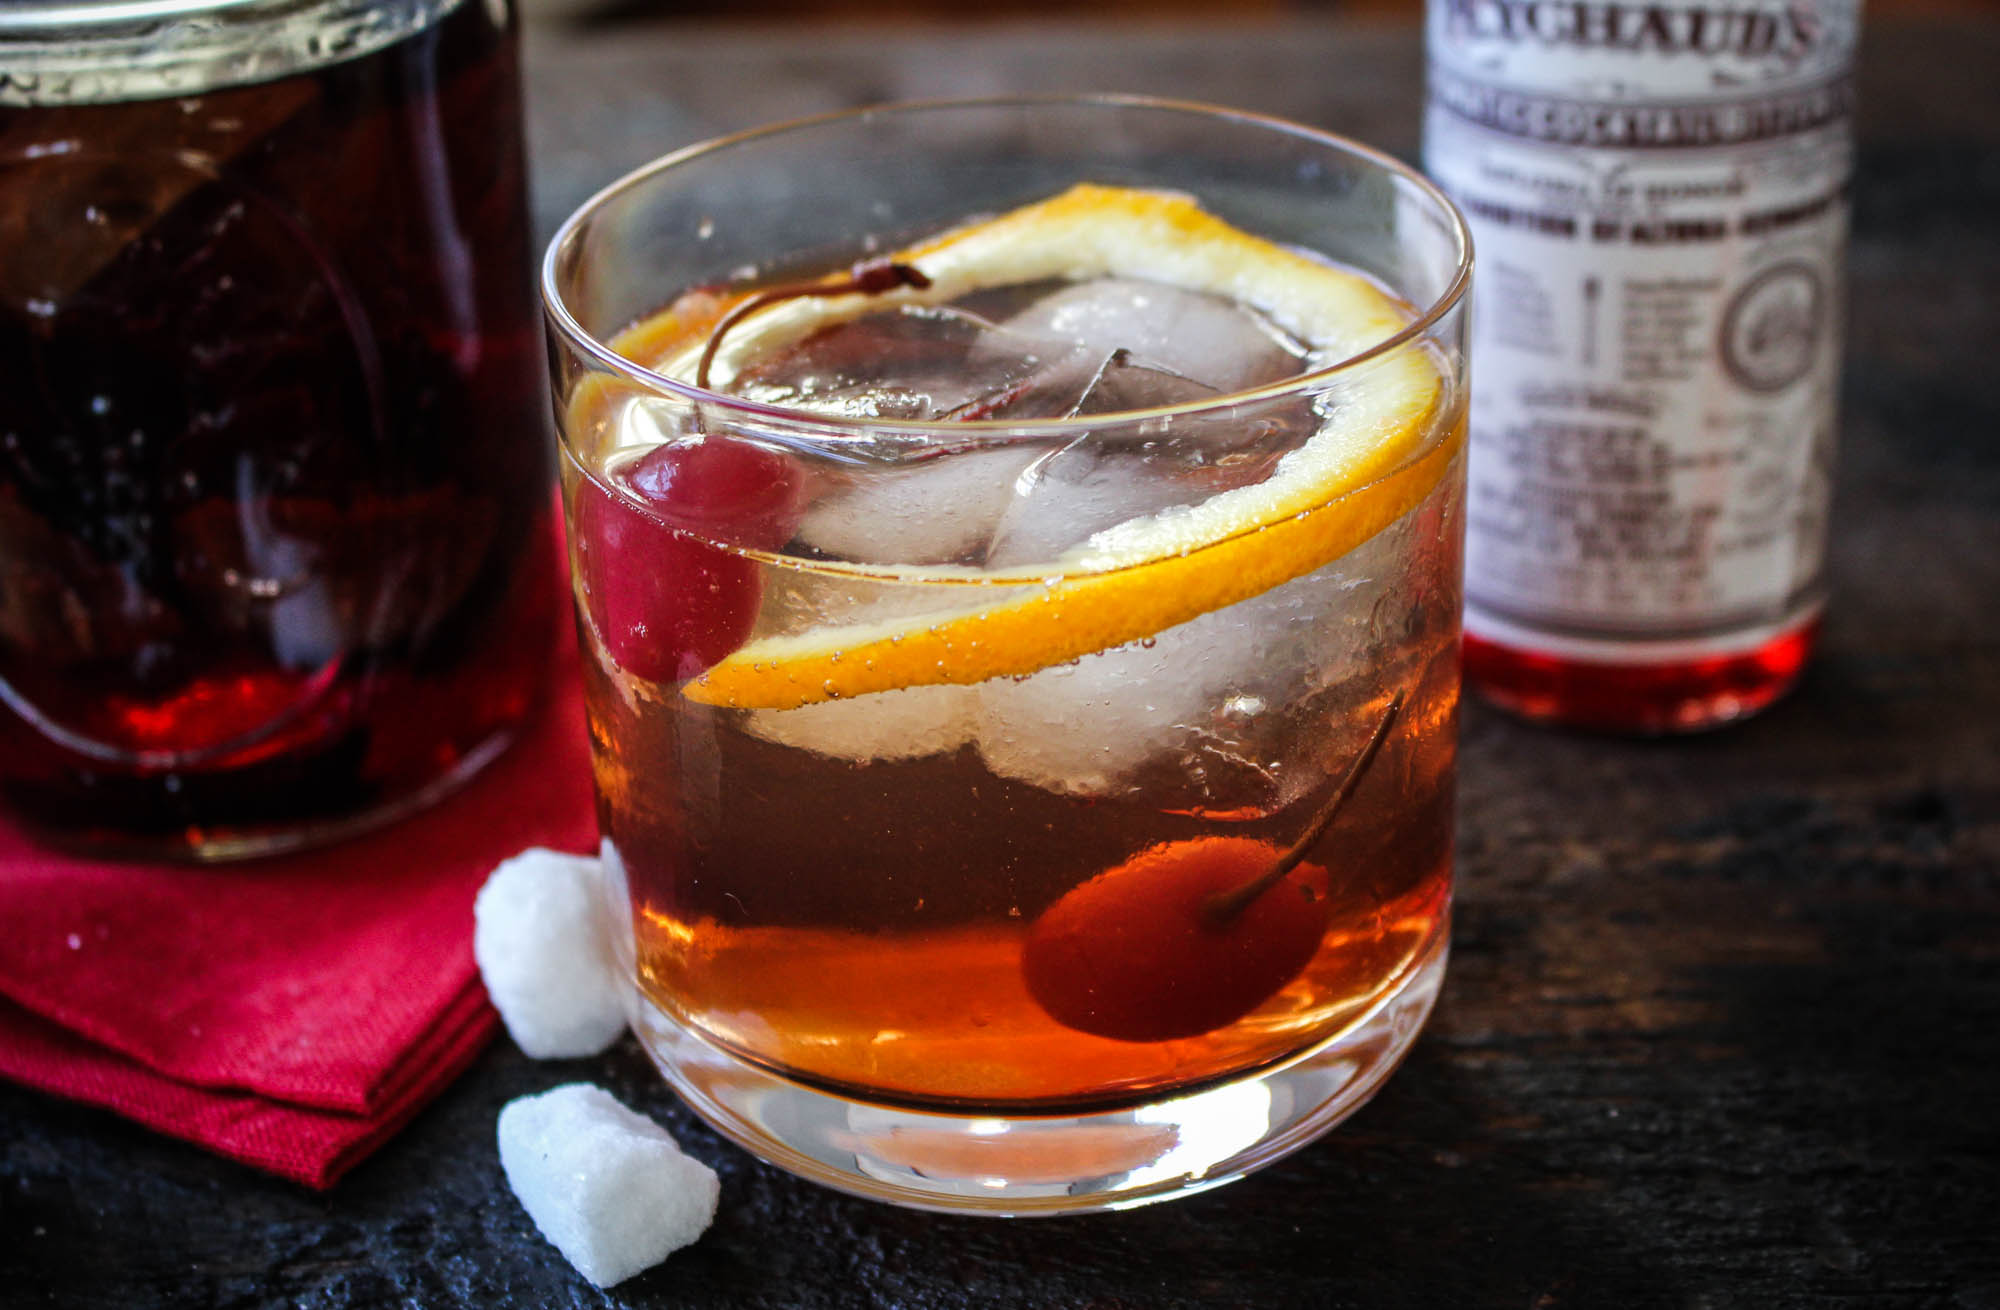
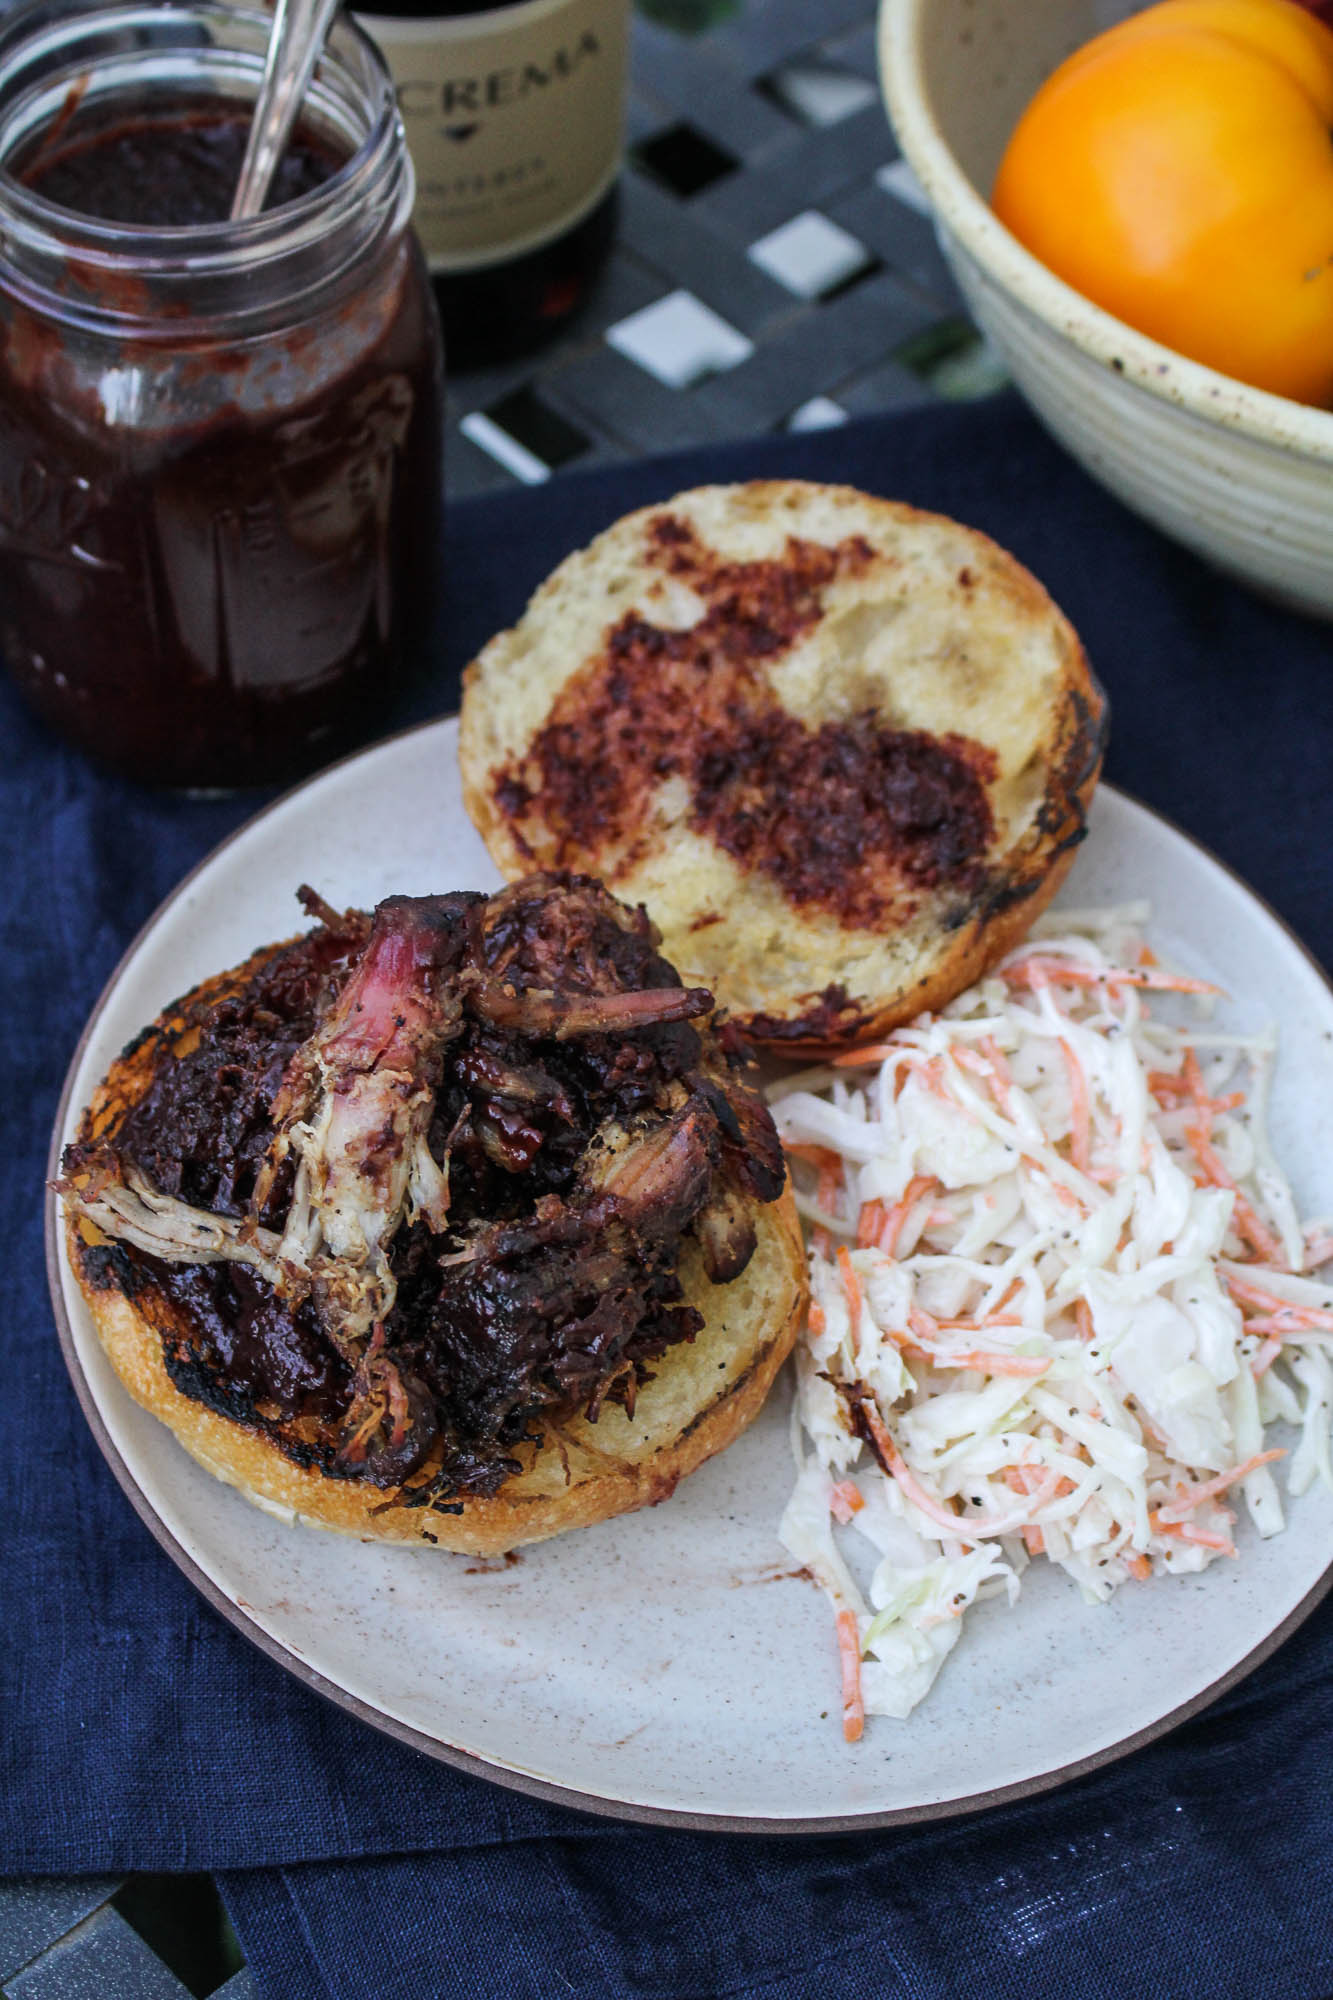
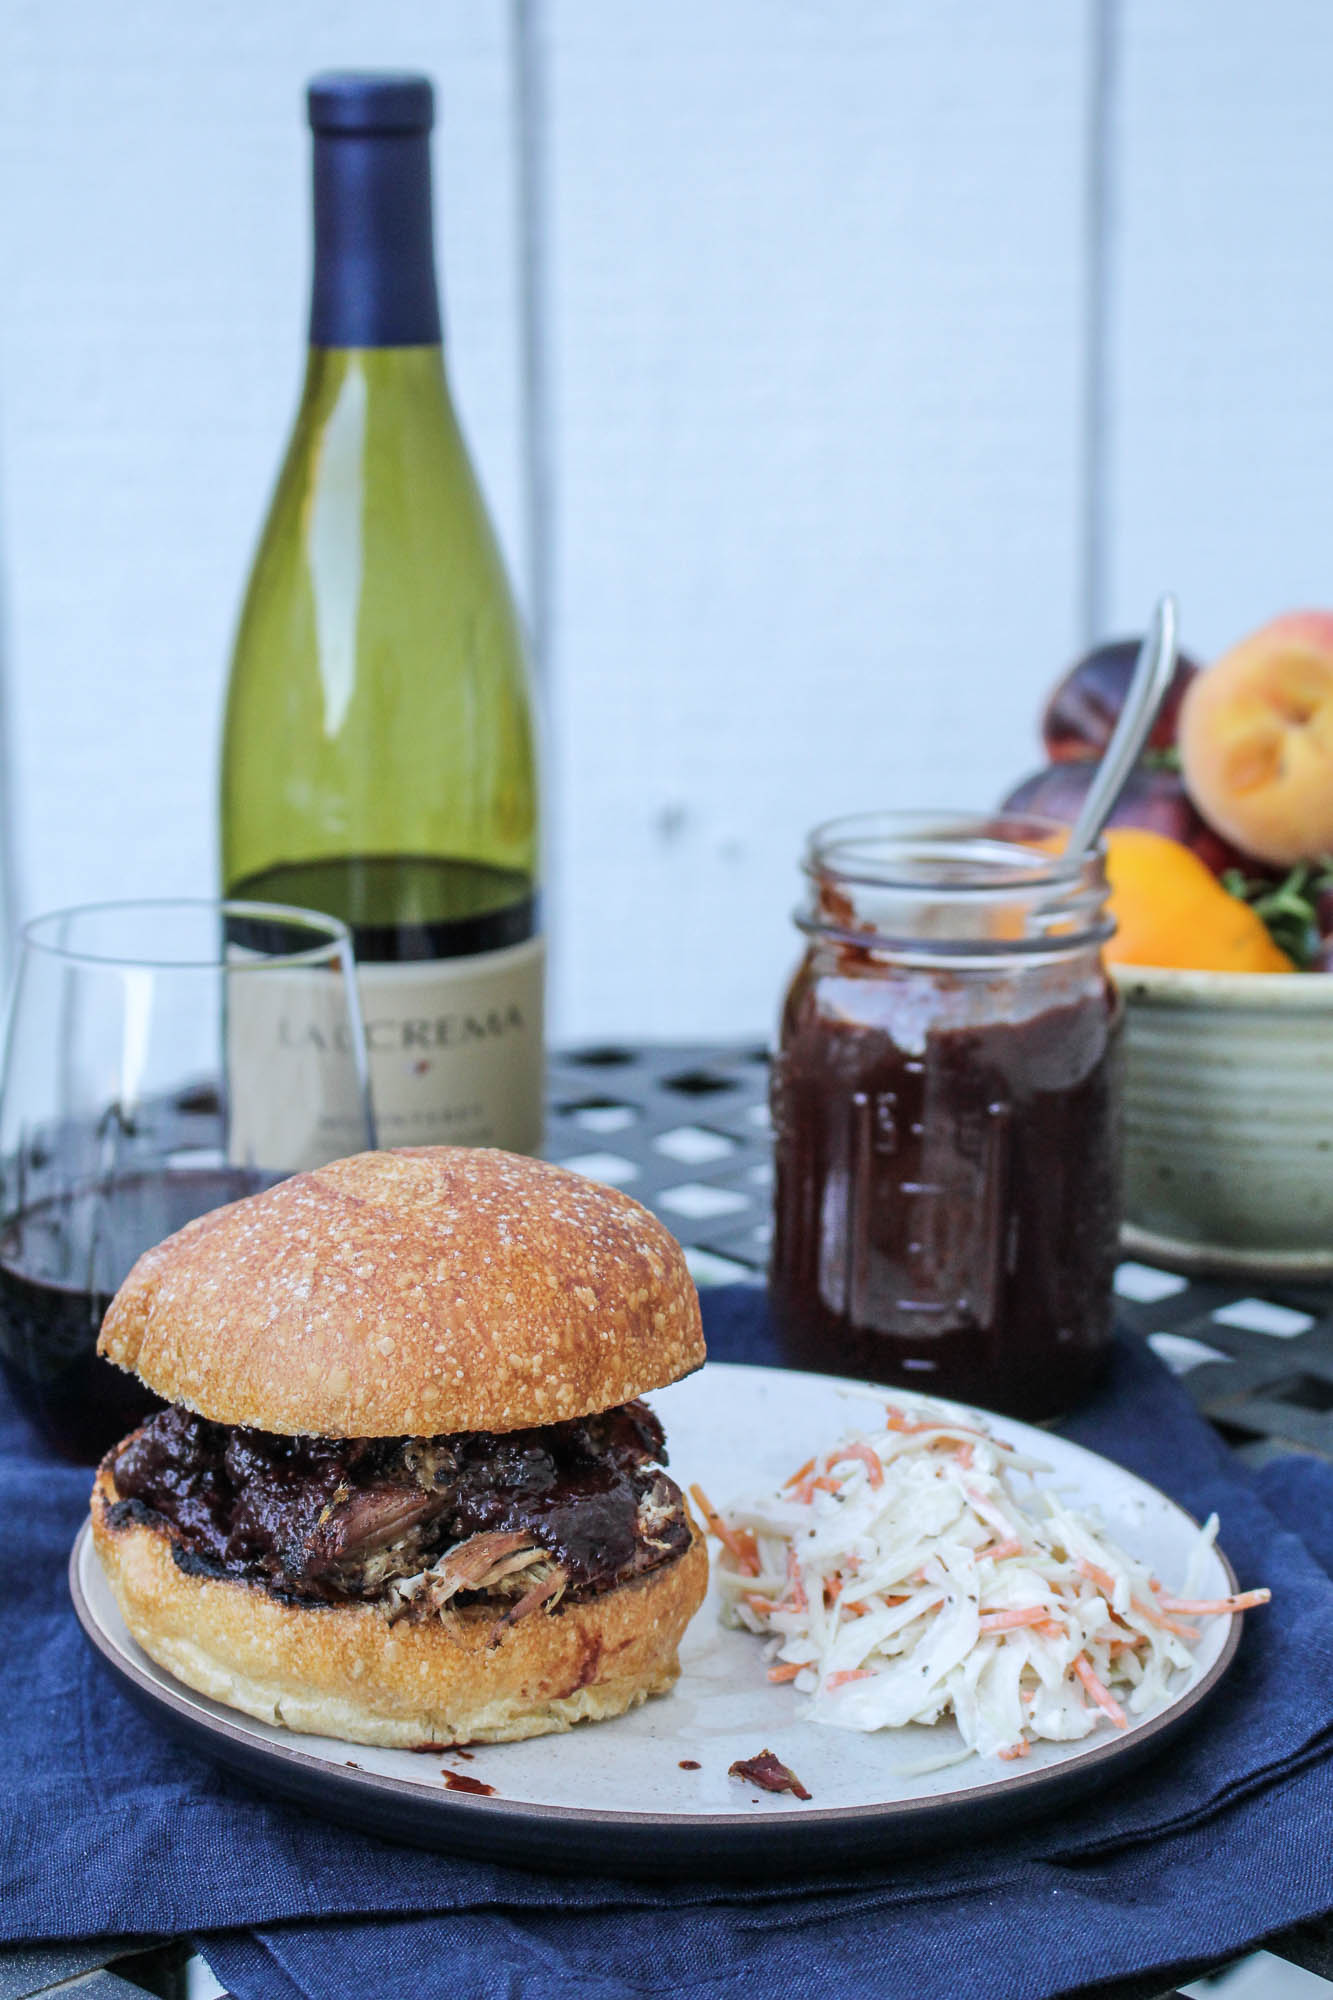
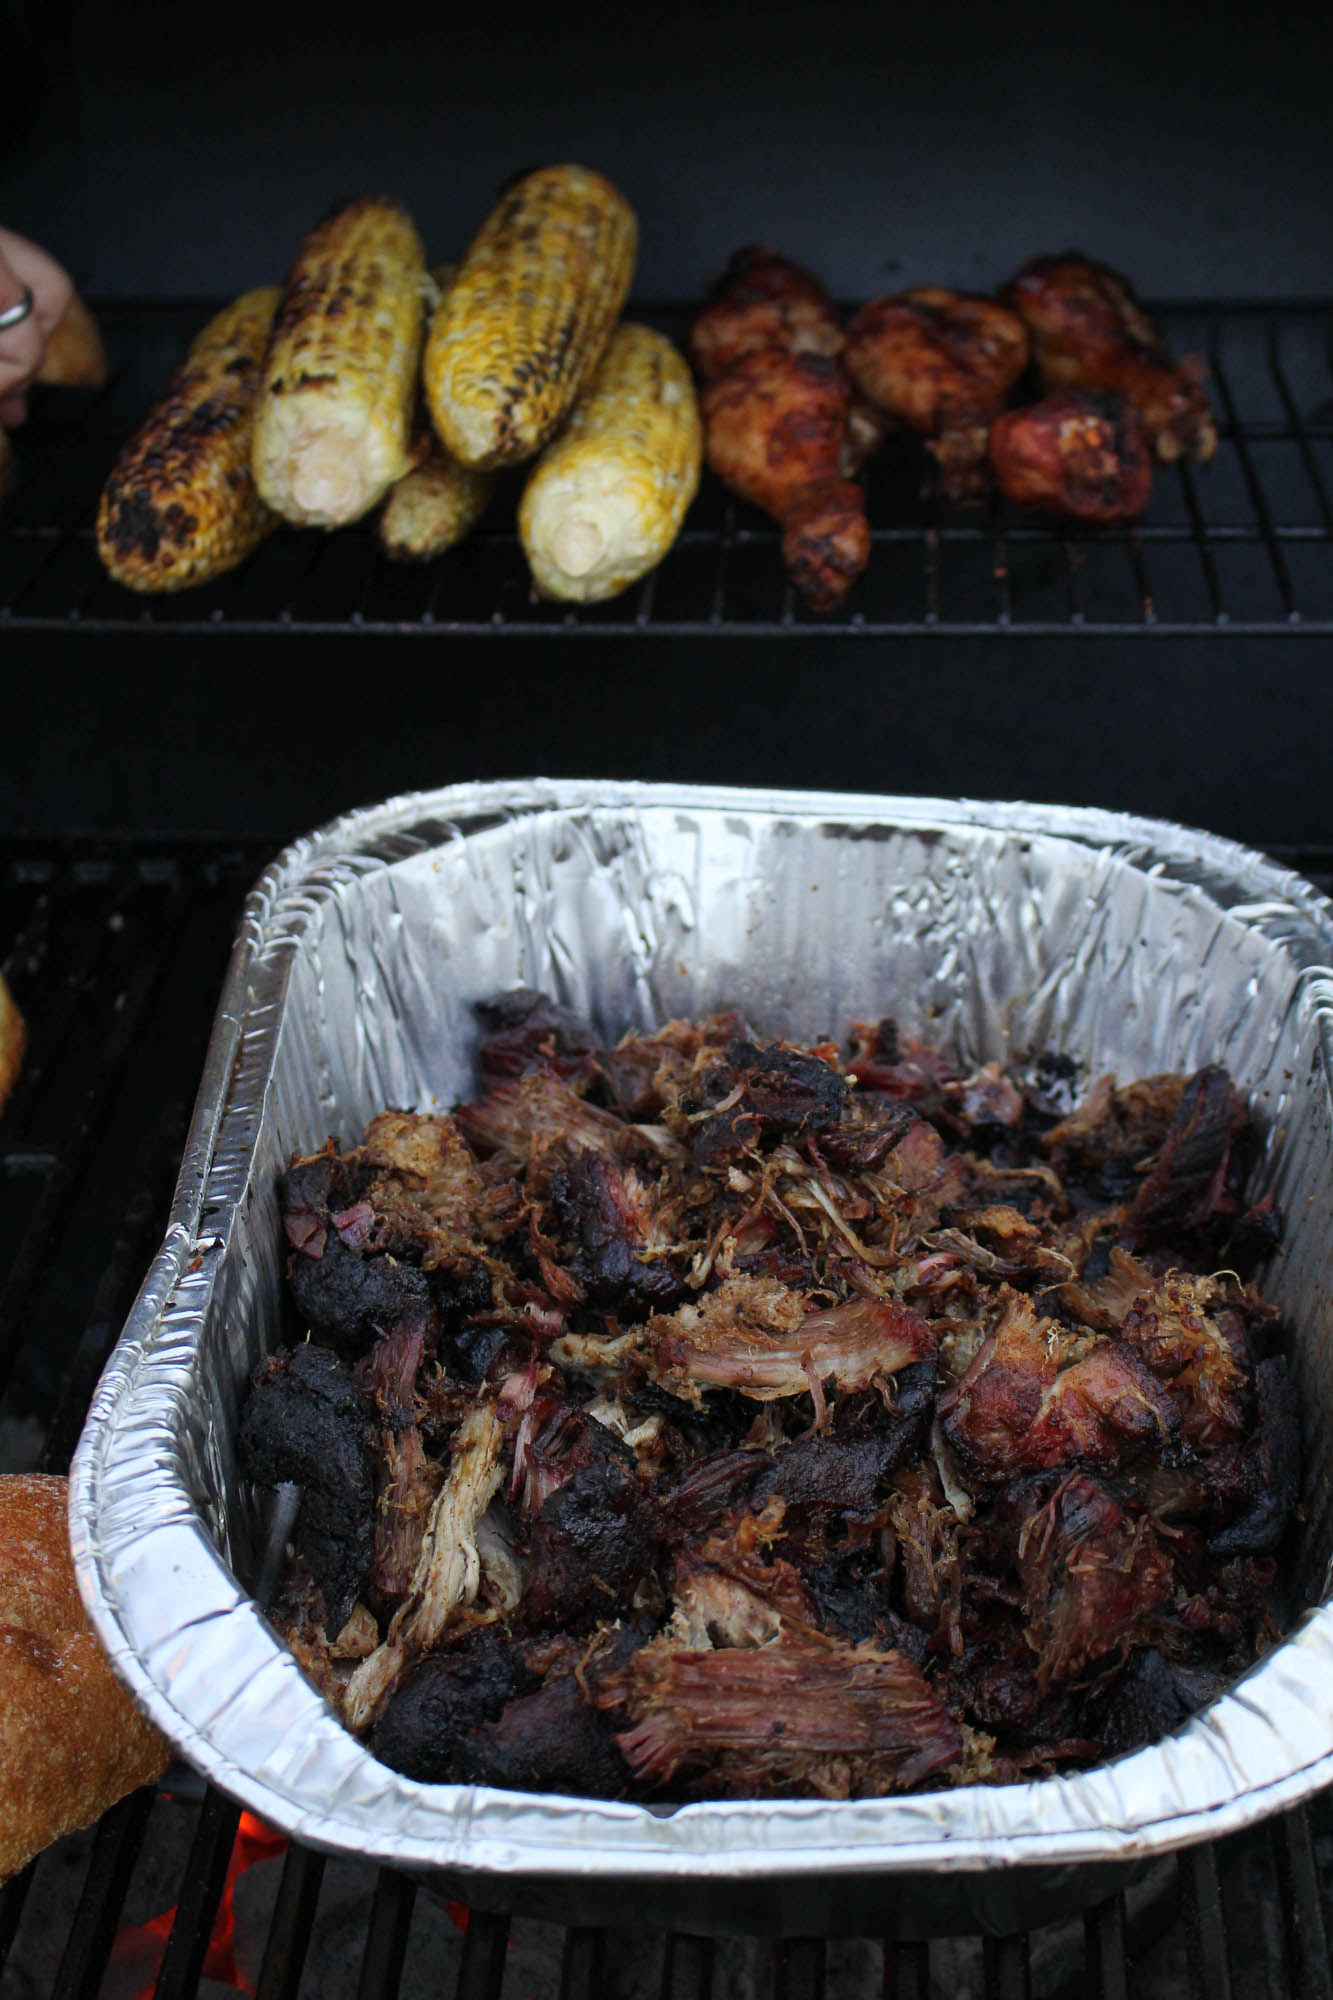
This particular version of the pulled pork uses a variation on our standard rub, which includes sweet and smoked paprika, brown sugar, salt, and a touch of cayenne. We grill it for about 3-4 hours in aluminum pans, and then serve it smothered with sauce on soft rolls. I made a homemade BBQ sauce too, with blackberries, Pinot Noir, and chipotle as the dominant flavors, to play up the smokiness in the pork and to make it pair even better with La Crema Pinot Noir.
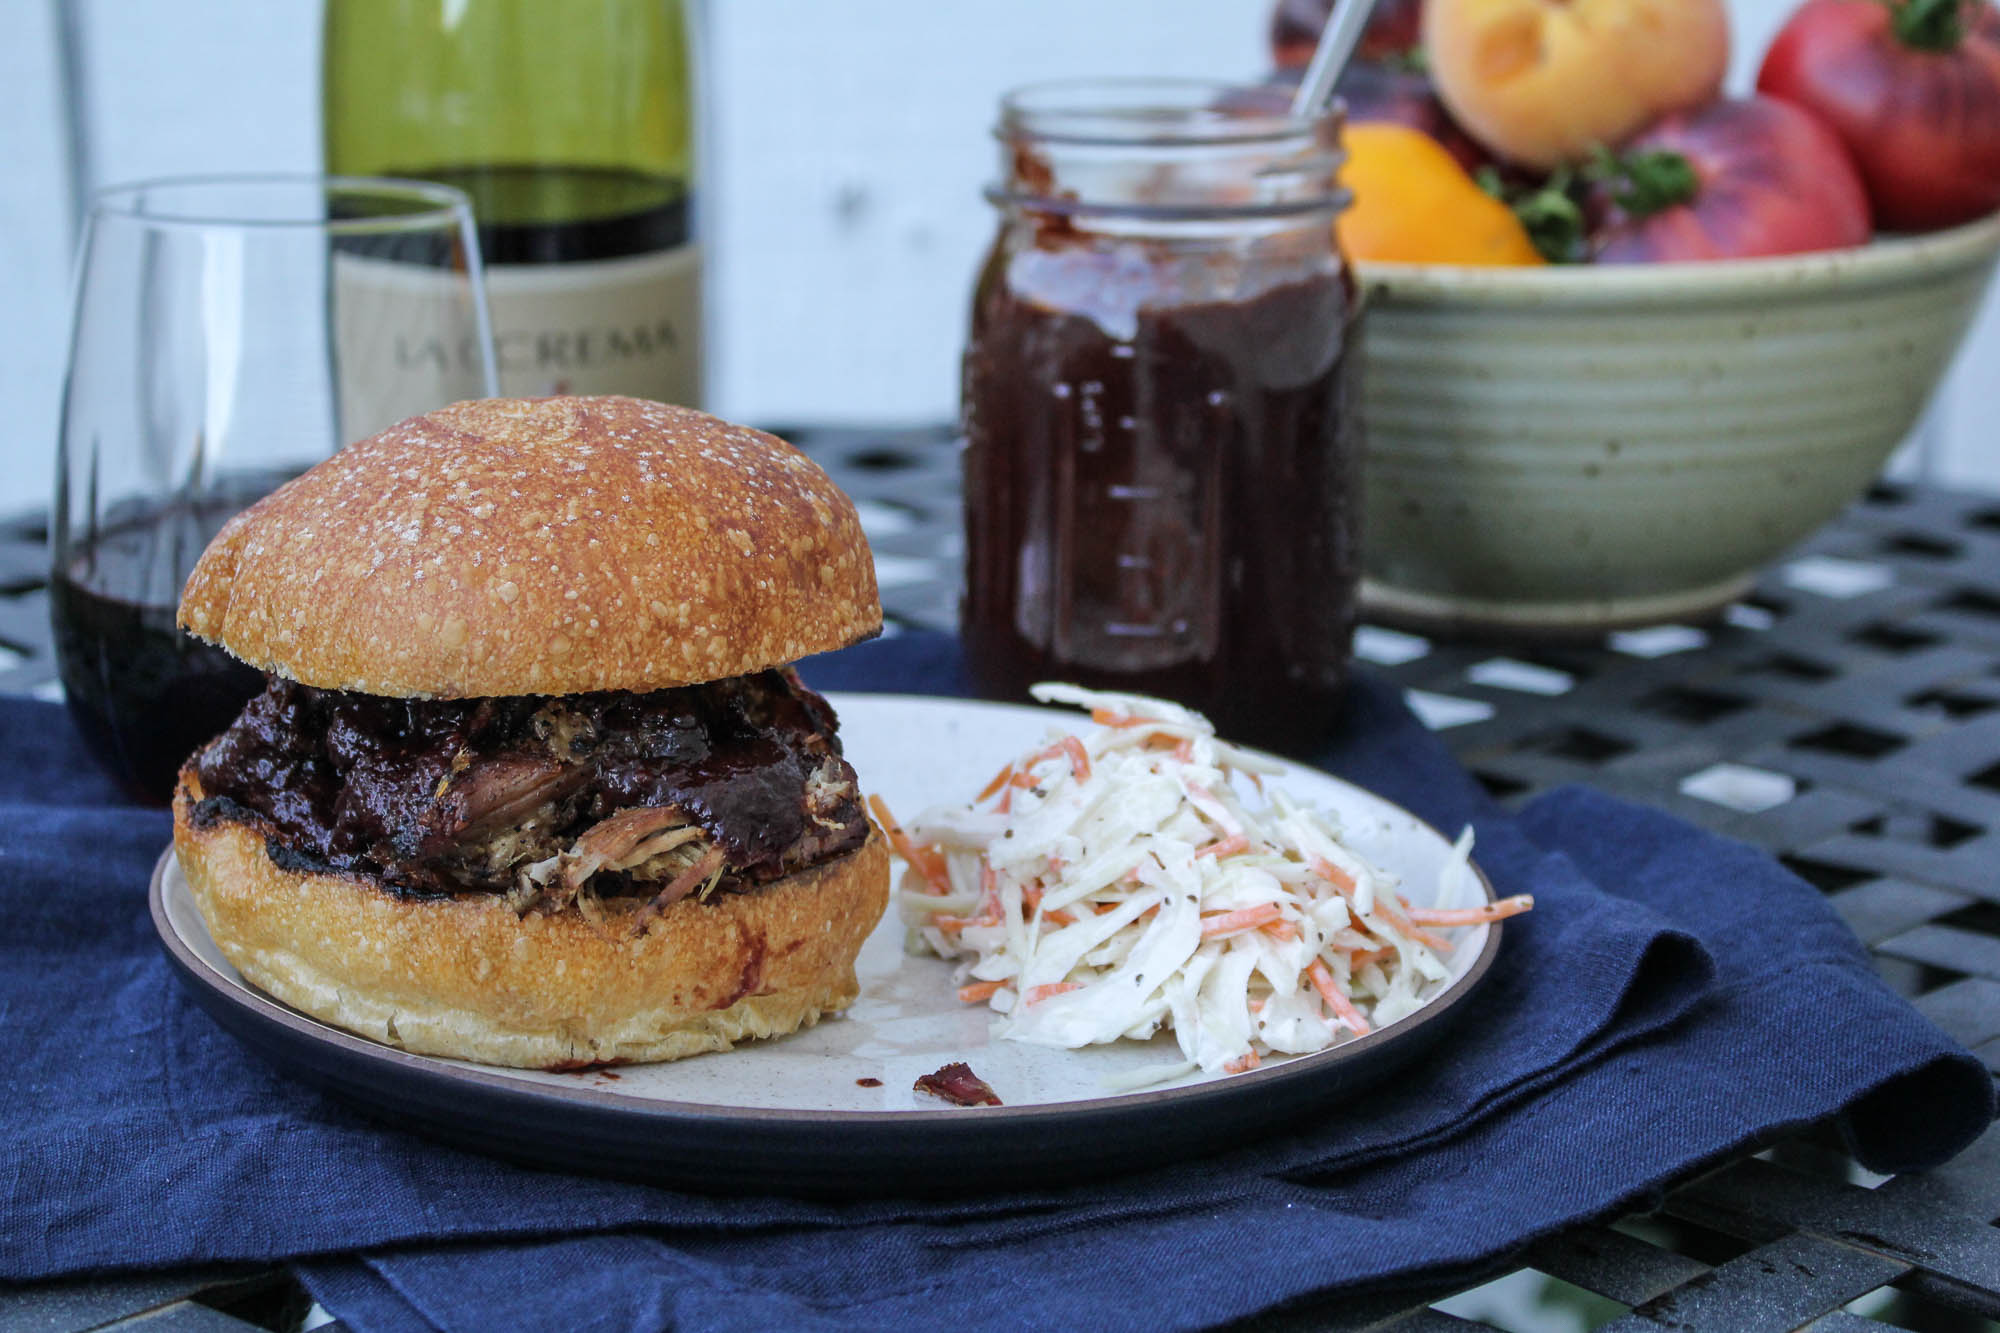
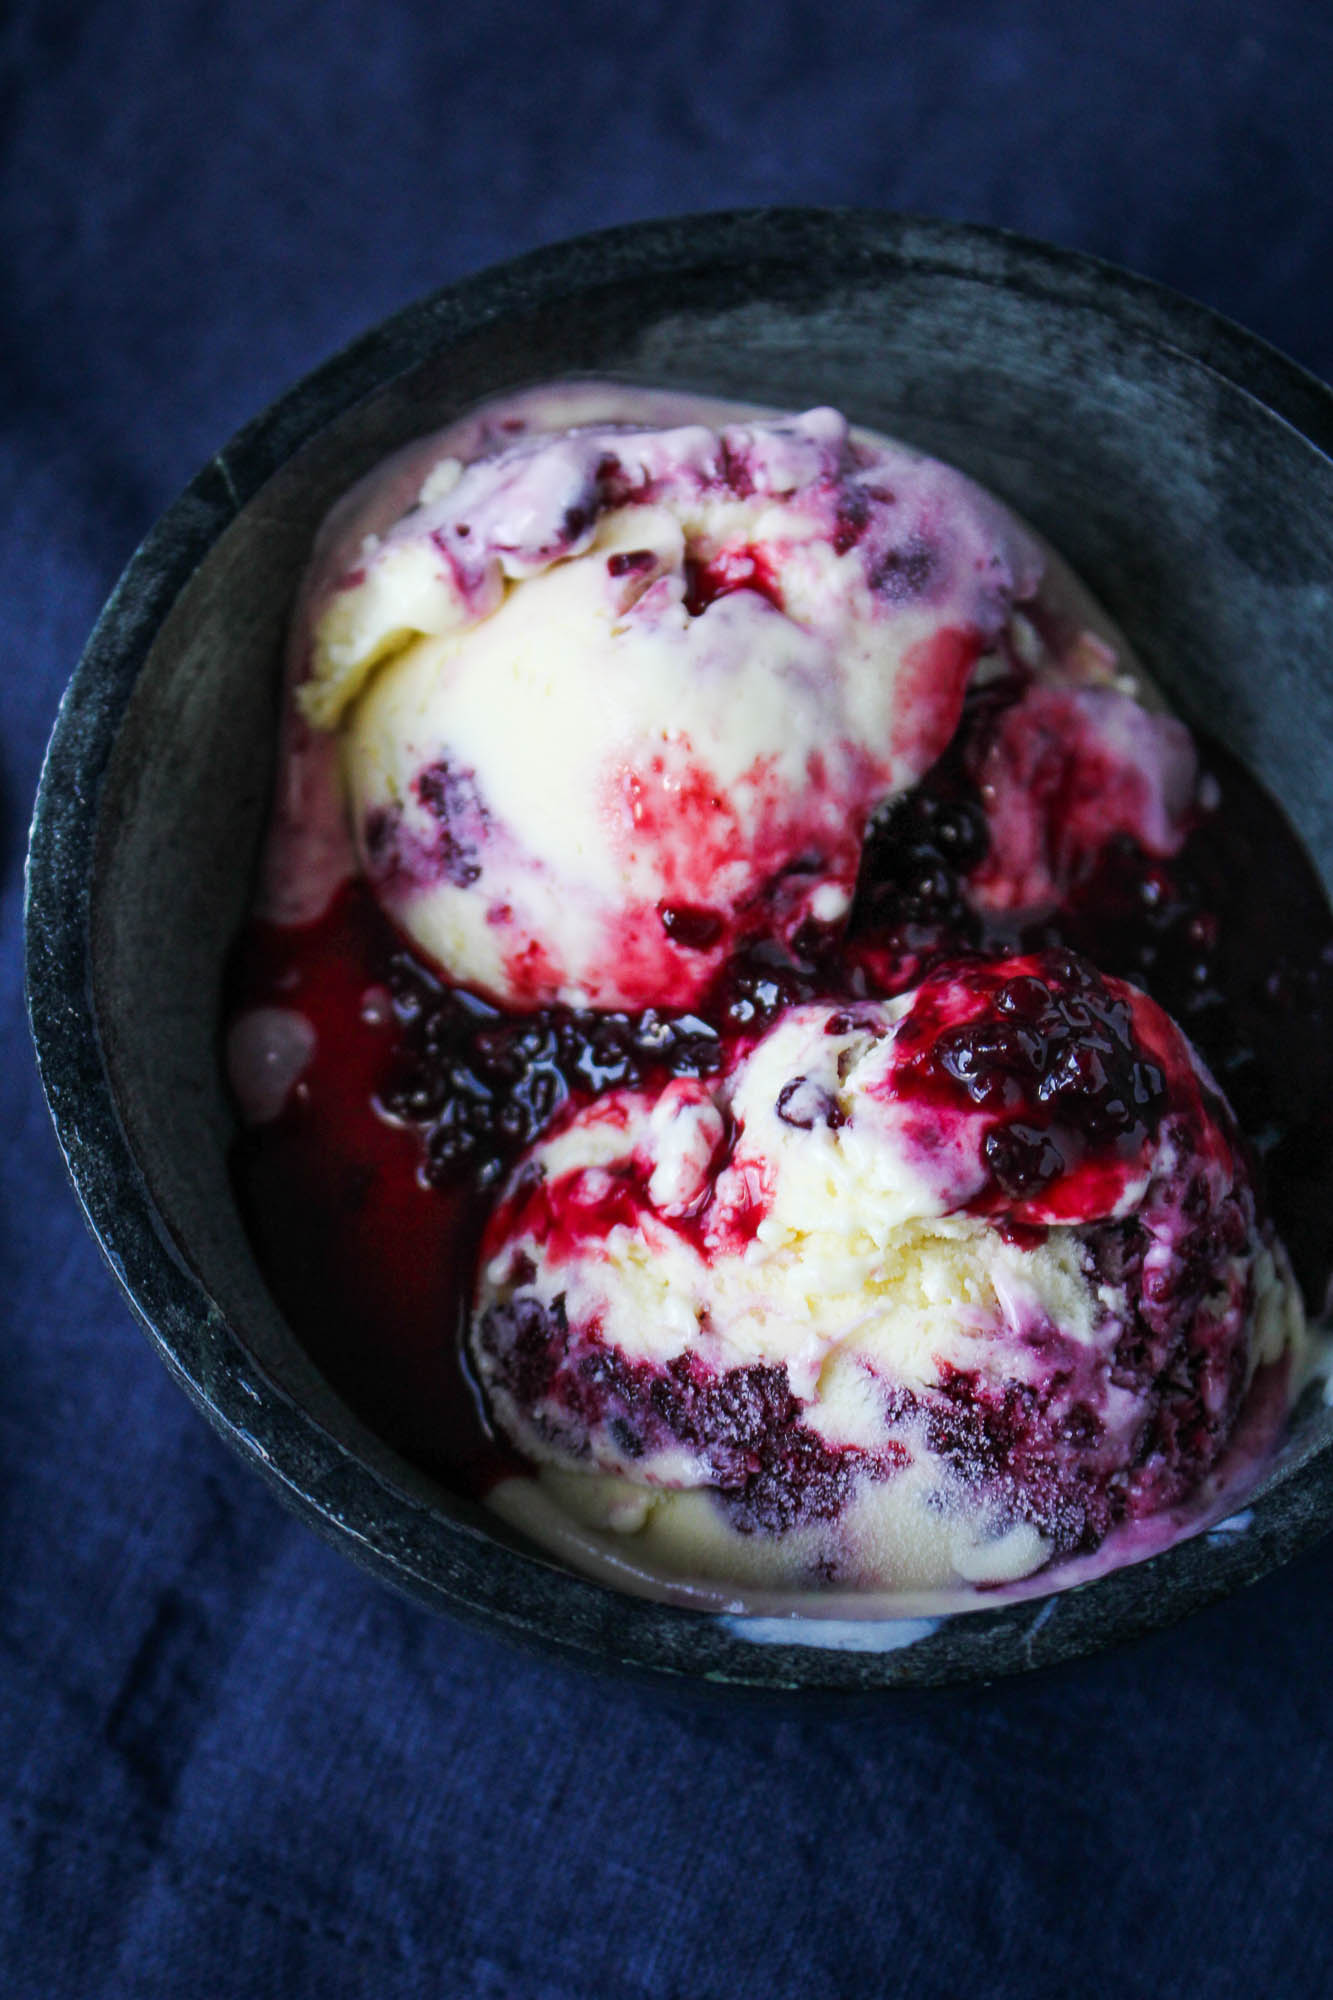
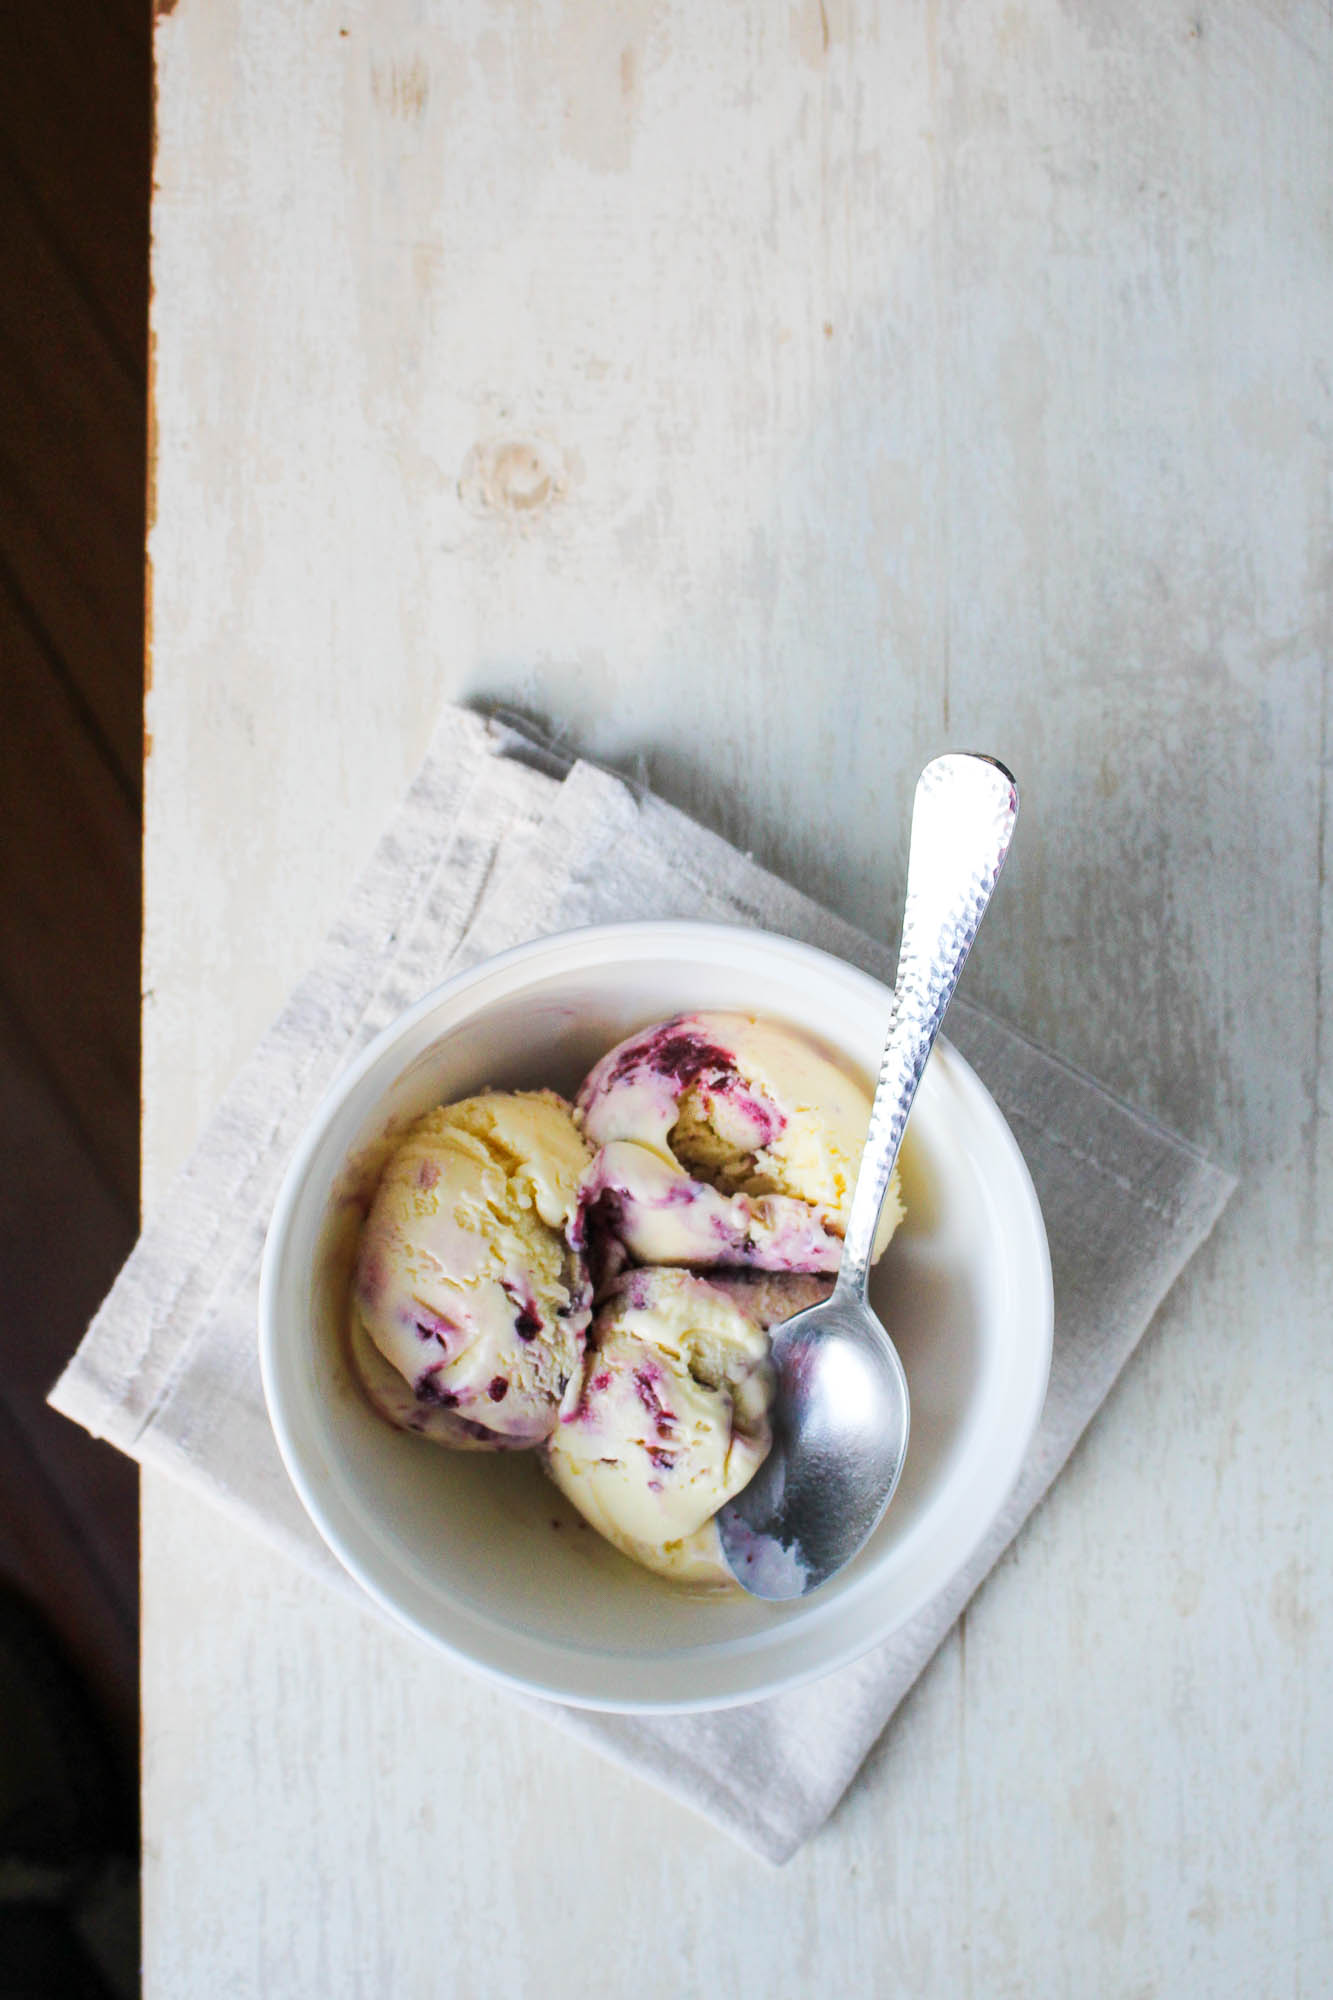
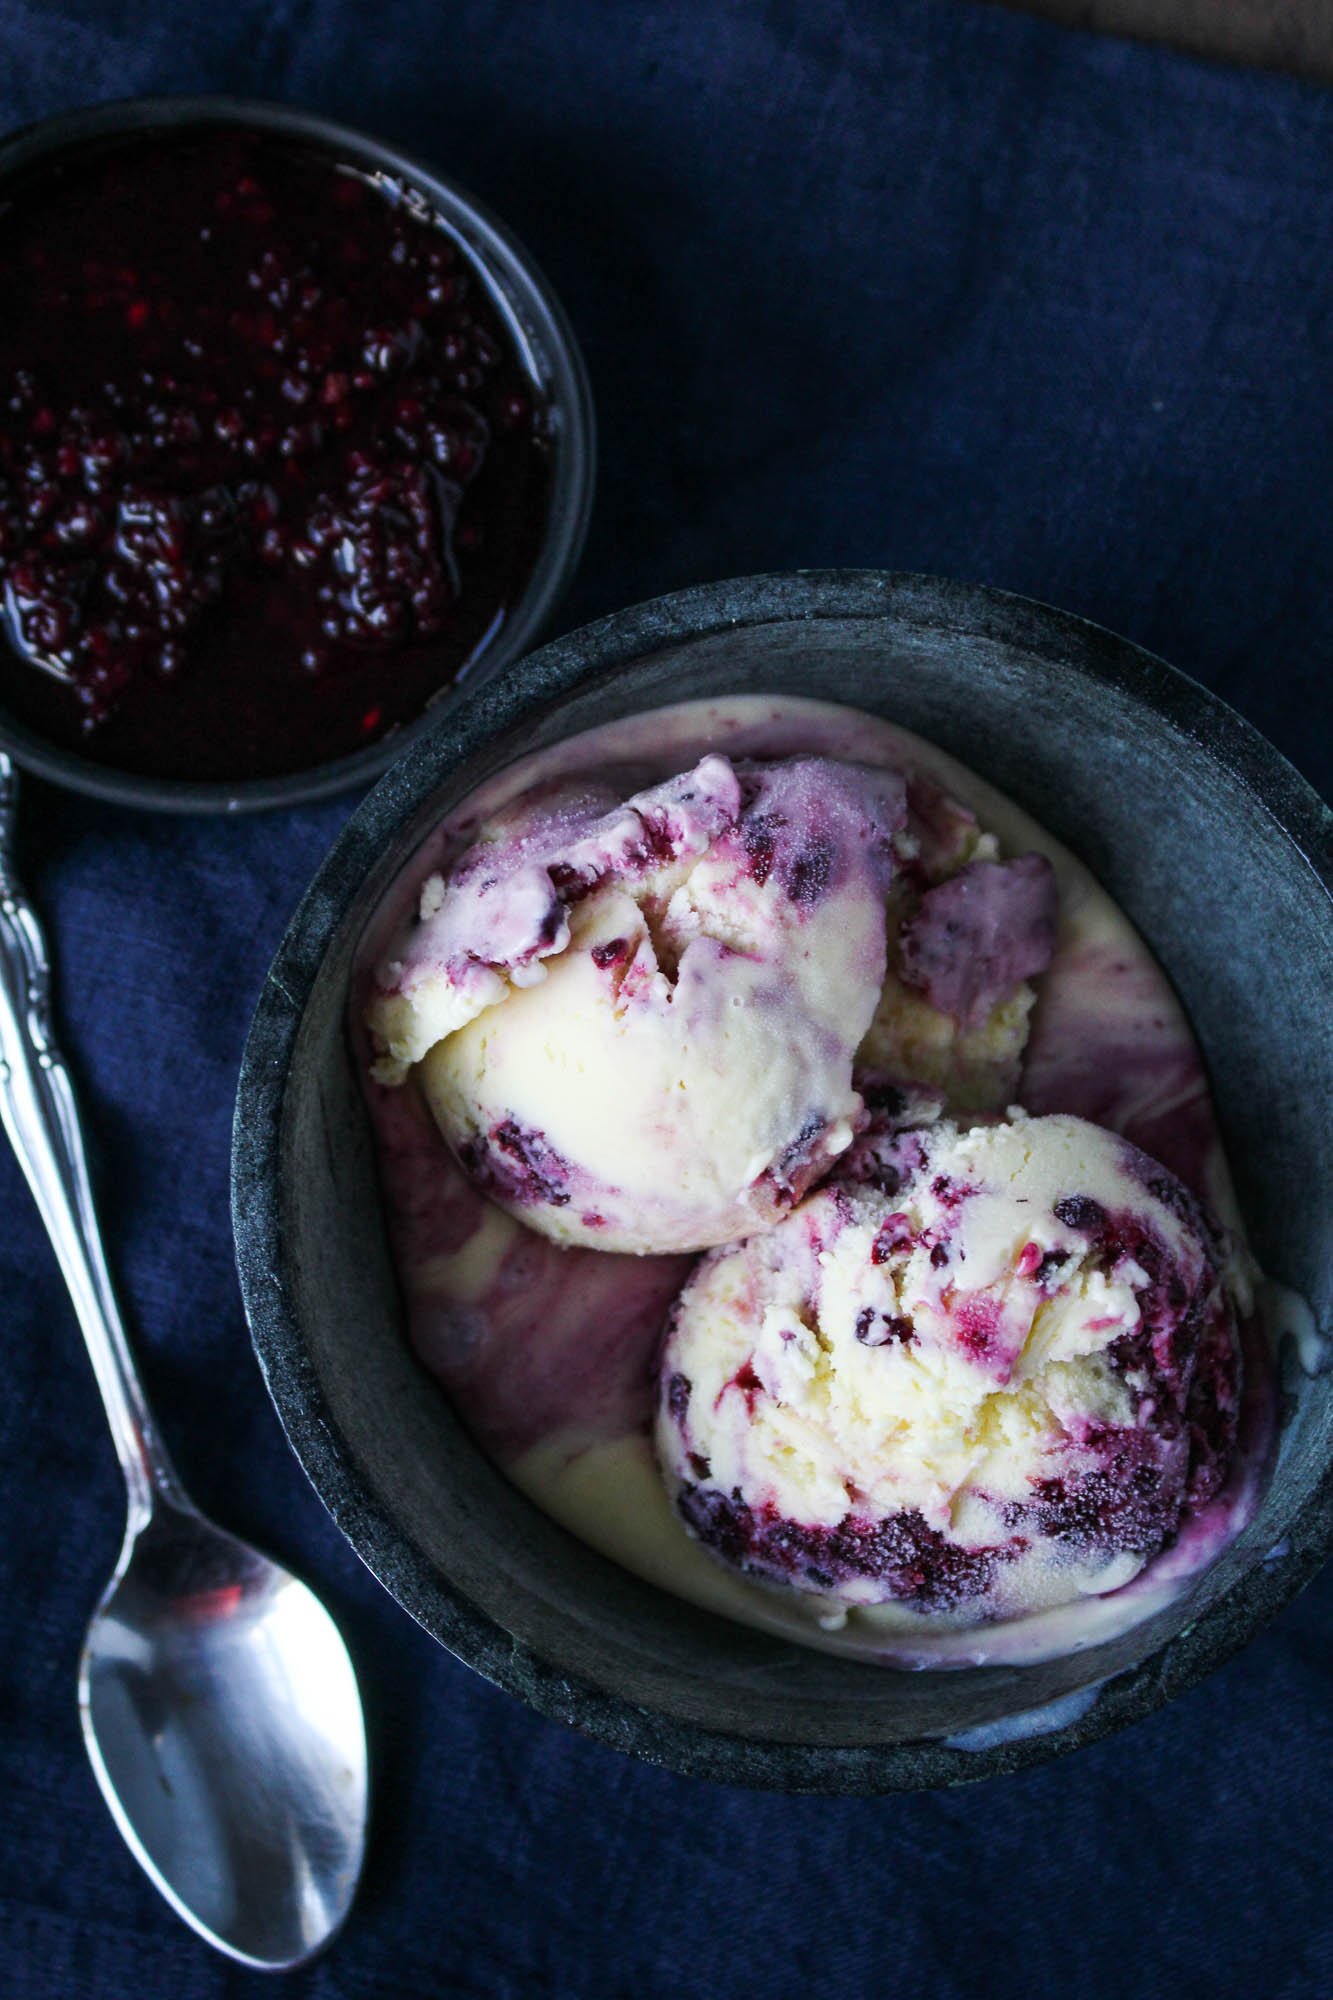
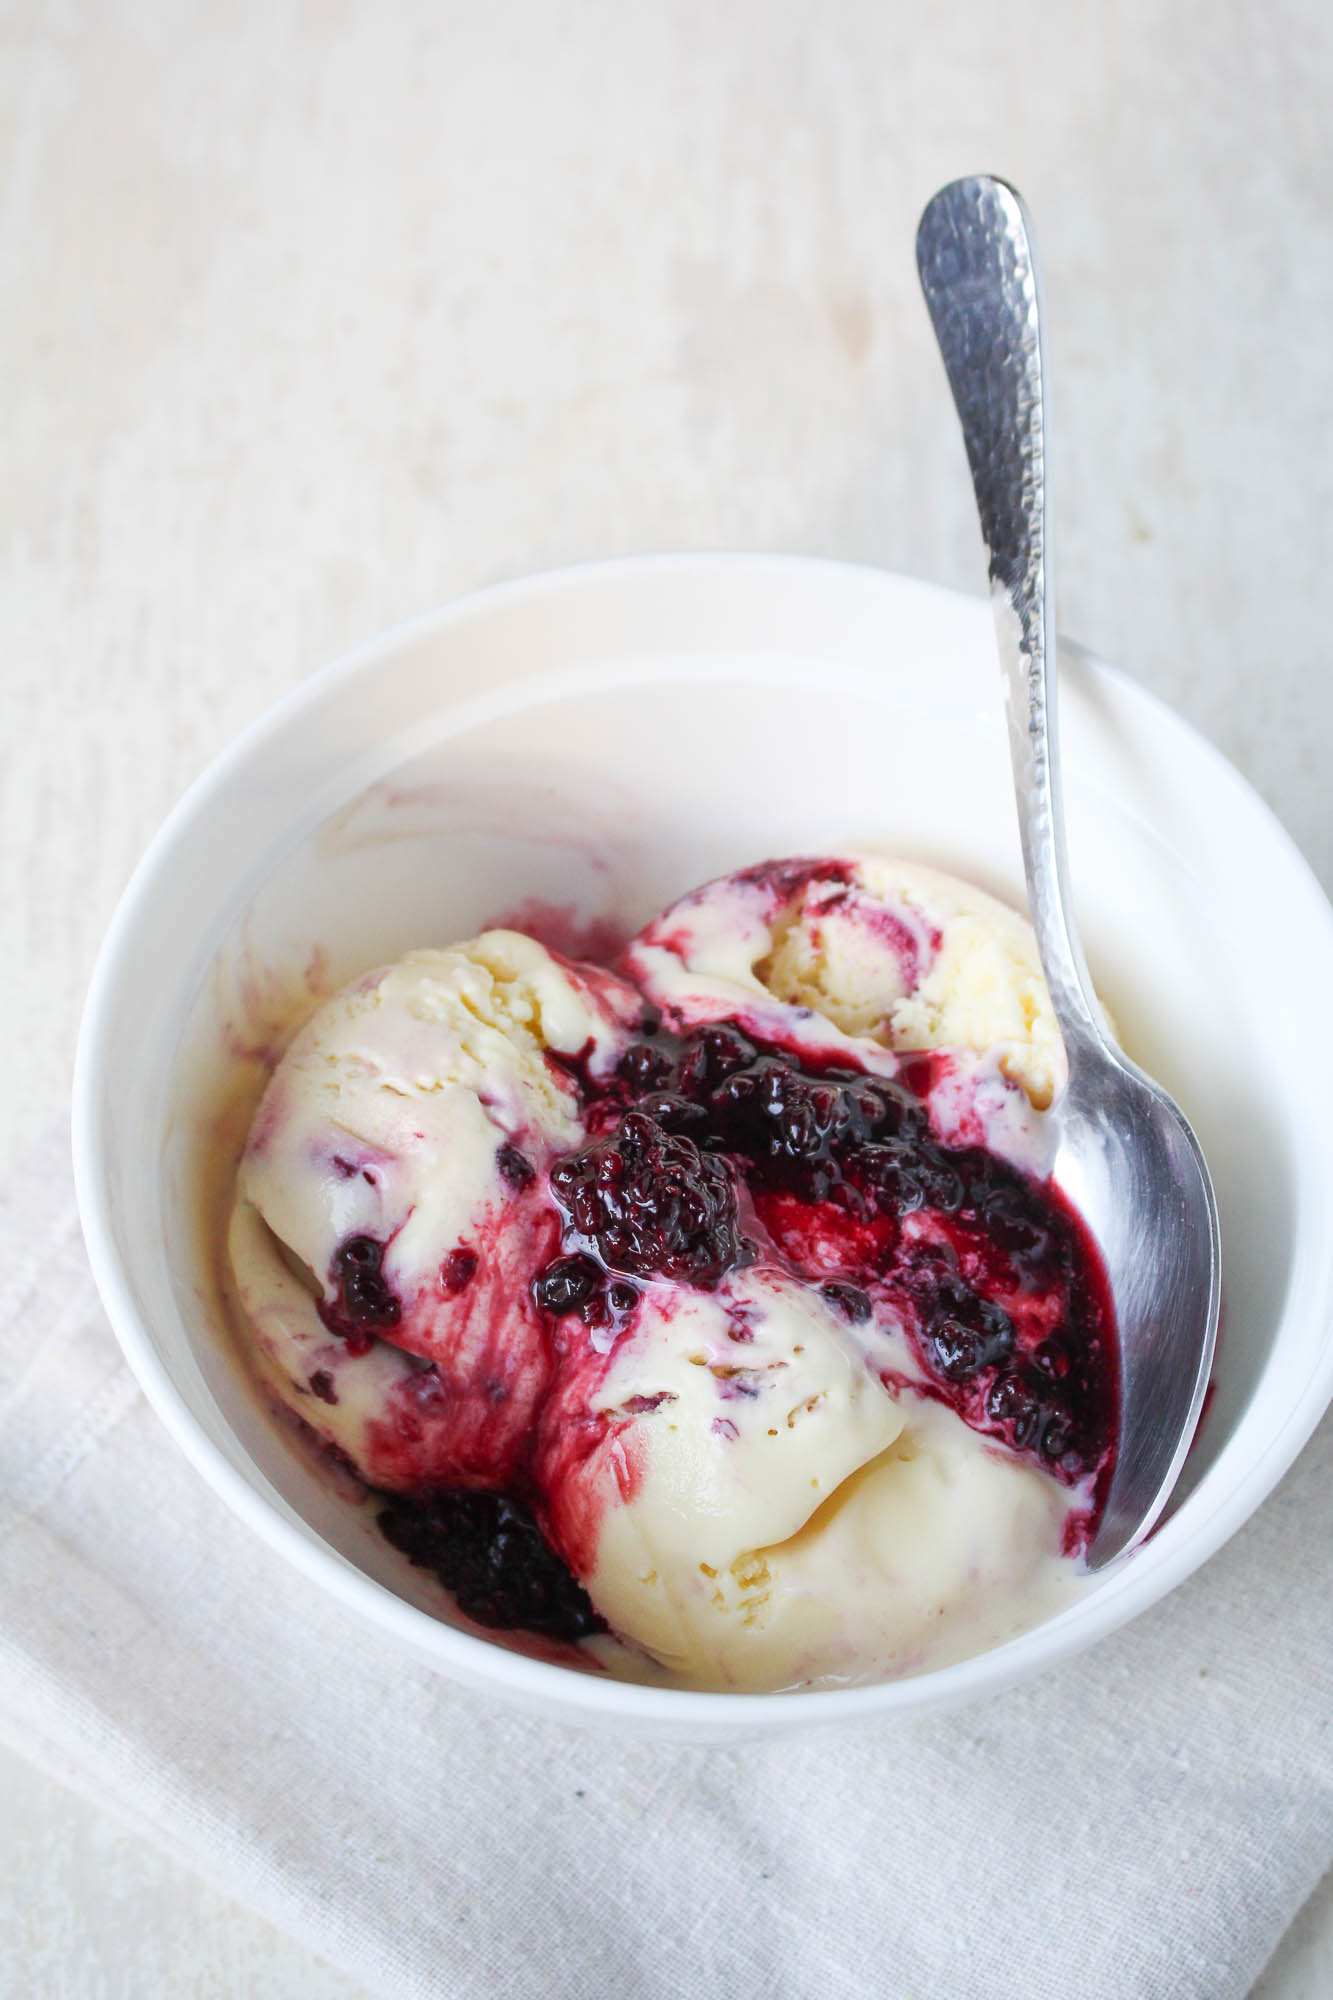
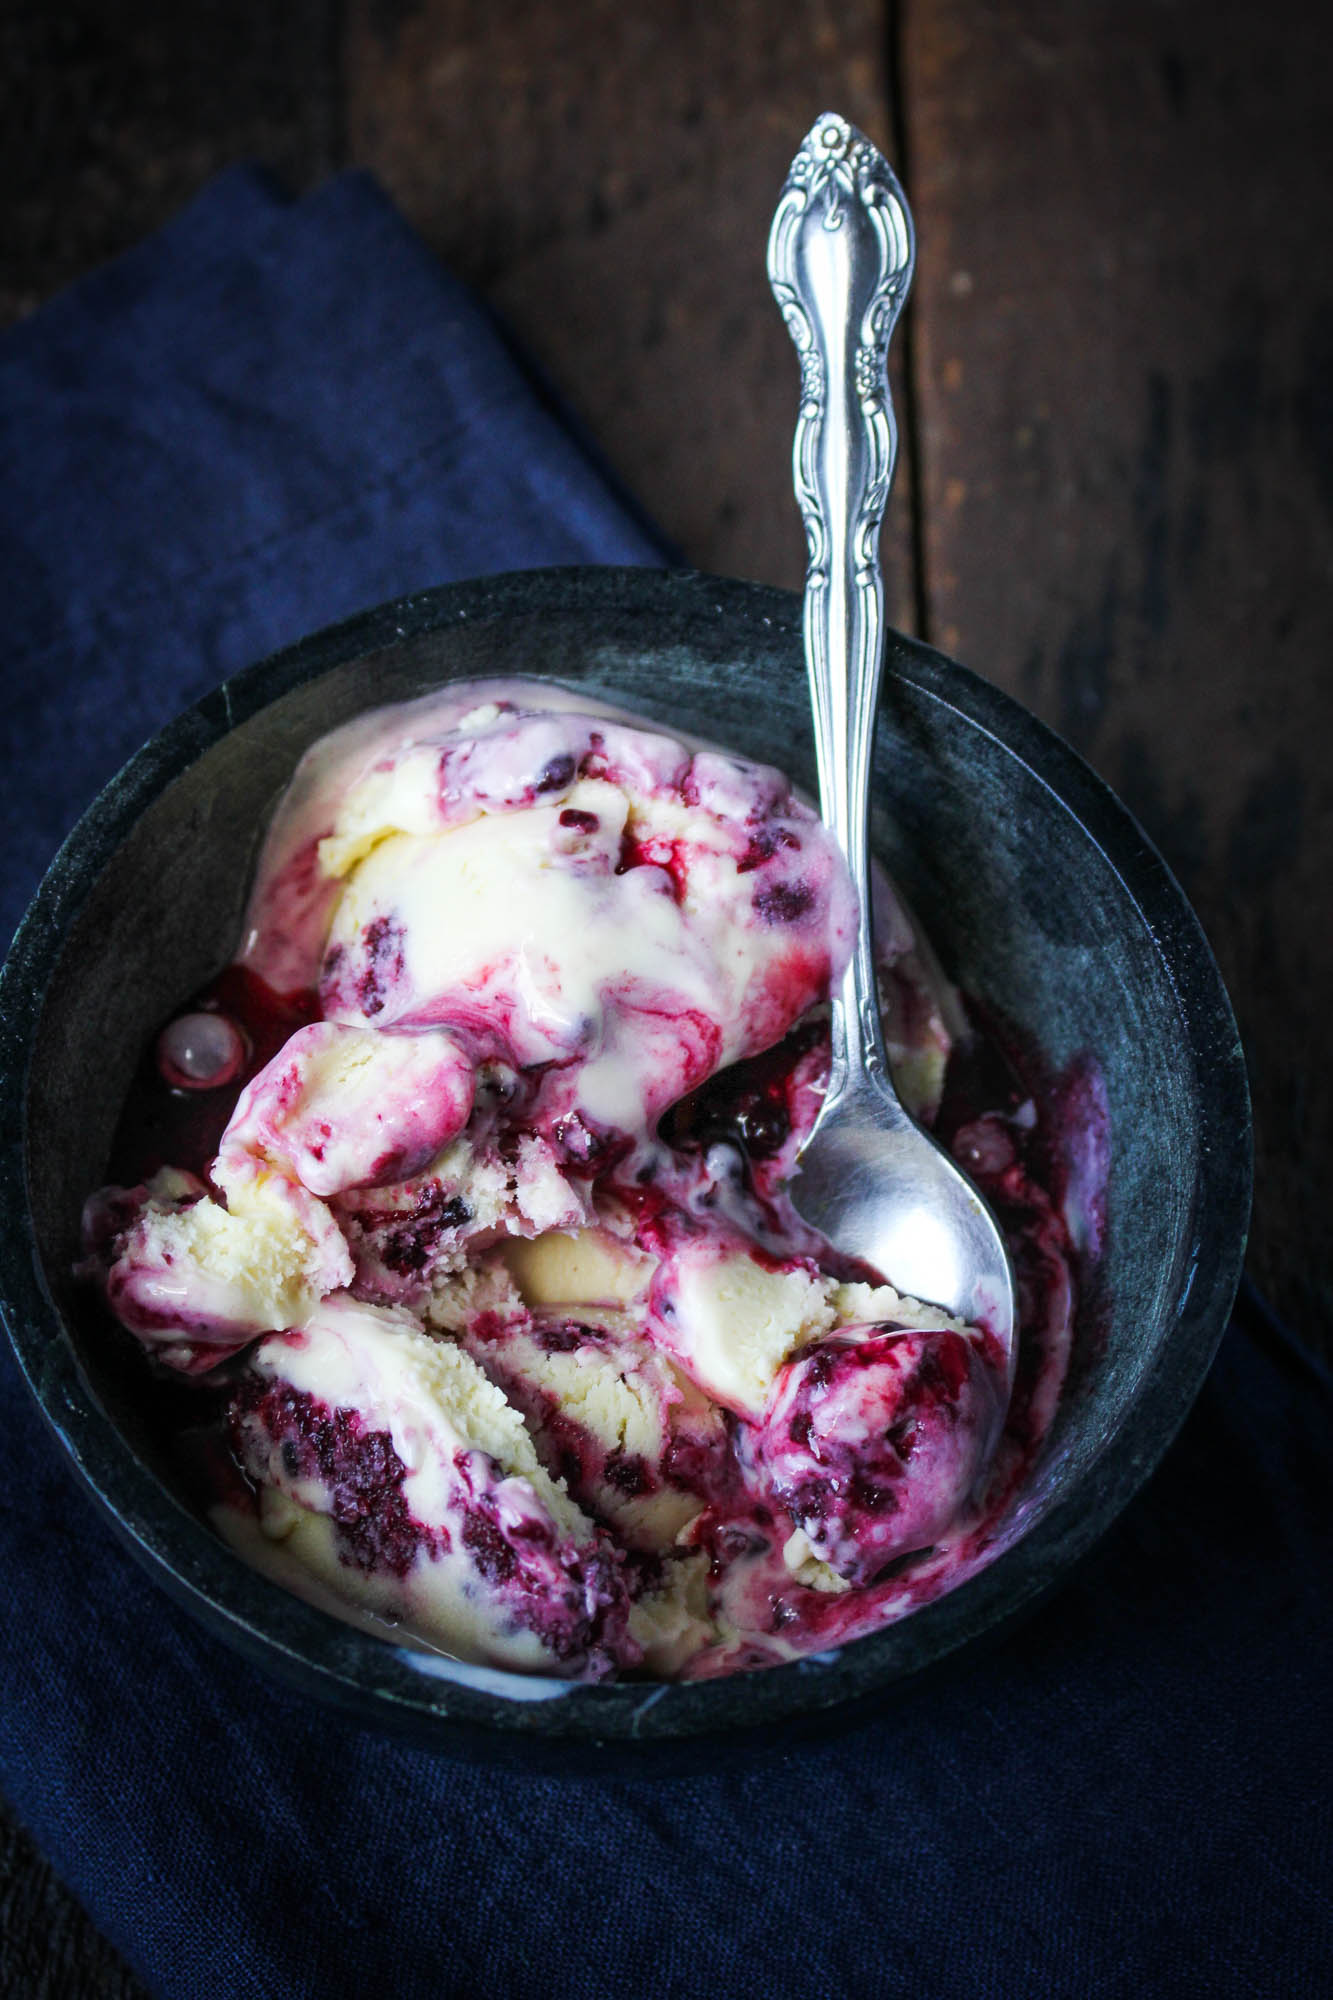
My mom and Robbie joined us for the somewhat impromptu cook-out. They’ve just come home after spending all summer in Maine (something I’m going to do again one of these years) and it’s nice to have them back within “you wanna have dinner?” distance, especially since it’s Robbie’s last year at home before heading off to college. The pork was the star of the meal, but we also had grilled corn, chicken wings, cole slaw, plenty of La Crema Monterey Pinot Noir, and burgundy pie with the last of the goat cheese and blackberry ice cream. It was a good meal – and it turned out to be the first of several over the course of the long weekend, including an extravagant dinner out in Newburyport and steak tips and peach sangria at my cousin’s BBQ on Monday. But what’s Labor Day for if not for a final hurrah of summer eating and drinking?
P.S. Several of these Pork and Pinot recipes I’ve been developing for La Crema were recently featured on Food and Wine (as was this Oyster Shooter picture I took for one of my restaurant clients earlier this year). Go check it out!
For full instructions and the recipe for Pulled Pork with Blackberry Pinot BBQ Sauce, head over to the La Crema Blog!
More Pork and Pinot posts…
- Prosciutto, Mozzarella, and Sage Pesto Stuffed Pork Tenderloin
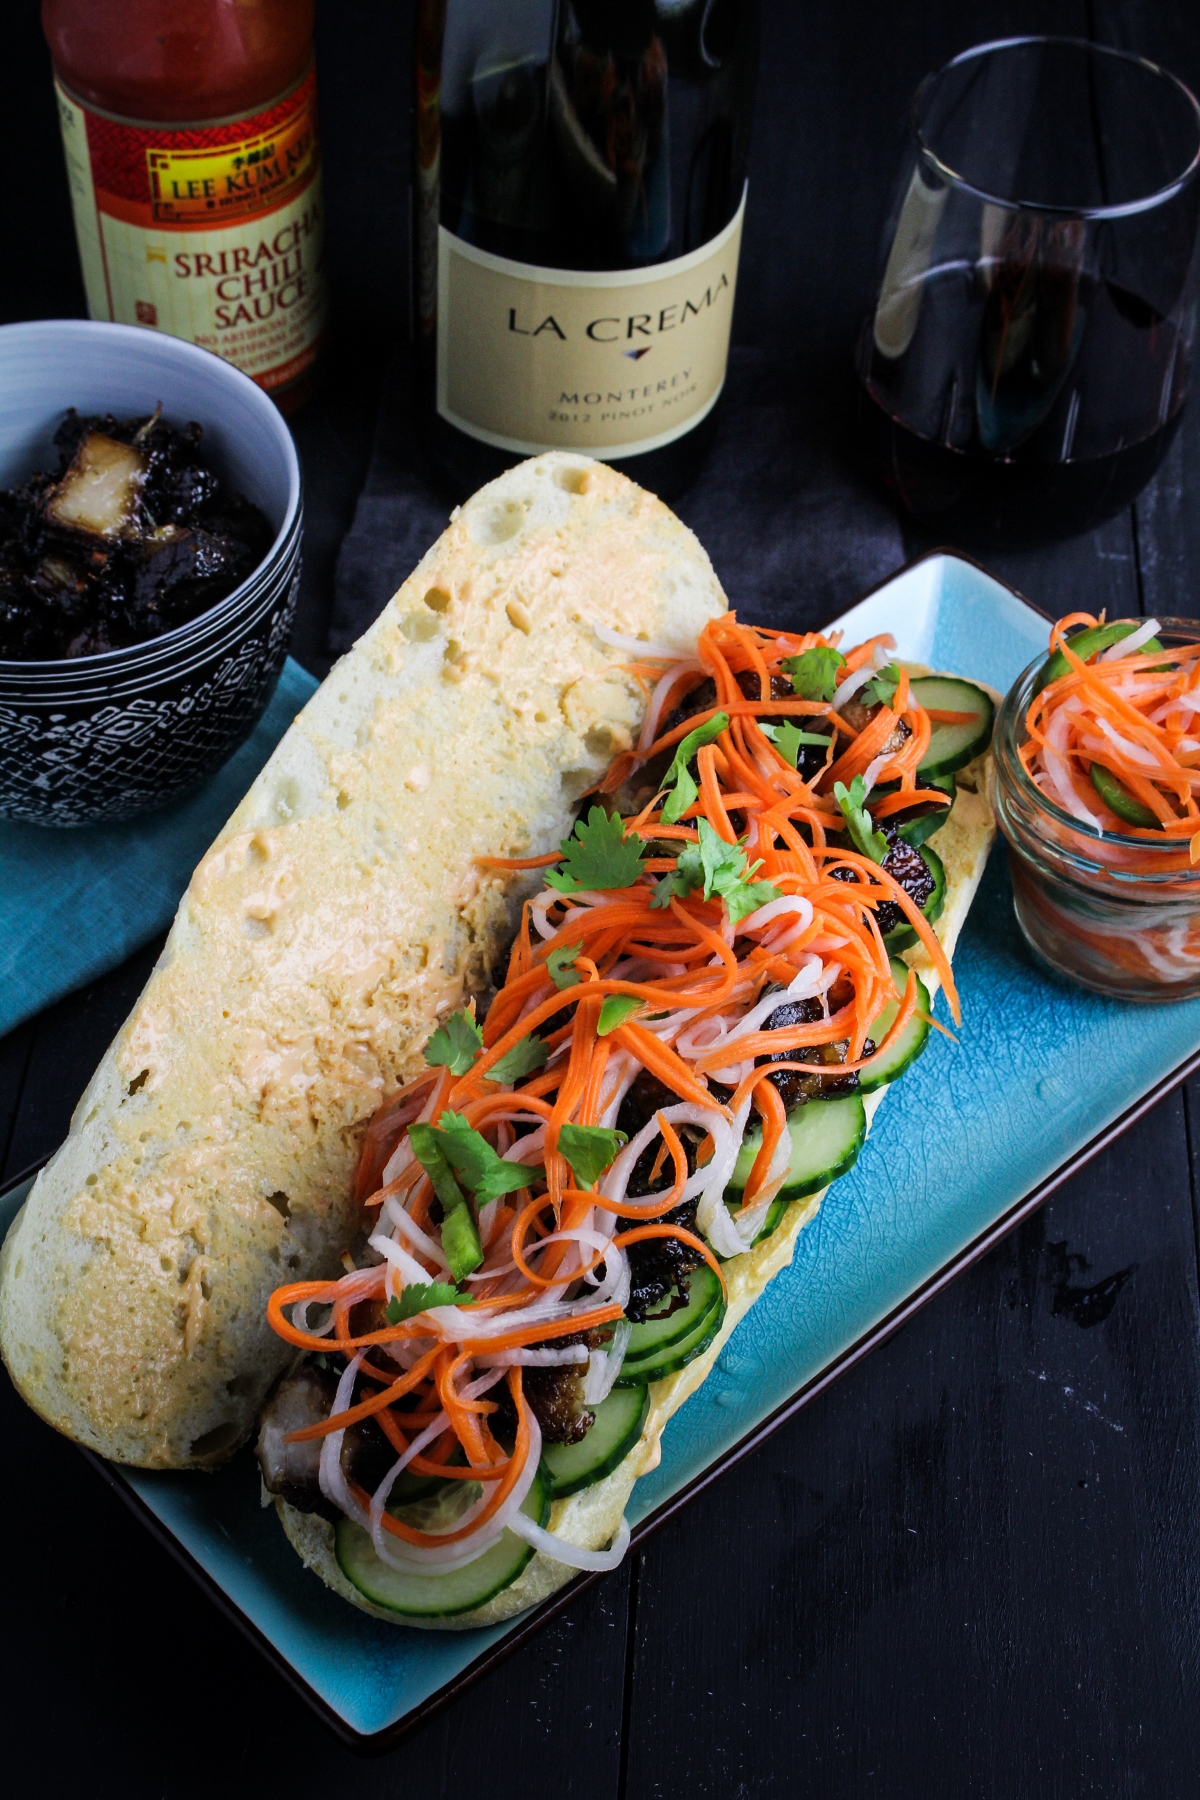
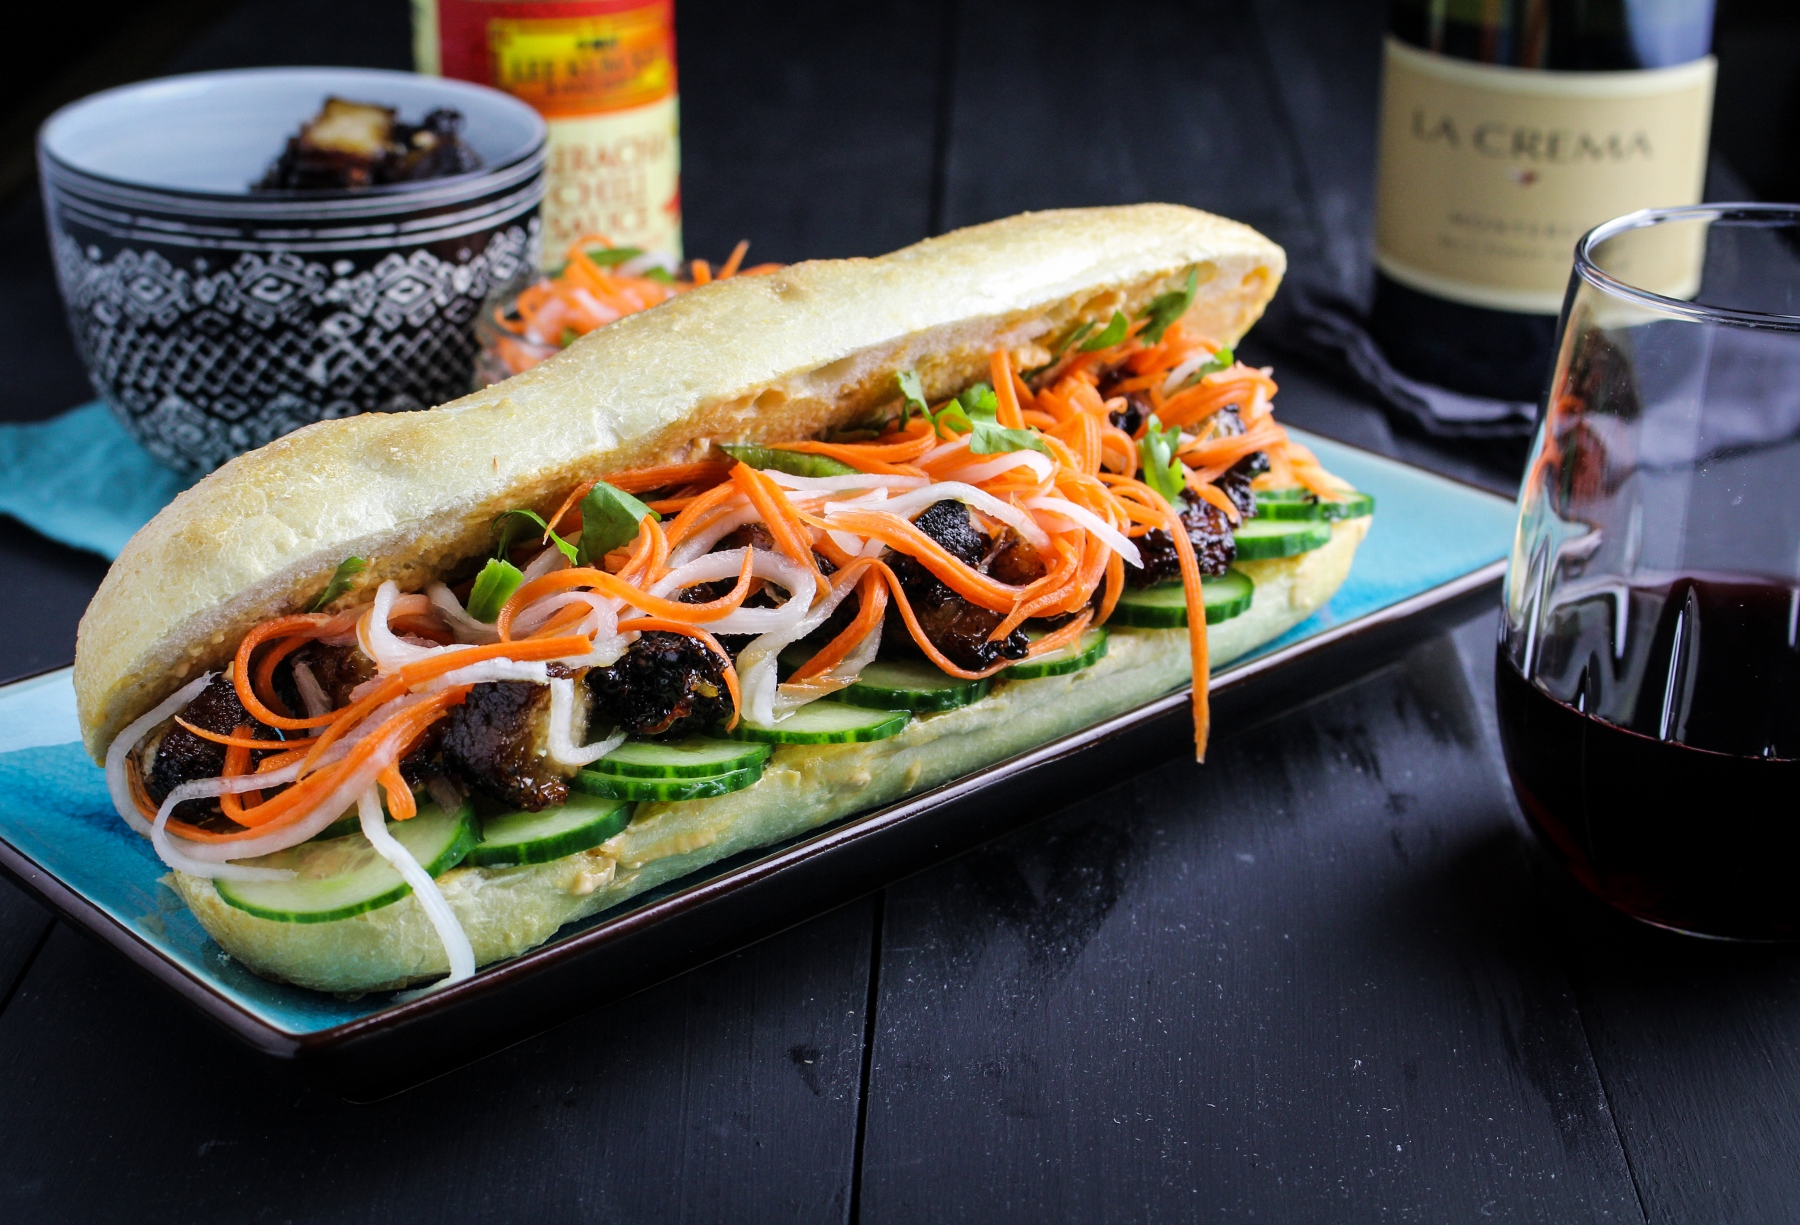
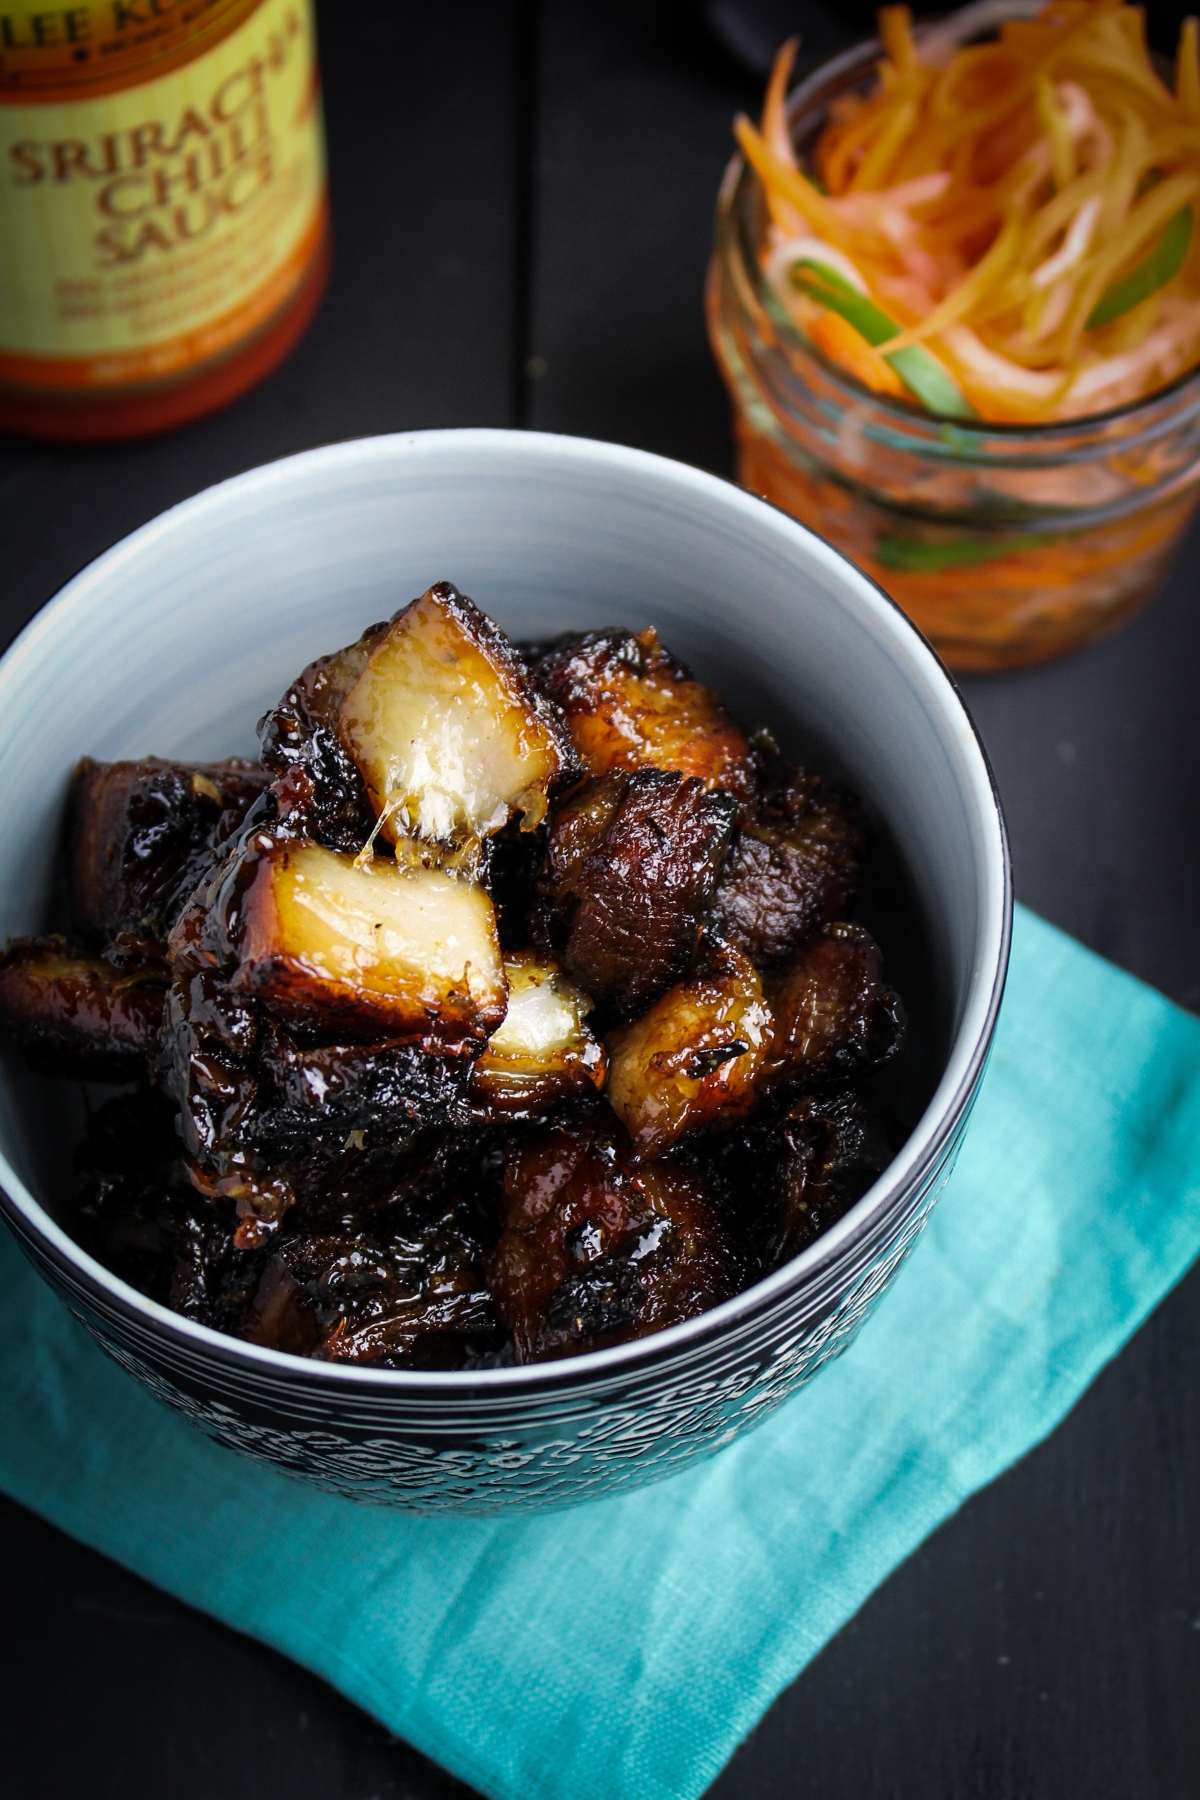
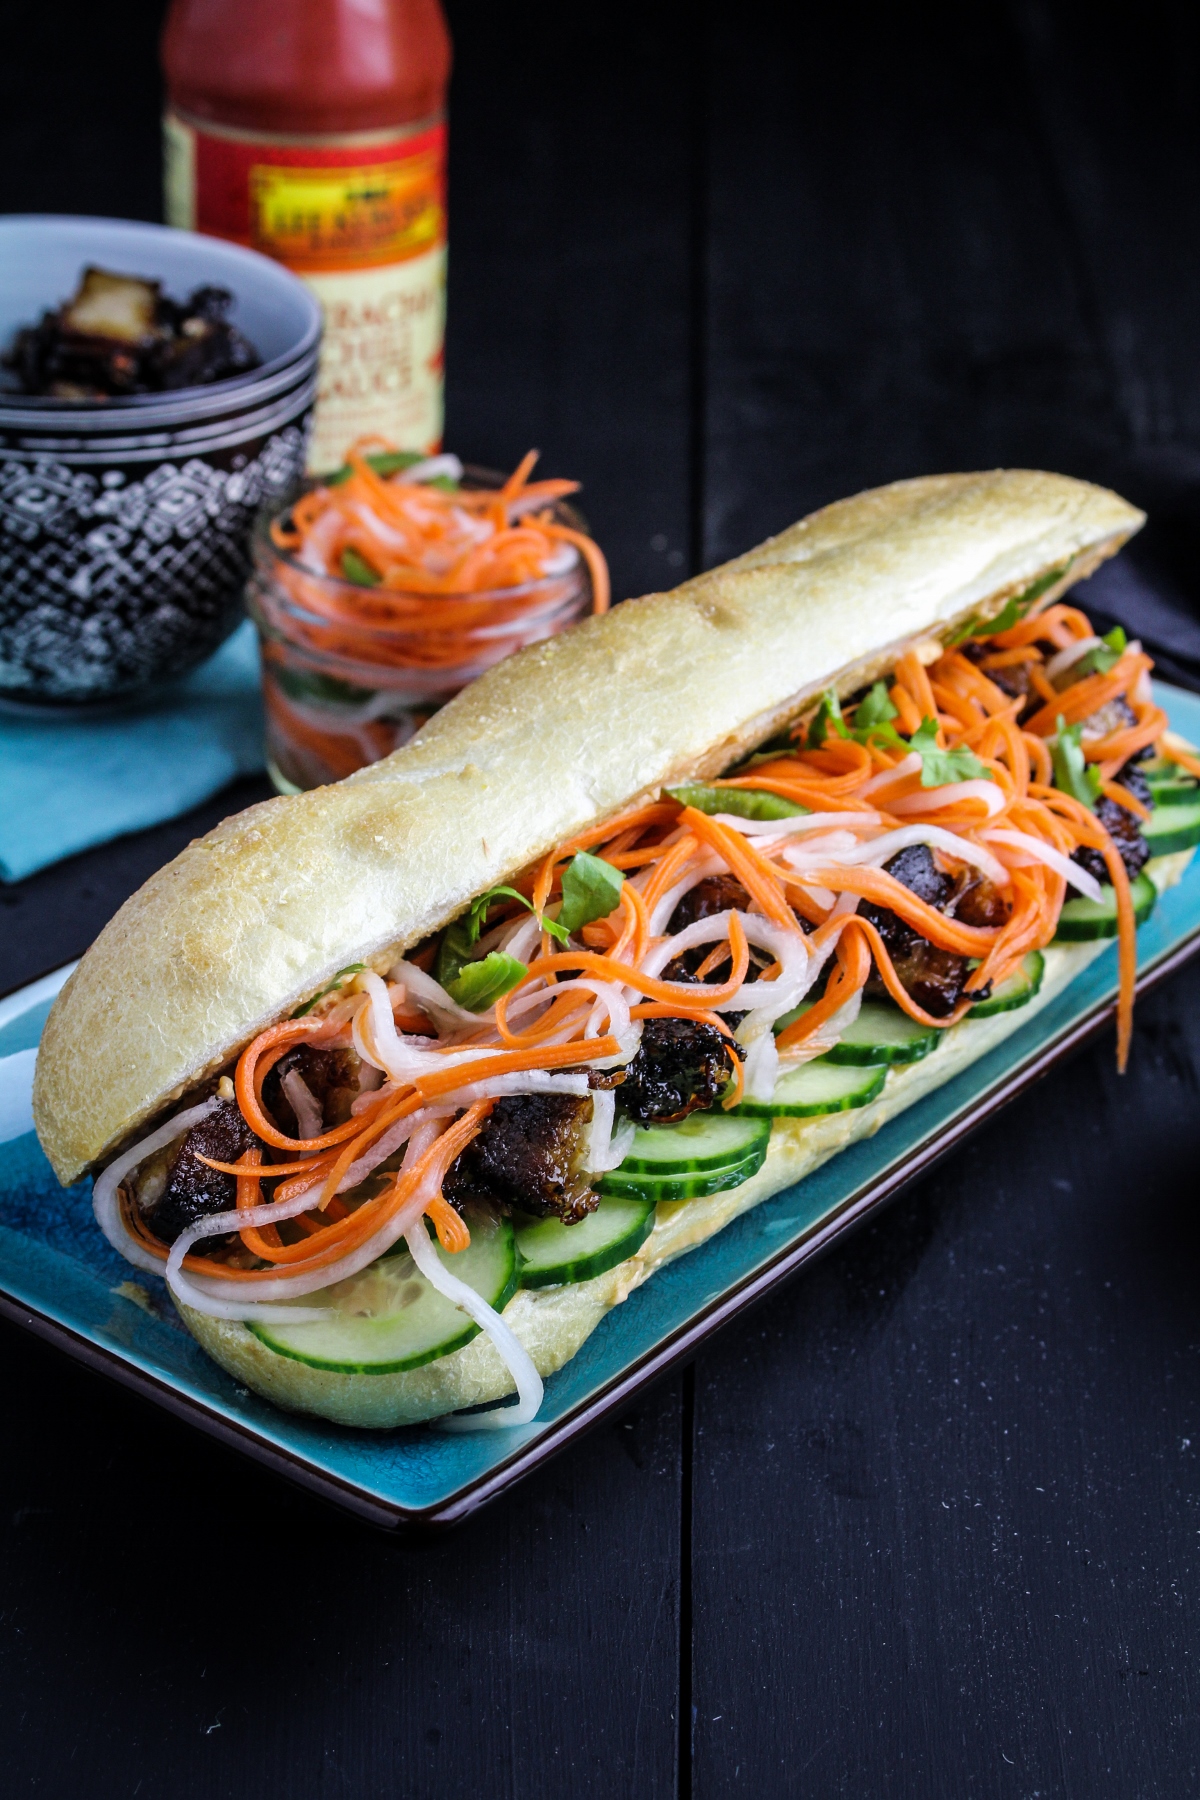
- Red Wine Caramelized Pork Belly
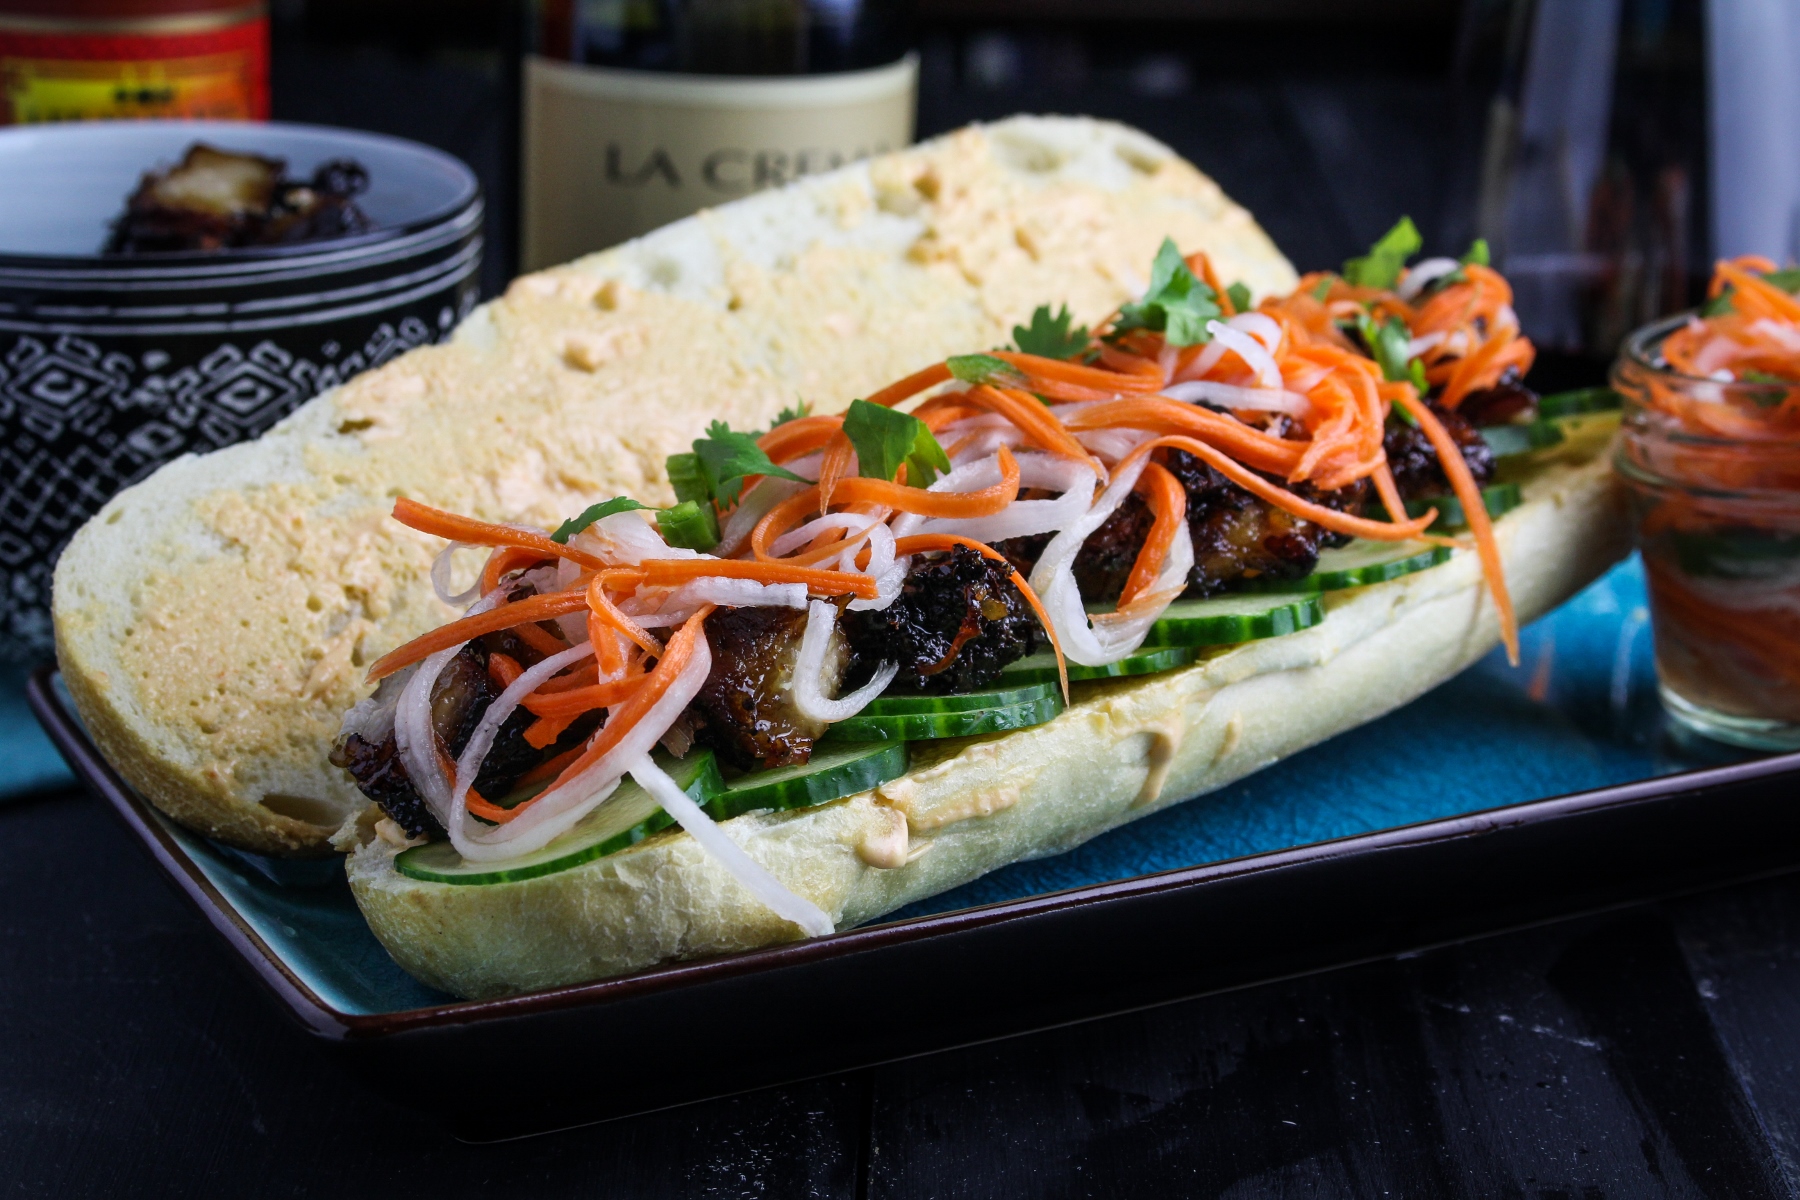
- Pork Belly Banh Mi Sandwiches
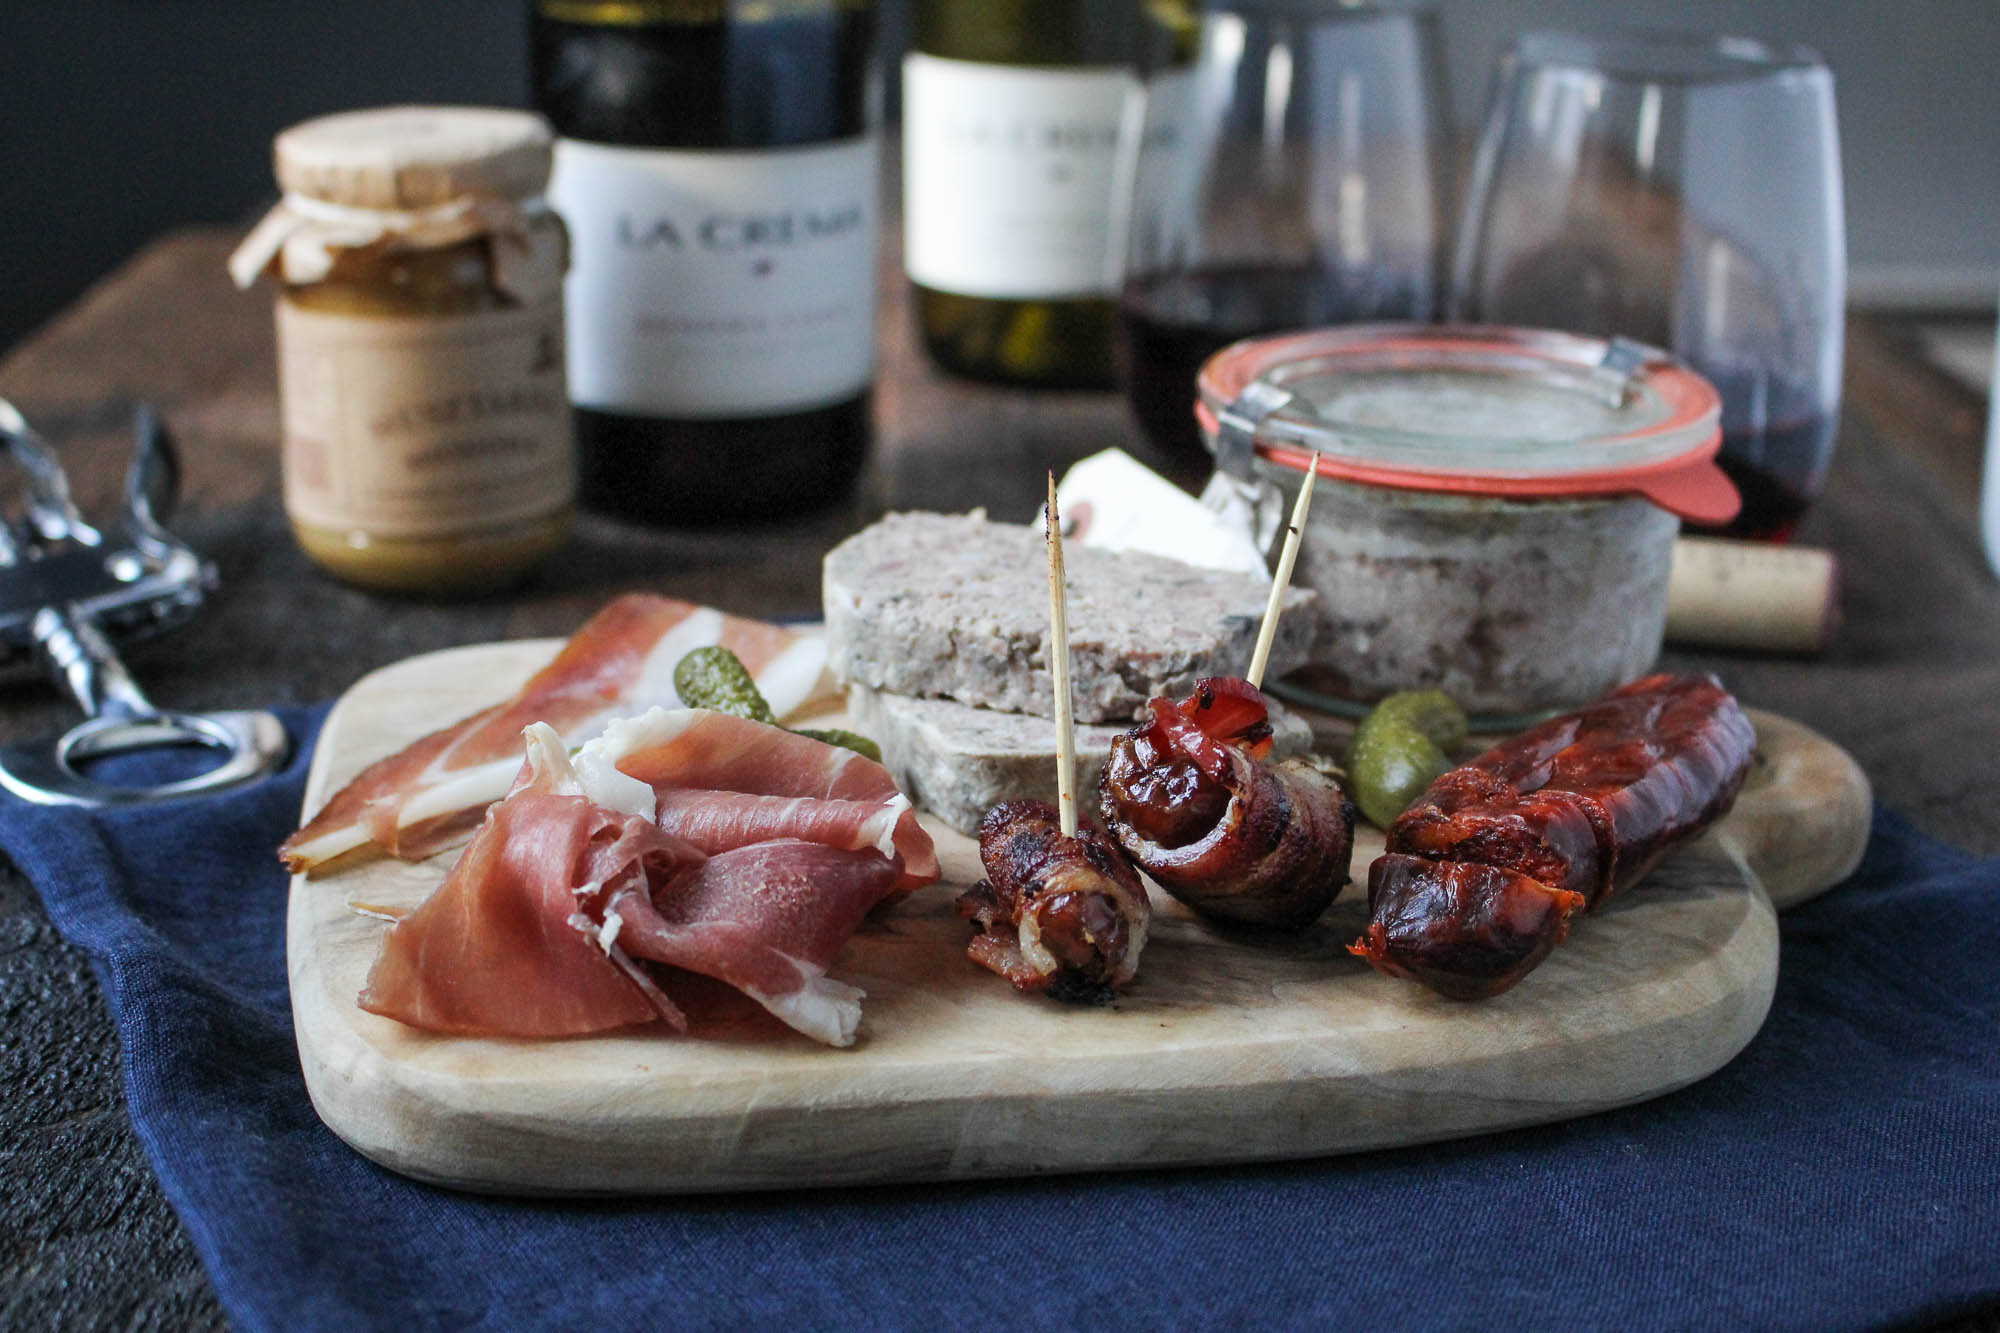
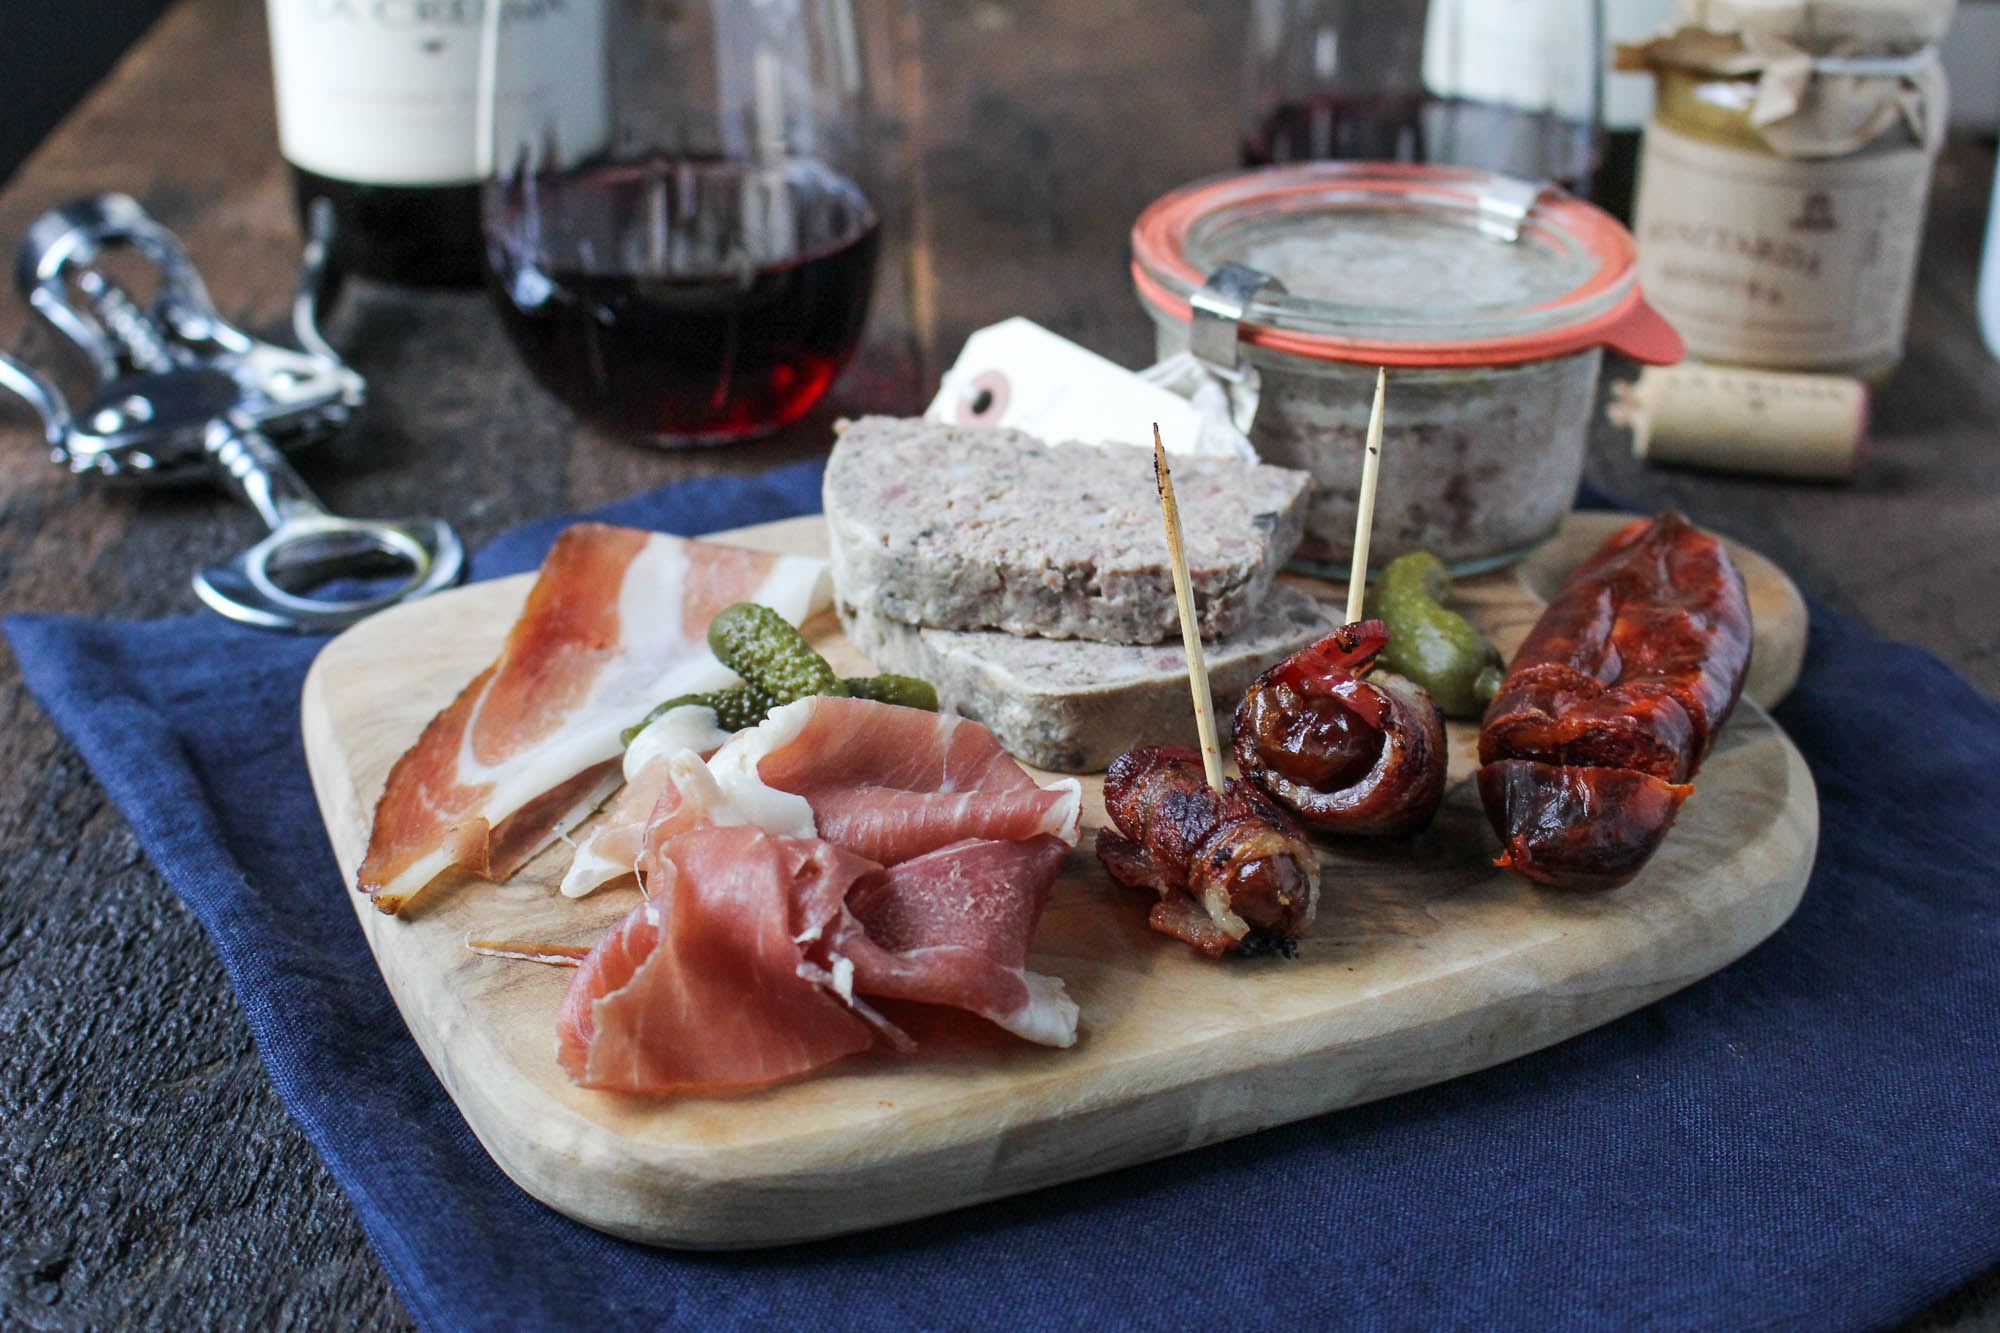
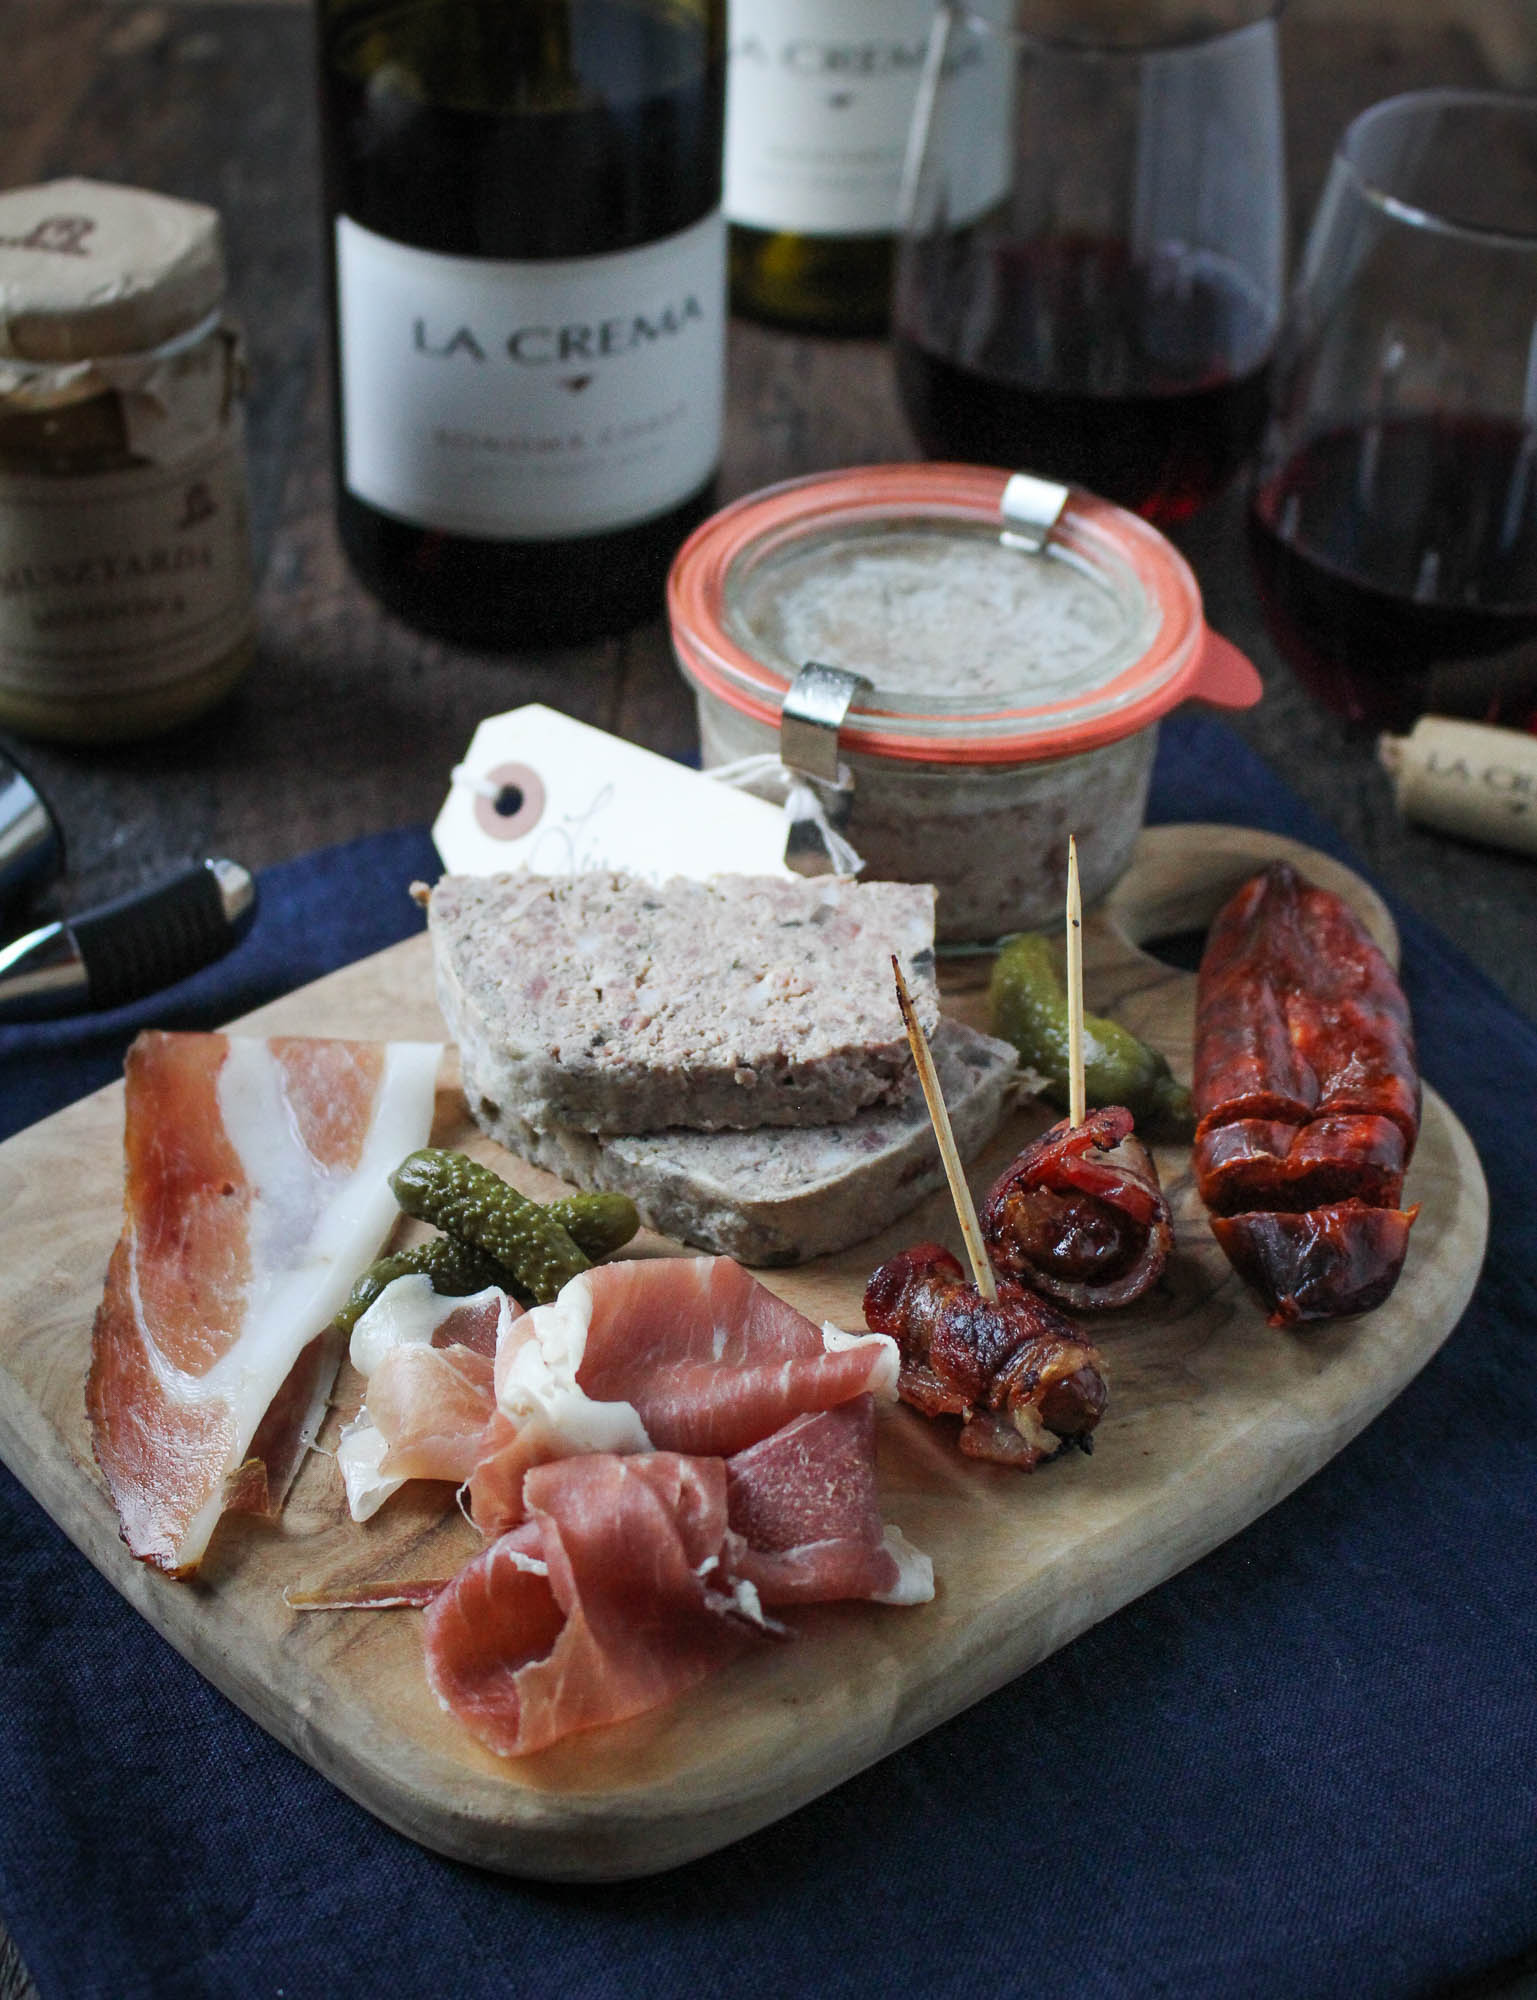
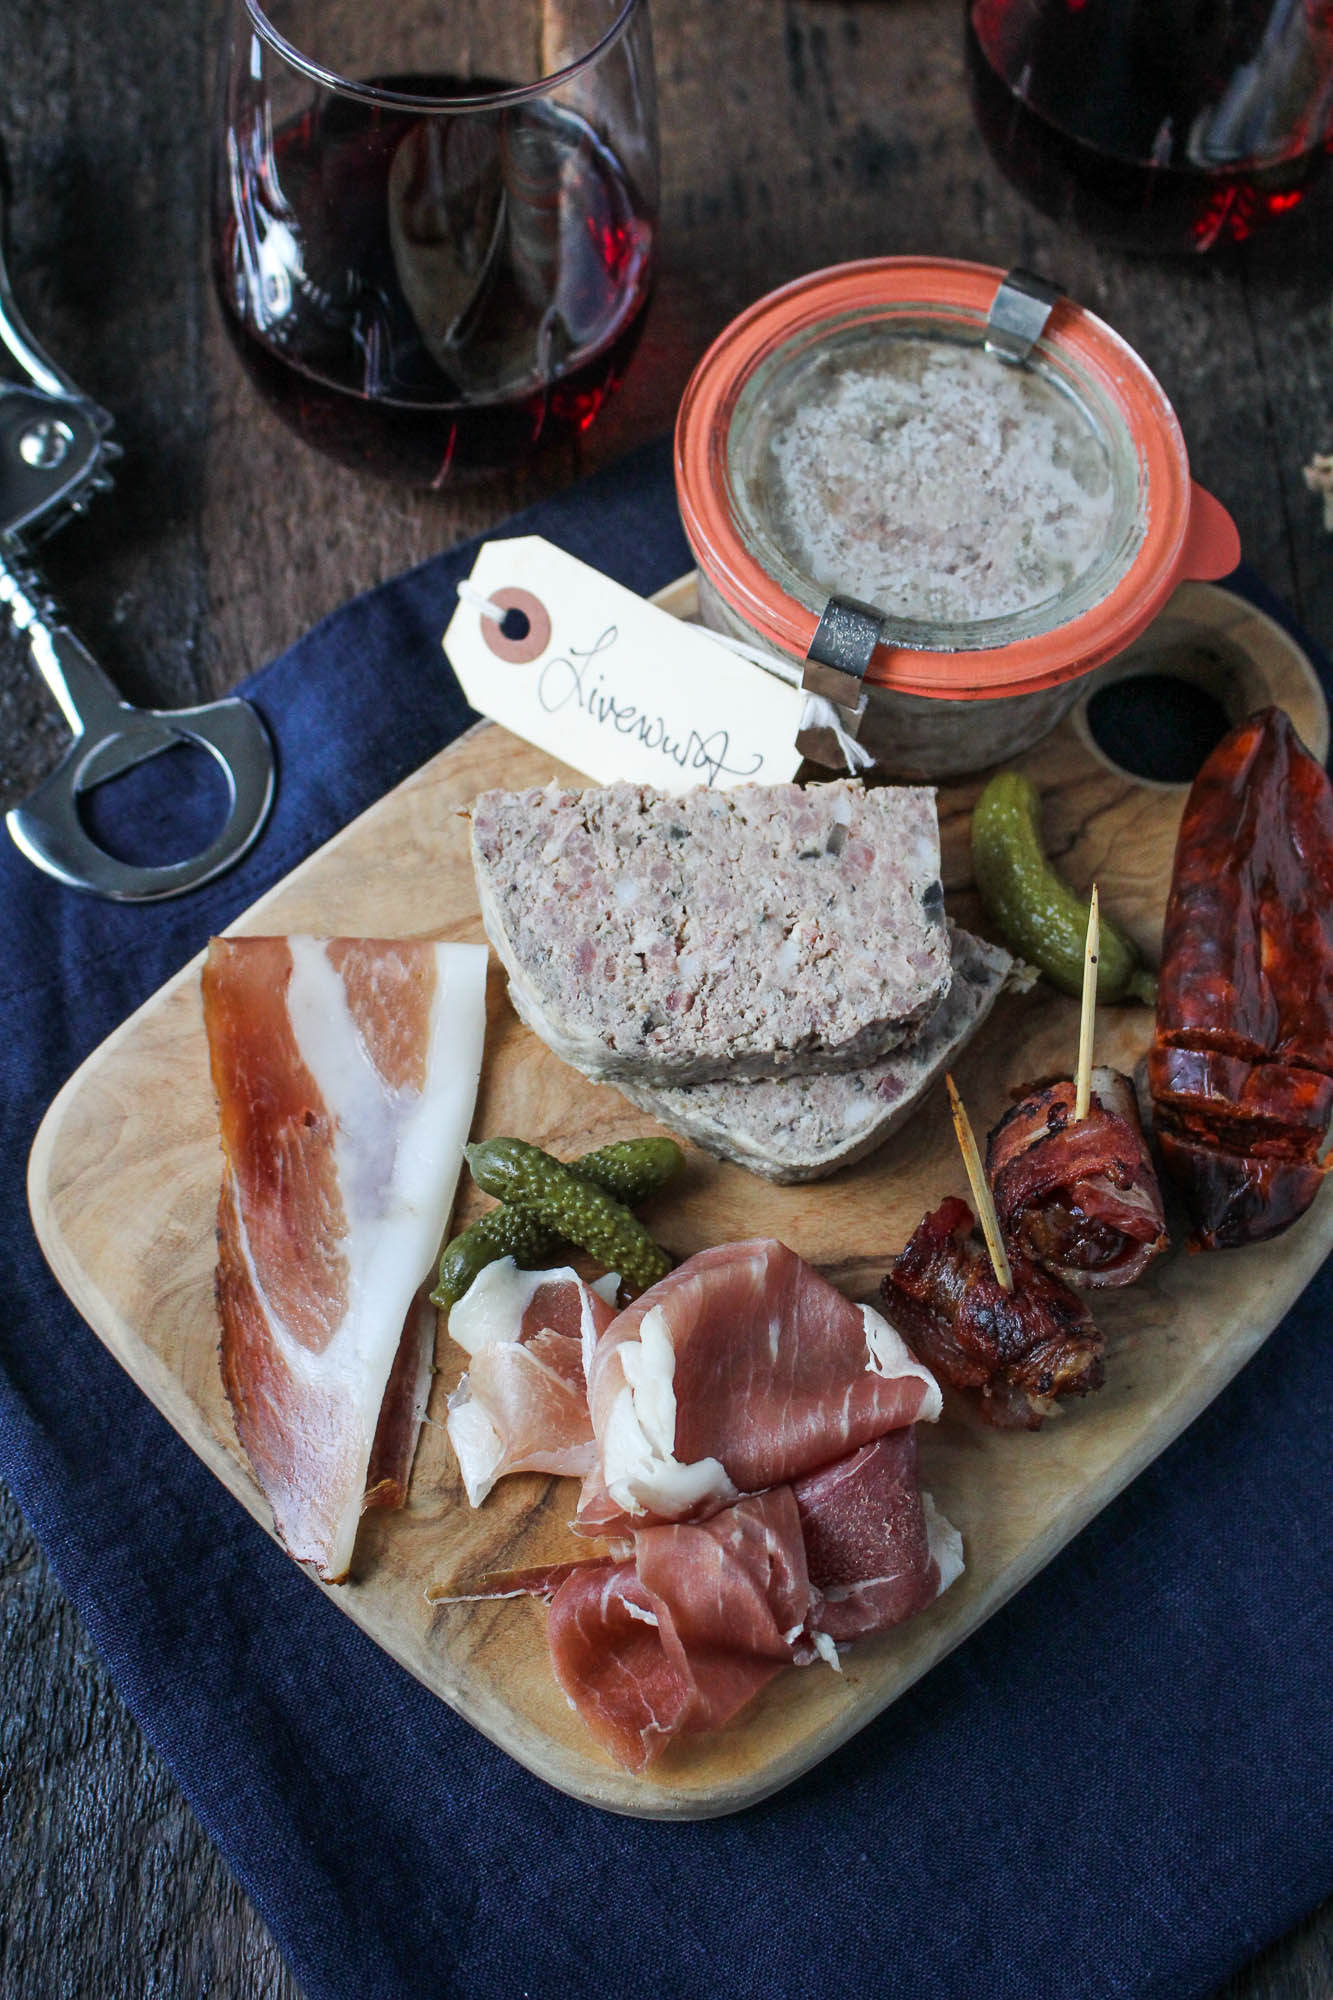
- The Perfect Charcuterie Board
Like what you just read? Subscribe to Katie at the Kitchen Door on Feedly or Bloglovin‘, or follow along on Facebook, Twitter, Pinterest, Instagram, or Google+. Thanks for reading!
This is a sponsored conversation written by me on behalf of La Crema. The opinions and text are all mine.