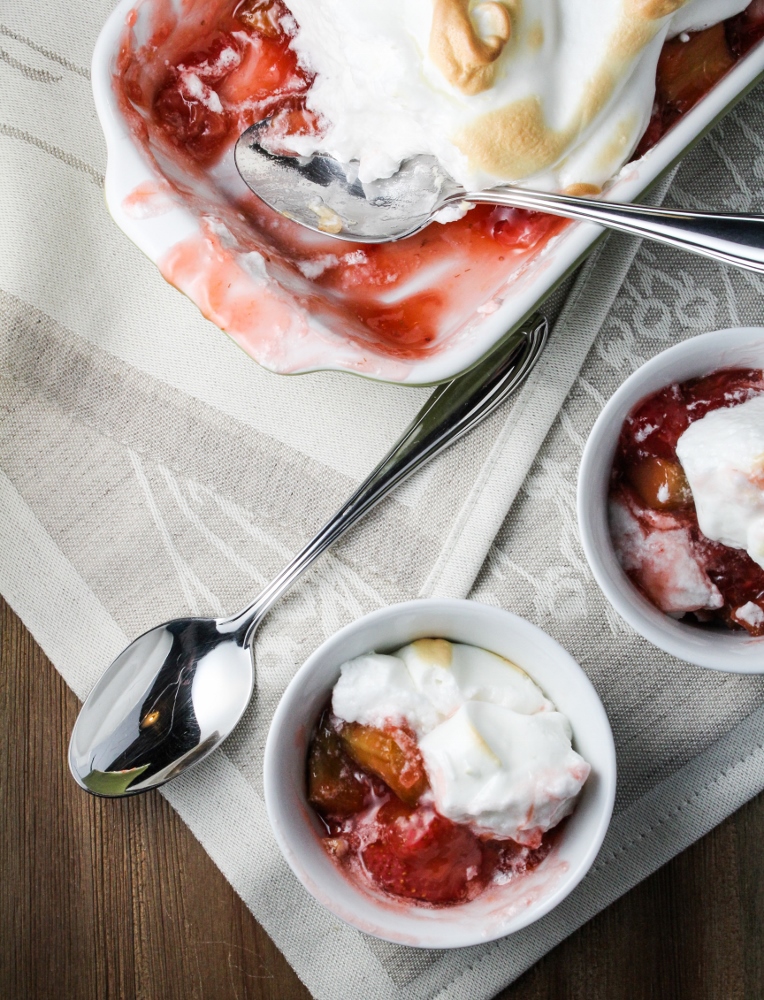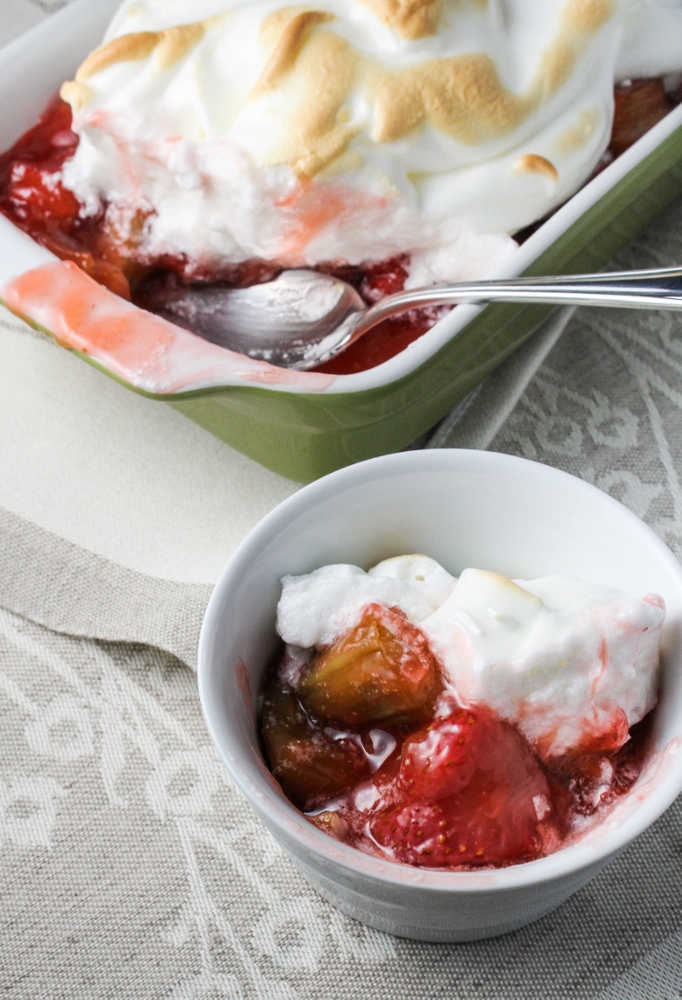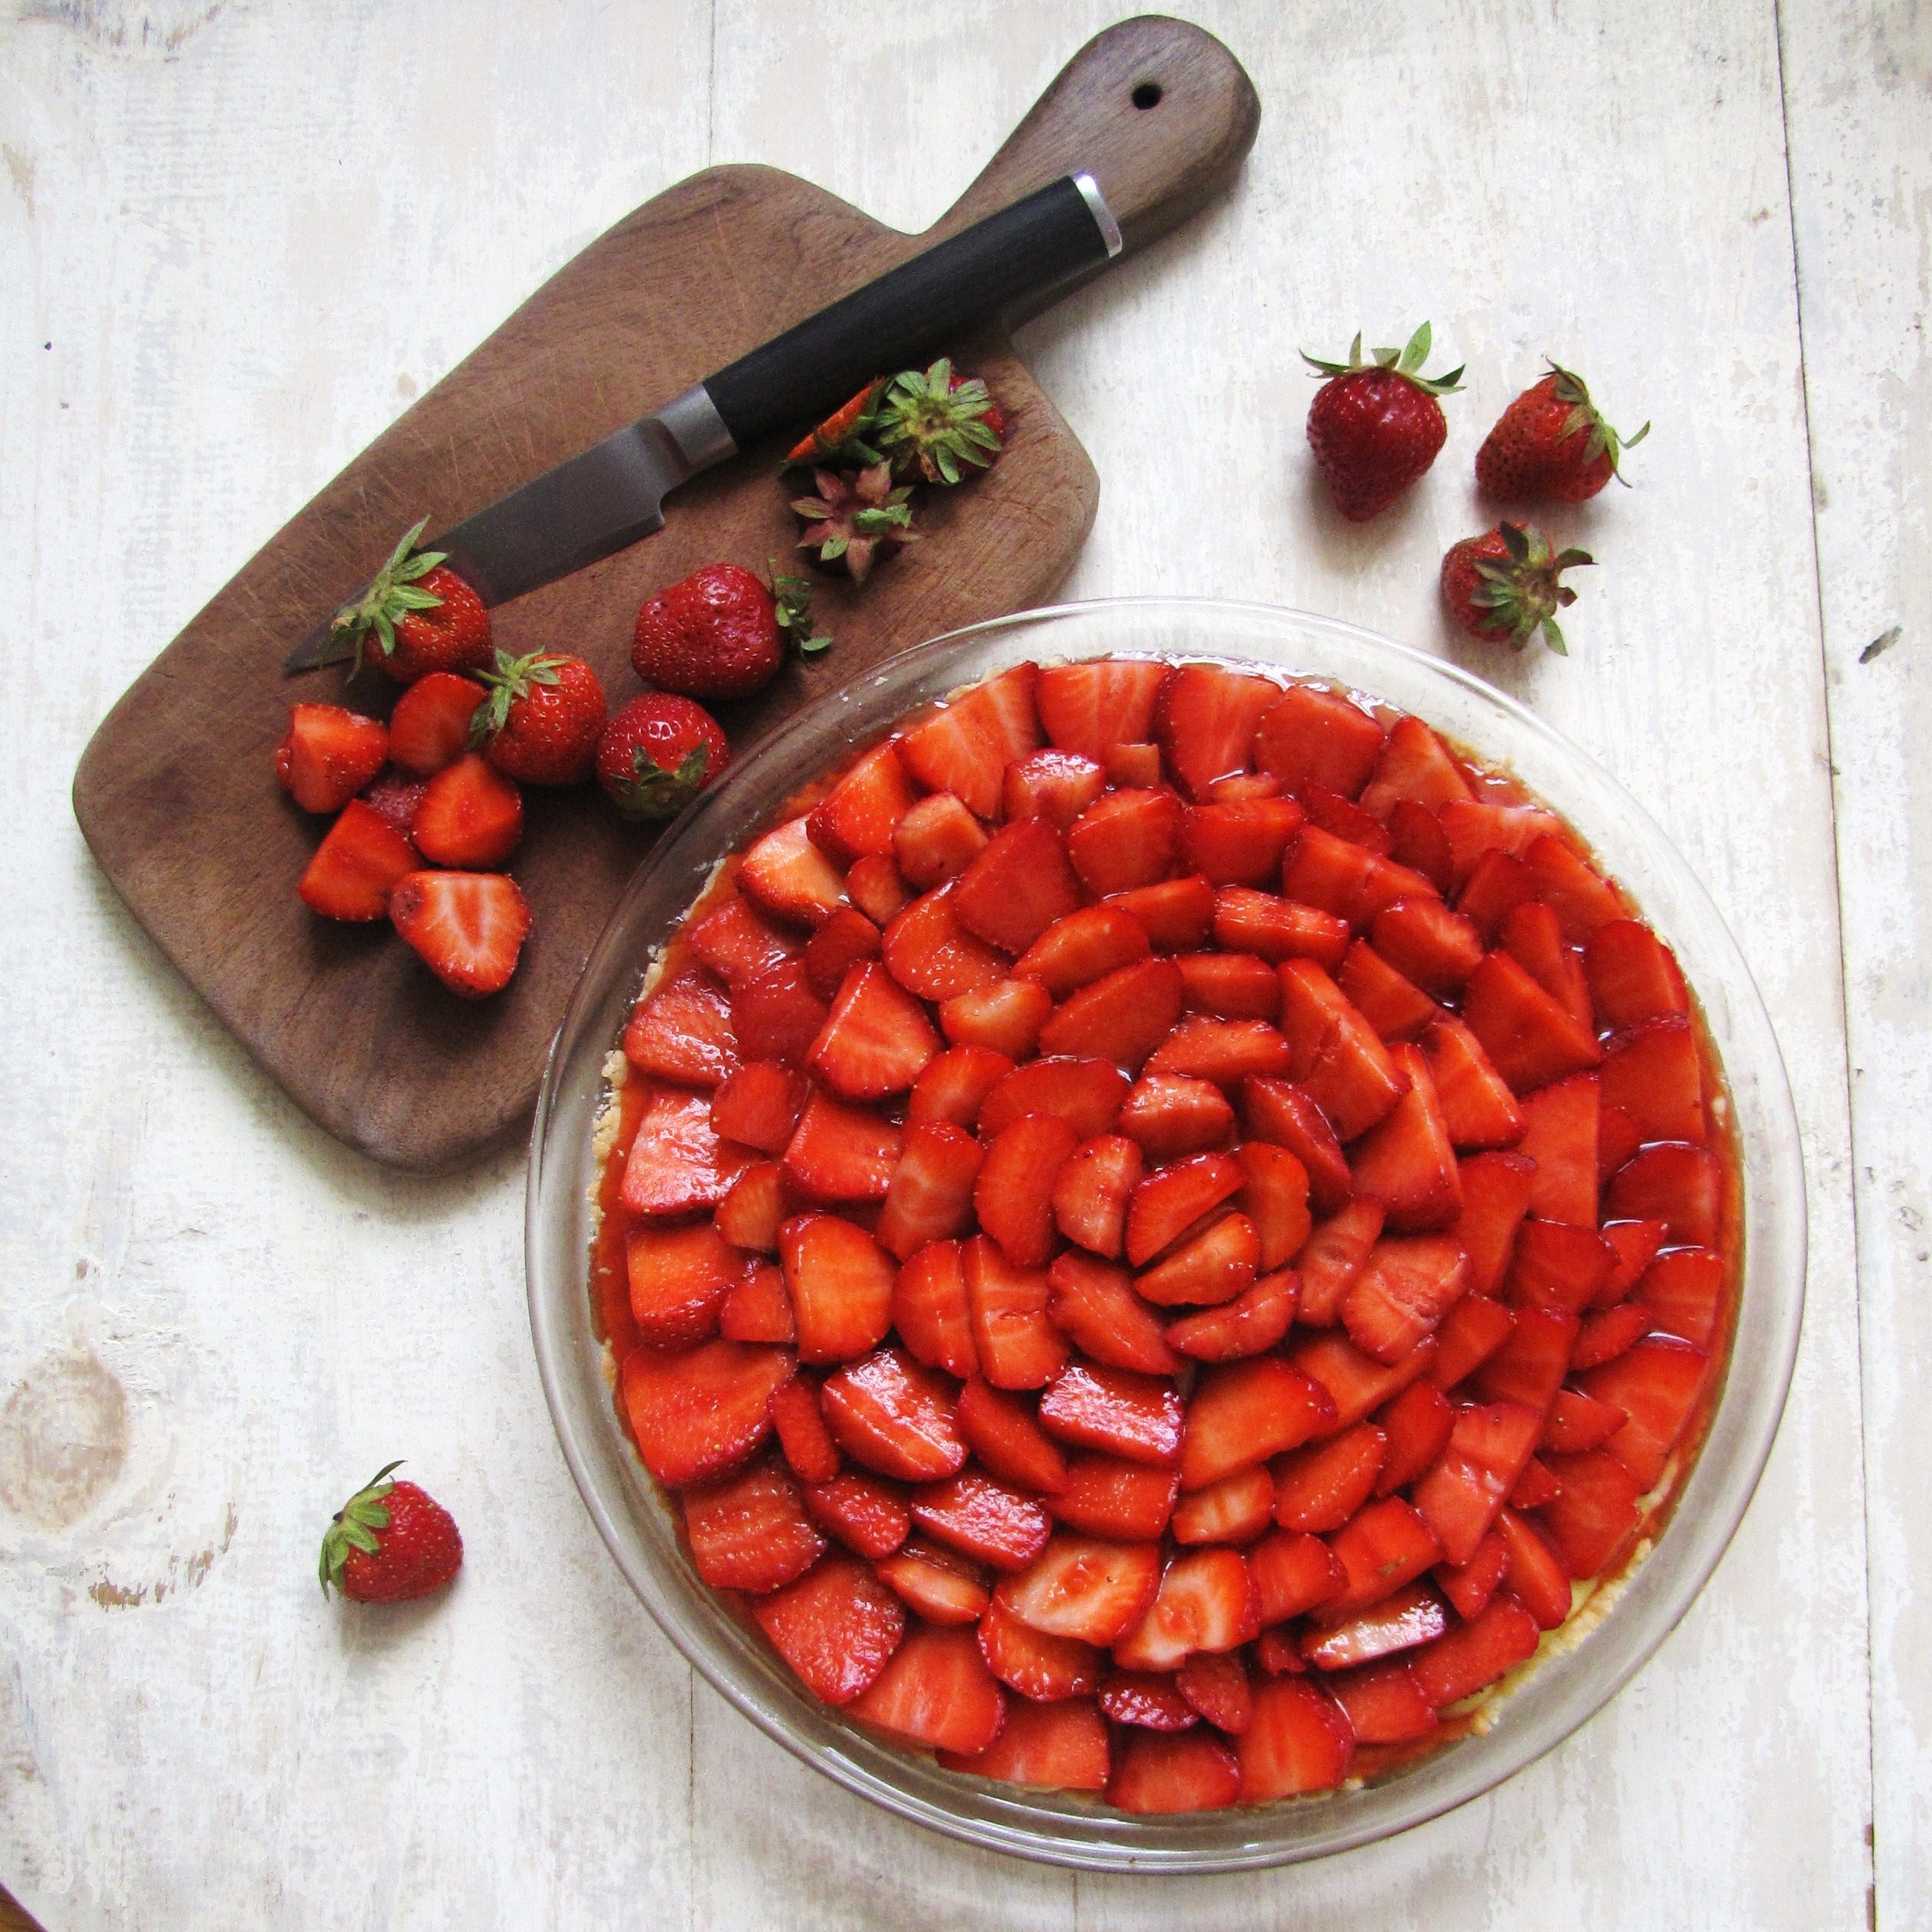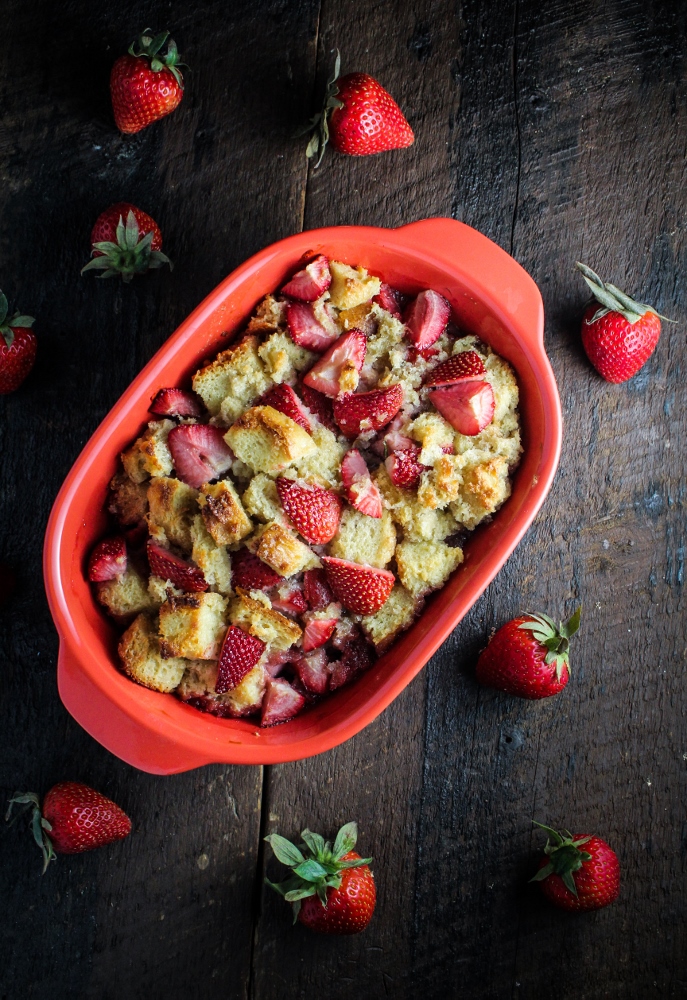
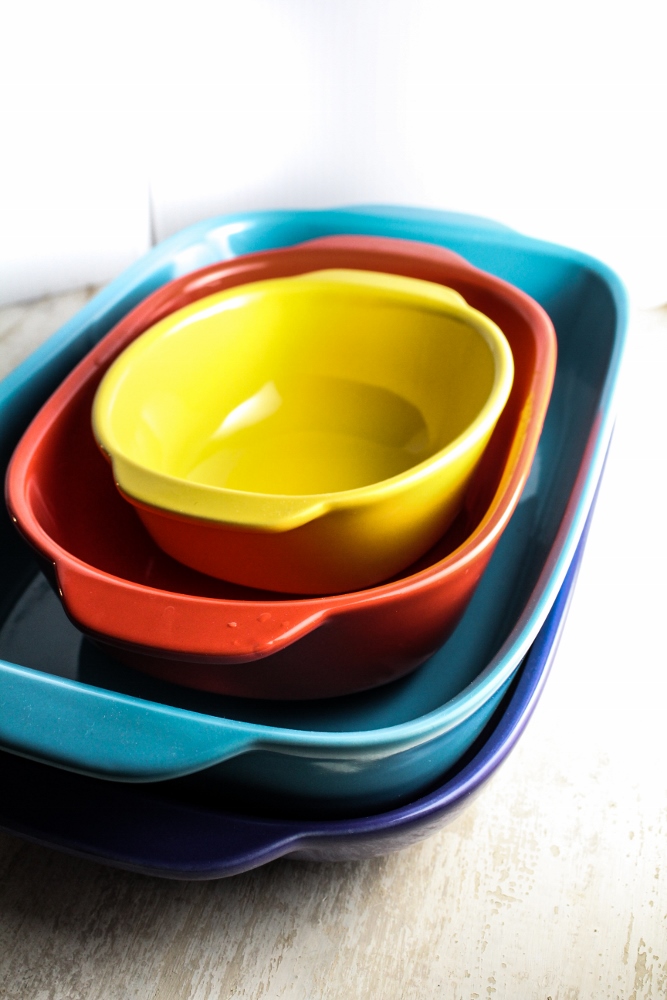
A few weeks back, Corningware reached out to see if I’d be interested in checking out their new line of bakeware, CWColor, and creating a recipe inspired by the fun new pieces in the line. Intrigued, and always on the lookout for dishes that can add a pop of color to my photographs, I agreed. I received four casserole dishes that nest neatly together: a small yellow dish, a medium-sized red dish, and two larger blue dishes (you can actually see the blue dish in my recent Maftool post, if you’d like). I really do like the colors – they strike just the right balance between brights and pastels, adding a fun, modern splash of brightness to my kitchen. I’ve been craving a good homemade dessert recently, so I knew that I wanted to use the dishes to bake something sweet, but still colorful and spring-like. Strawberries were the obvious choice, but I just made strawberry-rhubarb meringue pie a few weeks ago, so it needed to be more creative than that. Brainstorming with Trevor, he brought up the blueberry and white chocolate bread pudding I made last summer, and the idea quickly planted itself in my head and grew into this amazing strawberry-bourbon bread pudding with white chocolate sauce.
This recipe is one that gives a whole lot more than it takes. It’s quick to assemble – a few minutes to chop up the bread and the strawberries, a minute to whisk together cream, eggs and vanilla, a minute to measure out the sugar and bourbon and pour them over the strawberries, and two minutes while the pudding is in the oven to melt a little white chocolate for the sauce. All simple steps, but when you open the oven and pull out that bread pudding, redolent of bourbon and vanilla and roasted strawberries, and drizzle the warm white chocolate sauce over the top, even you will find it hard to believe how easy it was to make such an intoxicating dessert. Yes, it’s full of vices – booze and gluten and dairy and sugar – but it’s good to eat something sinful every once in a while.
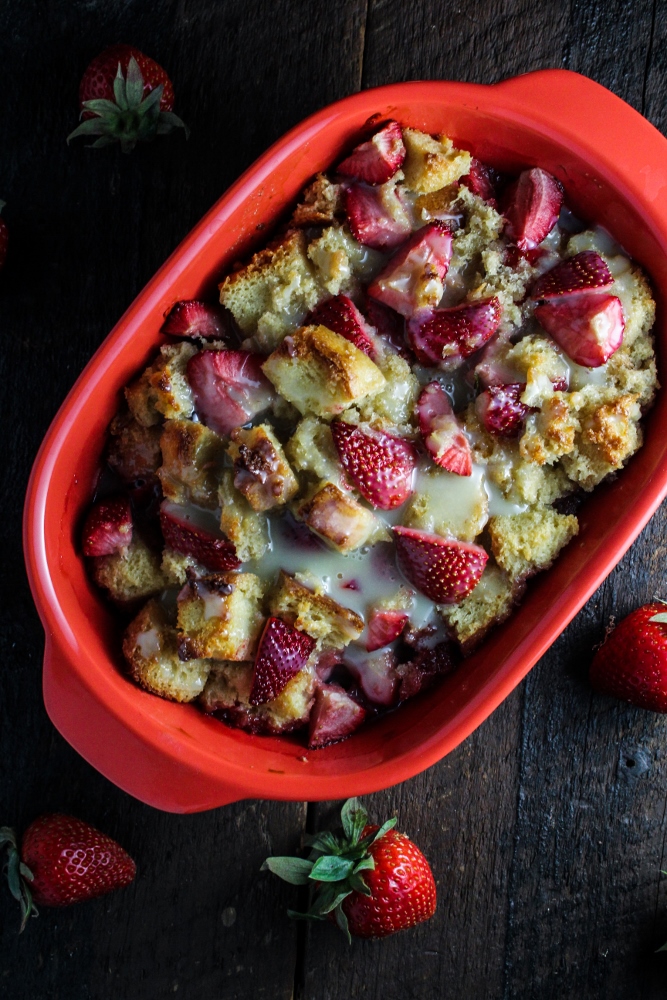
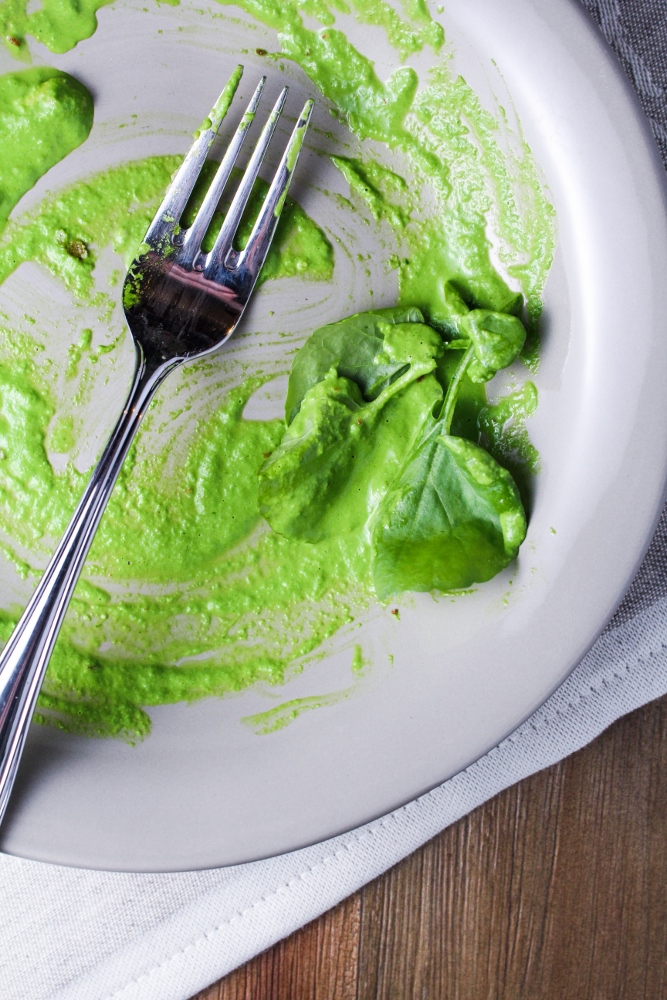
Sometimes when I’m blogging late at night, which, let’s be honest, is most of the time that I’m blogging, I find myself standing in the kitchen bent over the island, with the only light in the room my photo lightbox, brightly illuminating whatever dish I’ve just finished photographing. My camera is put down on the counter, and I stand there, fork in hand, finally testing the finished product. I usually only take a few bites before kicking back into gear for clean-up, but sometimes, when I’m really tired, and whatever I’ve made is really good, and the light is directing all my remaining focus and energy into the little space between me and the food, I stand for what seems like forever, slowly taking bite after bite, pondering just how much I really enjoy food. Truly. It’s such a pleasure. This bread pudding was one of those dishes, a dish to savor. Who knew bakeware could create such inspiration?
Giveaway now closed! Congrats to Danielle Taj on winning!
Giveaway details: Corningware has offered to send one Katie at the Kitchen Door reader a casserole set of their new CWColor products. To enter, leave a comment below letting me know what spring baking you have planned this month. By entering, you are agreeing to the official rules as listed here:
No purchase necessaryVoid where prohibitedOne entry per household, and only entries answering the question above will be considered!The sponsor of this giveaway is Corningware
The estimated retail value of the Corningware bakeware is $50The odds of winning will depend on the number of entries receivedThis contest is only open to U.S. Citizens over the age of 18The contest will open today, April 10th, 2014 at posting time, and will close at 11PM EST on Thursday, April 17th, 2014One winner will be selected randomly and contacted via email (so please leave an accurate email address!). If I do not hear from the winner within 48 hours, the winner forfeits their prize and an alternate winner will be chosen.I will post the winner here by Friday, April 25th
Disclosure: I received product and compensation for recipe ingredients from Corningware in exchange for writing this post. I was not otherwise compensated and all thoughts and opinions are honest and my own.

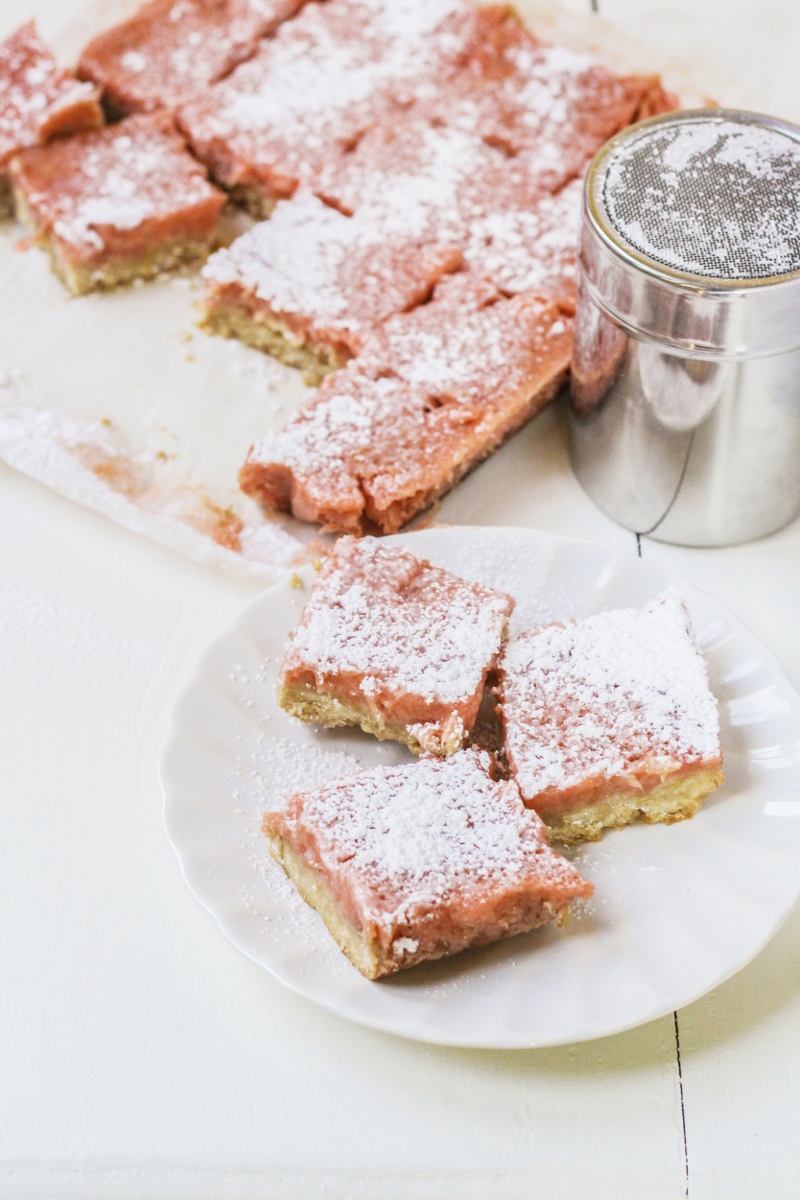
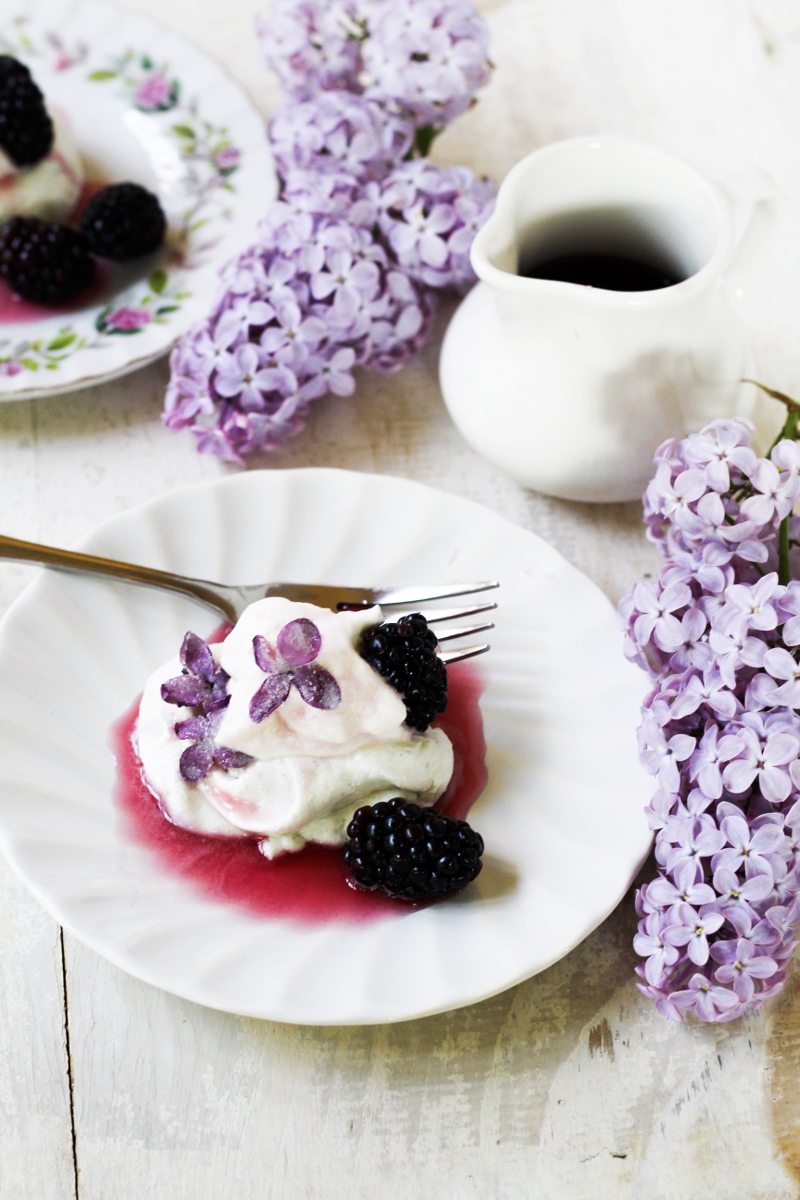
Strawberry-Bourbon Bread Pudding with White Chocolate Sauce
Inspired by Taste of Home. Serves 4-6.
- 3/4 c. heavy cream, divided
- 1/2 tsp vanilla
- 1/2 tsp salt
- 2 eggs
- 4 c. 1-inch bread cubes, from a soft homemade loaf such as pullman or challah, about 1/2 lb. in total
- 2 c. quartered fresh strawberries
- 1/2 c. sugar
- 1/4 c. bourbon
- butter for greasing the pan
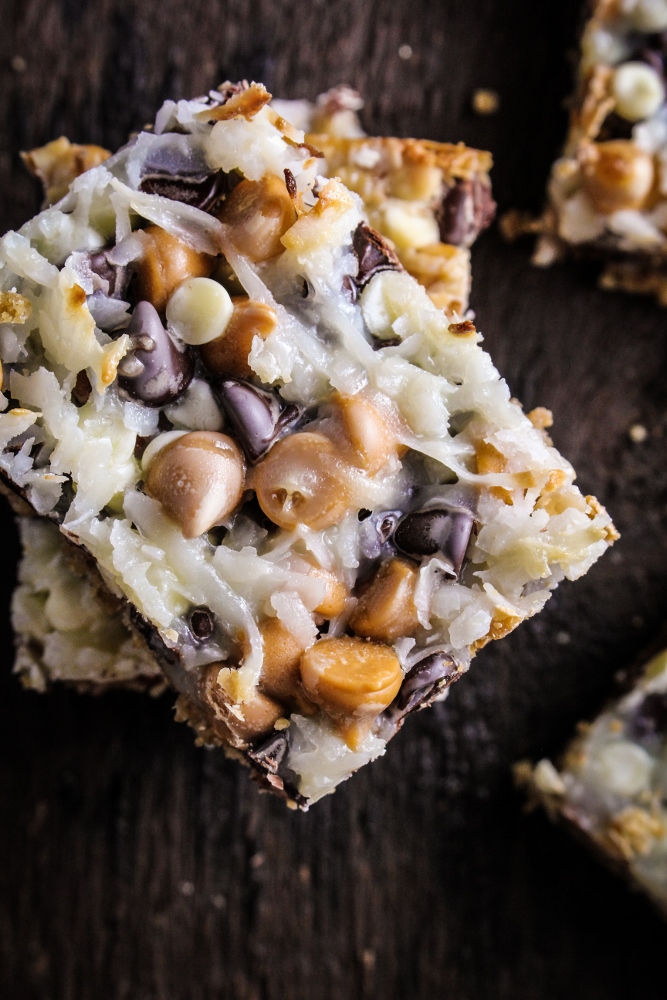
- 1/2 c. white chocolate chips
- Preheat the oven to 350°F. Whisk 1/2 cup of the heavy cream, the vanilla, the salt, and the eggs together in a large bowl until fully combined. Add the bread cubes and toss with the cream mixture until the bread is fully coated. Set aside and let sit for at least 15 and up to 45 minutes so that the bread soaks up the cream.
- Toss the quartered strawberries with the sugar and the bourbon until well mixed. Set aside and let sit for 15-30 minutes until the berries are very juicy. Combine the berry and bread mixtures in one bowl and stir to thoroughly mix.
- Grease a 1.5 qt baking dish with butter. Add the bread pudding mixture to the pan, and place in the preheated oven. Bake for 35 minutes, or until bread is golden brown, custard is semi-set, and juices are bubbling. Remove from oven and let cool slightly. Pudding can be served warm, at room temperature, or chilled.
- Just before serving, add the remaining 1/4 c. of heavy cream and the white chocolate chips to a small saucepan. Heat over low heat, stirring, just until the chocolate has melted. Remove from the heat immediately and pour the warm sauce over the bread pudding.