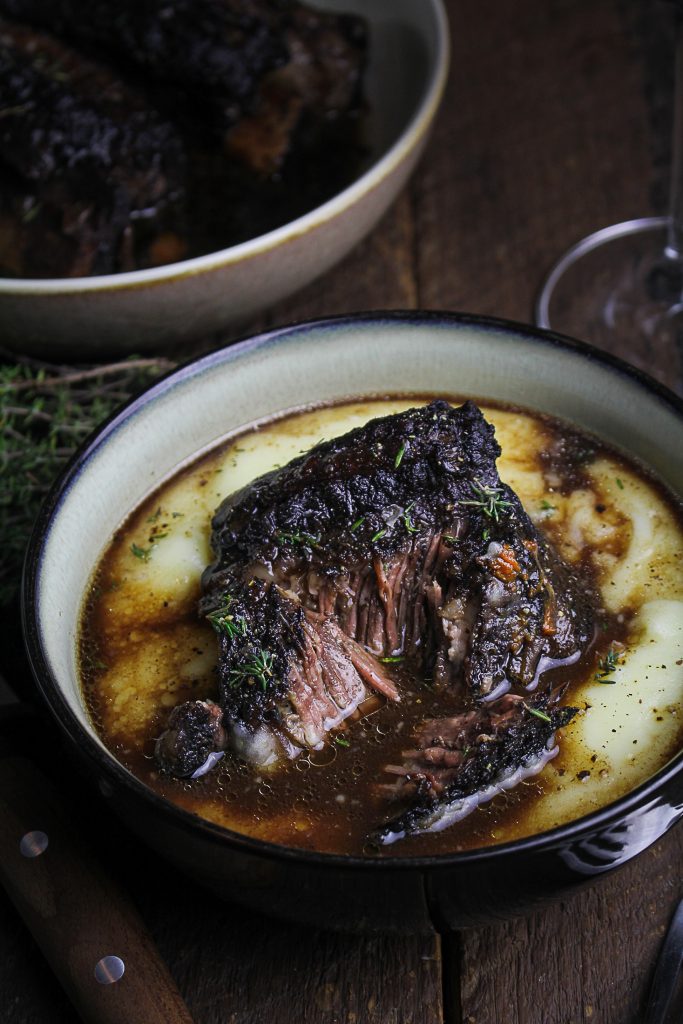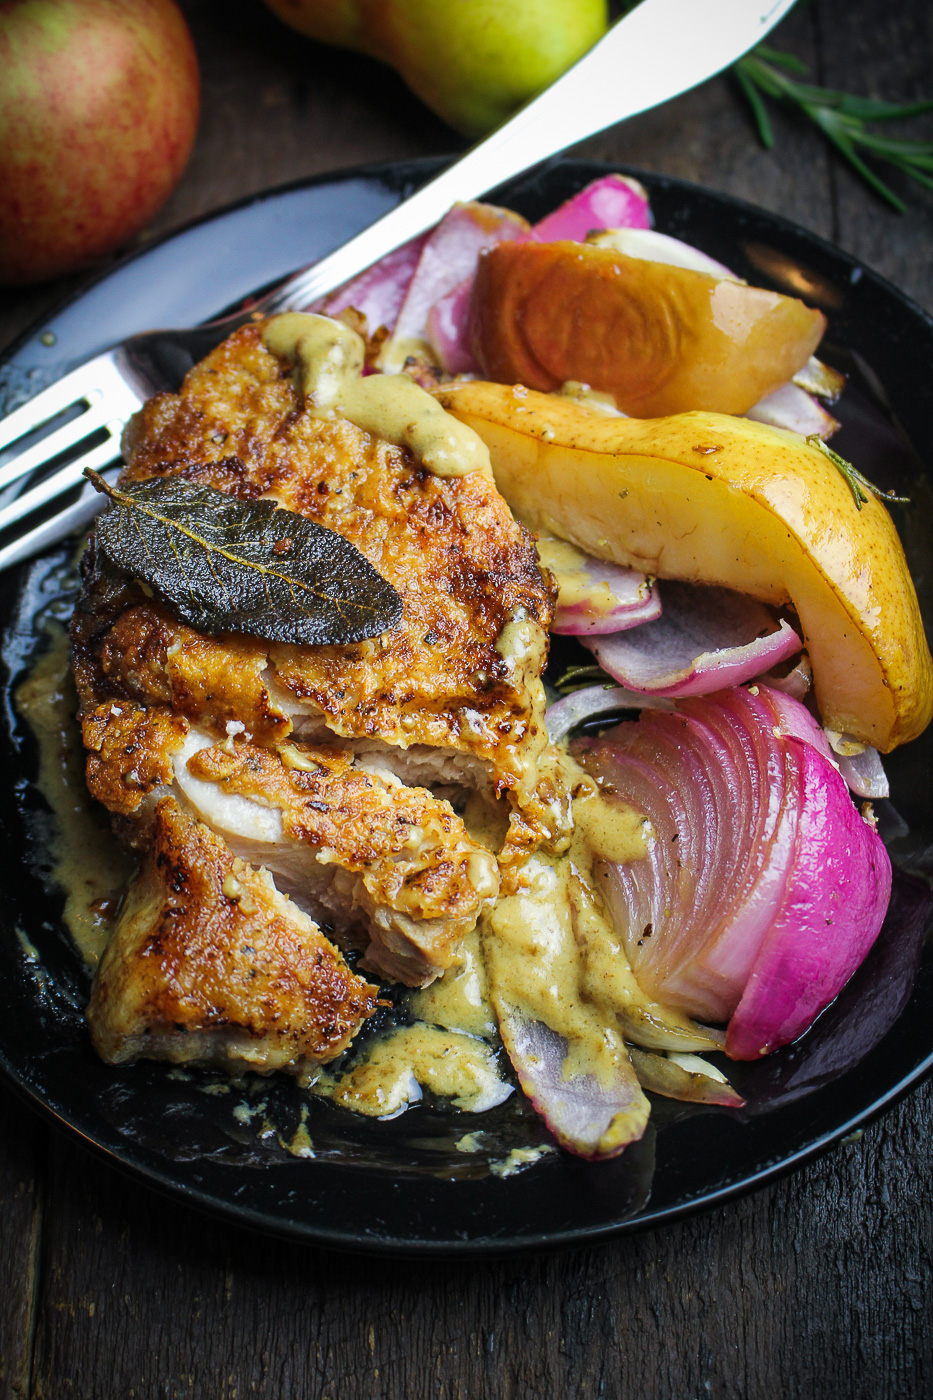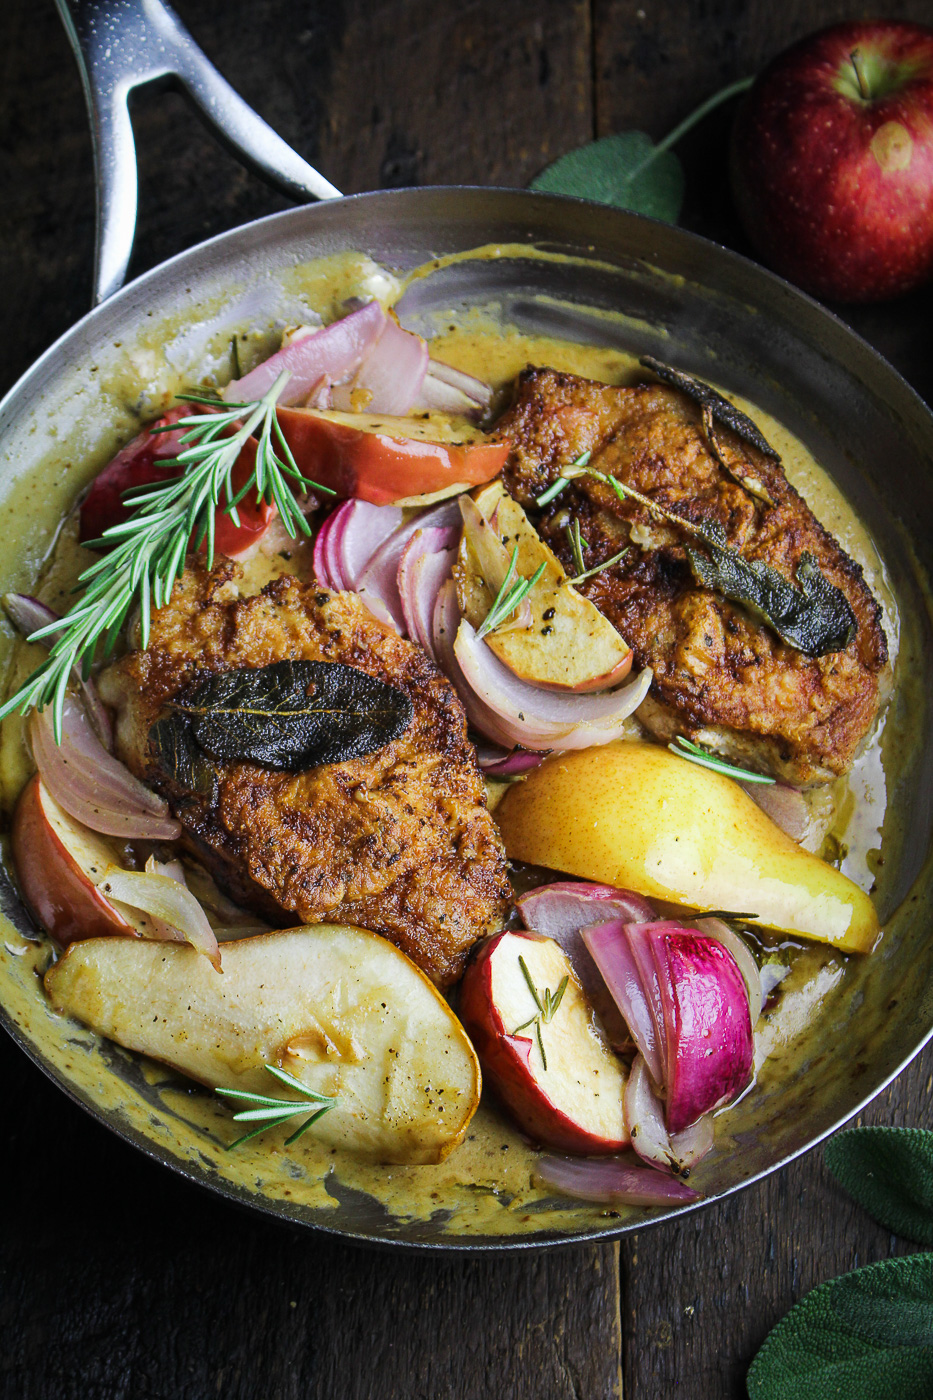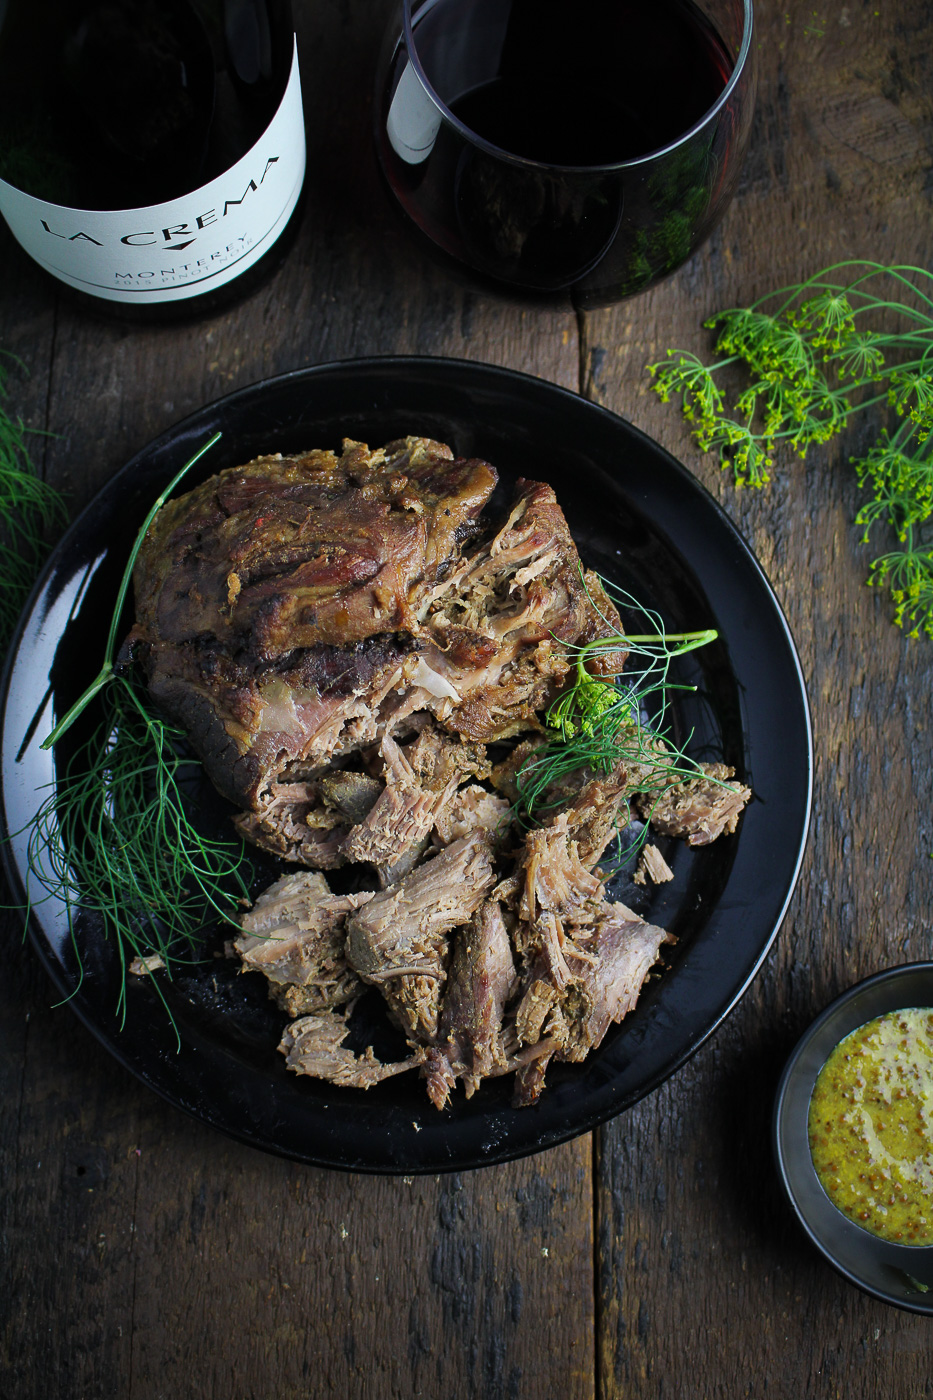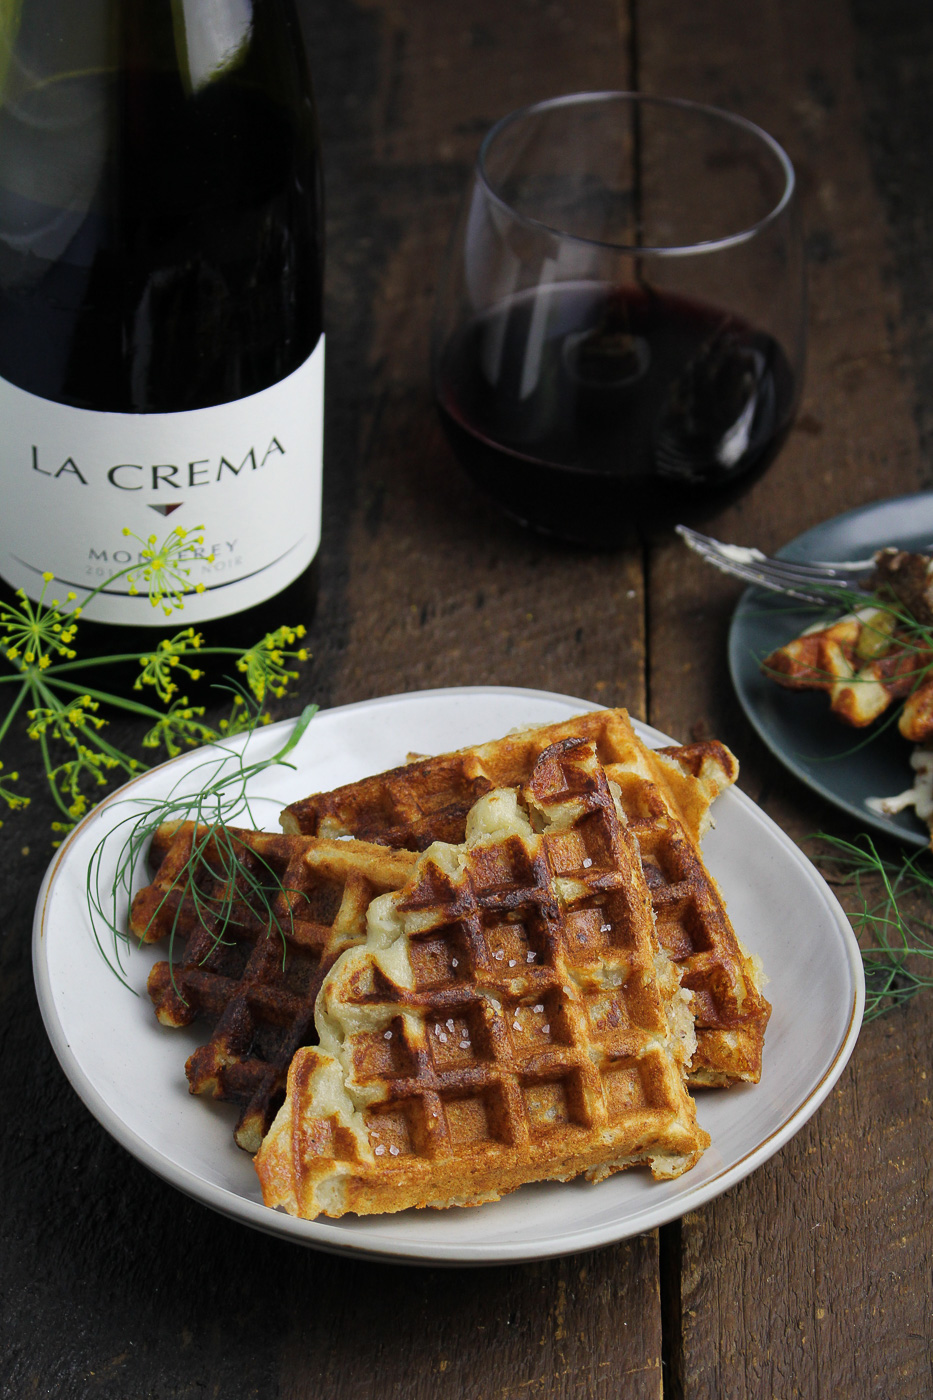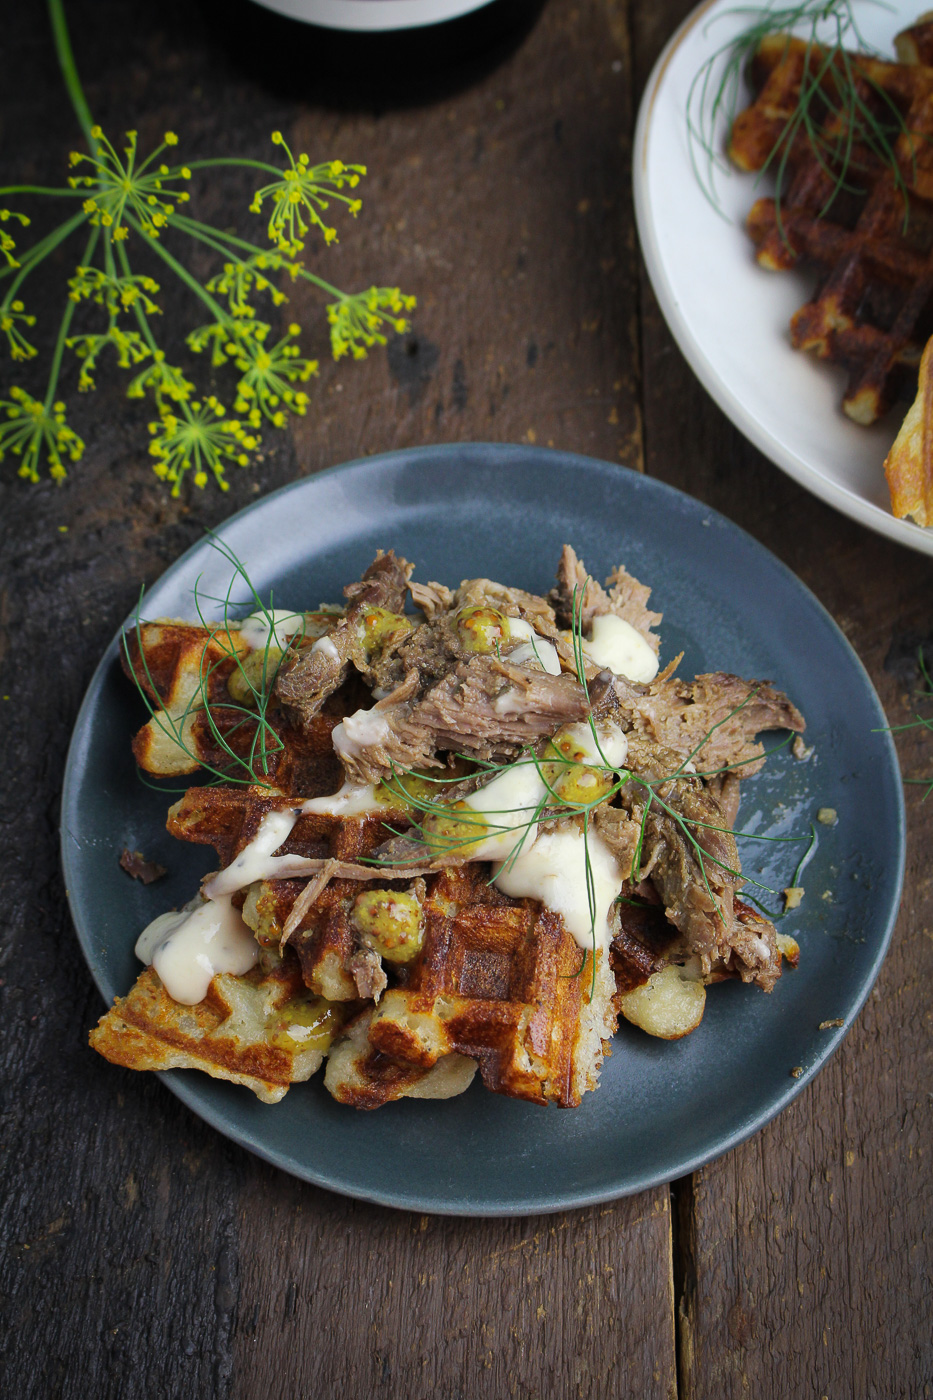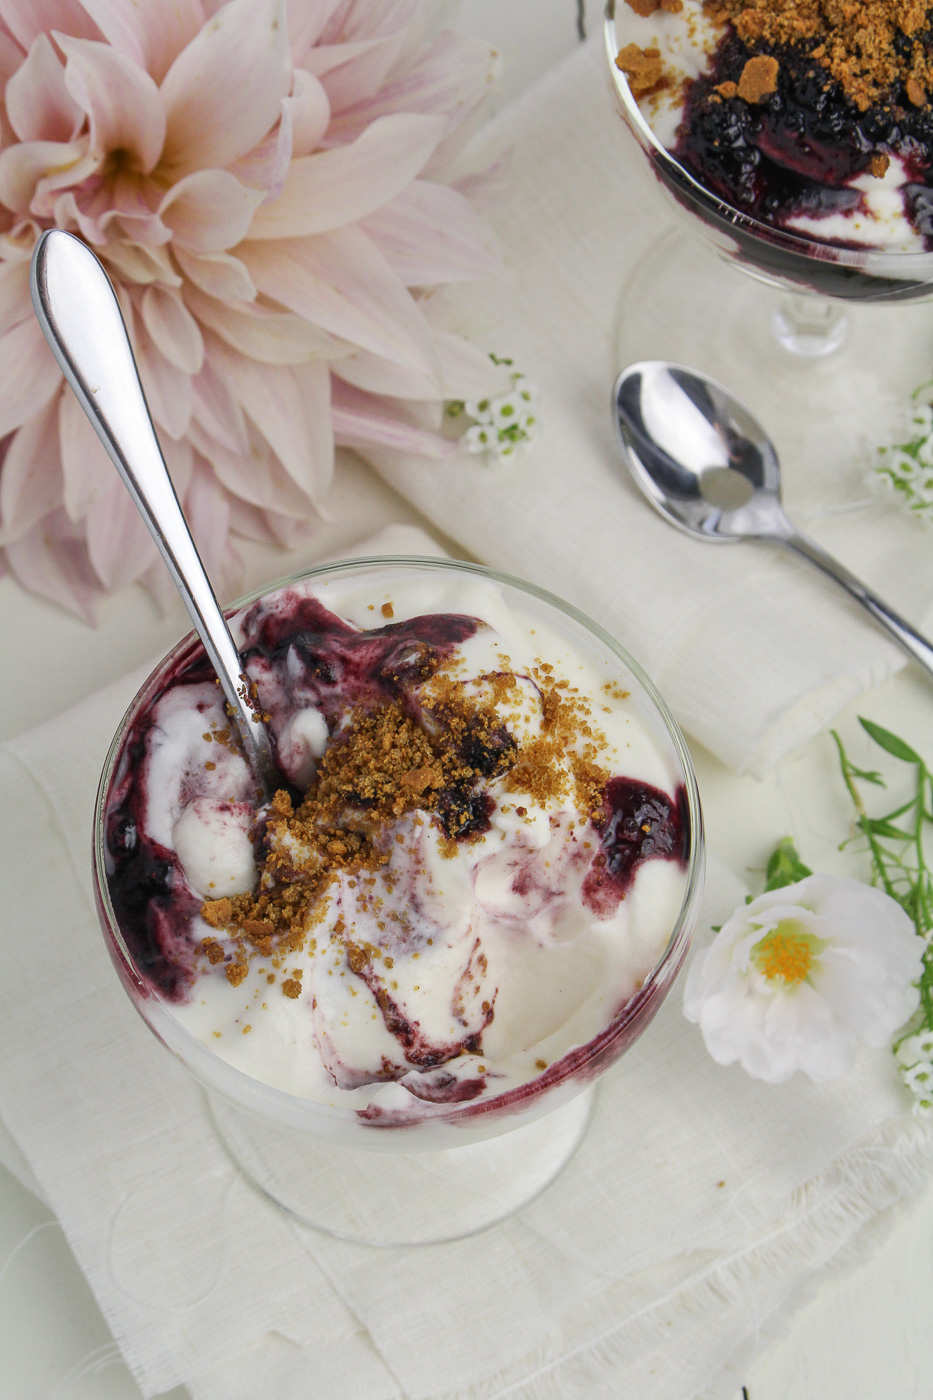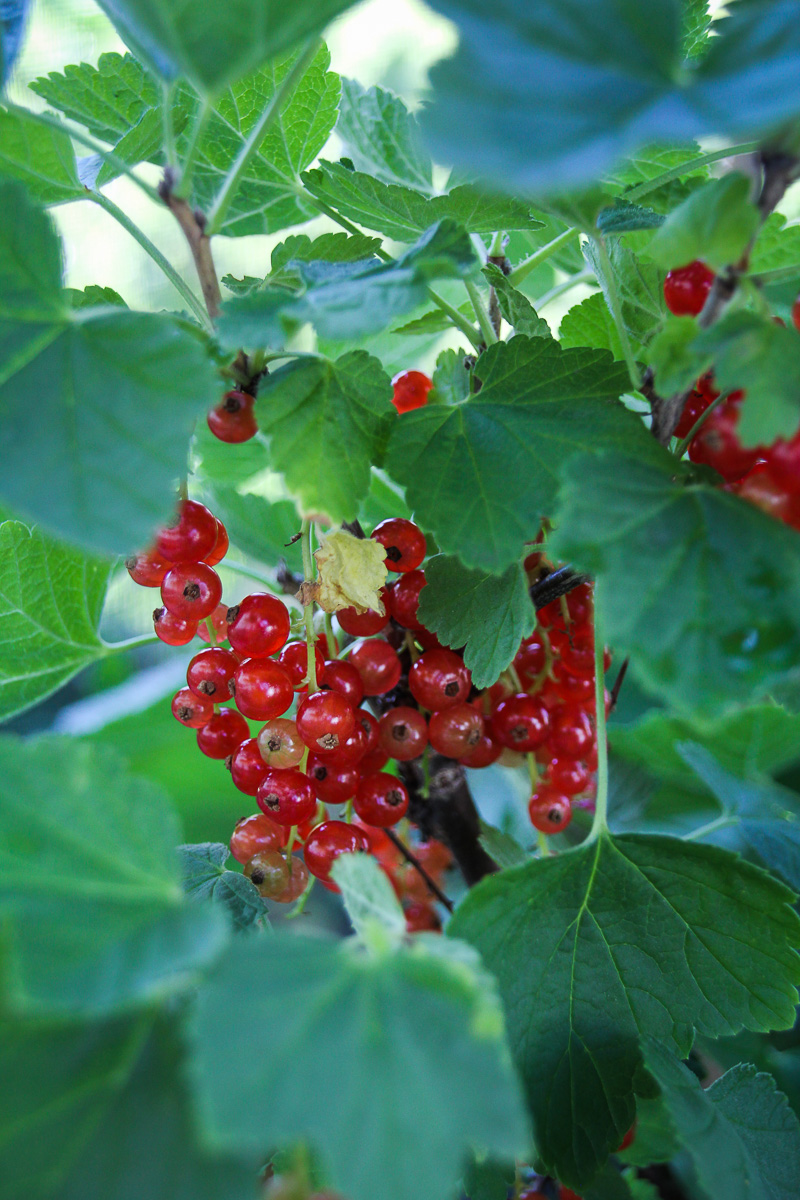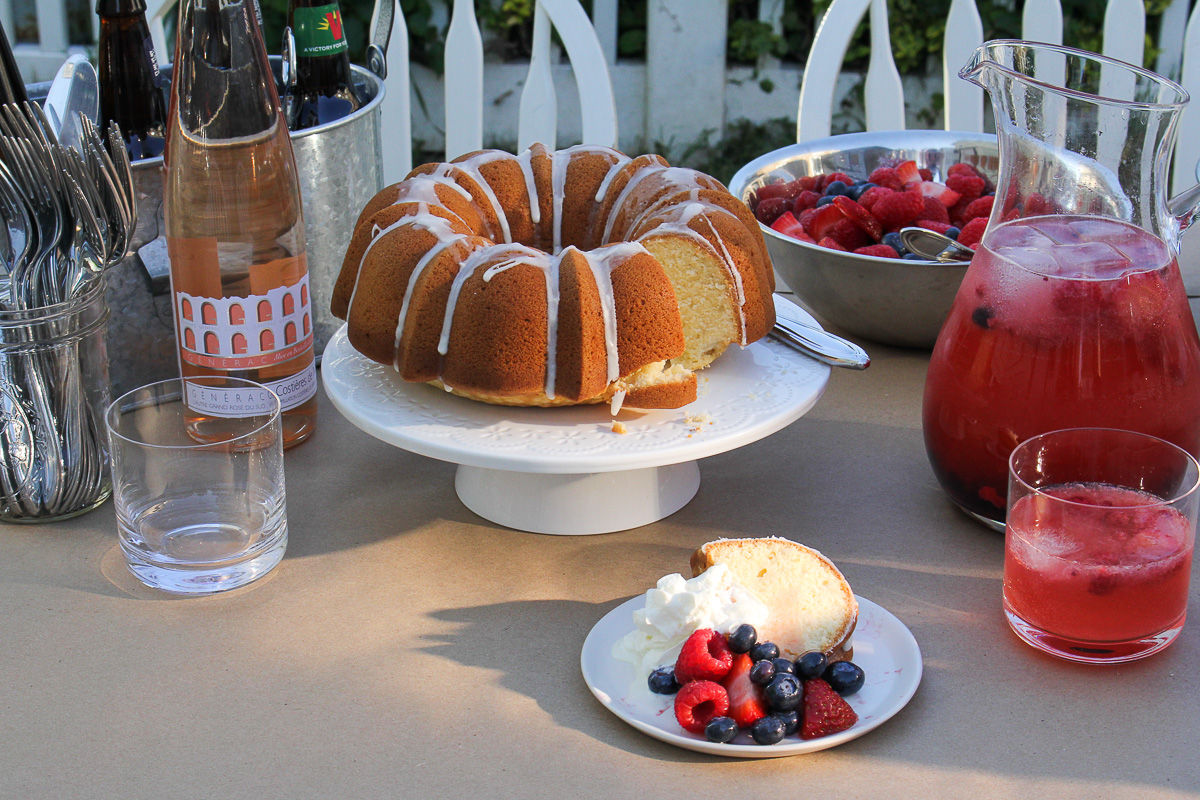
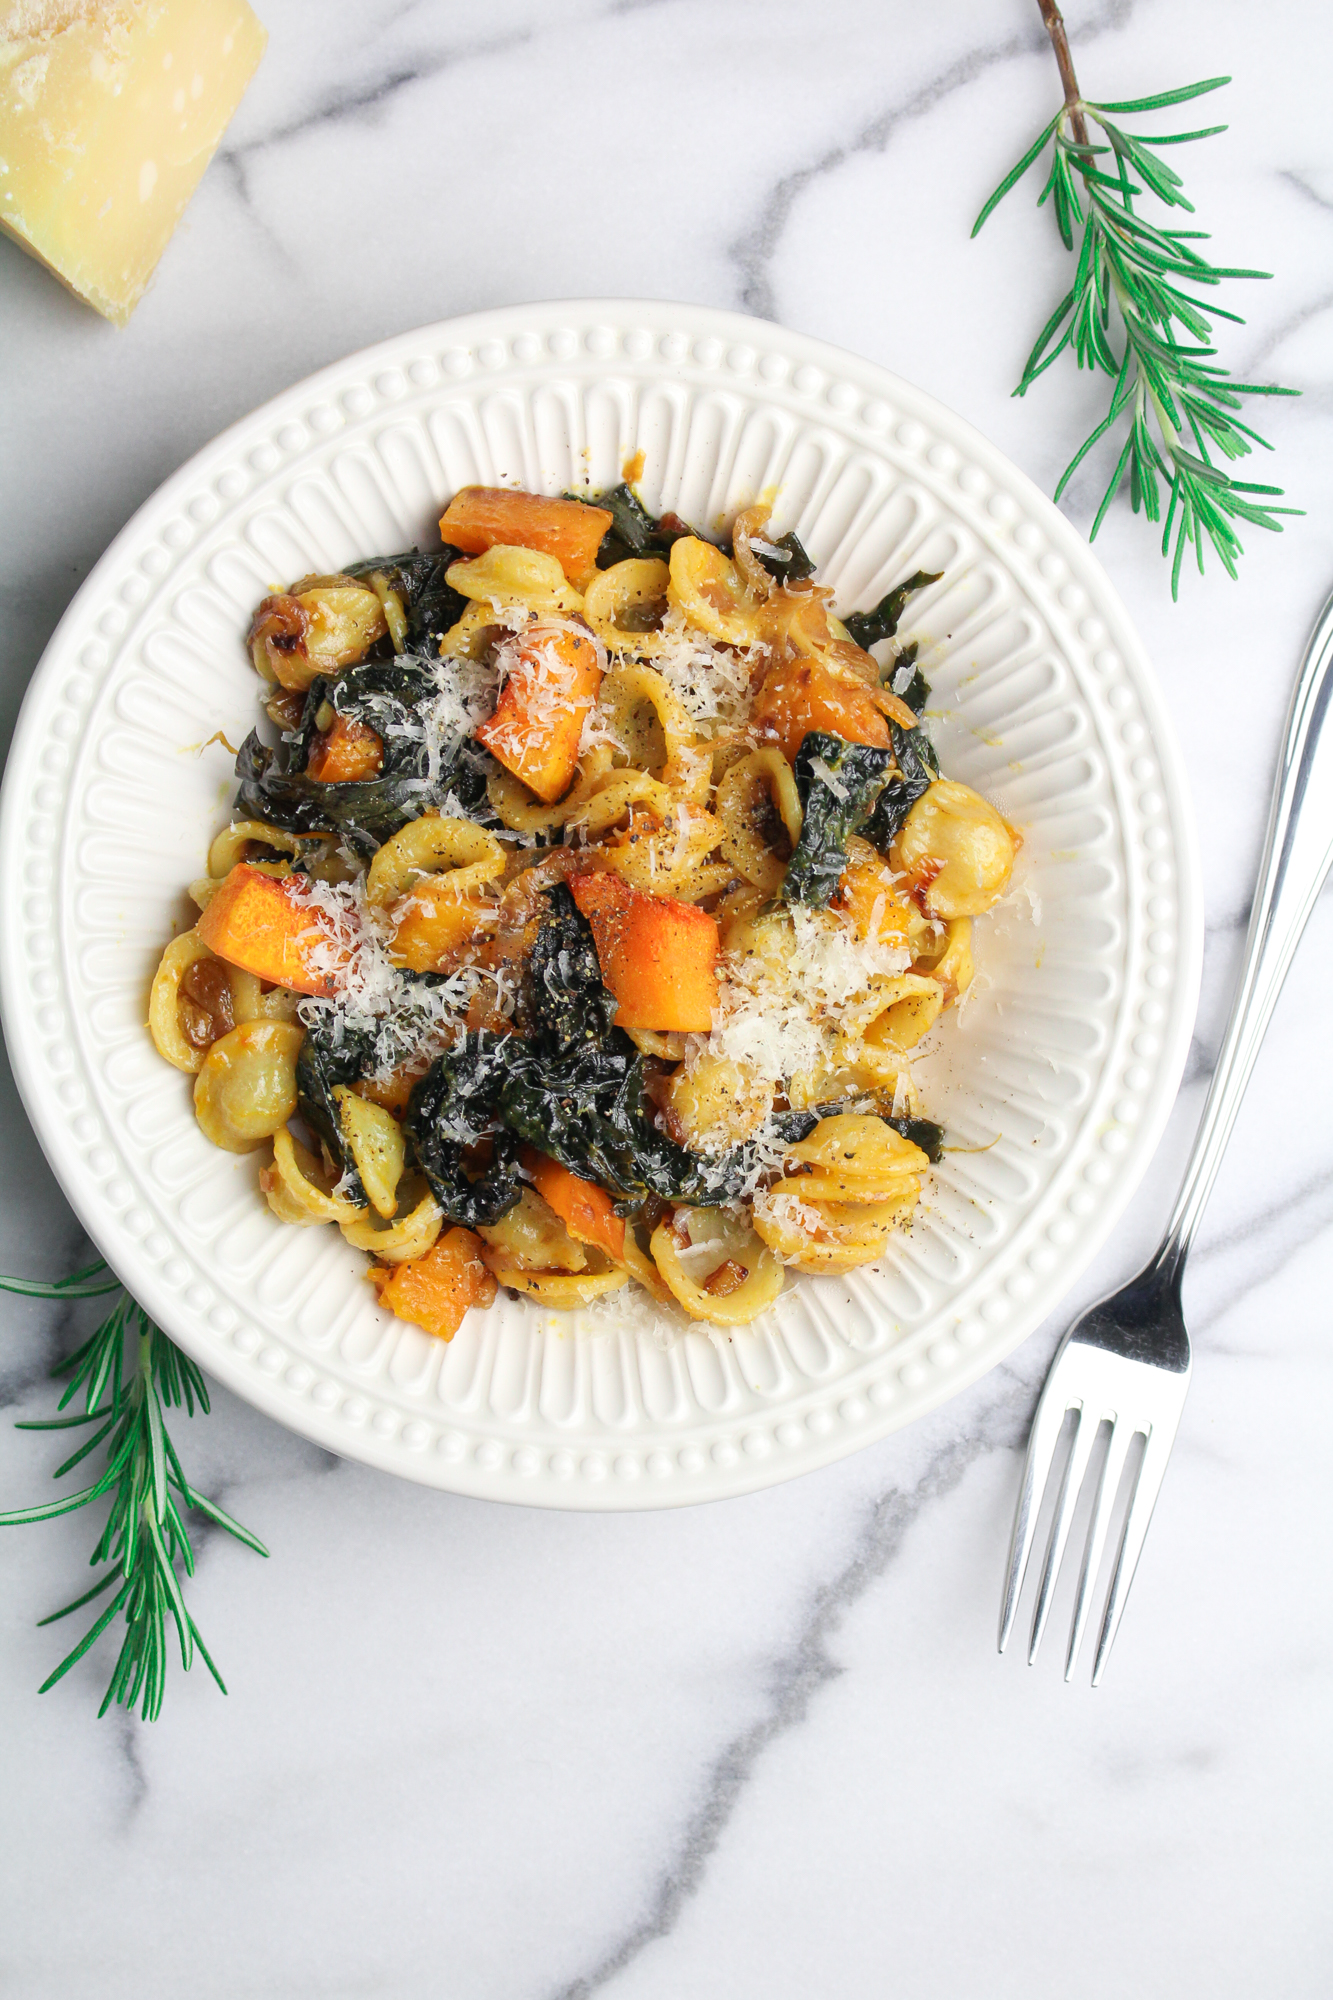
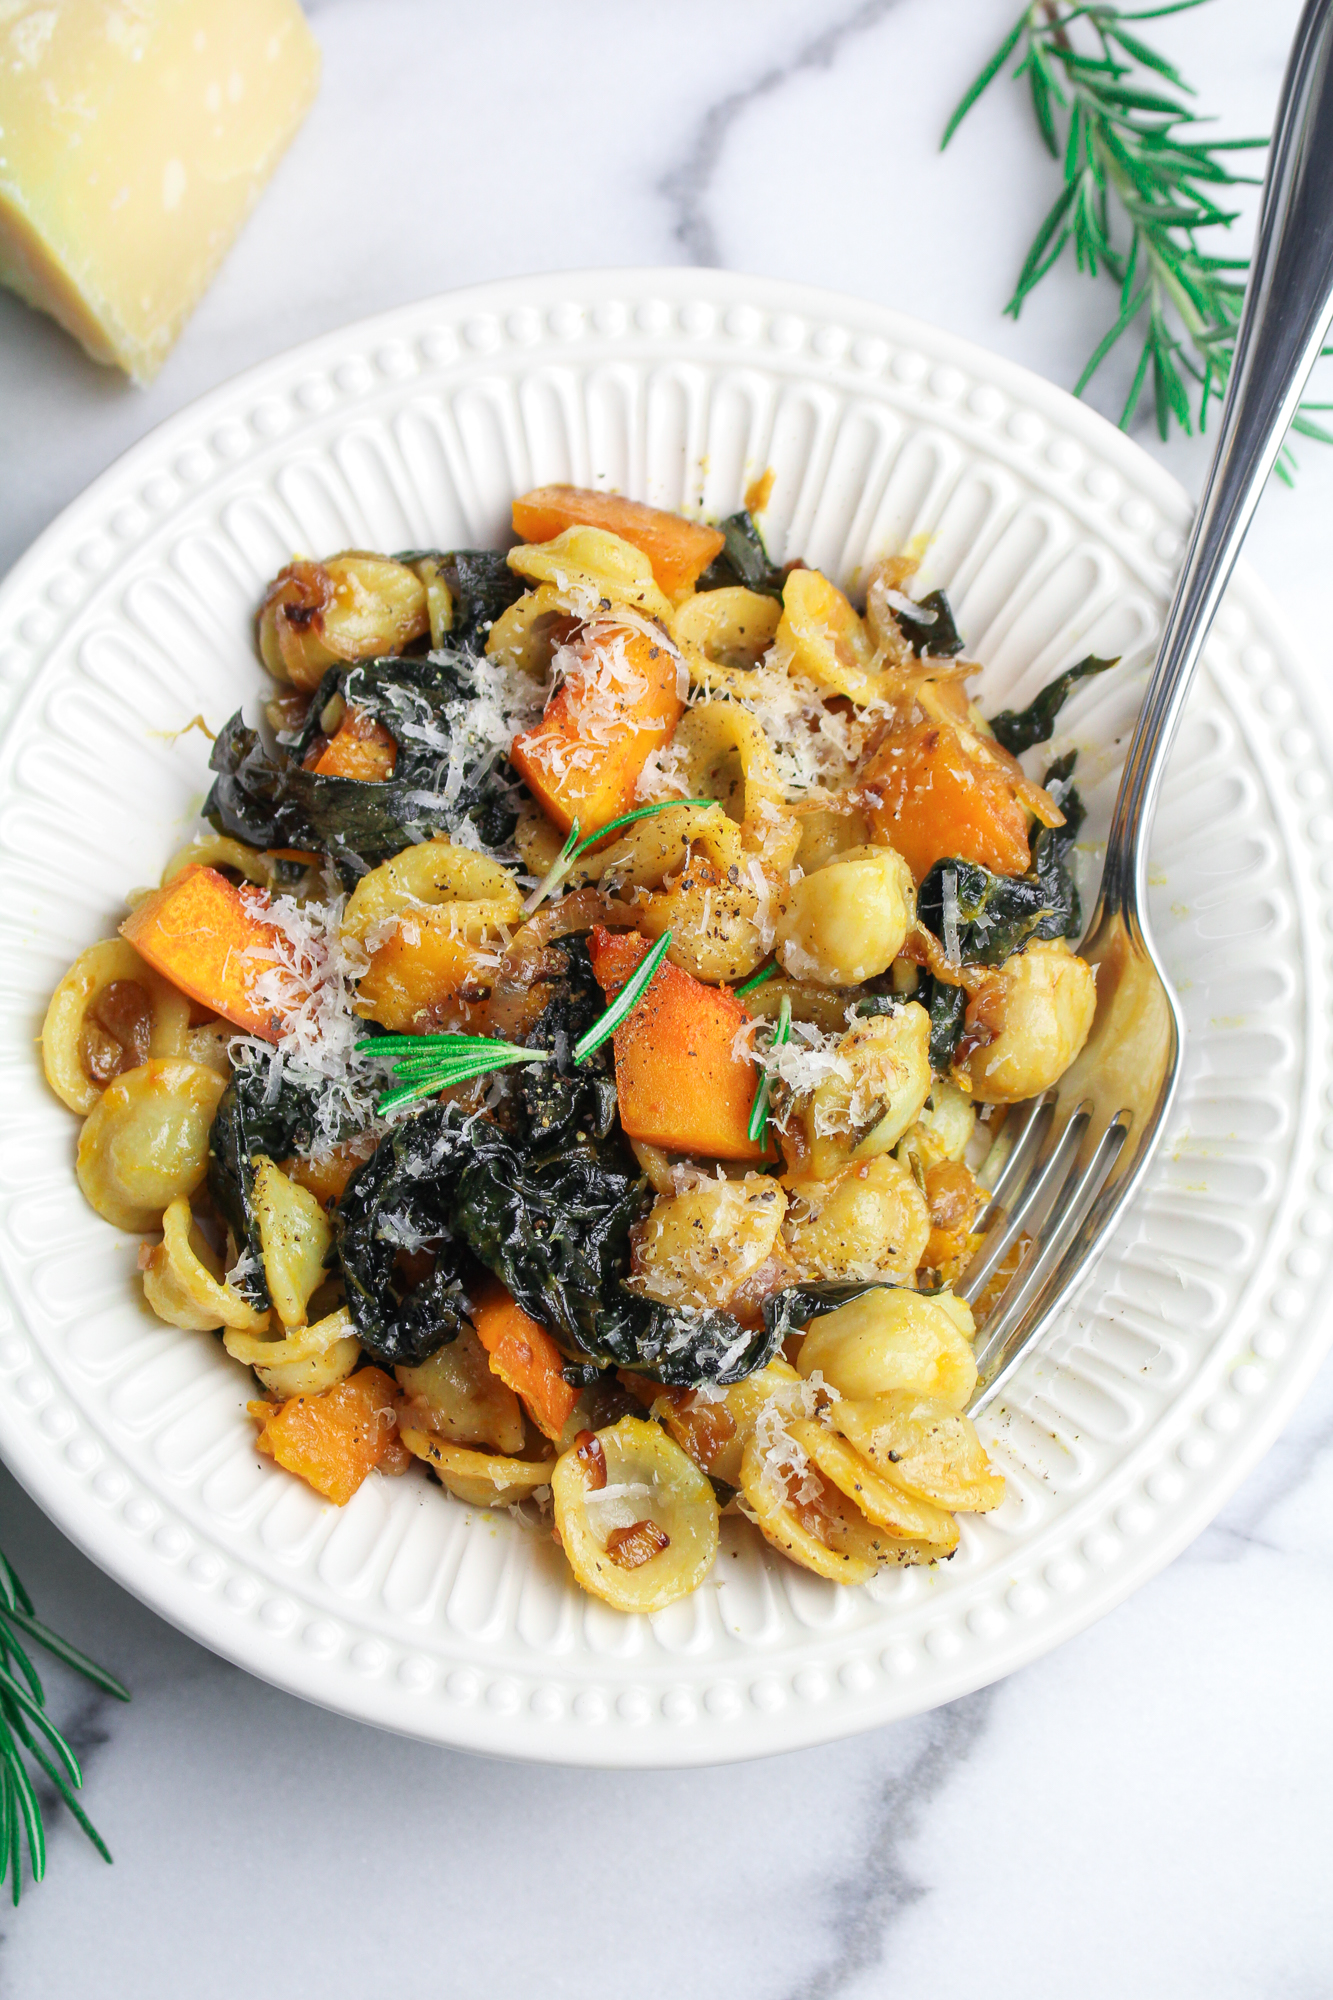
The first three months of the year have been a total whirlwind. Since the last time I checked in, I’ve spent two weeks in Hong Kong, a week and a half in Singapore, and a few days in Thailand. And in the brief in between times back in the US, I left home again for weekend trips to Austin, Nashville, and Montreal. So despite the snowy remnants of the last few March Nor’easters, I’m relishing a few quiet weeks at home. I’m planning the garden and reading and cooking and just generally doing the small things that make me happiest. And it means I have the chance to blog for the first time since January!
Generally, I quite like the food in Asia. Particularly so in Hong Kong and Singapore, where you can find pretty much any type of food you want. It helps that Hong Kongers and Singaporeans are obsessed with food so everything meets a minimum standard of good. But after two weeks on the road, lots of Chinese and Thai and room-service gets heavy. When I hit that point, I turn to Vietnamese for brightness and fresh vegetables. Compared to the cuisines of neighboring countries, Vietnamese food is light and refreshing. Lots of mint, basil, cilantro, and pickled vegetables bring a greenness that I really crave when traveling.
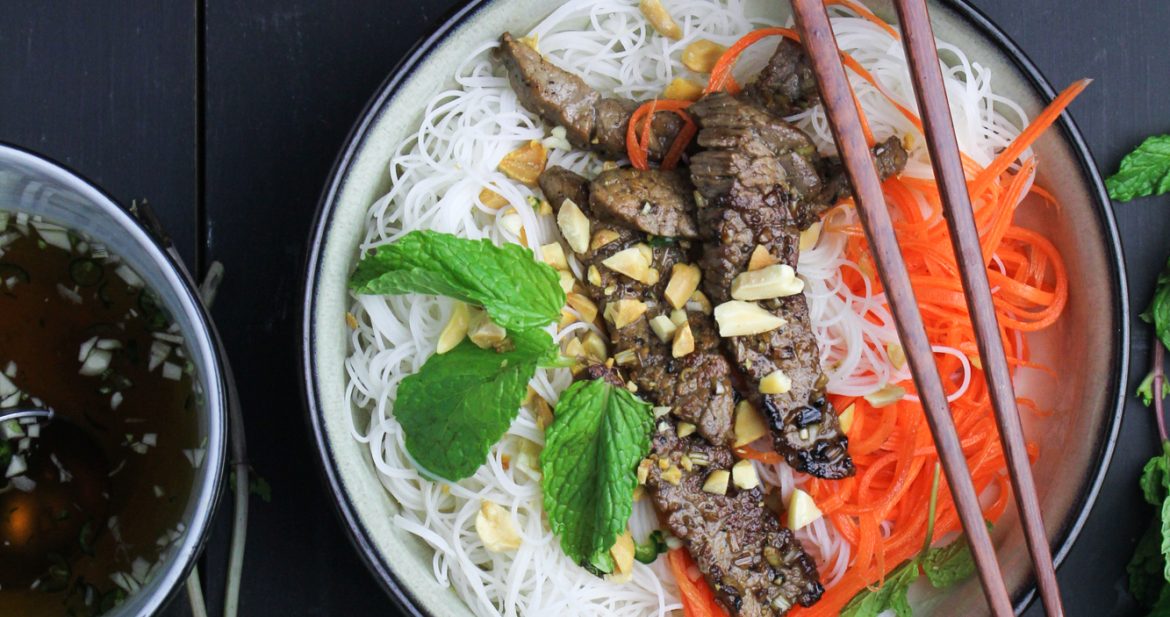
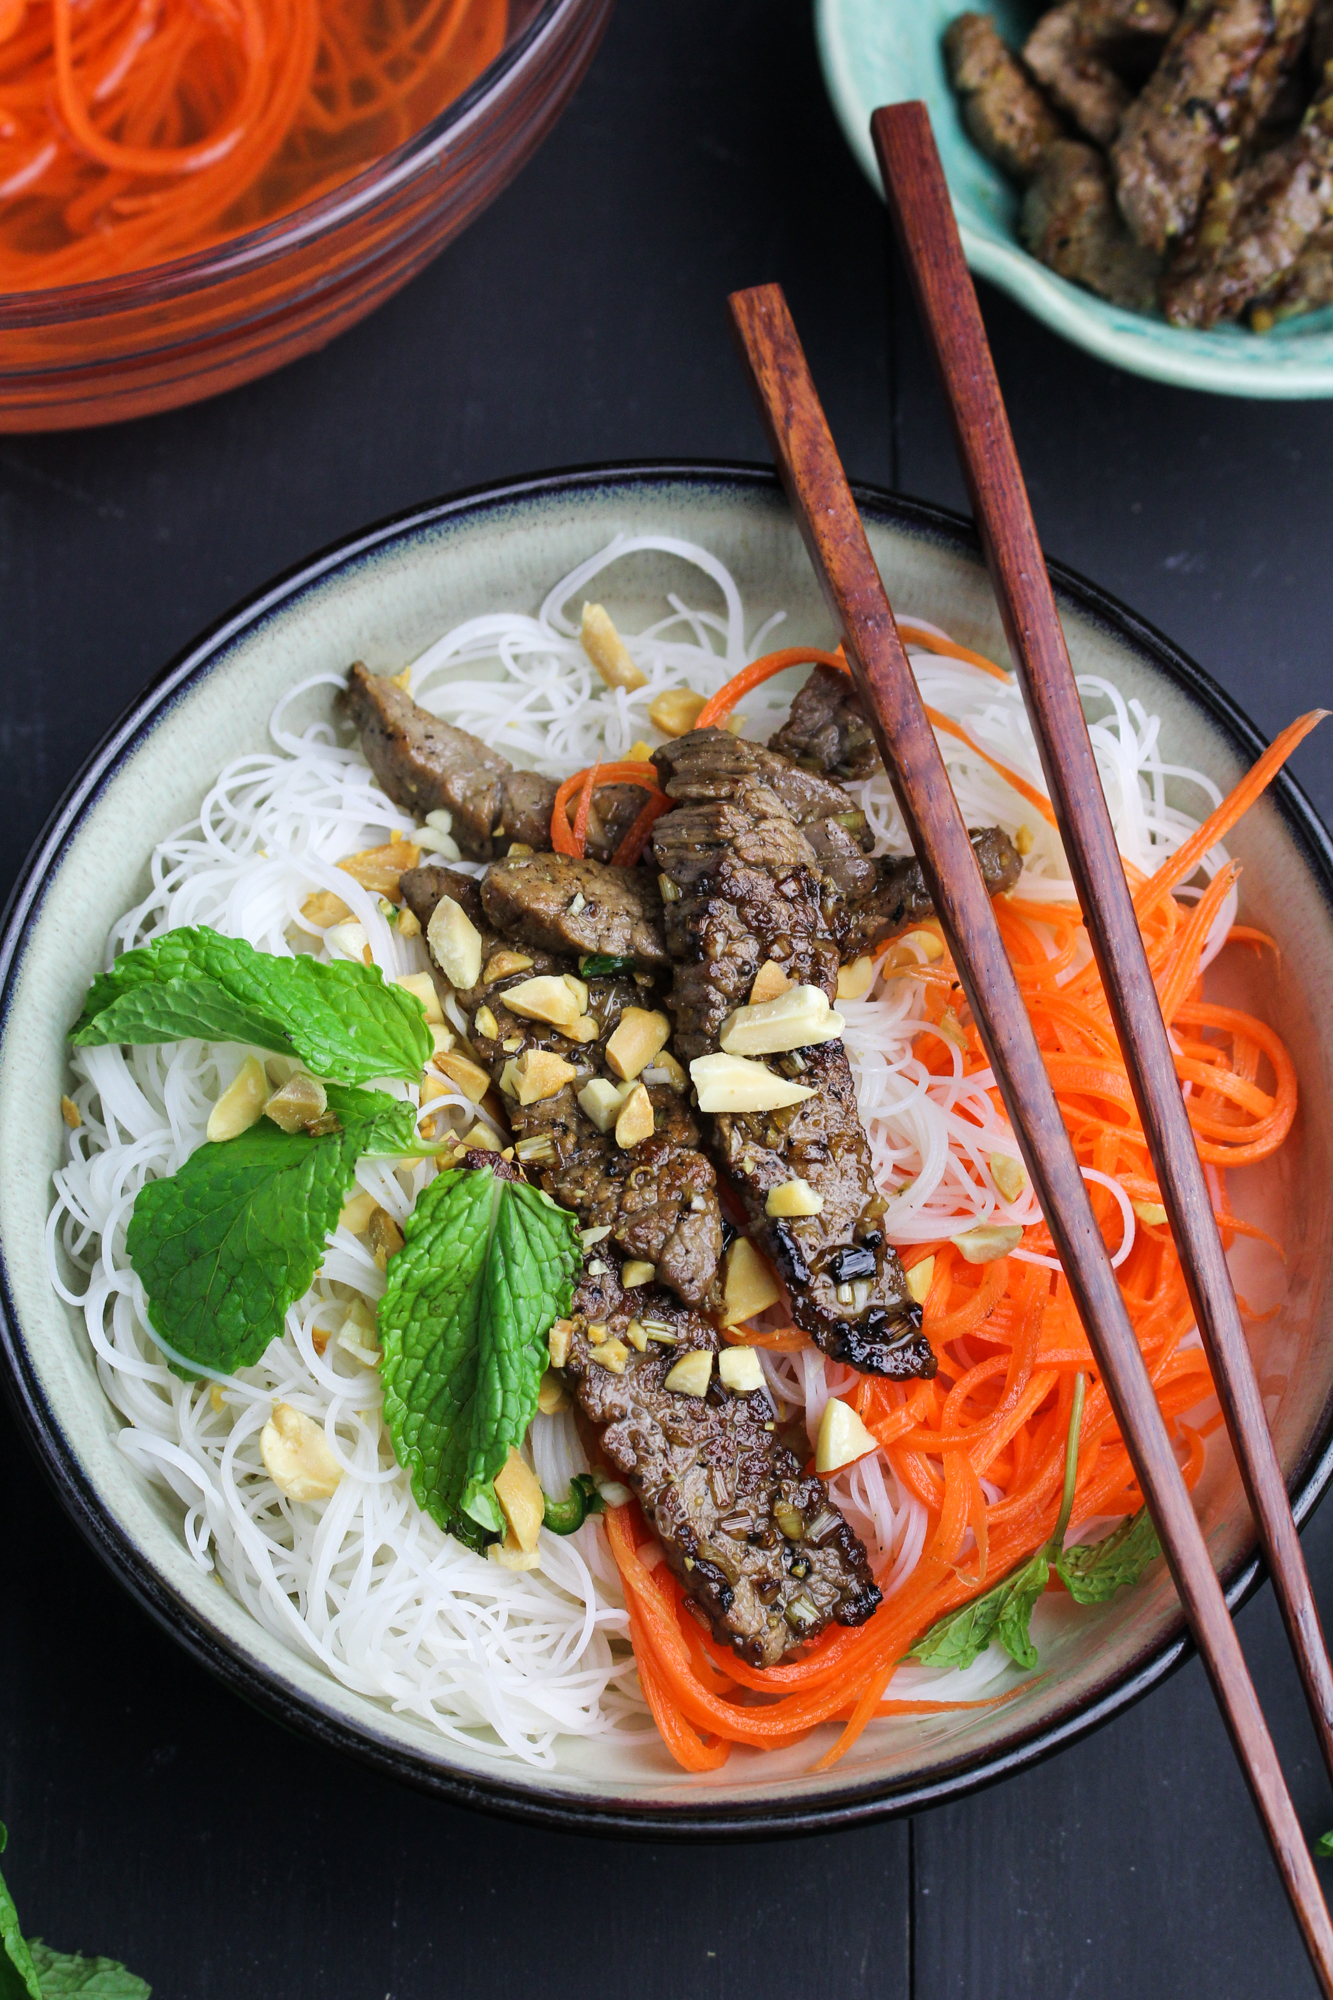
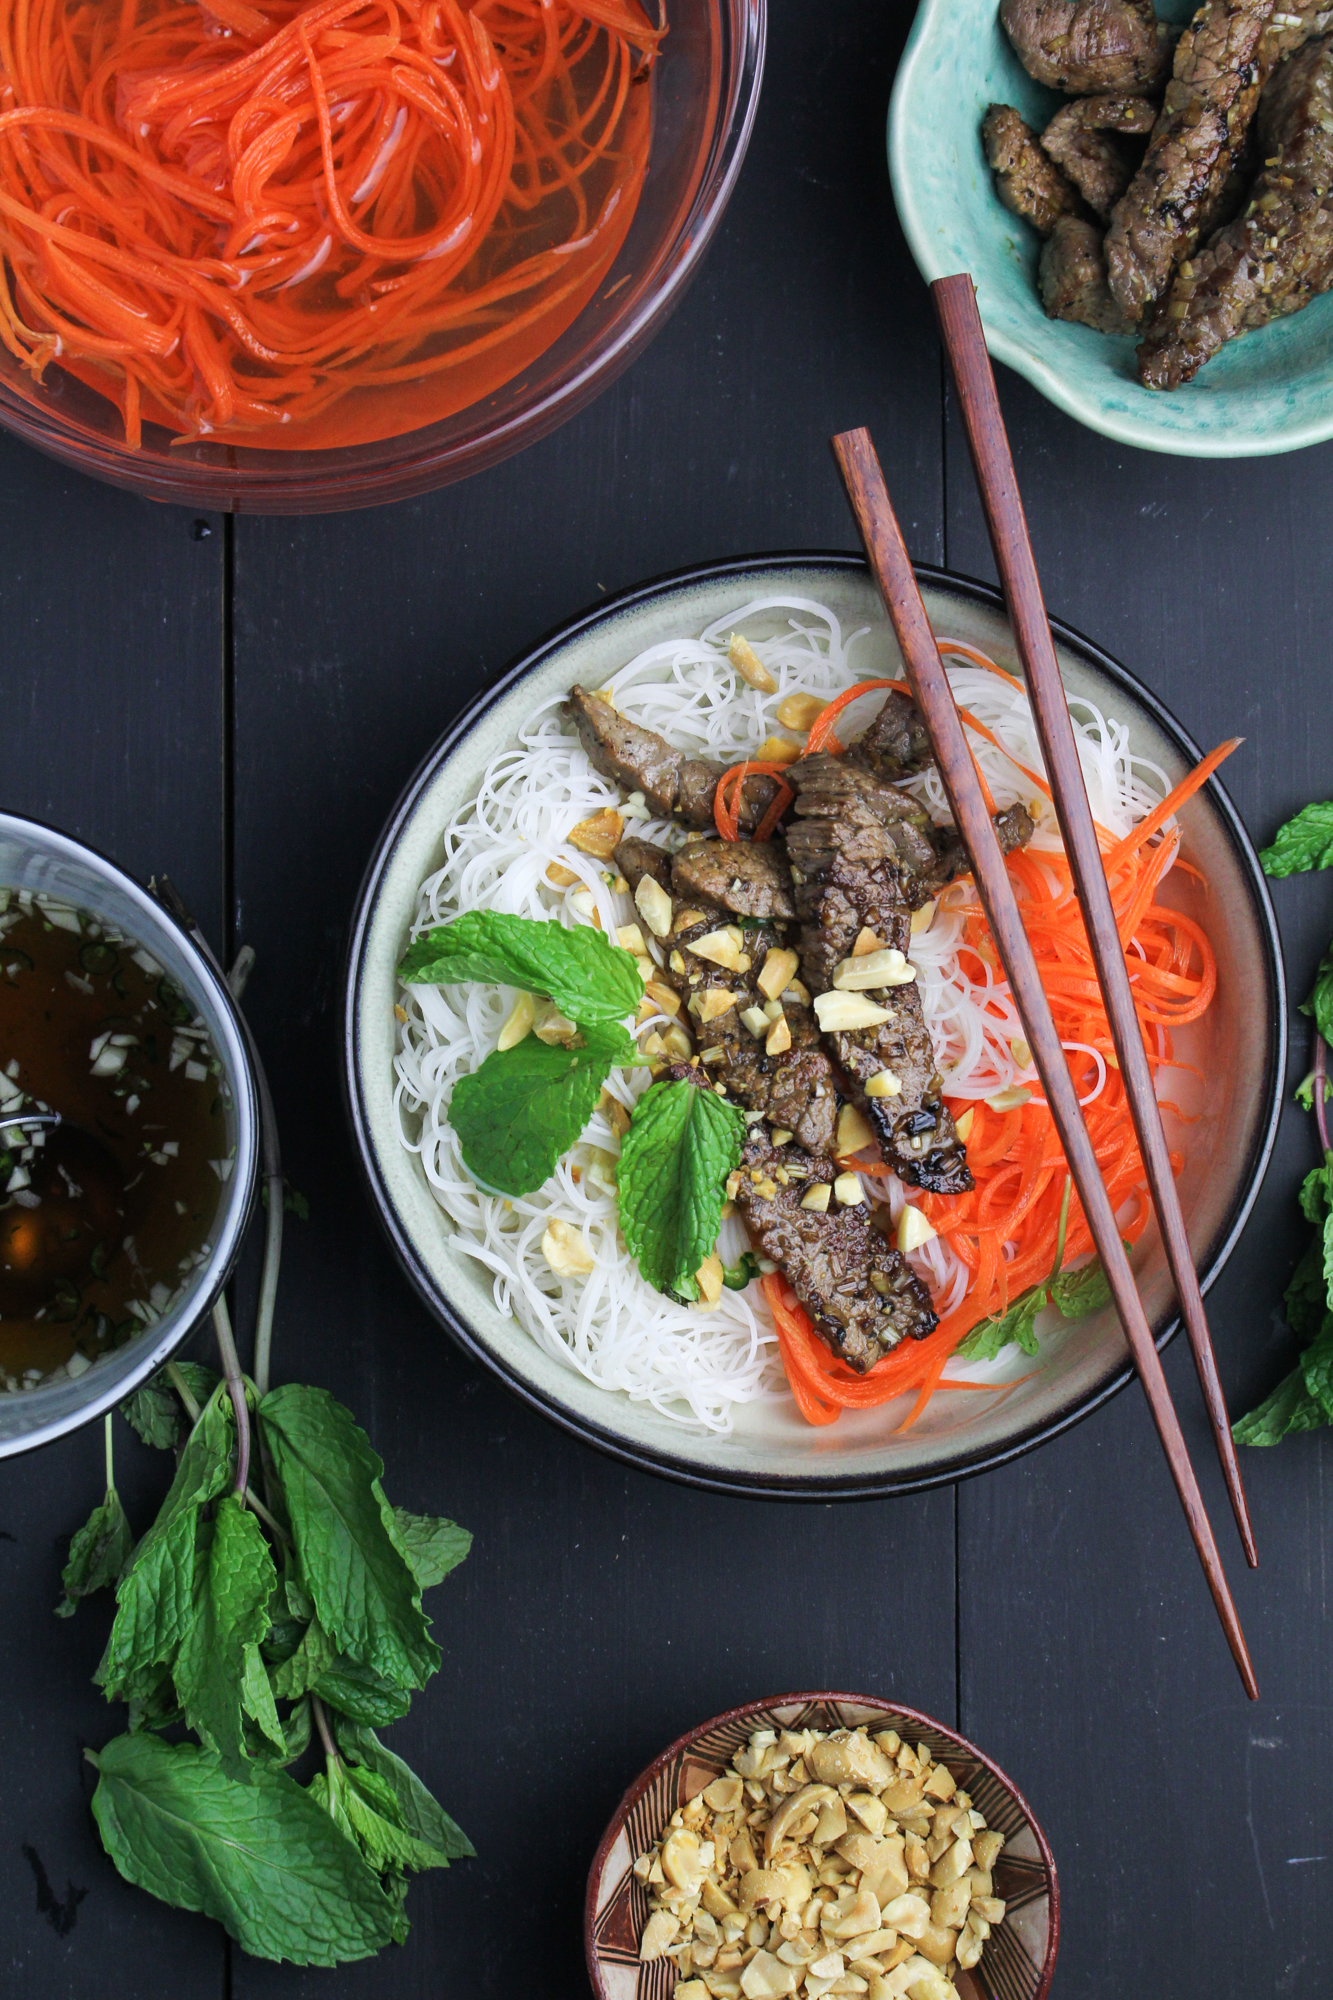
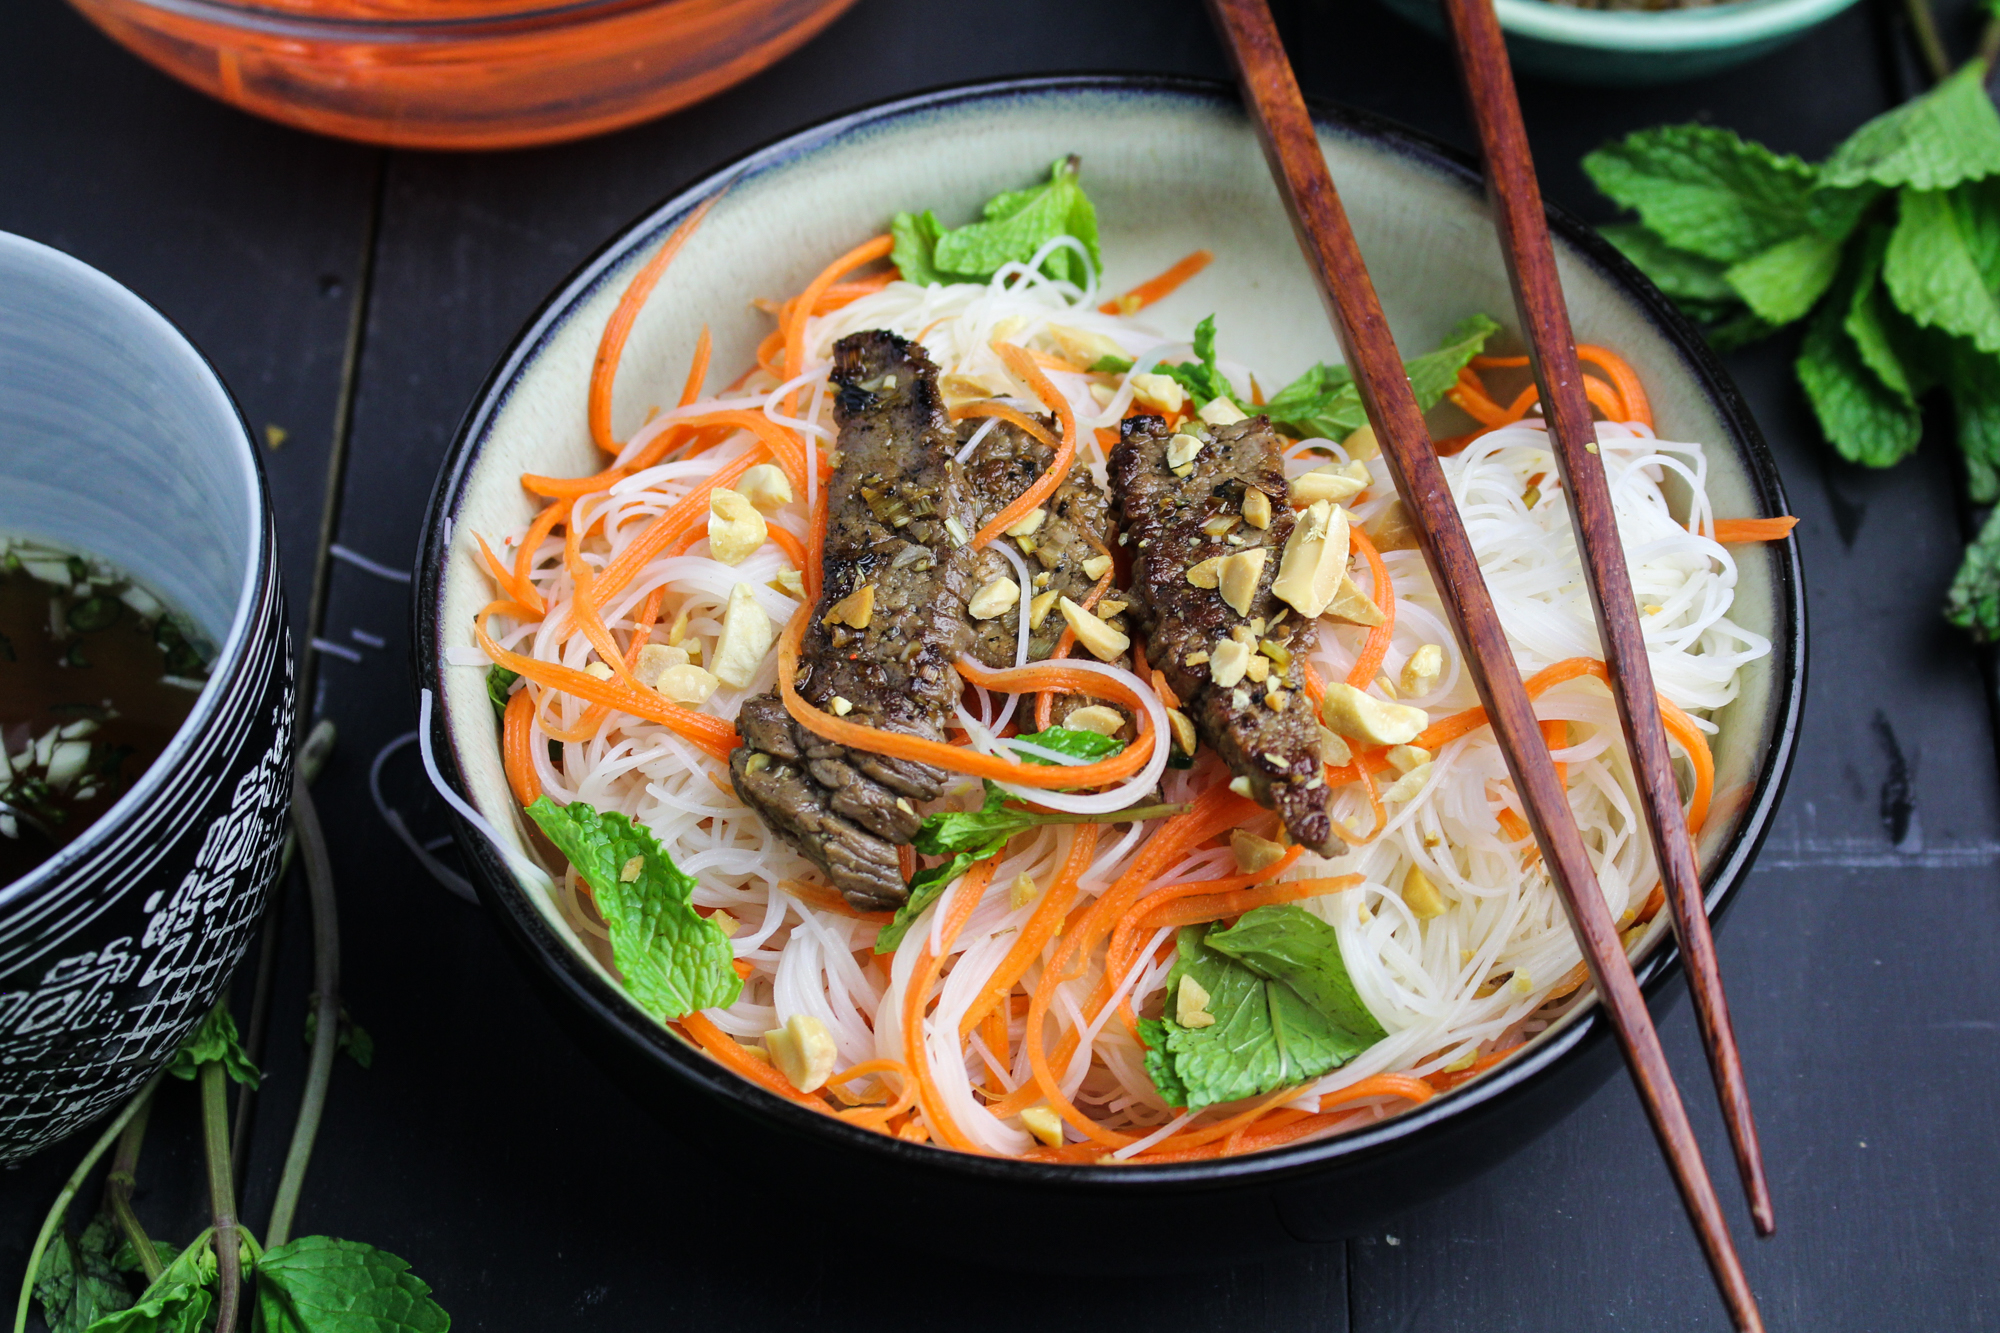
One of my go-to orders is bún, a rice noodle salad with several options for customization. I like it best with grilled lemongrass beef and a mass of pickled carrots. After my last trip I attempted making it at home, and it was surprisingly easy to make a convincing replica of my favorite restaurant versions. I love the slightly floral sweetness that the lemongrass lends to the beef, and the contrast the hot beef provides to the cool noodles and vegetables. Bún is good pretty much any time of year, but it’s particularly refreshing when the weather is hot and swampy. So, why make it in March? Brightness. I realize we’re pretty far from days that qualify as “hot,” but I’m so, so ready to eat bright-tasting things in March. This fits the bill perfectly!
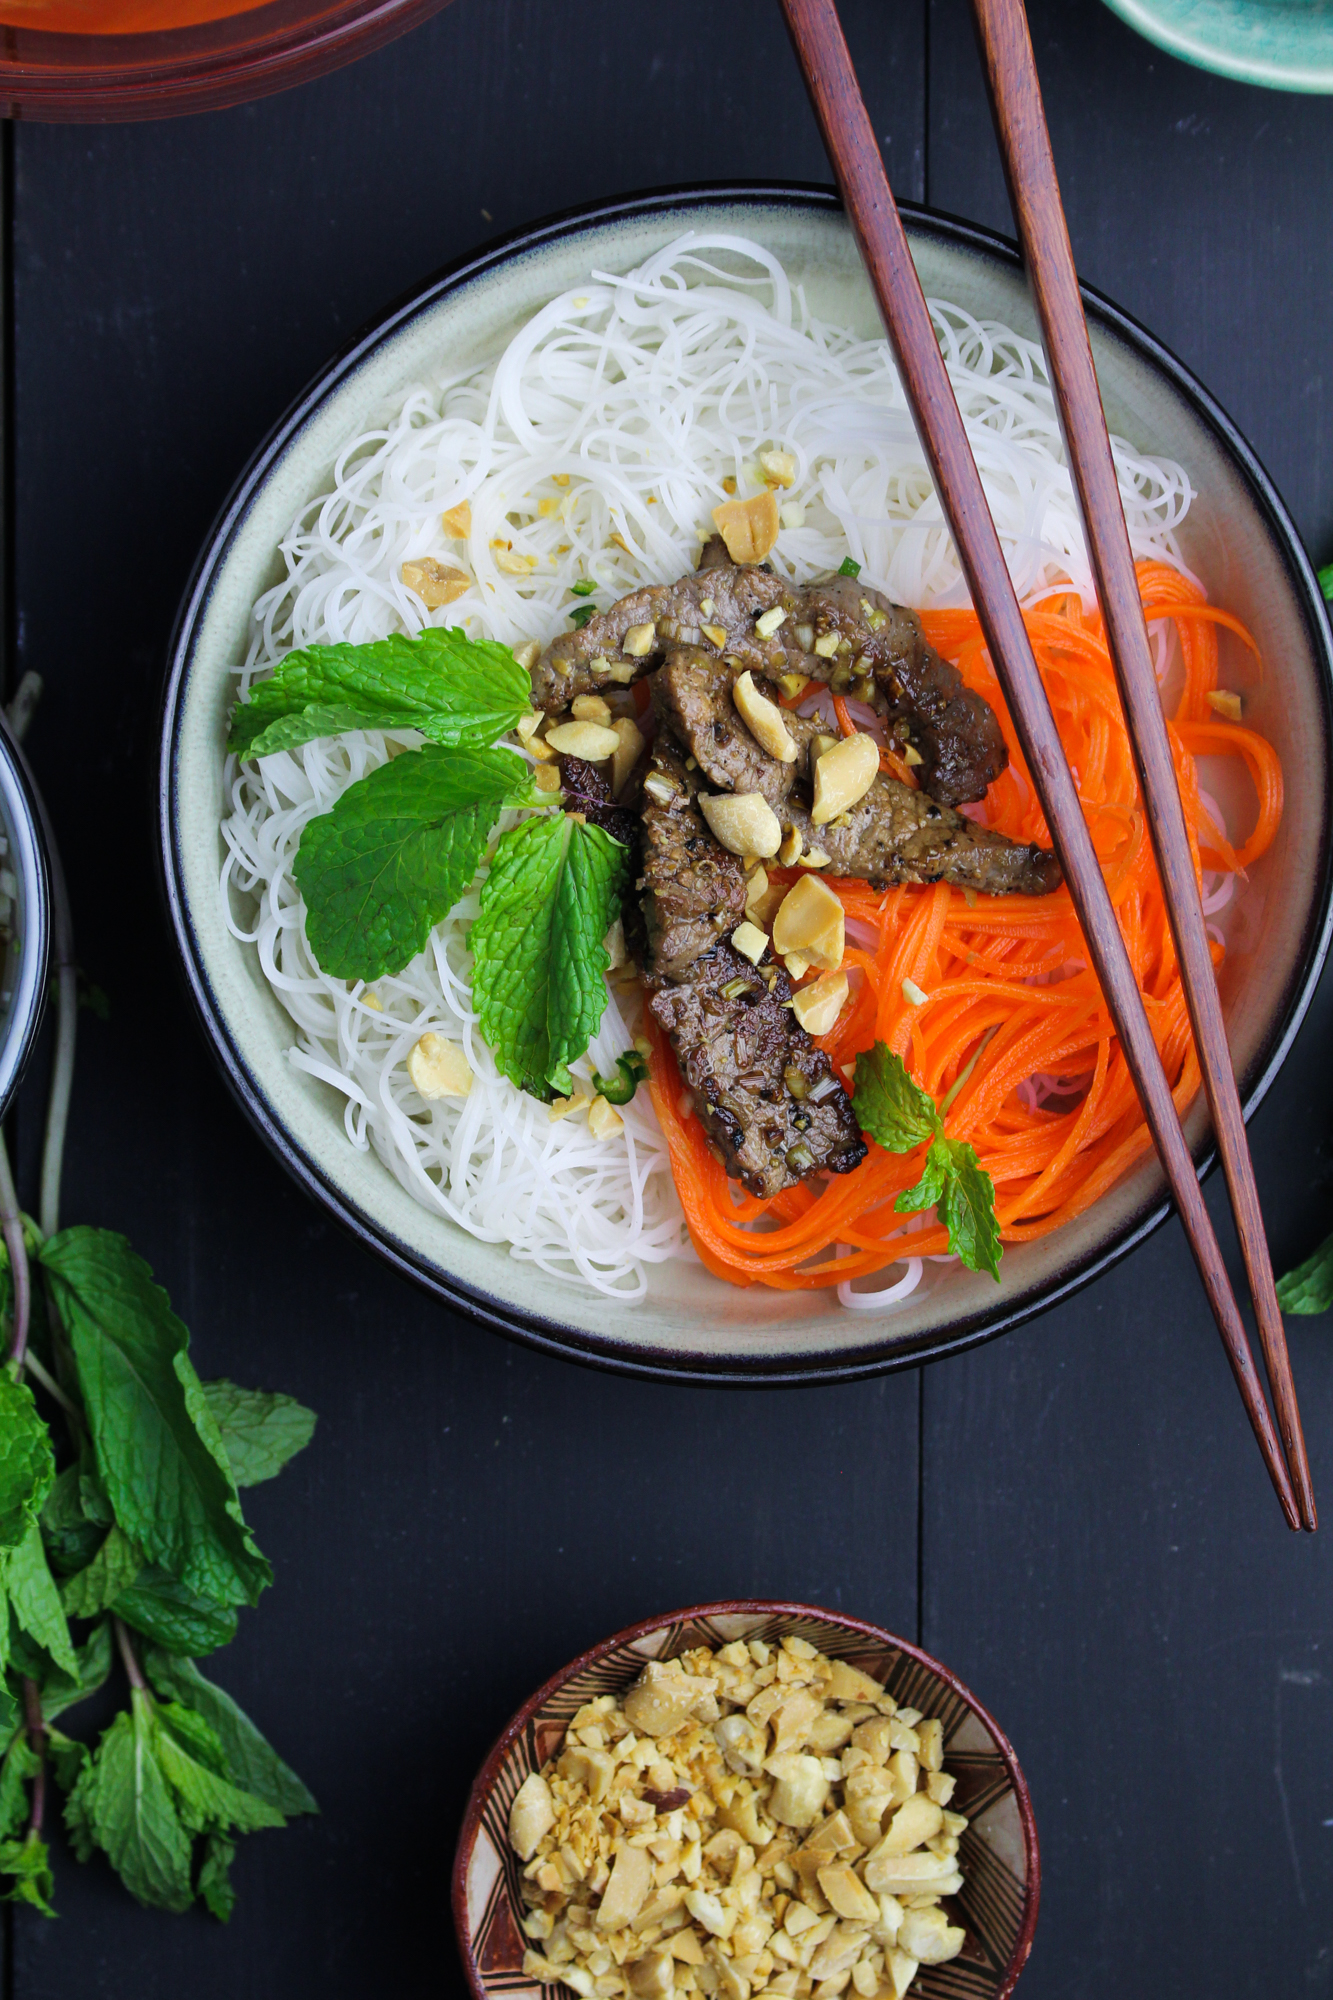
Bún Bò Xào – Vietnamese Rice Noodle Salad with Lemongrass Beef

A quick and refreshing Vietnamese rice noodle salad named Bún Bò Xào. Stir-fried lemongrass beef, pickled carrots, and sweet-salty nuoc cham sauce bring tons of flavor to this bright dinner.
Adapted from Vietnamese Home Cooking.
- Yield: 4
Ingredients
For the Lemongrass Beef:
- 2 stalks fresh lemongrass
- 5 cloves garlic
- 1 TBS sugar
- 1 tsp sea salt
- 1 TBS soy sauce
- 1 TBS sesame oil
- 2 TBS canola oil
- 1 lb thinly sliced flank steak
For the pickled carrots:
- 2 large carrots, peeled
- 1/3 cup distilled white vinegar
- 1/3 cup sugar
- 1/3 cup water
- 1 whole star anise
For the nuoc cham:
- 1/4 cup fish sauce
- 3 TBS sugar
- 1/3 cup warm water
- 3 TBS white vinegar
- 1 Thai chile, stemmed and finely minced
- 1 clove garlic, peeled and finely minced
For the bowls and assembly:
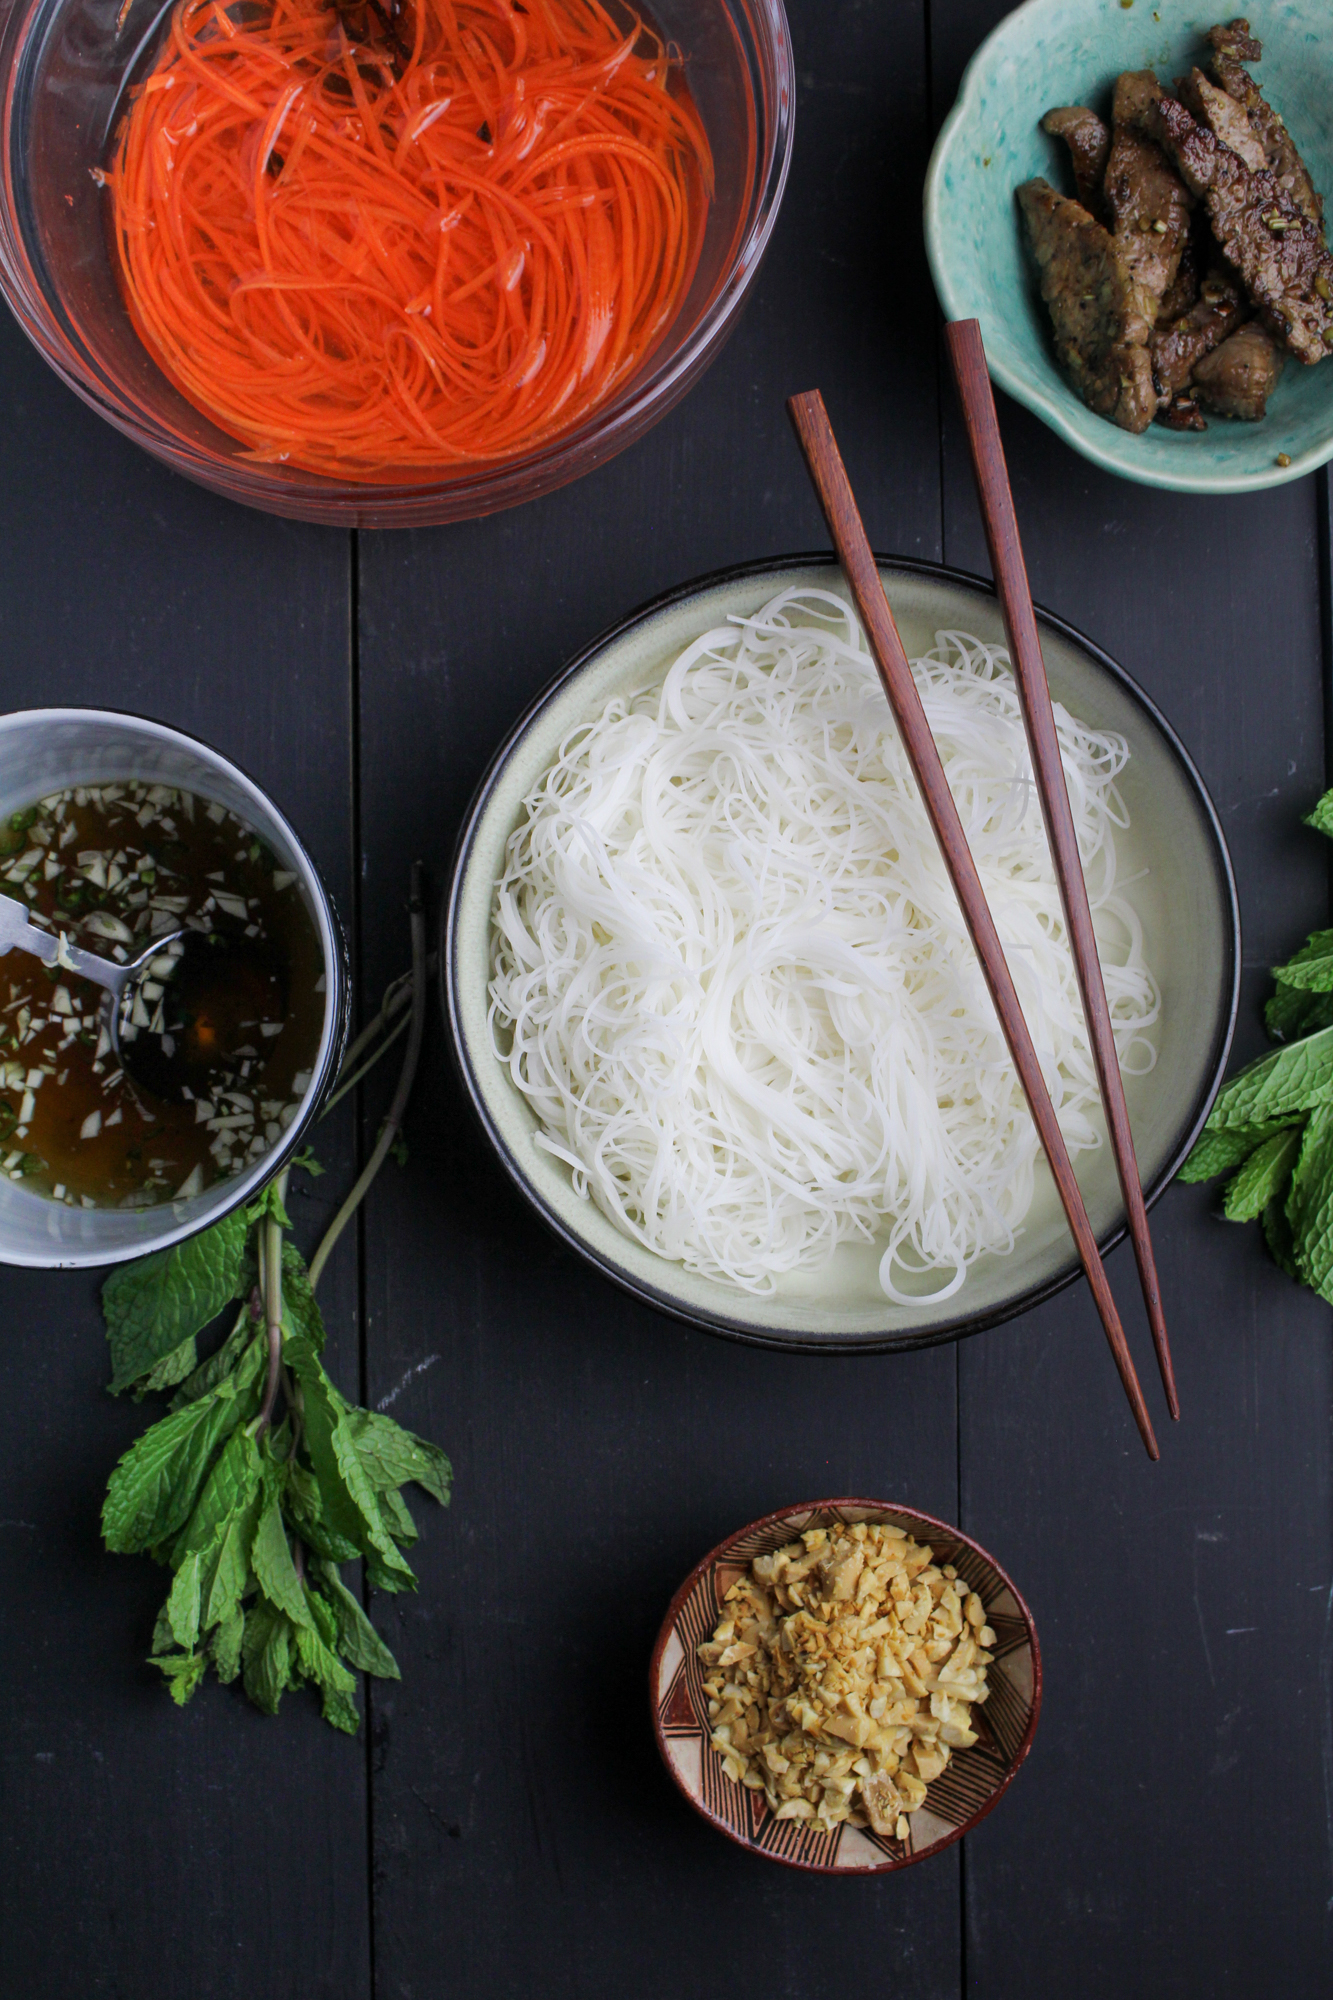
- 10 oz. dried rice vermicelli noodles
- 1 TBS canola oil
- One bunch of fresh mint, leaves picked off and washed
- 1/2 cup chopped peanuts, toasted in a dry pan for 3-4 minutes
Instructions
- To make the beef marinade: Remove and discard the outer layer of each piece of lemongrass. Trim about 3-inches of the dry, stick-like part of the lemongrass from the top so that you are left with the plumper, white interior. Slice this interior into small coins, and then finely chop those coins until evenly minced. Place minced lemongrass in a medium bowl. Peel and mince the garlic and add to the bowl with the lemongrass. Add the sugar, salt, soy sauce, sesame oil and canola oil to the bowl and stir to combine. Add the sliced flank steak and stir to coat with the marinade. Cover with plastic wrap and refrigerate for at least 4 hours.
- To make the pickled carrots: Use a julienne peeler to shred the carrots into long, noodle-like strips. If you don’t have a julienne peeler, carefully chop the carrots into long, thin match-sticks. Place the carrots in a heatproof bowl. Add the vinegar, sugar, water, and star anise to a small saucepan. Bring to a simmer over medium heat, stirring to dissolve the sugar. Simmer just for 30 seconds, then pour the hot liquid over the carrots. Cover with plastic wrap and refrigerate until ready to use, at least an hour. Discard the star anise before serving.
- To make the nuoc cham: Place all of the ingredients in a medium bowl. Stir until the sugar is dissolved. Taste and adjust seasoning if desired.
- To finish and assemble the bowls: Cook the rice noodles according to the package directions. Drain and rinse.
- Just before serving, cook the beef. Heat the canola oil in a large, heavy-bottomed frying pan over medium-high heat. When the pan is hot, add the marinated beef to the pan in batches (each batch of beef should easily fit in the pan in a single layer). Cook the beef for 1-2 minutes on each side, until deeply caramelized on the outside but just tender in the center. Remove to a plate and continue until you have cooked all the beef.
- To serve, fill each bowl halfway with rice noodles. Top with a quarter of the pickled carrots, several pieces of the cooked beef, a small handful of fresh mint leaves, and 2 tablespoons of chopped peanuts. Serve the bowls with the nuoc cham sauce on the side, so that each person can dress their bowl according to taste.
Notes
If you pickle the carrots at the same time that you marinate the beef, this will only take about 20 minutes to finish up before serving.


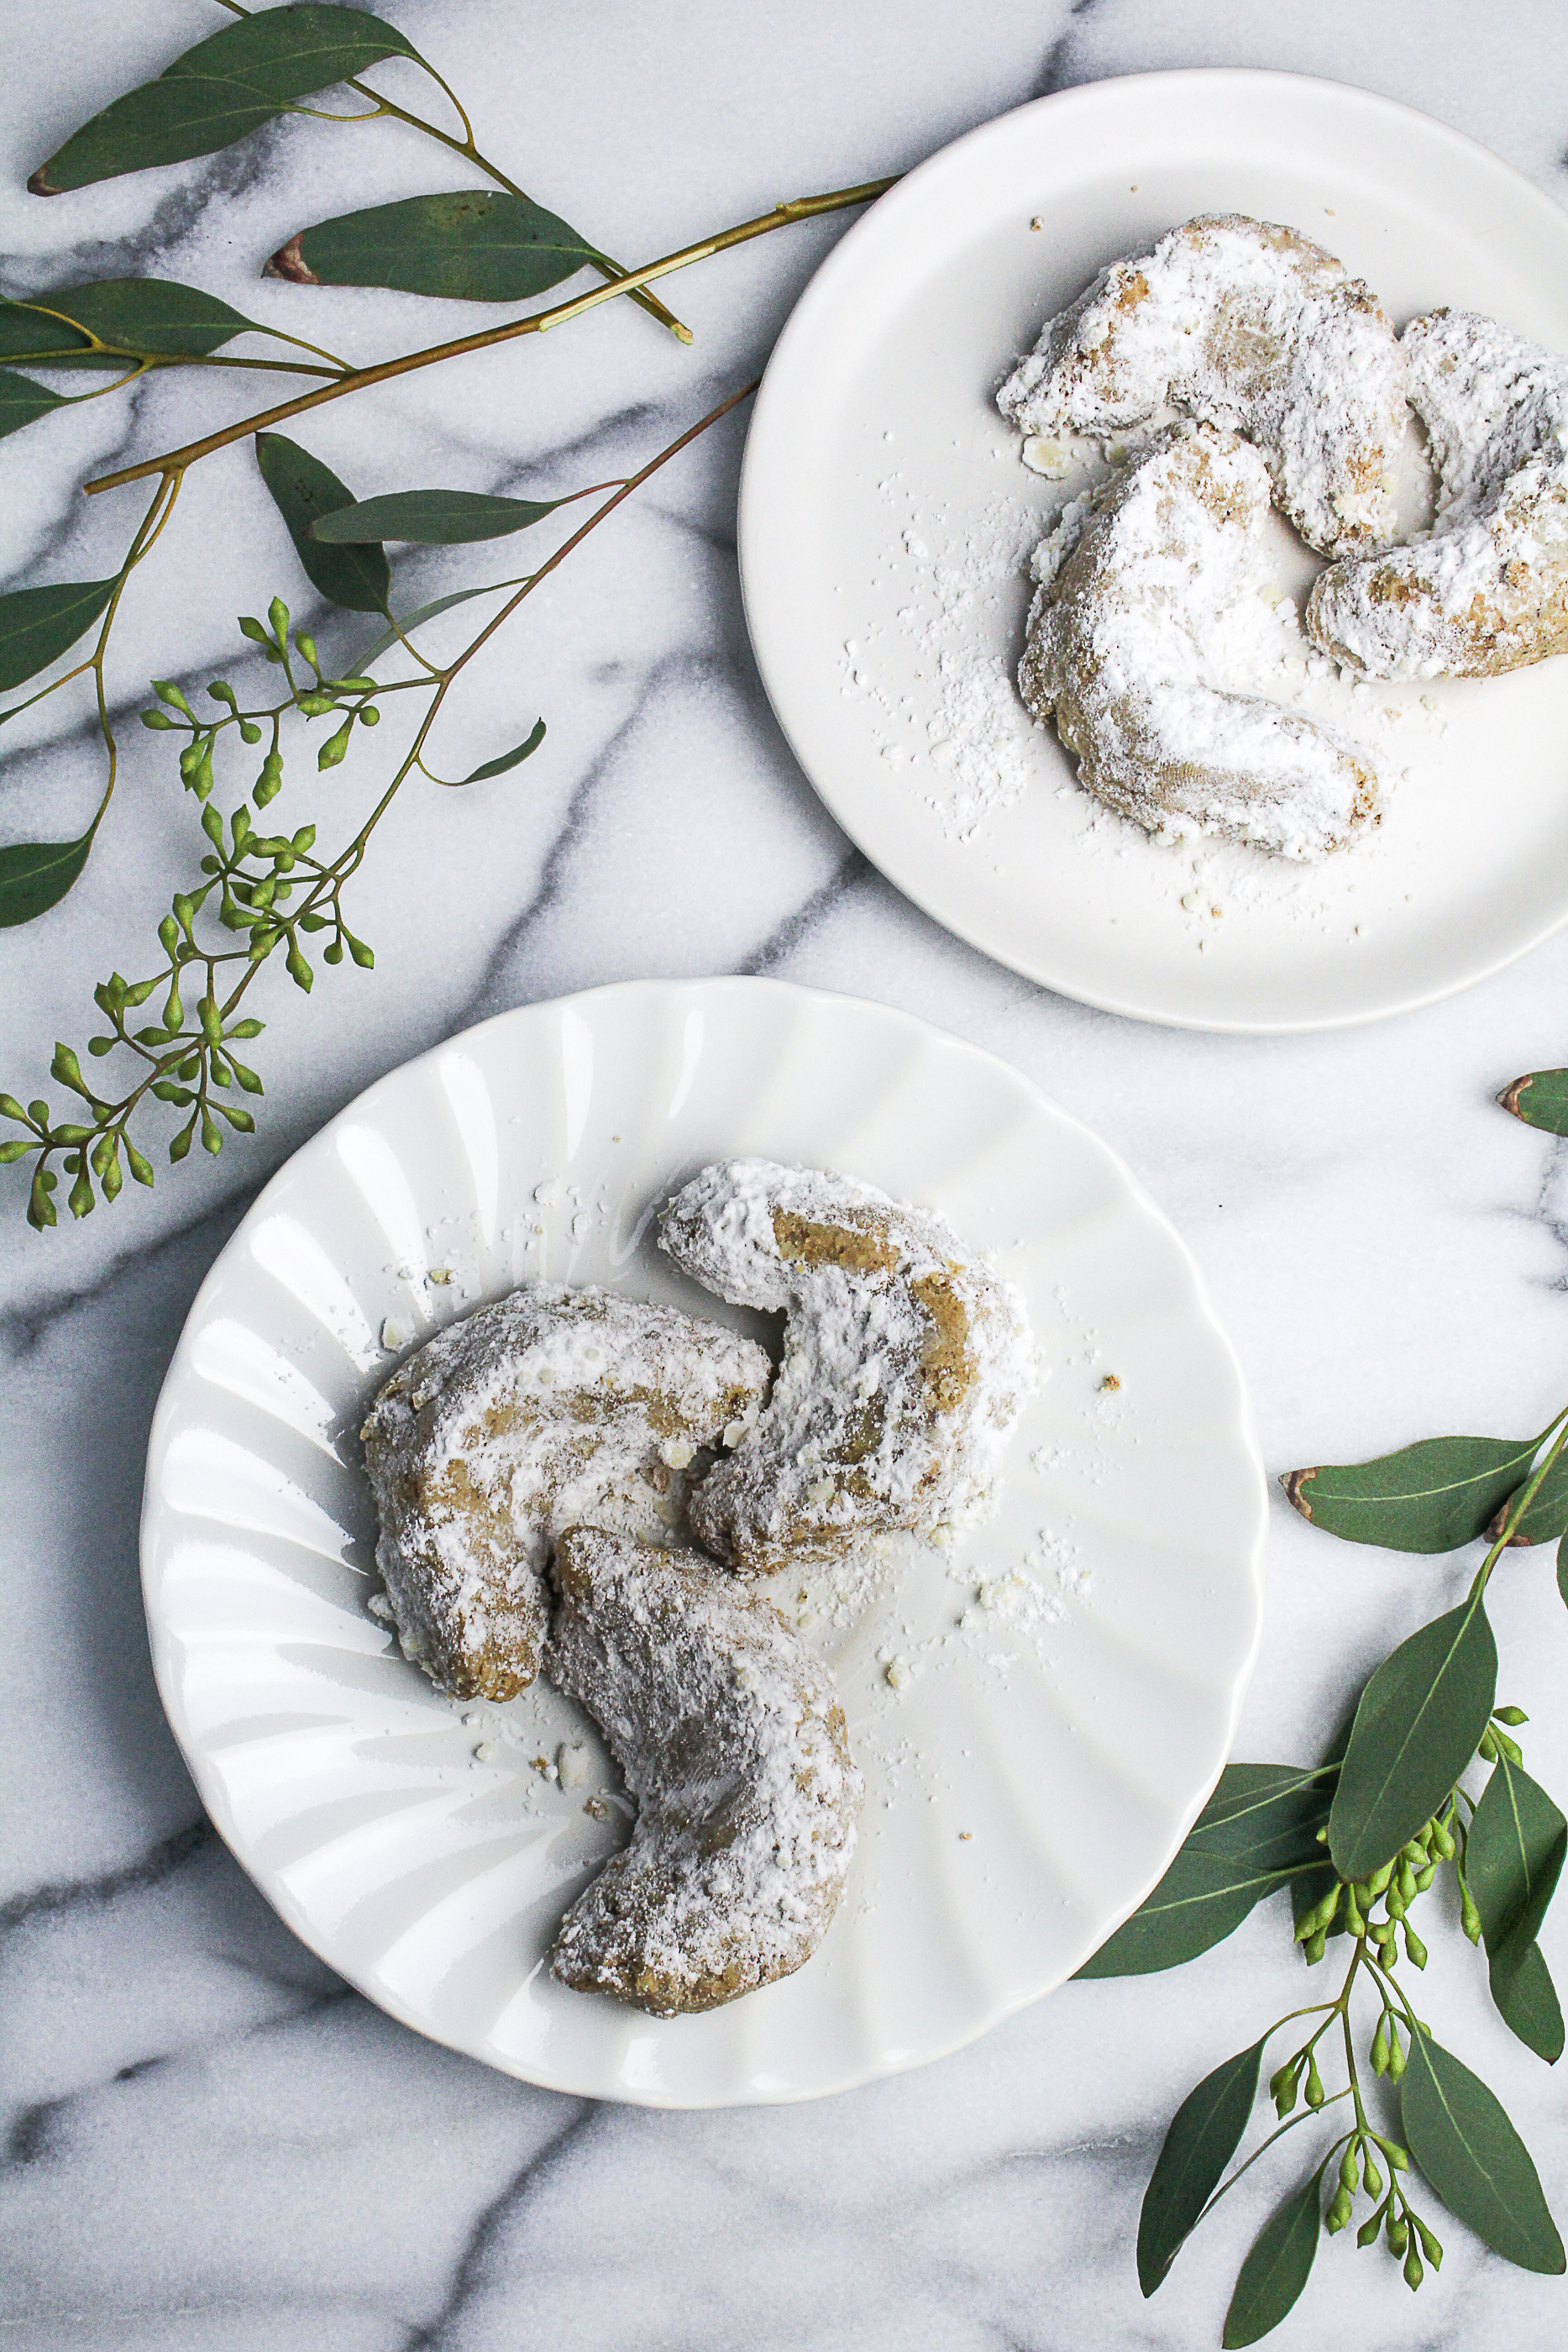
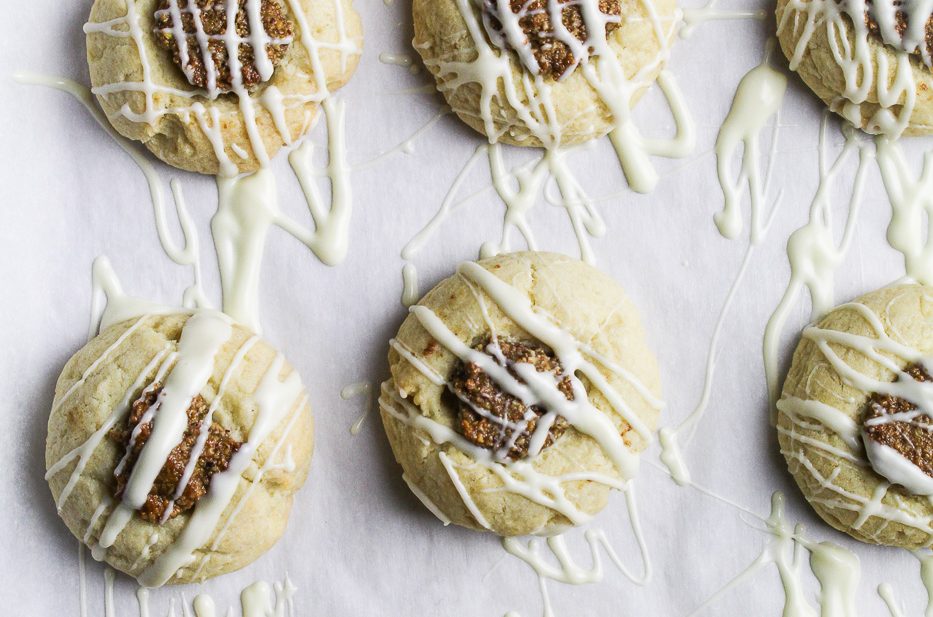
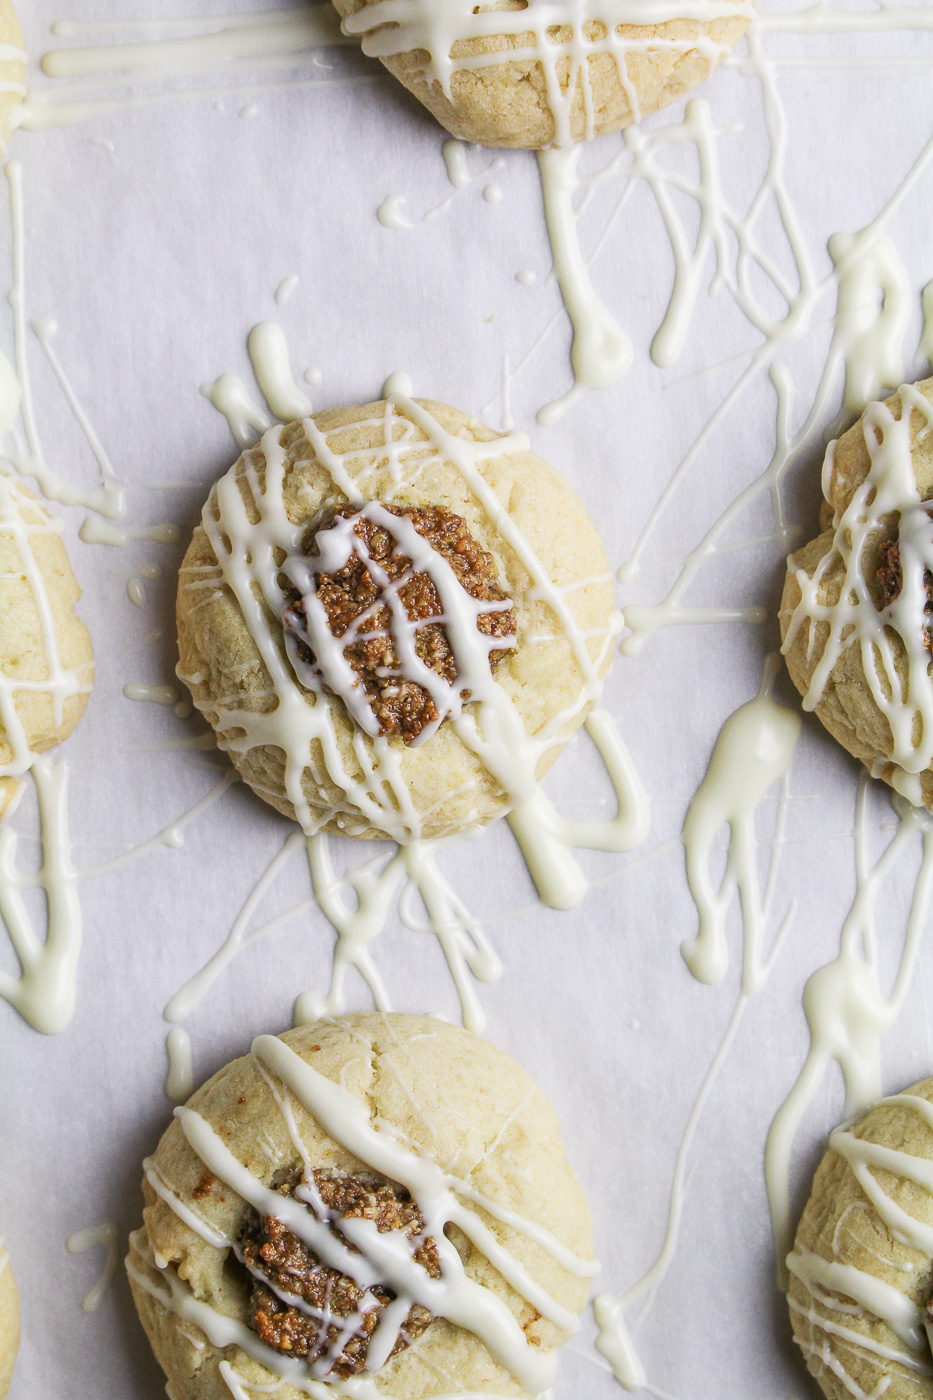
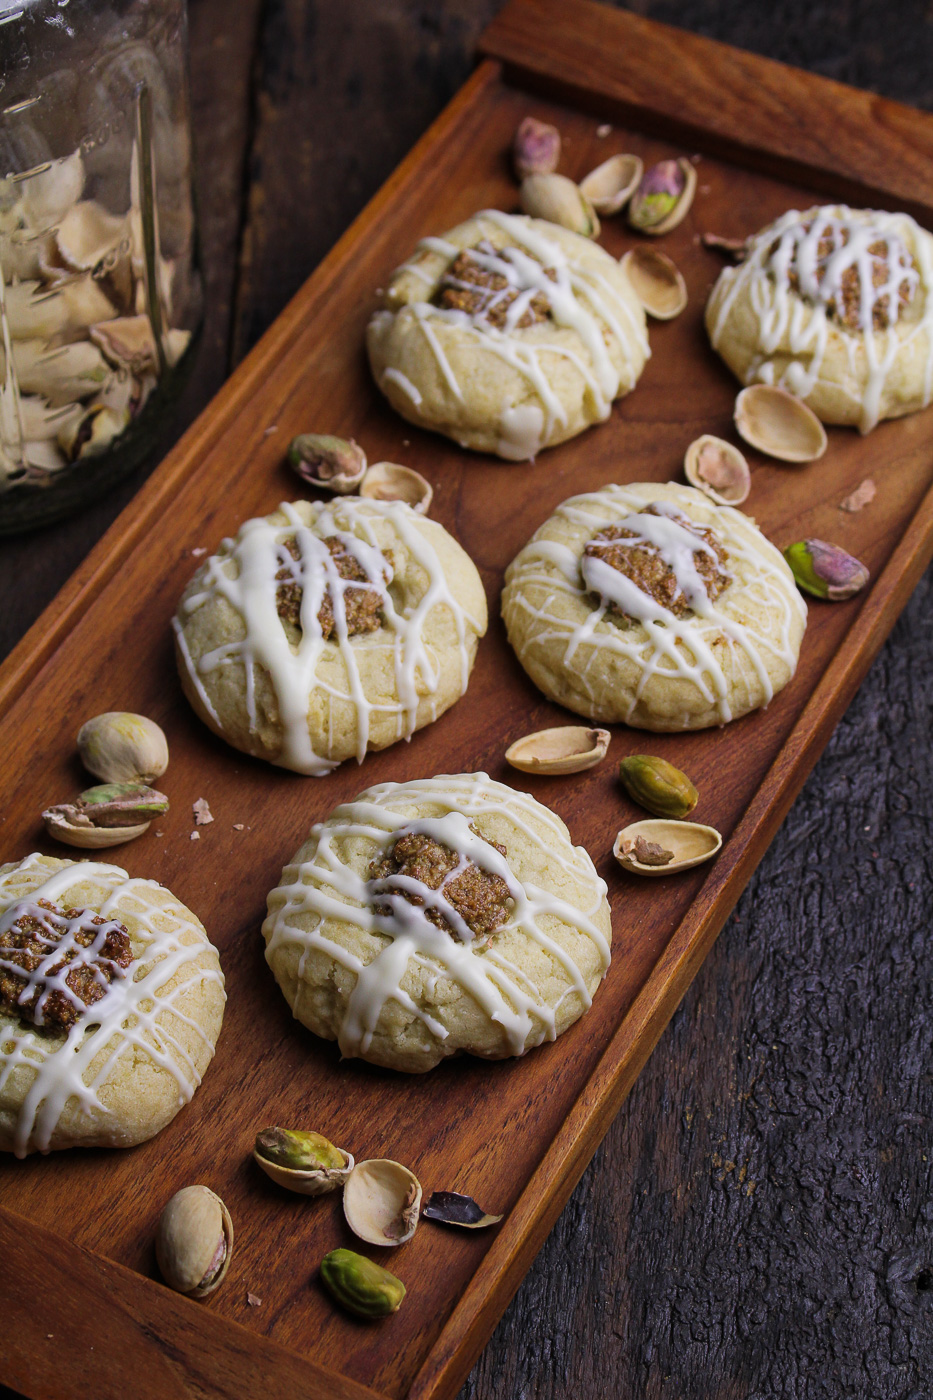
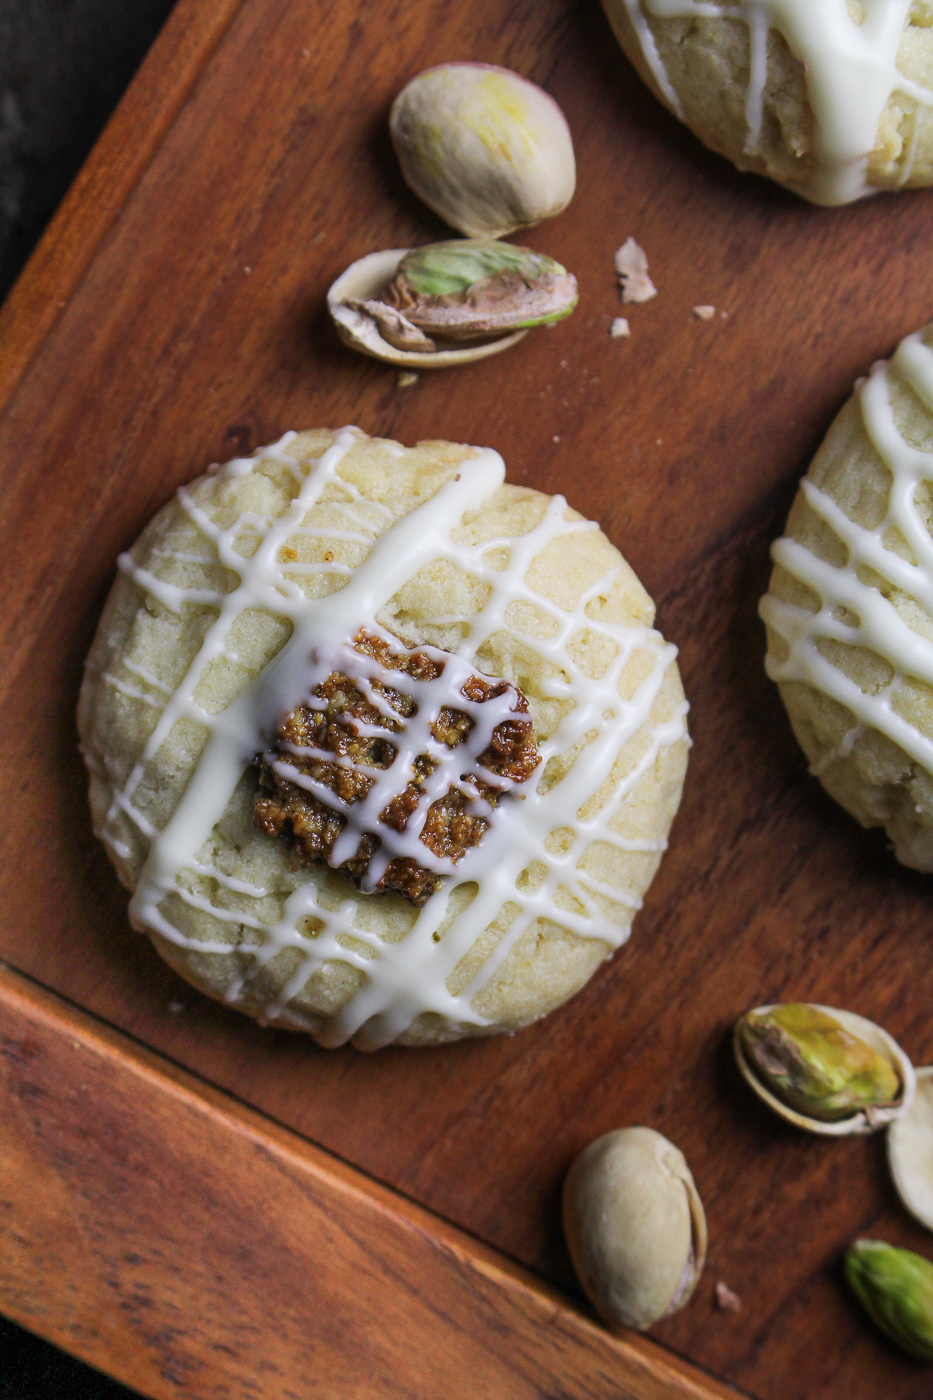
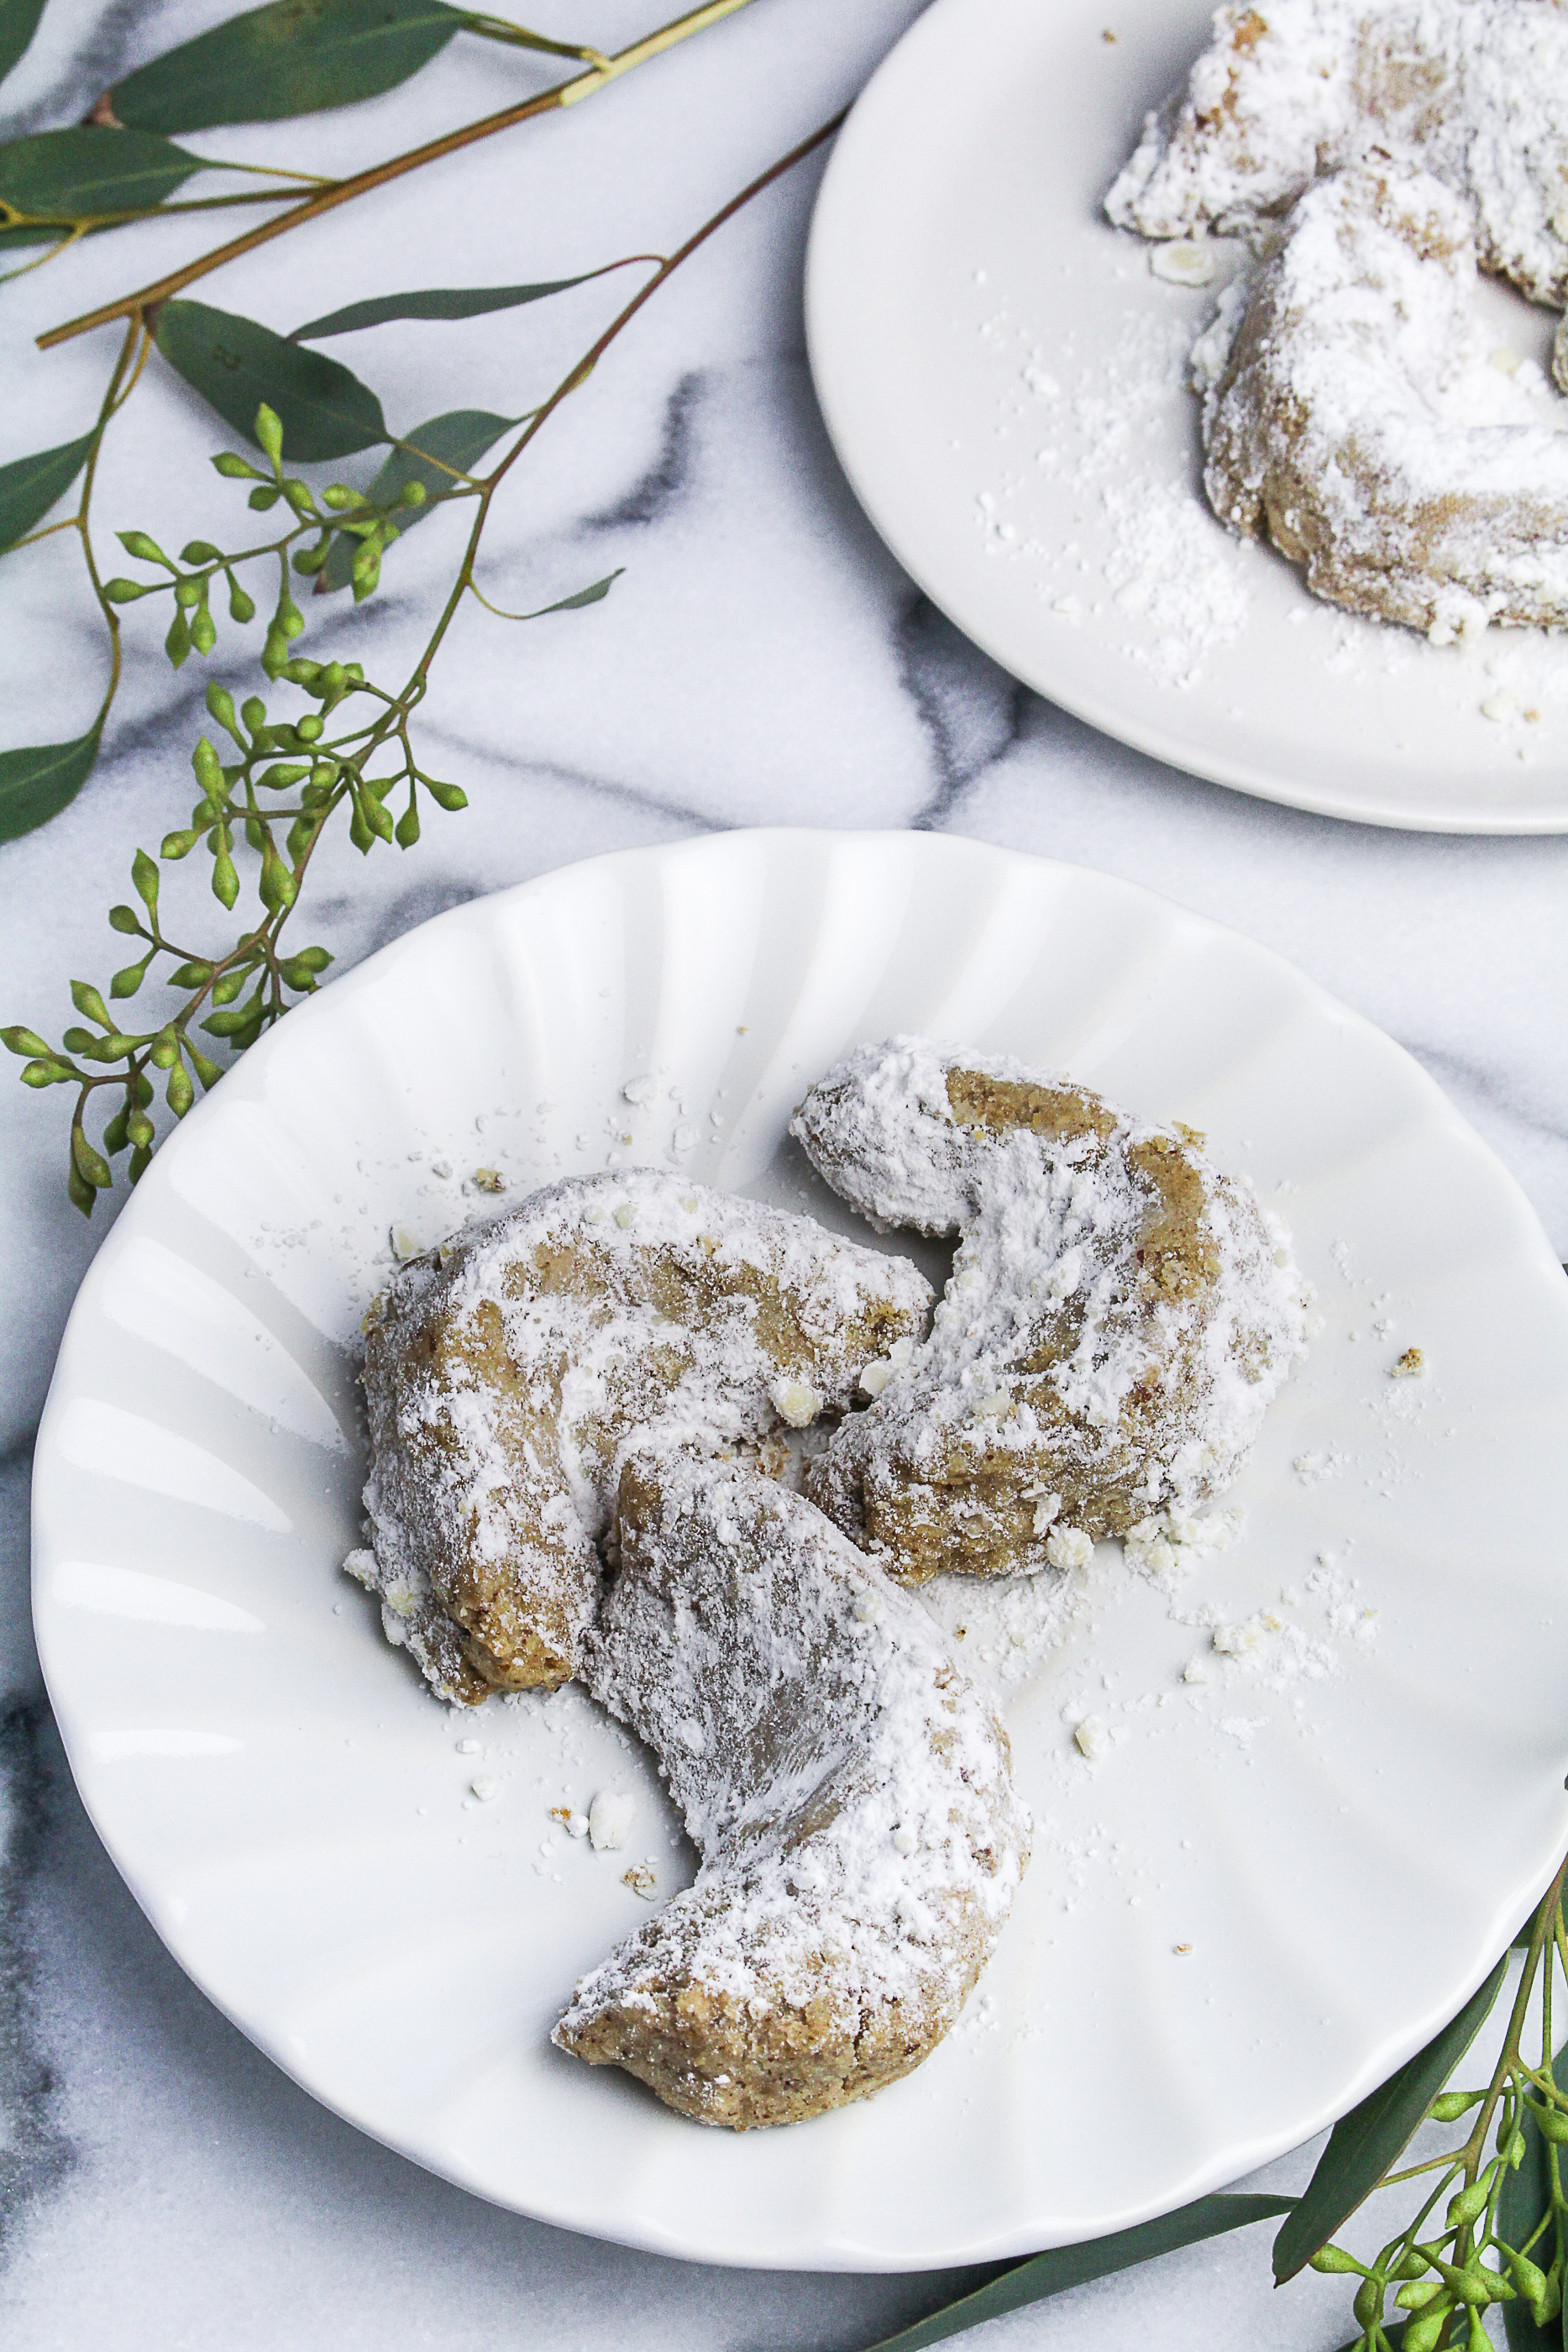 These cookies are incredibly easy to make. All you need to do is pulse the ingredients in a food processor, then shape and bake the cookies. I found the recipe in the giant