Obviously one week isn’t enough time to fully explore all the possibilities for using any particular ingredient, no matter how much I commit to cooking that week. But there are lots of other talented bloggers out there cooking with and blogging about rhubarb at this time of year, and they have plenty of delicious-sounding rhubarb recipes to share. Below are six of the most creative, not to mention most beautifully photographed, recipes using this pretty pink vegetable that have come across my radar recently. (As a side note, all of these blogs are beautiful and well-written spaces that you should check out whether or not you’re in the mood for rhubarb.)
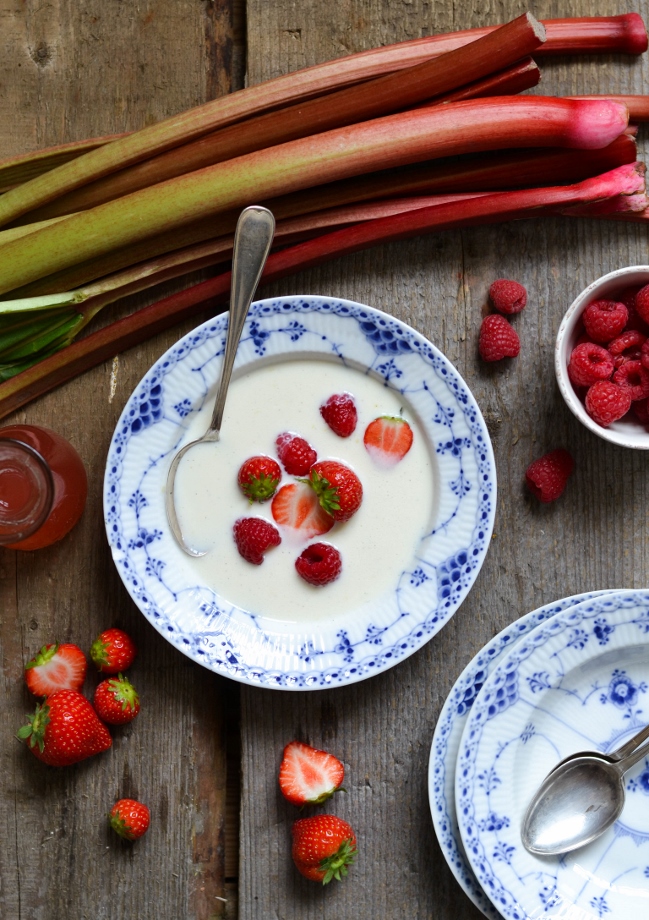
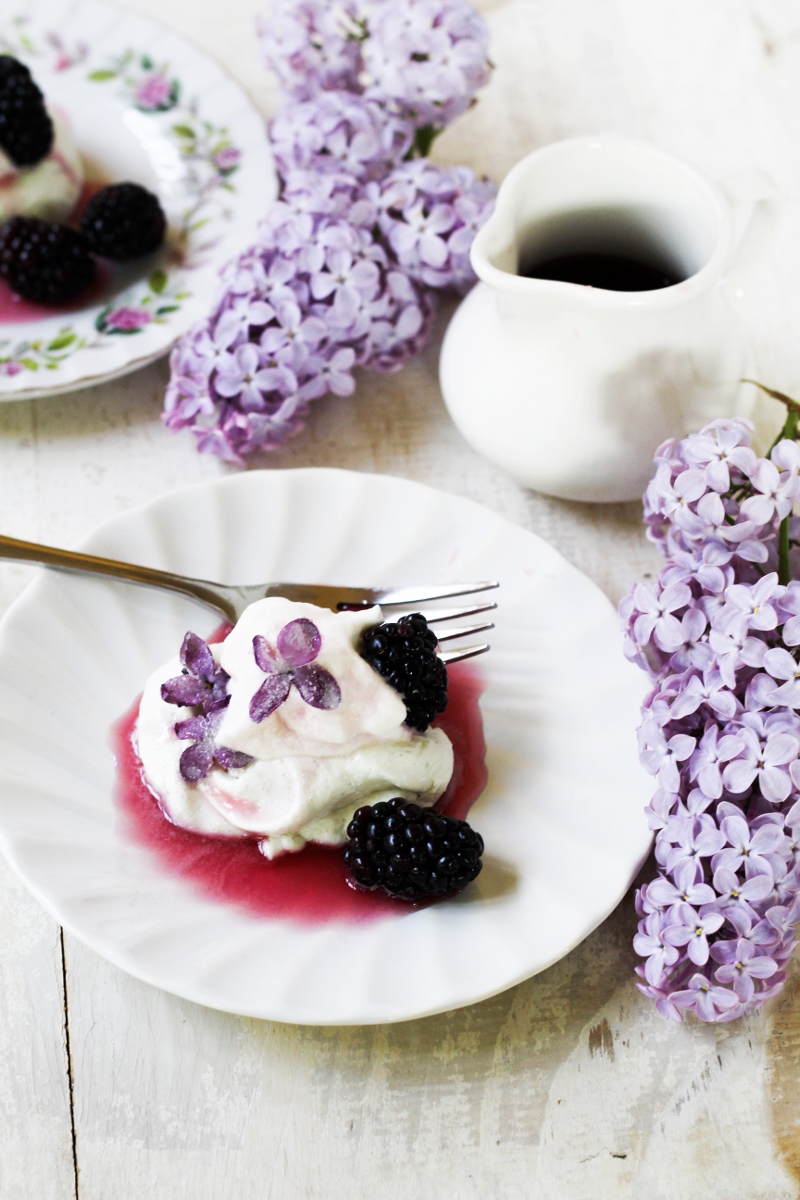
Danish Buttermilk & Rhubarb Summer Bowl from A Tasty Love Story
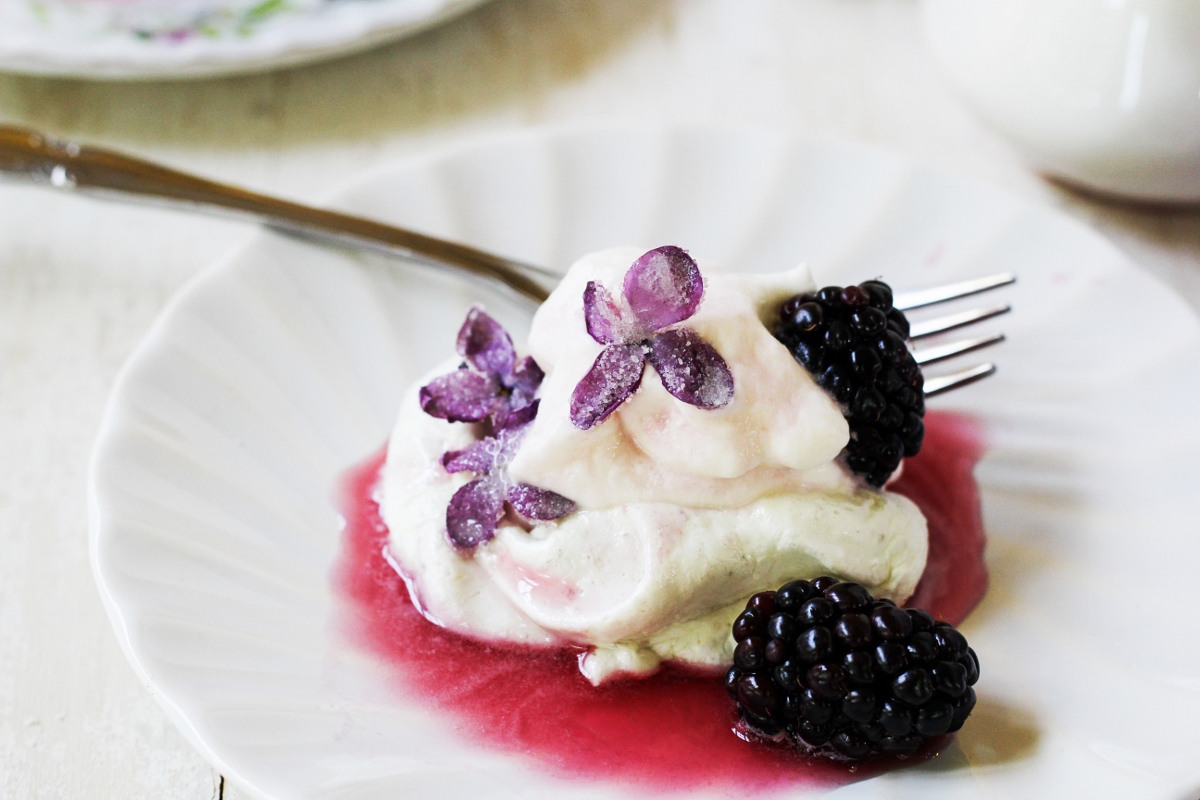
I was fascinated to read Josephine’s post about koldskål, a Scandinavian summer treat she describes as falling somewhere in between ice cream and yogurt. Once she continued to explain that it’s made from pretty much all of my favorite dairy products – buttermilk, yogurt, heavy cream, and egg yolks – and flavored with sugar, lemon, and vanilla, then served with “sweet butter biscuits,” I was drooling. Her twist on this summertime specialty includes a drizzle of fresh rhubarb syrup and a bowl full of fresh red berries.
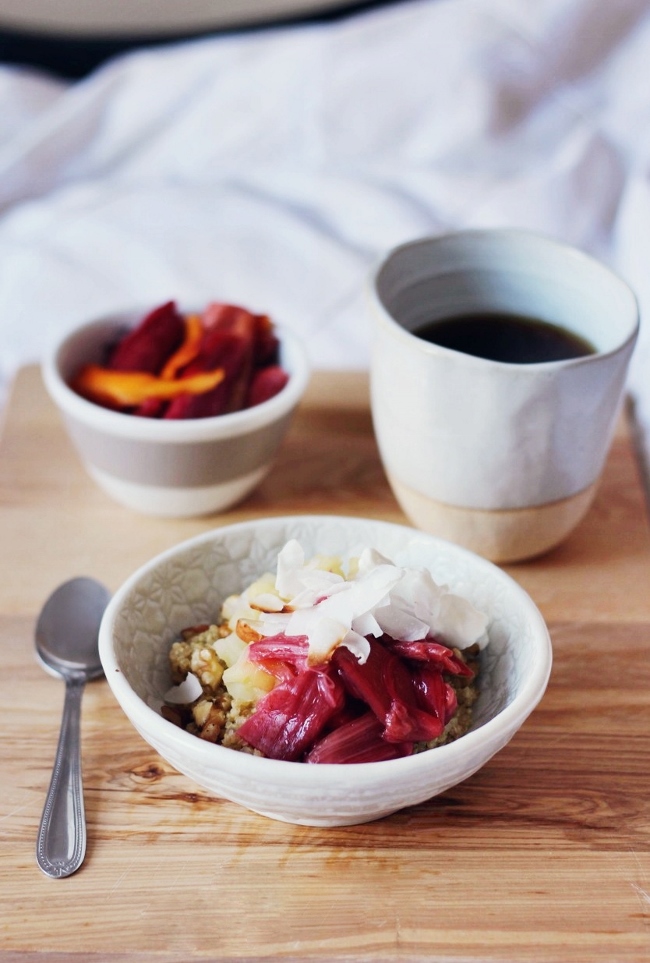
Quinoa Porridge with Almond Milk, Rhubarb, Apple, Nuts, and Coconut from Finger Fork Knife
I am definitely a fan of breakfast porridges. Although simple cream of wheat served with butter and sugar will probably always be my favorite, I occasionally dabble in healthier recipes, and Kate’s Quinoa and Rhubarb breakfast bowl just moved to the top of my list. Not only is this recipe packed with healthy and filling ingredients – quinoa, nut milk, fresh fruit, nuts, coconut, and yogurt – it also sounds amazingly flavorful. The rhubarb is cooked down with orange and ginger, the quinoa is cooked in milk and cinnamon, and it’s all topped off with plenty of crunchies and a drizzle of honey. I’ve added all the ingredients to my shopping list for next week – just saying.

Indian-Style Sweet-and-Sour Pickled Rhubarb from A Brown Table
Most rhubarb recipes published these days are some form of dessert or sweet drink, but rhubarb can definitely hold its own in savory preparations as well. Nik’s sweet-and-sour rhubarb pickles are a perfect example – they take a week to age, but when you open up your jar you’ll have a sweet-tart condiment filled with the flavors of ginger, chili, cumin, turmeric, and fenugreek. Nik suggests using the pickles on sandwiches with roast lamb or beef, or in a simple bowl of rice and fish, and now that I’m thinking about it I can’t seem to get the idea of an Indian-spiced lamb burger with rhubarb pickles out of my head…

Strawberry Rhubarb Meringue Tartlets from Completely Delicious
A classic strawberry rhubarb pie is really one of the best uses of rhubarb there is, balancing sweet and sour and buttery for a nearly perfect spring dessert. But sometimes even classics can benefit from a little updating. These miniature pies from Annalise bring just enough novelty to the table with their pretty meringue topping. Plus, they’re so cute and little that it’s hard for me not to envision picking one up in my hands and taking a big bite (what a fun way to eat pie!).
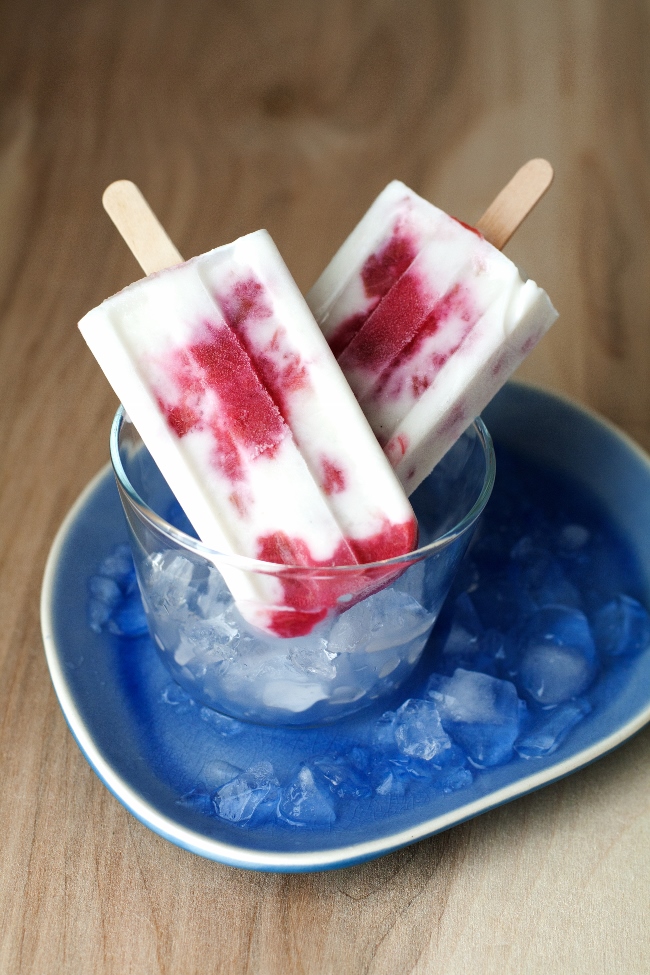
Rhubarb Swirl Ice Pops from Hungry Girl por Vida
I have yet to give in to buying a popsicle mold (my kitchen is so full), but this might be the summer that does me in, especially if Cindy keeps posting delicious popsicle recipes like this one (and like these honeydew mint ones too!). Besides being pretty to look at, these make use of coconut milk for the base, which makes them that much more intriguing for me. Get me one of these and a sunny spot on a front porch and summer will be mine for the taking.
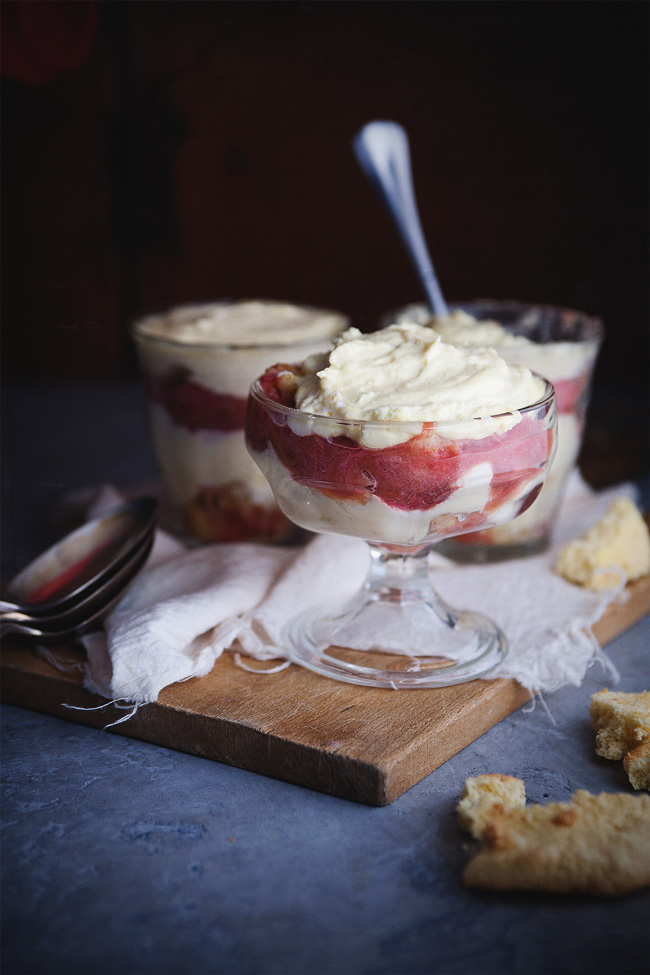
Strawberry Rhubarb Tiramisu from The Tart Tart
I love this fresh (and pretty!) take on tiramisu by Linda, via her friend Luzia. I’m imagining that between the ladyfingers, mascarpone cream, and sweetened fruit it almost tastes like an elegant strawberry shortcake – but with a healthy splash of booze to make it more grown up. Bonus: Linda just posted another delicious rhubarb recipe for Strawberry Rhubarb Ginger Crumb Bars tonight… it’s also worth drooling over.
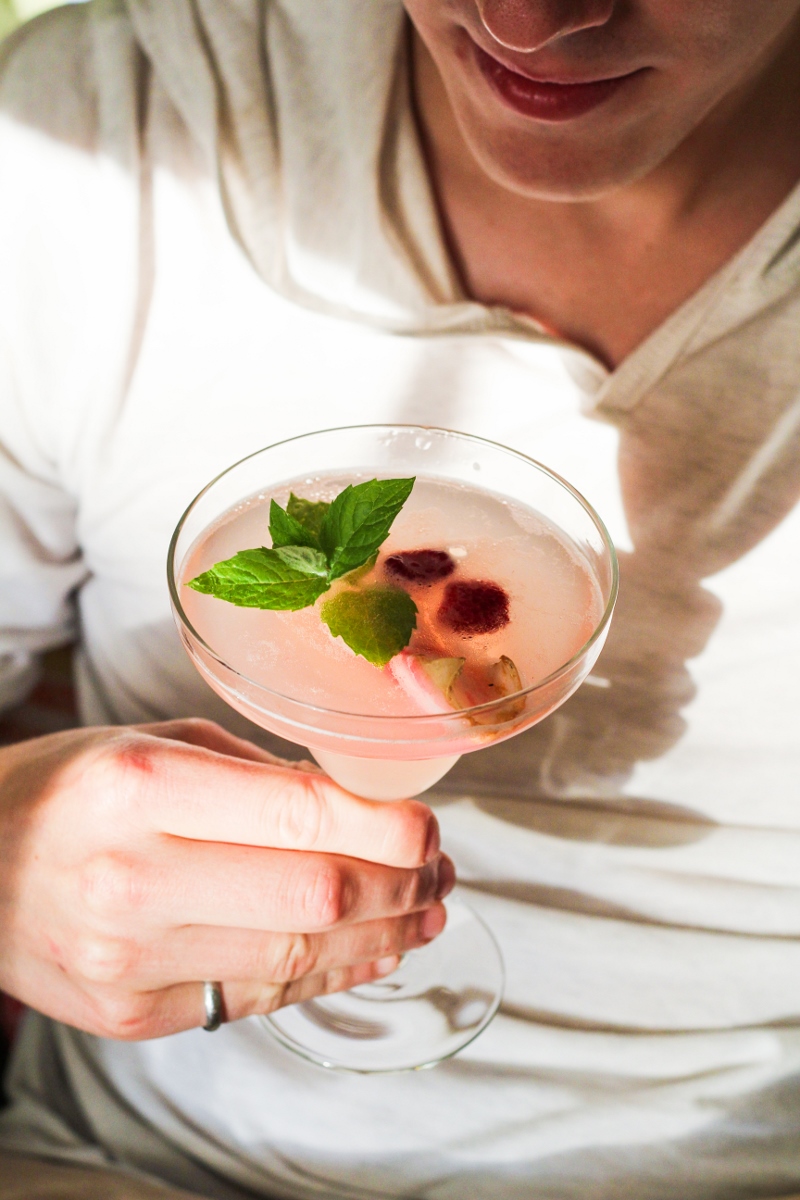
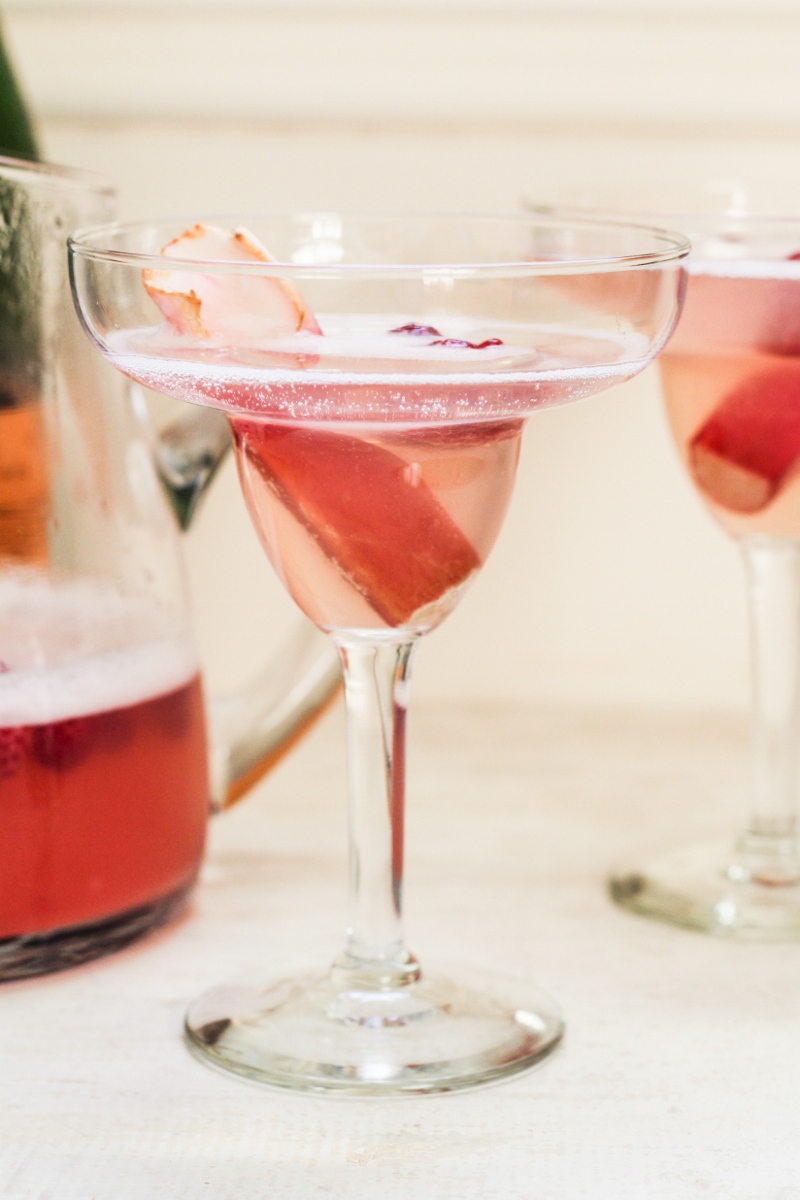
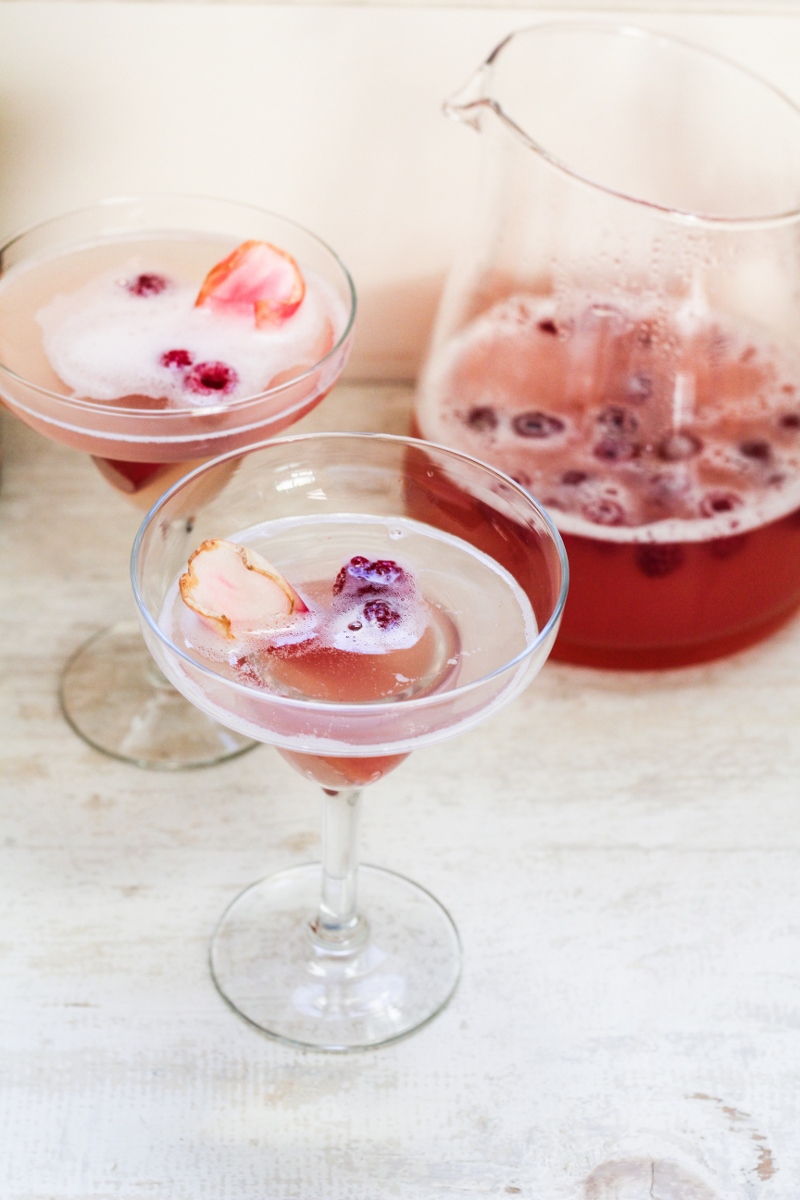
Rhubarb Week Part One: Rhubarb-Prosecco Spritzer
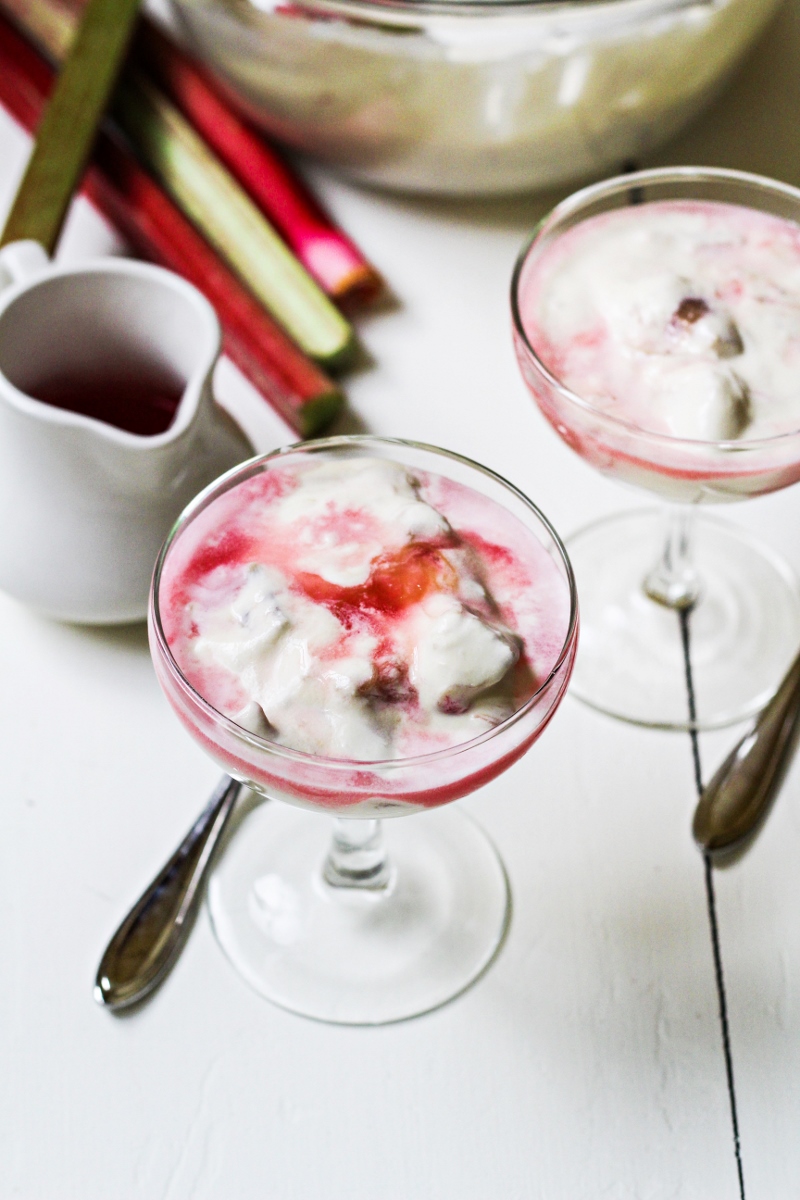
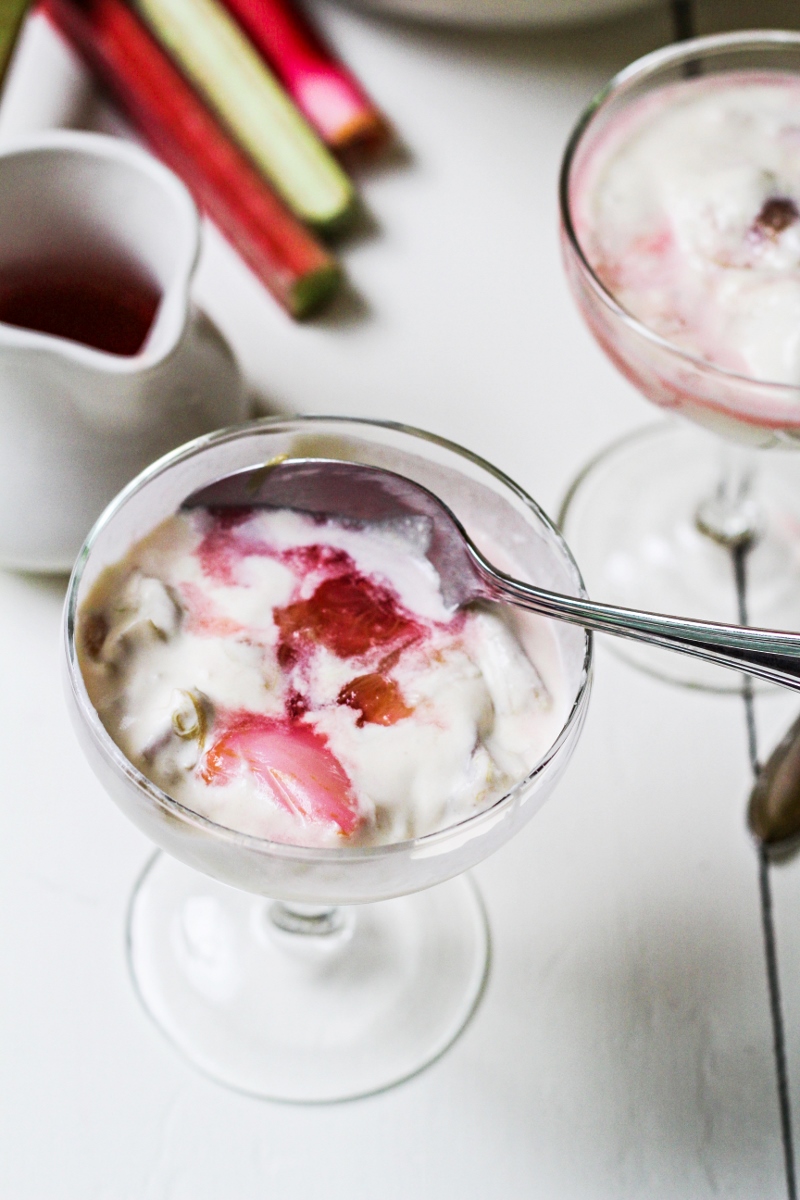
Rhubarb Week Part Two: Rhubarb Custard Fool
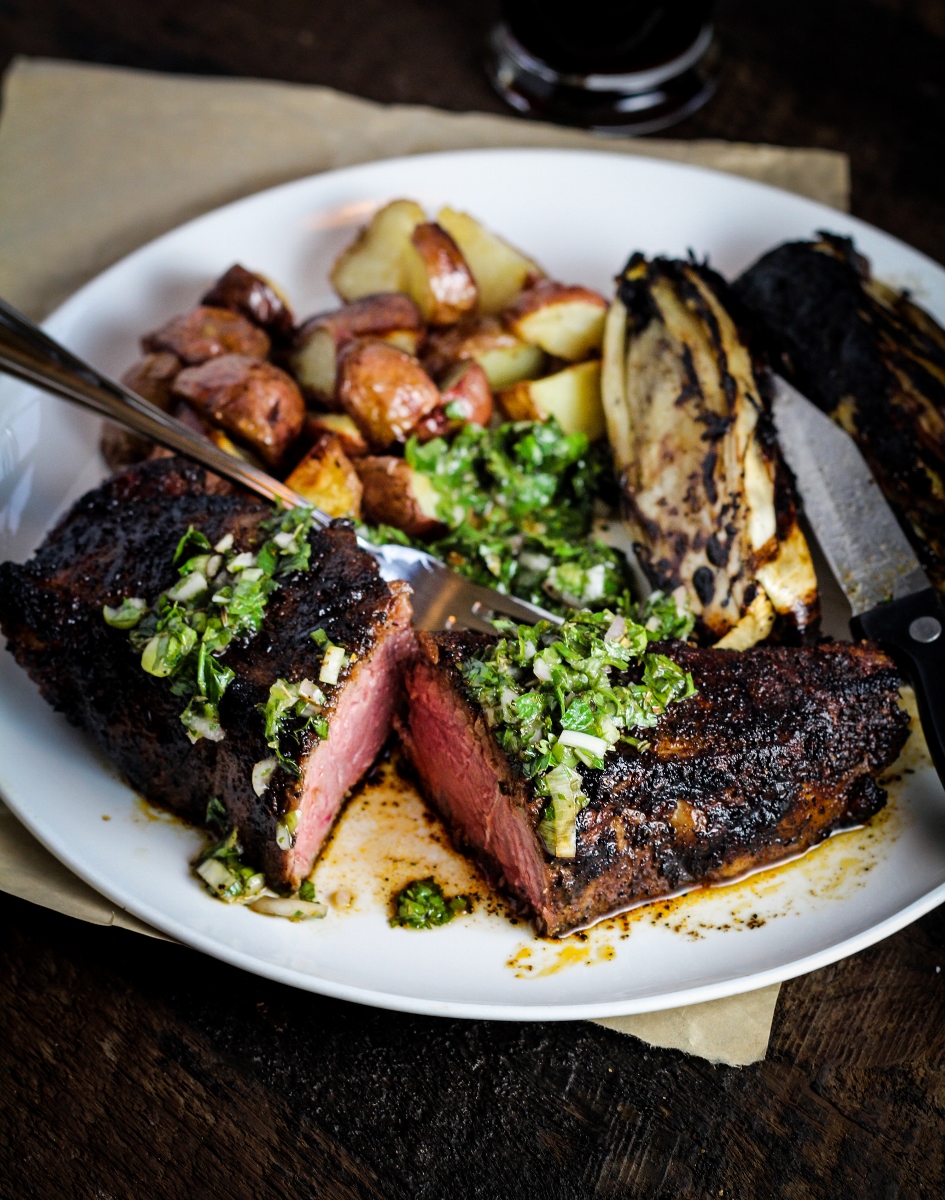
Rhubarb Week Part Four: Persian Rhubarb and Beef with Rice
Rhubarb Week Part Five: Rhubarb-Ginger Bars