There isn’t always something to say about dinner. As a blogger, this fact sometimes stumps me. But food isn’t always nostalgic, or earth-shatteringly creative. Sometimes, dinner is what it is simply because it uses what you had in the fridge and it was the Friday of a long week, so you wanted something more than a quick omelette or a salad. Something hearty that would go well with a much-needed cold beer.
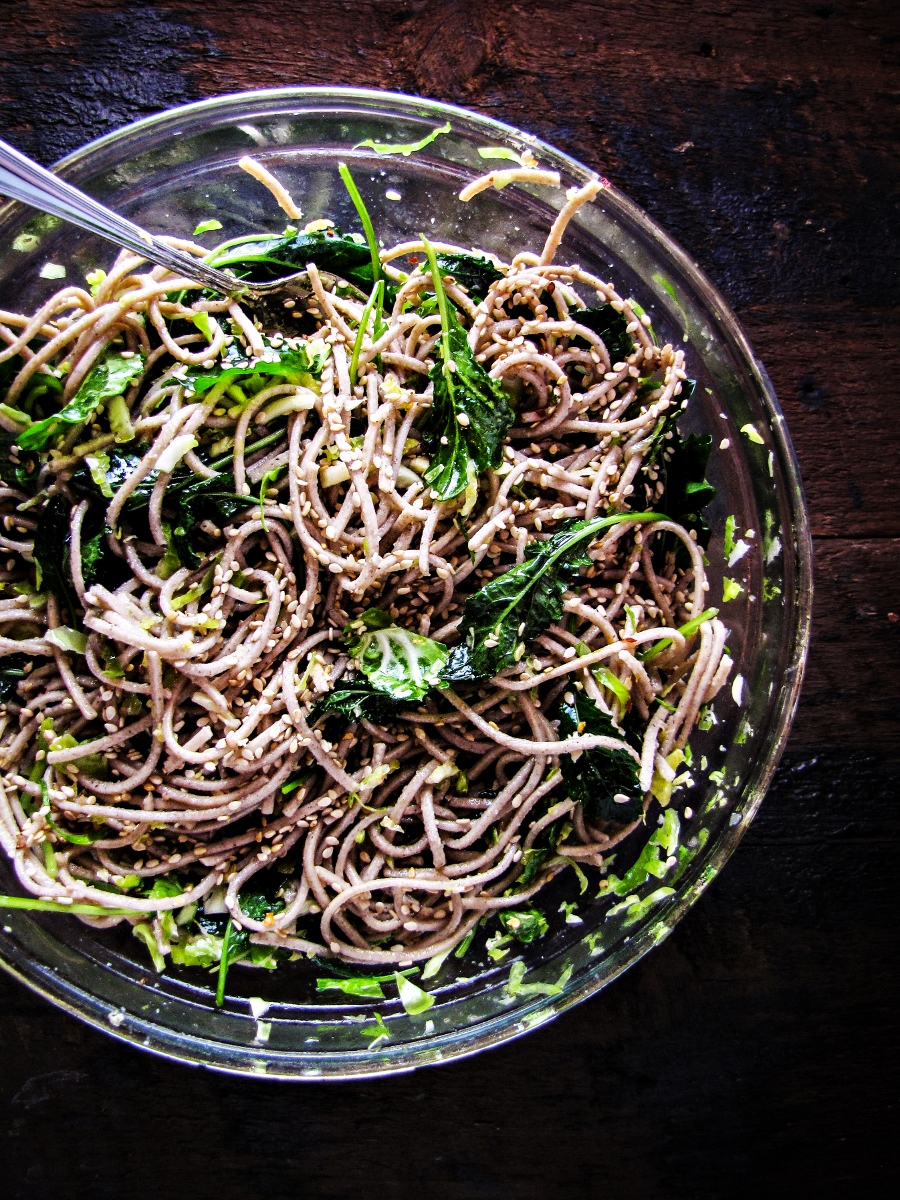
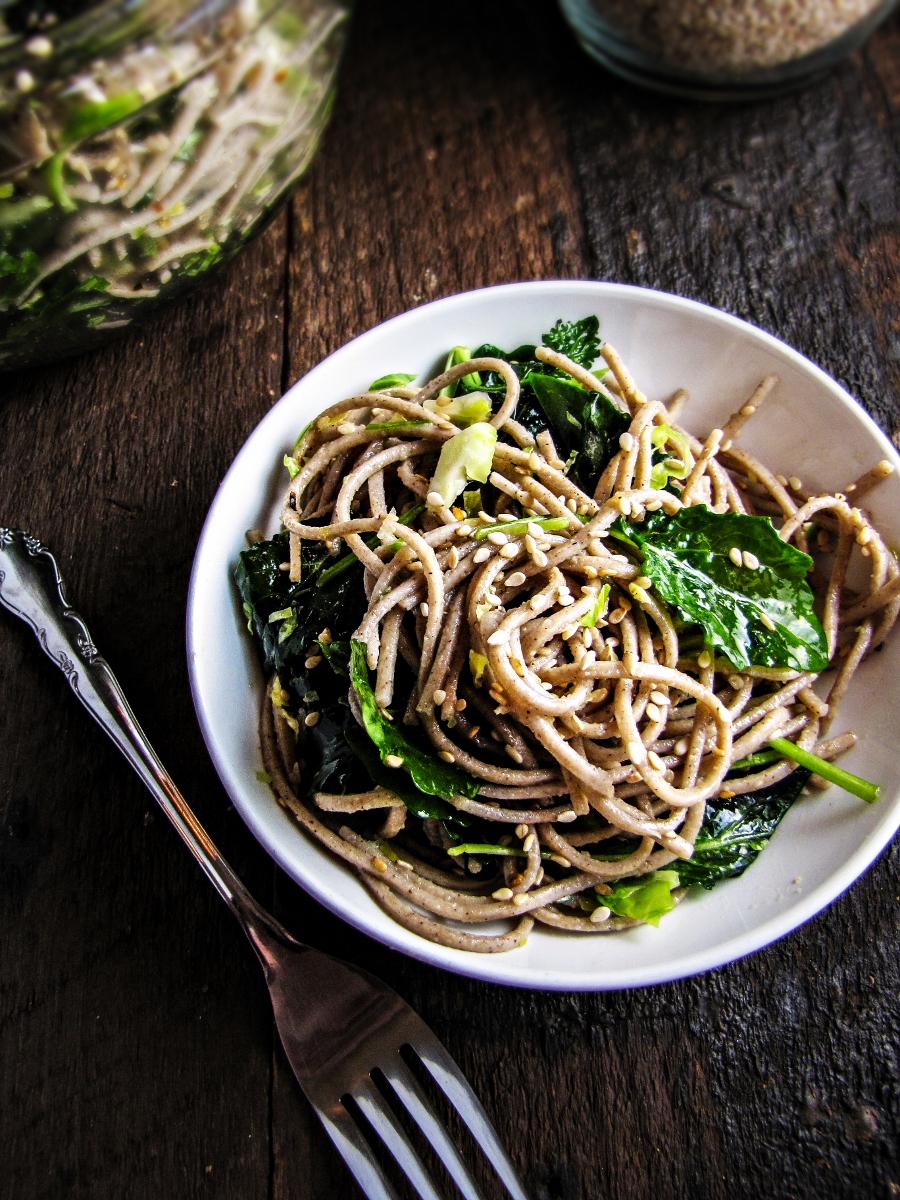
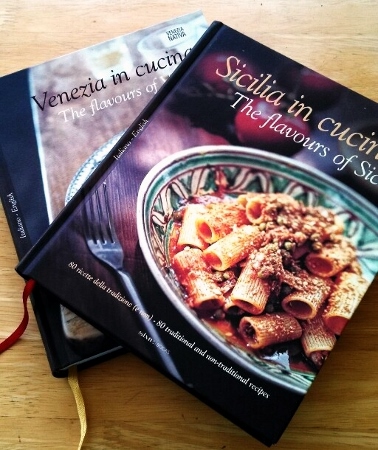
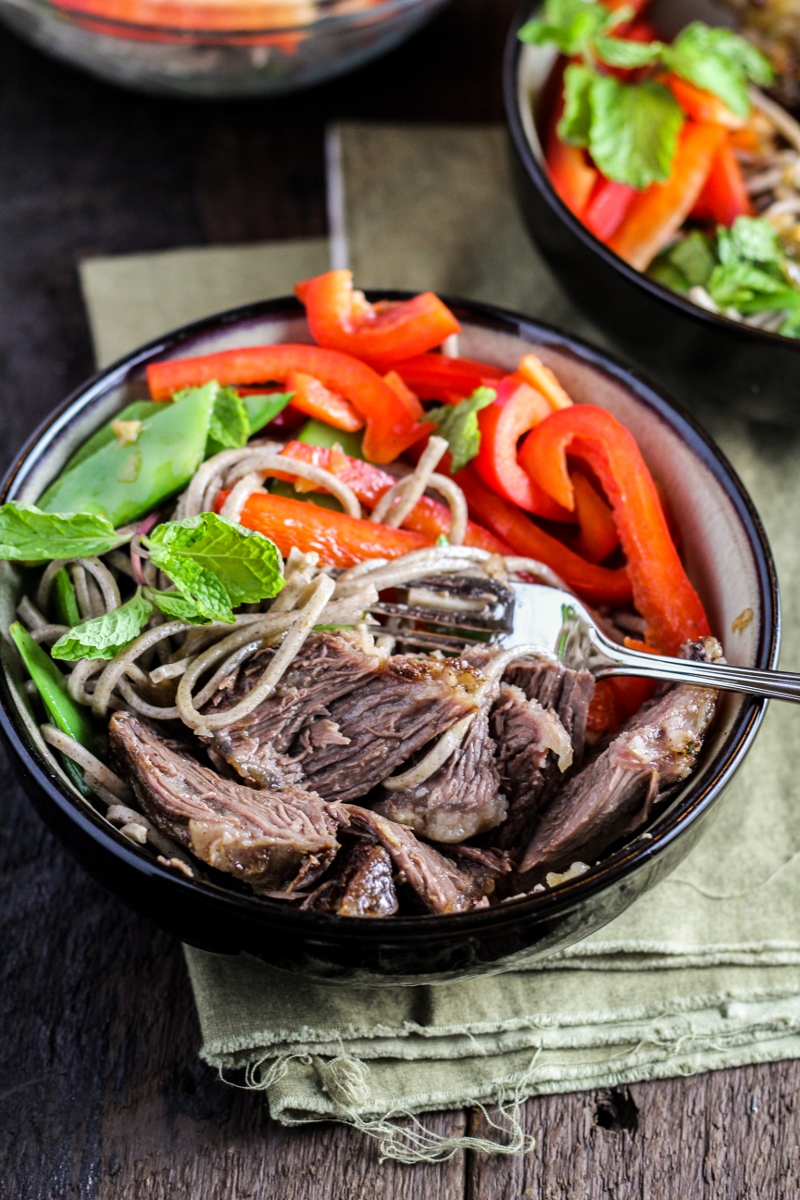
That’s all the story there is behind these short ribs. They were simple and satisfying and good enough to share. The Asian flavors in the spice rub on the beef married well with the lightly dressed soba noodles, and the raw peppers and snow peas provided a nice freshness and crunch. I adapted the recipe from The Great Meat Cookbook, where I turned as soon as I realized my original plan for the short ribs (goulash) wasn’t going to pan out. I reviewed the book late last year, but I’ll say again that it’s an excellent resource for a meat cooking novice. And with that, I’ll leave you all to enjoy your weekend.
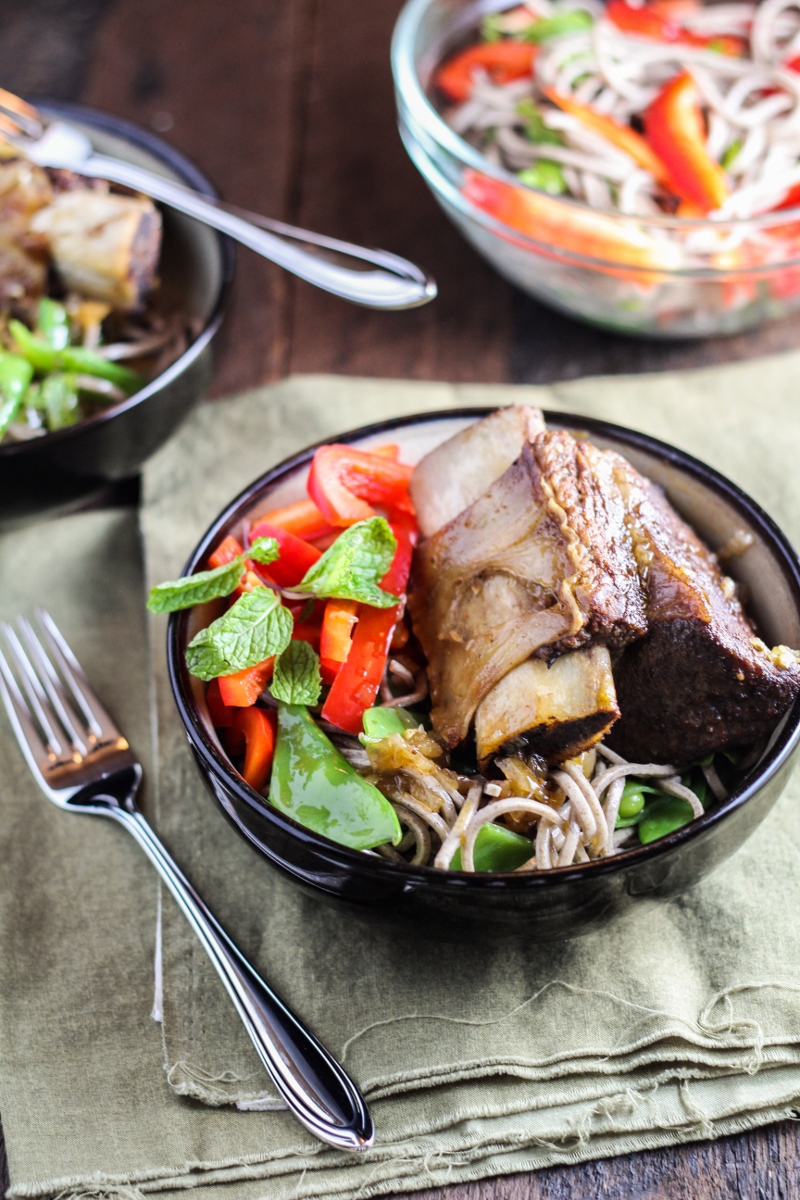
Vietnamese-Style Short Ribs with Soba Noodle Salad
Adapted from The Great Meat Cookbook. Serves 2.
- 1/2 tsp Chinese five-spice powder (I made my own)
- 1-1/2 tsp paprika
- 1 tsp salt
- 1/2 tsp black pepper
- 2 TBS plus 1 tsp dark brown sugar, divided
- 2 lbs beef short ribs
- 1 TBS peanut oil
- 1 medium onion, chopped
- 2 cloves garlic, minced
- 2 tsp minced fresh ginger
- 1 1/2 c. chicken or beef stock
- 1 TBS Asian fish sauce
- 2 TBS plus 1 tsp rice vinegar, divided
- 1 1/2 tsp soy sauce
- 1 whole star anise
- 8 oz. dried soba noodles
- 1 TBS sesame oil
- 1 red pepper, washed, stemmed and seeded, and sliced into thin strips
- 1 c. fresh snow peas, washed and sliced in half on the diagonal
- minced fresh mint or cilantro, for garnish
- In a small bowl, mix together the five-spice powder, paprika, salt, pepper, and 1 tsp of the brown sugar. Rub this spice mixture all over the short ribs, then place on a platter, cover tightly with plastic wrap, and refrigerate overnight.
- Preheat the oven to 350°F. Heat the peanut oil in a large dutch oven over medium heat. Add the short ribs and sear for 1 to 2 minutes per side, until nicely browned all over. Remove the short ribs and set aside. Add the onion to the dutch oven and saute for 5 minutes, until softened. Add the garlic and ginger and saute 2 minutes longer, stirring. Add the stock, fish sauce, 2 TBS of the rice vinegar, the soy sauce and the star anise. Scrape up any browned bits from the bottom of the pan, and bring to a boil. Return the short ribs to the pan, cover, and place in the preheated oven.
- Cook the short ribs in the oven for 90 minutes, flipping them over and checking for done-ness every 30 minutes. They are done when they are tender enough to pierce with a fork, but are not falling apart. Remove the ribs from the oven but keep covered.
- Put a pot of water on to boil and prepare soba noodles according to package directions. While they are cooking, degrease the sauce from the ribs, and add 1 cup of it to a small saucepan. Stir in the remaining 2 TBS brown sugar and 1 tsp rice vinegar. Bring to a boil over medium heat and reduce to make a thick, syrupy sauce, stirring frequently.
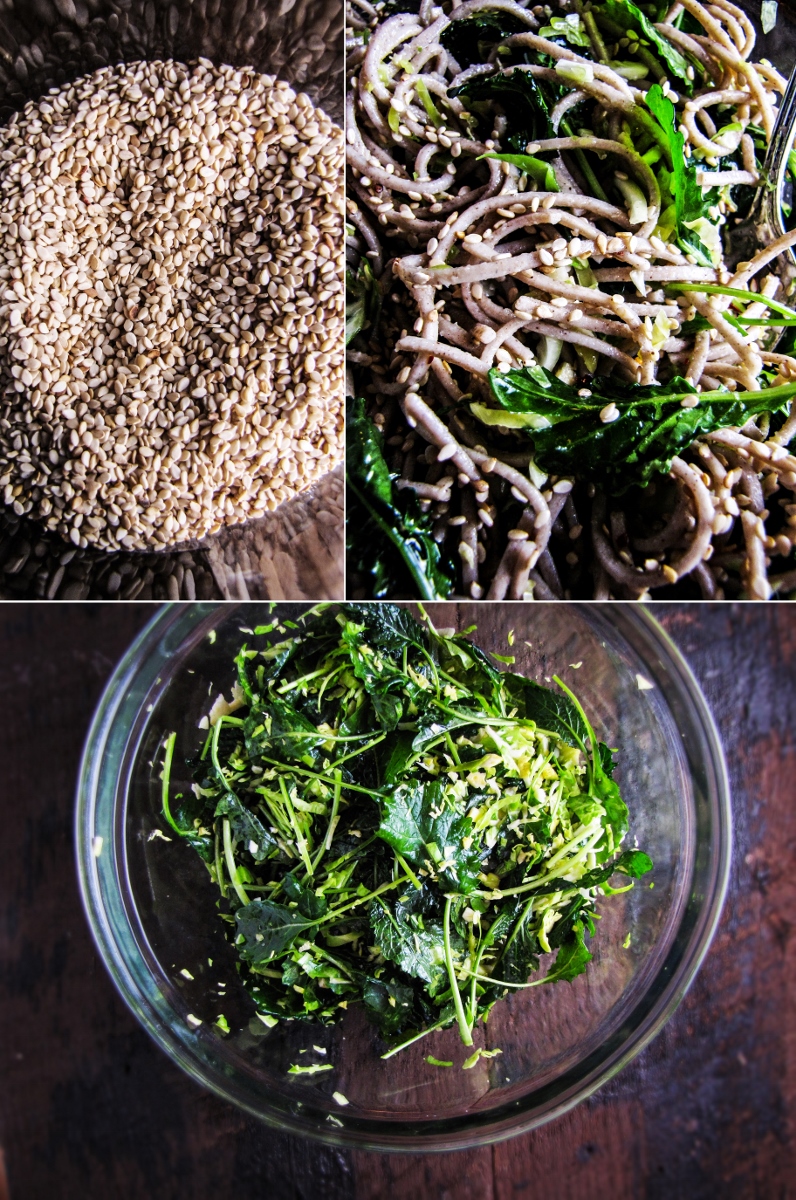
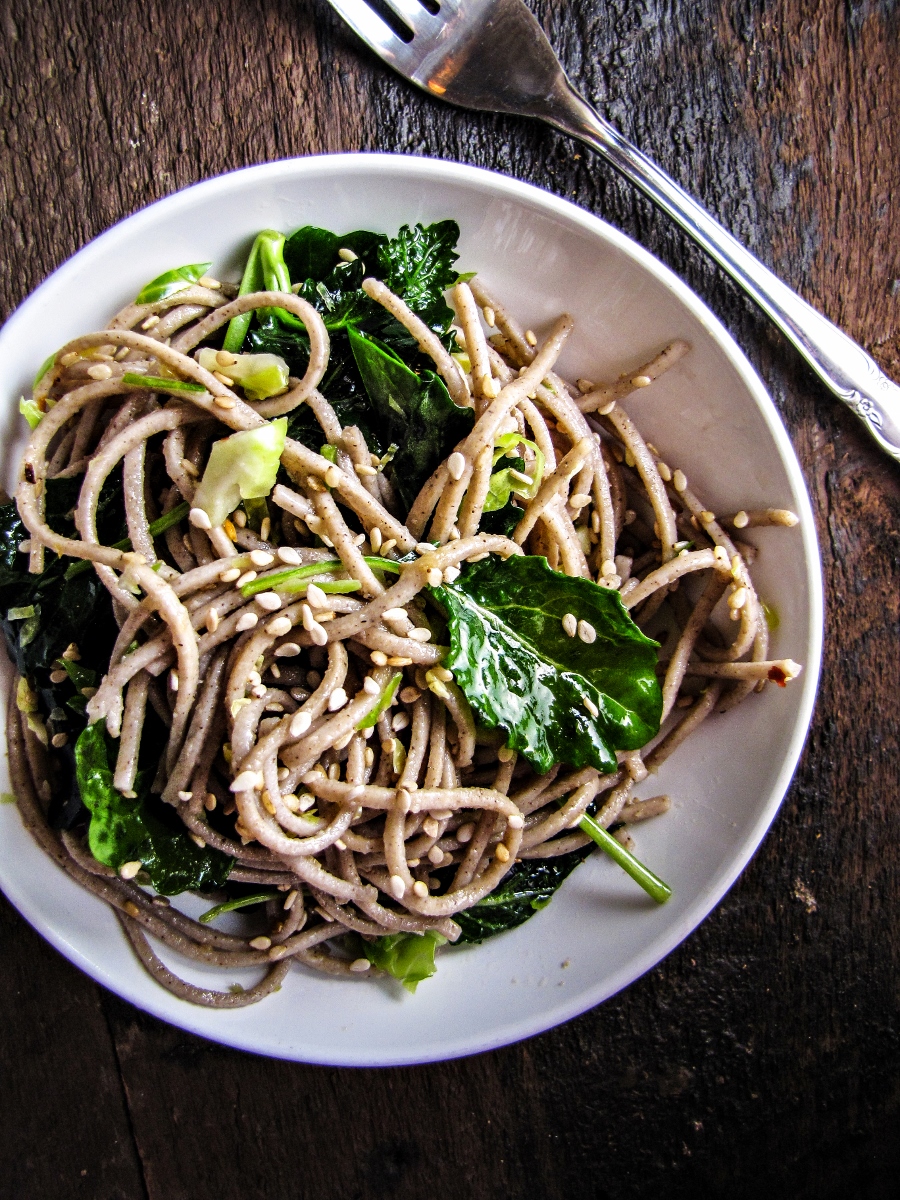
- When the noodles and sauce are done, toss the noodles with the sesame oil, sauce, and prepared peppers and snow peas. Serve with the short ribs and chopped mint or cilantro.