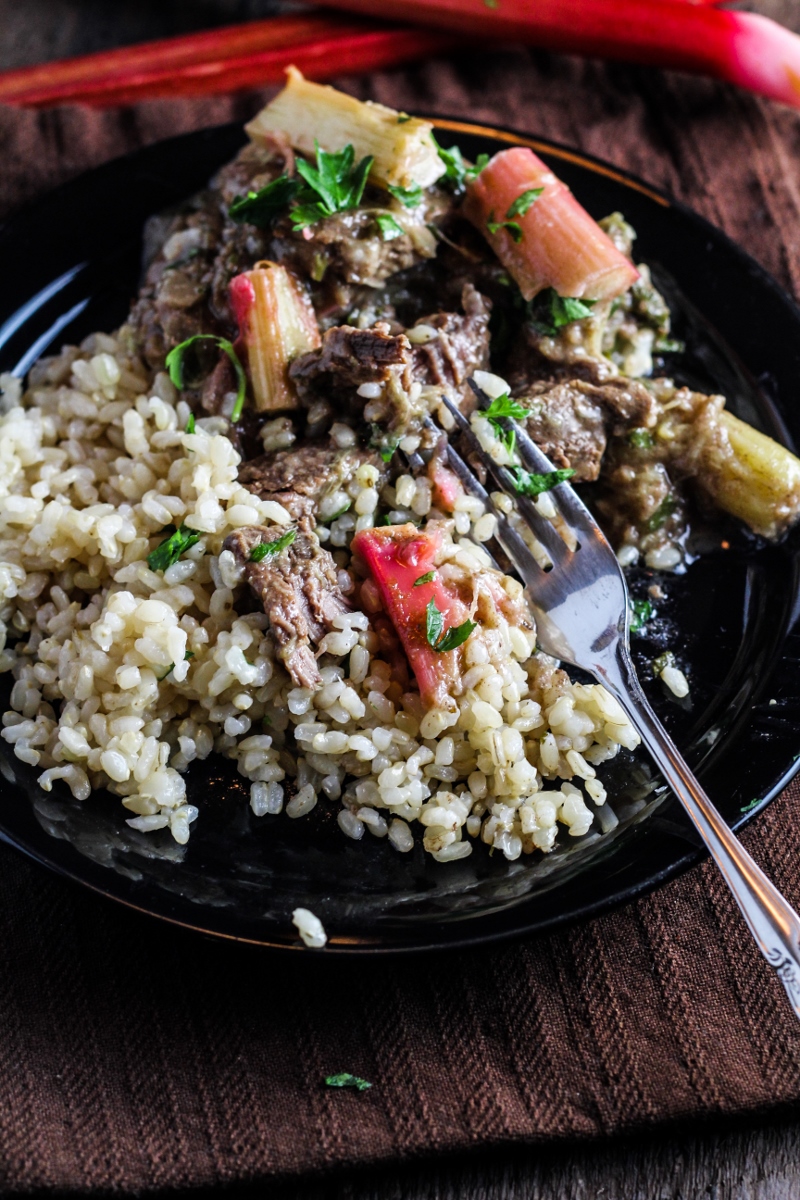
I was reminded the other night of the difference between a mediocre English pea and a perfect one. The bag of peas I had picked up at the farmer’s market was just so-so – the peas were fresh, but not particularly sweet, and starchy even though they were small. As I shelled them I wondered if perhaps I had built them up as a favorite ingredient in my memory more than I should have. Really, these run of the mill vegetables were what I had spent months anticipating? Then, last night we went to Andover to take care of this week’s gardening needs. Of course, as soon as I got off the train in town it started pouring, then thundering, and then hailing. It was not an ideal situation. Instead of gardening we sat inside and listened to the storm while eating tacos made from the El Paso kit I found in the cupboard. Around 8 the lightning moved far enough into the distance that we decided to brave the remaining weather, so we ran out into the humid garden, the darkness deepening by the minute, and rushed through our chores. It was dirty, and dark, and the mosquitos were vicious, but I managed to grab a few handfuls of peas, favas, lettuce, and rhubarb to take home. On the drizzly drive back I was frustrated – we put so much work and money and time into this garden and here it was, mid-June, and all we had was a measly half-full bag of veggies to show for it, while the deer were having a free-for-all with our baby fruit. What was the point?
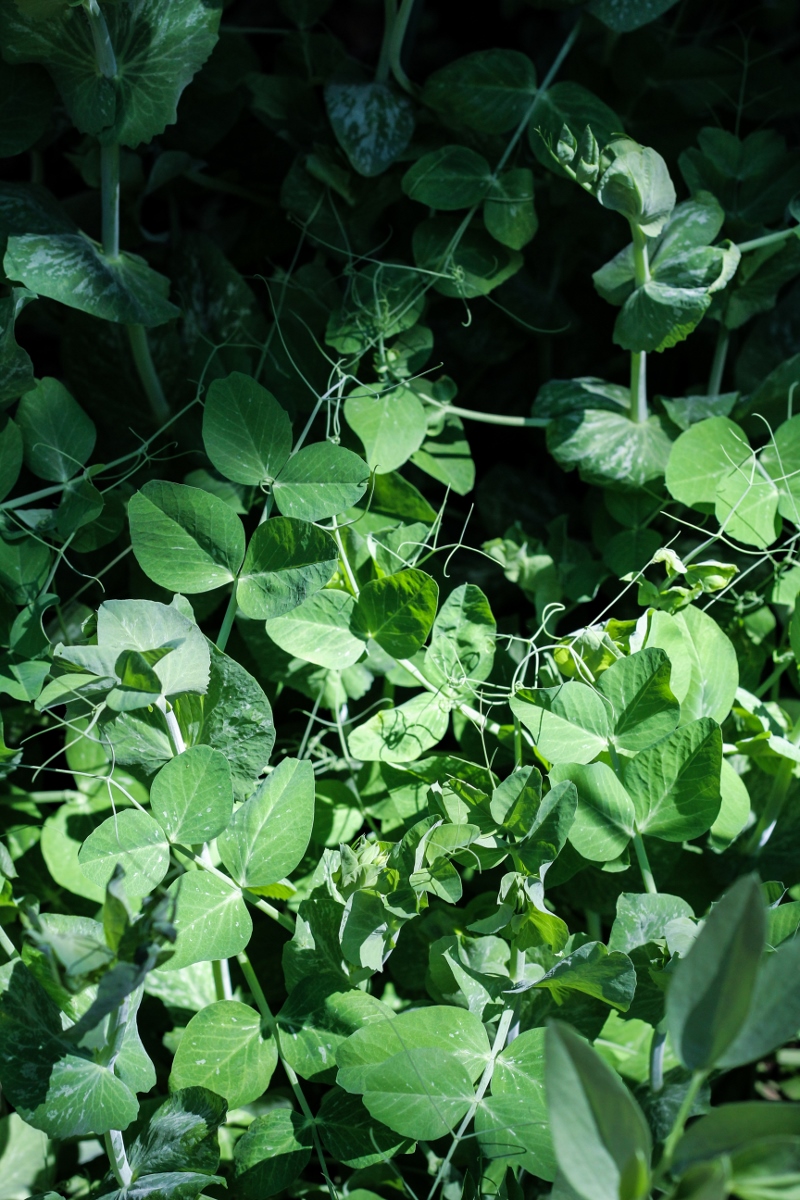
Back in Somerville, I washed the veggies and began putting them away. On a whim, I cracked open one of the pea pods and popped the peas into my mouth. I was immediately overwhelmed by the sweetness. How different from the peas I had bought! I’m sure the farmer’s market peas were initially just as sweet, but after coming off the vine they deteriorate quickly. Although the garden is still frustrating, the peas were positive reinforcement that all of our work is paying off, at least as measured by quality.
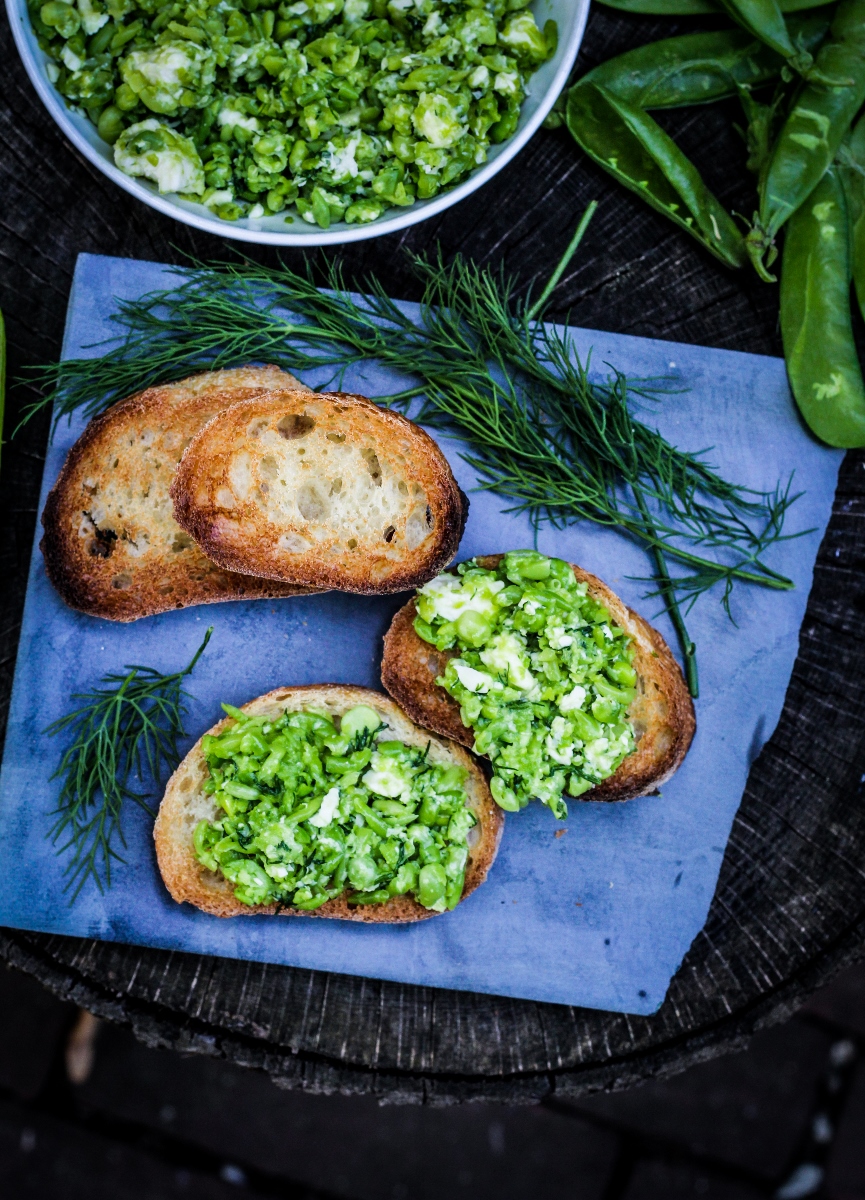
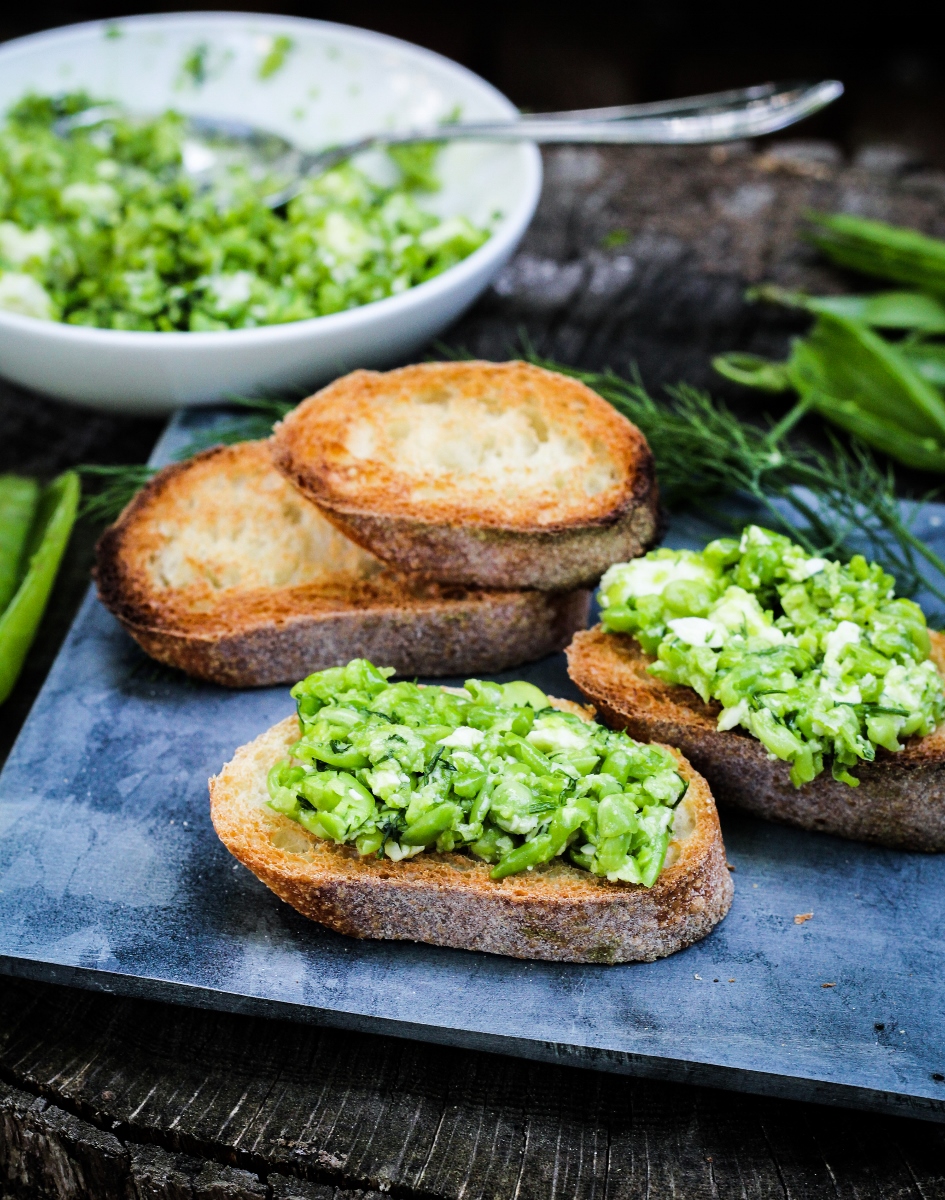
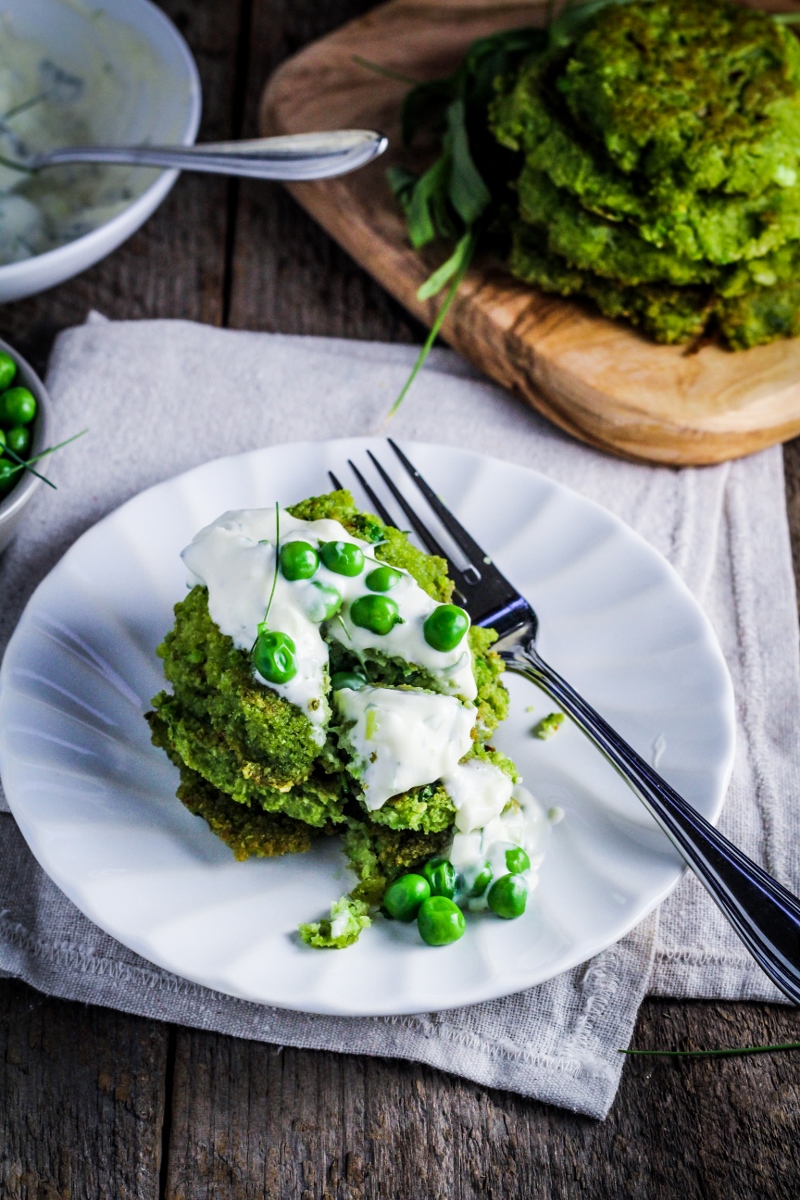
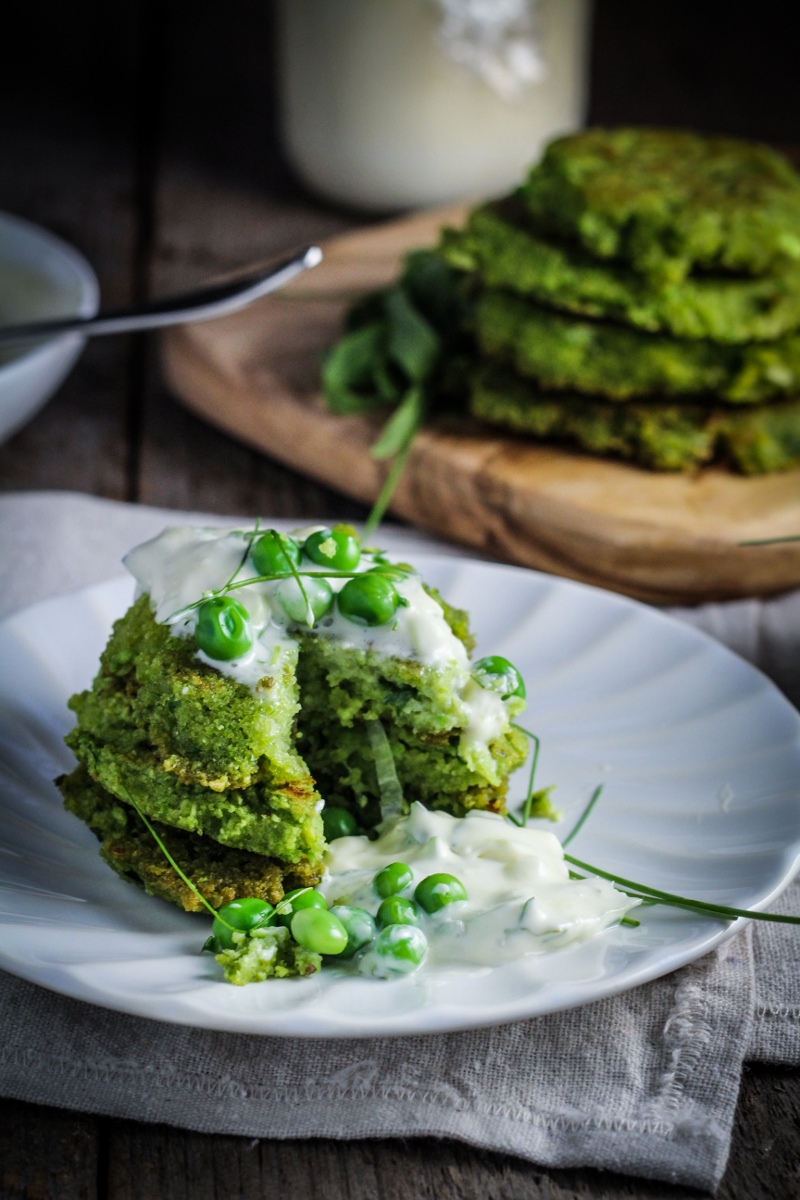
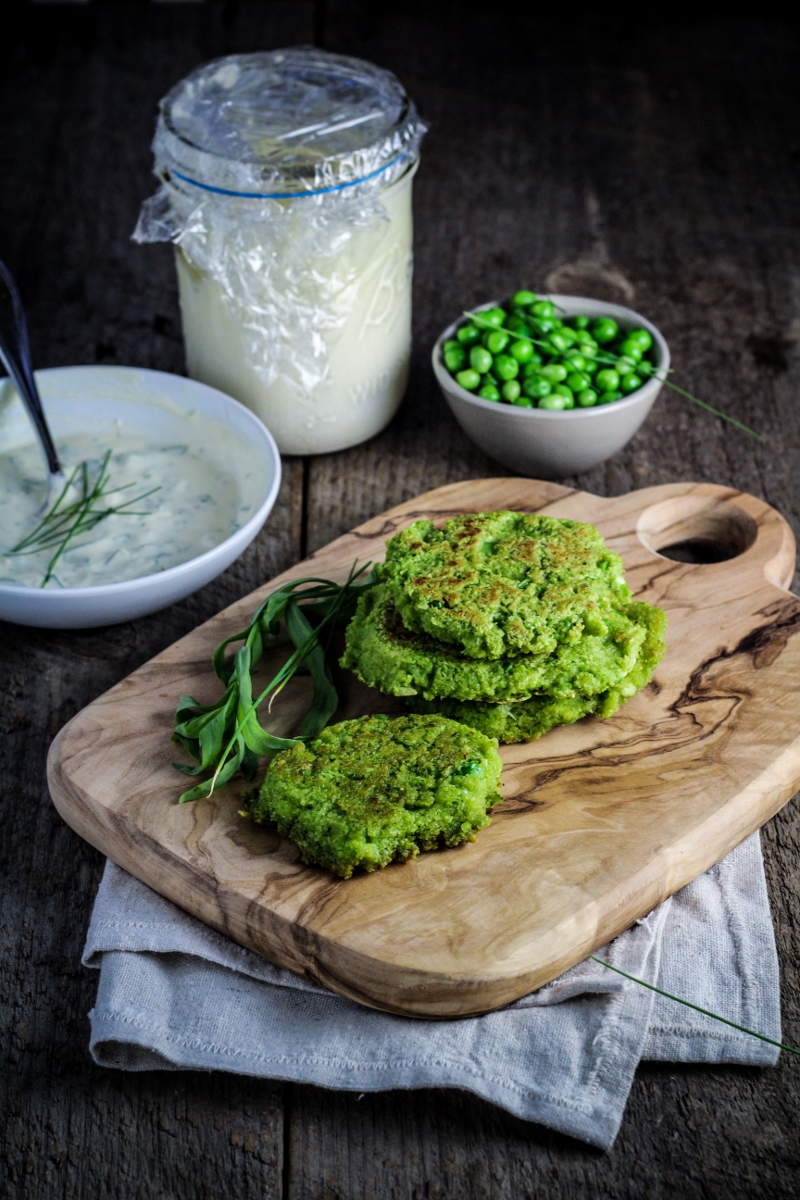
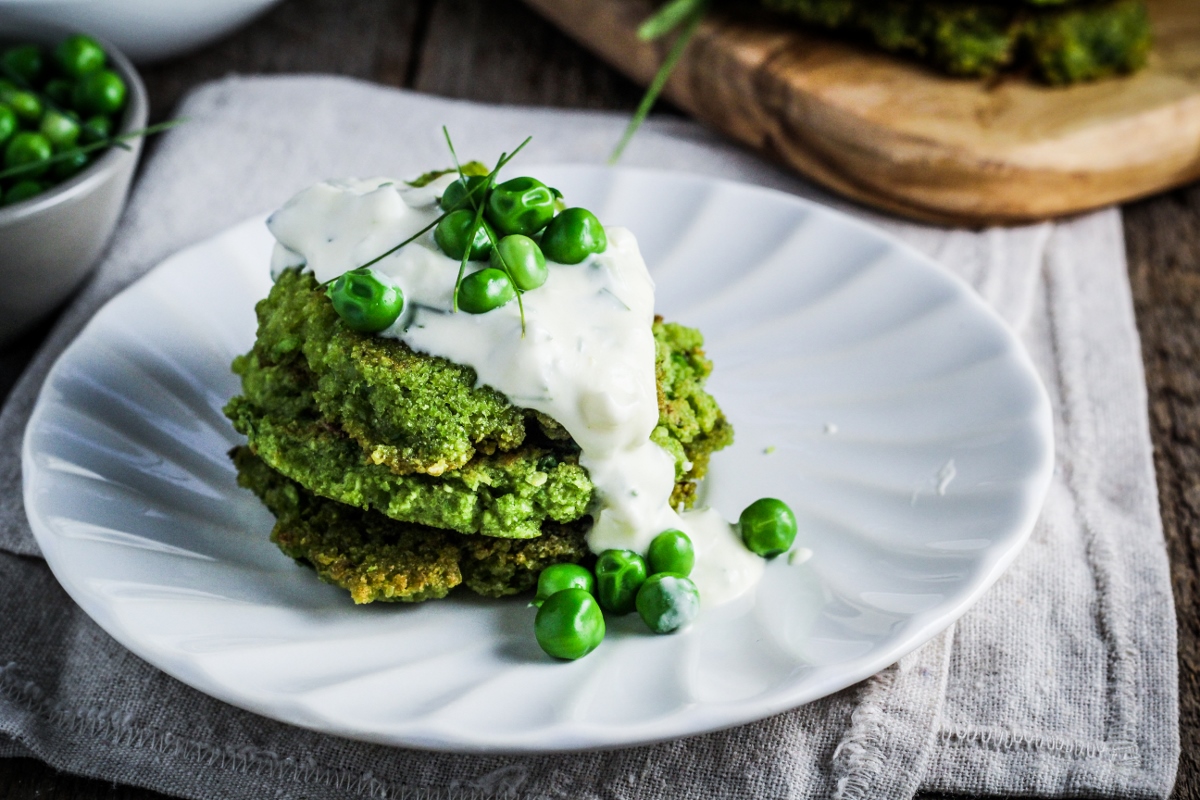 Now, after that story I’m being a little bit unfair and sharing a recipe that actually wouldn’t suffer too much from starchy peas (I’m saving what I made with our garden peas for Thursday’s post!). This recipe for green pea fritters uses both fresh and dried peas in what is basically a take on falafel. It’s from Deborah Madison’s Vegetable Literacy, and I was pleased with how easy, healthy, and flavorful these were. I love the use of tarragon in the fritter batter – something about tarragon just makes peas taste more like peas, a discovery I made when trying to create one of my favorite meals from Prague (that is a really old post – please don’t judge me too much!). The herbed creme fraiche is essential in making these fritters really sing, so don’t skip it. And, if you haven’t tried making creme fraiche from scratch, you should – all you do is stir together 1 cup of heavy cream and 2 TBS of yogurt or buttermilk, cover it, leave it in warm place, and 24 hours later tah-dah! Creme fraiche, for a fraction of the price you’d pay in the store.
To summarize: peas are really good right off the vine and they make gardening worthwhile. Make these fritters with some fresh peas. Make your own creme fraiche, it’s easy and cheap. Come back tomorrow for more pea recipes.
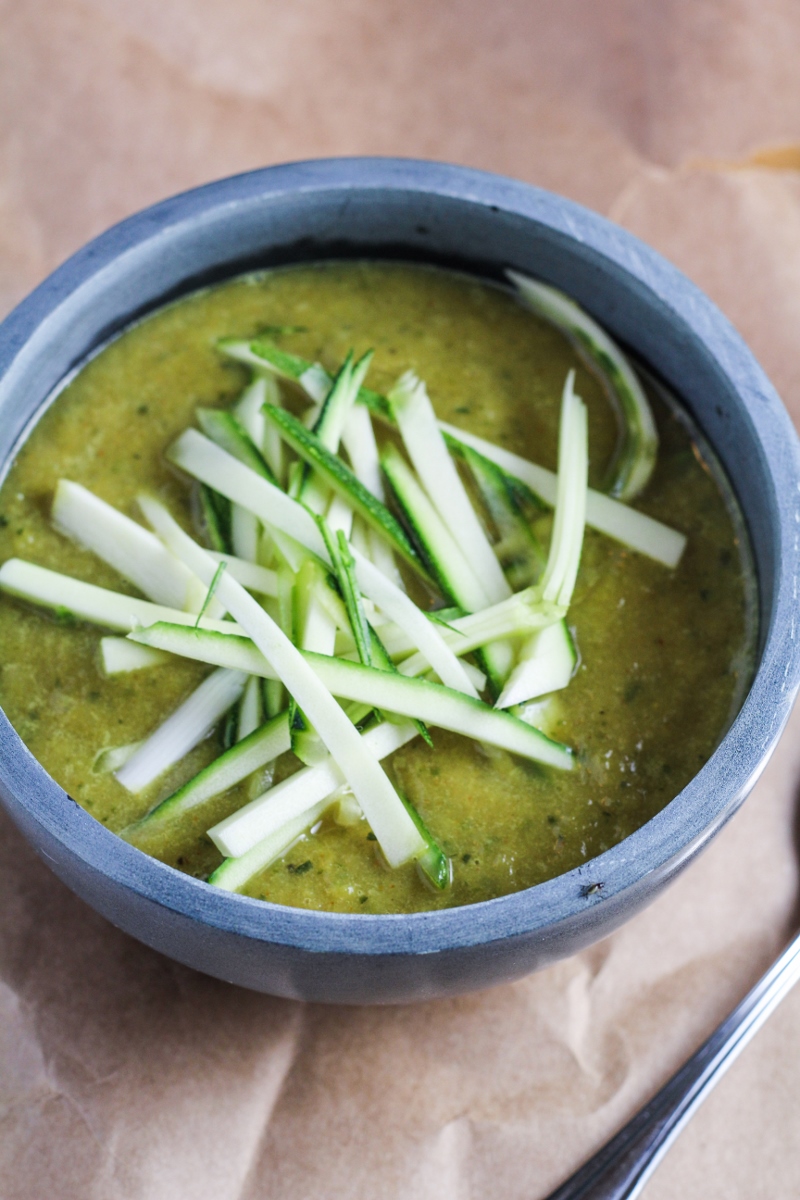
Green Pea Fritters with Herbed Creme Fraiche
Recipe adapted slightly from Vegetable Literacy. Makes 12 small fritters (serves 4).
- 3/4 c. green split peas (dried)
- 1 clove garlic, peeled and coarsely chopped
- 1 c. shelled fresh peas, divided, from about 1 lb. of pea pods
- 2 TBS chopped tarragon, divided
- sea salt
- 1/4 tsp baking soda
- 3 scallions, white and green parts only, thinly sliced, divided
- freshly ground pepper
- 1/3 c. creme fraiche
- 1 tsp minced chives
- olive oil or ghee, for frying
- The day before making the fritters, place the green split peas in a bowl and cover with water. Cover loosely with plastic wrap and let sit on the counter overnight to soften.
- The next day, drain the green split peas and puree them in a food processor until smooth. Add the garlic, and 1/2 c. of the fresh peas and pulse until the peas are well broken up. Add 1 TBS of the chopped tarragon and a sprinkle of sea salt and pulse a few times to combine.
- Scrape the mixture into a bowl. Stir in the baking soda and 2/3 of the sliced scallions. Season the fritter batter to taste with salt and pepper.
- Bring a small pot of salted water to a boil. Blanch the remaining 1/2 c. of fresh peas in the boiling water for 1-2 minutes, until bright green, then immediately drain and run under cold water. Set aside.
- Stir together the creme fraiche, remaining 1 TBS of tarragon, remaining scallions, and the chives. Season to taste with salt and pepper. Set aside.
- Heat a film of olive oil or ghee in a large frying pan over medium heat. Drop spoonfuls of the fritter batter into the pan, pressing down on the batter to make rounded fritters about 1/2 an inch thick. Cook for 2 minutes a side, flipping when golden brown. Drain cooked fritters on a paper towel lined plate. Repeat until all fritter batter is used.
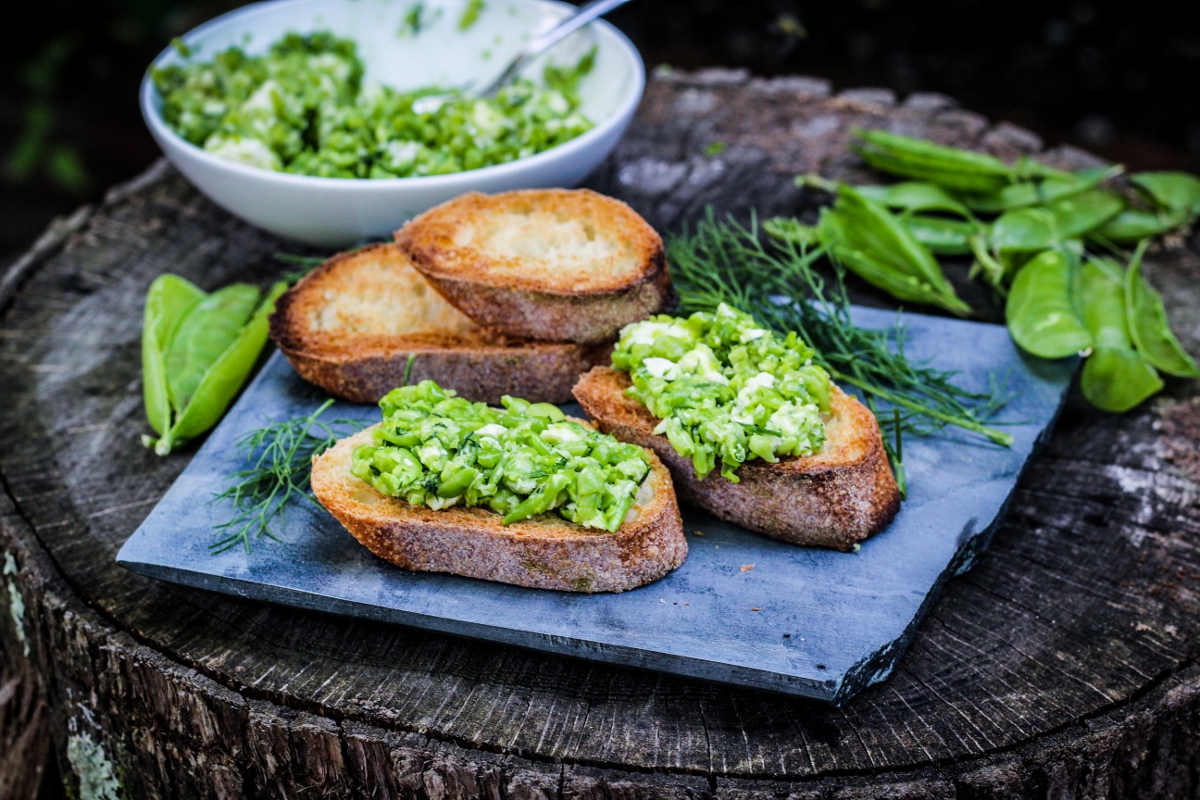
- Serve the fritters warm with a generous drizzle of the creme fraiche and a spoonful of the blanched peas on top.