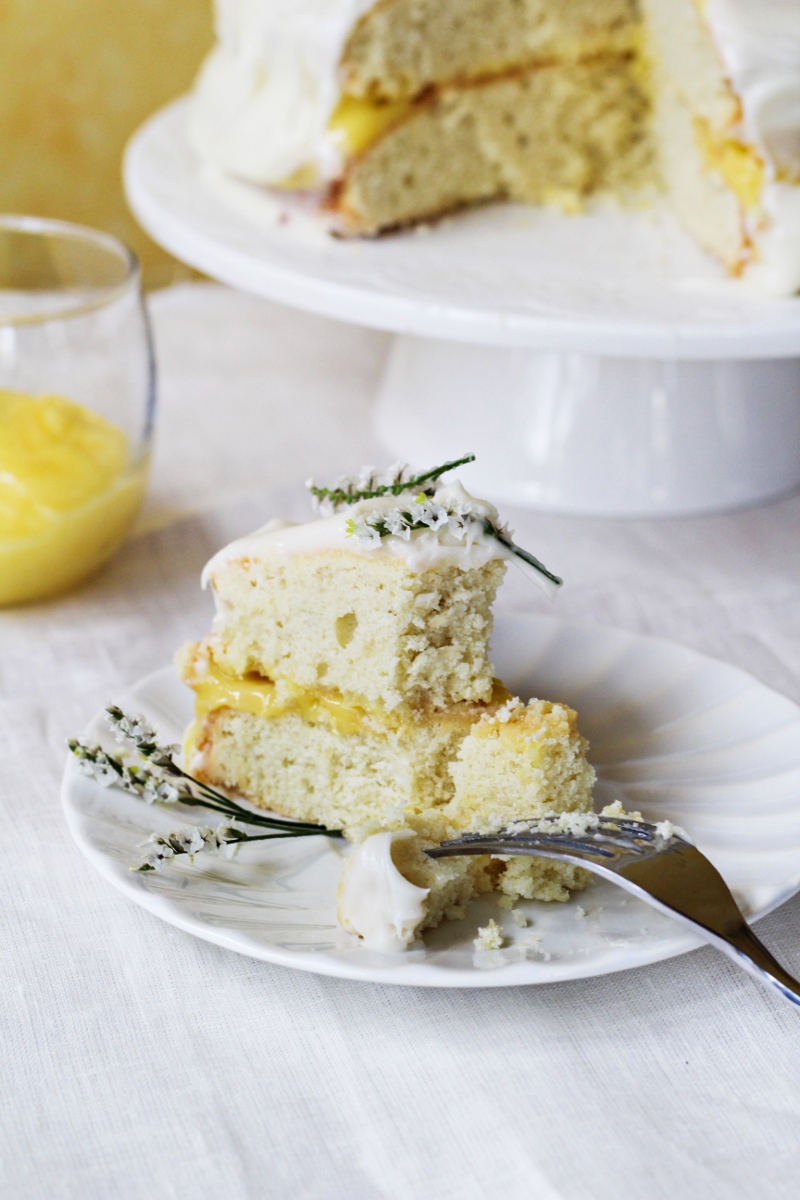
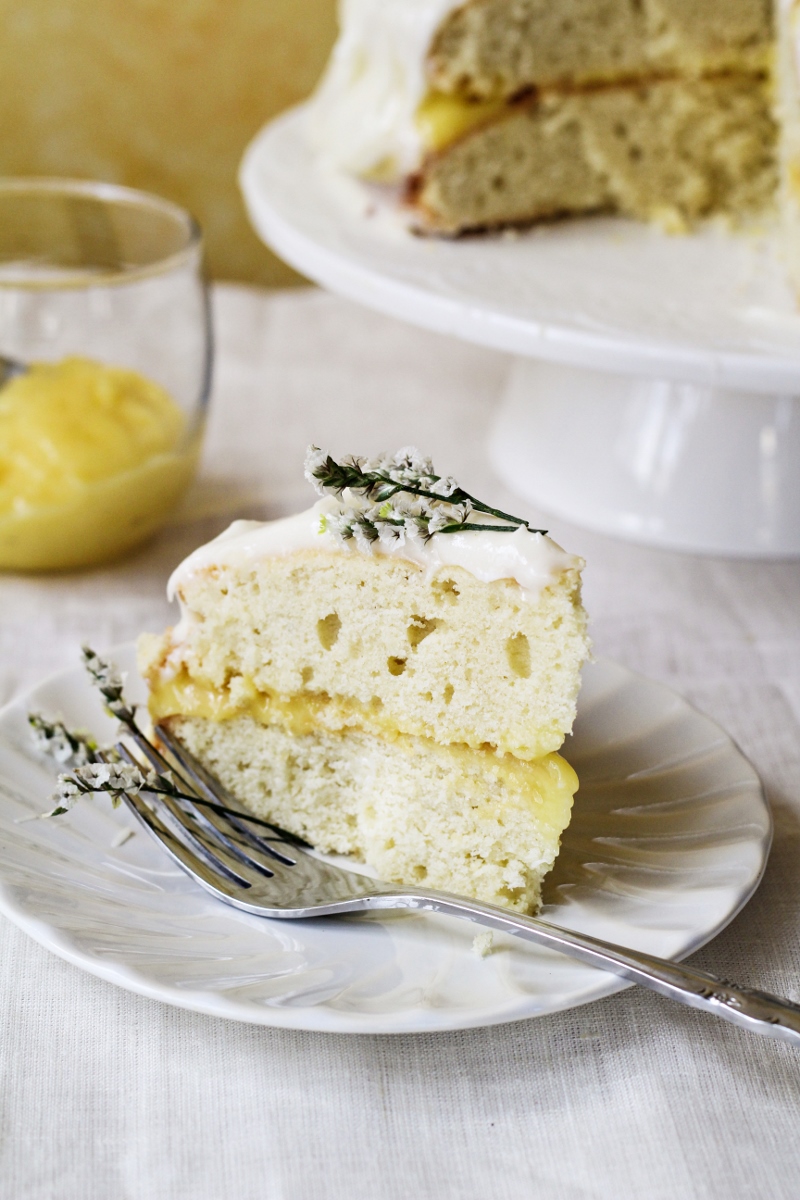
For guest post #2, my friend Mallory is here with a really, really scrumptious looking Cranberry Coffeecake. Mallory writes Fork vs. Spoon, which is one of my favorite blogs to read for so many reasons – the primary one being that reading her blog posts is like reading an email from a really funny friend. A funny friend who kinda thinks about the same things as me. Except, emails from my funny friends don’t typically include really stunning food photography and delicious recipes for things like bacon jam and lemon tarts, and Mallory’s blog posts do. Luckily, emails from friends and reading Fork vs. Spoon is not an either-or situation, so I (and you!) can have both. So, without any further late-night day-before-vacation rambling about how much I like Mallory’s blog, why don’t you meet her yourself…
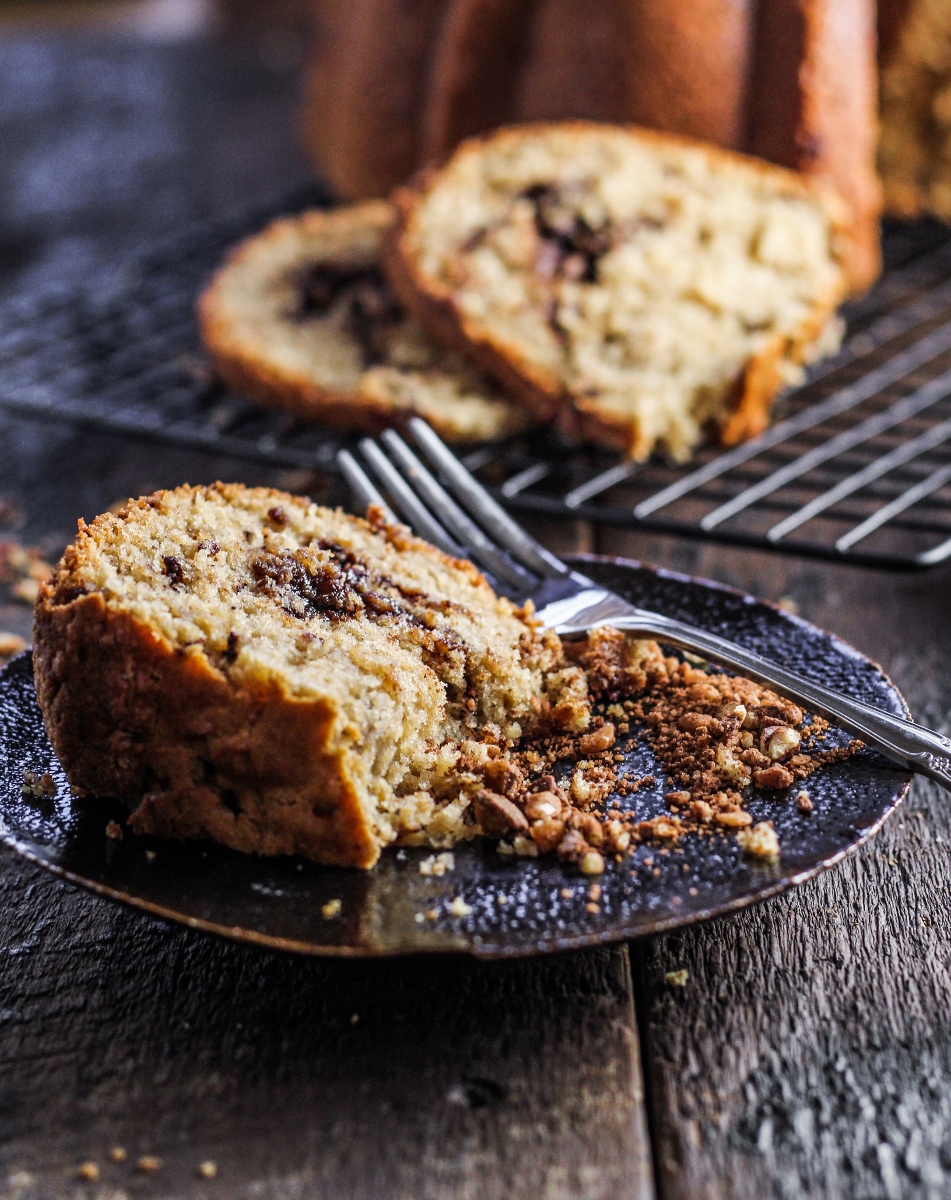
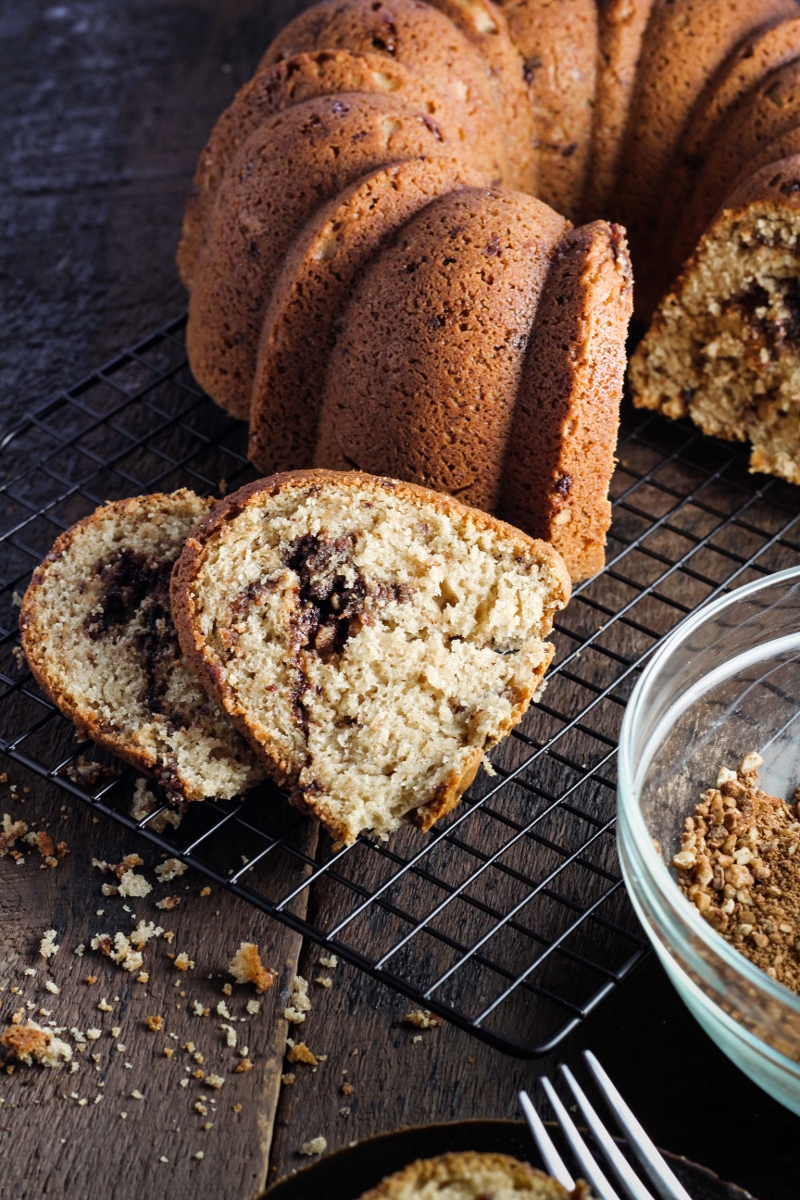
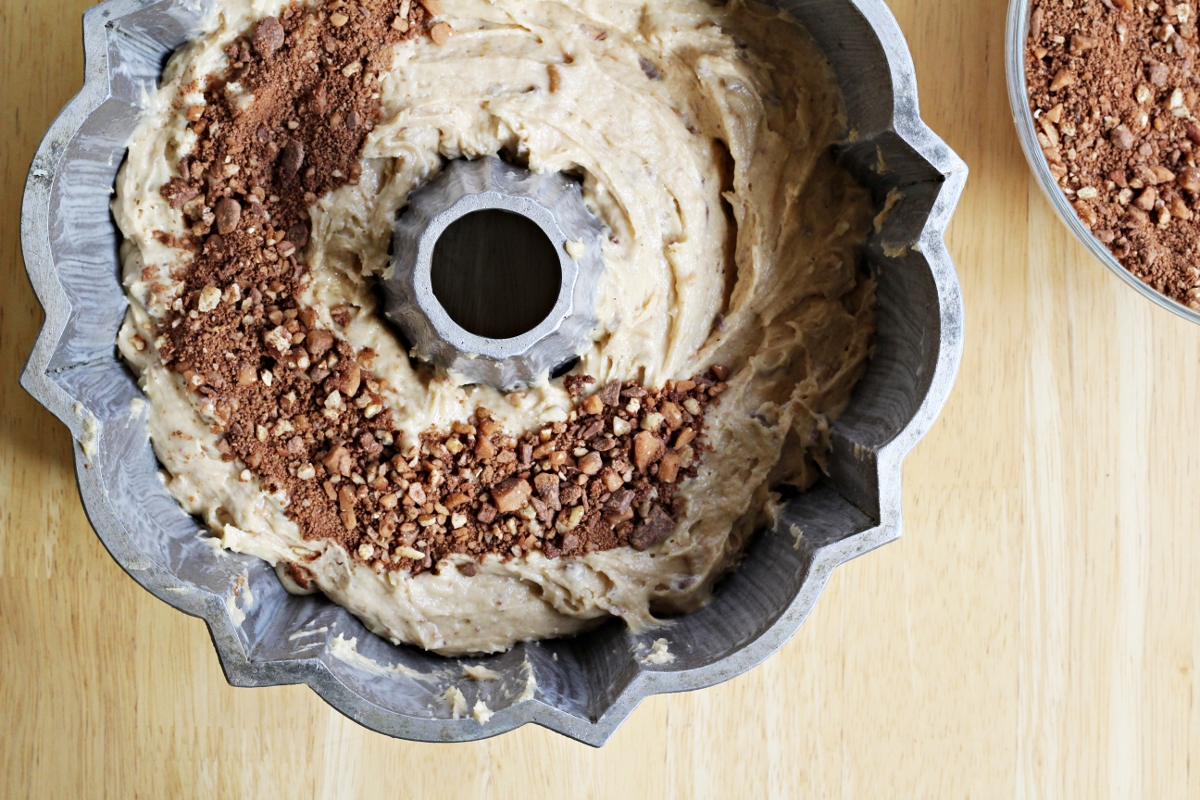
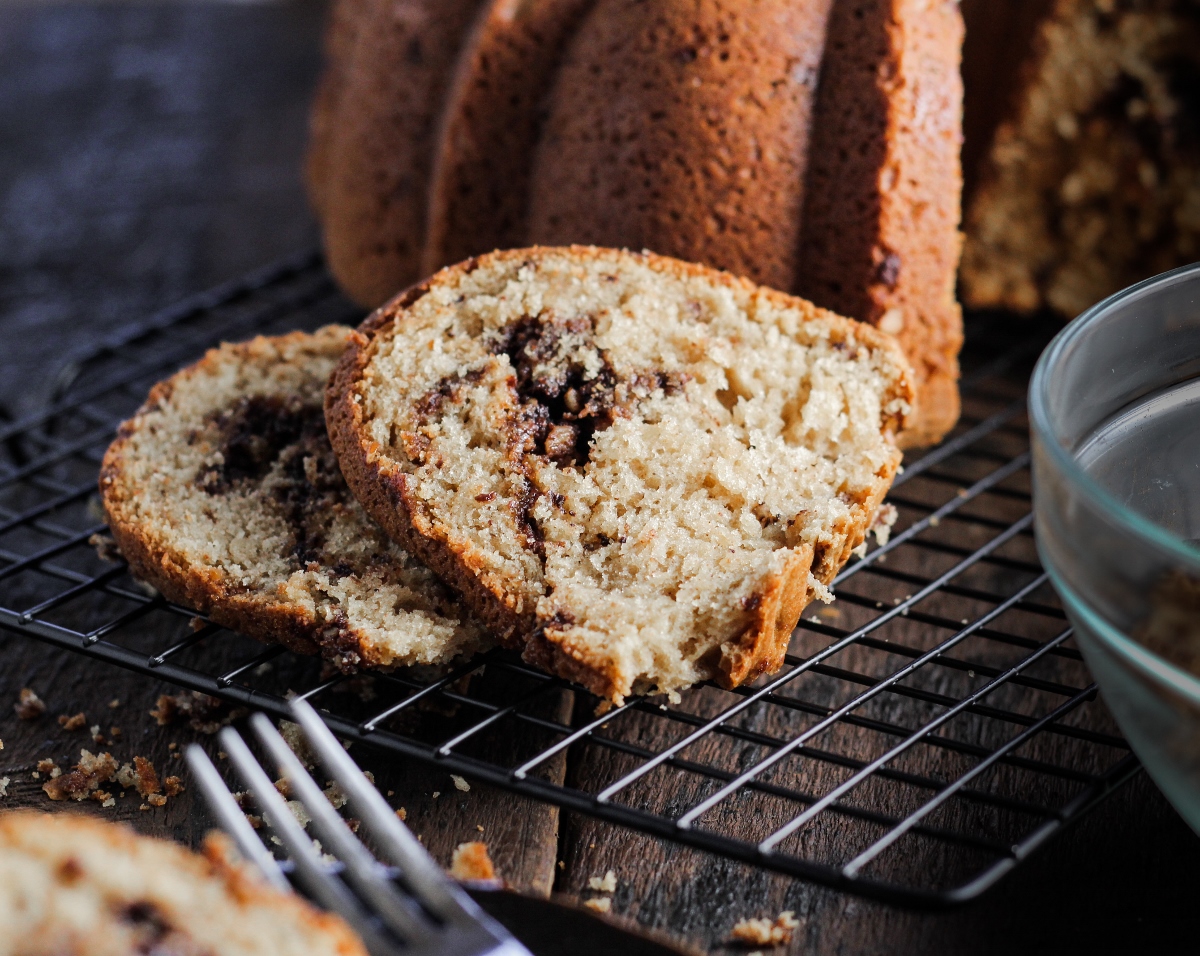
Cranberry Coffeecake from Fork vs. Spoon

Well, Hello there!
Mallory here, from Fork Vs Spoon… , I need to thank Katie for inviting me into her world and letting me meet her readers. Thank You!! When she asked, I was thrilled and happily agreed to prepare a post for her blog while she is away – however, the thought crossed my mind to ask if she had room in her suitcase for little ol’ me….but I would probably cost too much in luggage weight fees, plus I would take up ample room that should be allotted for shoes.
I have been a fan of Katie’s blog for some time. I am always looking forward to her next post. The stories, the recipes, the photos…and of course her cookbook reviews. She is responsible for many of the cookbooks that are scattered throughout my kitchen and the abundant amount flooding my Amazon Wish List….Thank goodness there is no such thing as too many cookbooks! (they are kinda like shoes!)
So, Katie Thank You for the invite and here we go…
Guest blogs are so much fun, but instantly after I happily accept the invite I start over-thinking brainstorming dishes – sweet or savory? Quick and easy or should I flex my culinary muscles – ha! Cocktail? Oh, my brain starts turning. Before long, I forget about my to-make list of recipes and ideas and my mind goes blank. I wander to my stack of dog-eared and overly bookmarked magazines and cookbooks. Most marked with stains and worn from constant use. I flip through and search my files of saved recipes…and most times I find myself just standing in front of the fridge/freezer, taking stock of what I have on hand and 9 times out of 10, find the ingredients for something quite suitable for a blog post, and dinner or dessert. I also hear my grandfather in my head, hollering from the living room, to close the refrigerator door…just wasting energy! He always thought we should know what we wanted before we arrived at its door, but little did he know it was my method of brainstorming. I think the cold air gets my brain a workin’.
And honestly, this is how I go about cooking and baking for my own blog and my everyday. What am I craving? What do I have on hand? How much time do I have? Who else will enjoying this? Who is my audience? Answering these simple questions will always lead me in the right direction and they have a way of organizing my thoughts…which have a tendency to be a bit scattered.
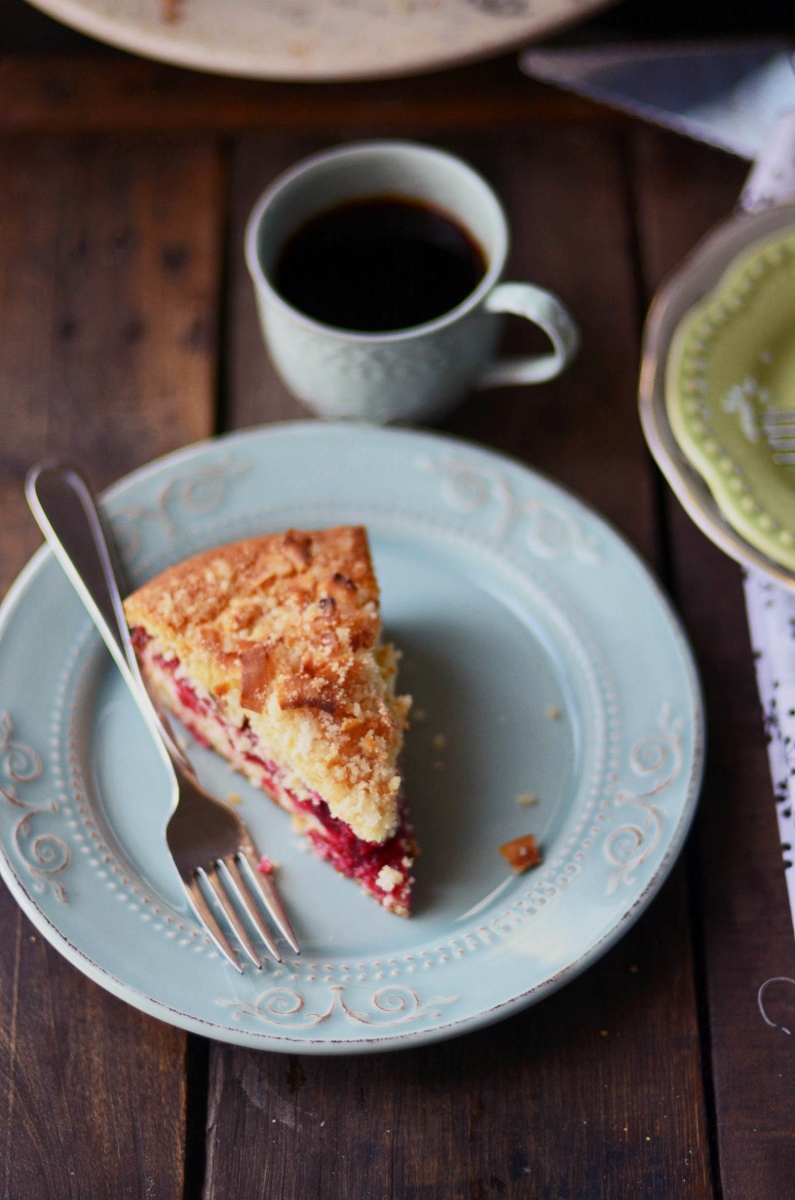
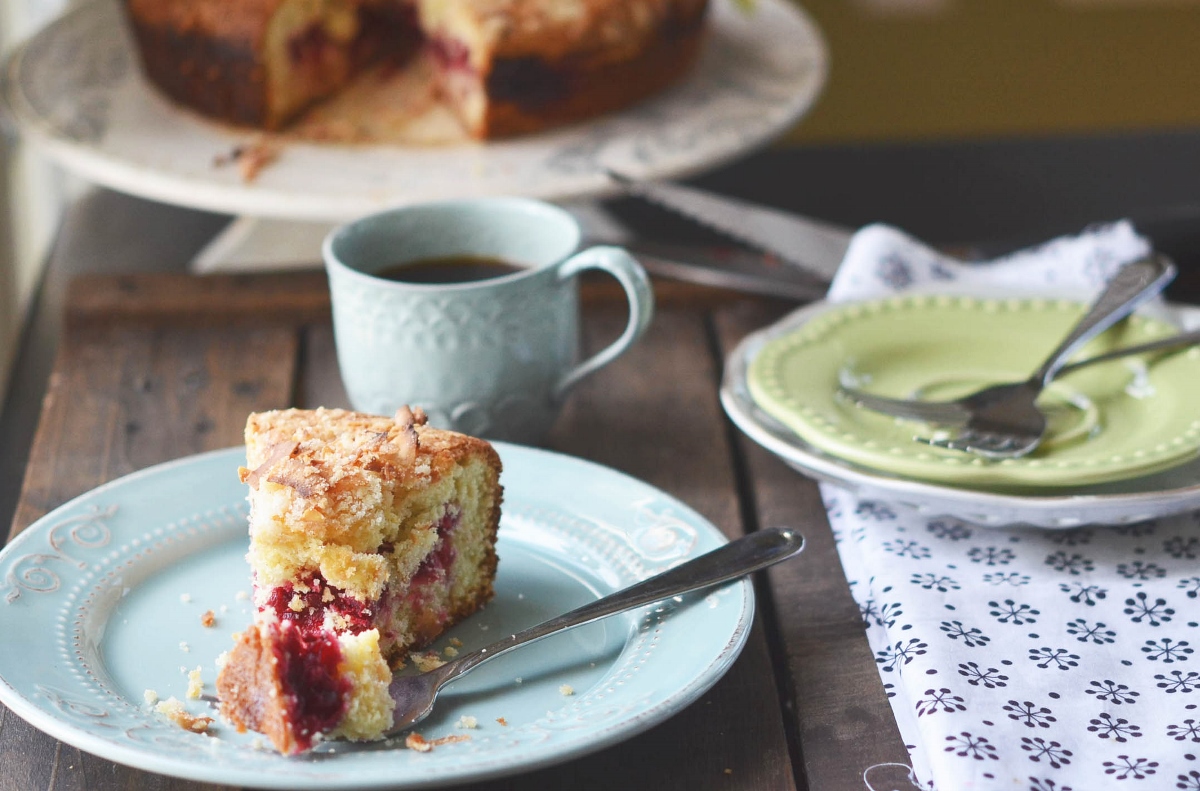
And this is how a cranberry coffeecake found its way into my oven last Sunday. And eventually into my stomach, along with an ample amount of coffee.