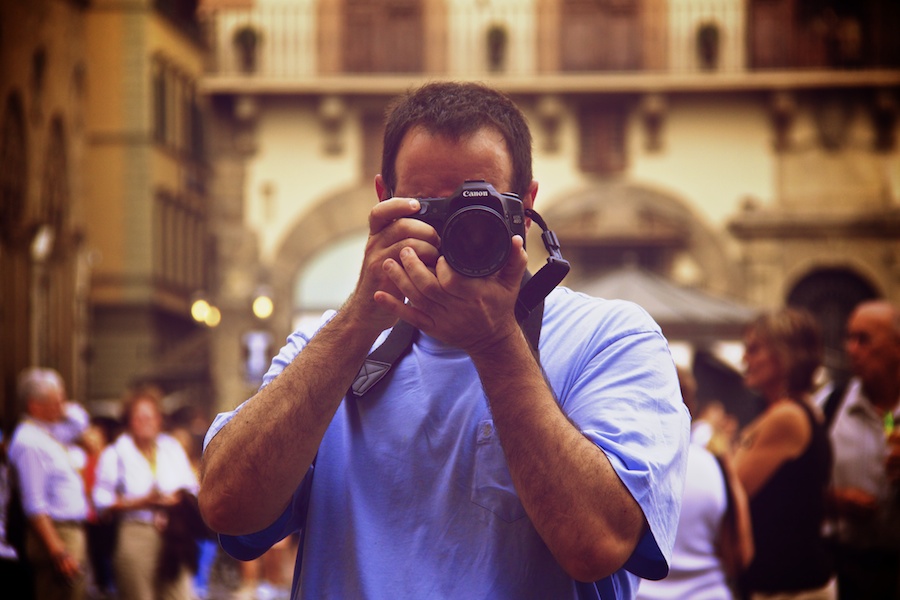

We’ve been back from Italy for about two weeks, and I’ve finally made it through the first half of my pictures and thoughts about the trip to share with you here. I’ll let the pictures do most of the talking, but I have a few notes about where we stayed and ate and adventured, in case you’re interested (or lucky enough to be going to Rome or Florence in the near future).
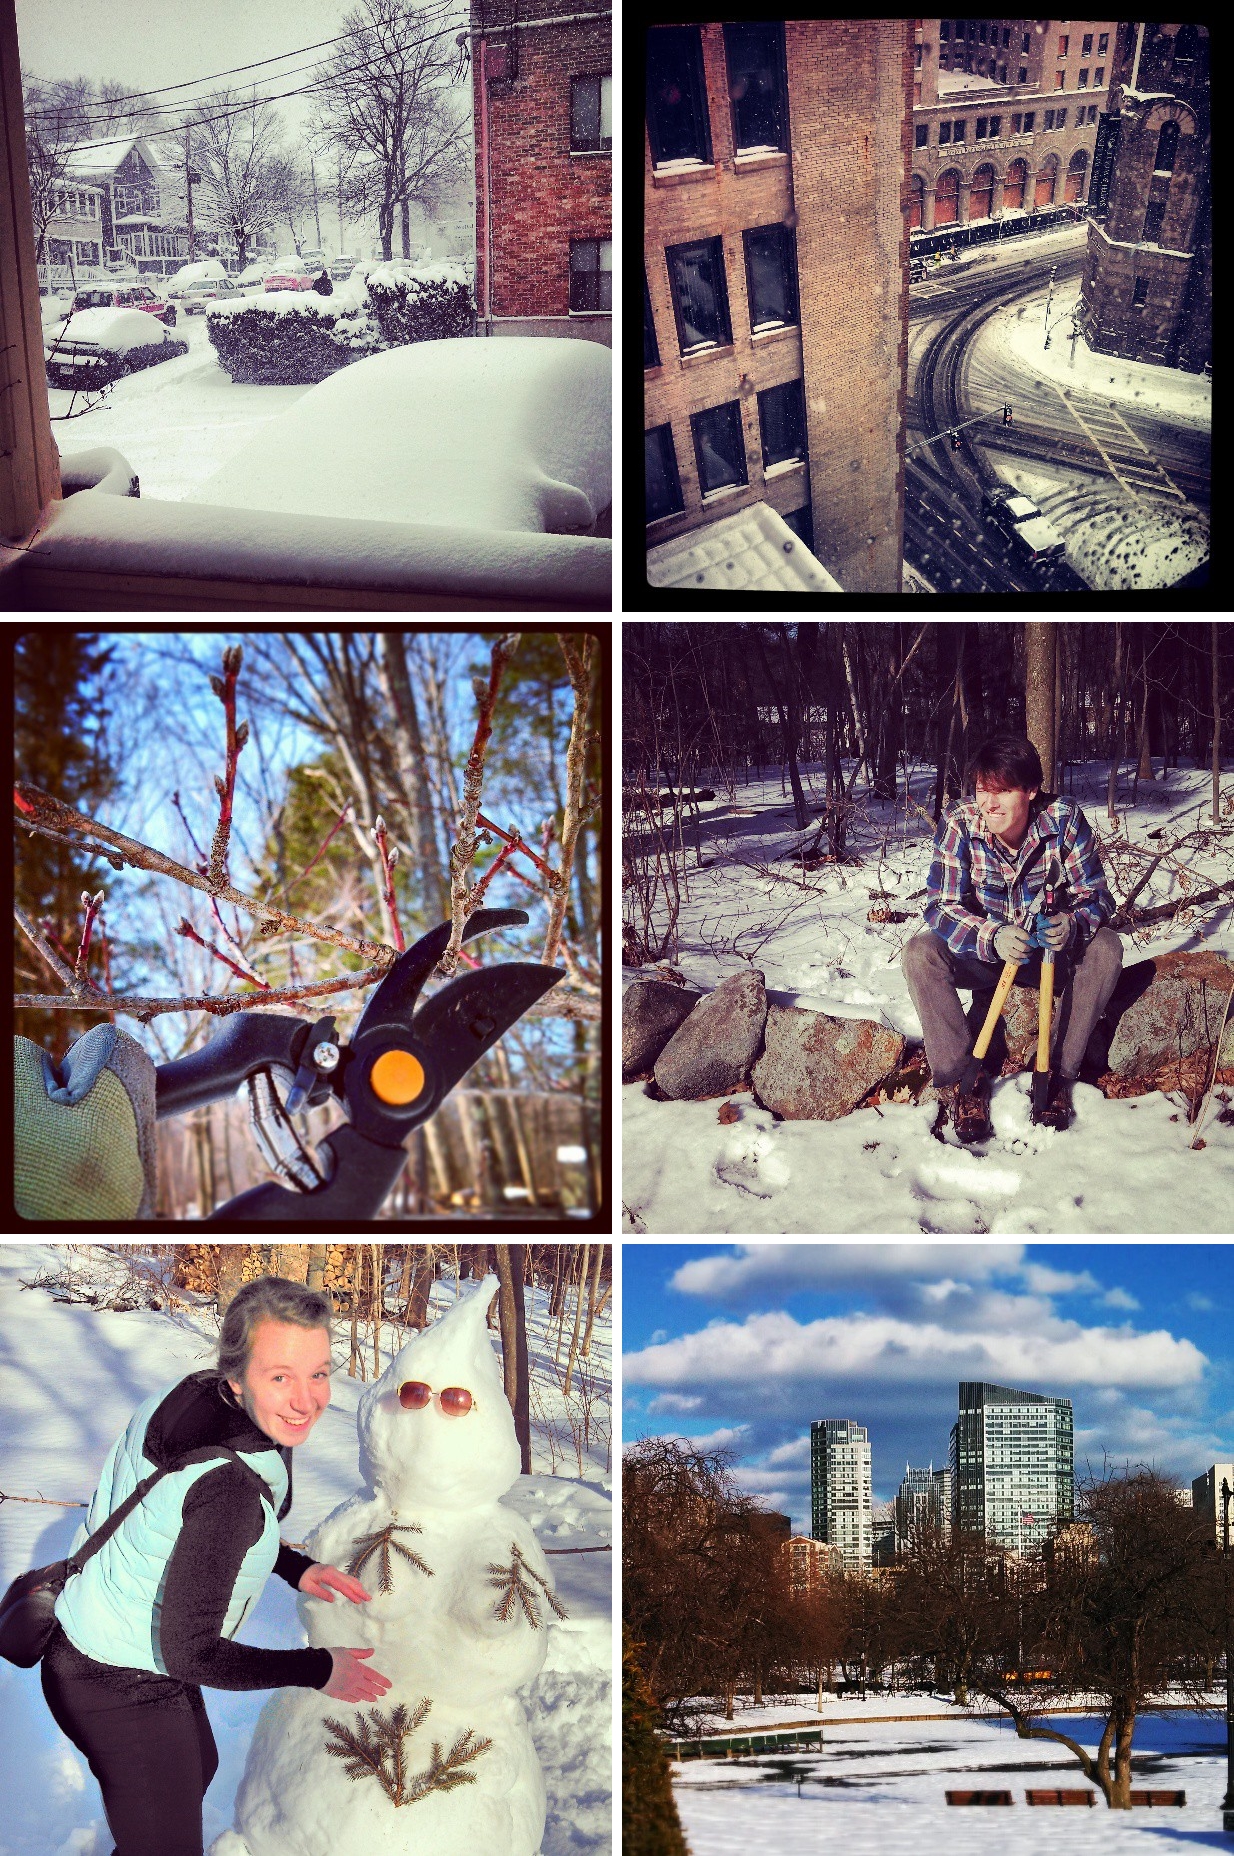
We spent the first two nights of our trip in Rome, then after a quick (and slightly nauseating) train ride, we spent two nights in Florence. In both cities, what we did the most was walk. We’d wake up, open up the map, circle the places we wanted to see, then set out for the day until it was time for our 4PM siesta. After siesta, we’d go back out in search of dinner. A pretty good daily routine; I’d happily live every day that way.
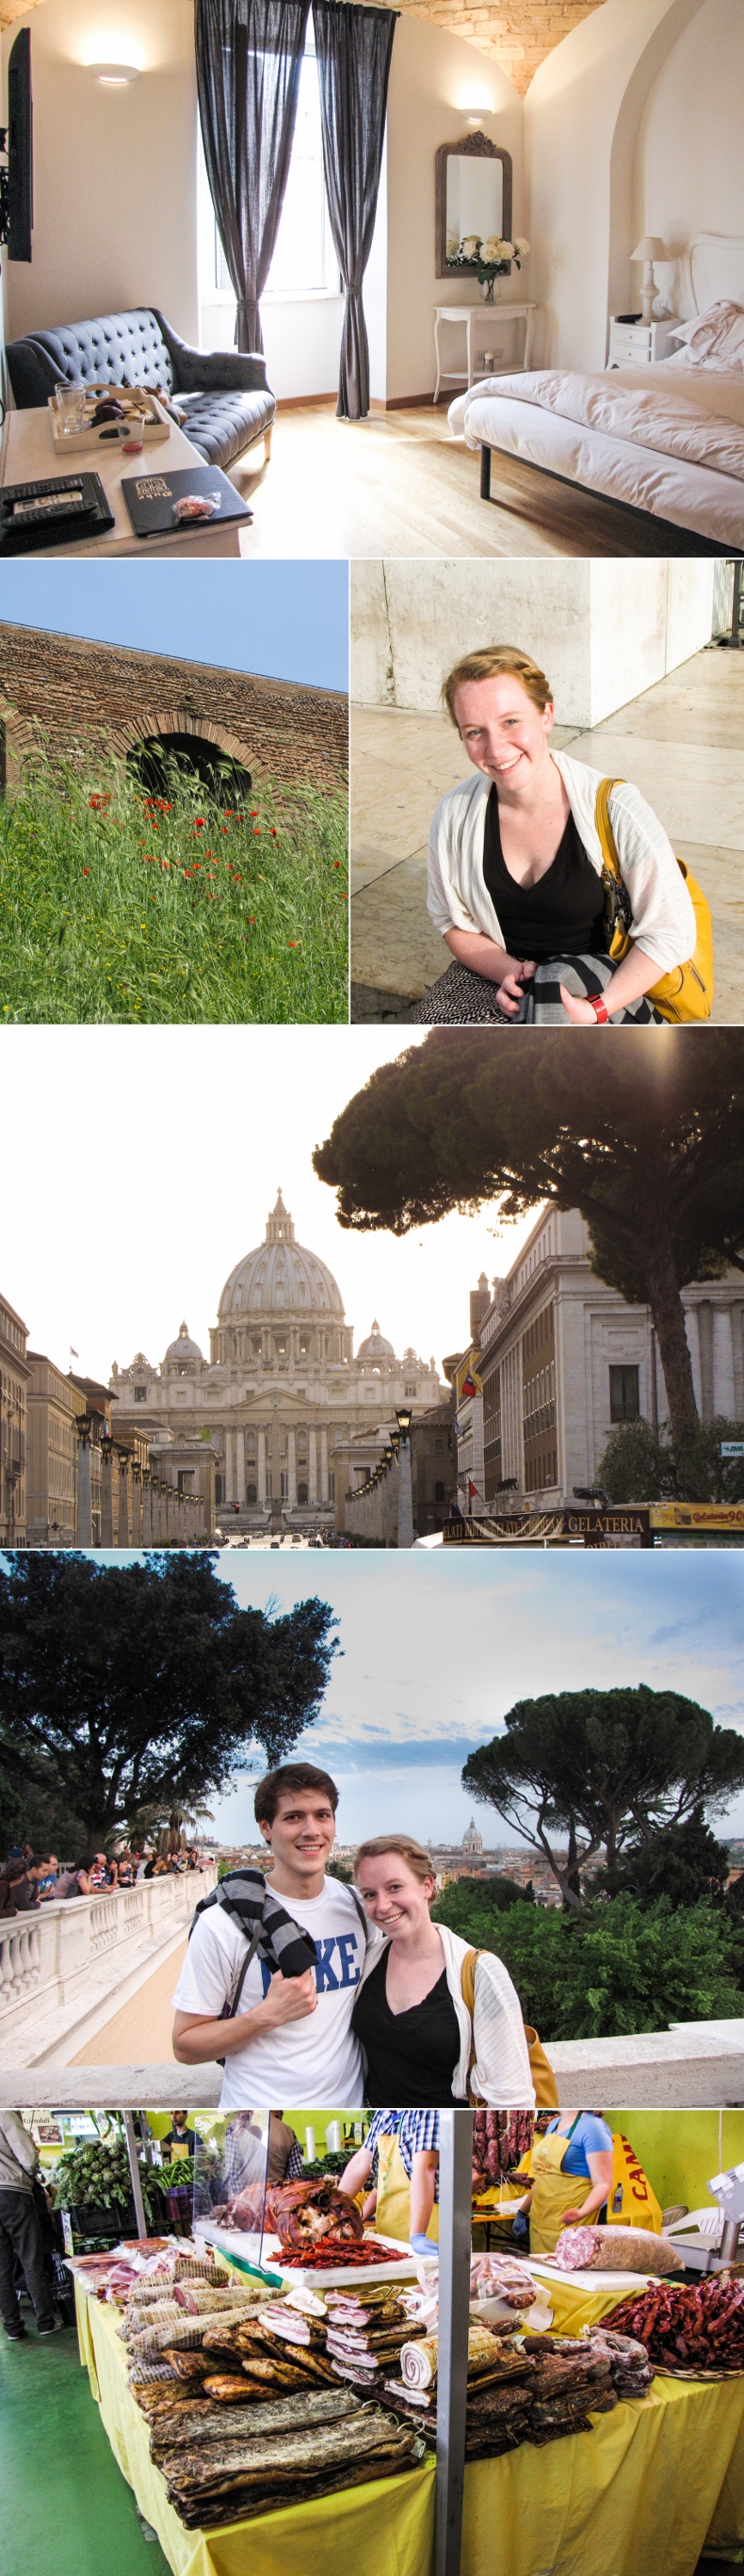
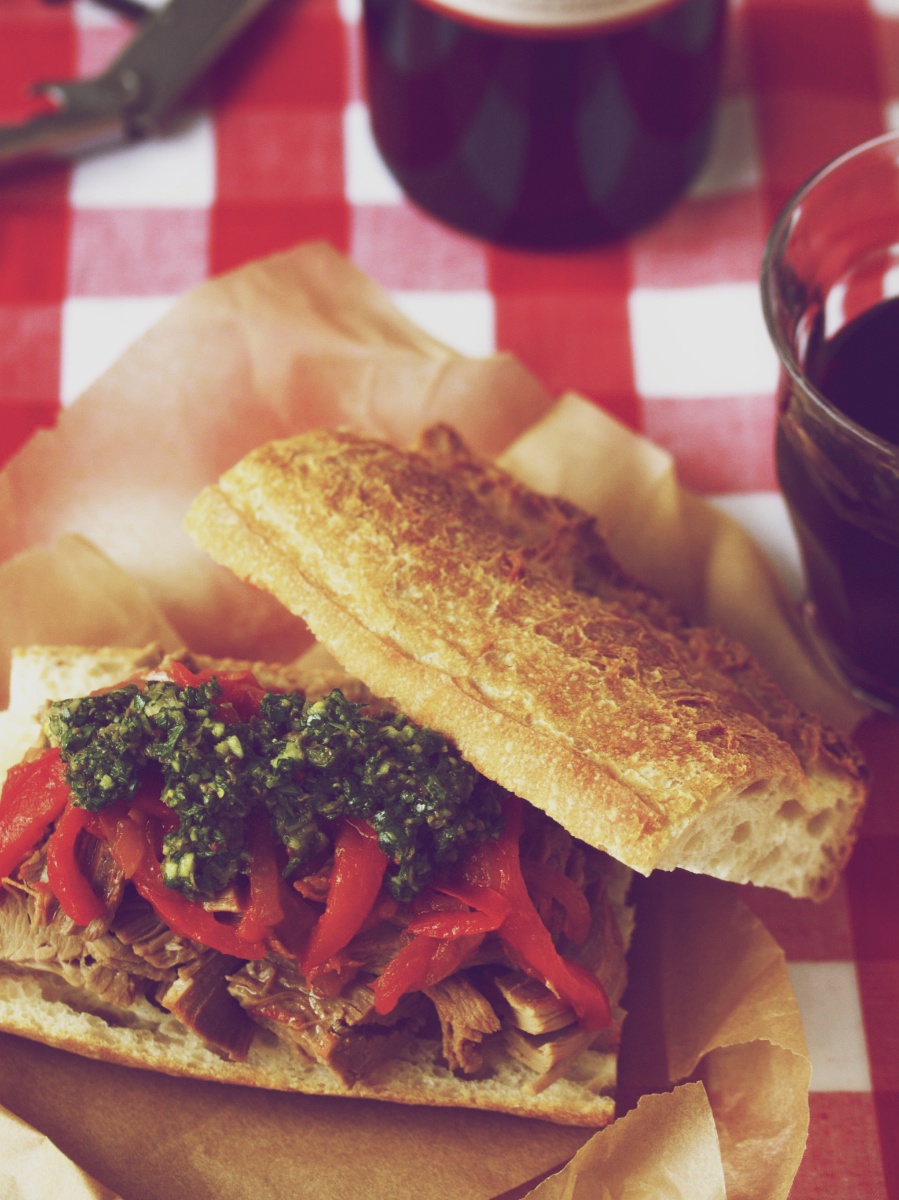
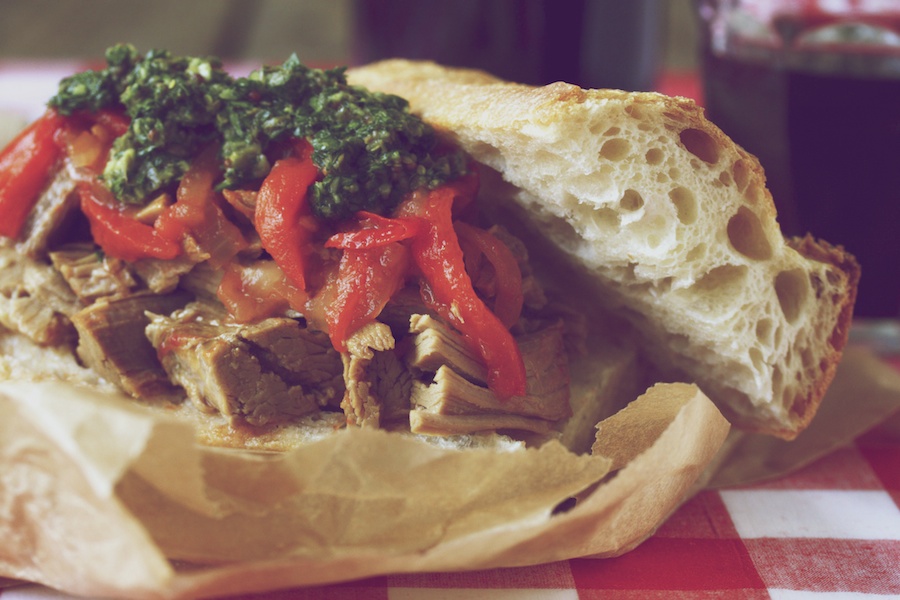
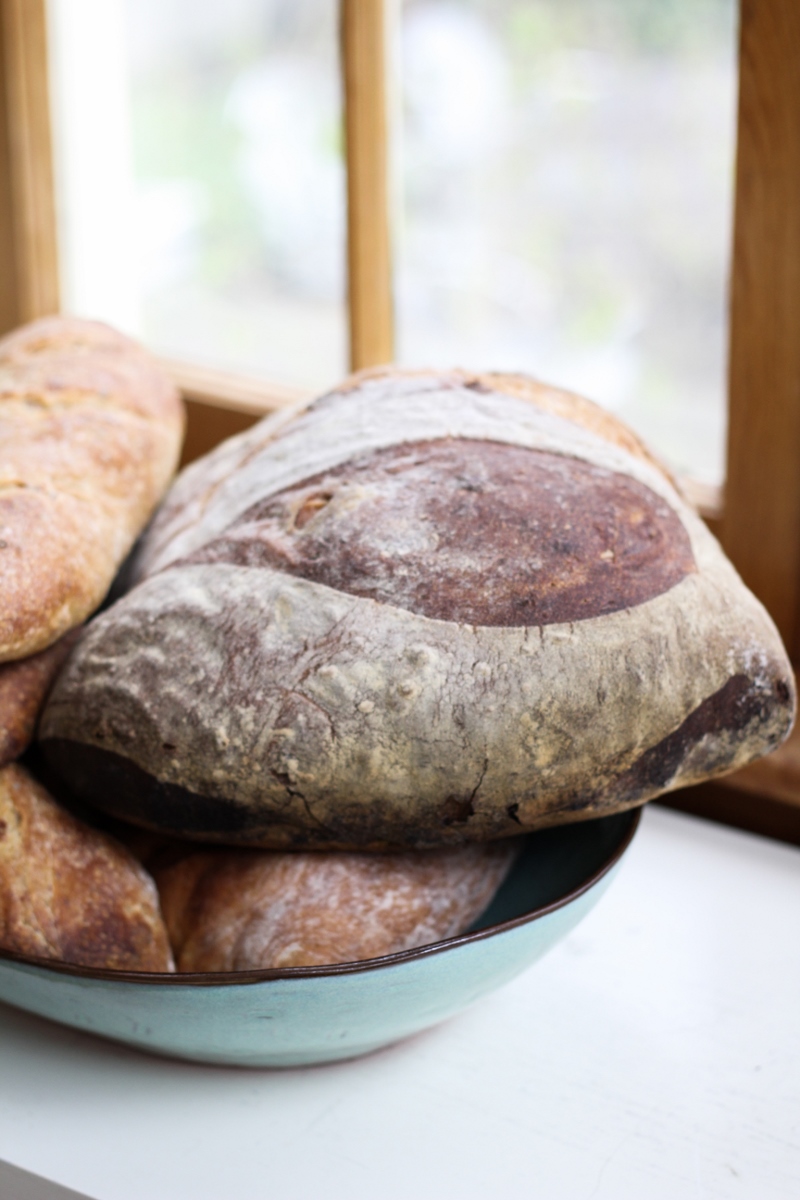
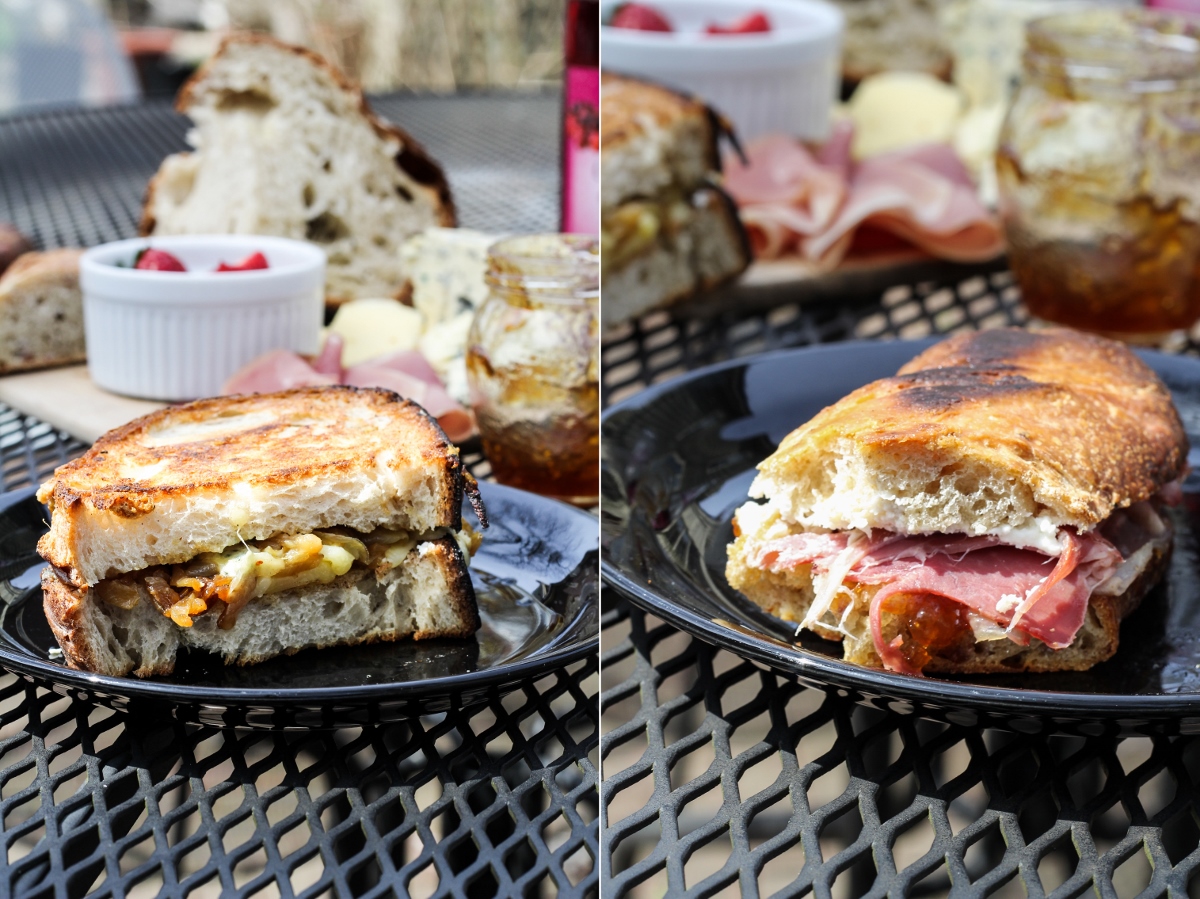
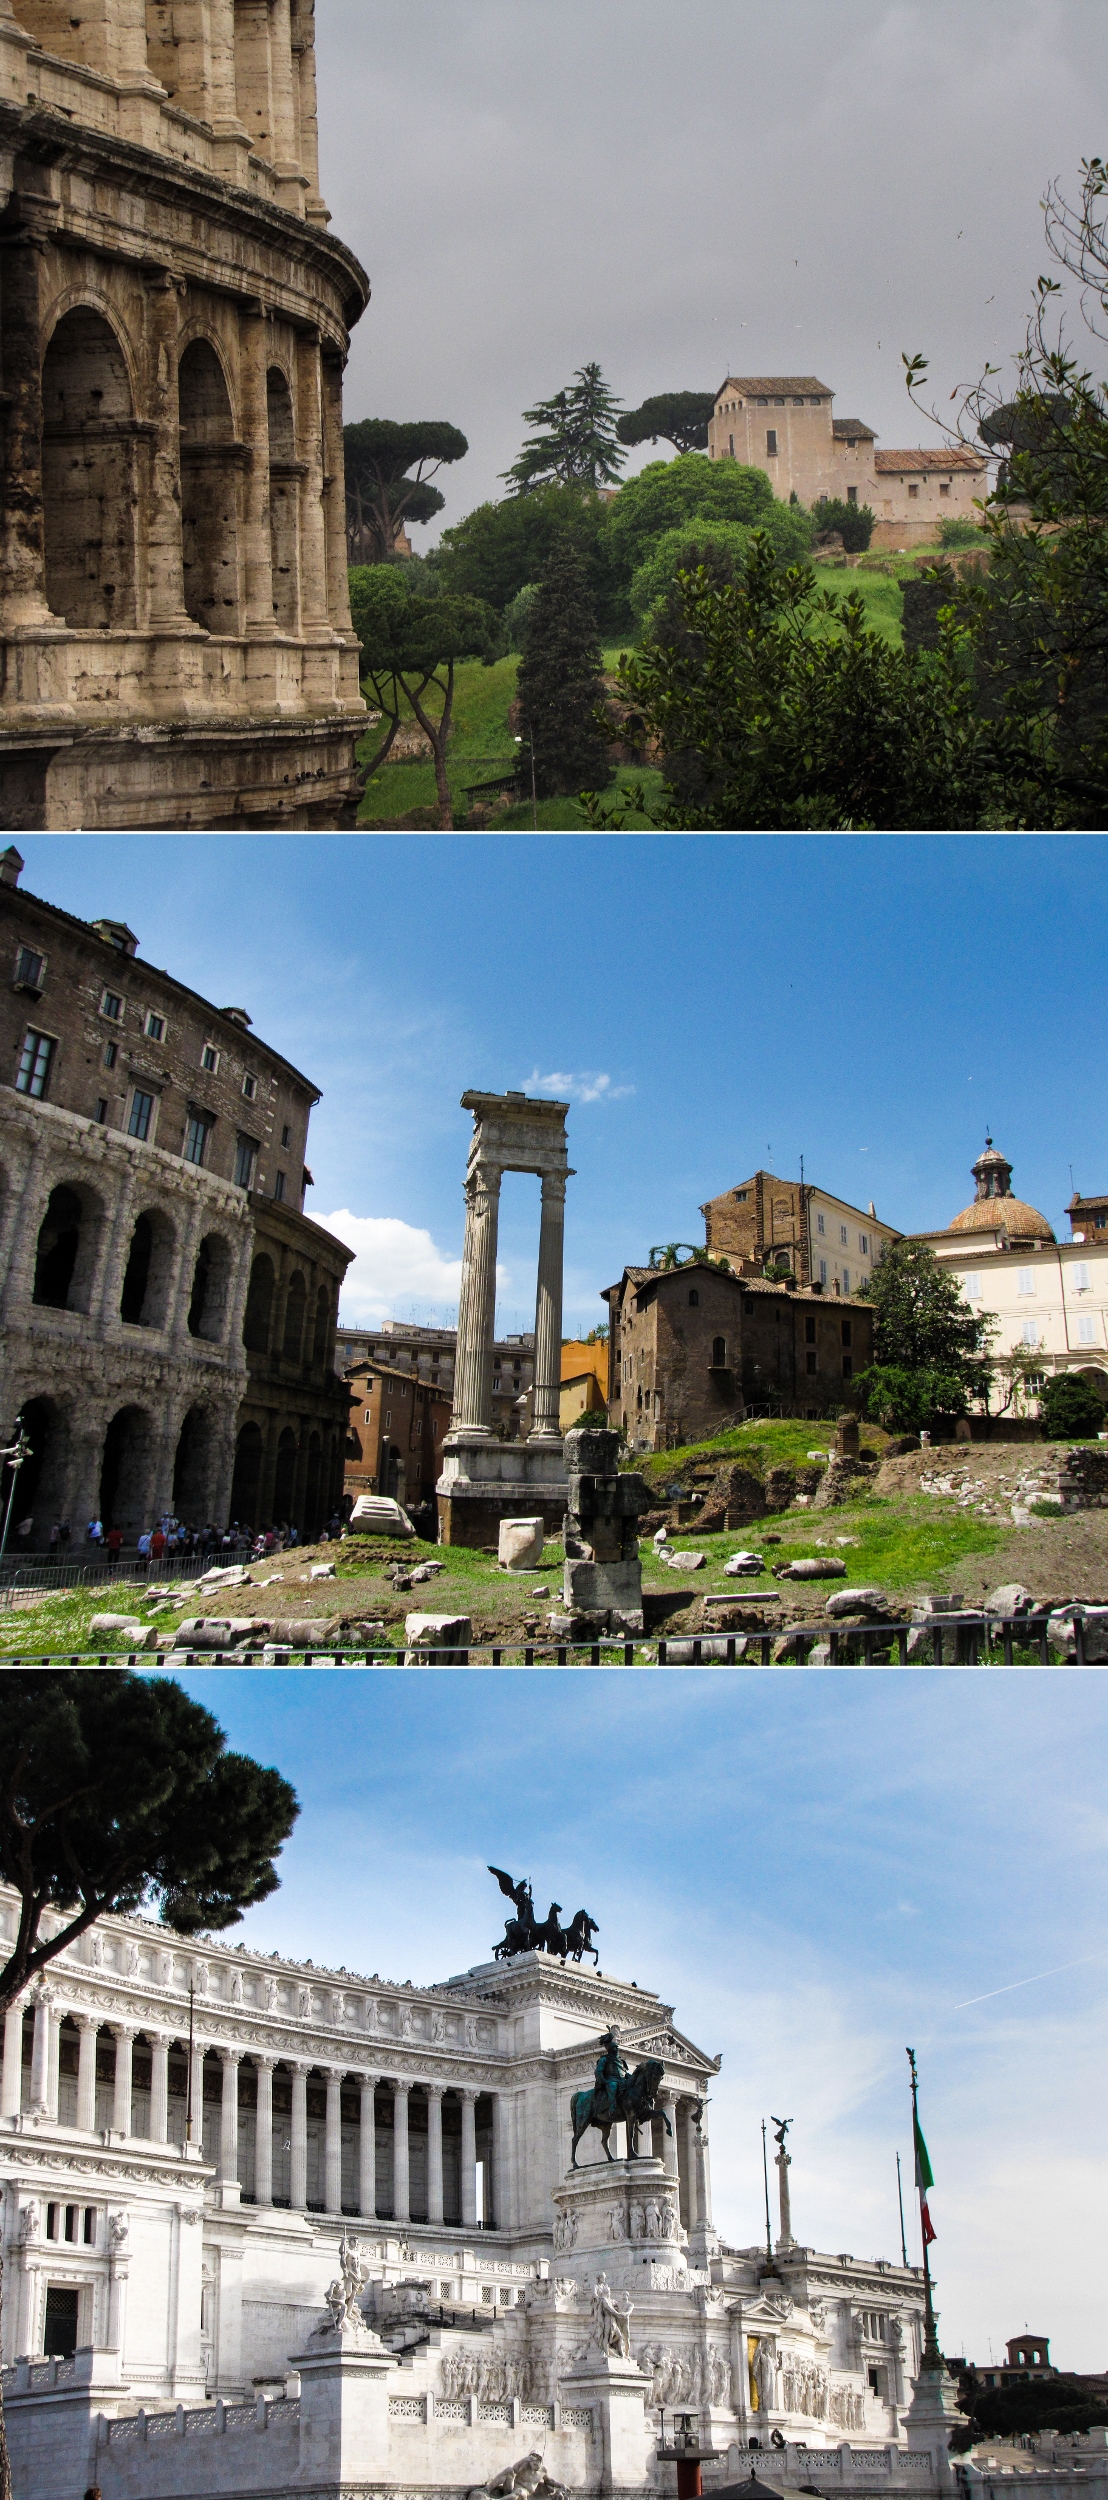
Rome was a bit of a jet-lagged whirlwind, but I liked the city much more than I remembered. The last time I was there, I was 14, and Rome seemed far too loud, overwhelming, and dirty. This time, for the most part we stayed away from some of the main sights, and even after two days I was starting to get the sense of the thriving city underneath the throngs of tourists. We stayed at the perfect inn/apartment, La Finestra Sul Colosseo, which checked off everything on my list – it was spotlessly clean, spacious, quiet, comfortable, and modern. We slept like rocks. A highlight of our trip was spending Sunday morning on a food tour with Irene from Vino Roma. It was a bit of a splurge for us, but great to wander more pointedly and have Irene there to teach us about local food culture, both past and present. She took us to a truly local farmer’s market, where I was thrilled that no one spoke English, meaning we had to stock up on fresh fava beans, bread, truffled sausage, cheese, and the tiniest, sweetest strawberries of all time using our terrible Italian and a lot of pointing. We ate porchetta sandwiches and drank local beer, then meandered through the Jewish Quarter where we tried a truly remarkable “burnt” sweet bread from a tiny store with no name and an incredibly long line. We wrapped up with a cheese and wine tasting for a memorably tasty morning. Two other highlights from Rome: one, dinner at Cuoco & Camicia, where everything was delicious, but the carbonara-stuffed tortelli and the fillet of beef with foie gras and pumpkin cream were astounding. Two, our Sunday evening stroll/marathon – we walked from our hotel near the Colosseum, to Piazza Venezia, to St. Peter’s, and finally to the hill above the Piazza del Popolo where we soaked in the view and picnicked on our market finds. It was a solid 5 mile walk, and it felt good to see so much of the city before moving on to Florence.
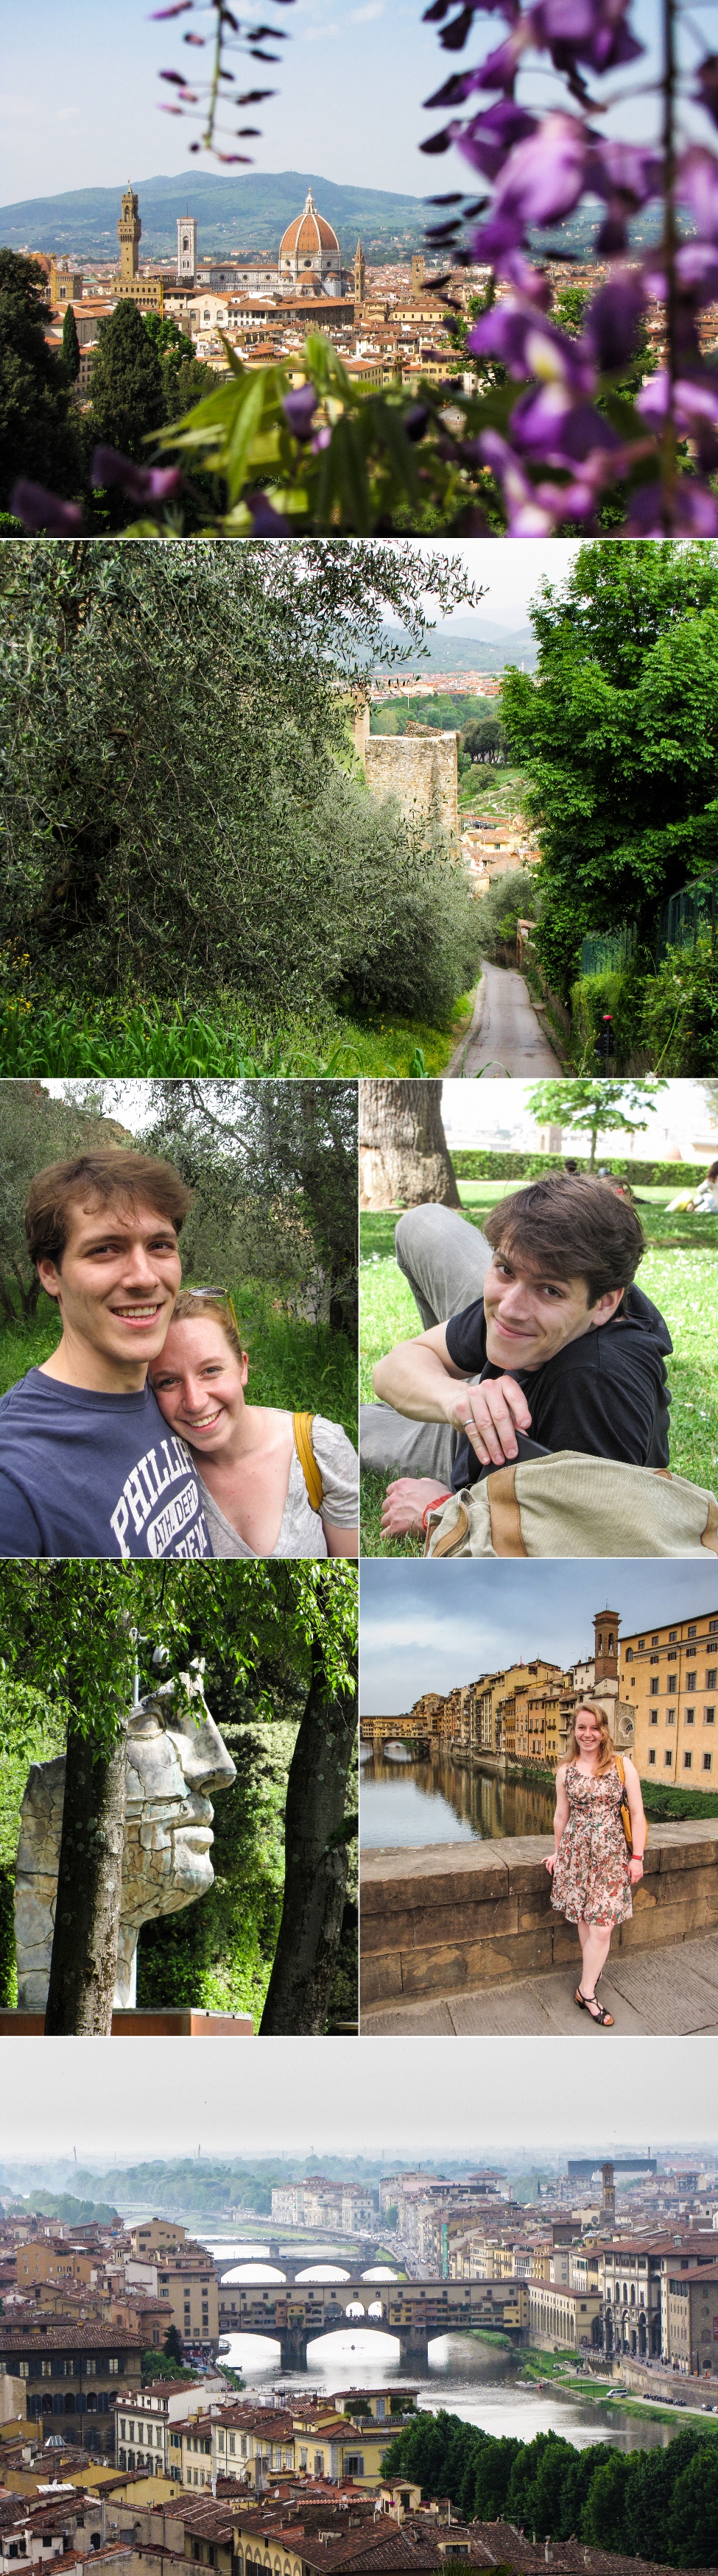
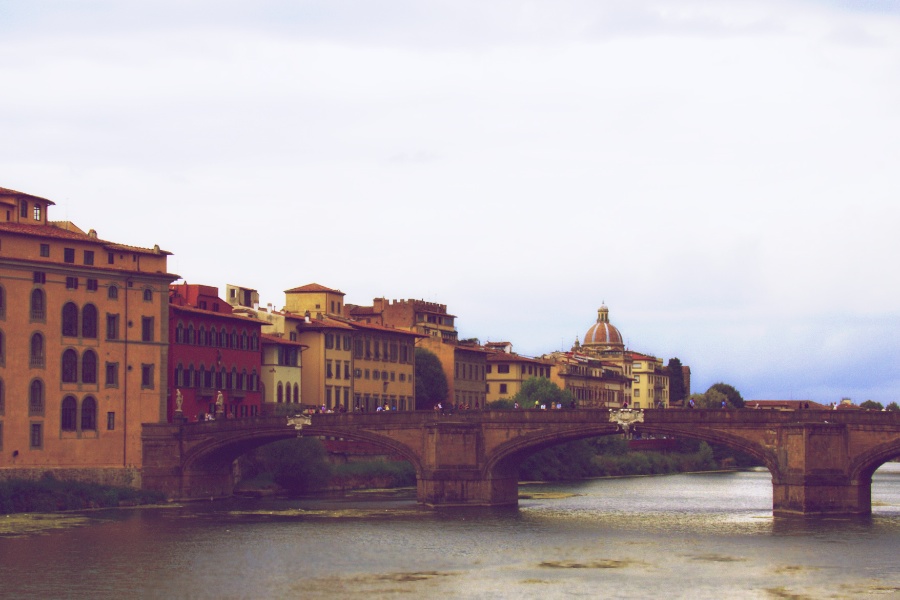
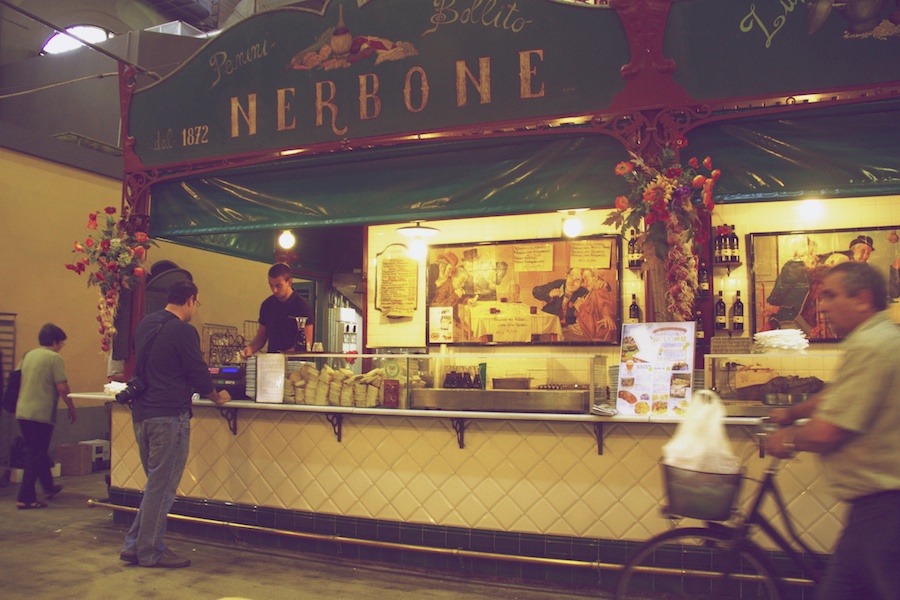
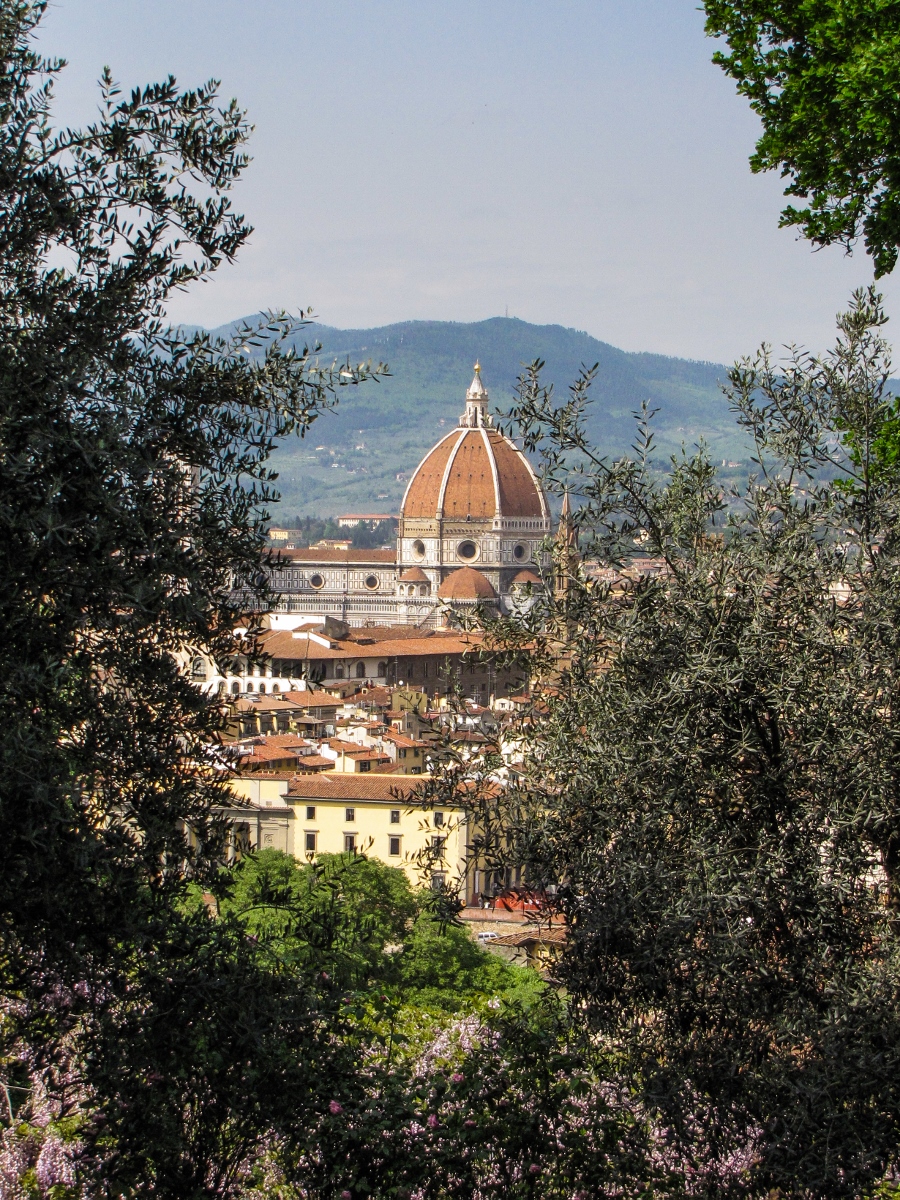
I was less enamored with Florence, perhaps as predicted by Steve and Michelle. Given the small size of the city, and the large number of visitors, every corner we visited felt overrun with tourists. With this came an abundance of overpriced food, tacky “authentic” stores, and a lack of real charm. So, I didn’t love it, but we still had some great moments. Walking up the hill behind the Giardini di Bardini and finding ourselves in the midst of an olive grove felt kind of magical, as did being in the city for the Bianca Notte festival, during which all of the major museums were open for free all night, and bands and performers roamed the streets into the wee hours – it was a huge party, and the only time it felt like a living city. While walking through the Palazzo Vecchio that night, we happened to walk through an upper corridor as a horn concert began below us, and we watched/listened to the entire performance while standing in the center of that majestic building – that was a once in a lifetime experience, and it was incredible. We also ate at one good restaurant, Il Santo Bevitore, where dinner was delicious, if slightly dampened by the incredibly loud and rude Texans sitting next to us. (No offense meant to Texans in general, just these two in particular). And we found venison prosciutto and wild boar speck in the Central Market! So, so tasty. We might try and make some ourselves, just a warning.
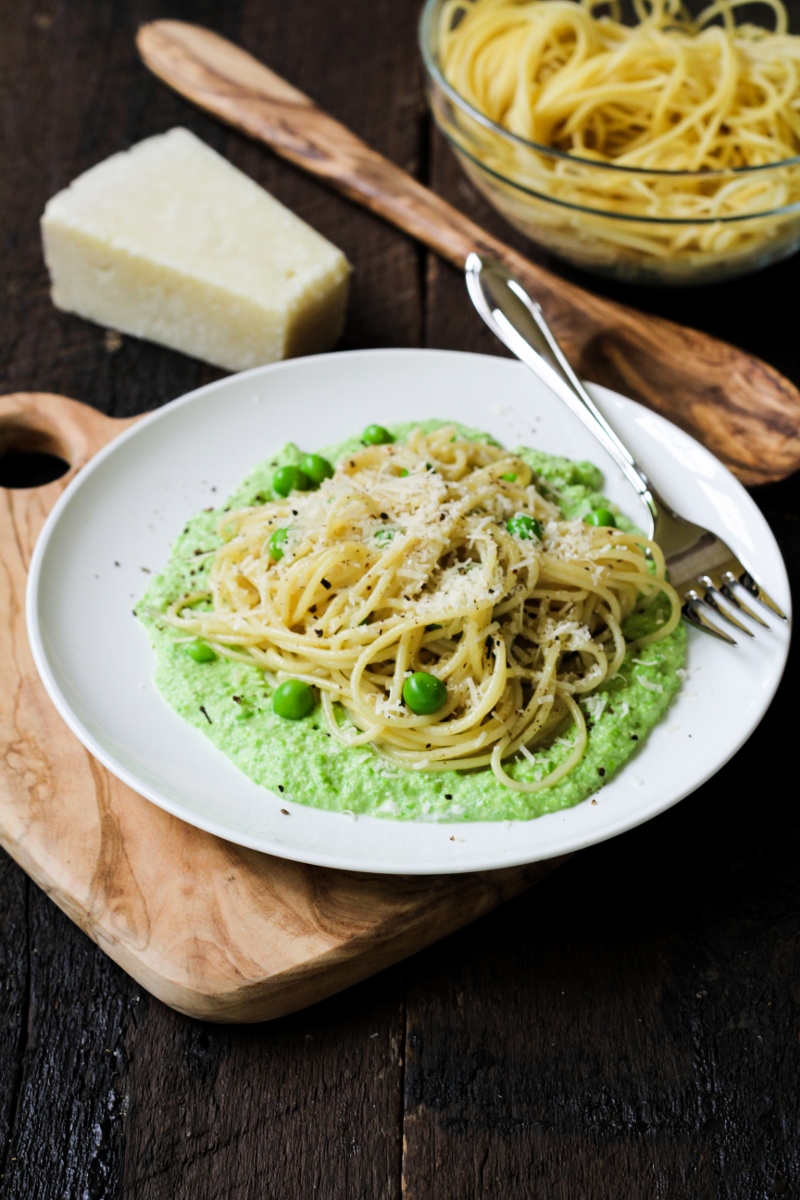
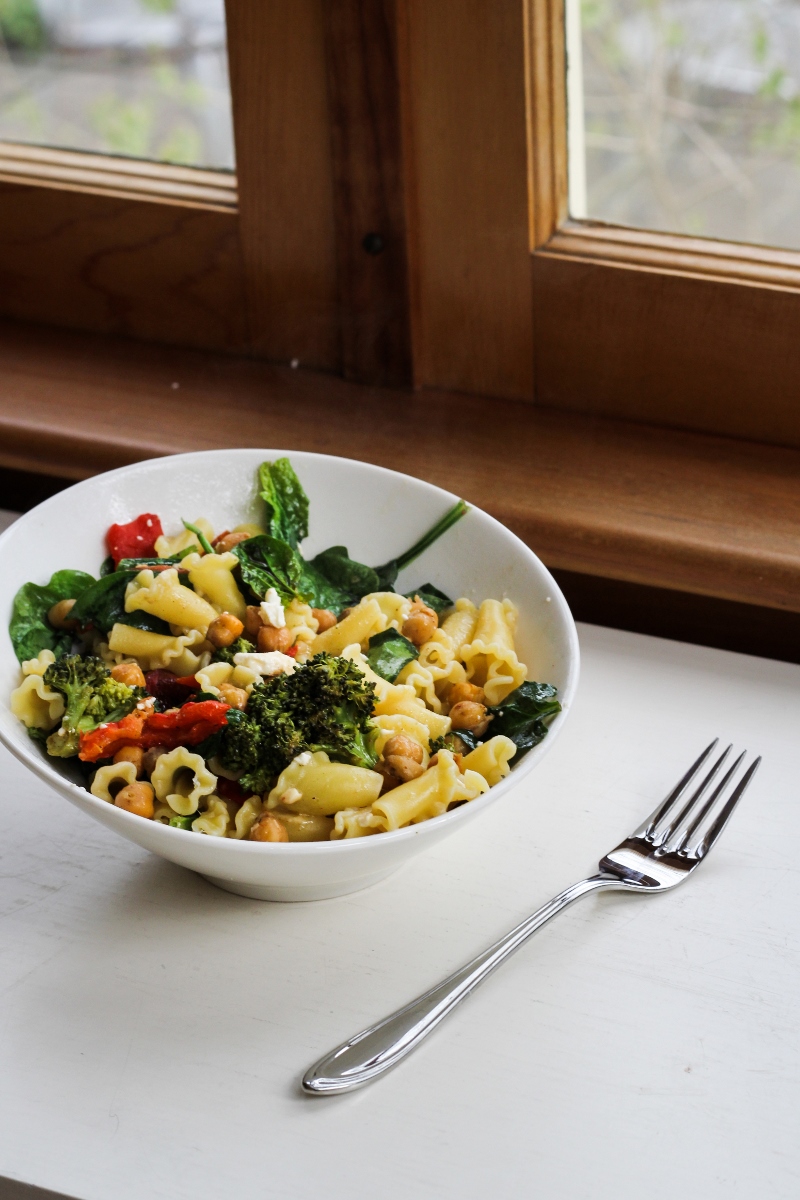
So maybe I lied about the pictures doing most of the talking – I guess I had more to say than I thought! It’s fun reliving our adventures. It may be another week or so before I get my act together on the second half of our trip, but the last four days, which we spent in the Maremman countryside, were easily my favorite, so hopefully it’s worth the wait! In the meantime, I cooked up some Cacio e Pepe with English Peas for you. Cacio e Pepe is a classic and delicious spaghetti dish coated with a rich cheese sauce and a healthy sprinkling of black pepper – it tastes like what I always want mac’n’cheese to taste like. I had a version in Florence served on a black bean puree, which I re-imagined here using a spring pea puree instead. Buon appetito!
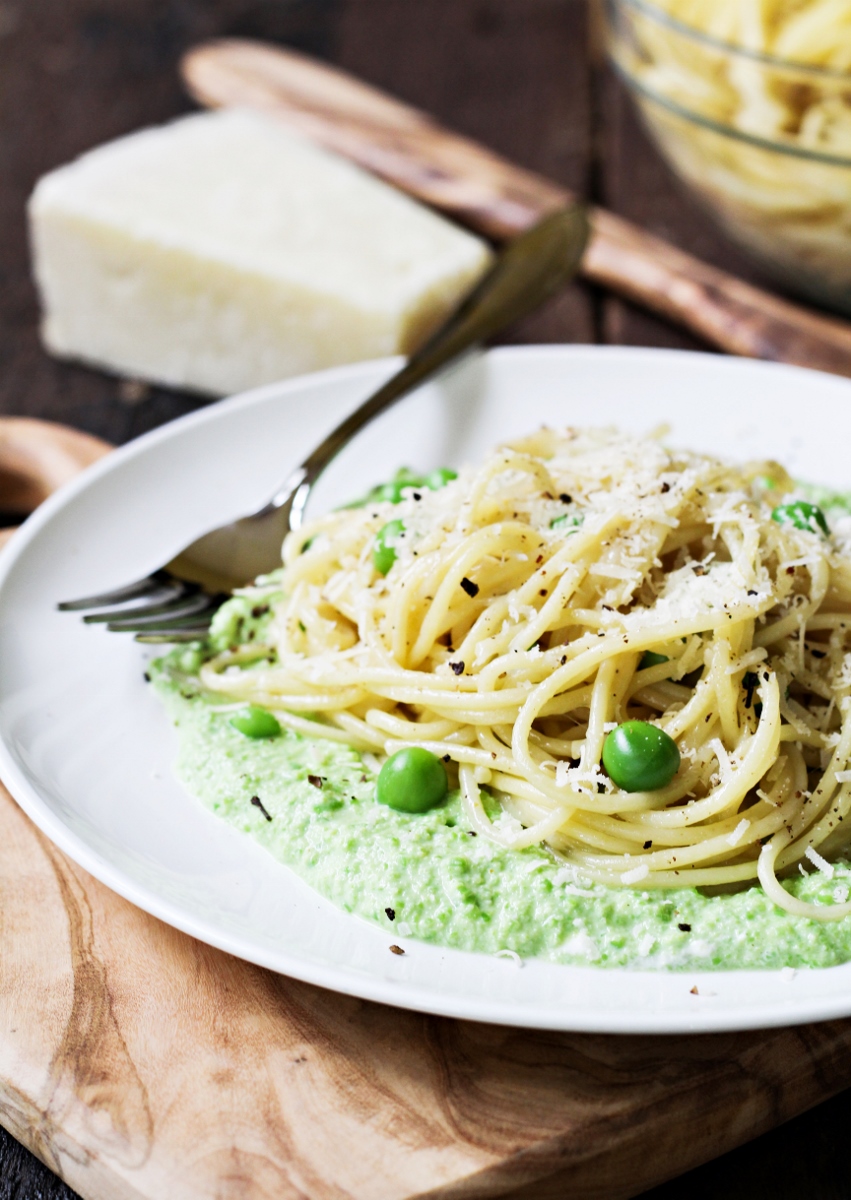
Cacio e Pepe with English Peas
Serves 3-4.
- 1 1/2 c. fresh English peas
- salt to taste
- 1/2 pound spaghetti or bucatini
- 2 TBS butter
- 1 1/2 tsp freshly ground black pepper, plus more for garnish
- reserved pasta water
- 3/4 c. freshly grated Parmesan, plus more for garnish
- 3/4 c. freshly grated Pecorino Romano
- 2 TBS sour cream
- Bring a large pot of heavily salted water to a boil. Fill a large bowl with ice water, and set aside. When the water is boiling, add the peas to the water and boil for 1-2 minutes, until bright green and floating at the top. Use a skimmer to remove the peas and immediately plunge into the ice water to stop the peas from cooking. Set aside.
- Add the pasta to the boiling water and cook according to package directions. When the pasta is done, remove to a bowl with tongs and set the pasta water aside.
- In a large frying pan, melt the butter over medium heat. Add the black pepper and stir until fragrant, about 1-2 minutes. Add 3/4 c. of the reserved pasta water to the pan and bring to a boil, then add the cooked pasta and all of the cheese. Stir to melt the cheese until the pasta is evenly coated with a creamy sauce, adding more pasta water if necessary.
- Take 1 c. of the cooked peas and place in a blender with the sour cream and 1/4 c. of the pasta water. Blend until smooth, then season to taste with salt. Mix the remaining 1/2 c. of peas into the pasta.
- Place a circle of the pea puree on each plate. Top with a pile of spaghetti. Finish with freshly ground pepper and freshly grated cheese.