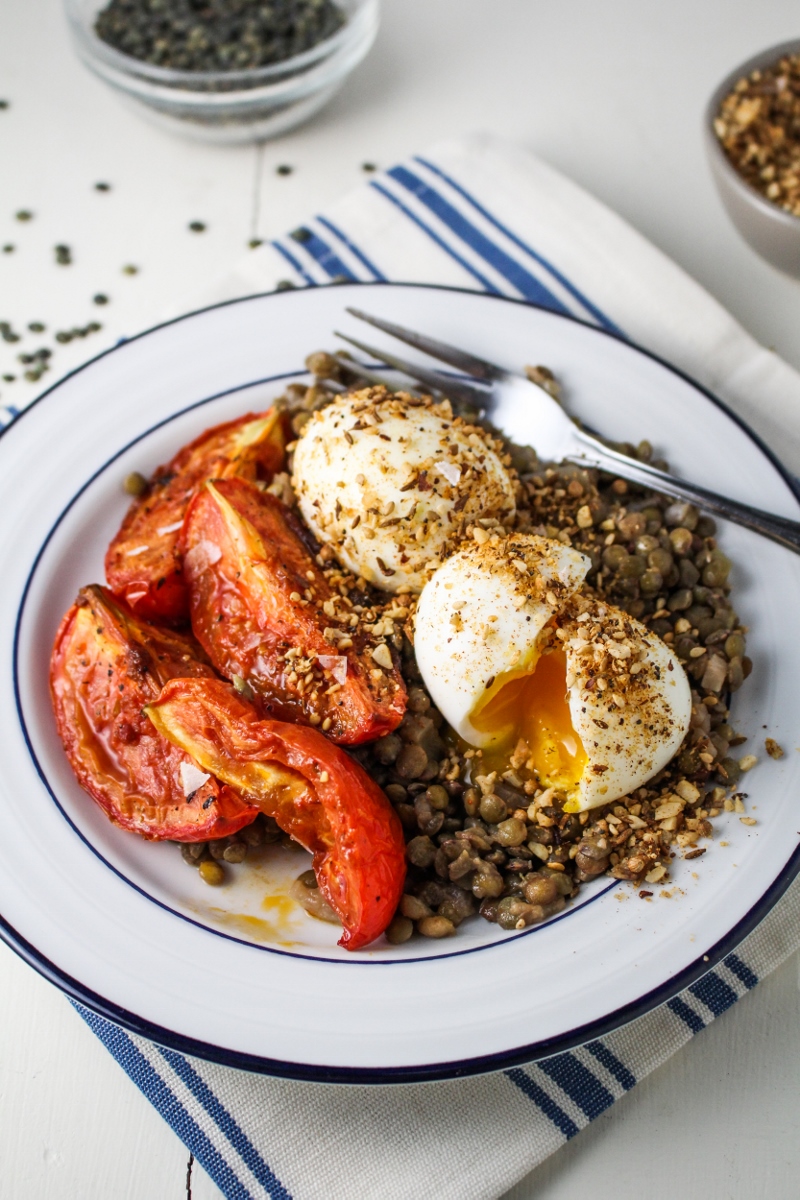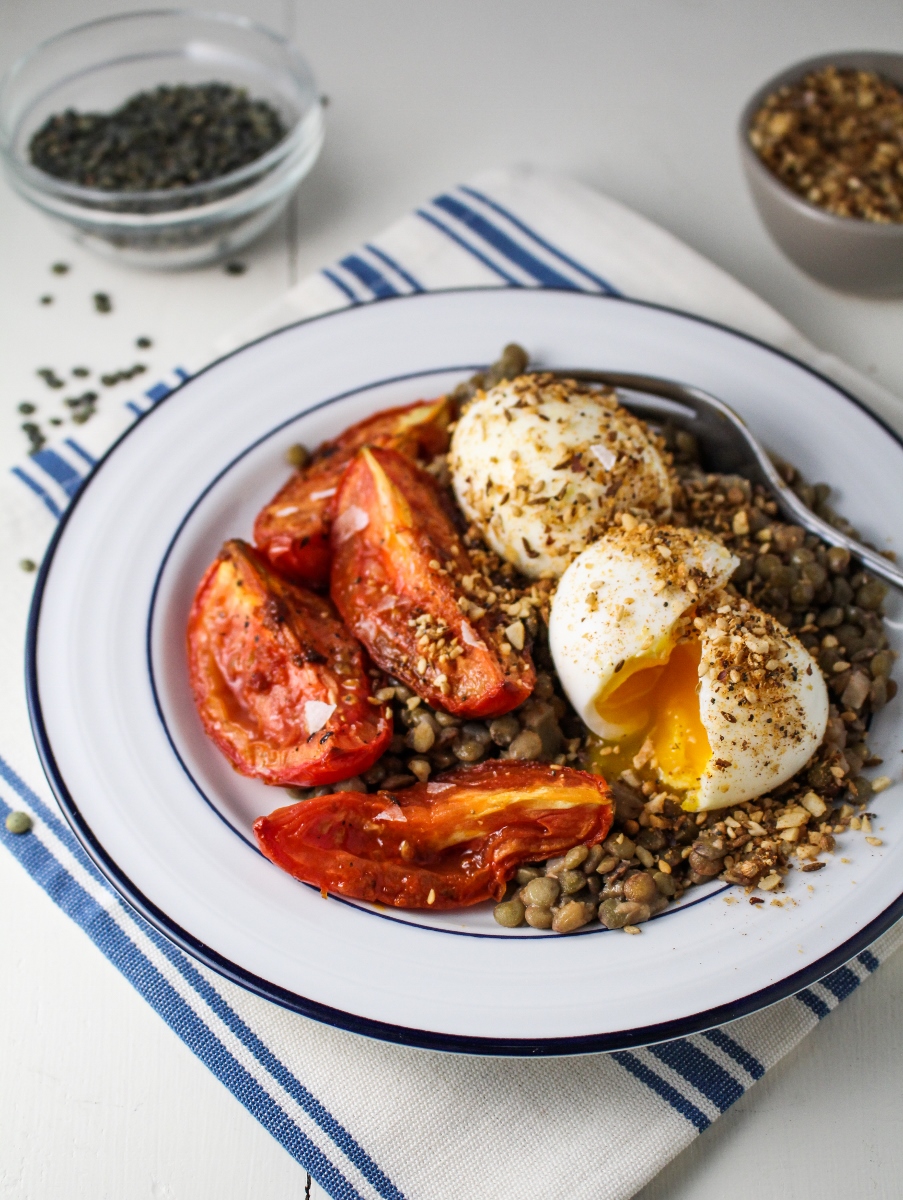
Finding the time for these Sunday Dinner posts is harder than I would like it to be. Perhaps part of the problem is that I tend to choose rather elaborate menus that take all afternoon to prepare and shoot, but that’s also part of the fun. When we finally did another Sunday Dinner a few weeks back, its origins were mixed – it grew partly out of the feeling that it had been far too long, partly out of the need to use up the huge stacks of garden produce in our fridge, and partly out of a desire to celebrate that same summer produce at its very peak.

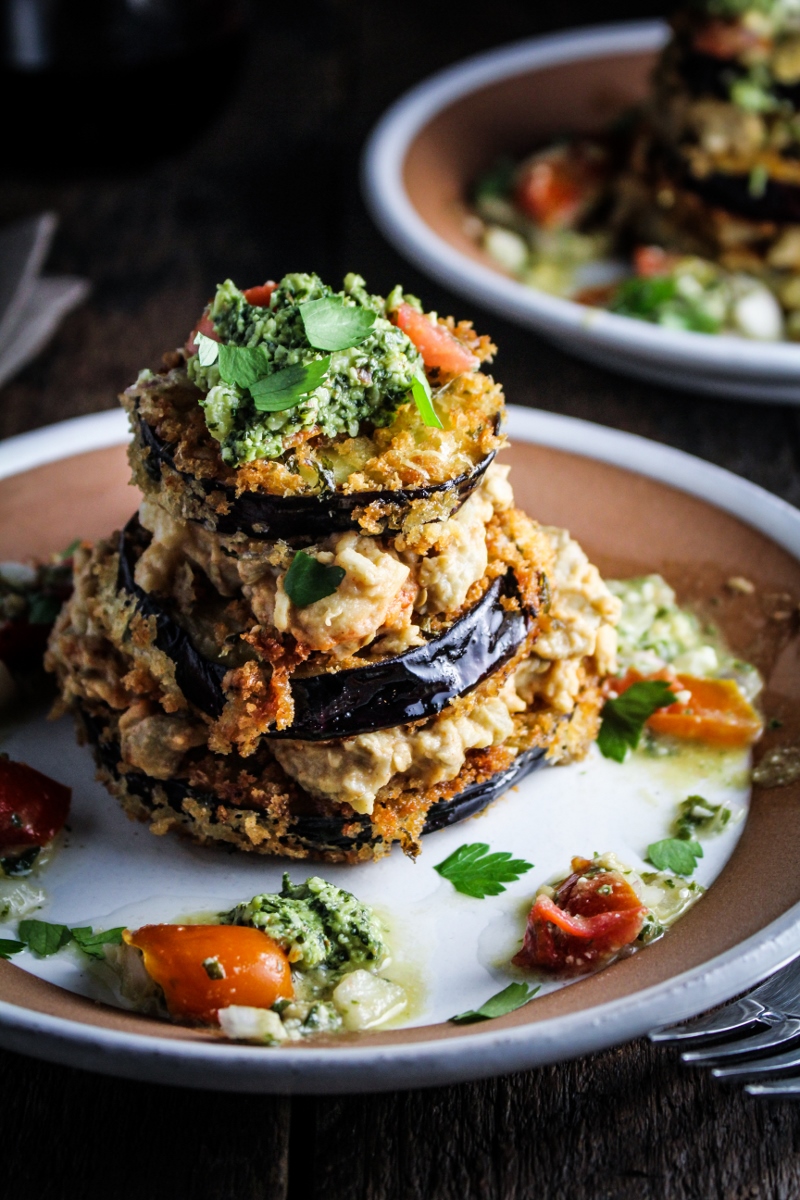
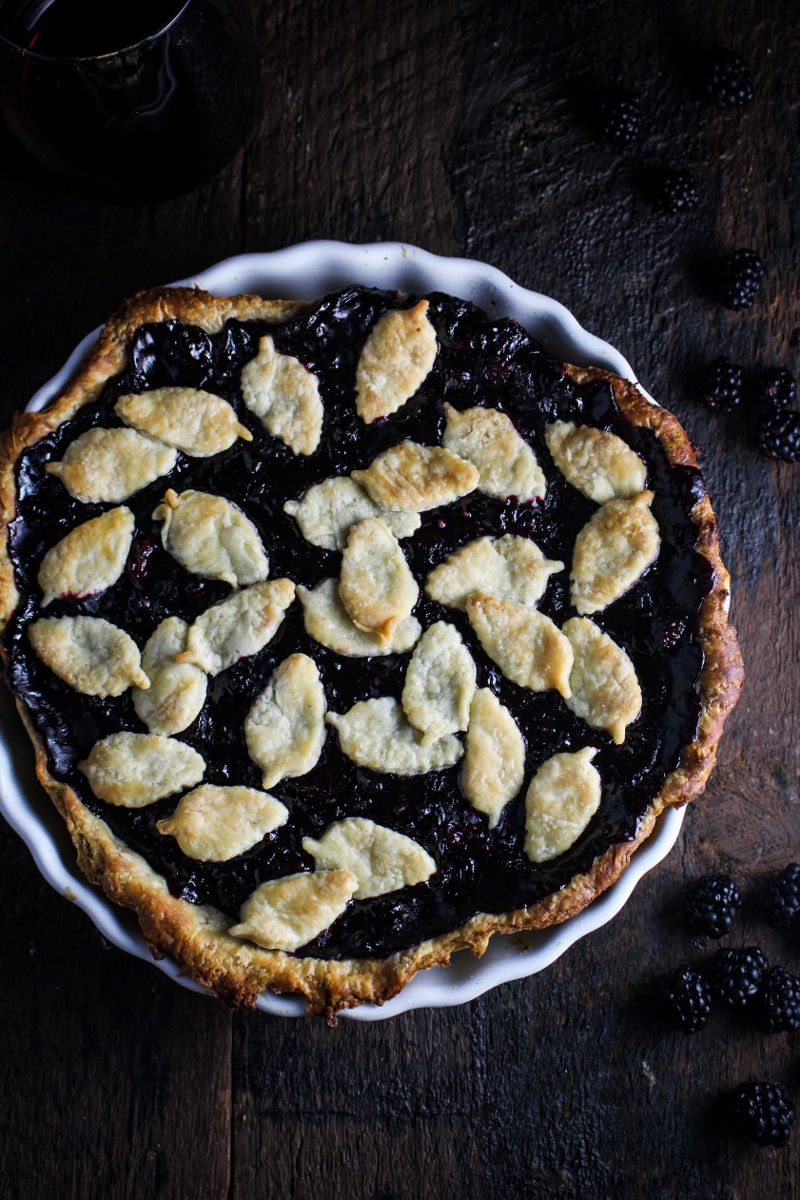
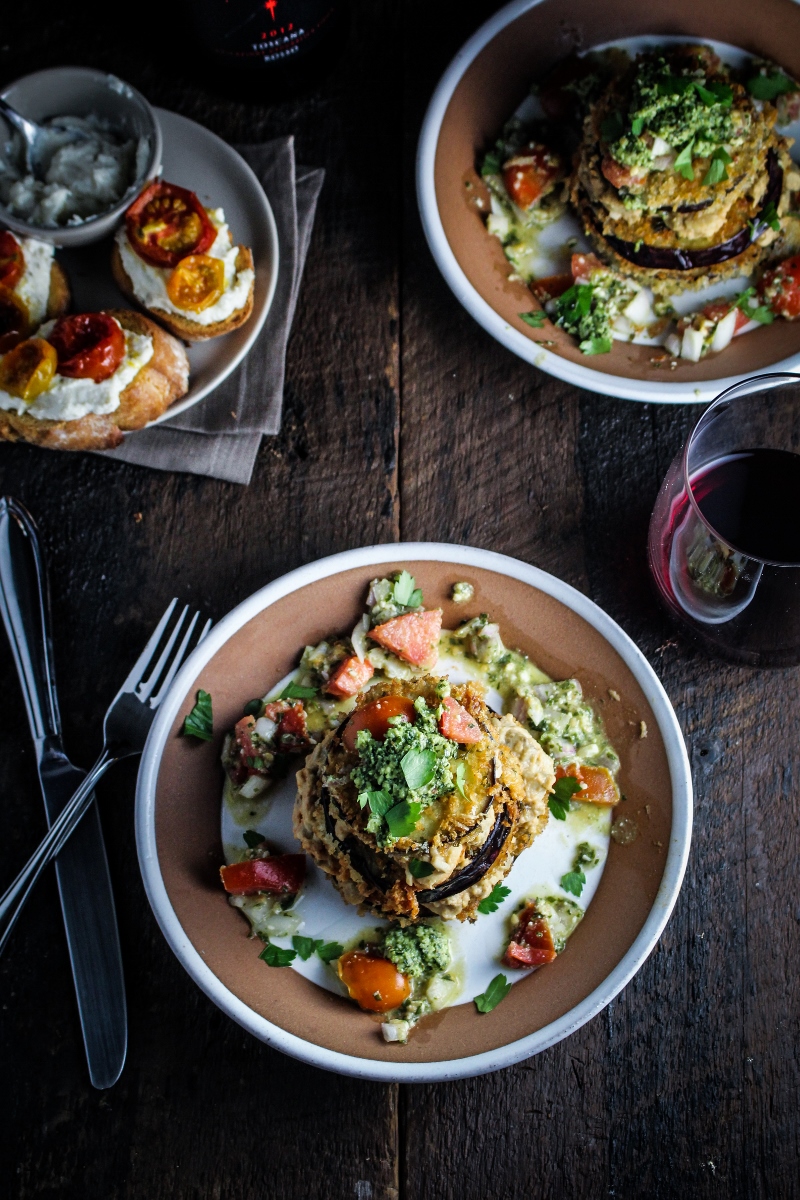
This Sunday Dinner is the first we’ve done that is entirely vegetarian, but with gorgeous stacks of Eggplant Napoleon as a centerpiece to the meal, meat was not missed in the slightest. I’ve been eyeing this particular eggplant recipe since early spring, when I reviewed Olives, Lemons, and Za’atar. Back in March, the bright stacks of fried eggplant layered with baba ghanoush and pesto seemed impossibly summery, products of a season that felt like it might never come. But come it has, and now the sun-soaked afternoons and baskets of tomatoes are too quickly fading into cool breezy evenings and the first ripe pumpkins. We do still have plenty of nice weeks ahead of us – it won’t do to get nostalgic prematurely – and we’re still cooking up a storm with the weekly haul from the garden. Our homegrown eggplant was the star of the show in this meal, and we rounded things out with piles of maple-roasted cherry tomatoes on ricotta-slathered crostini and a gorgeous pie made with the last of our blackberries.
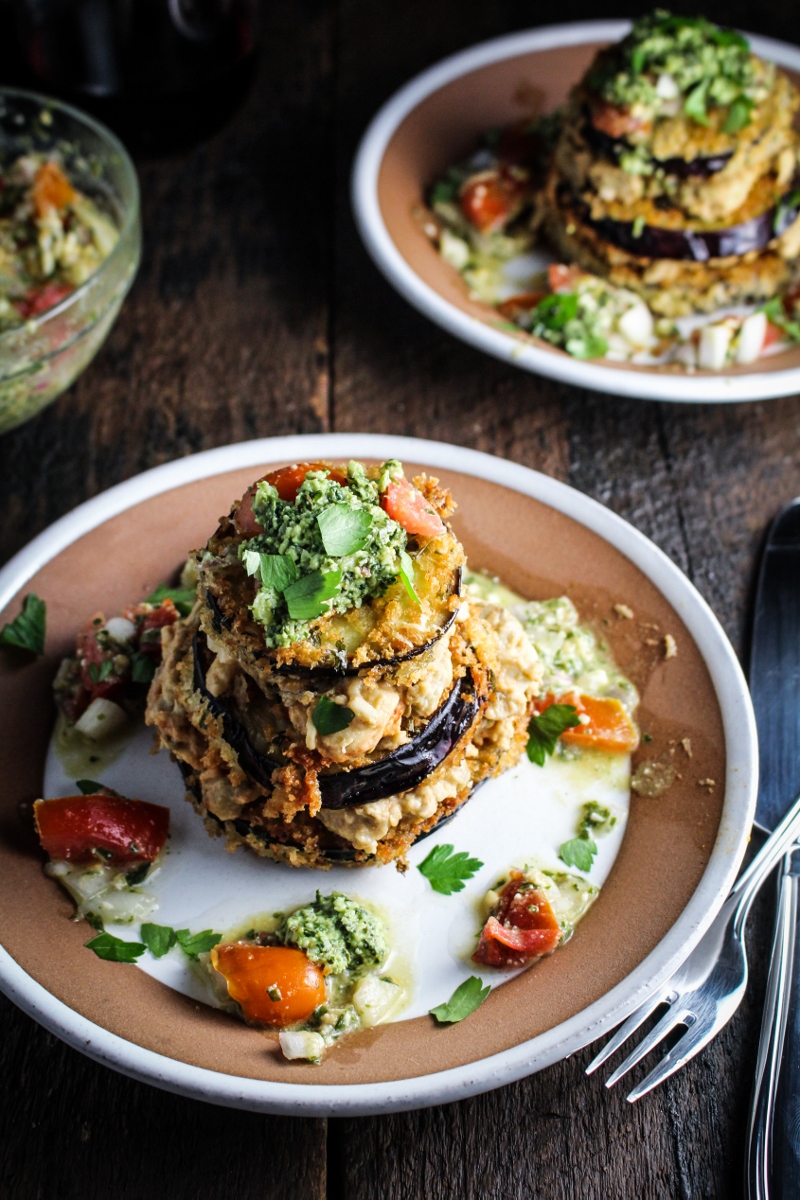
Eggplant can be a little labor intensive to prepare well, and this recipe was no exception. A lengthy process of salting, drying, marinating, breading, and frying may feel a little like overkill, but results in an incredibly flavorful and tender eggplant. There are a number of other components to the recipe as well – the pesto marinade, the baba ghanoush, and a tomato and pesto salad that gets served on top of the final dish. The recipe calls for about seven lemons – we felt that using three was sufficient – and the acidity of the final dish is powerful, but works nicely with the savory crunch of the eggplant slices and the smokiness of the baba ghanoush. I’ve written the recipe here with a few shortcuts to save time and effort, but the end result should be equally flavorful and elegant as the original.
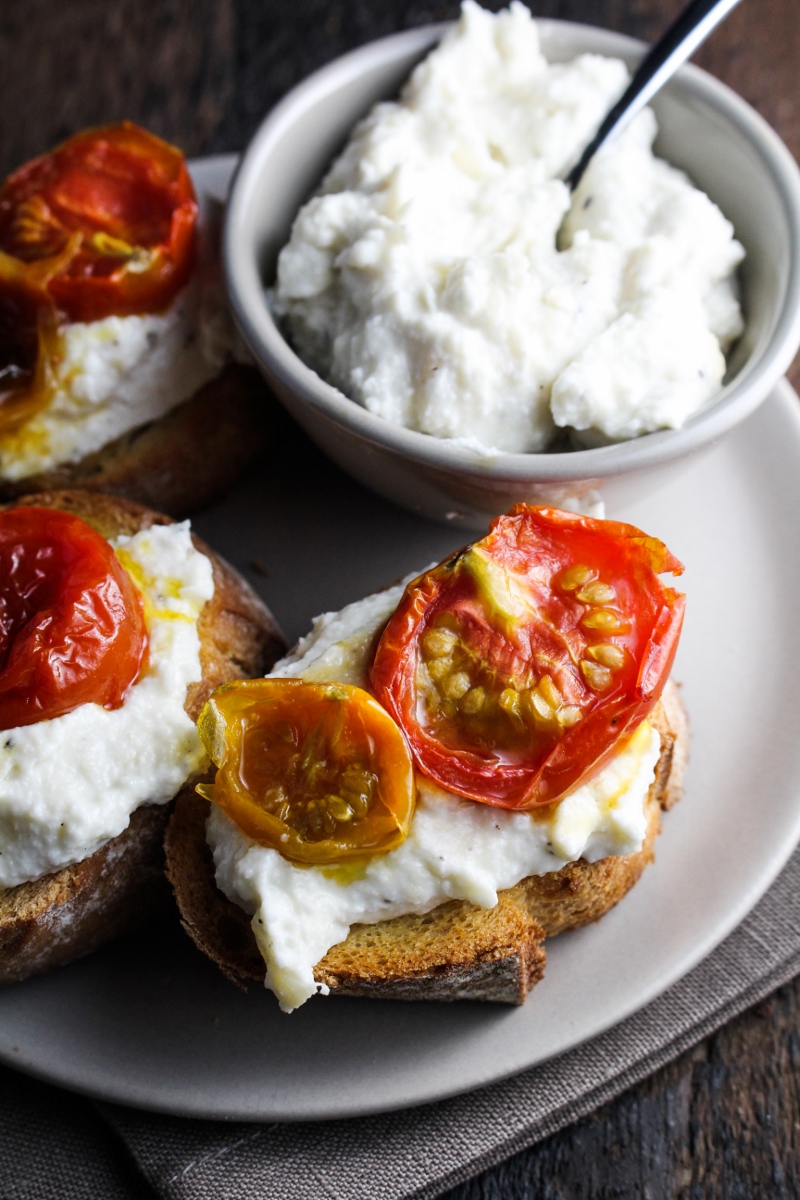
On the other end of the labor intensive spectrum are the super easy crostini we had as an appetizer. We make a big batch of maple-roasted cherry tomaotes pretty much every week during August and September, roasting them the day they’re picked then using them on top of pastas and meats and eggs throughout the week. Once the oven is on, I sometimes throw another vegetable or two in to avoid heating up the house more than once – the week I made these crostini, that other vegetable was a few heads of our freshly harvested garlic, roasted into a sweet paste. The roasted garlic got mixed into some good thick ricotta, slathered on hot baguette, and topped with the candy-sweet tomatoes. It was so good and so easy.
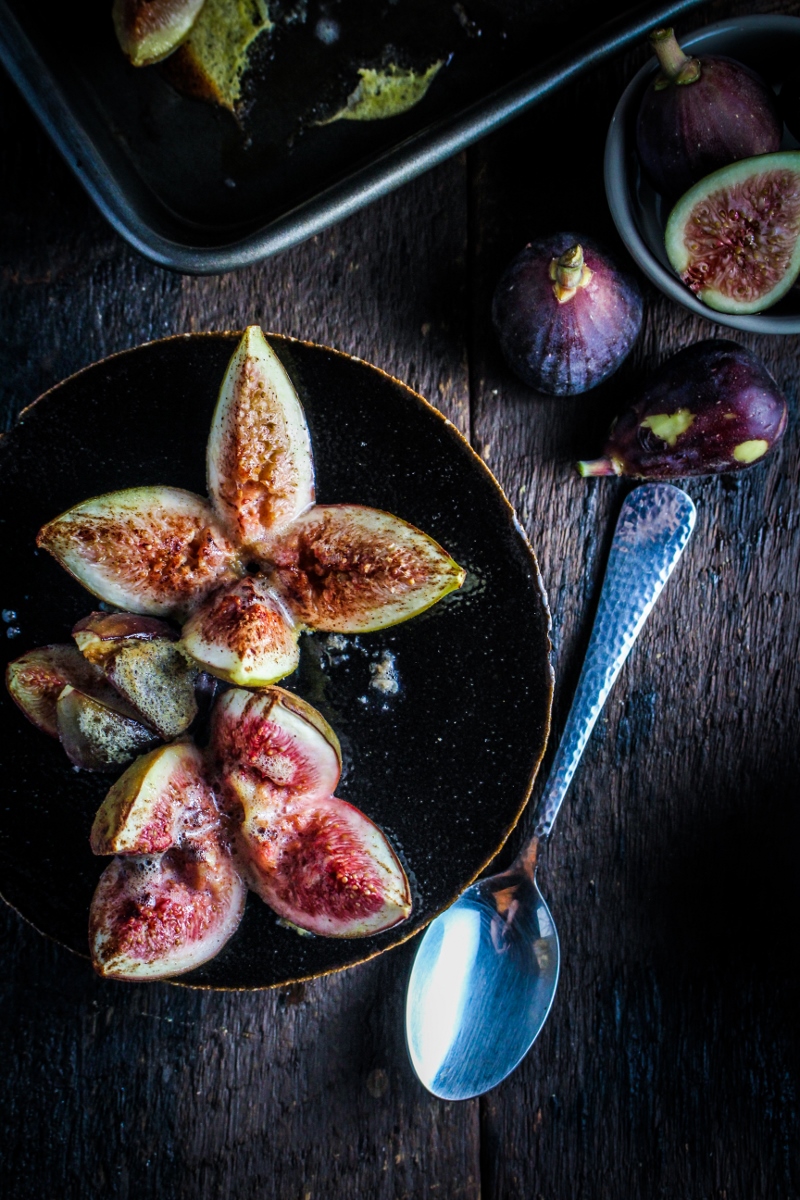
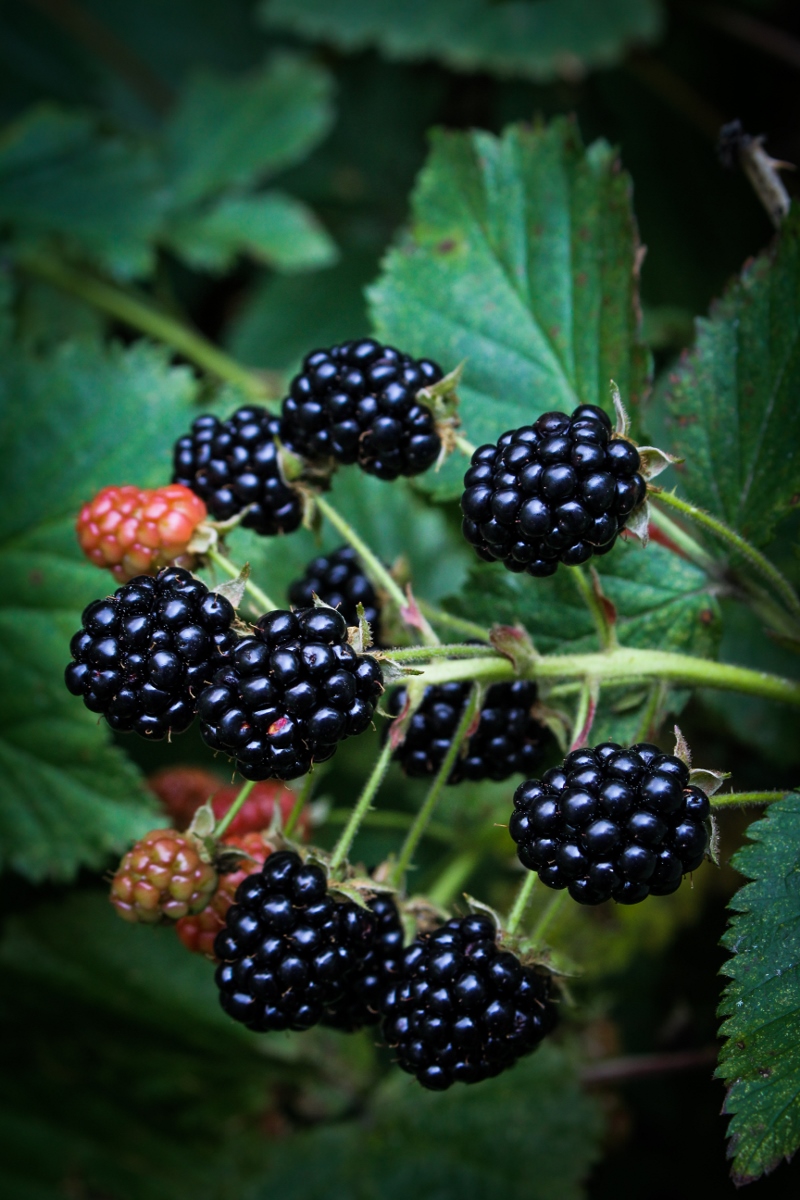
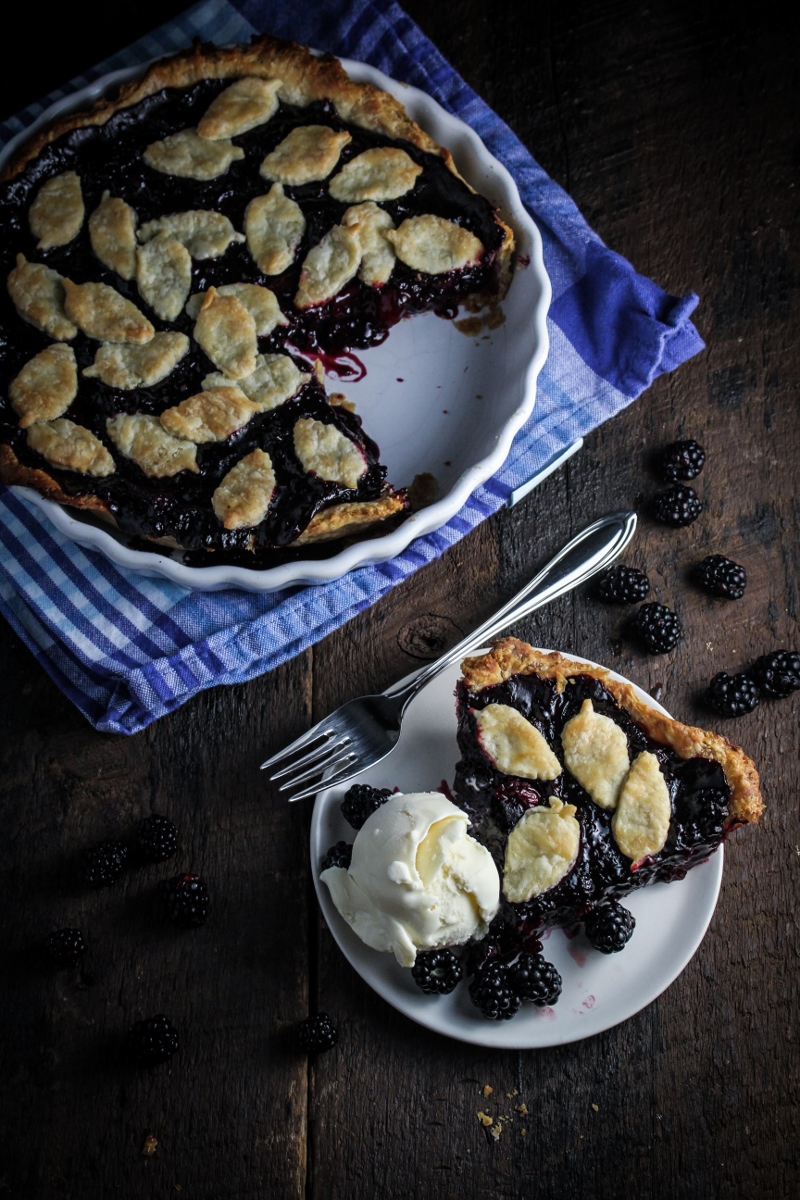
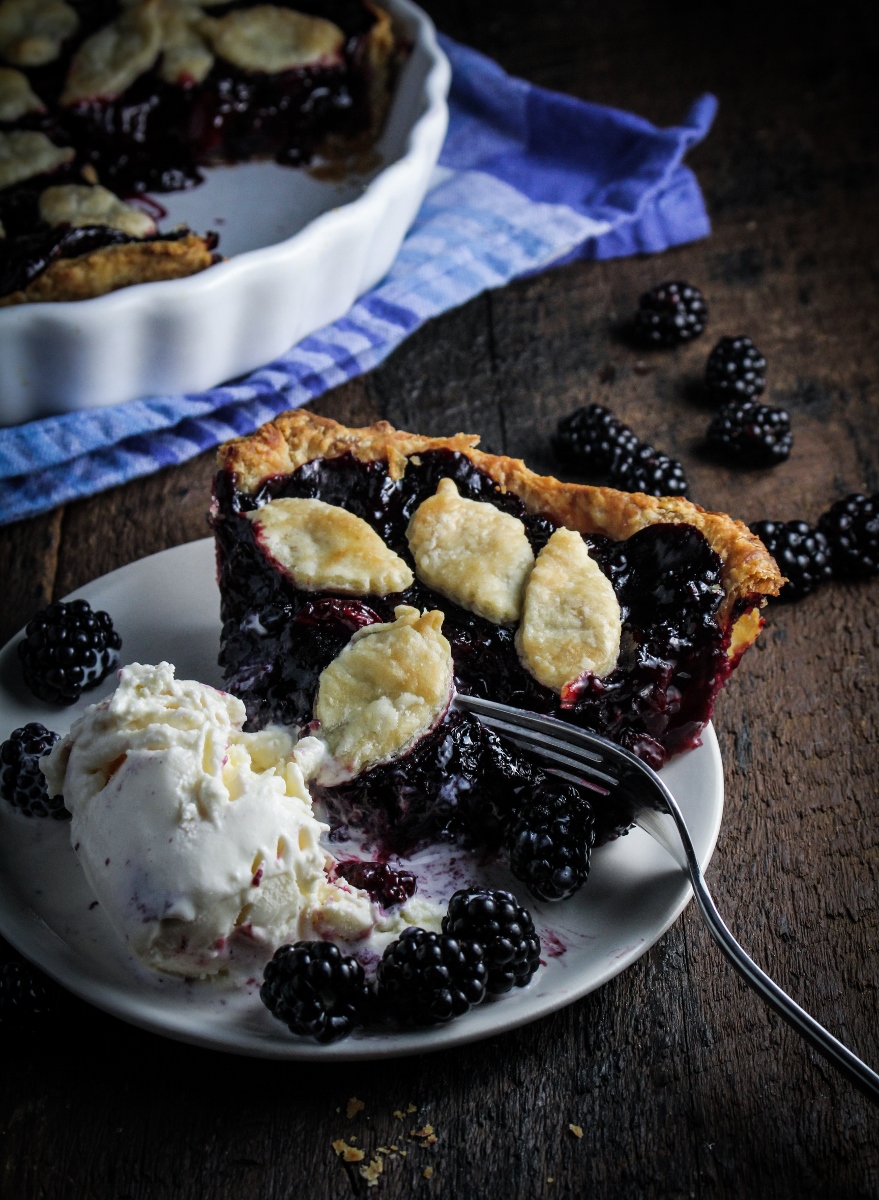
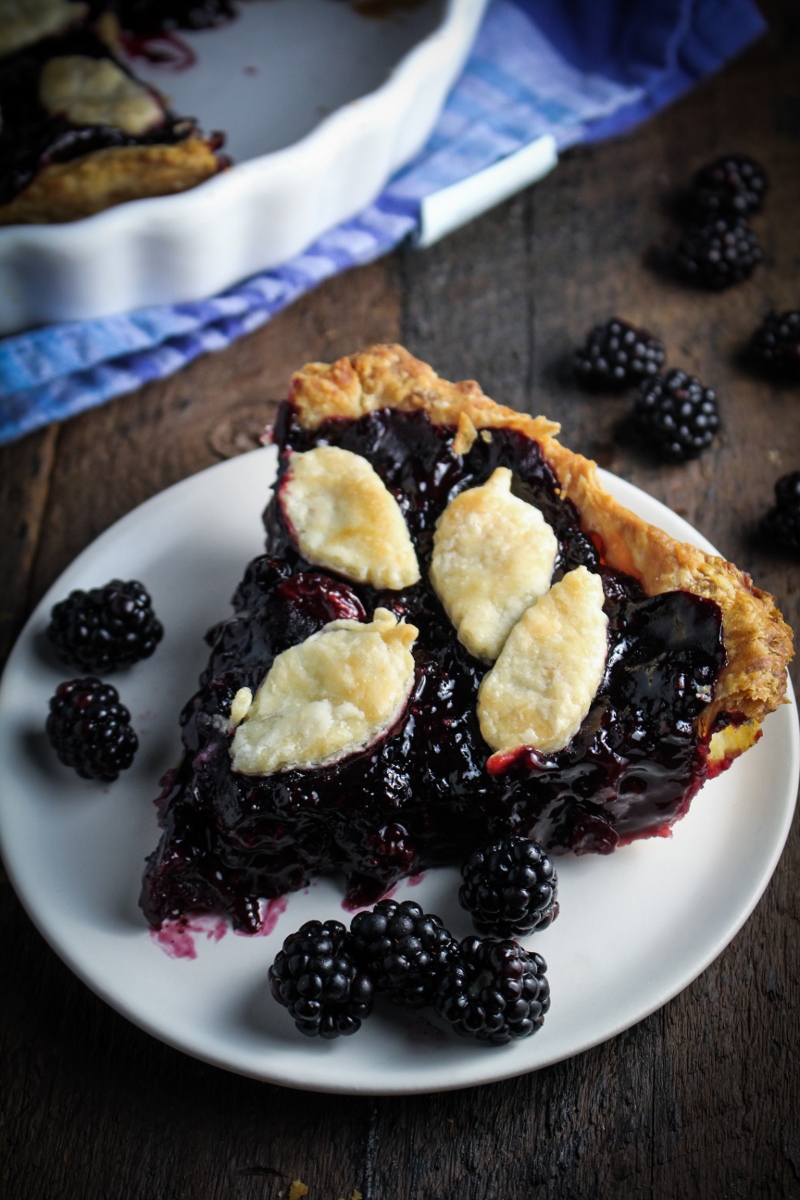
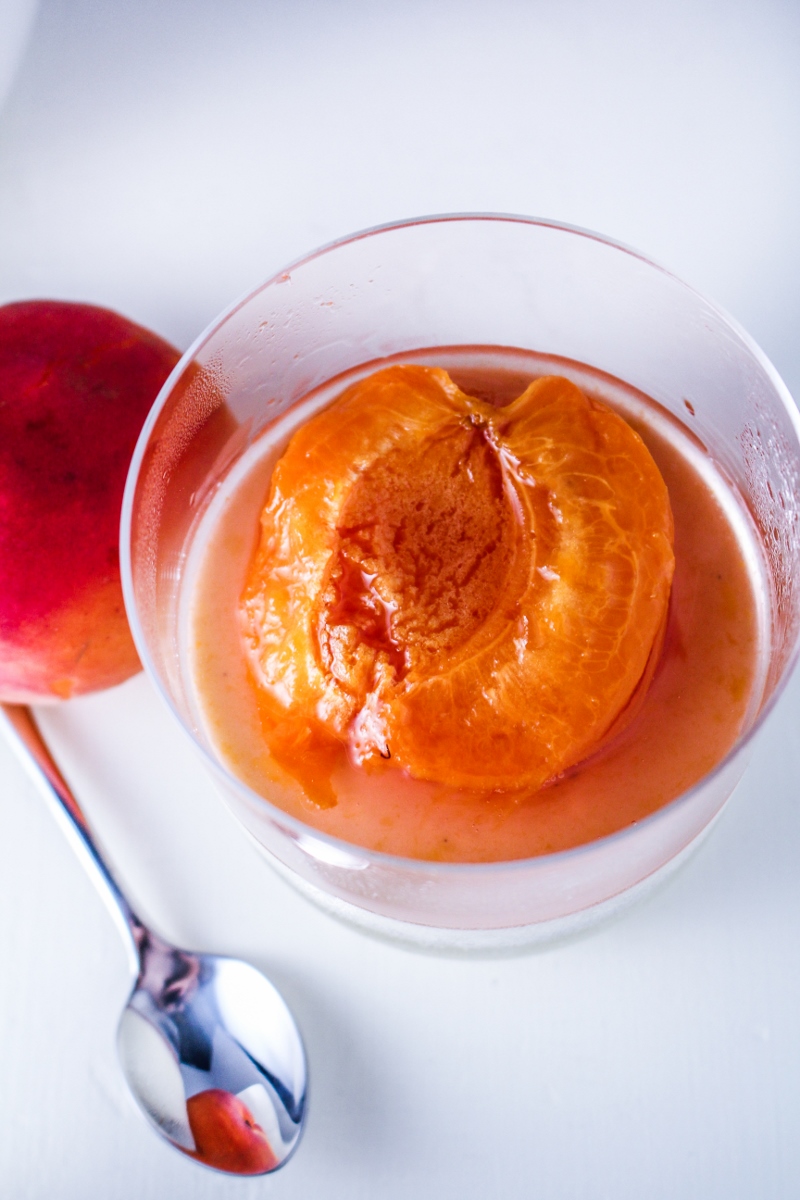
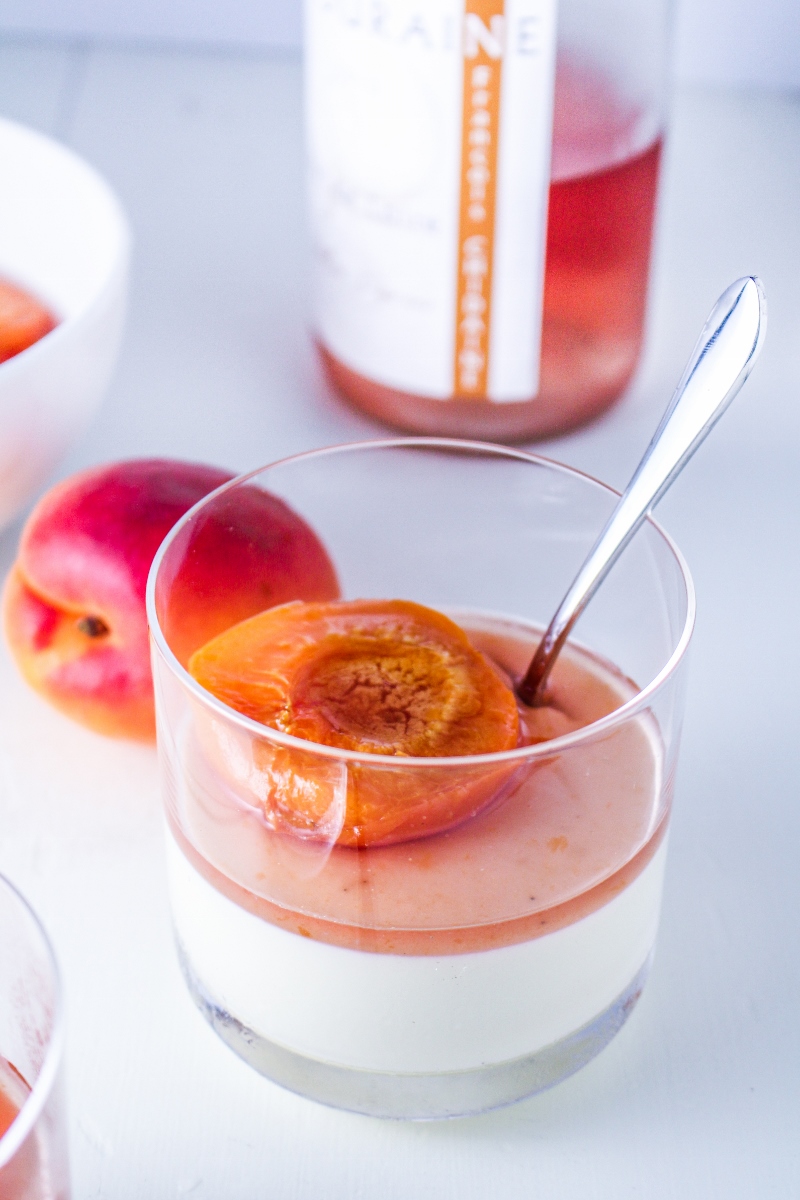
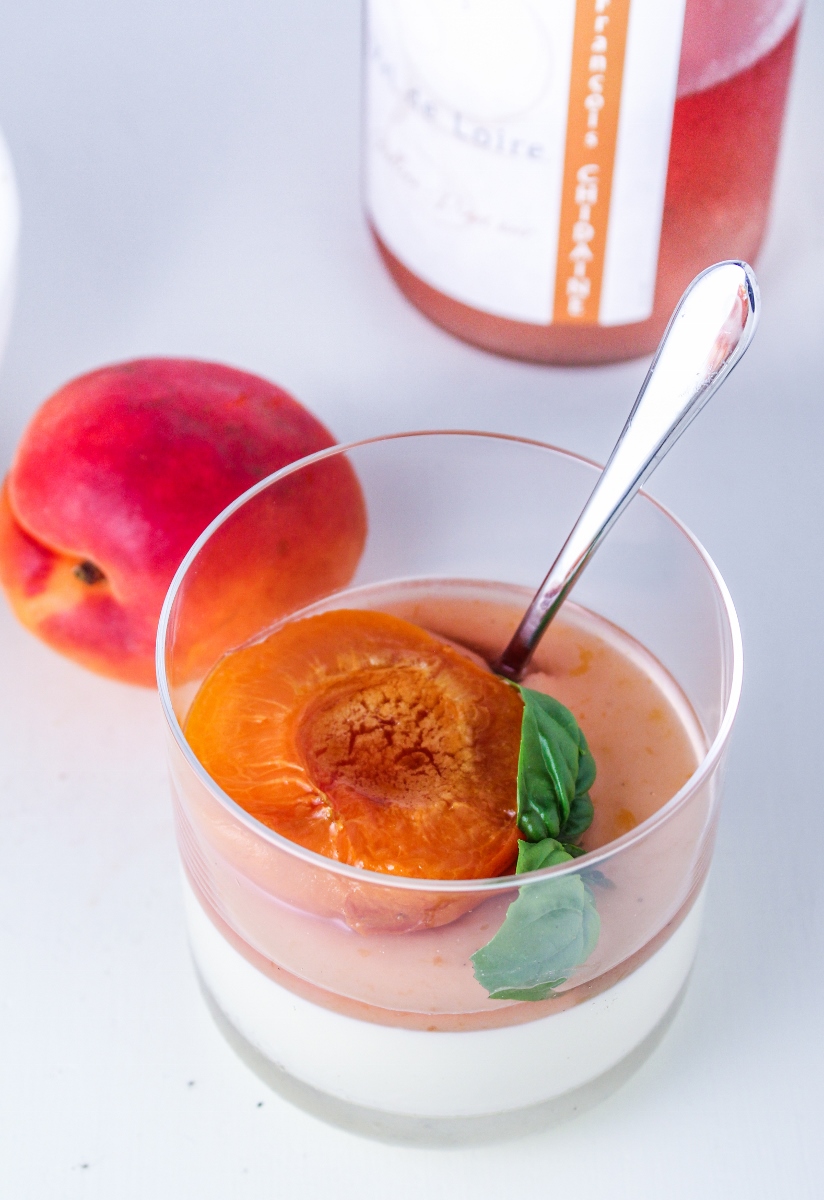
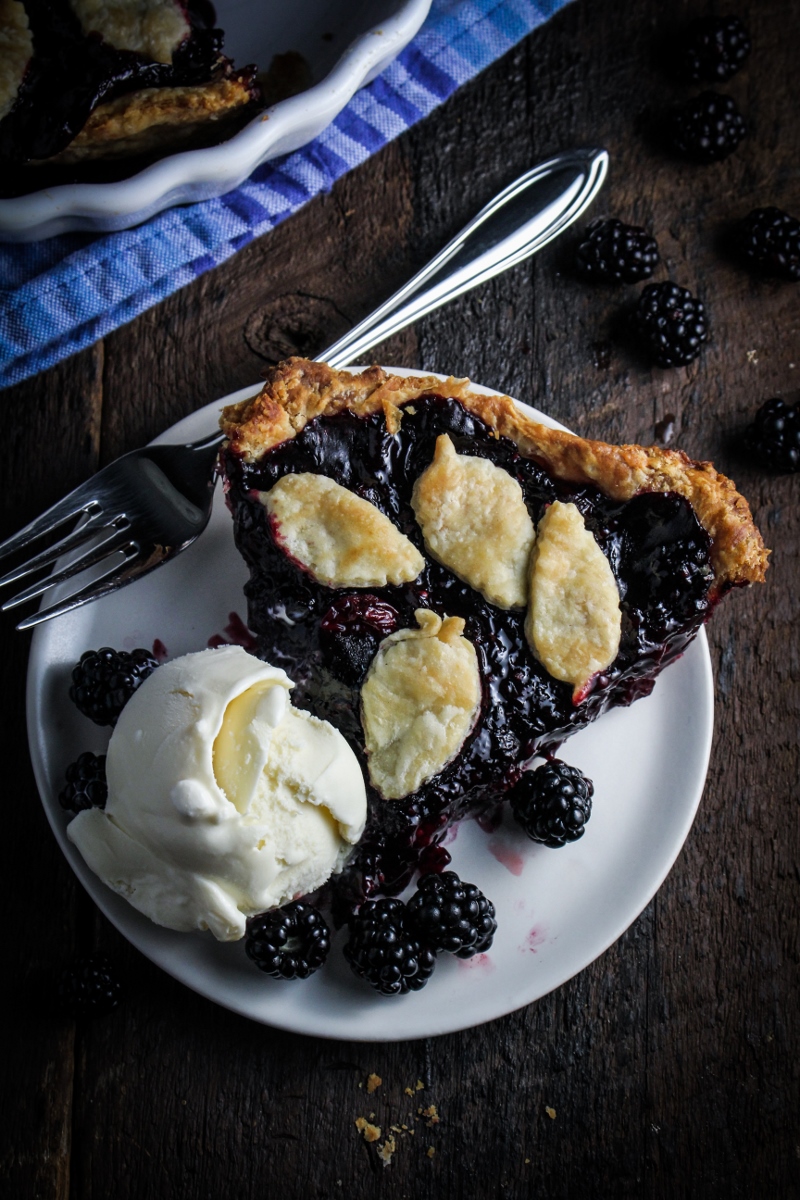
The final element of our dinner was a big slice of mixed berry and maple syrup pie, which I wrote about in detail a week or so ago. It was a pie that I had been dreaming about since the first blackberries ripened, and it exceeded all my expectations for it. A big slice of the juicy pie, supported with a flaky buttery crust and topped off with a melting scoop of vanilla bean ice cream was the perfect close to our late summer dinner feast.
The Menu
Roasted Garlic, Ricotta, and Maple-Roasted Cherry Tomato Crostini – see recipe below
Eggplant and Pesto Napoleons – see recipe below (adapted from Olives, Lemons & Za’atar)
Maple Mixed-Berry Pie
Past Sunday Dinners:
May 26, 2013: Coffee-and-Chile Rubbed Strip Steaks with Chimichurri Sauce; Charred and Smoky Belgian Endives; Oven-Roasted Potatoes; Strawberry-Sour Cream Ice Cream
July 1, 2013: Strawberry-Lime Agua Fresca; Smashed Pea, Dill, and Feta Crostini; Chilled Asparagus Soup with Meyer Lemon Yogurt; Mustard Spaetzle with Mushrooms; Ricotta Bavarese with Red-Wine Poached Rhubarb
October 28, 2013: Braised Lamb Shanks with Gremolata; Creamy Polenta with Fresh Corn and Blue Cheese; Roasted Brussels Sprouts; Classic Apple Pie
March 31, 2014: Fried Halloumi with Spring Veggies and Strawberry-Basil Gastrique; French Gnocchi with Watercress Sauce; Strawberry-Rhubarb Meringue Pots
Like what you just read? Subscribe to Katie at the Kitchen Door on Feedly or Bloglovin‘, or follow along on Facebook, Twitter, Pinterest, Instagram, or Google+. Thanks for reading!
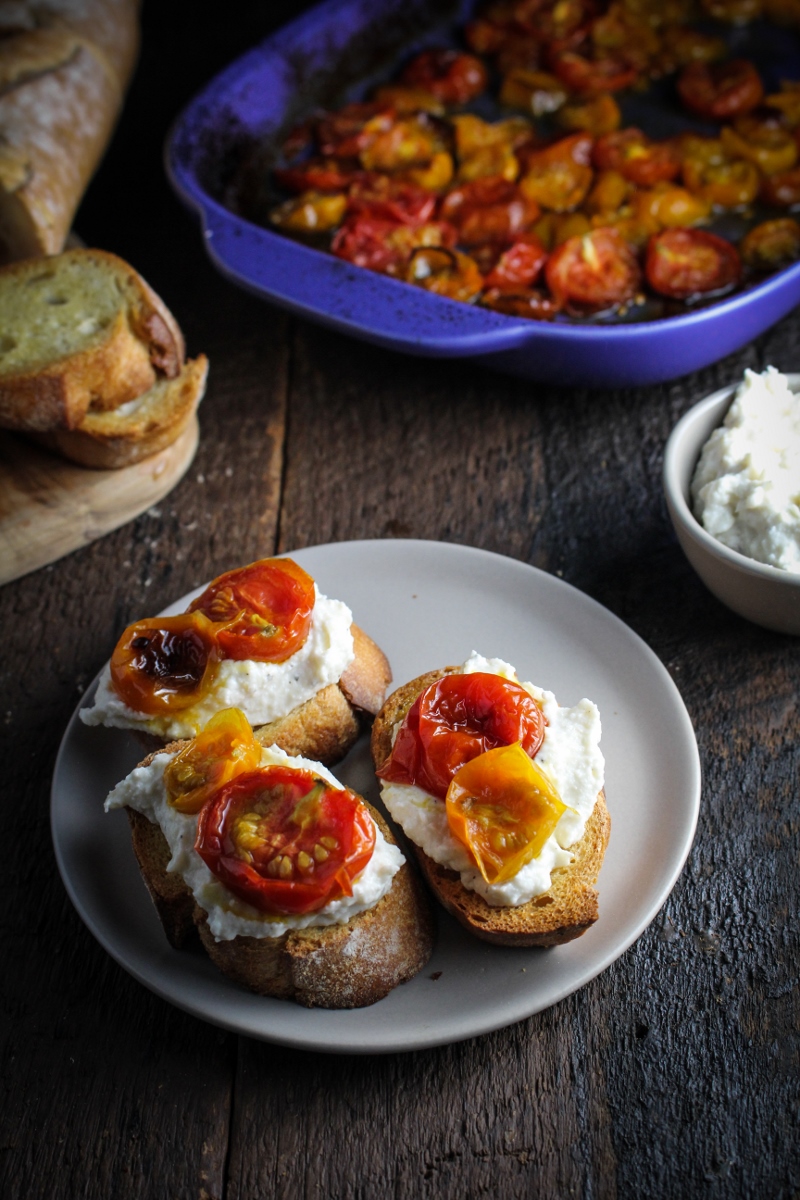
Roasted Garlic, Ricotta, and Maple-Roasted Cherry Tomato Crostini
Serves 6-8 as an appetizer.
- 1 recipe of maple-roasted cherry tomatoes
- 3 heads of garlic
- 1 c. of ricotta
- 1 baguette
- olive oil
- sea salt and pepper
- Prepare the maple-roasted cherry tomatoes. While they are roasting, roast the garlic as well: slice the tops off the garlic heads so the cloves are partially exposed. Place the heads in a piece of tinfoil and drizzle with olive oil, then sprinkle with sea salt. Close the foil into a pouch, and roast until soft, about 45-55 minutes at 350°F.
- Remove the garlic from the oven, and let cool until comfortable to handle. Squeeze the roasted garlic out of the papery shells into a bowl, and mash with a fork. Mix the roasted garlic with the ricotta, and season to taste with salt and pepper.
- Preheat the broiler. Slice the baguette into thin rounds, then place on a baking sheet. Brush the tops and bottoms lightly with olive oil. Broil the toasts until golden brown, about 5 minutes total, flipping once halfway through. Remove from the oven and let cool to room temperature. To serve, spread the ricotta mixture onto the toasts and top with a spoonful of roasted cherry tomatoes.

Eggplant Napoleon
Recipe adapted from Olives, Lemons, and Za’atar. Serves 4-6.
Note: This version of the recipe is slightly simplified. The full original recipe is available on Epicurious.
For the baba ghanoush:
- 2 medium eggplants (2 lbs total)
- 1/2 c. tahini paste
- 1 clove garlic, minced
- juice from 1/2 lemon
- 2 TBS pomegranate molasses
- 3 TBS olive oil
For the fried eggplant:
- 2 medium eggplant, cut into rounds
- sea salt to taste
- 1/4 c. basil pesto
- 1/2 c. olive oil
- 6 cloves garlic, minced
- juice from 2 lemons
- 1/2 c. flour
- 2 egg whites, lightly beaten
- 2 c. panko
- 2 TBS grated parmesan cheese
- 2 TBS dried parsley
- 1/2 tsp ground black pepper
- vegetable oil for frying
For the tomato salad:
- 4 plum tomatoes, cored and roughly chopped
- 1/4 c. of finely chopped red onion
- 1/2 c. basil pesto
- juice from 1 lemon
- 3 TBS olive oil
- sea salt to taste
- Prepare the baba ghanoush: Preheat the oven to 450°F and line a baking sheet with aluminum foil. Pierce the eggplants all over with a fork and place on the baking sheet. Roast until skin is blackened all over, turning the eggplants with tongs every 5 minutes. Remove from the oven, slice in half lengthwise, and scoop the soft eggplant flesh out into a large strainer. Let drain for 20 minutes, then transfer to a bowl. Mash the eggplant with a fork, then stir in the tahini, garlic, lemon, pomegranate molasses, and olive oil. Adjust seasoning to your taste.
- Prepare the fried eggplant: Place the eggplant rounds on two large baking sheets and salt liberally. Set aside for 30 minutes, then pat the slices dry with a paper towel. In a large bowl, whisk together the pesto, olive oil, garlic, and lemon juice. Add the eggplant slices to the bowl, toss to coat, and let marinate for 1-2 hours at room temperature.
- To bread the eggplant, prepare your workspace: place the flour on a large plate, whisk the egg whites together with 1 cup of water in a shallow bowl, and mix the panko, grated parmesan, dried parsley, and black pepper together on a large plate. Set a piece of waxed paper to the side of your workspace. Working with one slice of eggplant at a time, dredge the marinated eggplant slices in the flour, gently shake off the excess, dip it in the egg mixture, then dredge in the panko on both sides. Set on the waxed paper and repeat with all of the eggplant slices.
- Heat a large frying pan filled with 1/4 inch of vegetable oil over medium heat. Fry the eggplant slices in batches, frying 2-3 minutes per side or until golden brown all over. Remove to a paper towel lined platter and repeat until all eggplant is fried.
- To prepare the tomato salad: mix together the chopped plum tomatoes, chopped red onion, pesto, lemon, and olive oil in a large bowl. Season to taste with salt.
- To serve, place one slice of the fried eggplant on a plate, then spread with a few tablespoons of baba ghanoush. Repeat twice more, building a layered stack of eggplant, then top with a few large spoonfuls of the tomato salad. Serve immediately.