
After a long business trip, it always takes a few days to shake off the whirl of travel and settle back into my routine. While I’m out on the road, every day is a long mix of work and exploration, and I often lose sense of the boundaries I have between my work and personal lives when I’m at home. Of course, the one piece of my life that I’m truly missing when I’m away is Trevor, and the first thing I want to do when I walk in the door (well, maybe after a shower) is to just spend time being together.
Last week I returned from a 10 day trip to Malaysia, and although it took me a bit longer than usual to get over the jet-lag and general plane-induced malaise, by Sunday I was feeling like myself again. Although some might argue that when you live together and don’t have kids, every night is date night, in my book it’s nice to set aside time that’s solely about spending time with one another. So I declared Sunday night an official date night, and we set about brainstorming recipes (because in our house, date night almost always means cooking). This particular date night was spruced up a bit by some new kitchenwares from Uncommon Goods, an ethically-minded retailer for unique and unusual gifts. Part of Uncommon Goods’ mission is to support independent artists and designers, as well as to feature American-made goods, and it’s easy to get lost browsing the resulting collection of products they’ve curated. Of course, although they carry a broad range of items, the section I’m drawn to the most is dining and entertaining, especially the wine (here) and kitchen gadget (here) collections.
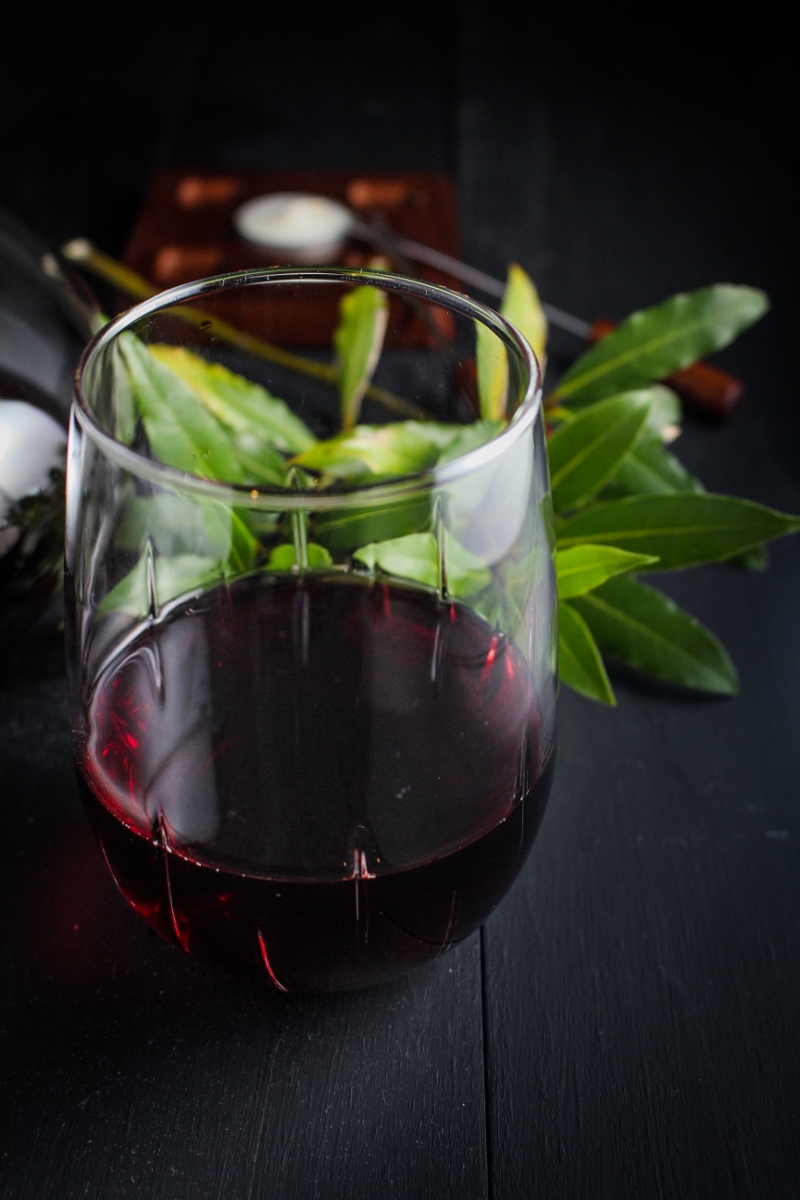
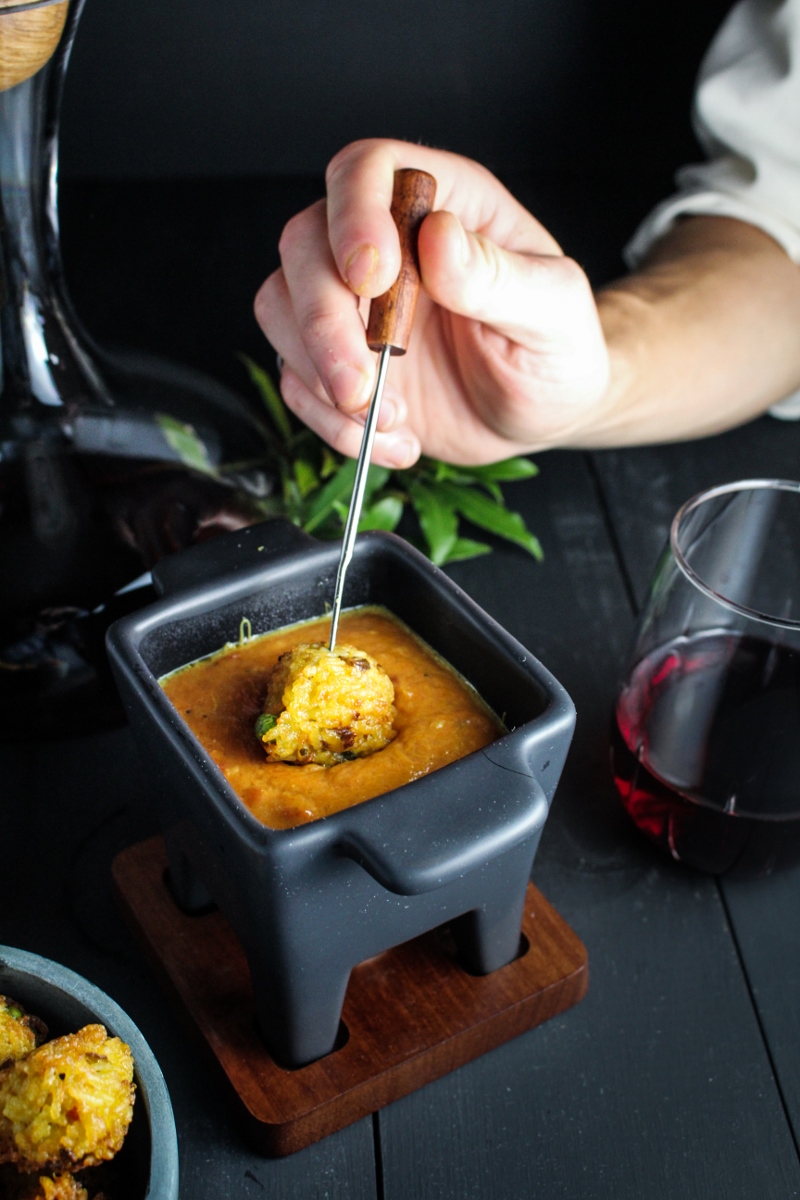
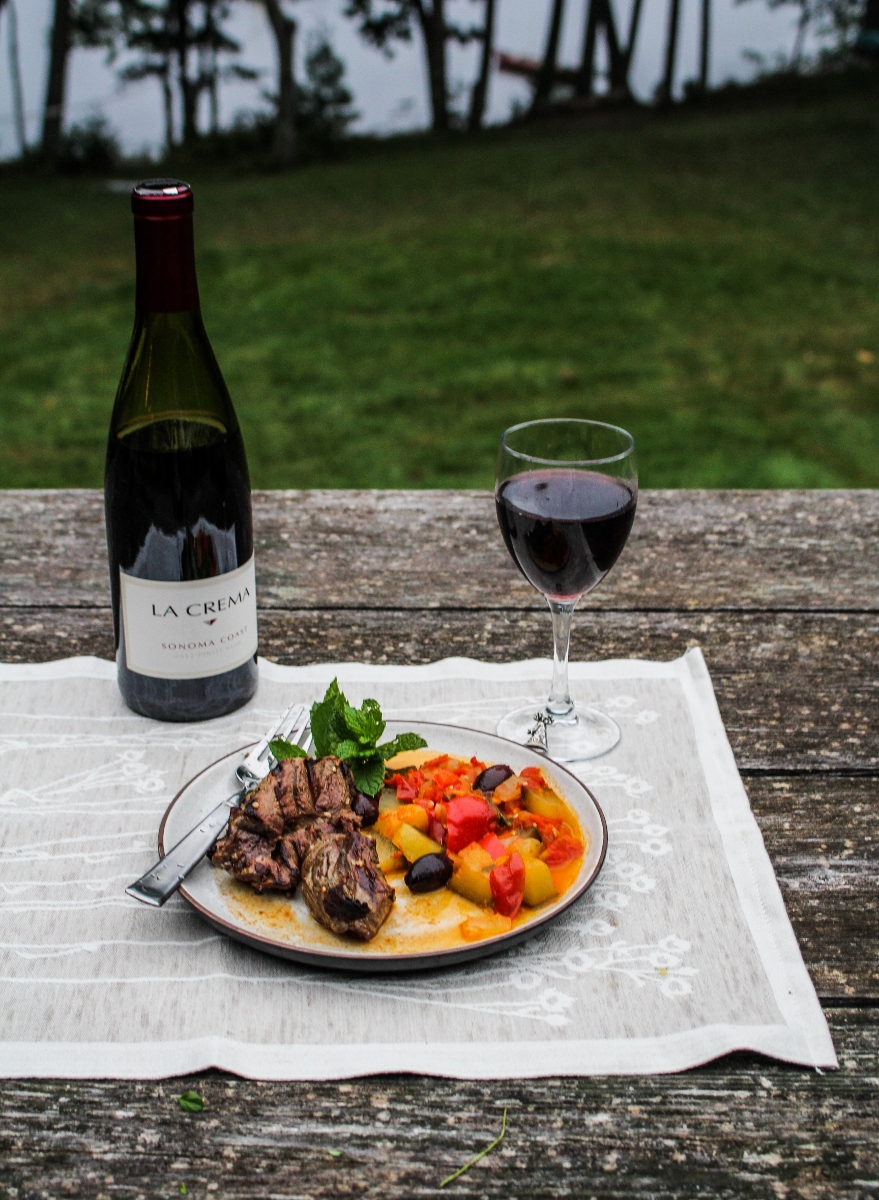
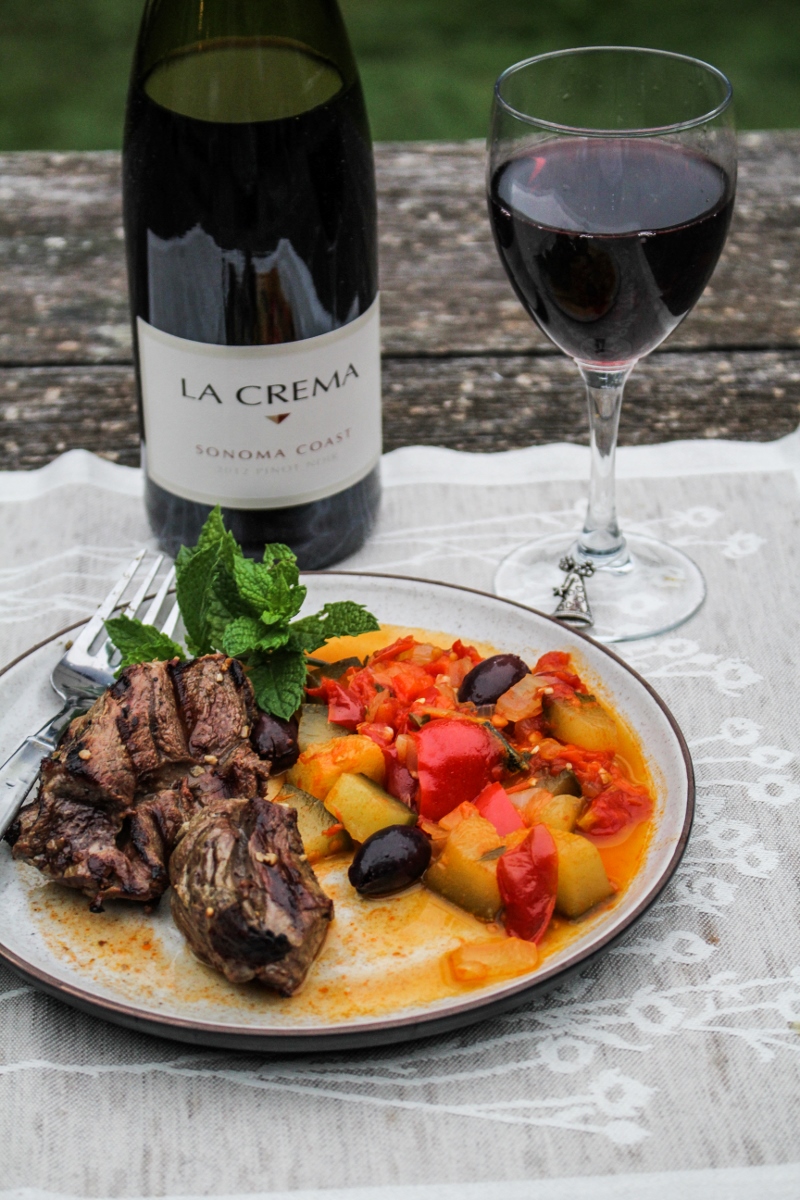
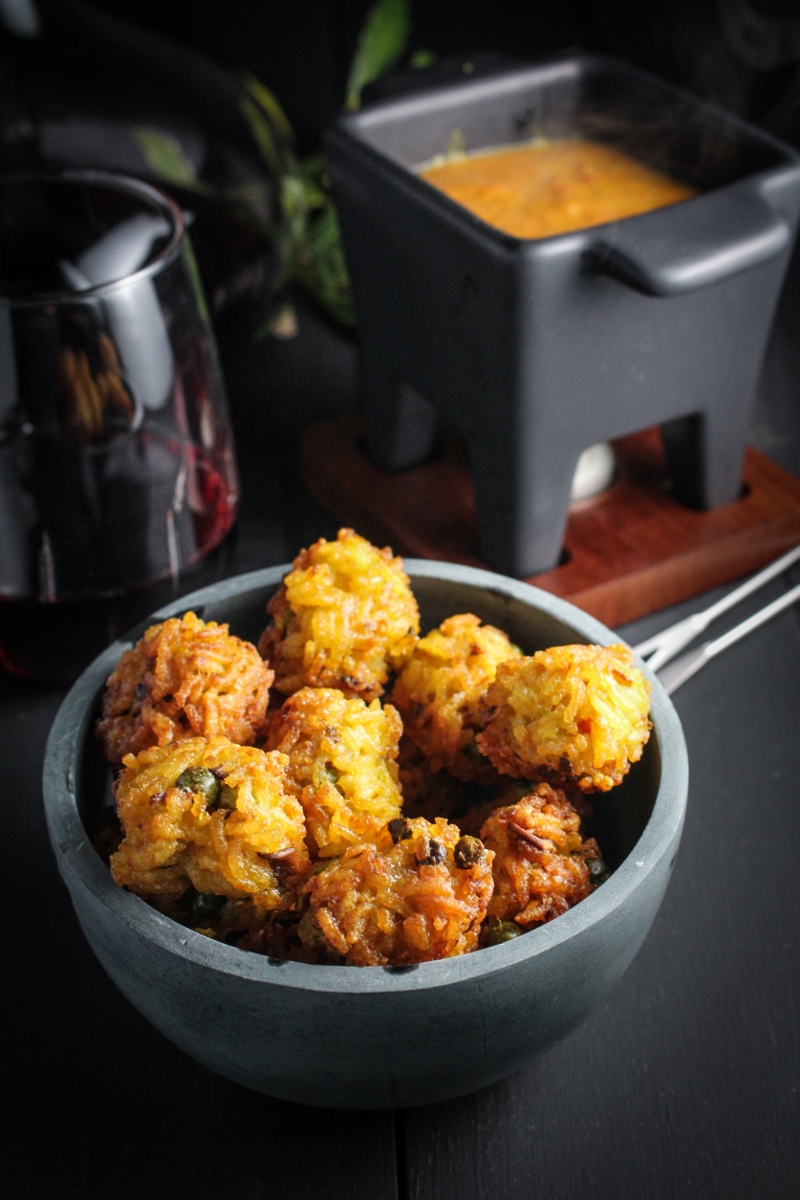
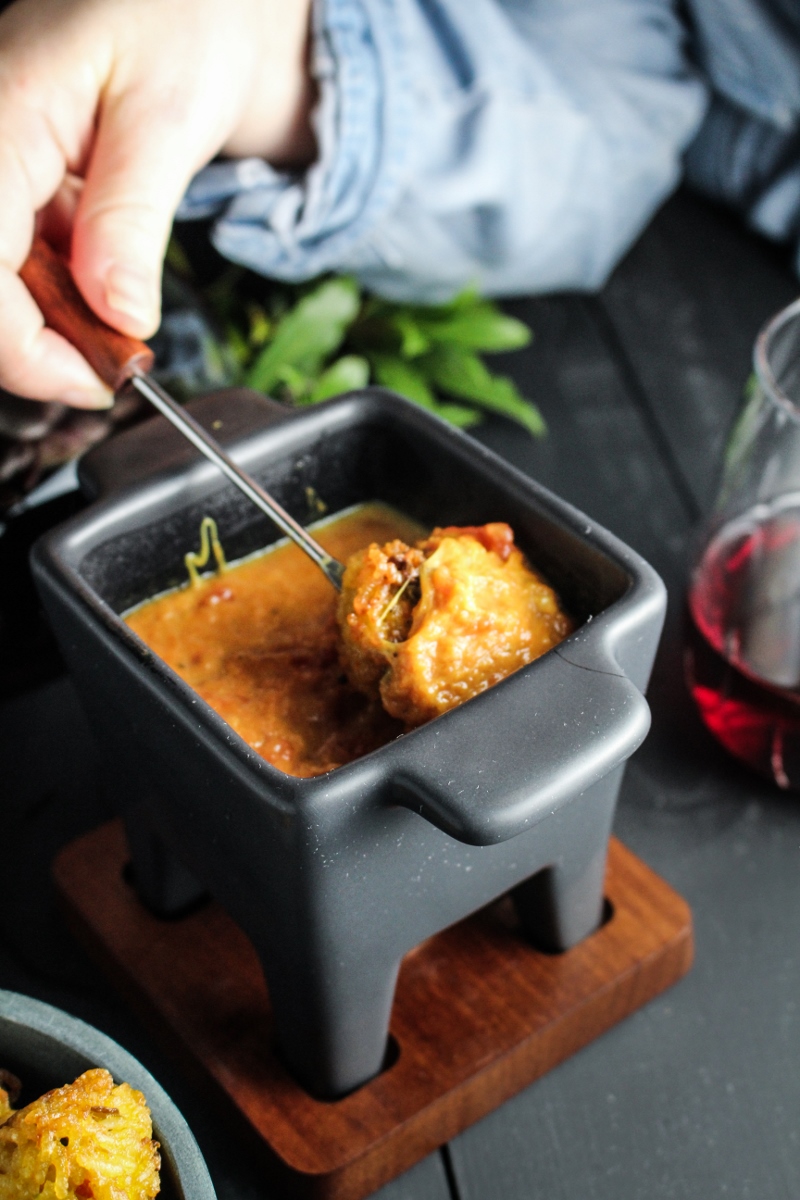
When Uncommon Goods offered to send some of their products our way for us to try out, we quickly agreed. We’re constantly breaking our wine glasses, so choosing some new ones from their collection of fun designs was high on our wishlist. We ended up going for this set of stemless aerating wine glasses, in addition to this very classy wine carafe. And despite Trevor’s protests about how cheesy it was (pun intended), I couldn’t resist adding this mini fondue pot for two to our shopping list as well. New kitchenwares in hand, we set about putting them through their paces for our date night – wine was decanted, glasses were set out, and we whipped up a curried tomato and gruyere fondue, kept steaming hot in the tiny tea-light powered fondue pot. Never ones to be satisfied with something too simple, we passed on the bread and crudites for dipping and instead fried up a batch of Indian-spiced rice balls stuffed with mushrooms, carrots, chiles, and peas. The combo of the crispy rice balls and the rich and spicy cheese sauce was spot on, and we polished off the whole batch in one sitting (although I’ll admit that we may have been helped along by the generous glasses of wine we poured).
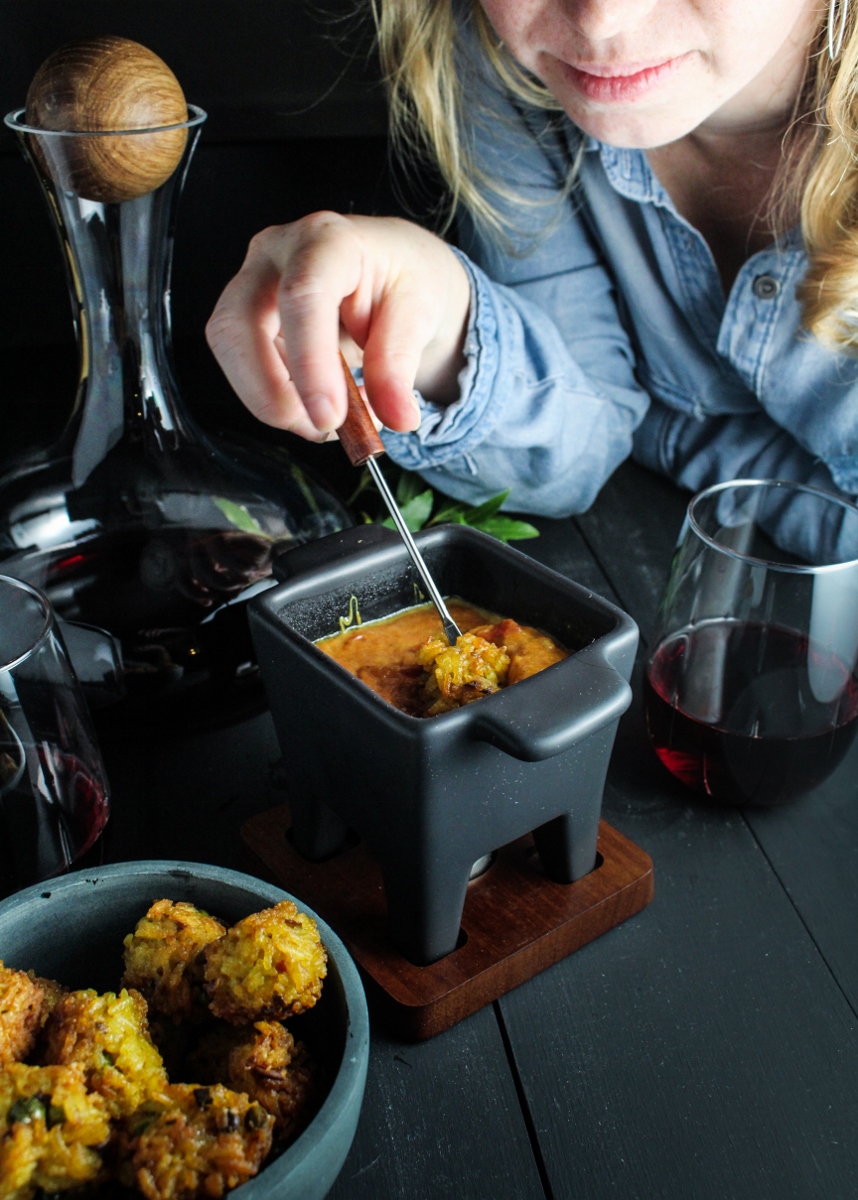
Sometimes when I’m doing a post for the blog, I get so wrapped up in getting the right shots and taking notes that I forget to enjoy what we’re doing. This was not one of those times – sitting around the tiny fondue pot, joking about cheesy rice balls, taking goofy pictures of each other, and drinking (gulp) the whole bottle of pinot, it really felt like date night, not just a photoshoot of date night. It was fun. A lot of fun. So, corny as it may sound, I genuinely want to thank Uncommon Goods, not only for supplying us with some great new products for our kitchen, but for inspiring us to get in the kitchen and create and laugh and enjoy each other’s company. Definitely hop over to their site to see if anything inspires you!
Like what you just read? Subscribe to Katie at the Kitchen Door on Feedly or Bloglovin‘, or follow along on Facebook, Twitter, Pinterest, Instagram, or Google+. Thanks for reading!
Disclaimer: This post is sponsored by Uncommon Goods, a retailer for unique and unusual gifts. All opinions are honest and my own.
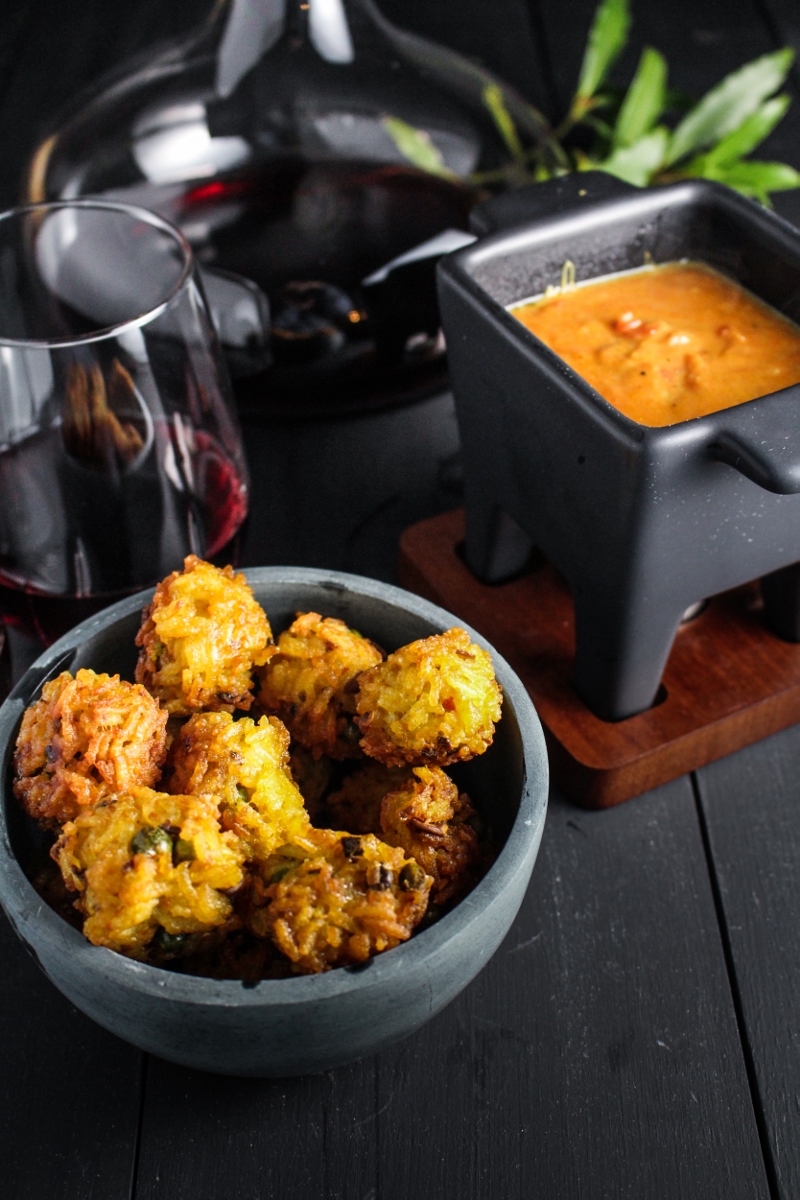
Curried Tomato-Gruyere Fondue with Indian-Spiced Arancini
A Katie at the Kitchen Door original recipe. Serves 3-4 as an appetizer.
For the arancini:
- 2 c. cooked Basmati rice
- 2 TBS olive oil
- 2 tsp grated fresh garlic
- 2 tsp grated fresh ginger
- 2 jalapenos, seeded and stemmed, finely diced
- 2 small carrots, peeled and finely grated
- 10 crimini or button mushrooms, stems removed, very finely diced
- 1/3 c. frozen peas
- 1/4 tsp ground ginger
- 1/2 tsp ground turmeric
- 1/8 tsp cayenne powder
- salt and pepper, to taste
- 2 eggs. lightly beaten
- vegetable oil for frying
- Heat the olive oil in a large frying pan over medium heat. Add the grated garlic, grated ginger, and diced jalapenos and saute, stirring frequently, until fragrant, about 1-2 minutes. Add the carrots, mushrooms, and peas and saute, stirring frequently, until vegetables are soft, about 3-5 minutes. Add cooked rice, ground ginger, ground turmeric, and cayenne powder and stir to thoroughly combine, fully coating rice in spices. Season to taste with salt and pepper. Remove from heat and let cool to room temperature.
- Add the beaten eggs to the rice mixture and stir to combine. Form the rice into golf ball sized balls, pressing firmly to remove any excess liquid, and set aside on a plate. Heat 1/2 an inch of vegetable oil over medium-high heat in a deep frying pan. Once the oil is hot (test it by adding a small piece of rice to the oil and seeing if it sizzles immediately), fry the rice balls in batches, about 1-2 minutes per side, then drain the rice balls on a paper-towel lined plate. Serve immediately.
For the curried tomato fondue:
- 1 TBS butter
- 2 tsp grated ginger
- 2 tsp grated garlic
- 1 c. crushed tomatoes
- 1 1/2 tsp curry powder
- 1/2 lb. gruyere cheese, roughly grated
- Heat the butter in a small saucepan over medium heat. Add the grated ginger and grated garlic and saute until fragrant, about 1-2 minutes. Add the tomatoes and curry powder and stir to combine. Cook tomatoes, stirring frequently, for about 3 minutes, then lower heat to low and add the grated cheese. Stir the cheese into the tomatoes until completely melted and just beginning to bubble around the edges, then transfer immediately to prepared fondue pot. Keep warm in fondue pot and serve with Indian-spiced arancini, crusty bread, or other foods for dipping.