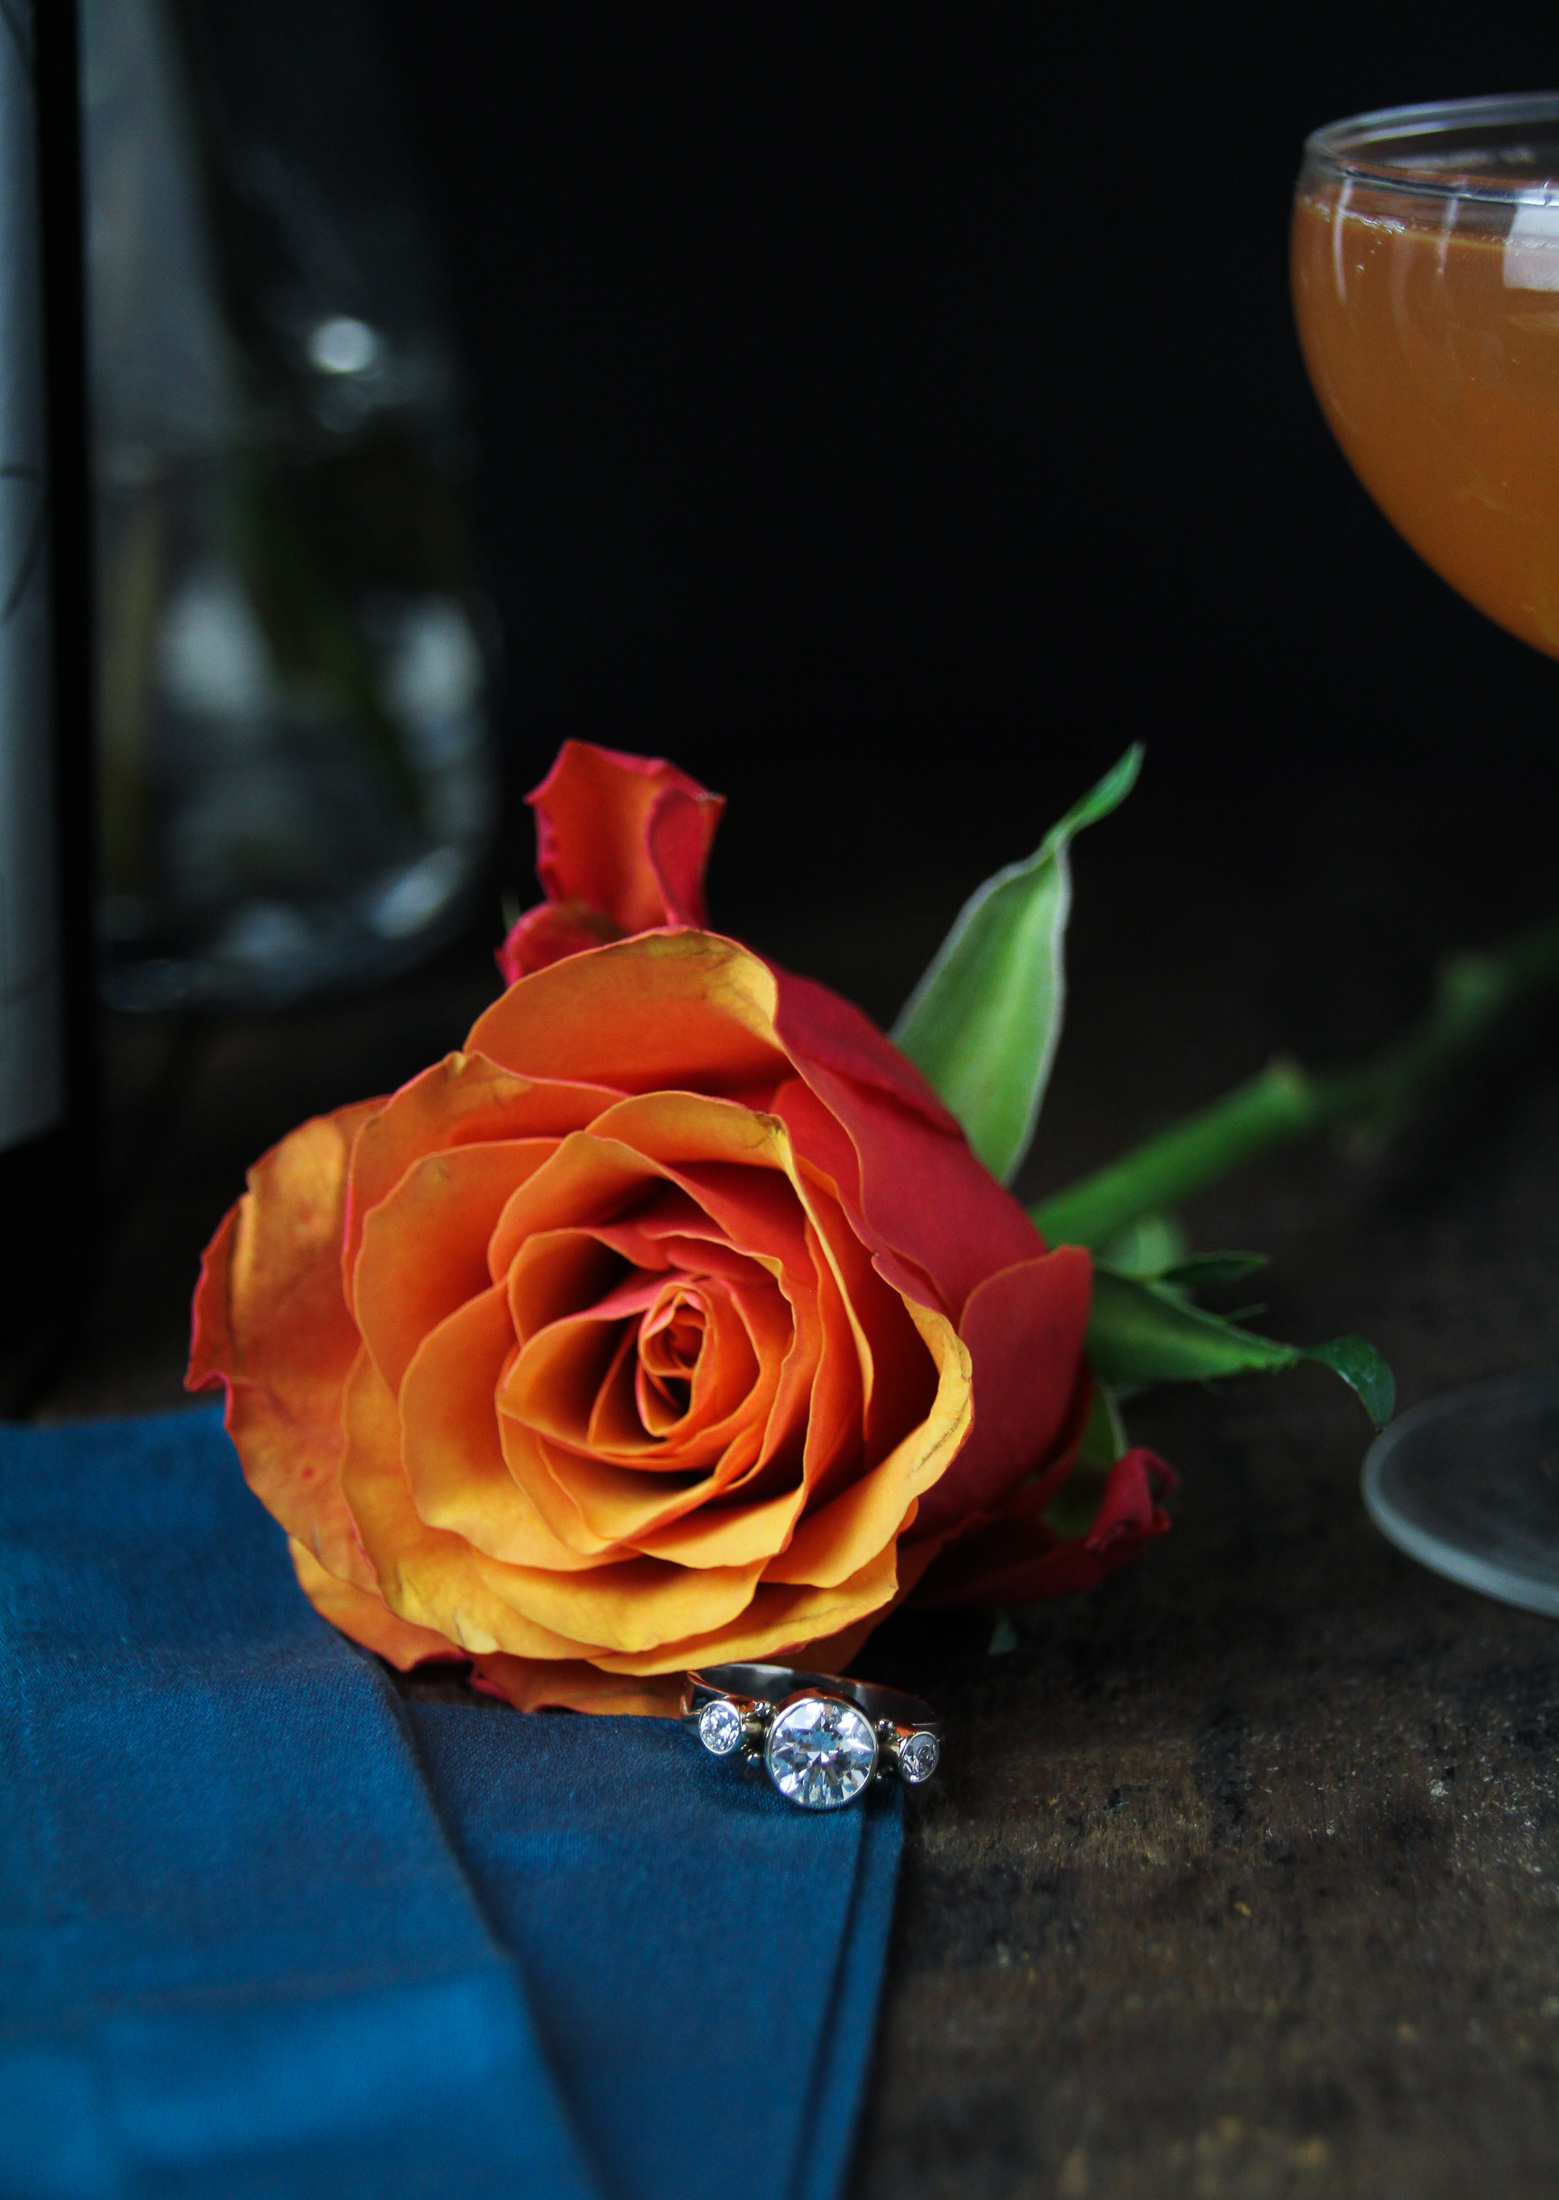
2015 was a big year for me. A really big year. We bought our first house. Got engaged. I took 13 international trips to 5 different countries (Virgin Islands, Colombia, Chile, Ireland, and Hong Kong), on a total of 56 different flights. It’s actually one less country than last year, but a lot more back and forth. I haven’t written much about the time I spent in Colombia and Chile (yet! I will!), but I sort of fell in love with Bogota (the food! the dancing! the always-just-right weather!), and I had one of my best days this year touring Chilean vineyards and eating magnificent food in a stunning setting. I also had some of my worst days of the year stuck in airports for hours on end / on planes that were on fire. Travel has its highs and lows. And last winter, as you other New Englanders know, was just kind of the worst; let’s just say I did not handle it well and leave it at that.
With all the personal and work-related stuff going on this year, blogging ended up taking a backseat. That said, it was still a pretty successful year. I’m particularly proud of the three restaurant shoots I did – my first ever! – up in Kittery, Maine. You can see some of those shots here. It was a fun foray into a different type of photography work (and Trevor definitely enjoyed being my assistant AKA eating all the dishes post-shoot). And I did come up with some recipes that were real hits, like this goat cheese ice cream with blackberry-red wine swirl and a perfected brussels sprouts caesar salad.
To be honest, I’m sort of relieved that 2015 is over. While it was a year full of milestones and adventure, it was also an emotionally and physically exhausting year. When I think about this year, particularly the first 8 months, my primary feeling is one of stress. Which might be why I’ve mentally already moved on to next year. Accordingly, tonight I’m planning on going home early, taking a long run, cooking something hearty, and snuggling up on the couch for a few good movies with Trevor.
As for 2016, I think it’s going to be another busy one, but with a better mindset. I’ll definitely be giving 2015 a run for its money as far as travel goes. I’ve already got trips to Hong Kong, Japan, Portugal, and Costa Rica planned… and that’s all before April. The big difference though (and the only reason I’m doing it), is that Trevor will be coming with me, allowing me to spend more time in each country enjoying what it has to offer and less time shuttling back and forth on planes, stressed about missing another weekend together. Also, we won’t be moving, so that should eliminate a large amount of stress, although we are hoping to remodel our basement and if funds hold out, our kitchen. Given all that’s going on, we decided to wait until 2017 to do the whole wedding-thing. At first I was a little disappointed to “postpone,” but more and more I think it was the right decision. I want 2016 to be calmer, less stressful, more balanced. A little more relaxed, a little more joyful. If we get to May and I sound like I did last May, somebody tell me to take a step back, OK? Because I want 2016 to be a good one and sometimes we all need reminders about what’s important.
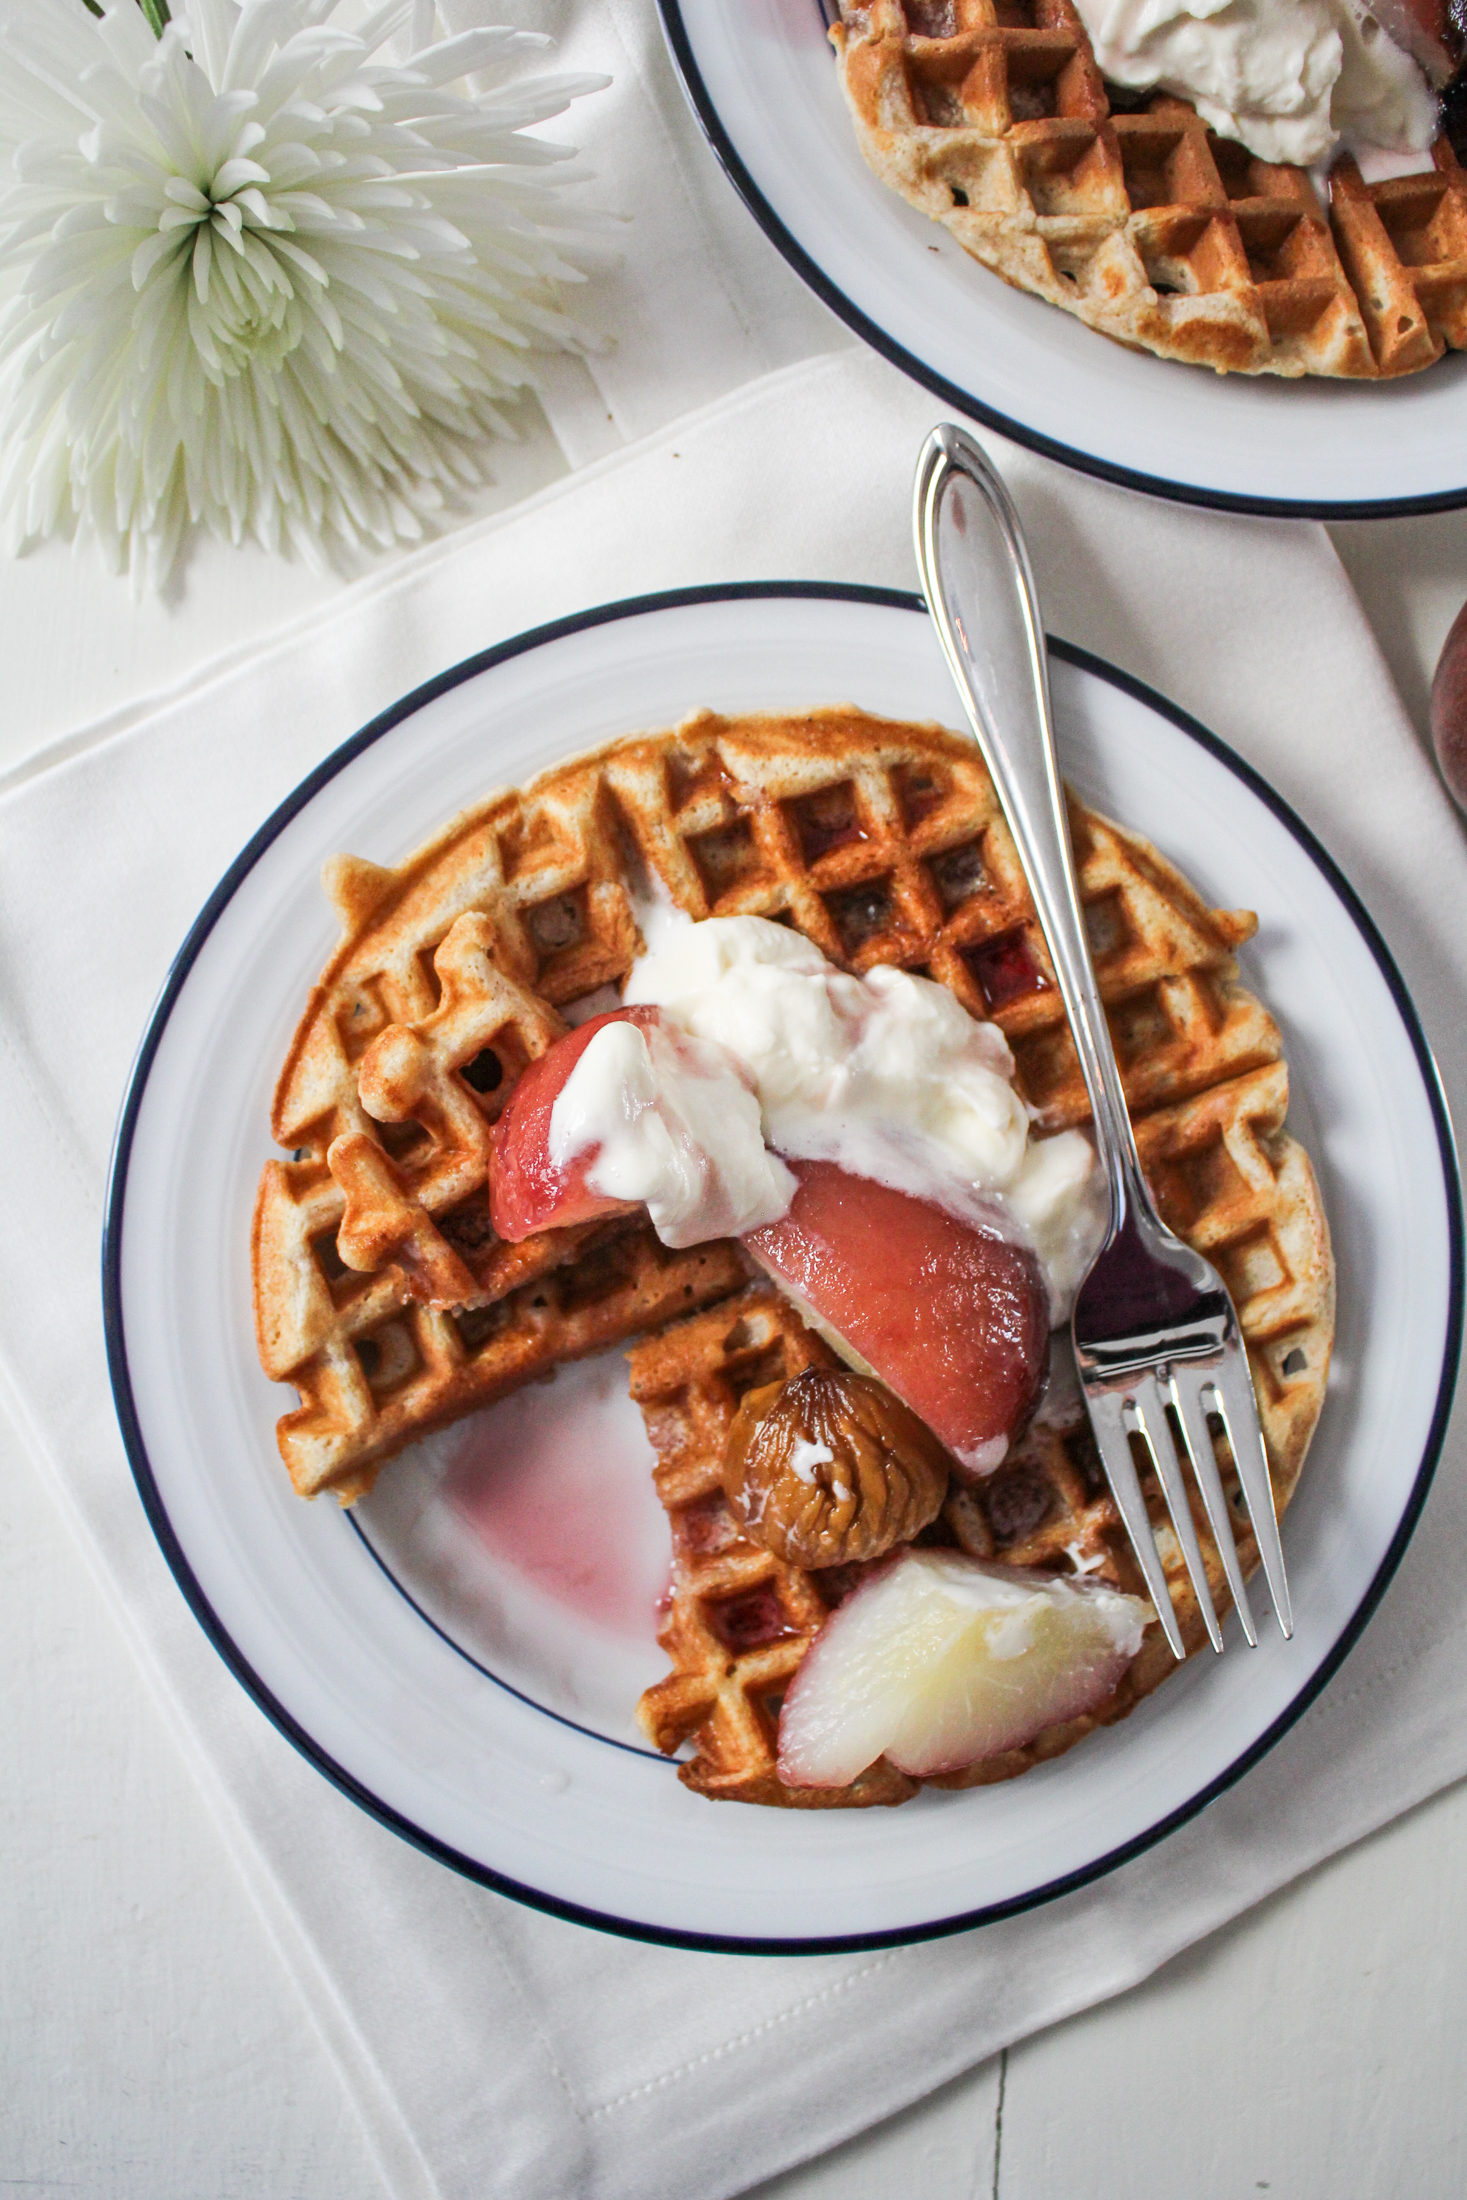
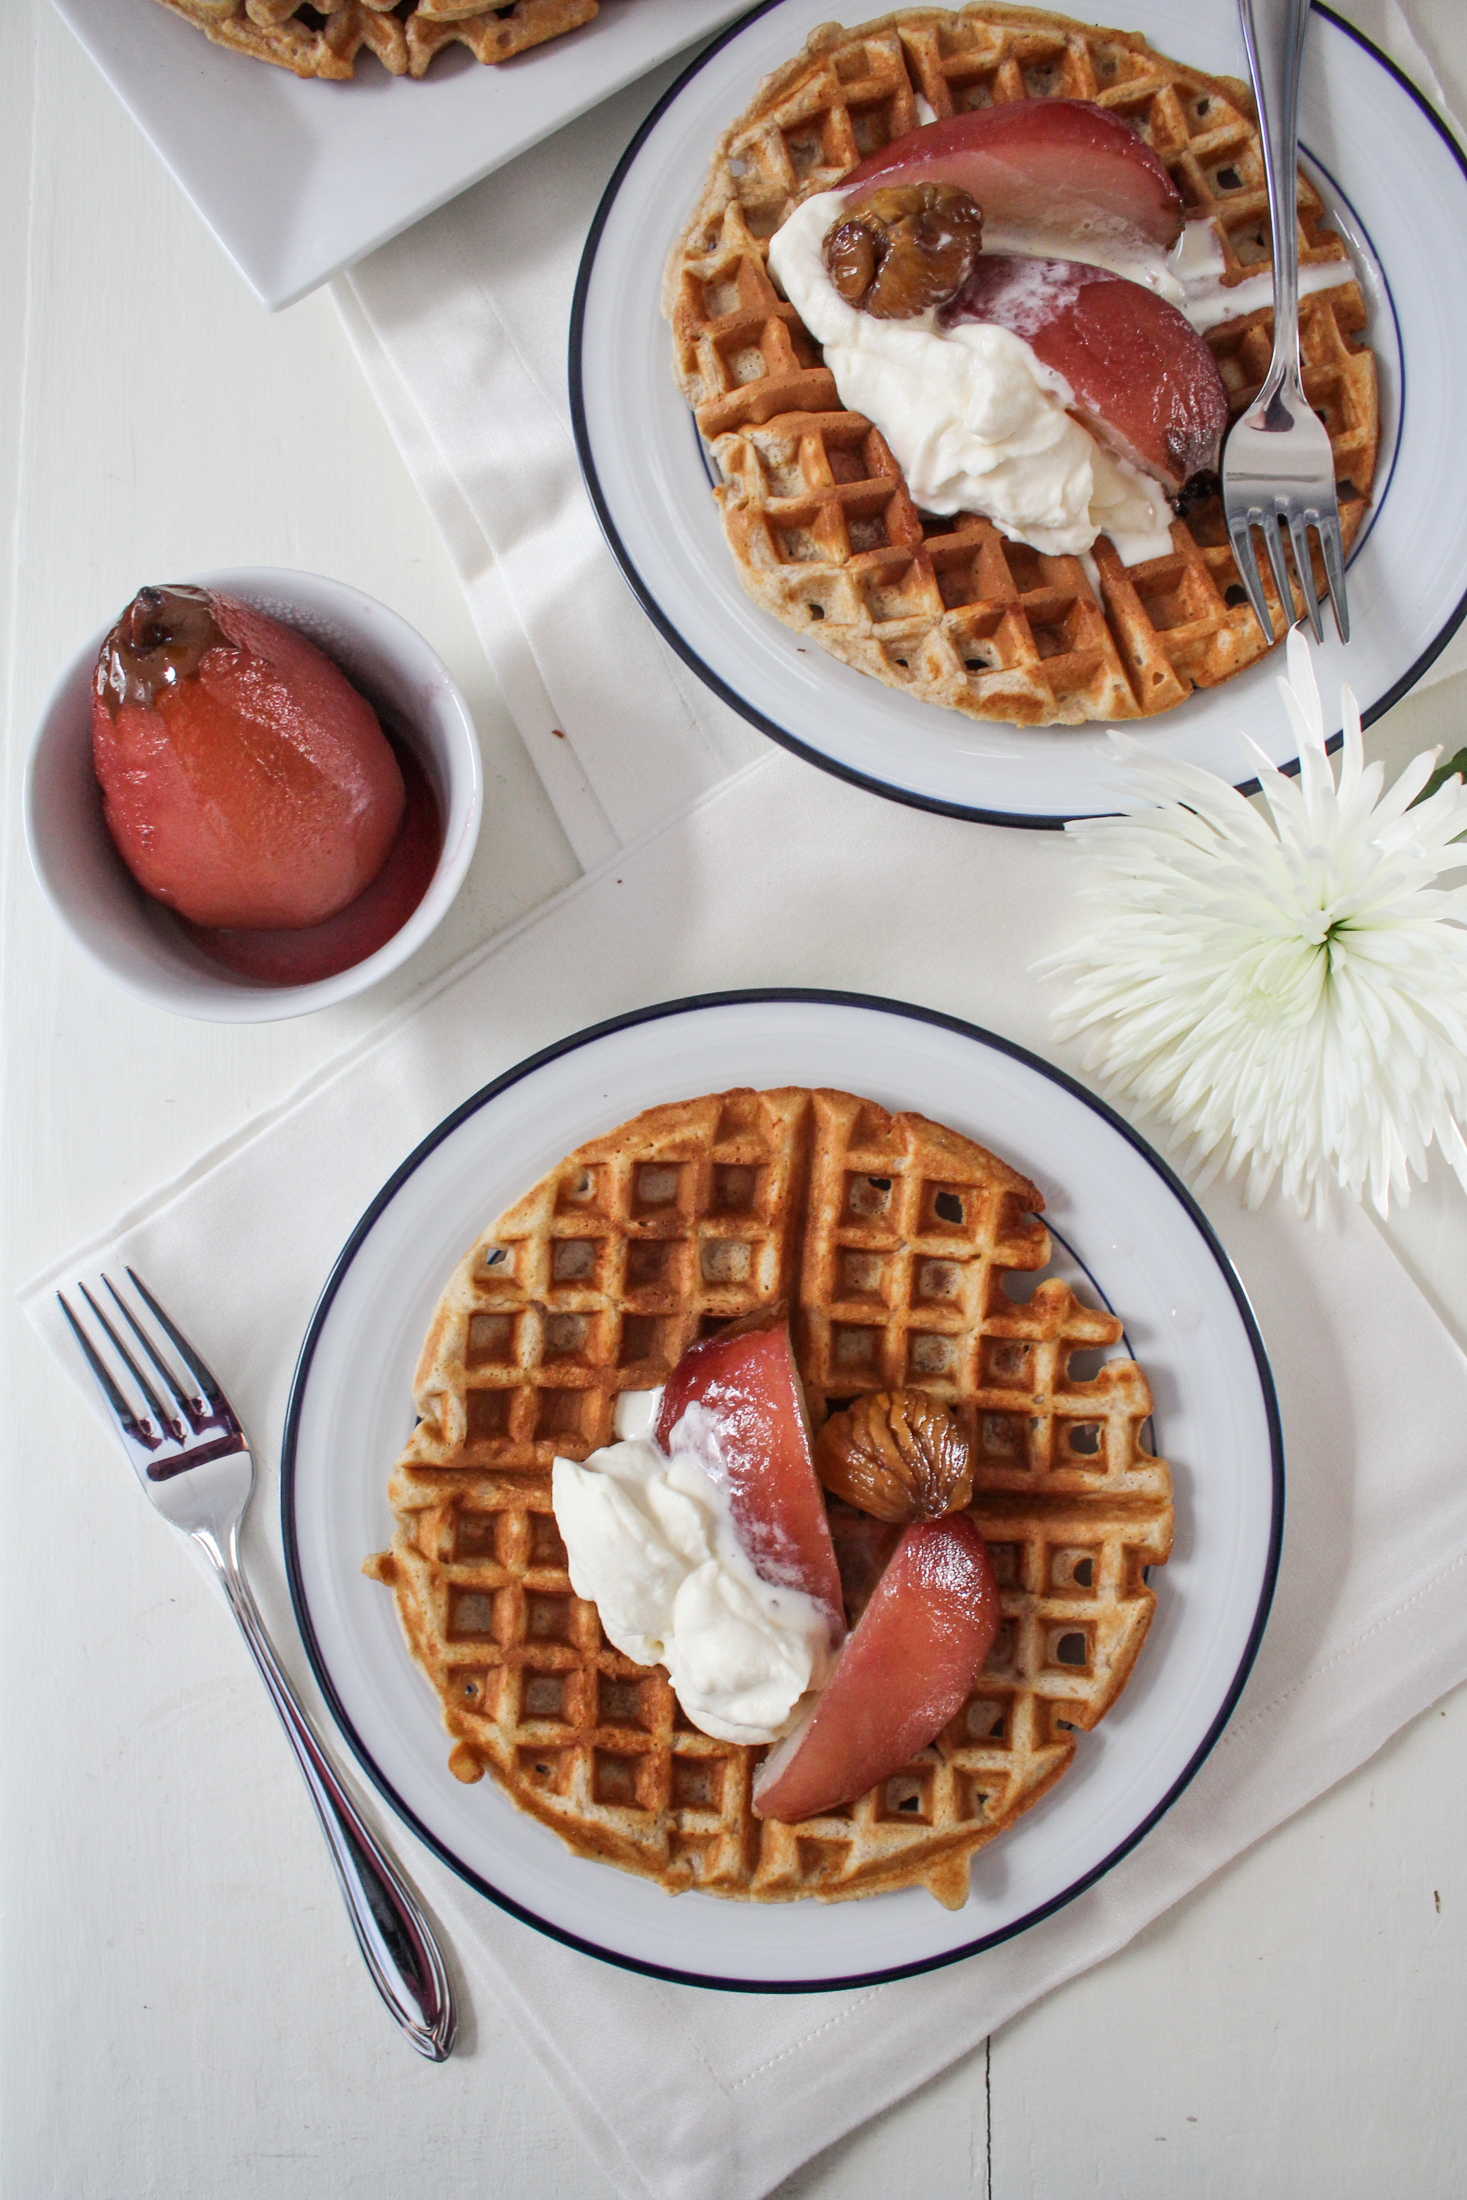
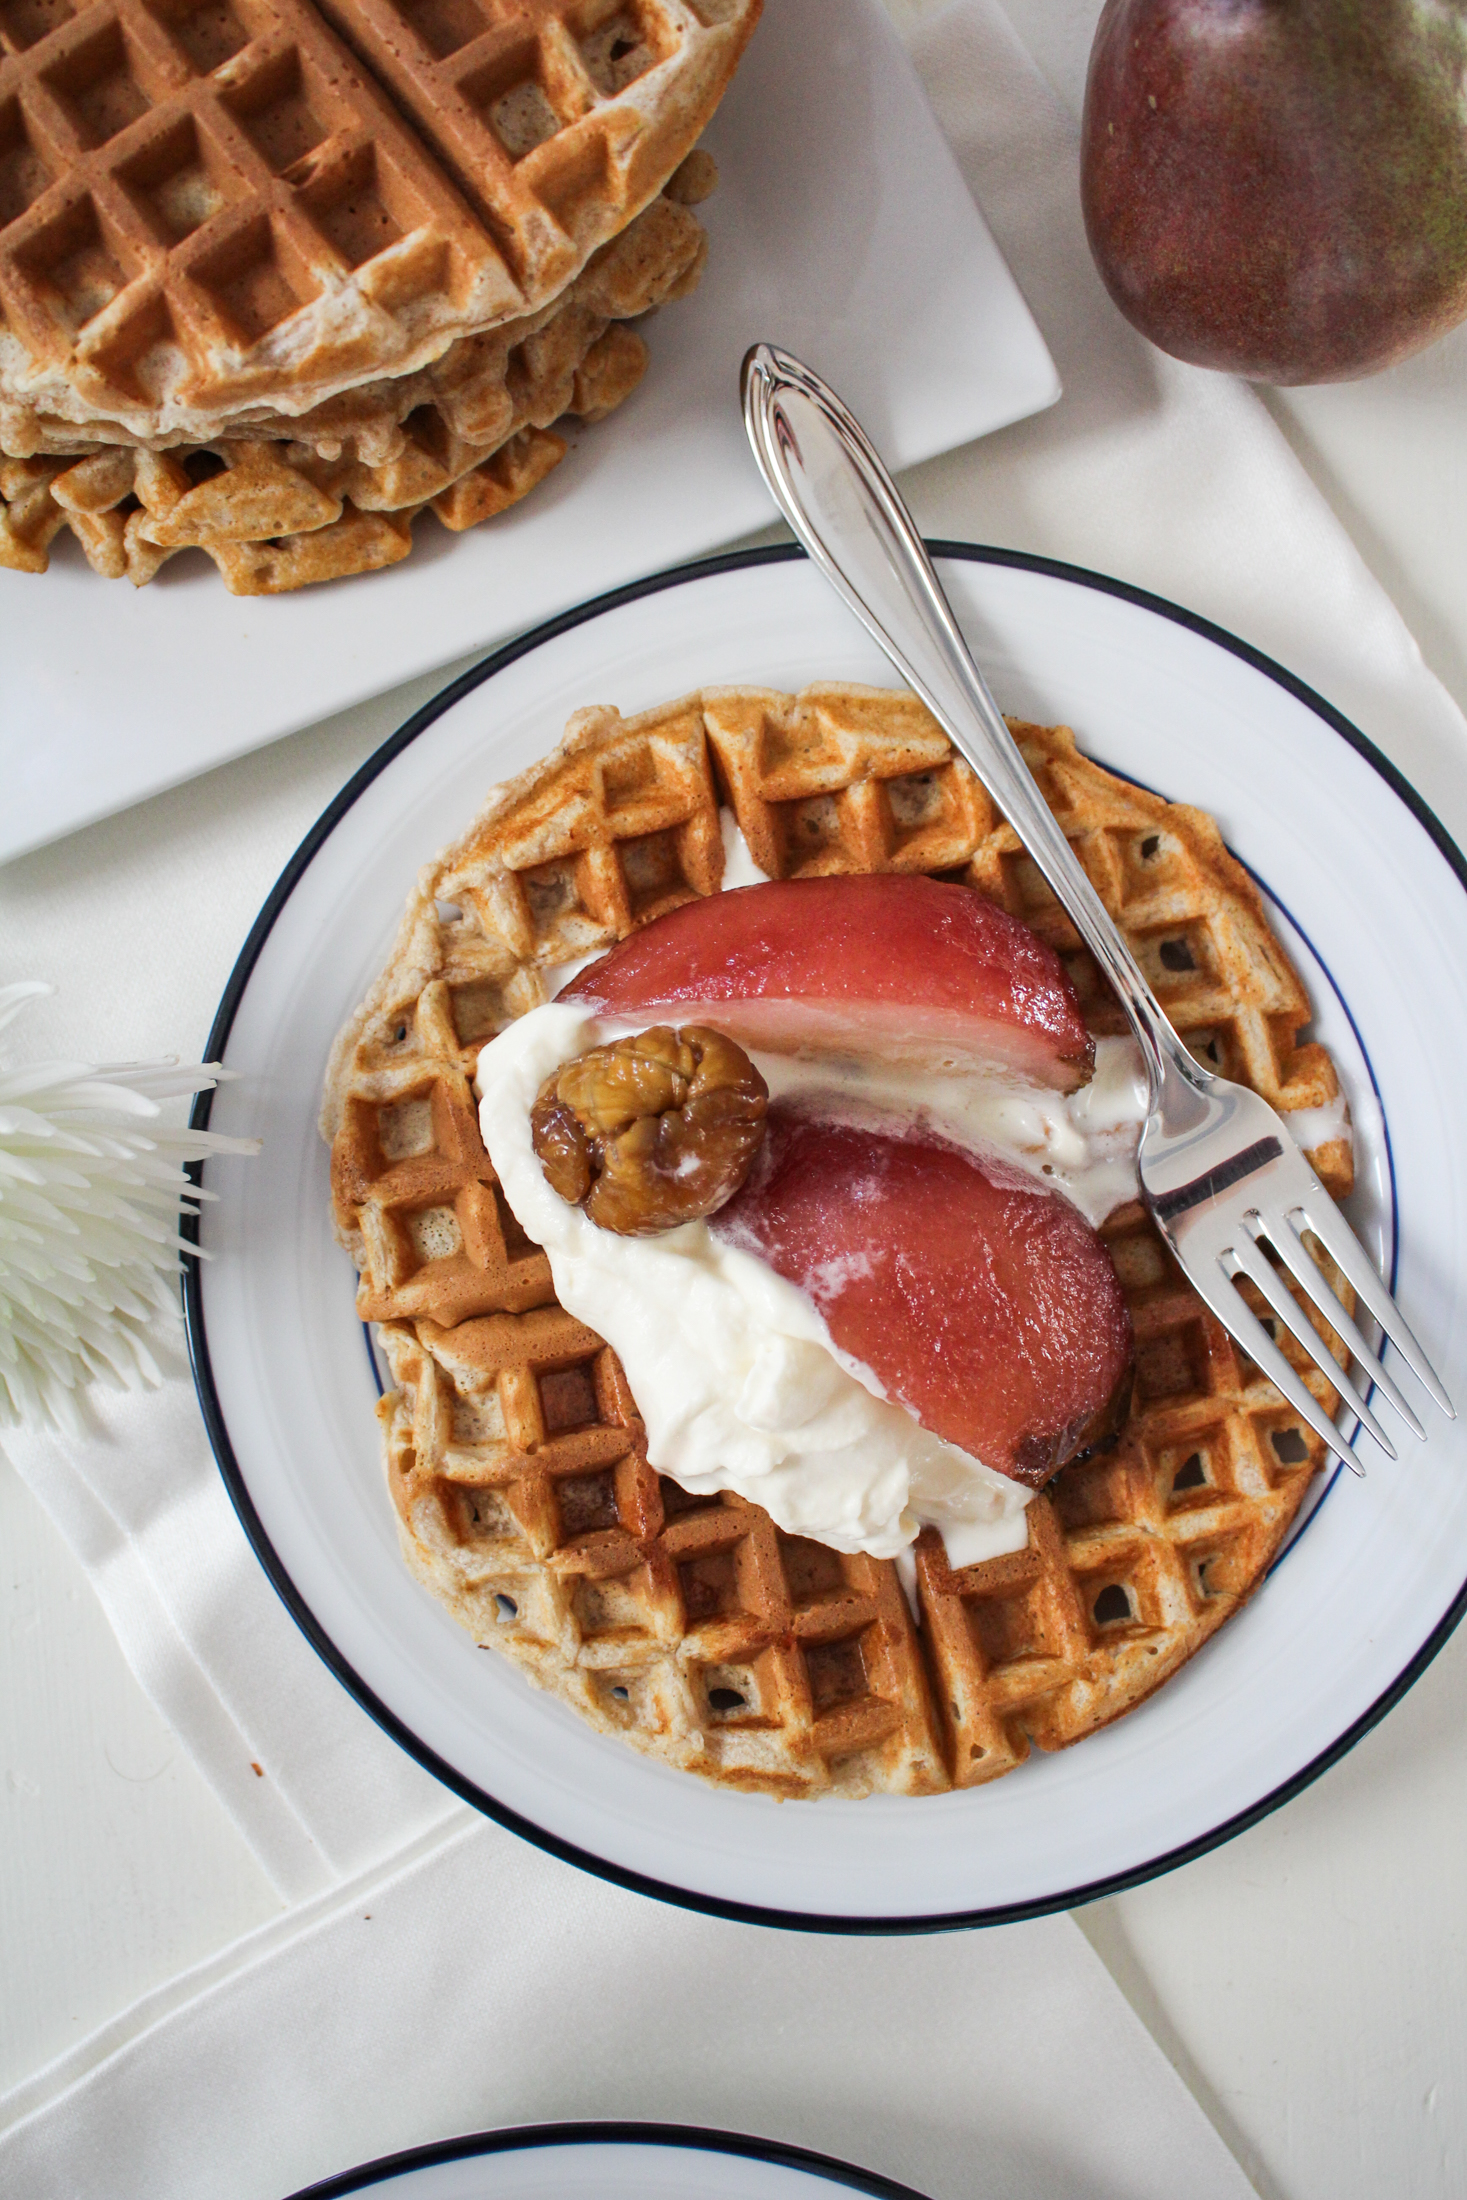
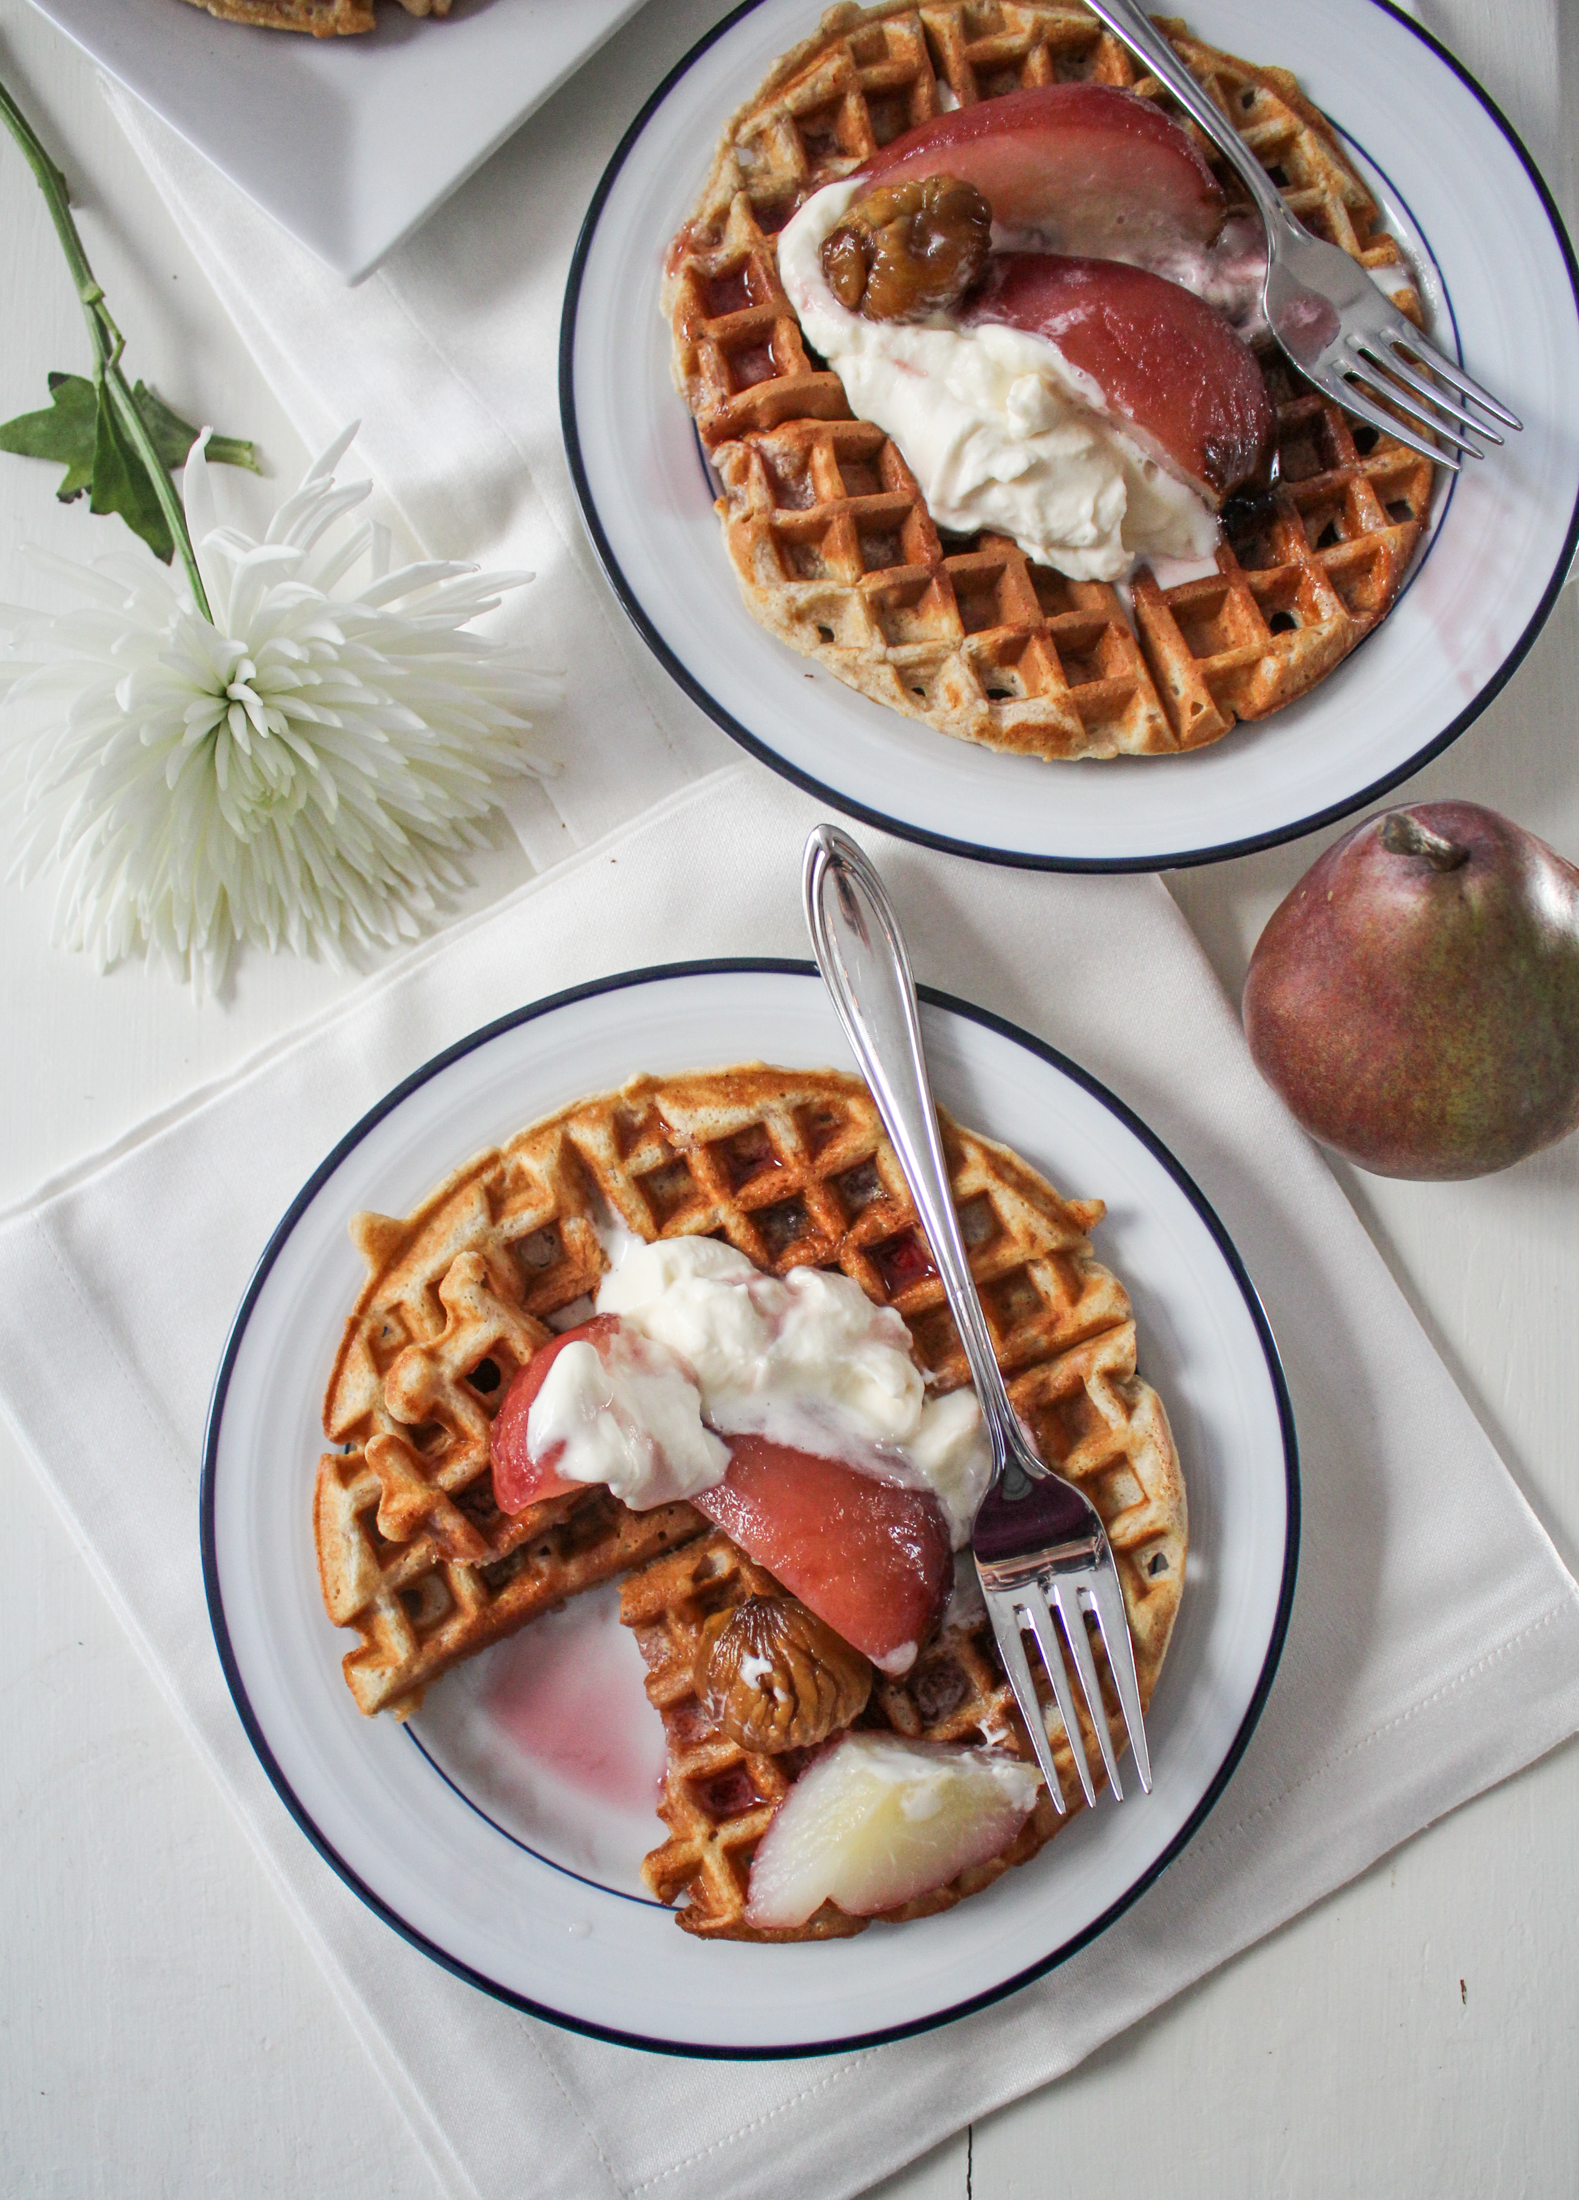
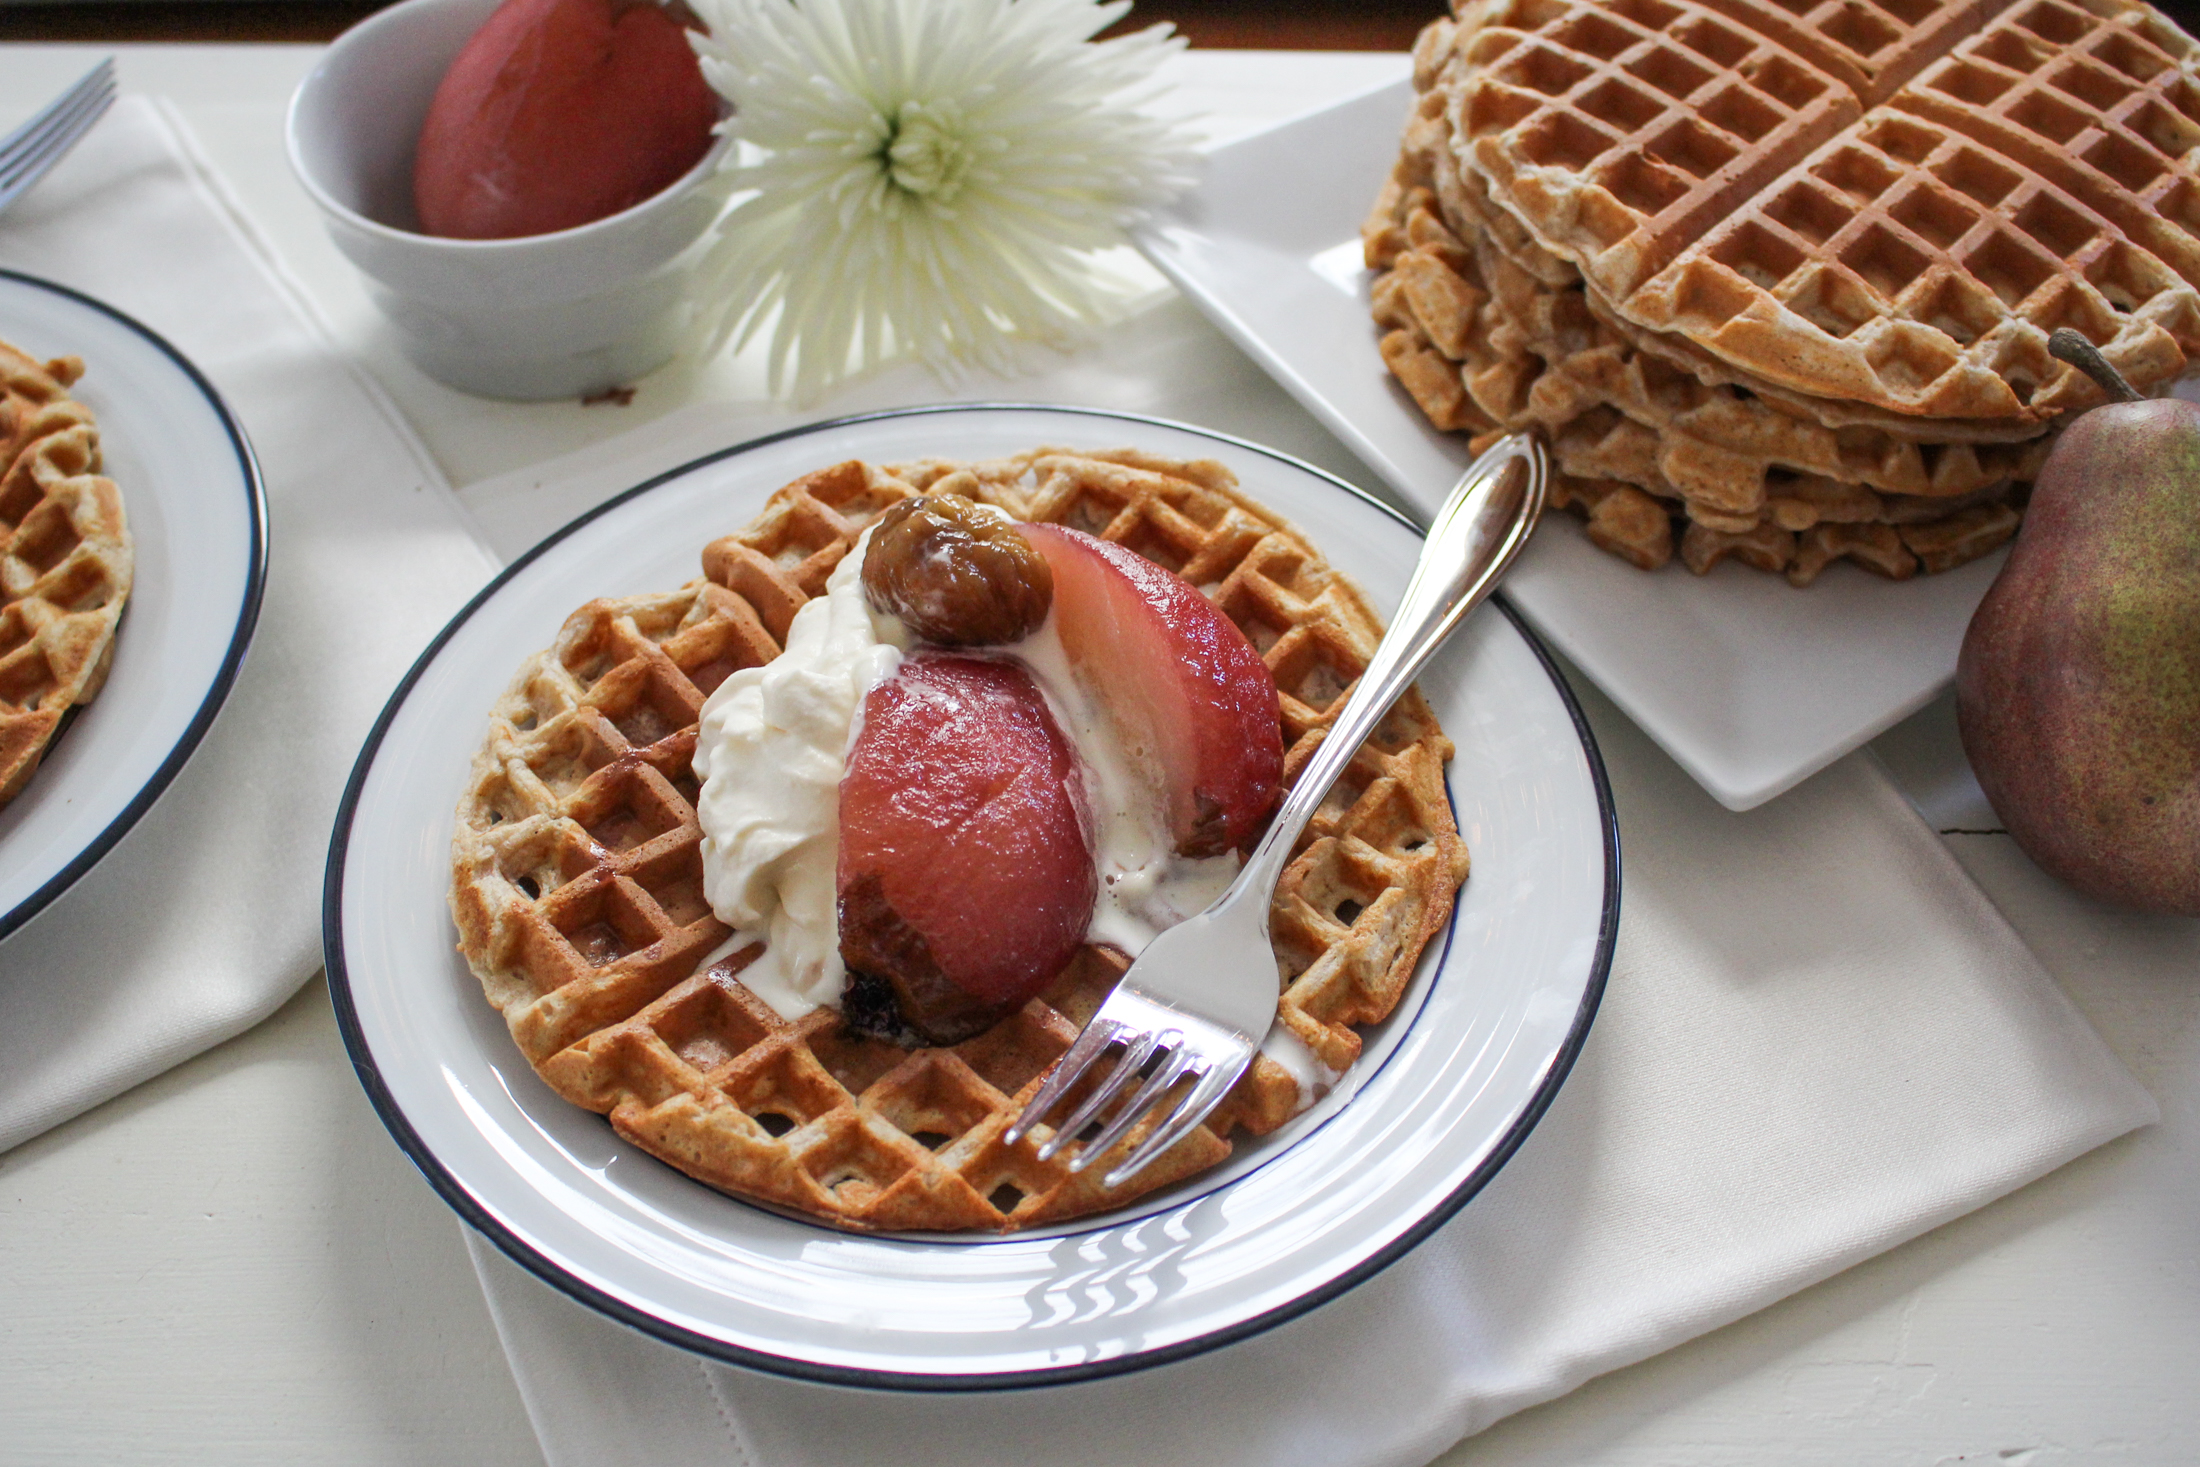
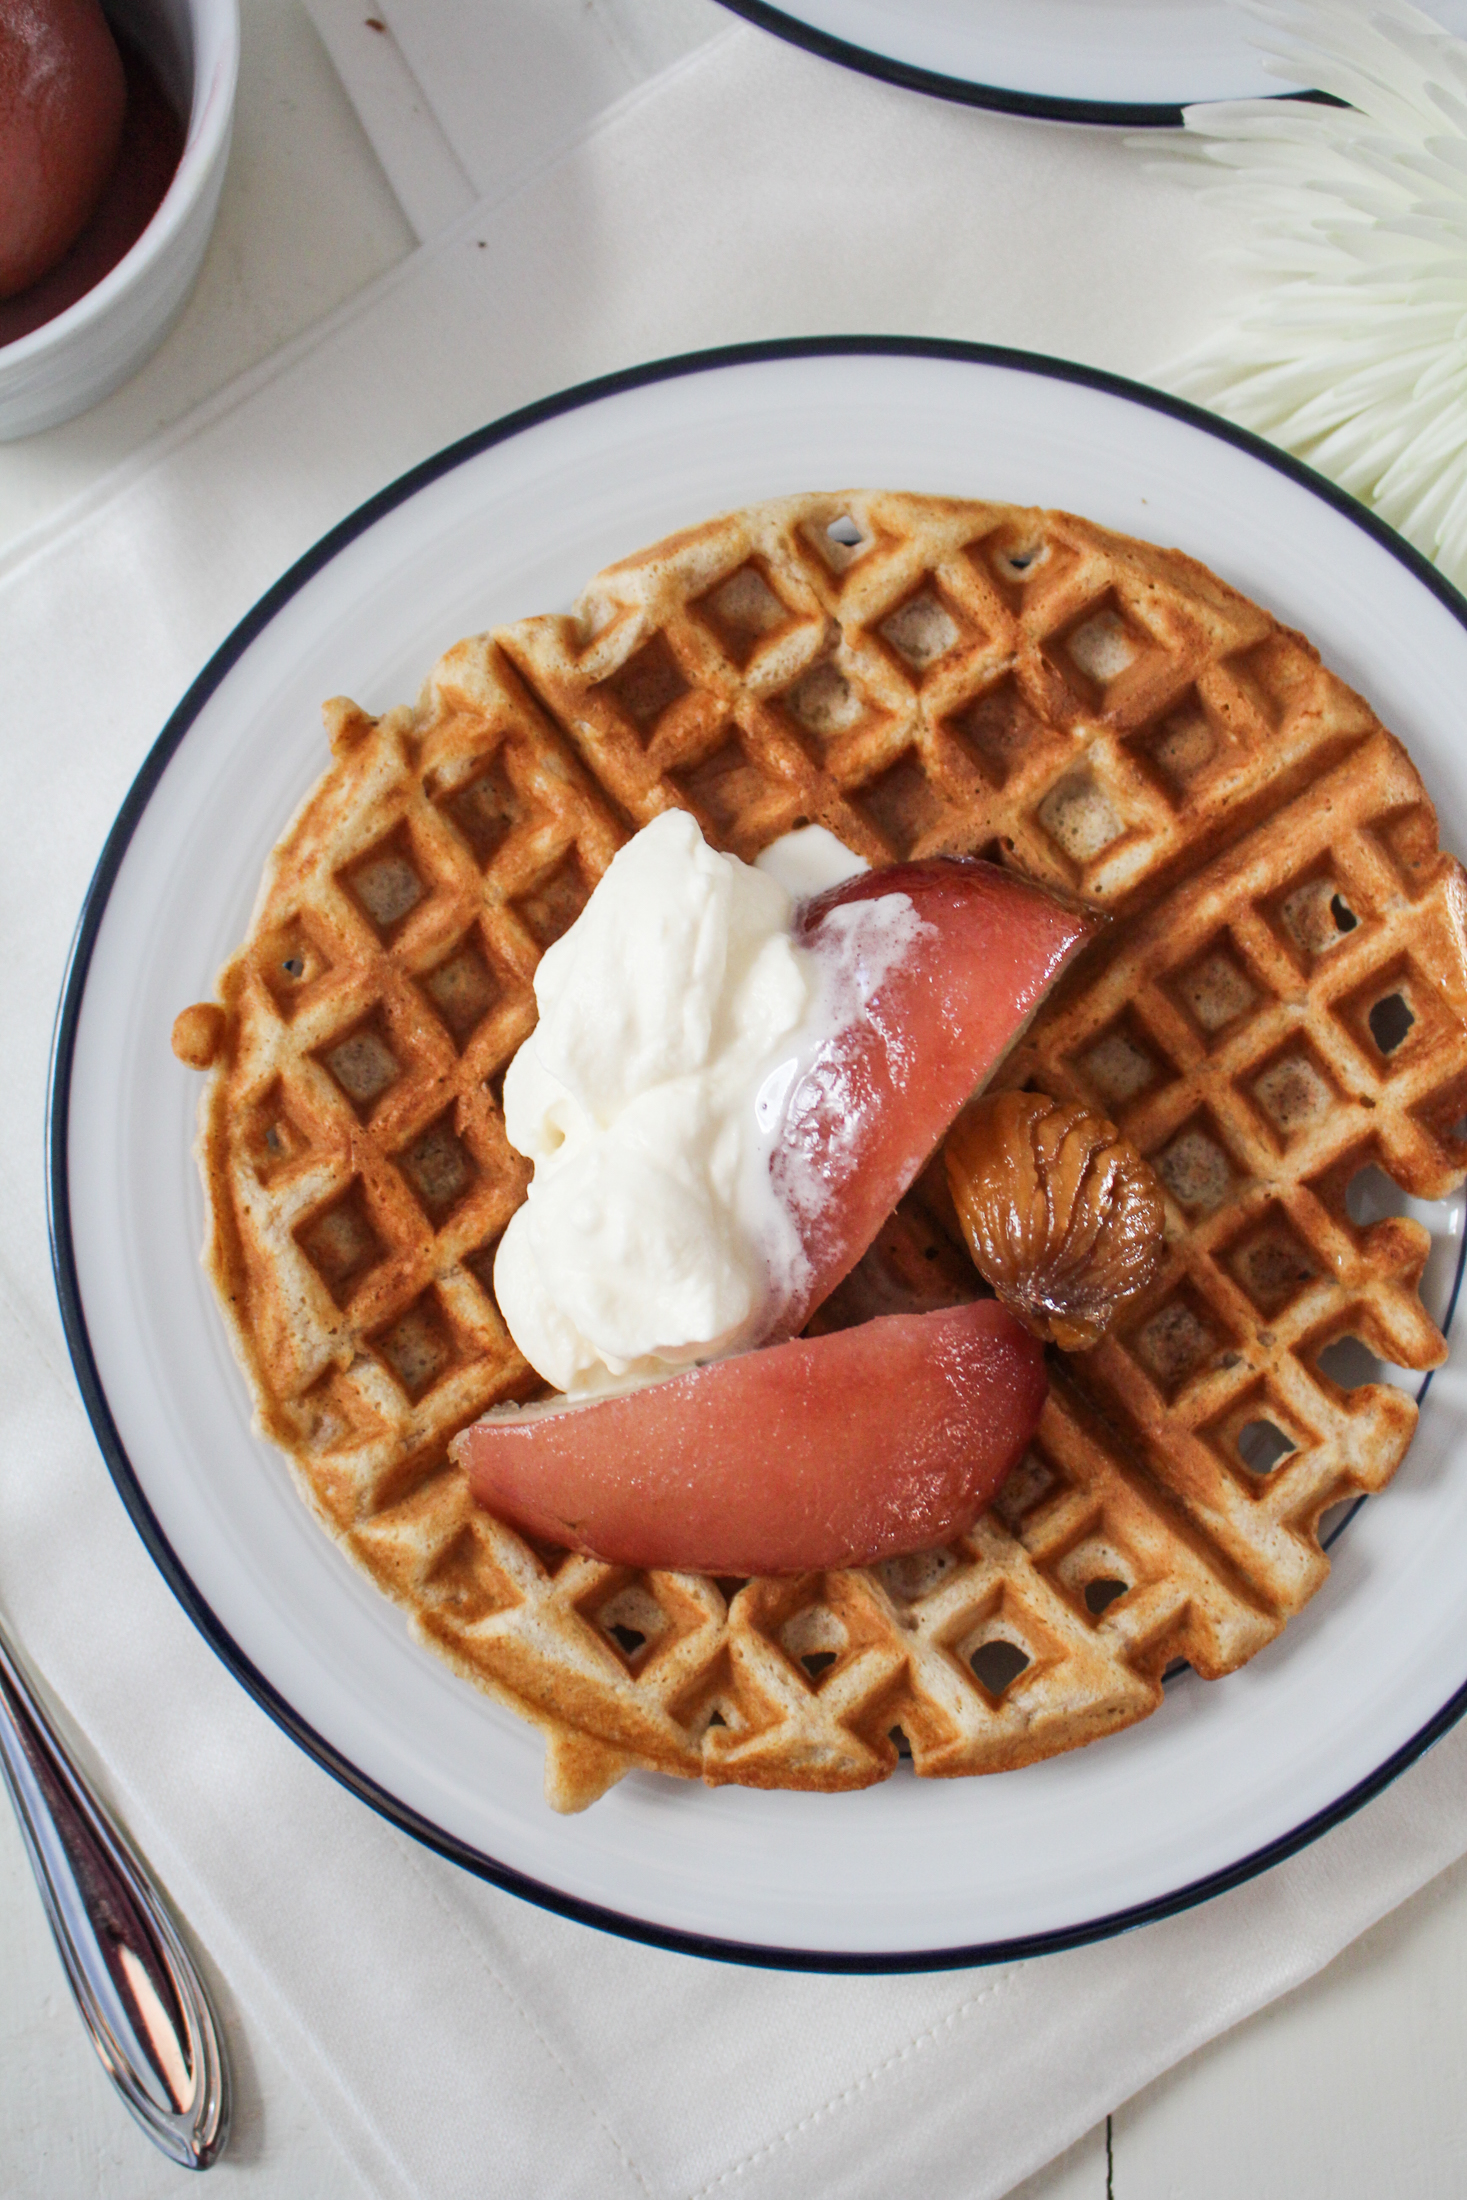
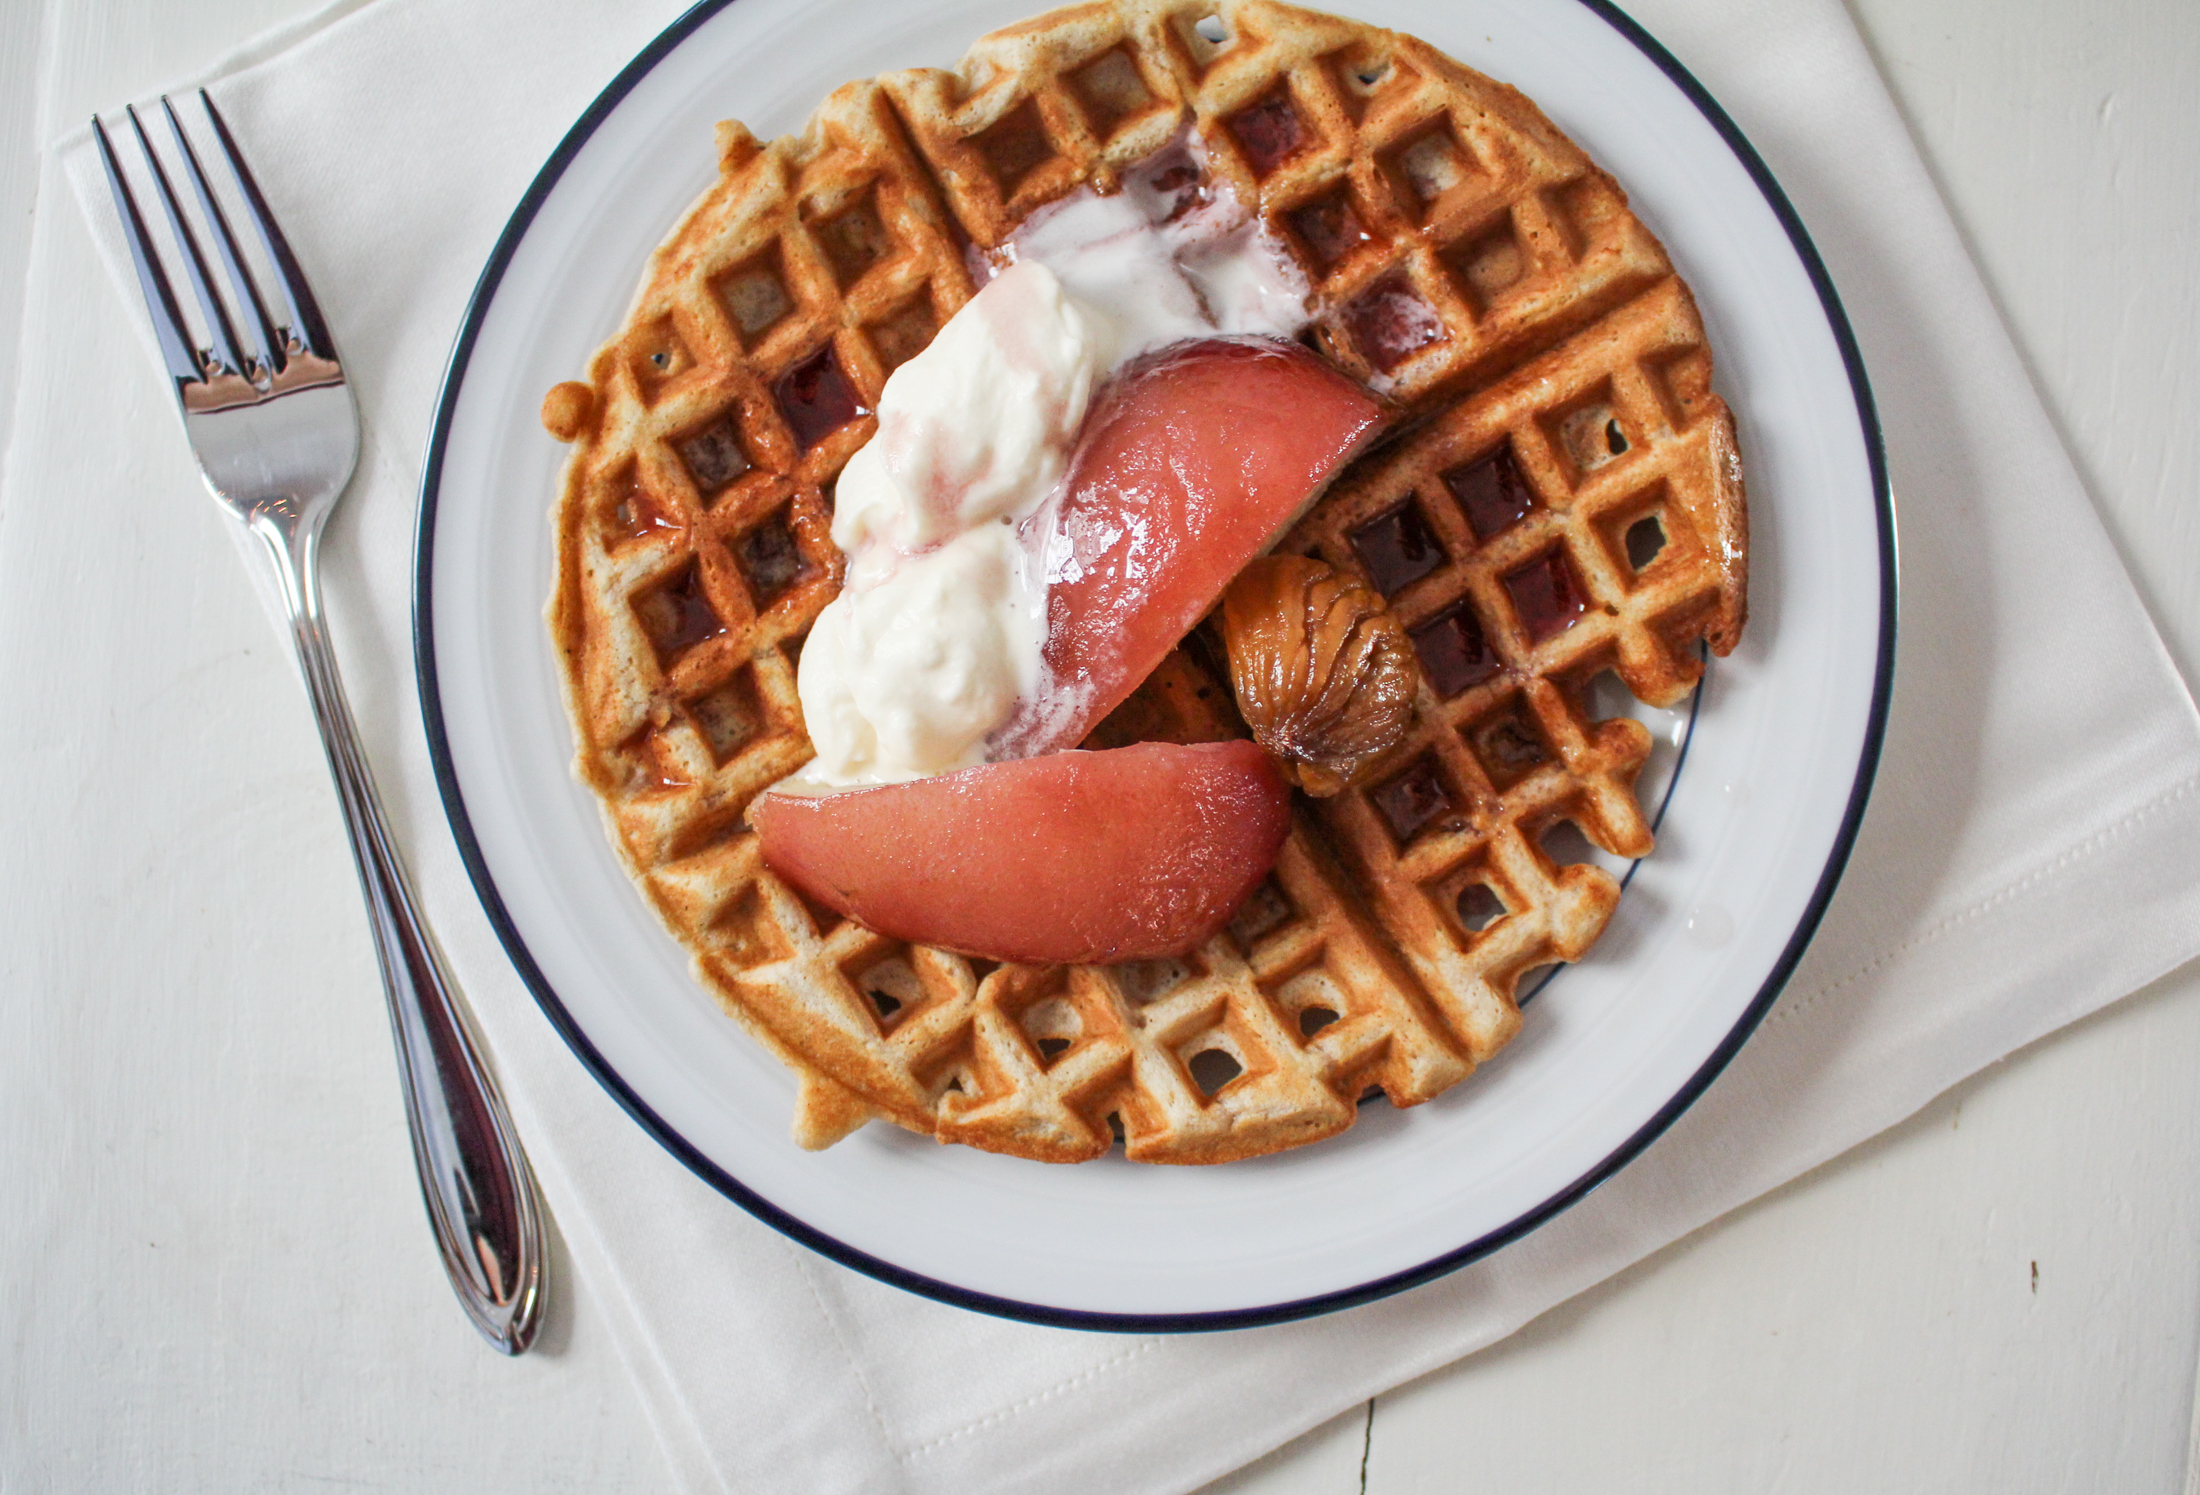
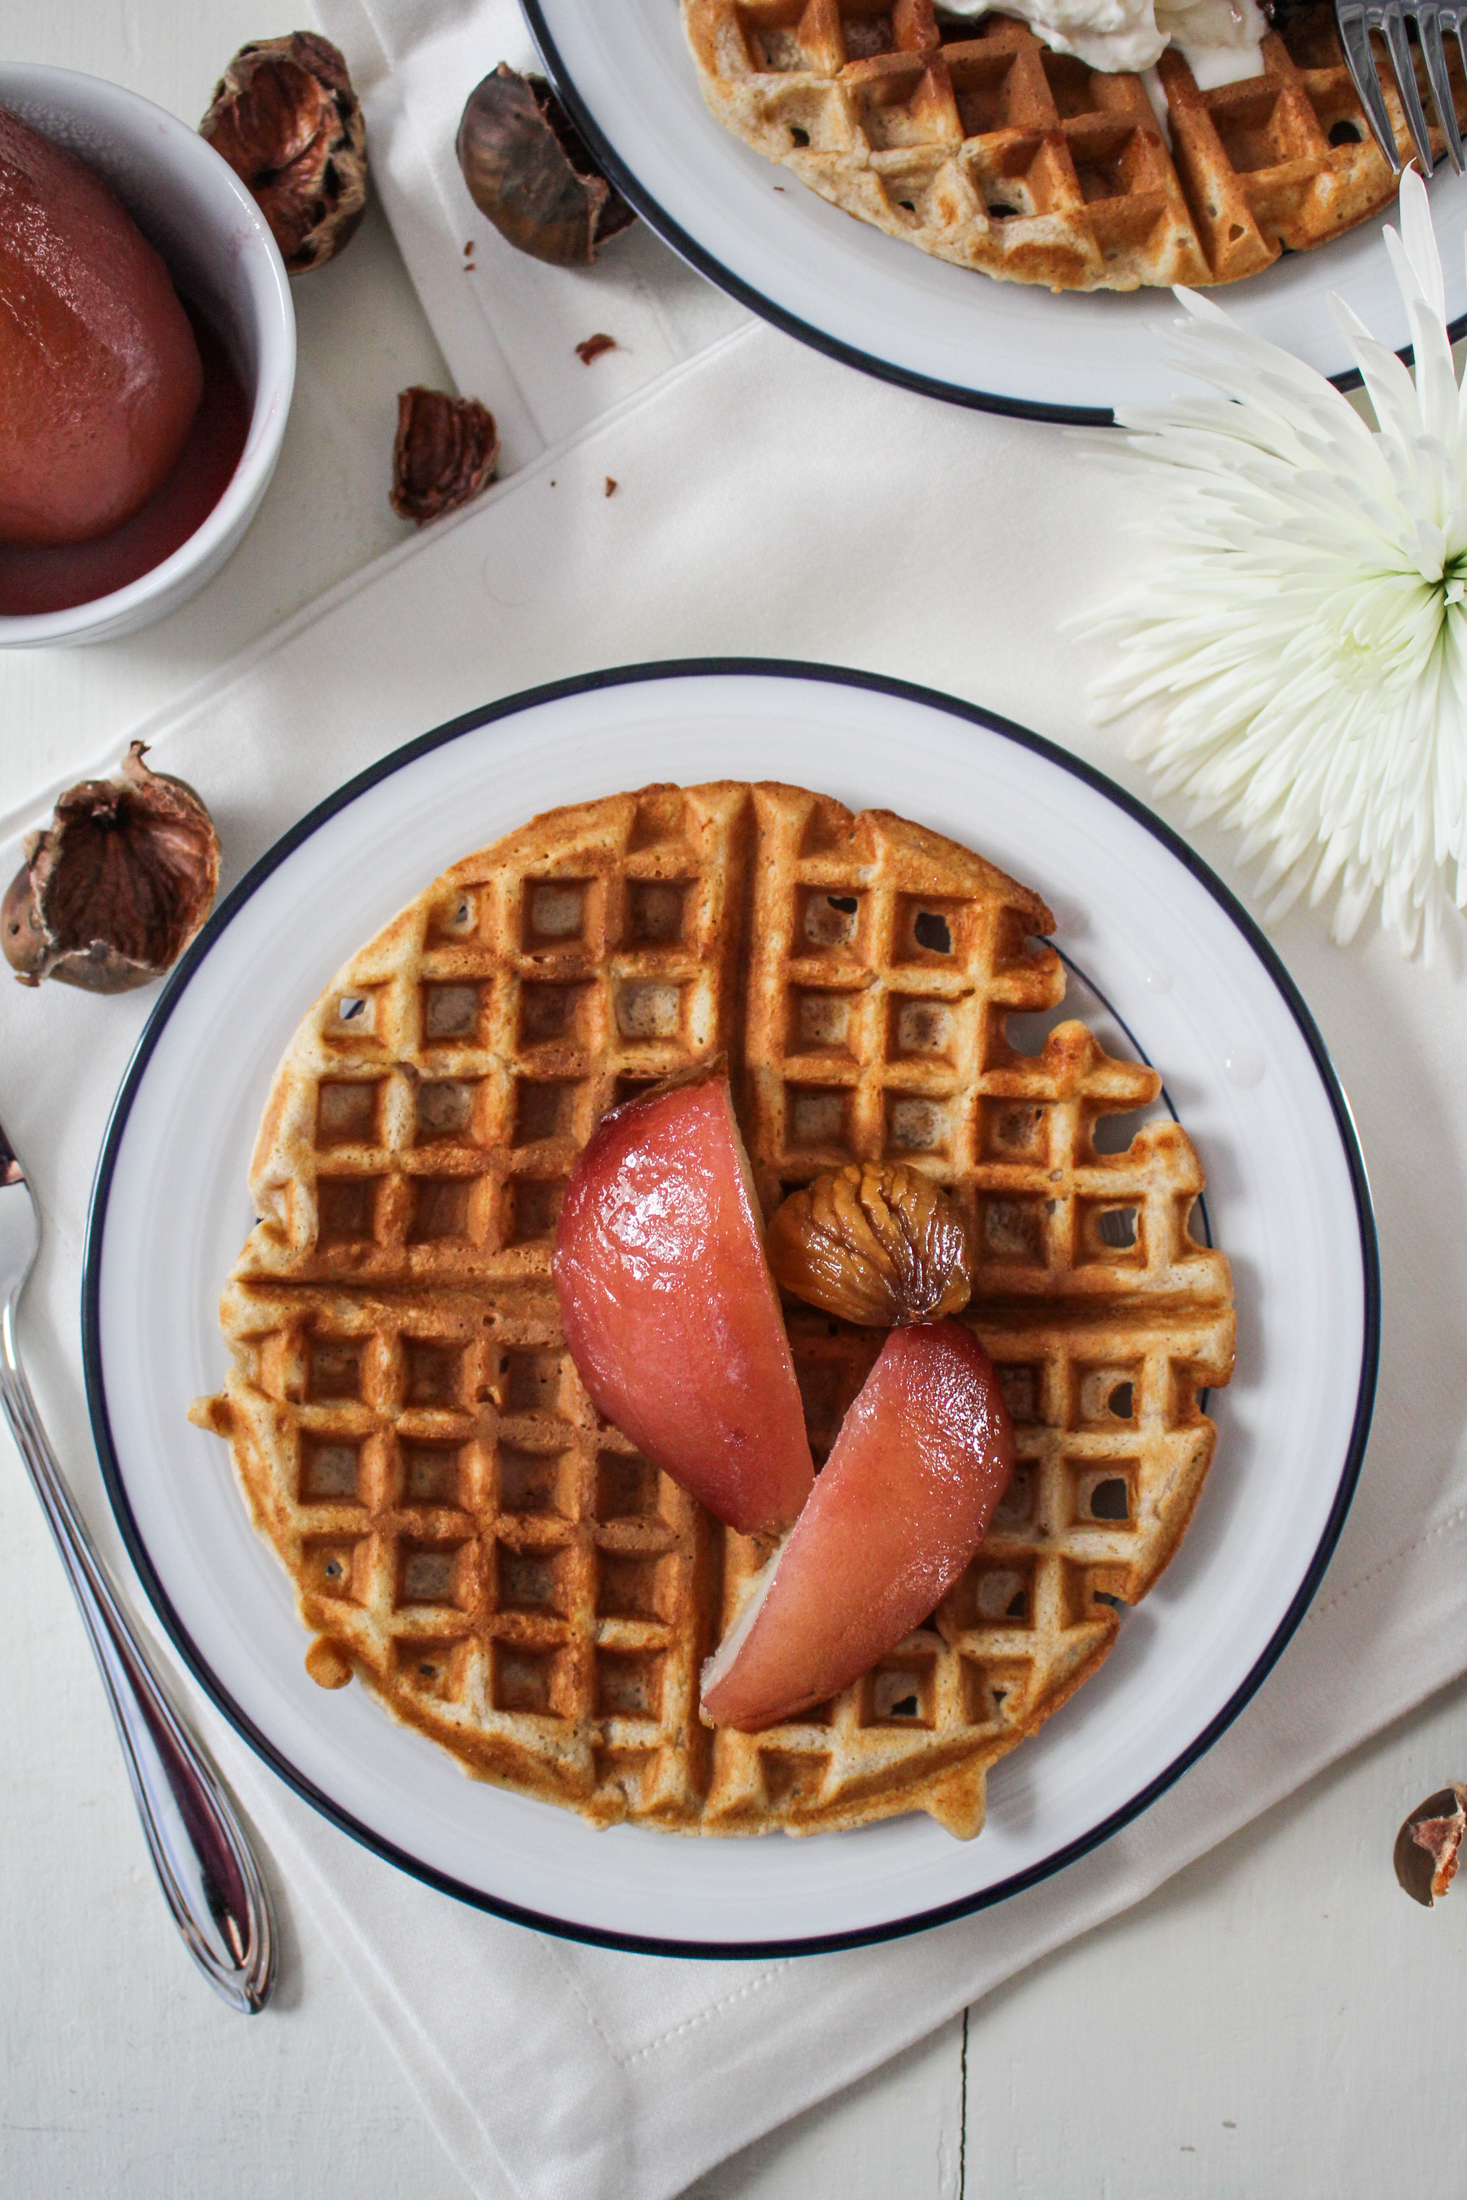
And to celebrate the passing of the old year into the new? We’ve got waffles. Waffles, because I want 2016 to be about bright, calm, clear-headed mornings. Festive waffles, made with chestnut flour and brown butter, and topped with poached pears, whipped mascarpone, and marron glacés if you’re feeling extra fancy. We served these for Boxing Day brunch, alongside a decadent smoked salmon and leek quiche and a cabbage and beet salad. I think it might become a new tradition.
So, Happy New Year everyone! Wishing you all a wonderful 2016 filled with whatever you need – energy or focus or joy or adventure or calm.
Like what you just read? Subscribe to Katie at the Kitchen Door in the box on the right, on Feedly or Bloglovin‘, or follow along on Facebook, Twitter, Pinterest, Instagram, or Google+. Thanks for reading!
Past New Years’ posts…
2014: Rye Blini, Smoked Salmon Dip, Russian Beet Dip, Pretty in Pink Cocktail
2013: Raspberry Sherbet Champagne Floats
2012: Butter-Roasted Cinnamon Chicken with Almonds and Pomegranates
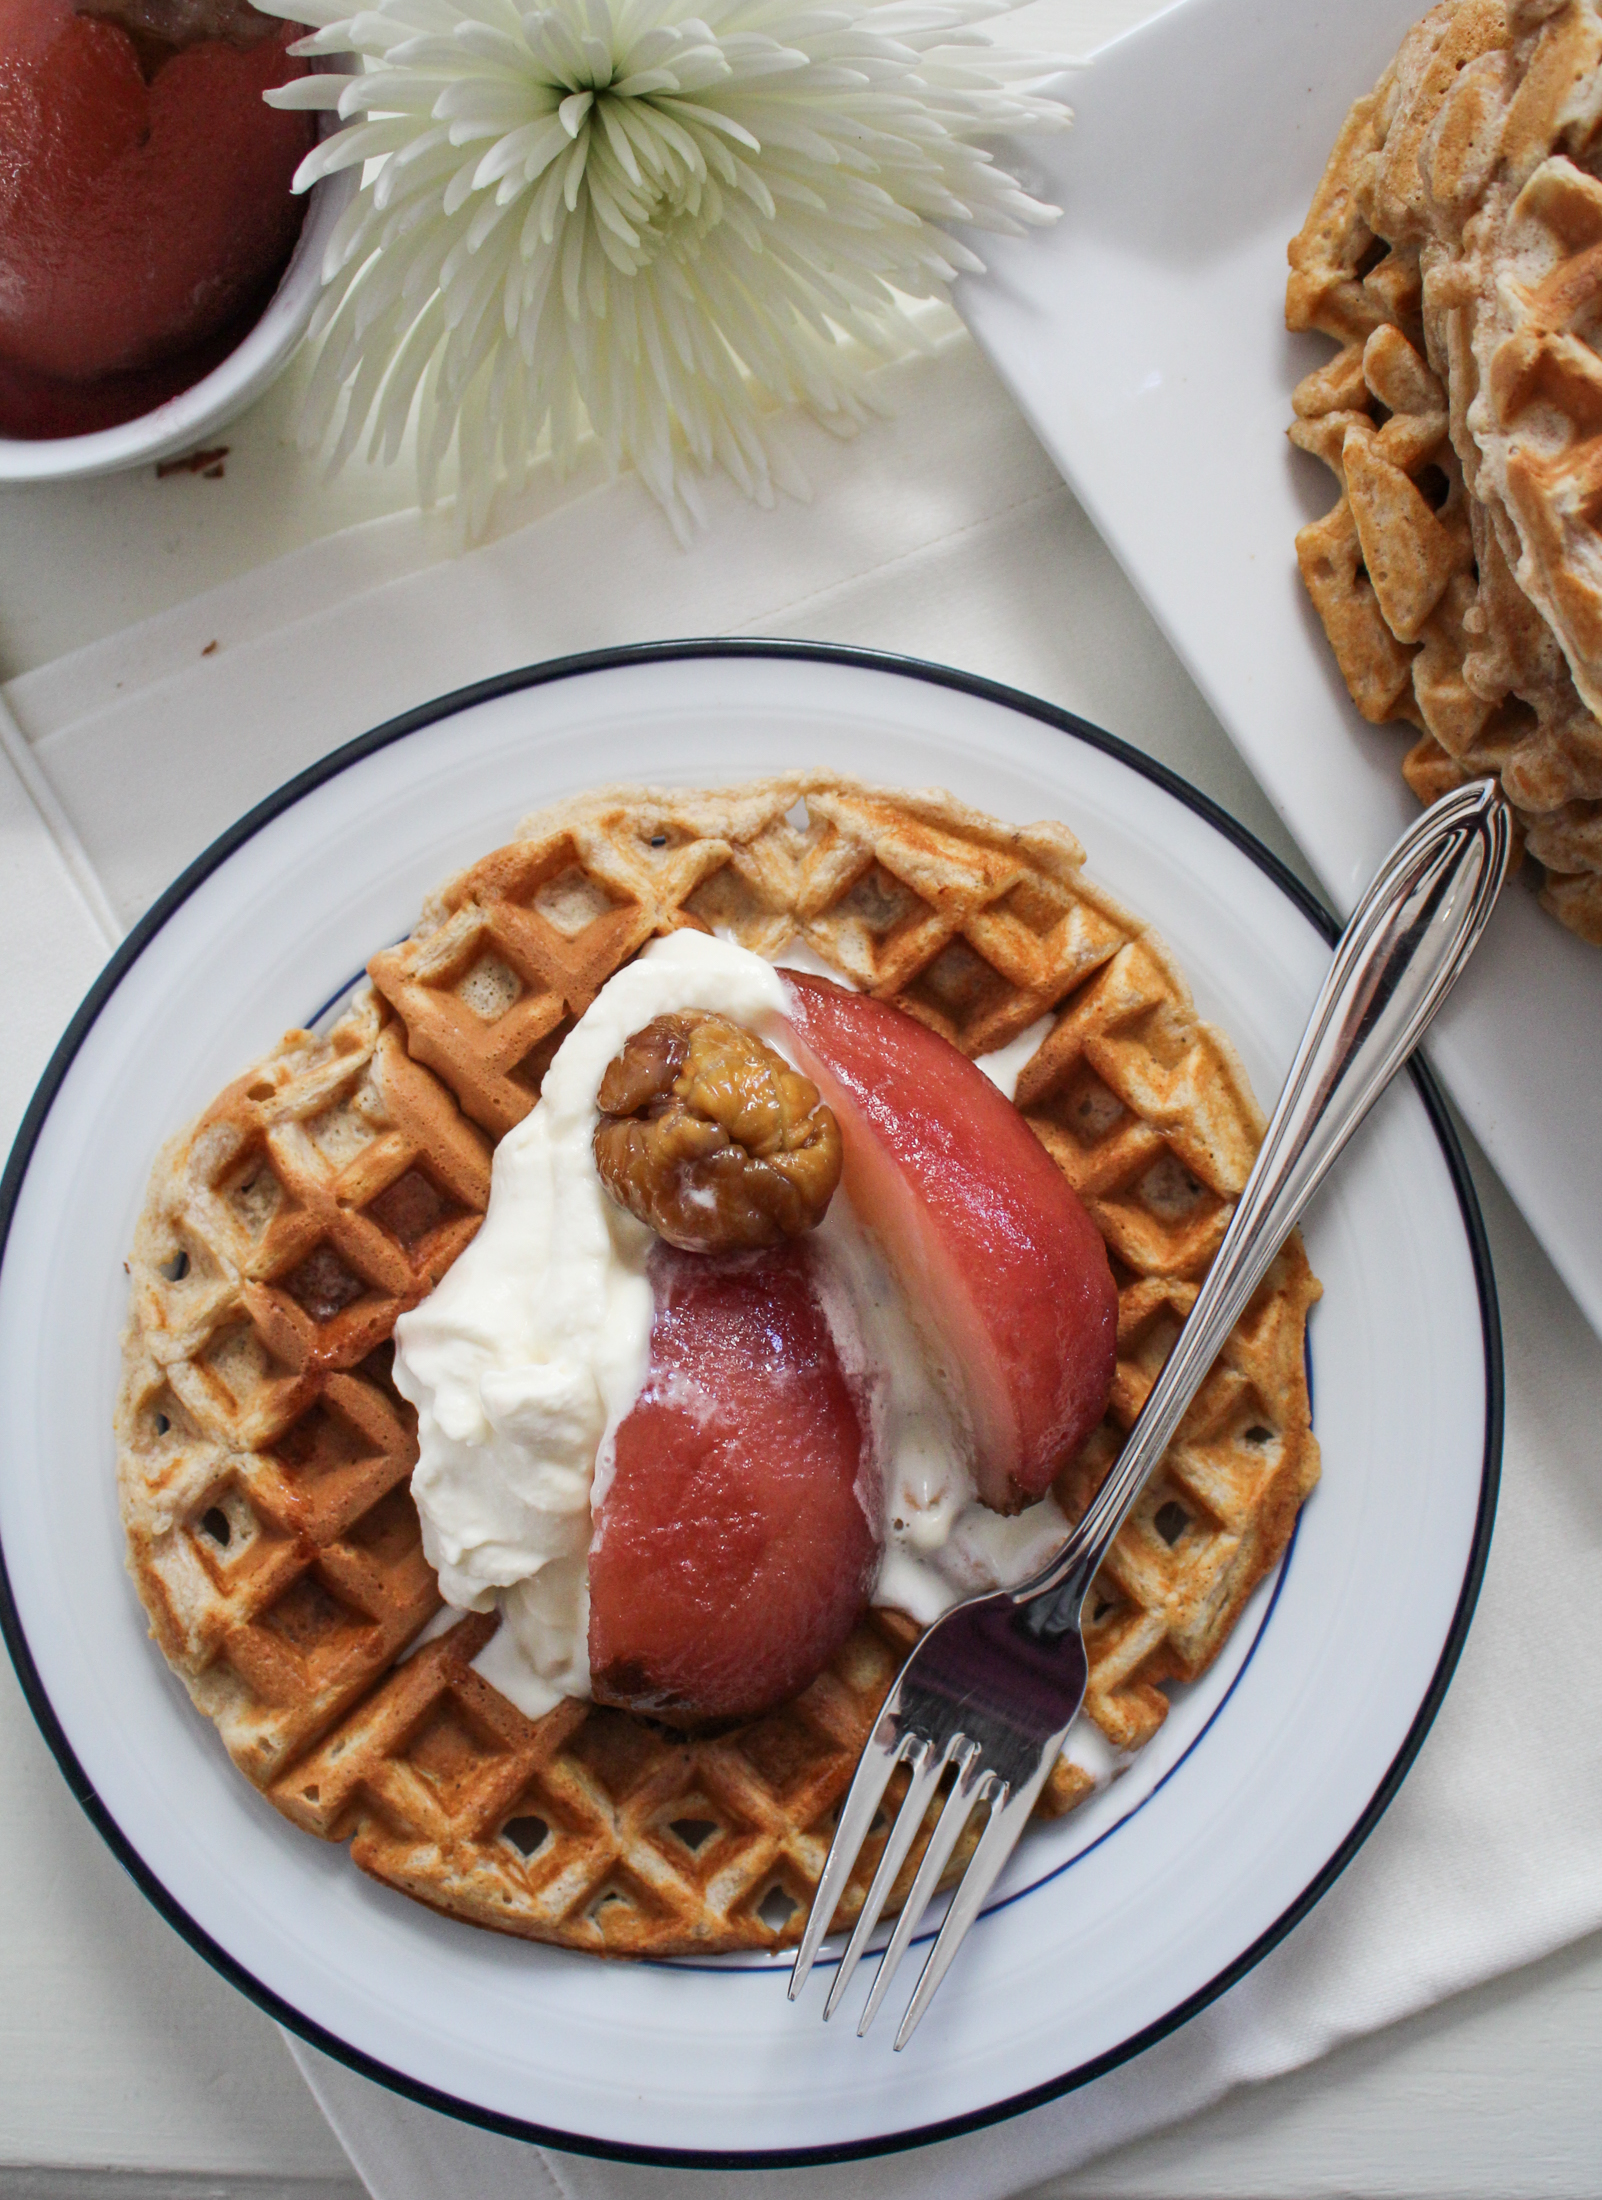
Brown-Butter Chestnut Waffles with Poached Pears and Whipped Mascarpone
Waffles adapted from The Chef’s Collaborative. Serves 5.
- 1 c. red wine
- 1 c. sugar
- 1 c. water
- 2 inches fresh ginger, peeled and sliced
- 1 cinnamon stick
- 3 ripe but firm pears, peeled
- 3 TBS salted butter
- 1 1/4 c. AP flour
- 3/4 c. chestnut flour (store-bought or homemade)
- 1 TBS baking powder
- 1/4 tsp salt
- 3 eggs, separated
- 1/4 c. light brown sugar
- 1 3/4 c. whole milk
- 1 c. heavy cream
- 3 oz. mascarpone
- 1 TBS maple syrup
- To poach the pears: Combine wine, sugar, water, ginger, and cinnamon in a large saucepan. Bring to a simmer over medium heat, then add the whole pears to the mixture. Simmer gently, turning the pears occasionally, until pears are tender all the way through when poked with a knife. This can take anywhere from 15-35 minutes, depending on your pears. When the pears are tender, remove with a slotted spoon and place in a bowl. Leave whole or slice according to your taste. Continue simmering the syrup until it is thick, then pour over the pears. Set aside.
- To make the waffles: In a small saucepan, melt the butter over medium heat. Continue cooking, stirring, as the butter foams up and begins to brown. Once the foam has subsided and the butter has turned a deep golden brown, remove from the heat. Let cool slightly. In a large bowl, whisk together the flour, chestnut flour, baking powder, and salt until well combined. In a separate bowl, whisk egg yolks until creamy, then add brown sugar and whisk to combine. Whisk cooled brown butter into yolks and sugar. Stir in milk. Add the liquid ingredients to the dry ingredients and whisk until smooth. In a separate bowl, beat egg whites on high until stiff peaks form. Fold egg whites gently into batter. Preheat your waffle iron and coat with non-stick spray, then cook waffles until golden brown. Keep warm in a 200°F oven if not serving immediately.
- For the whipped mascarpone: In a large bowl, beat heavy cream until soft peaks form. Spoon mascarpone in to whipped cream in small pieces and whisk until smooth. Whisk in maple syrup and set aside.
- To serve: Top each waffle with pears, poaching syrup, and whipped mascarpone. Serve immediately.