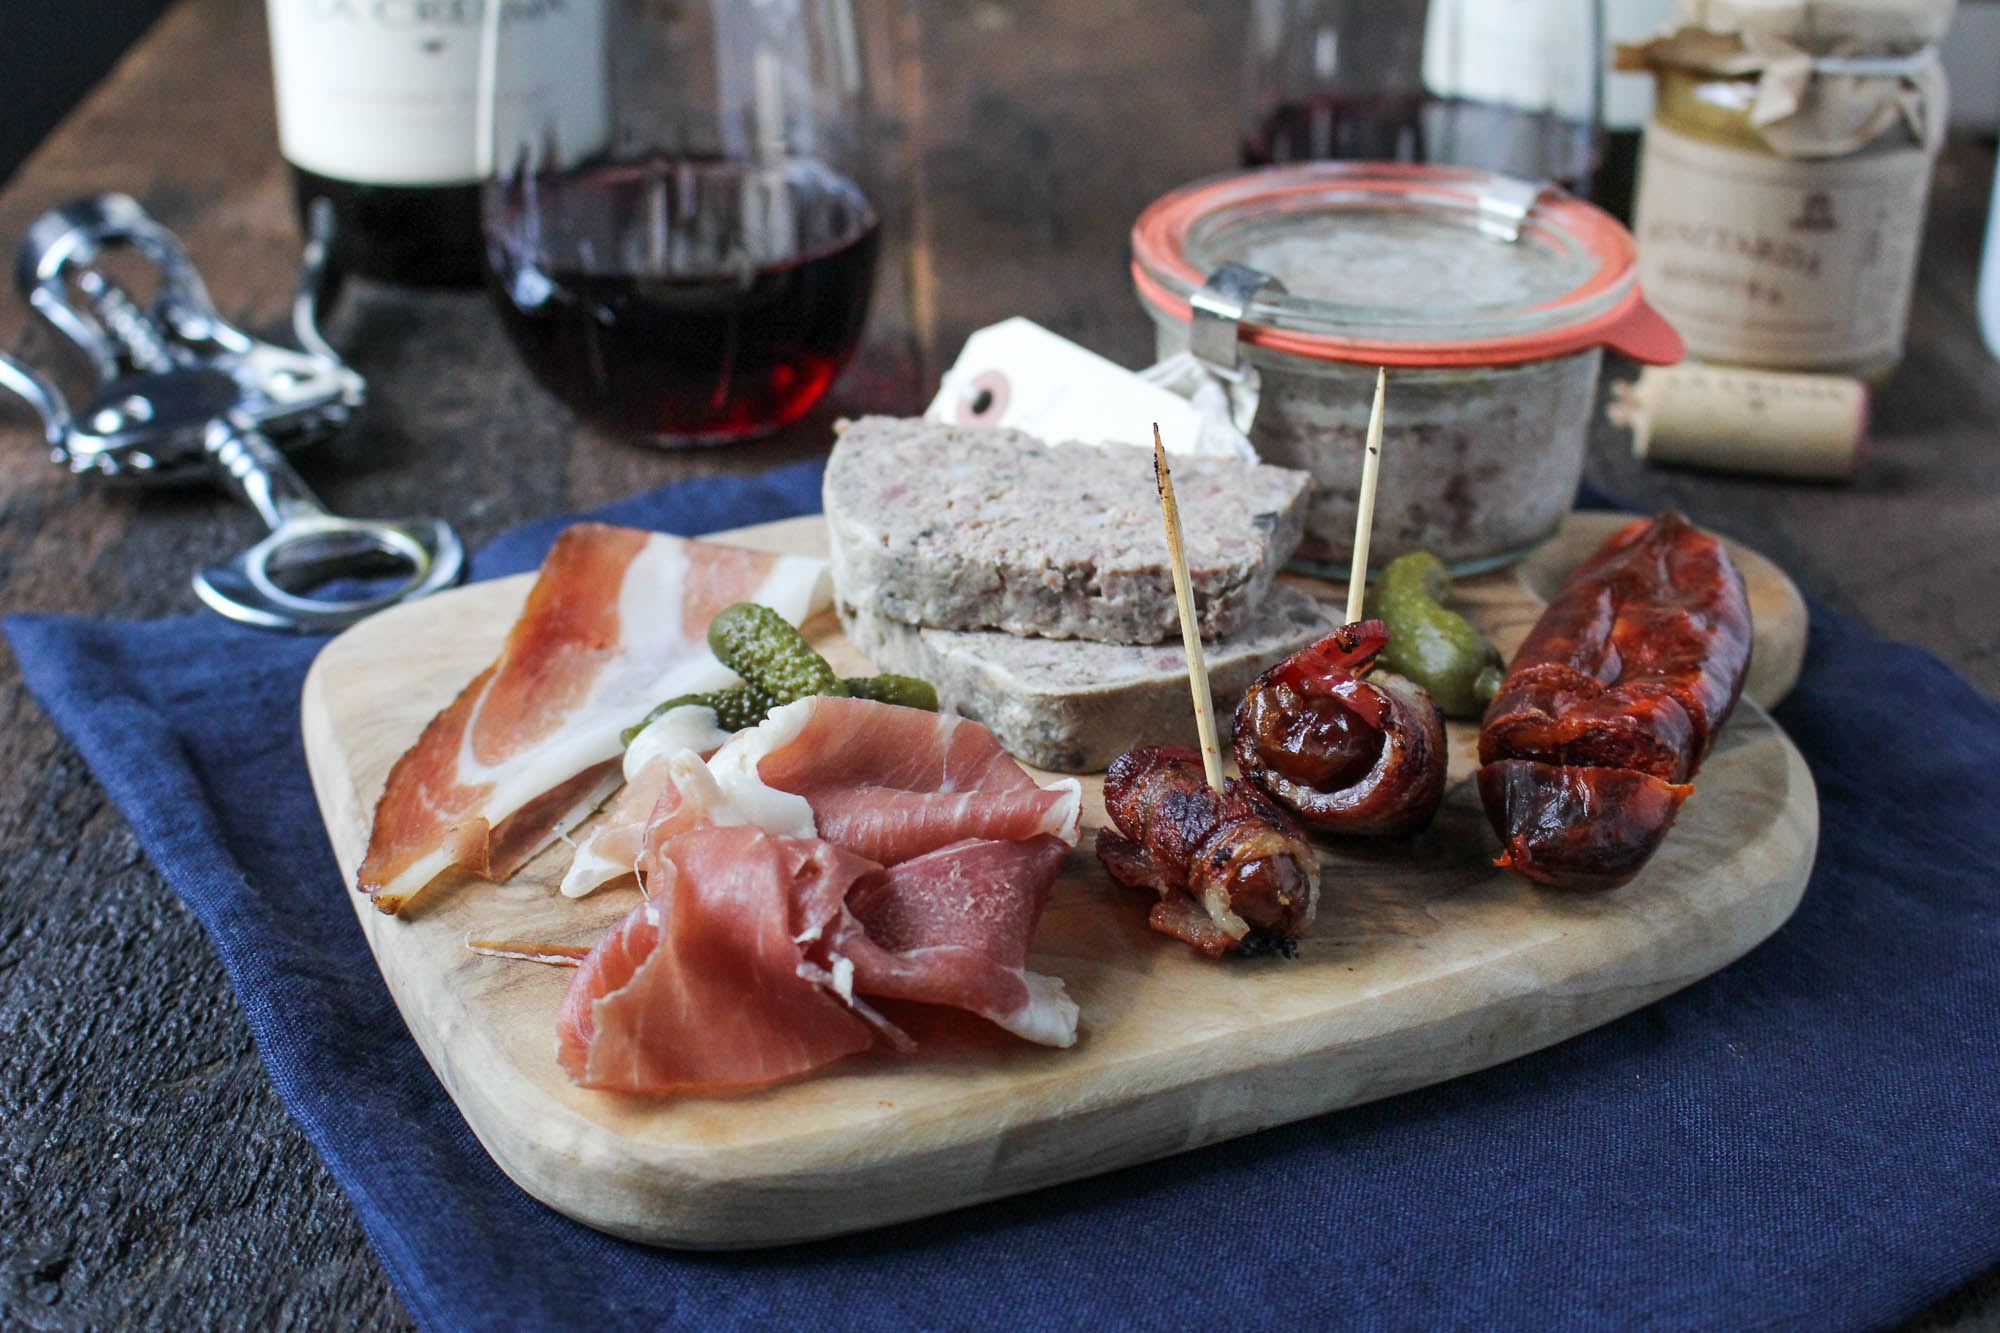
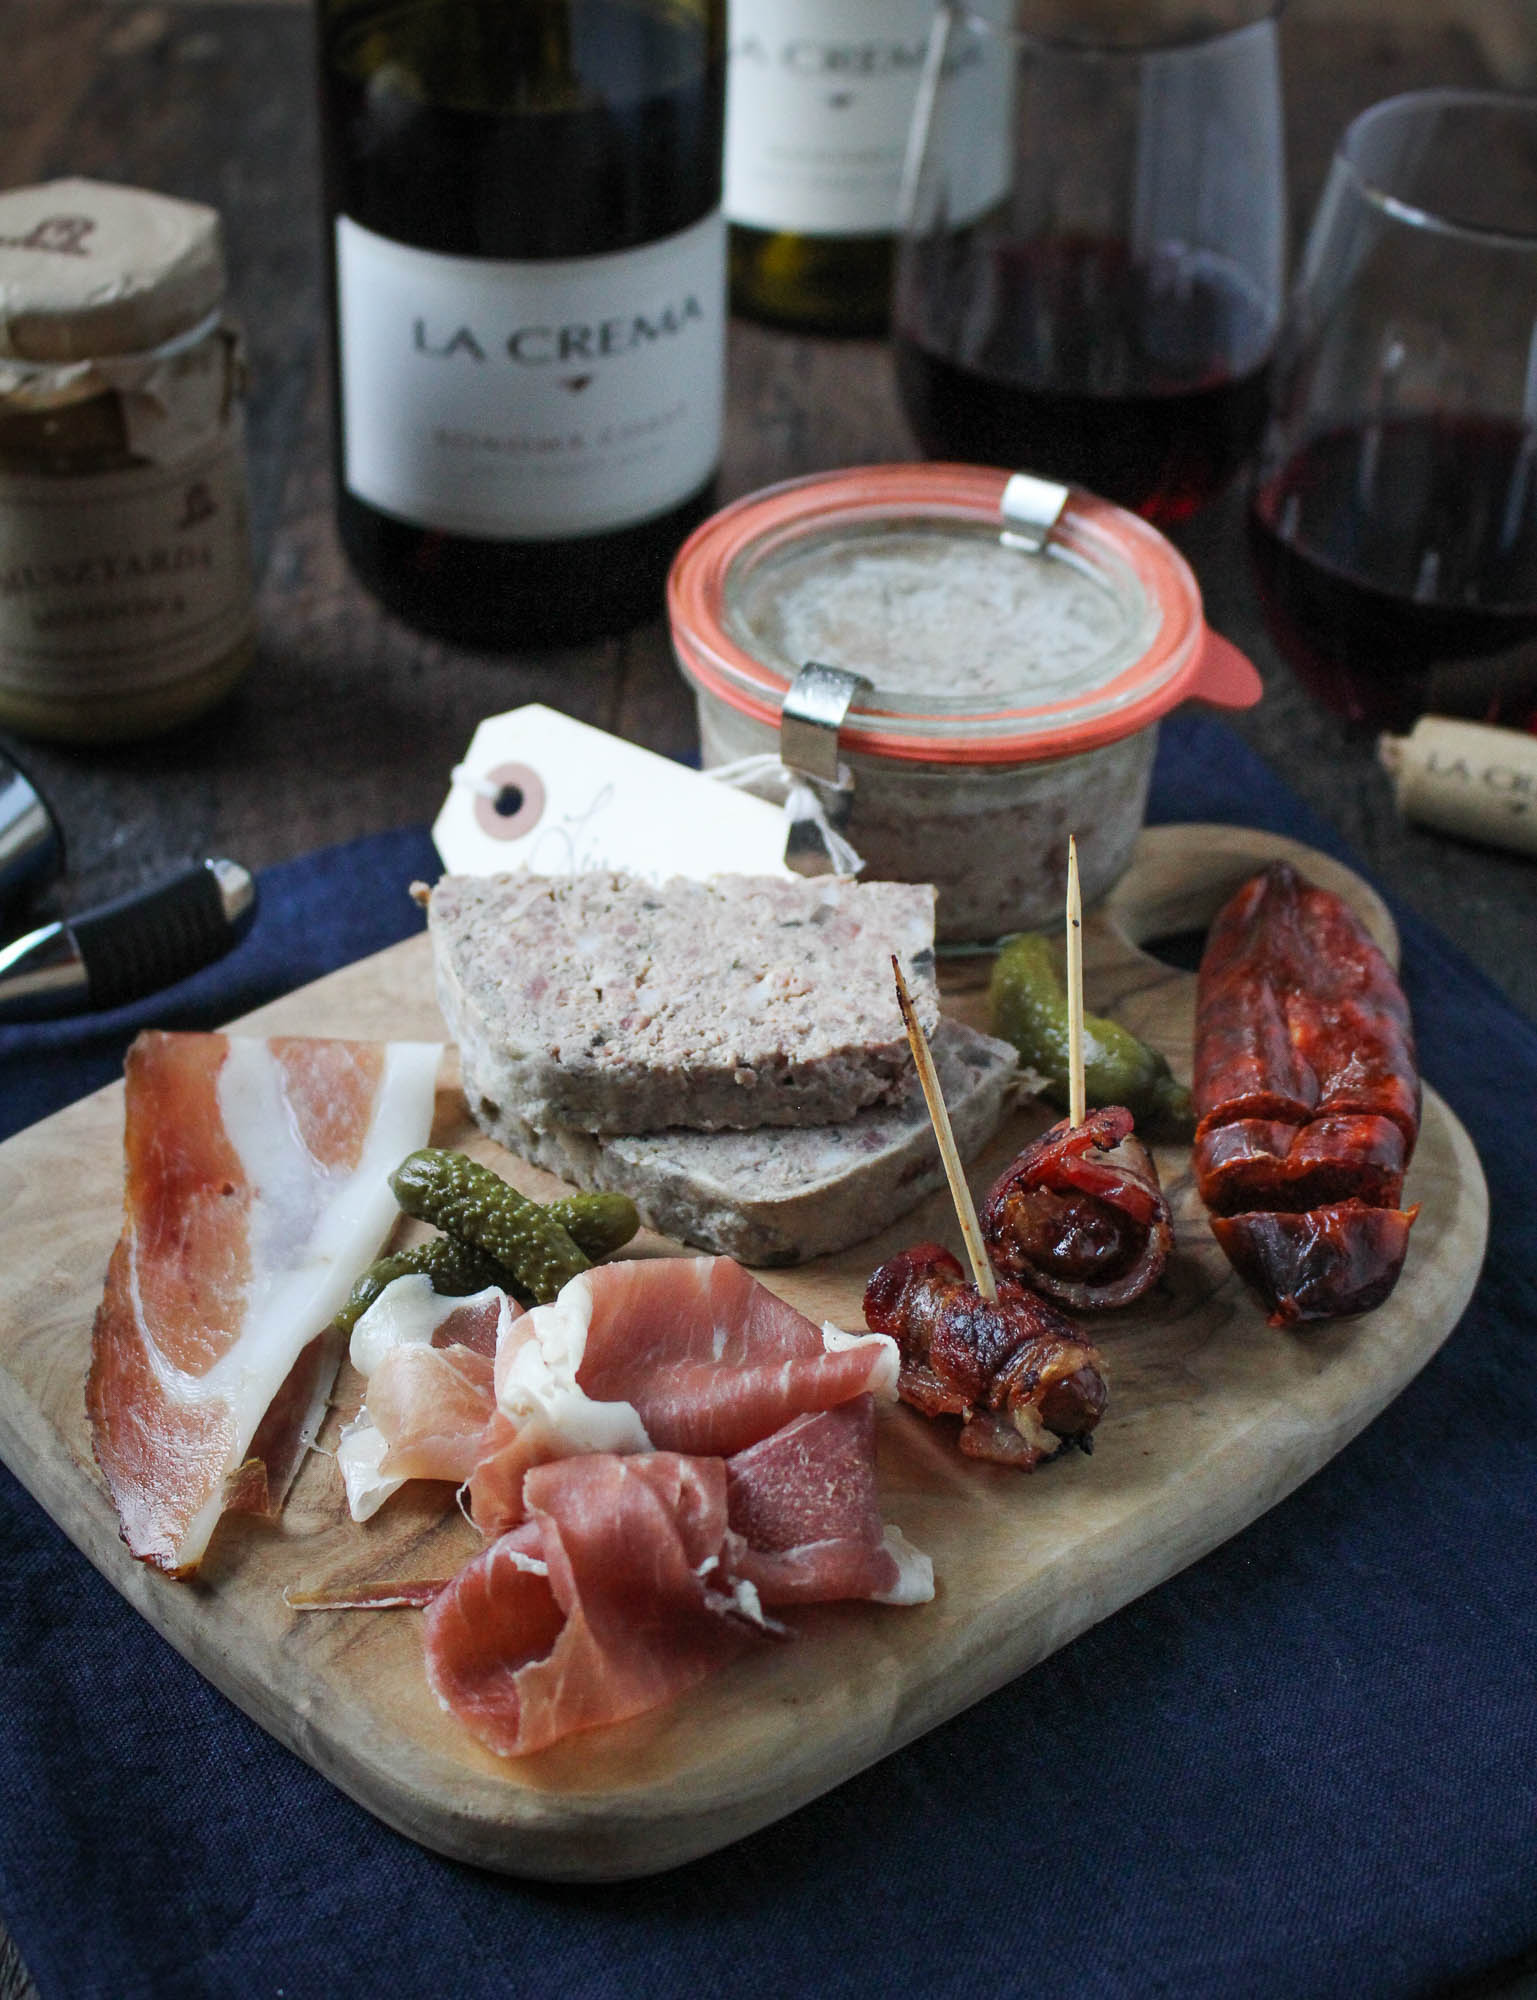
Some of the best dinners we have really barely qualify as dinners. A baguette and a wheel of brie. Ice cream eaten out of the carton. Cold beer and chips and salsa. I think the very fact that you don’t have to put any effort into it is part of what makes it so rewarding to enjoy. Charcuterie definitely makes the list of our favorite low-effort, high-reward meals – a link of good artisan salami, a few slices of prosciutto, and some sharp mustard is really all you need. And with the increasing availability and variety of high-quality artisan charctuerie, putting out a nice charcuterie board as part of a dinner party or event is fast becoming the most popular way to kick off an epic meal.
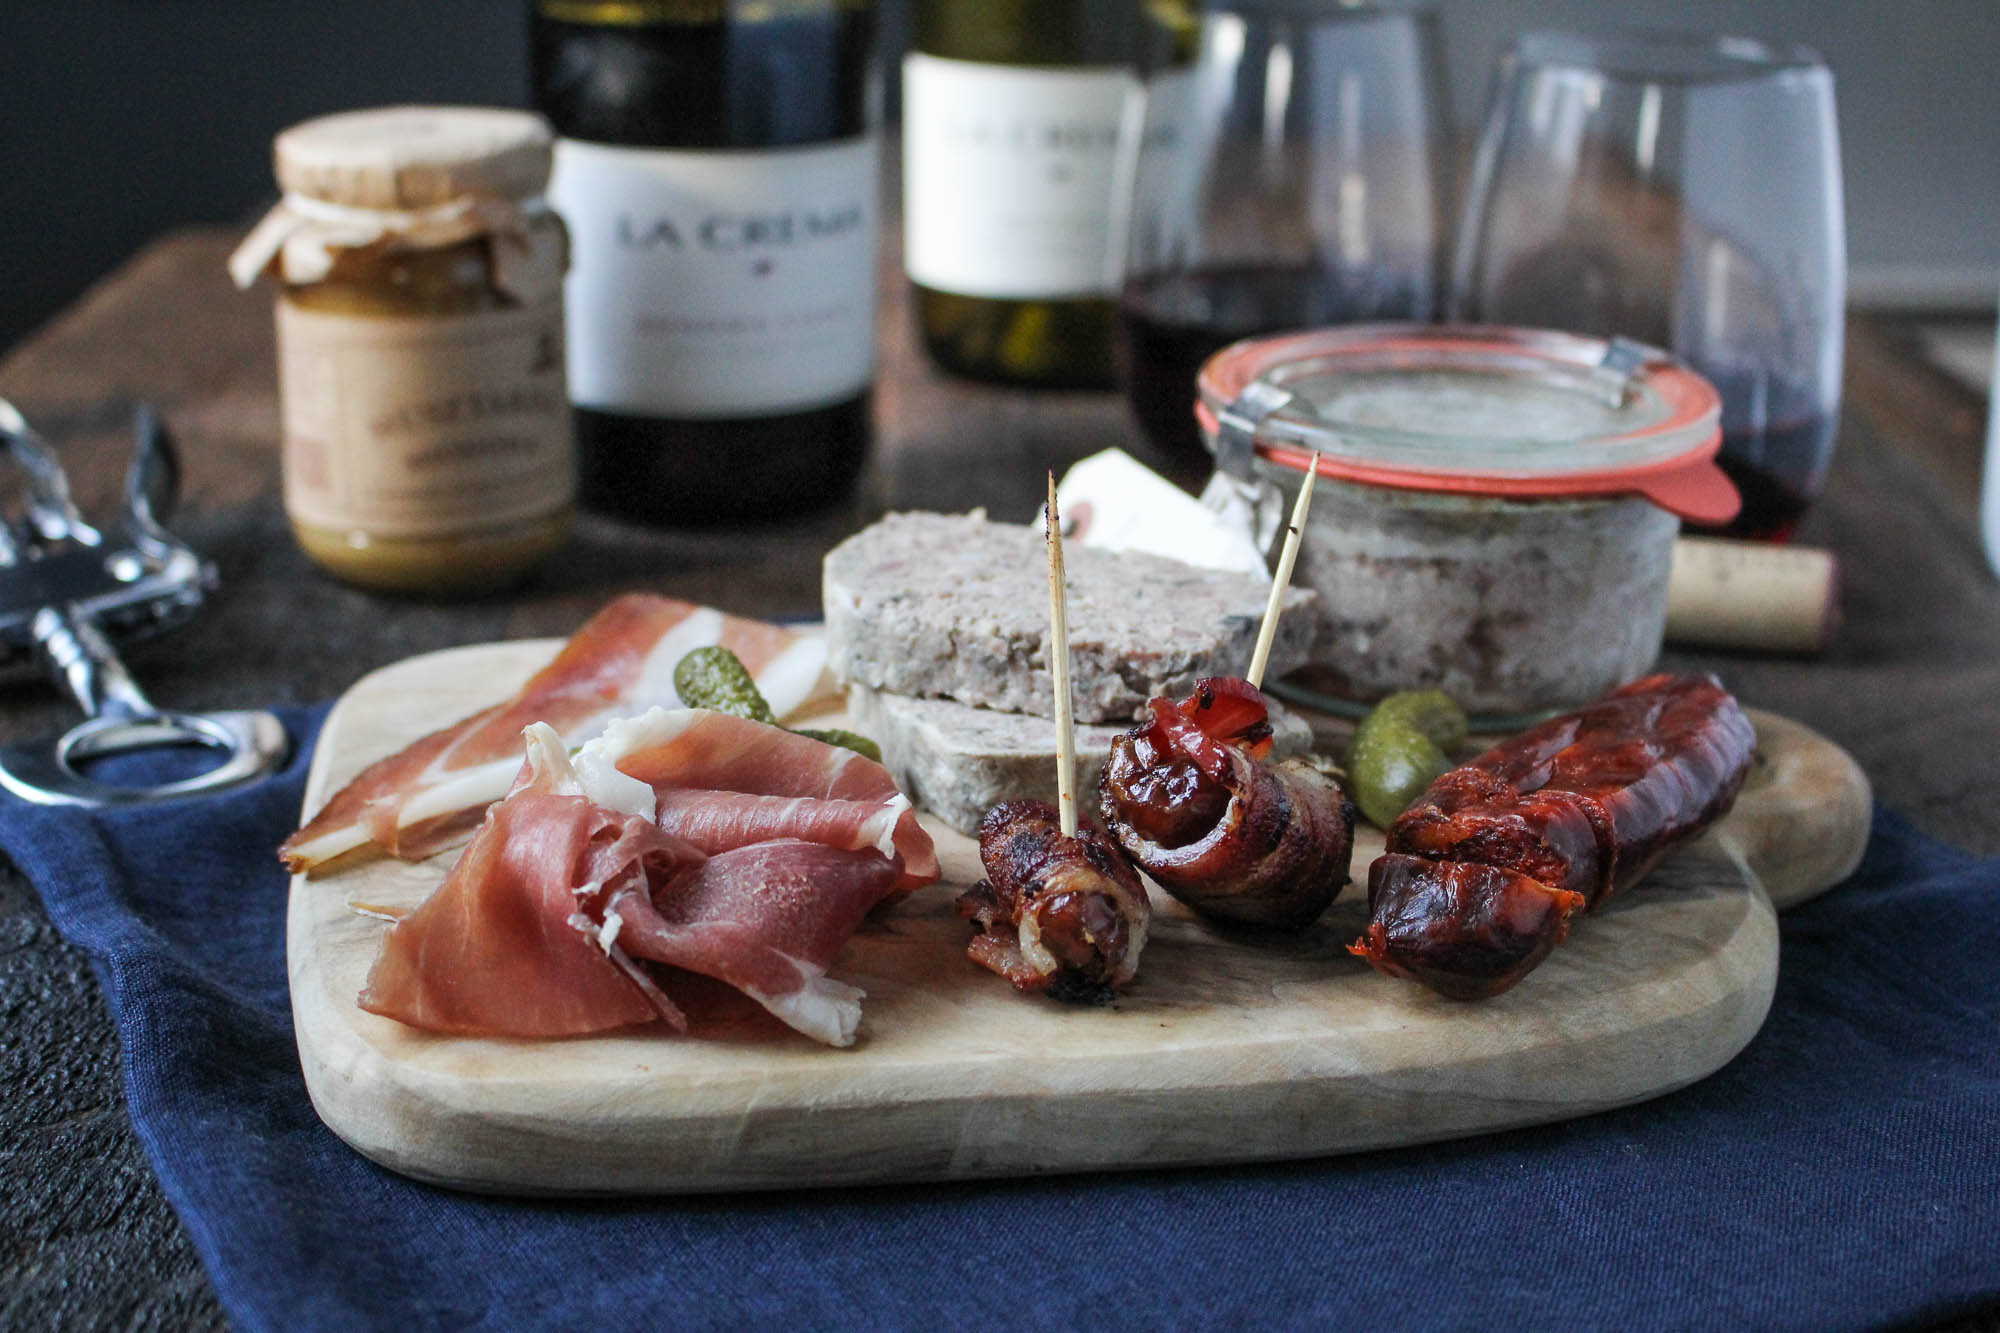
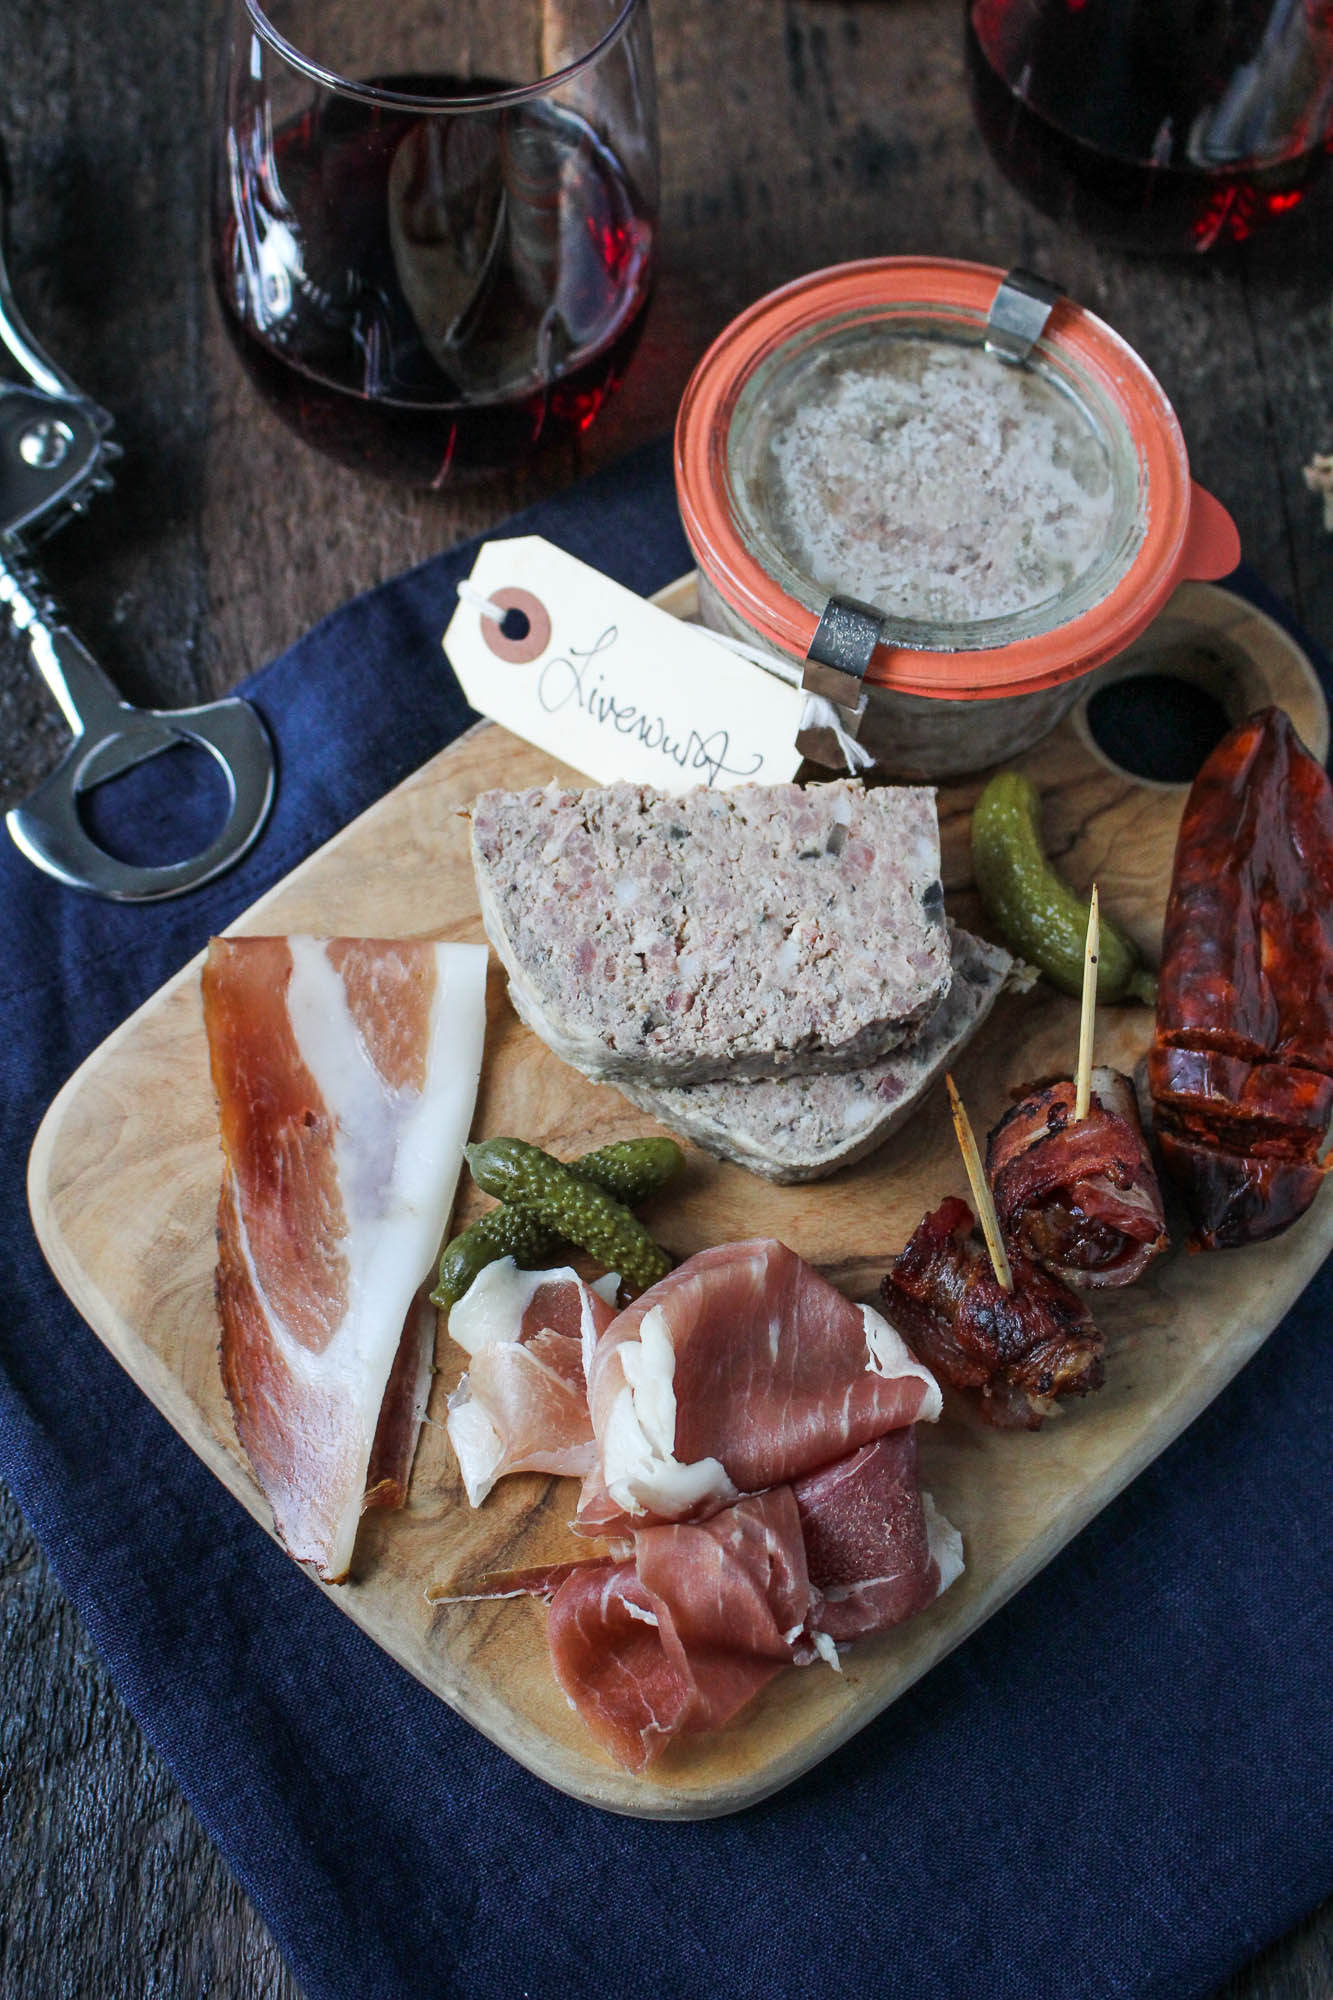
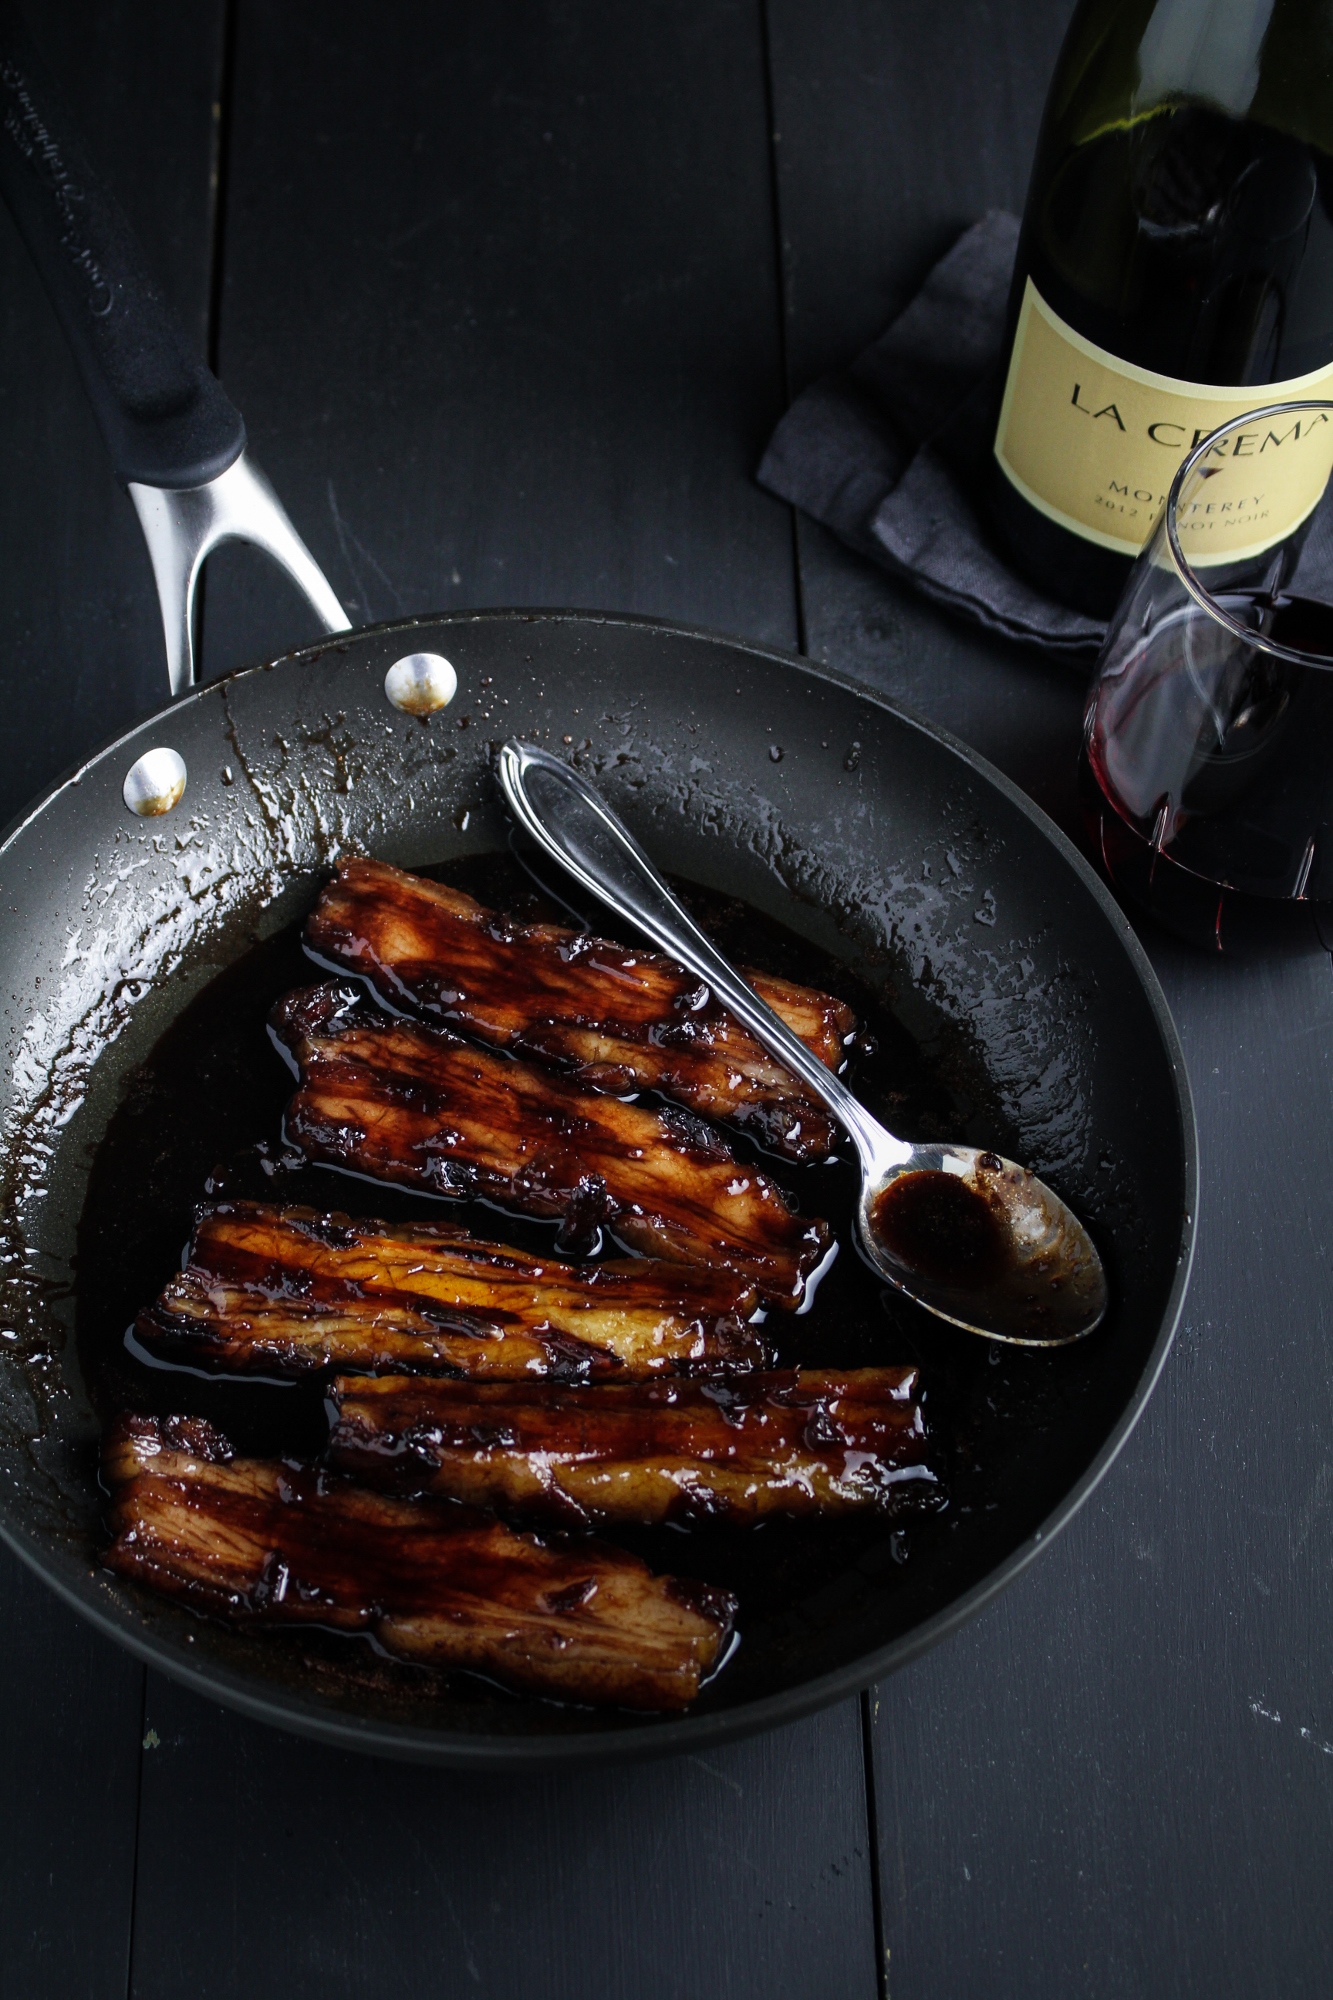
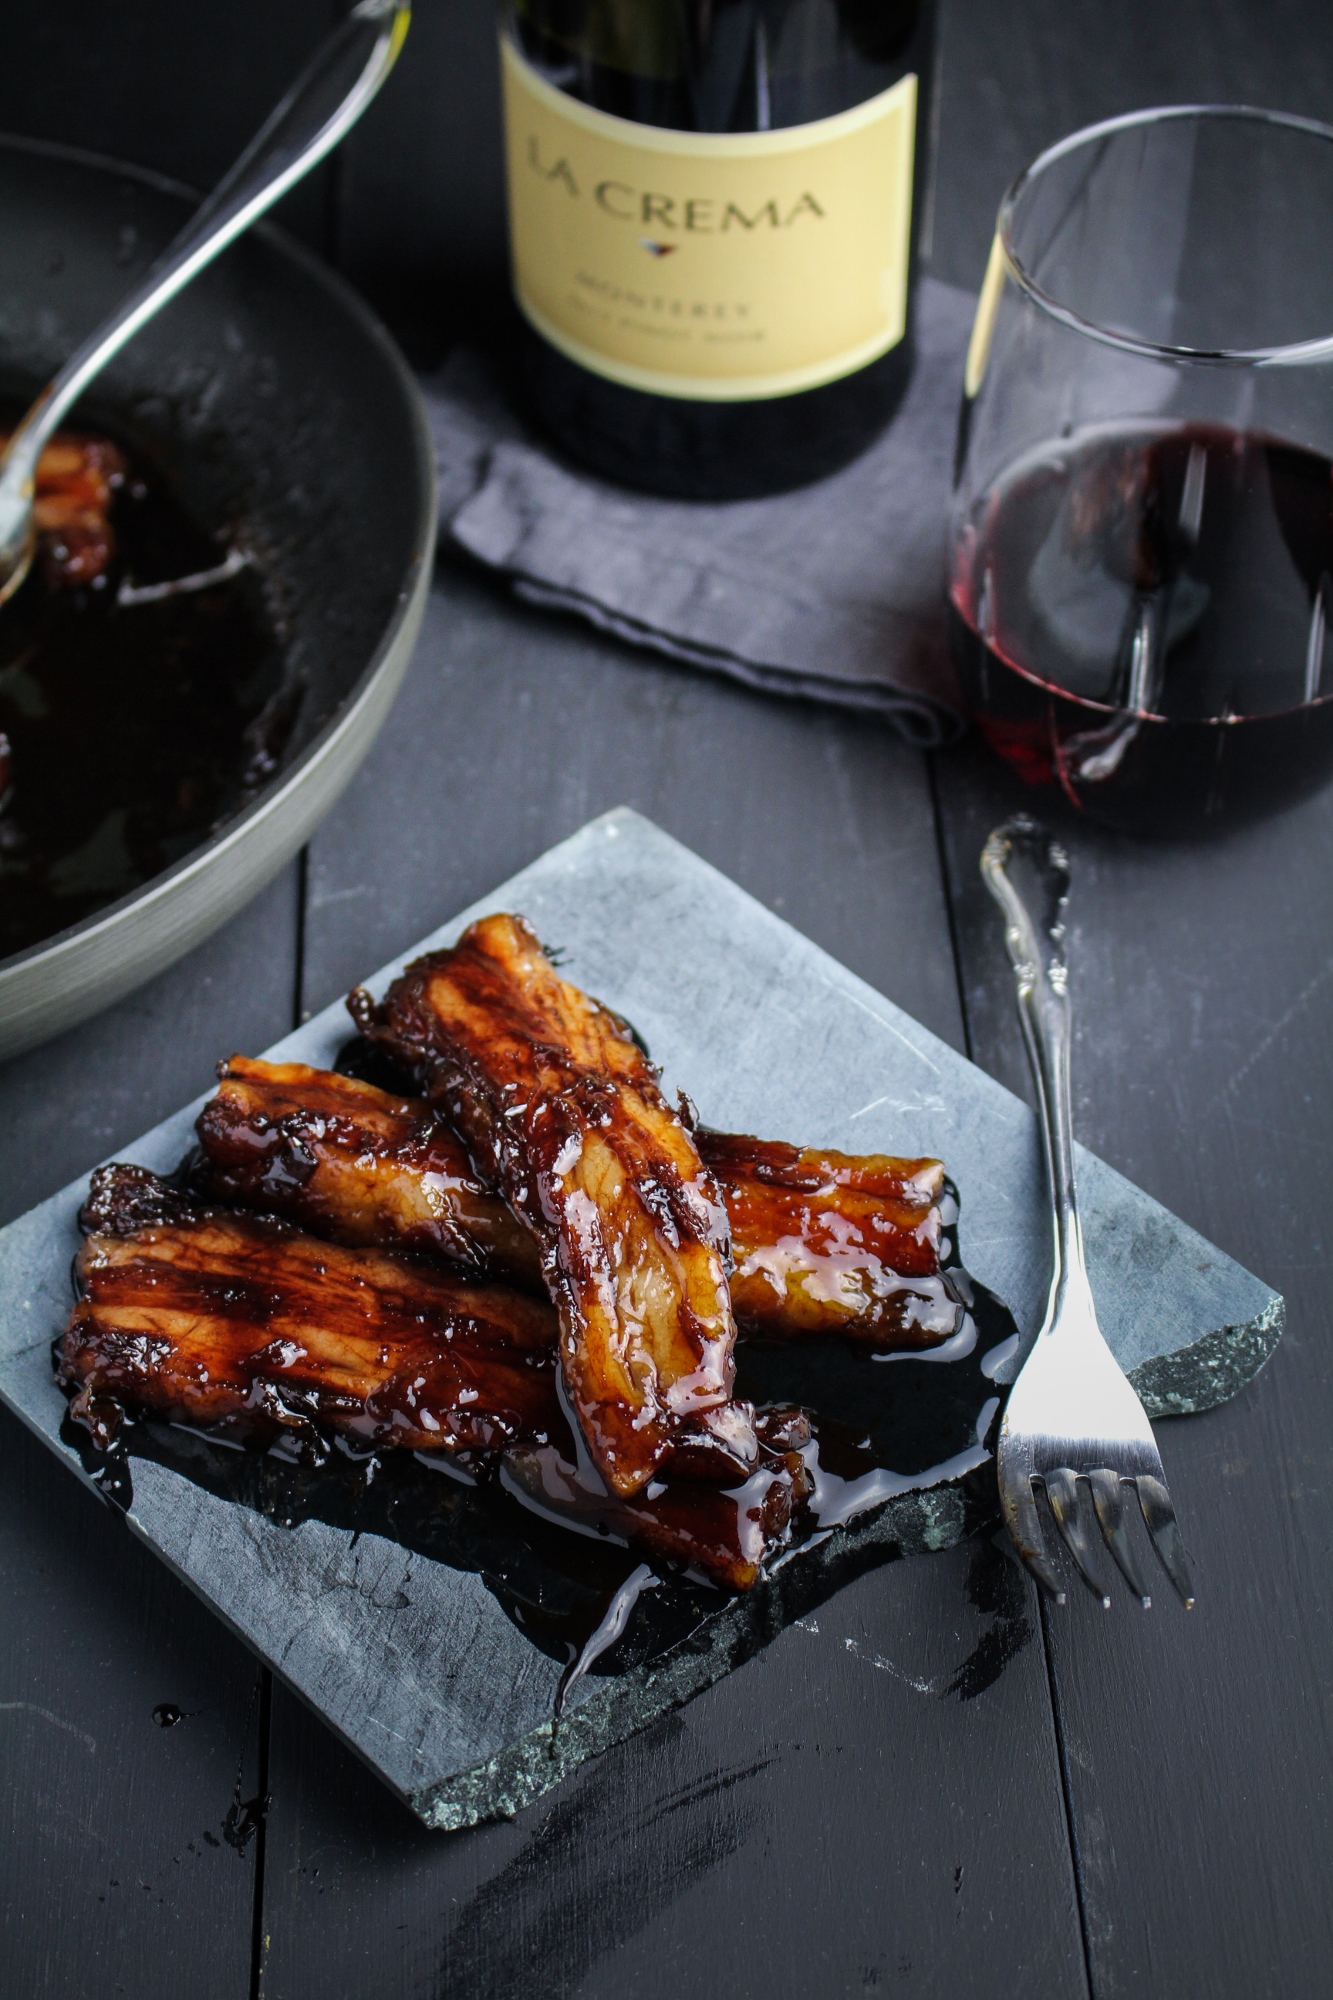
As part of their Pork and Pinot series, I’ve teamed up with La Crema Wine to share how I put together a nice charcuterie board to pair with a bottle (or two! invite friends!) of Pinot Noir. Whether it’s the opener to a dinner party or Trevor and I are sharing in front of the TV, a well-balanced plate of salty, rich pork and a glass of Pinot Noir is an addictive match.
Head over to the La Crema Blog for tips on what to include on your next charcuterie board!
More Pork and Pinot posts…
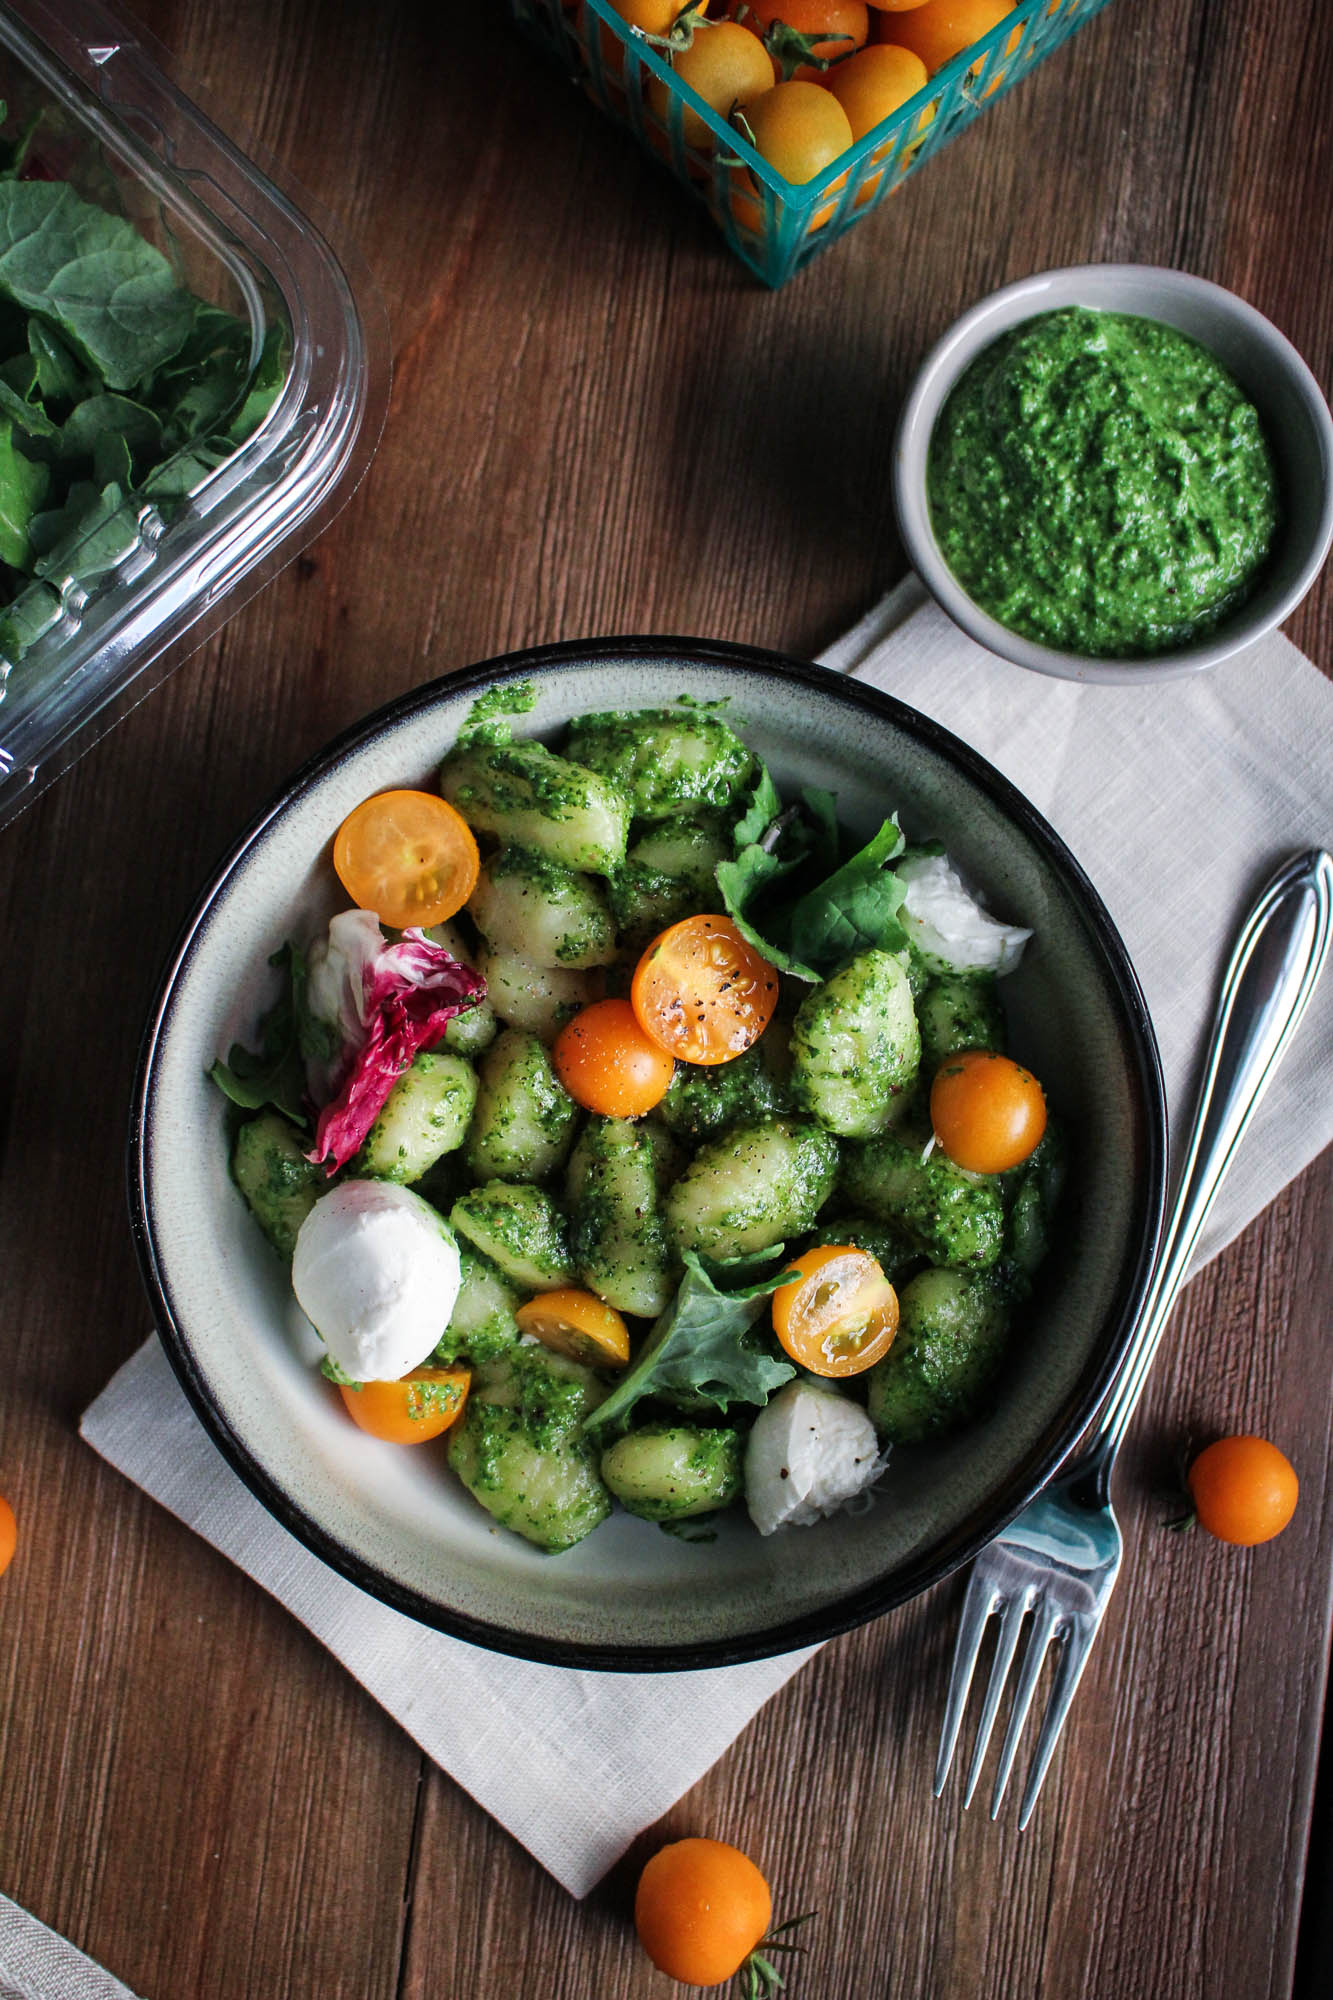
- Prosciutto, Mozzarella, and Sage Pesto Stuffed Pork Tenderloin
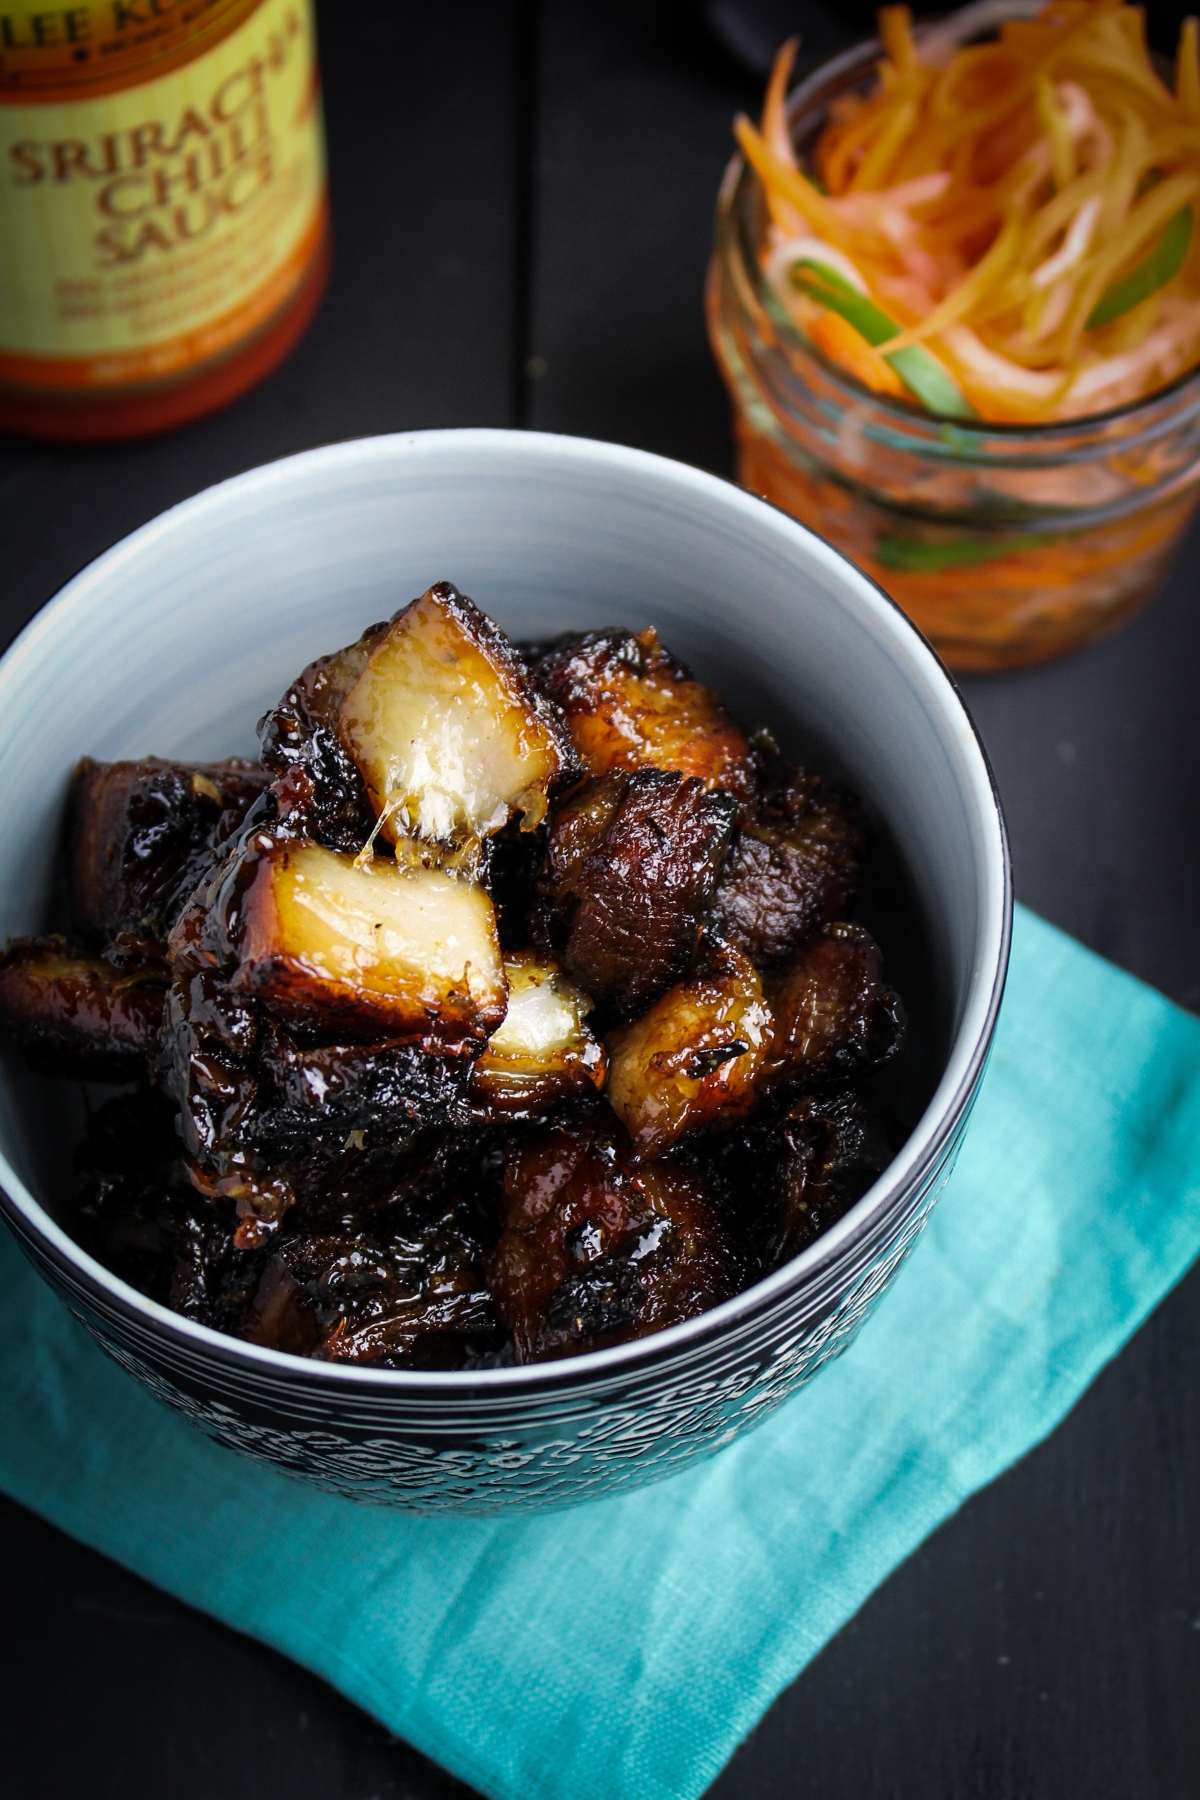
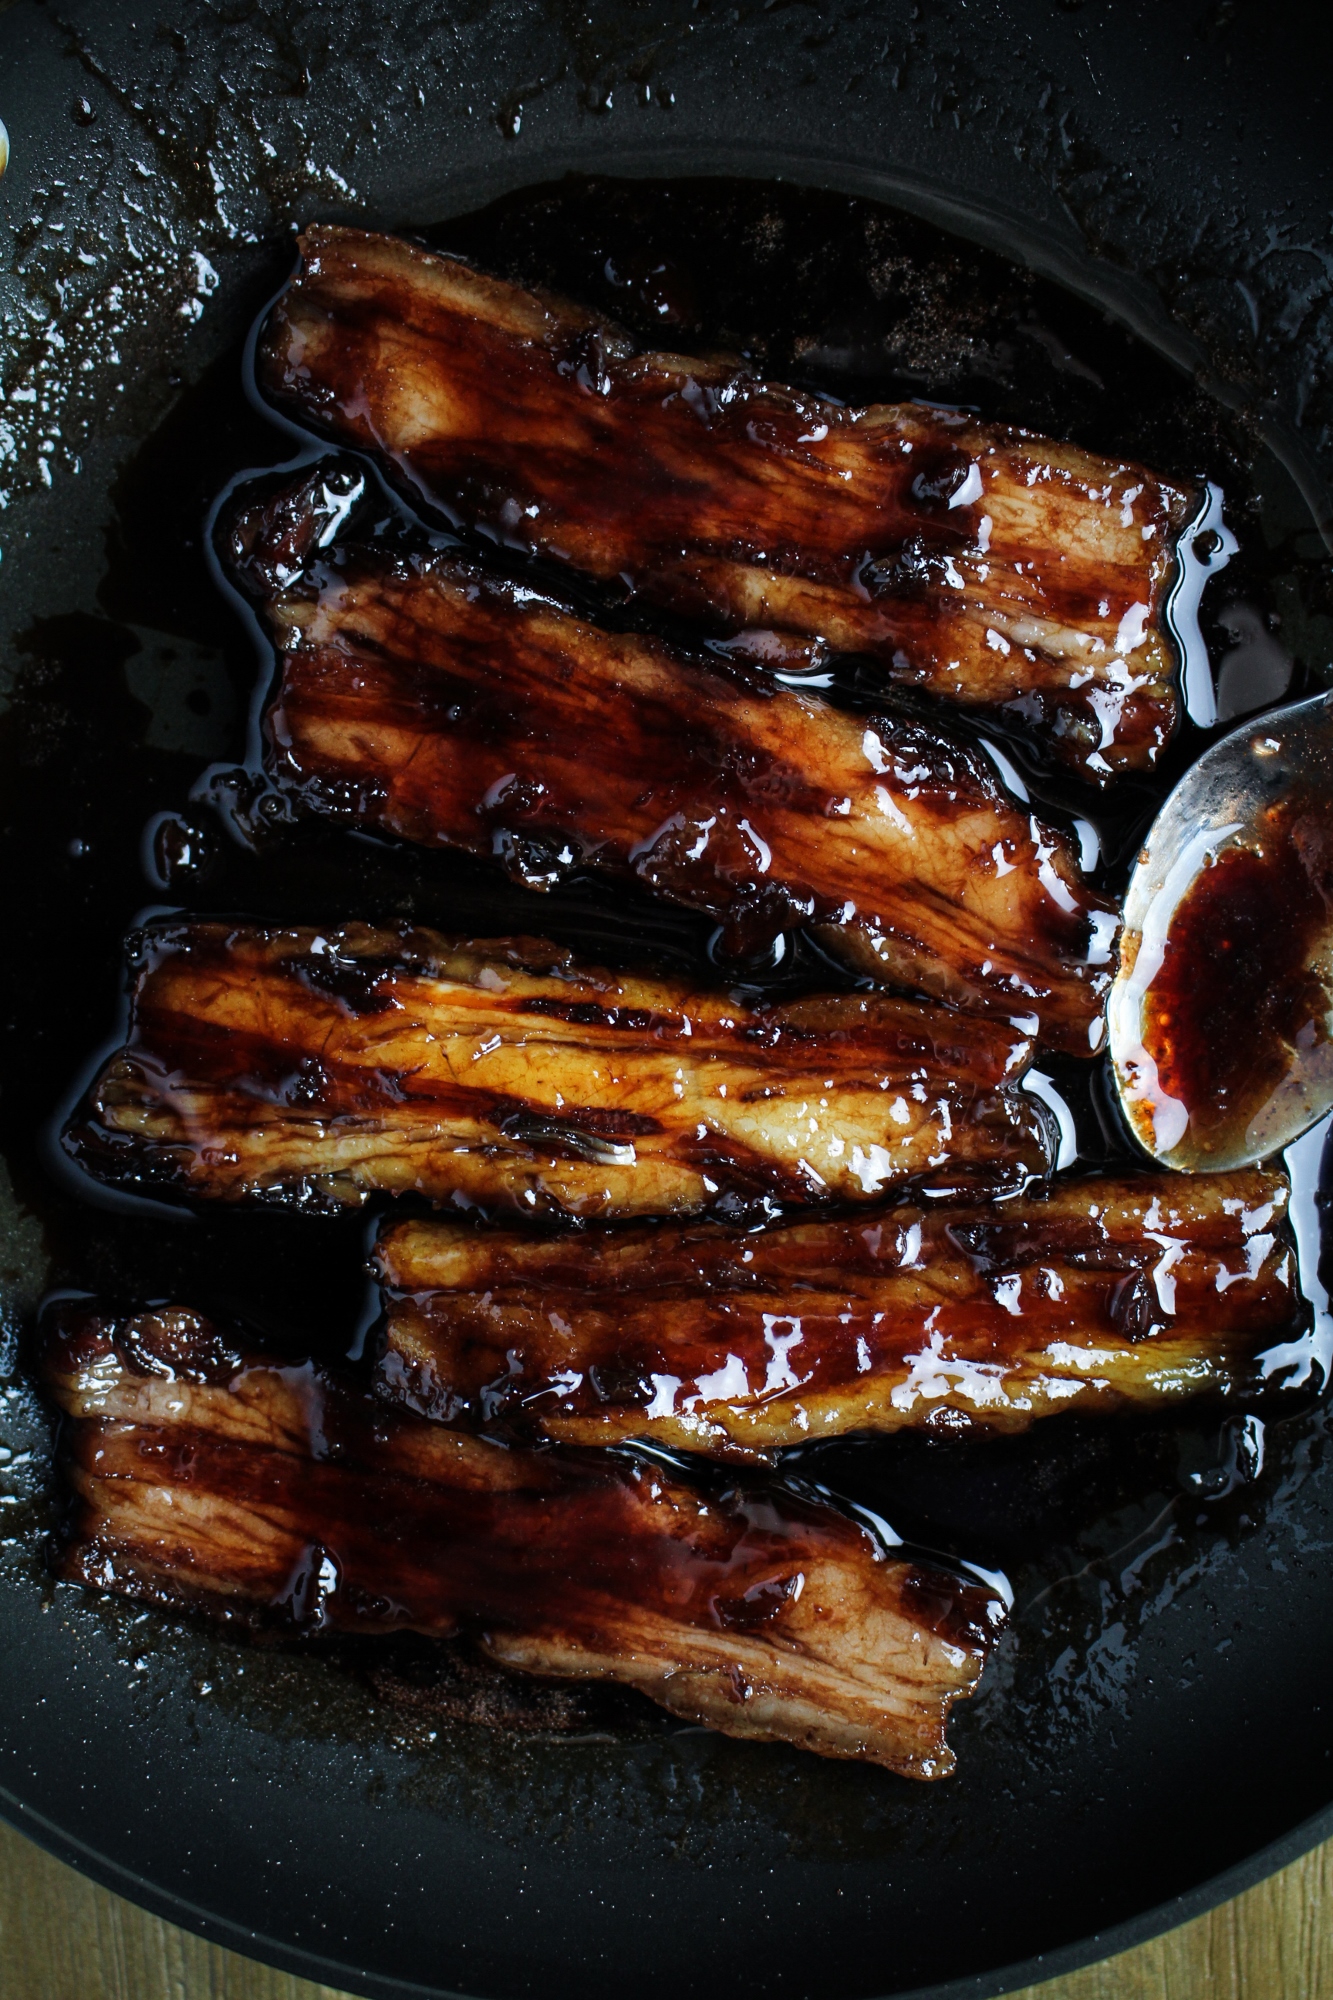
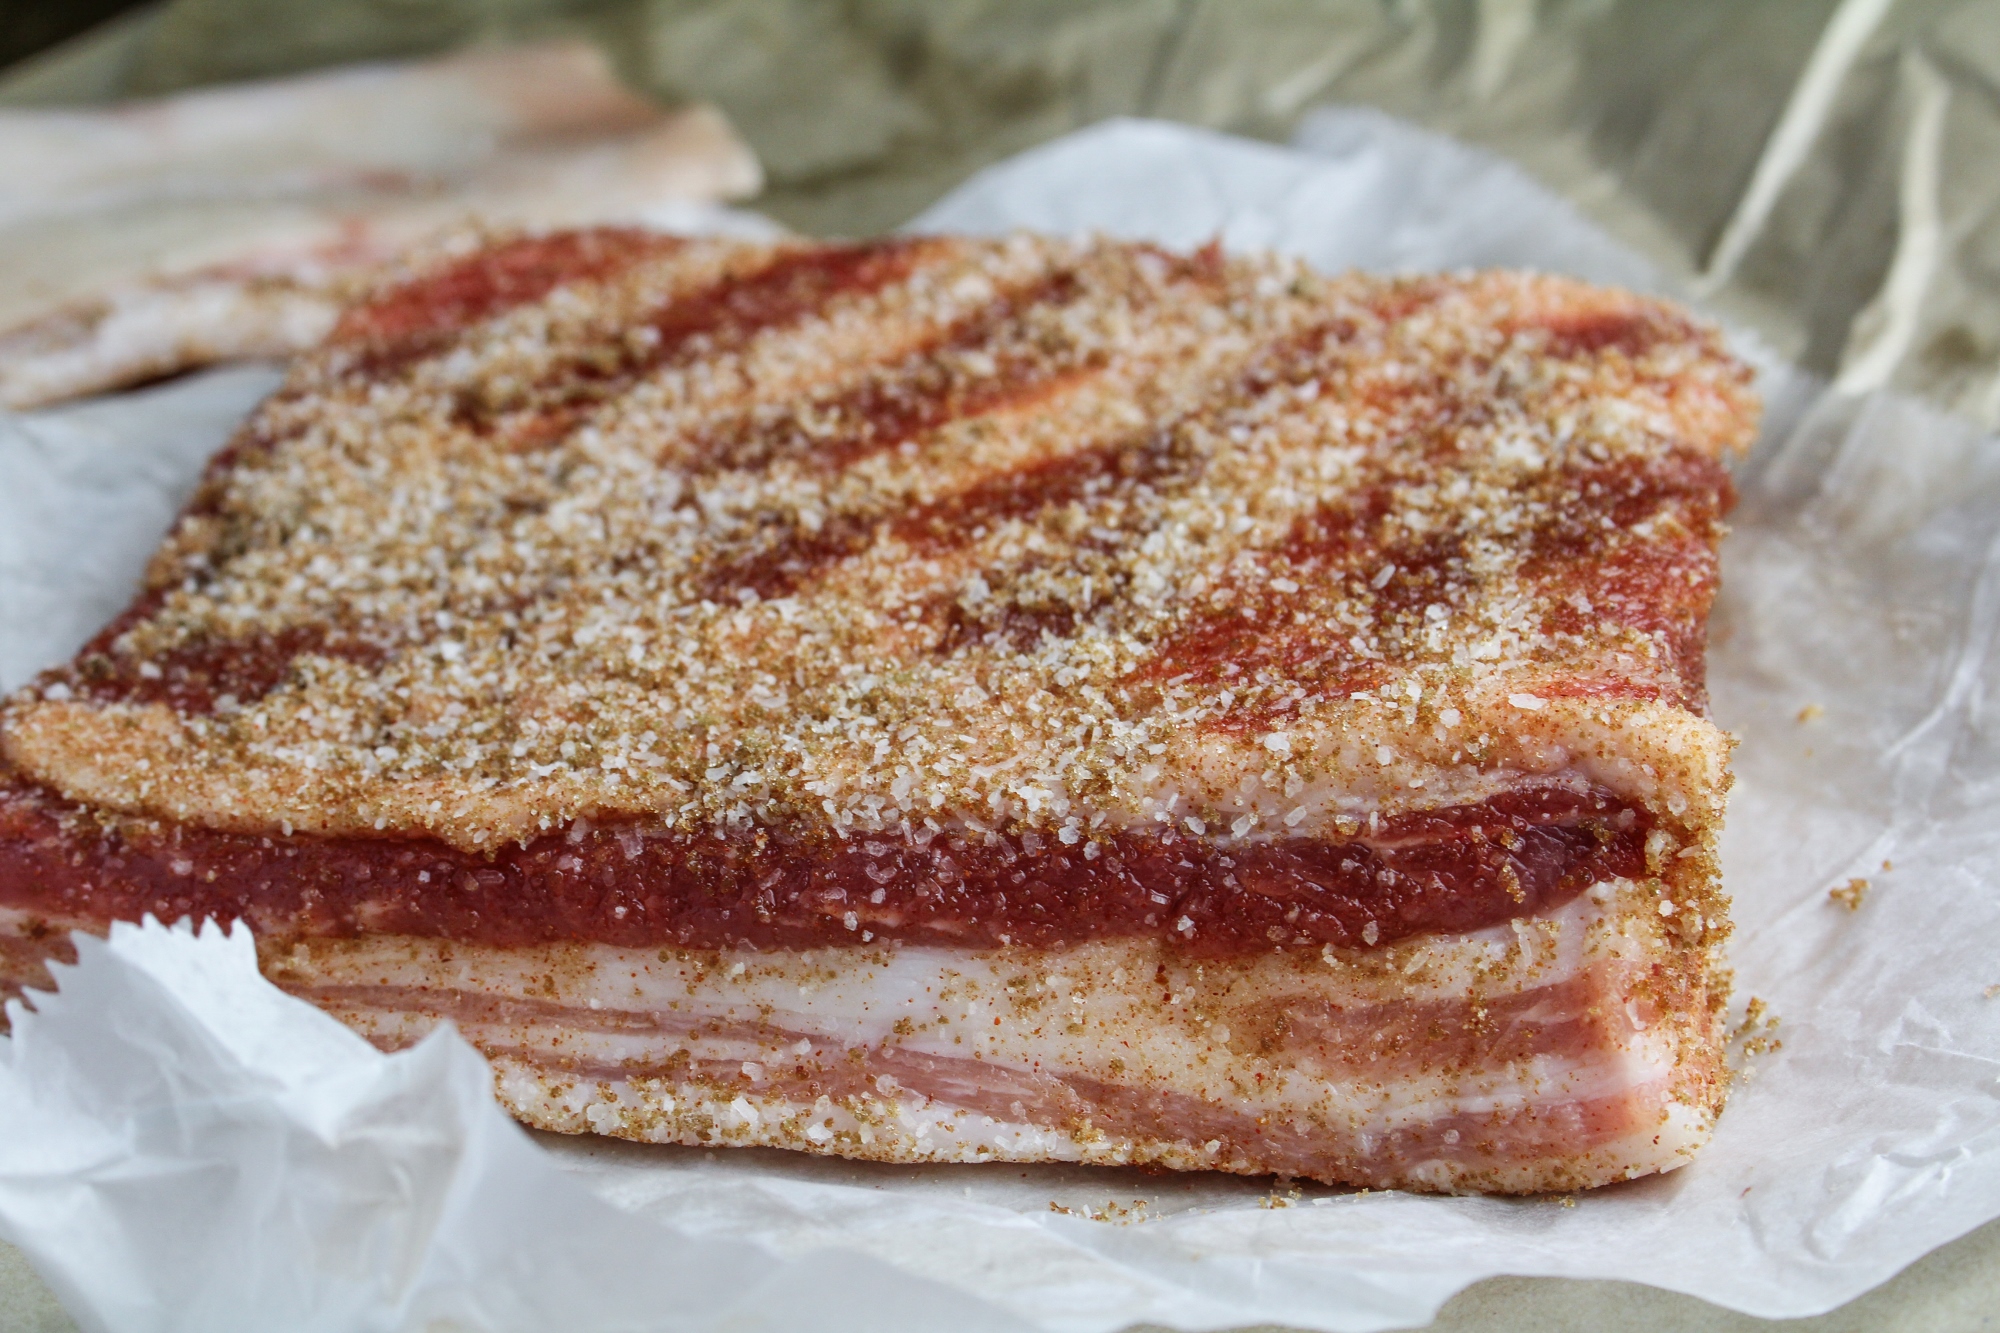
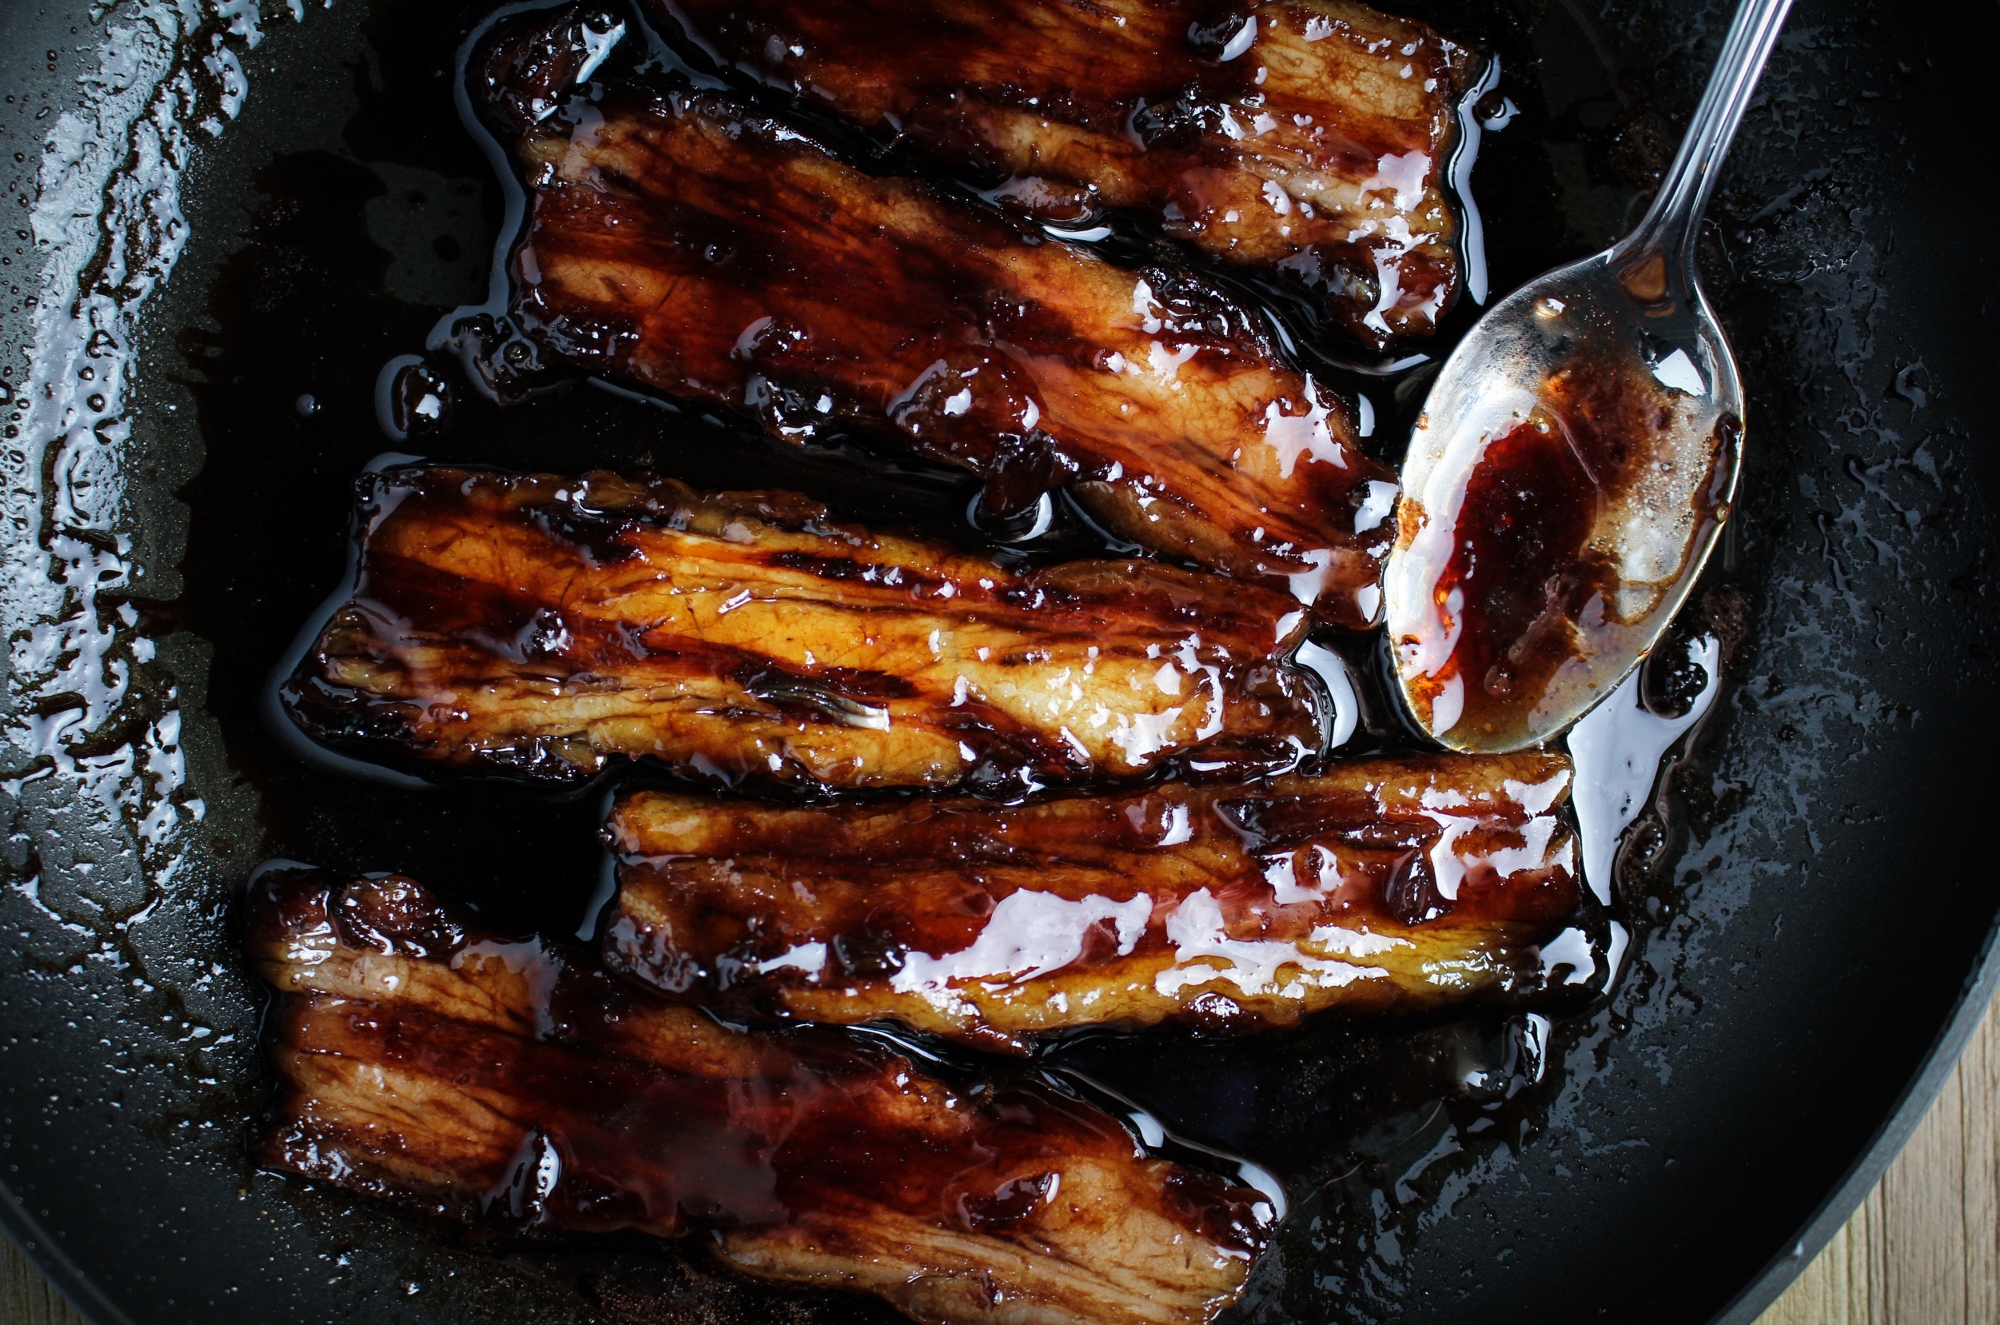
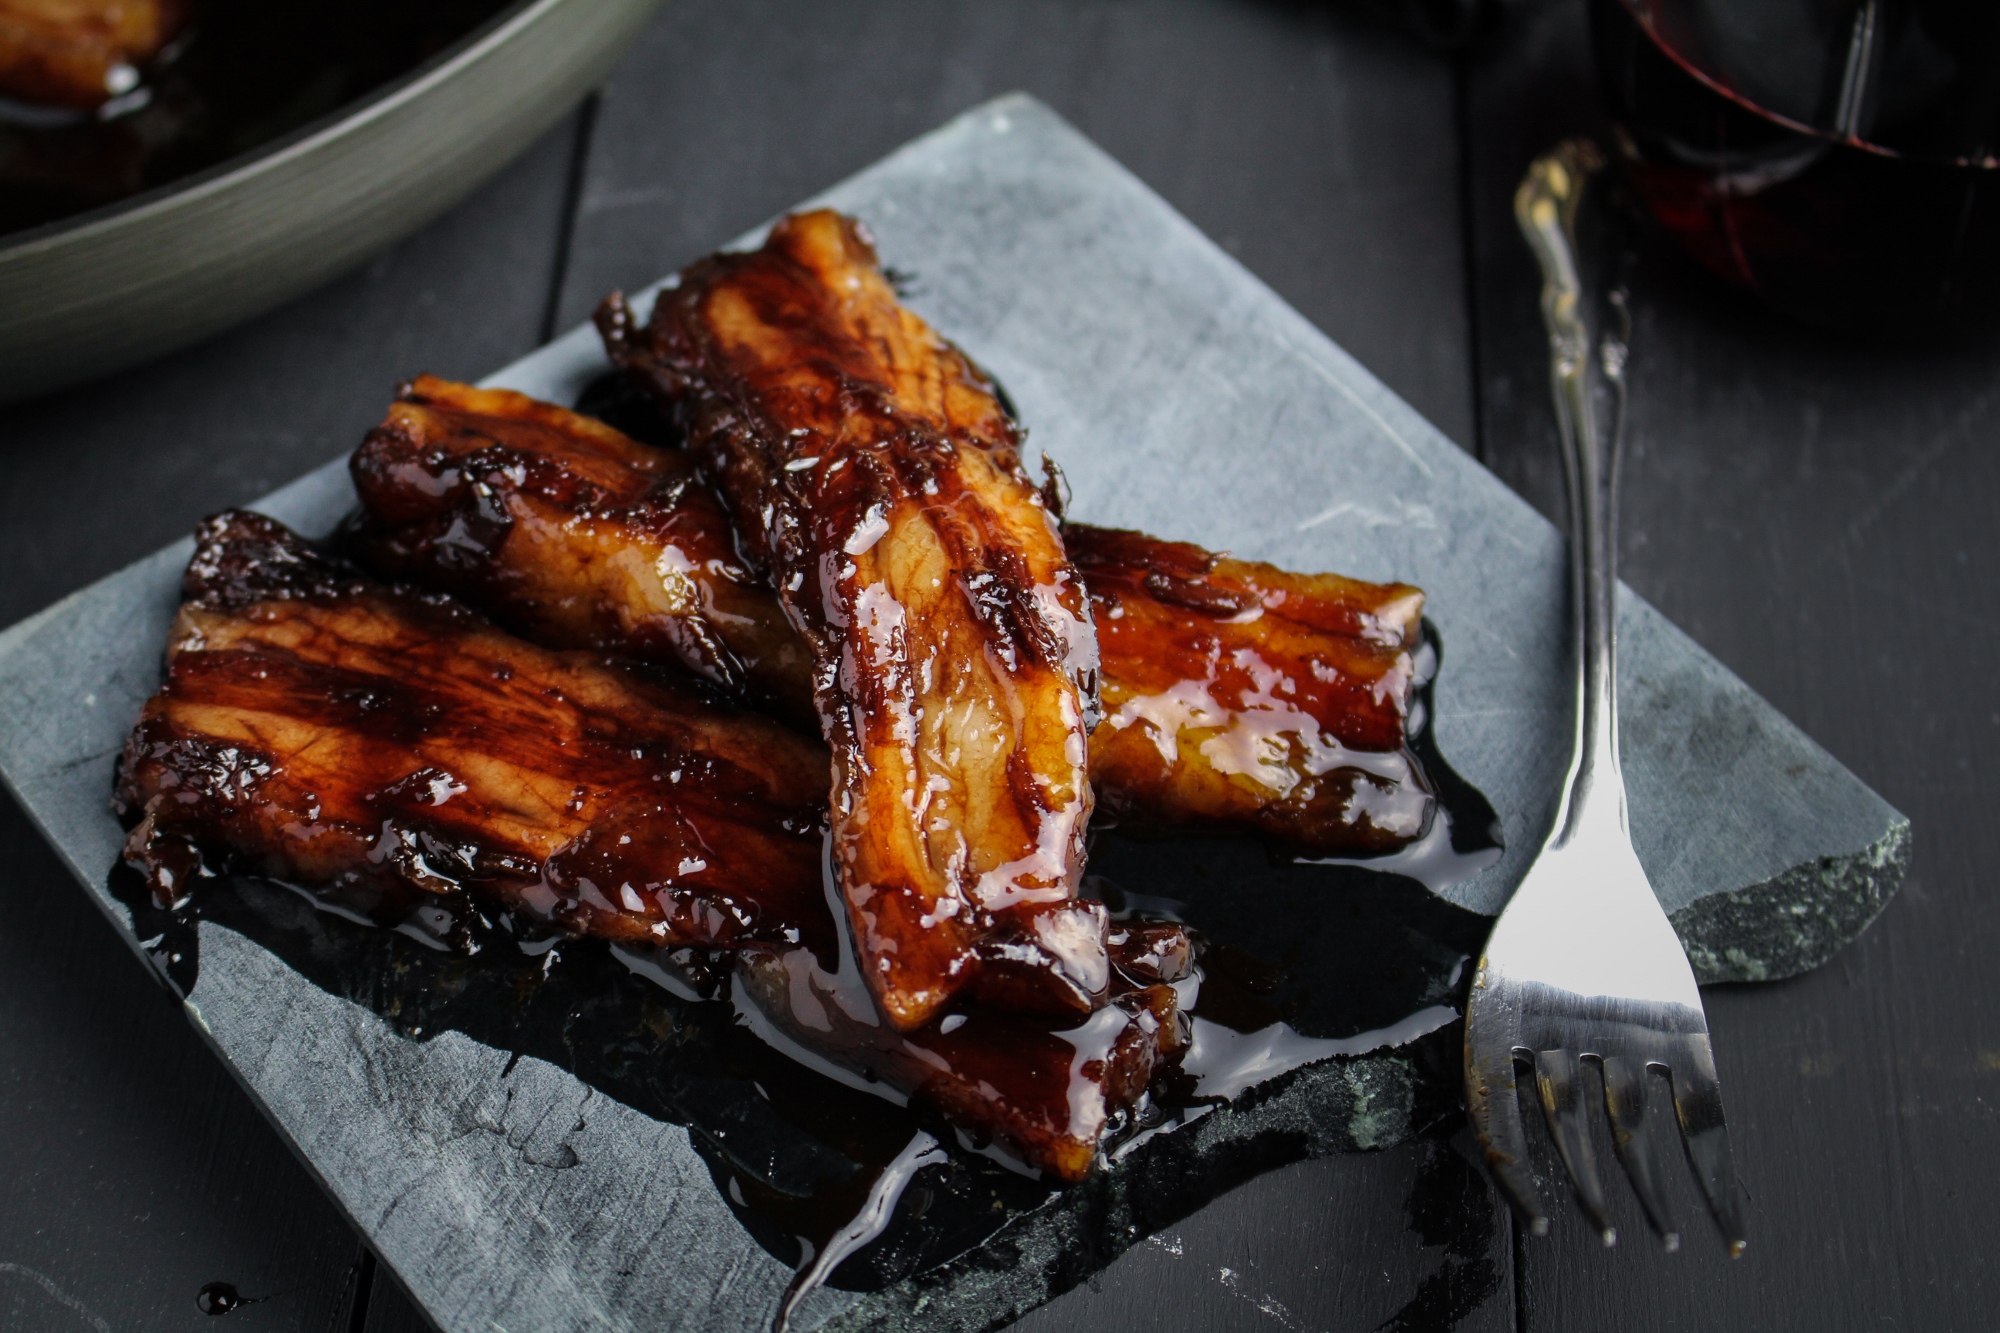
- Red Wine Caramelized Pork Belly
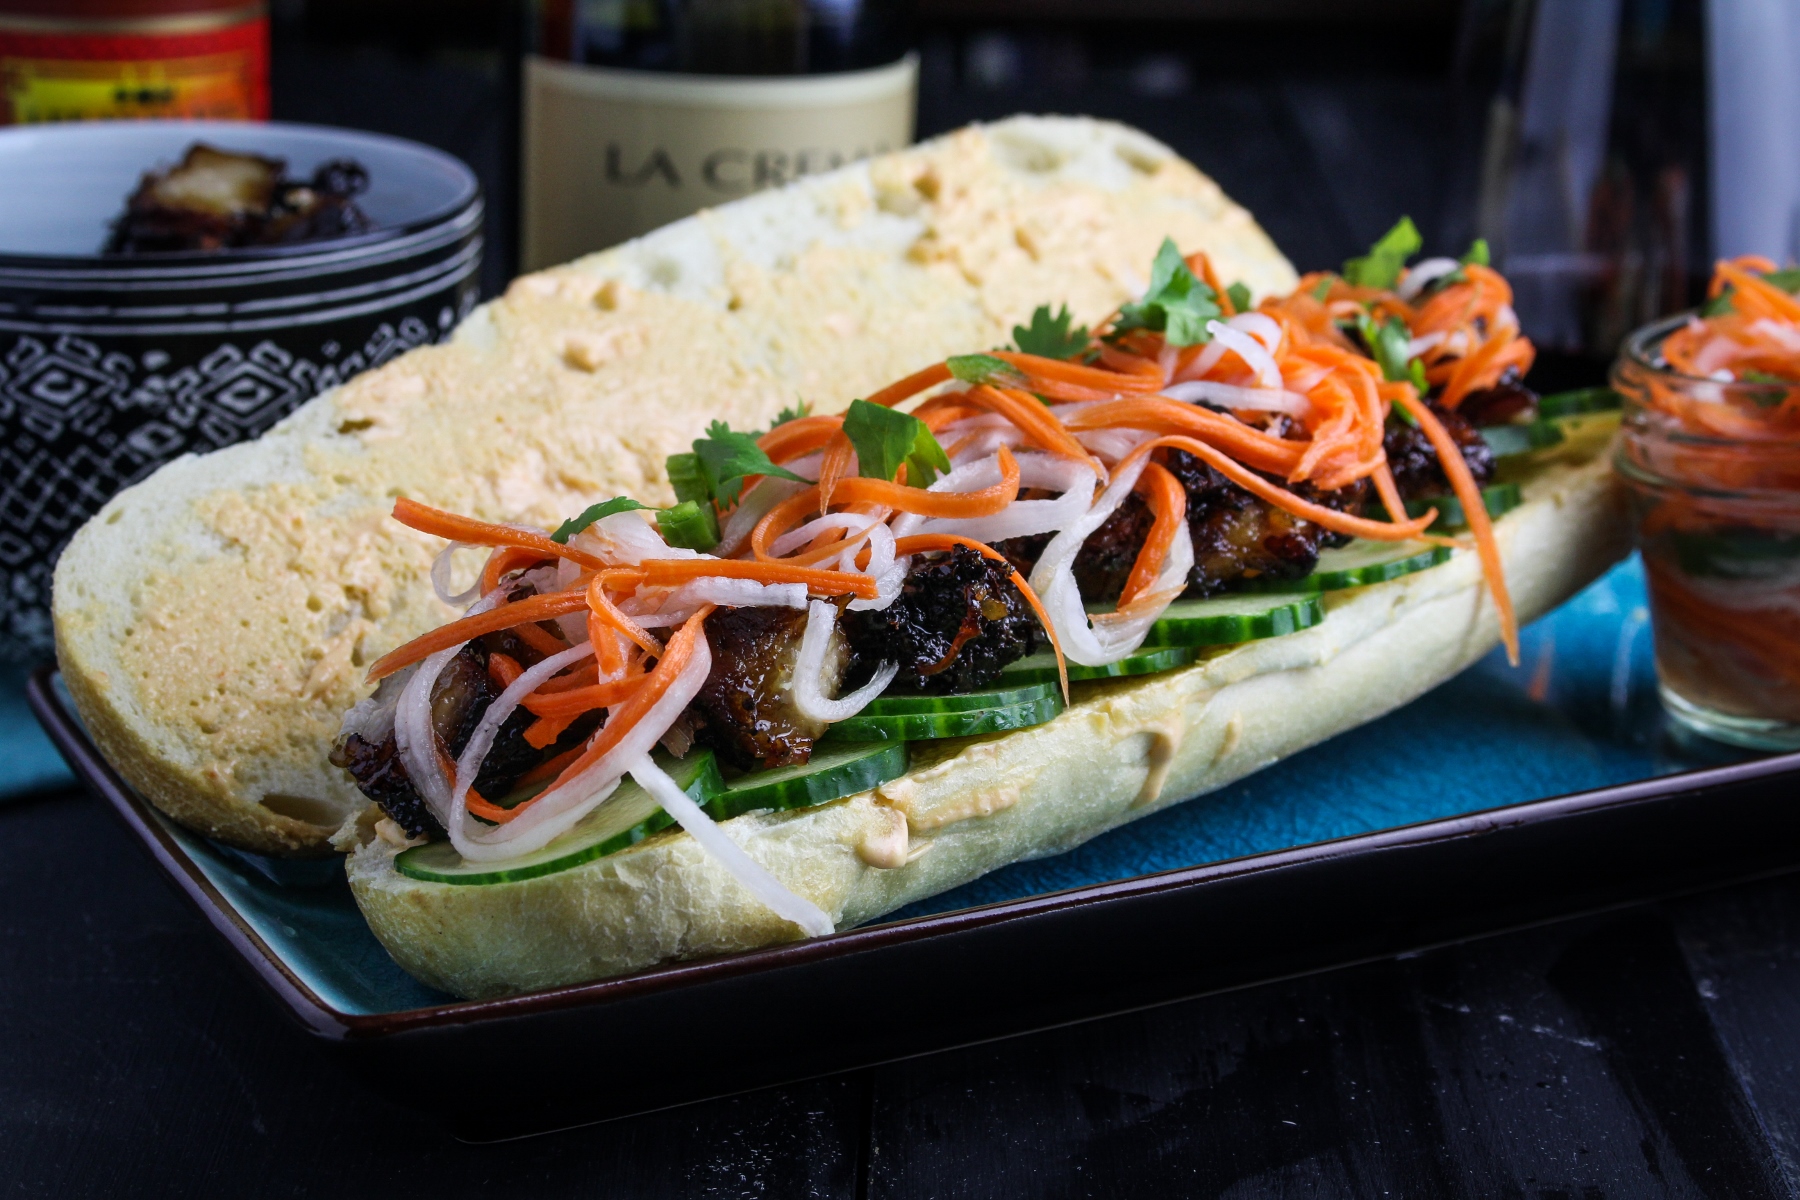
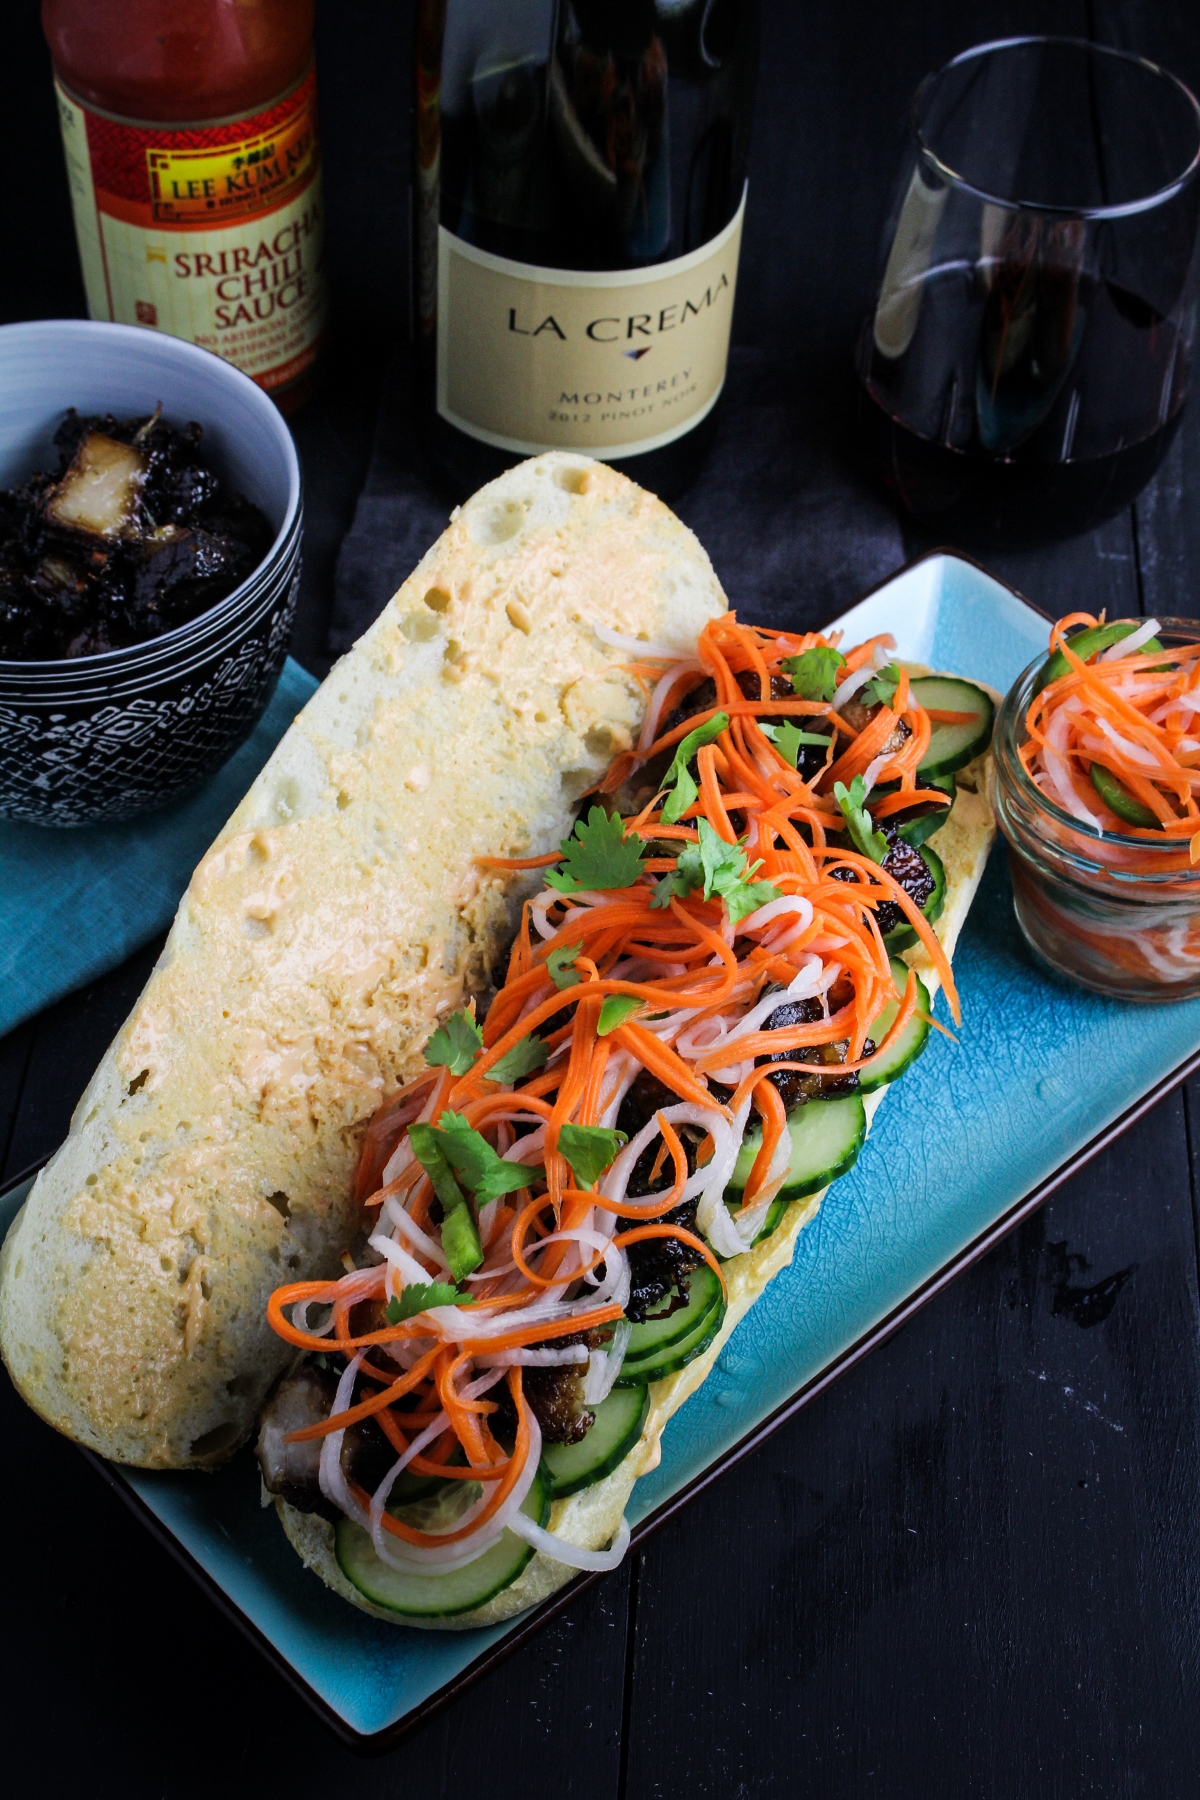
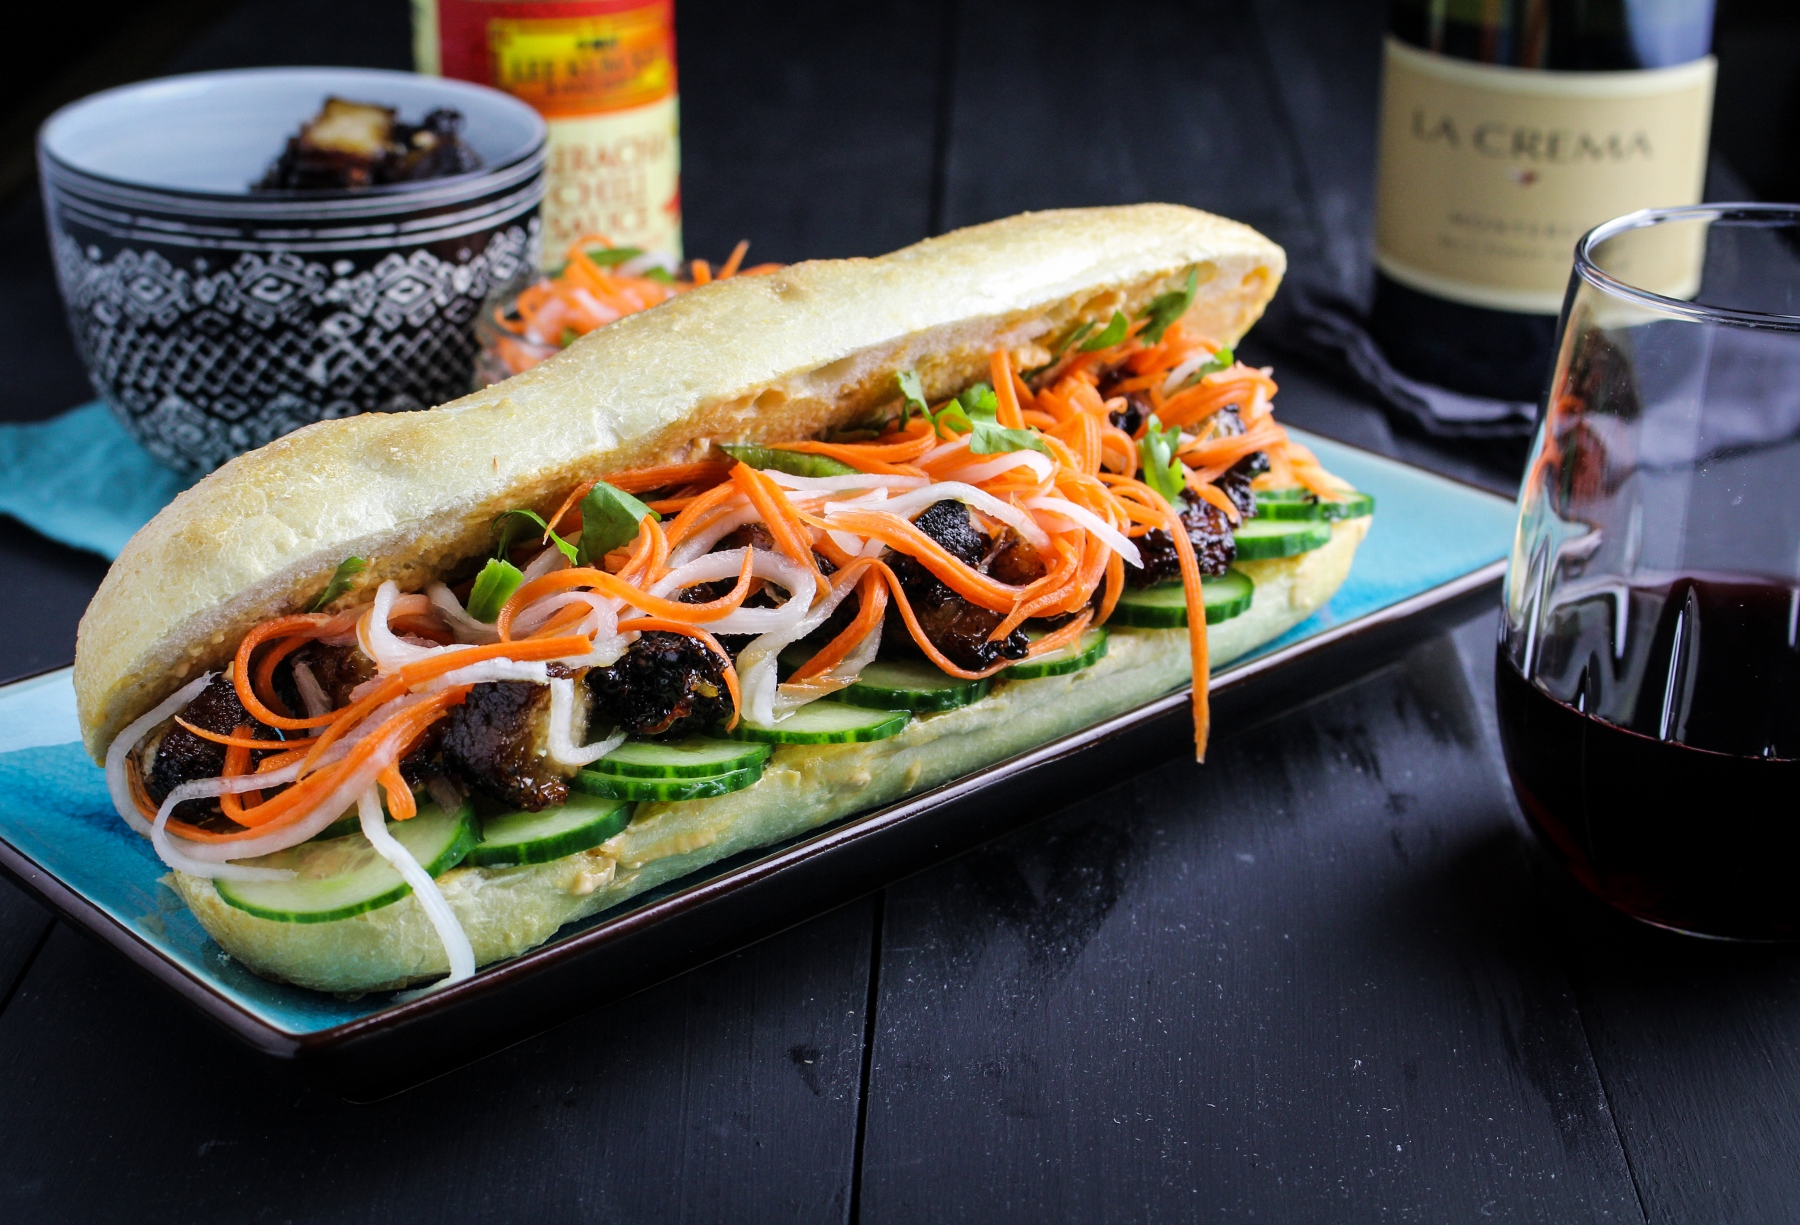
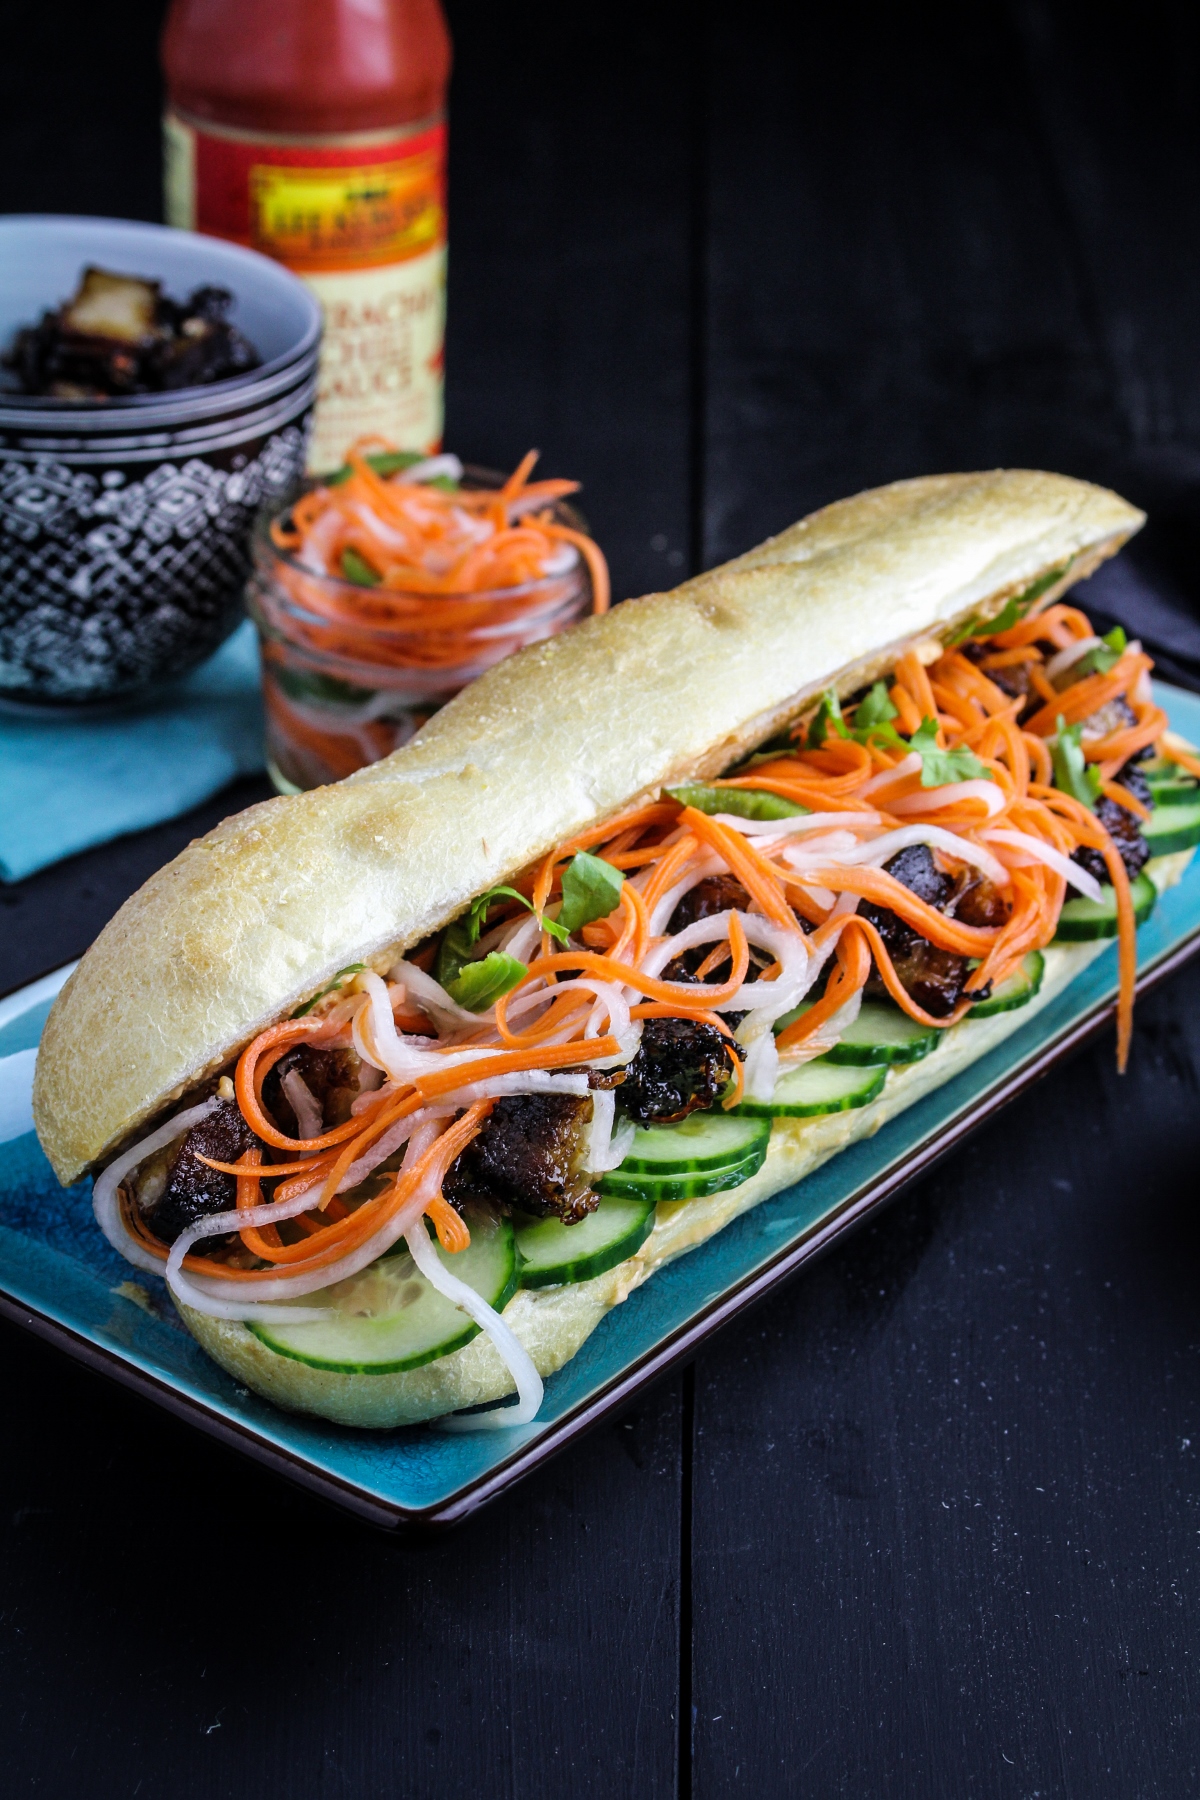
- Pork Belly Banh Mi Sandwiches
Like what you just read? Subscribe to Katie at the Kitchen Door on Feedly or Bloglovin‘, or follow along on Facebook, Twitter, Pinterest, Instagram, or Google+. Thanks for reading!
This is a sponsored conversation written by me on behalf of La Crema. The opinions and text are all mine.