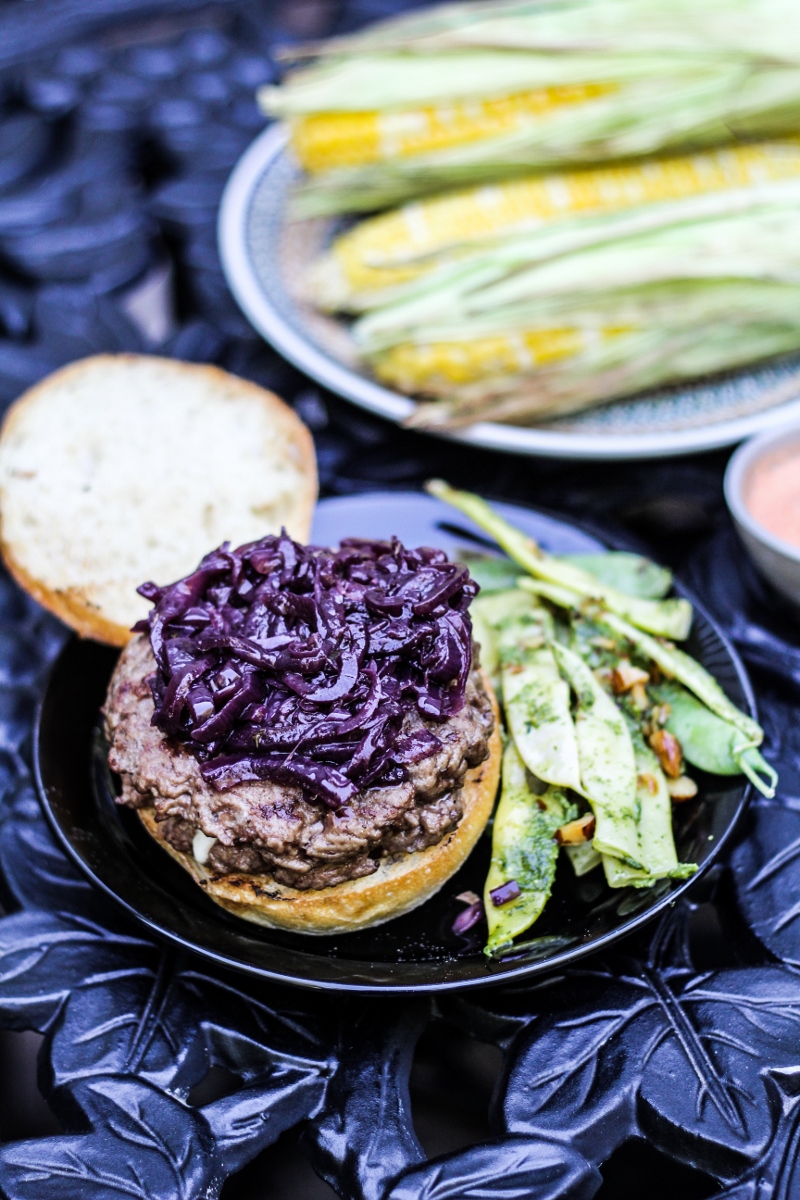
 Live Fire is a cookbook that I’ve had sitting somewhat forlornly on my bedside table all summer, begging me to cook from it. It’s a book about grilling, but not just grilling – it’s about cooking with fire in all its forms. As I’ve mentioned, grilling, or any live flame cooking is not my area of expertise, and I even included learning to do it on my summer bucket list for the second year in a row this year, which is precisely why Live Fire was so enticing to me. But between moving (to a house without a grill), ballet camp, and spending most of July and August away from home, I hadn’t had a chance to cook from it at all. So two days before my third trip to Russia (where I am right now), Trevor and I combined our weekly garden trip with a little cookout on my parents’ grill, and I finally got a chance to test out this book.
To be honest, the design and message of this book are a little intense for my taste – it’s a large book, with big blocky text and “aged” paper, trying maybe a little too hard to be not-feminine. And while I think it would be completely awesome to roast an entire lamb on an iron cross or a 20 lb. turkey on a spitjack, I just don’t think that I’m going to pull that off in the tiny, grass-less yard of my new apartment (but if you think you might want to do that, or throw other show-stopping meat-centric events, then this is the book for you). But there are things that I like a lot about this book – Michael’s clear passion for cooking with fire that comes through on every page; how informative it is, especially for a grilling/fire newbie/scaredy-cat like me; and how personal and infused with love and memories the book is.
The book is broken up into seven sections by cooking method – grill, hearth, plancha, fire pit, hot box, rotisserie and embers. Obviously some of these methods are more accessible to home cooks than others, but I like that it pushes the envelope on what’s achievable in your own kitchen or yard (or even fireplace). Many of the recipes in these sections list alternative methods for preparing the same foods in your oven or on your stovetop, which on one hand kind of defeats the point, but on the other hand lets you see how versatile your grill can be (cooking pasta on the grill? Yep!). Some of the recipes are part of big menus, like the harvest dinner, the burger bash, and the backyard camping breakfast, but others stand-alone. High on my list? The Lemon-Garlic Chicken with Kalamata Tapenade Cooked Under a Brick, the Salt-Baked Potatoes with Mascarpone and Prosciutto Bits, the S’Mores with Espresso Marshmallows, and the Grilled Zinfandel Sangria.
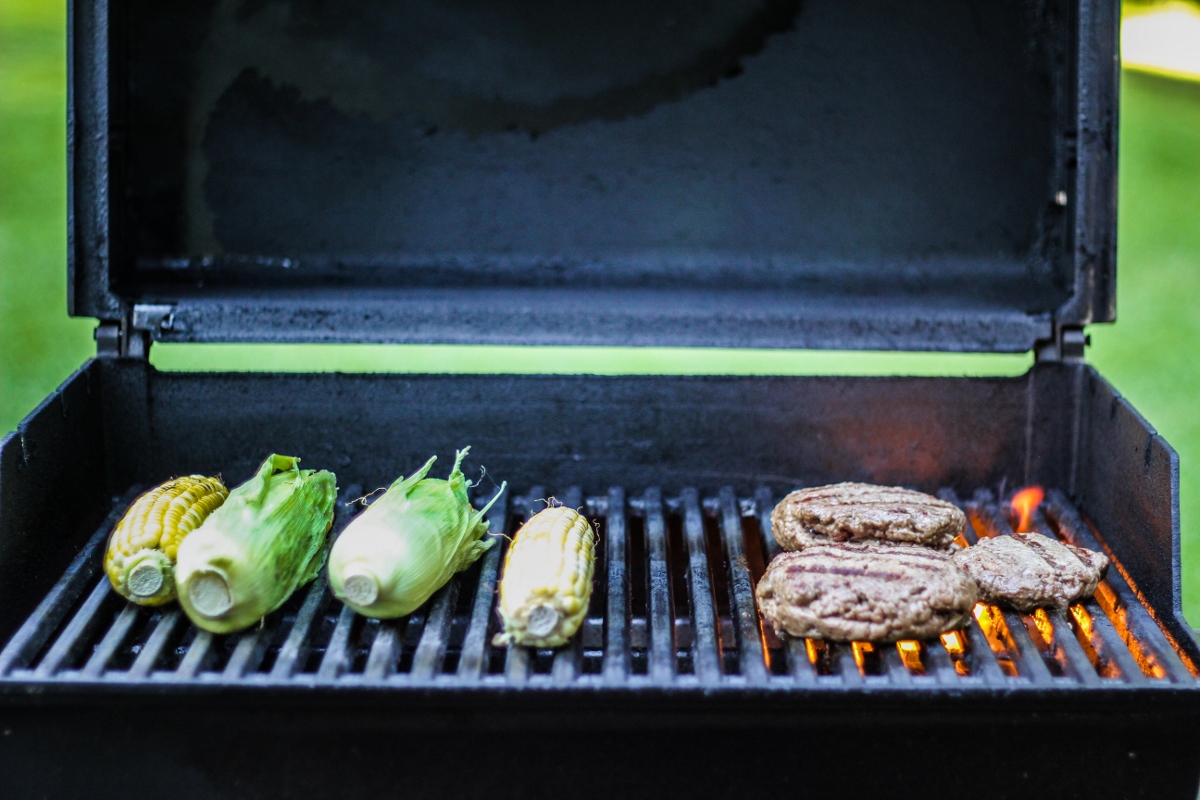
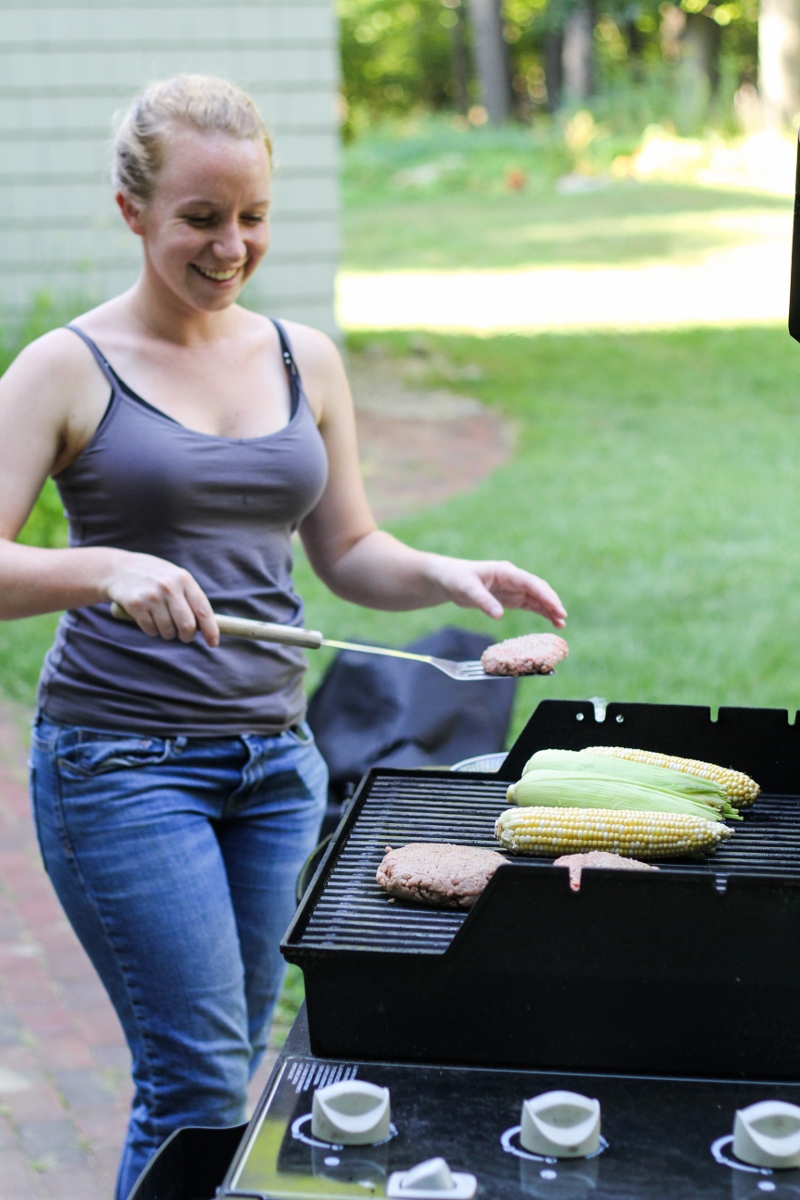
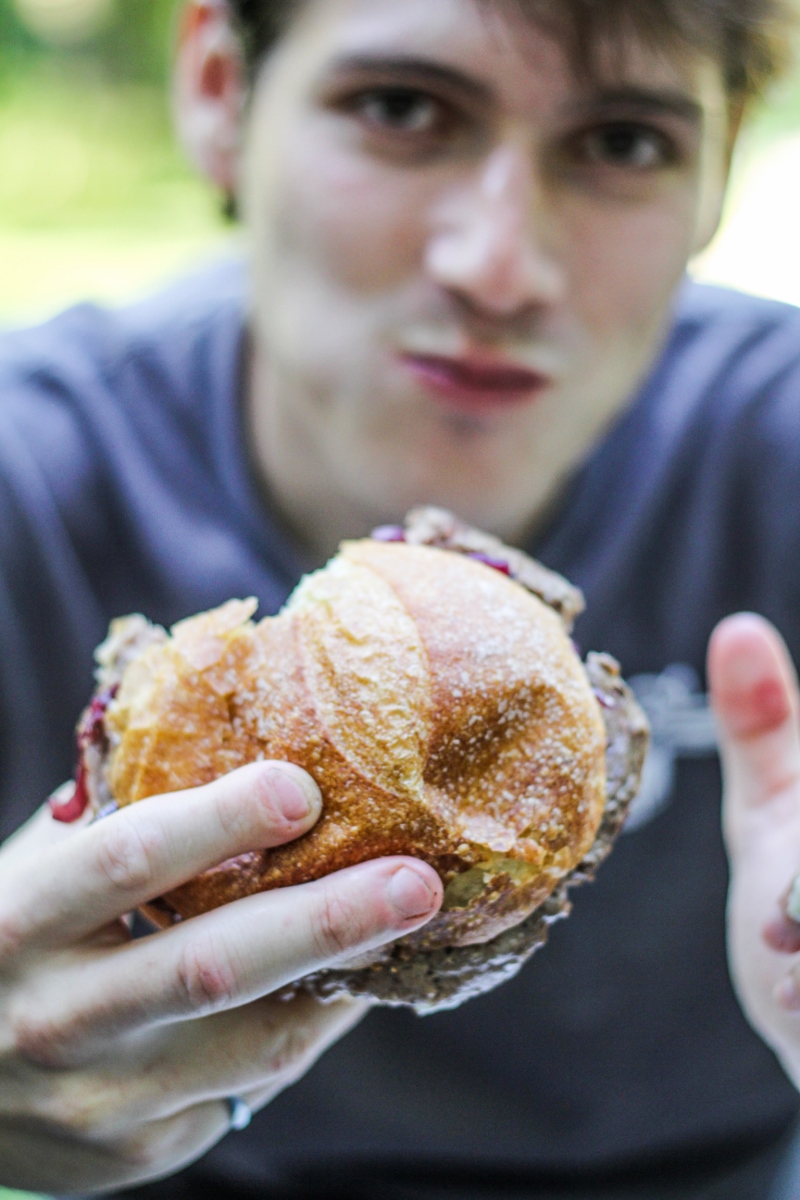
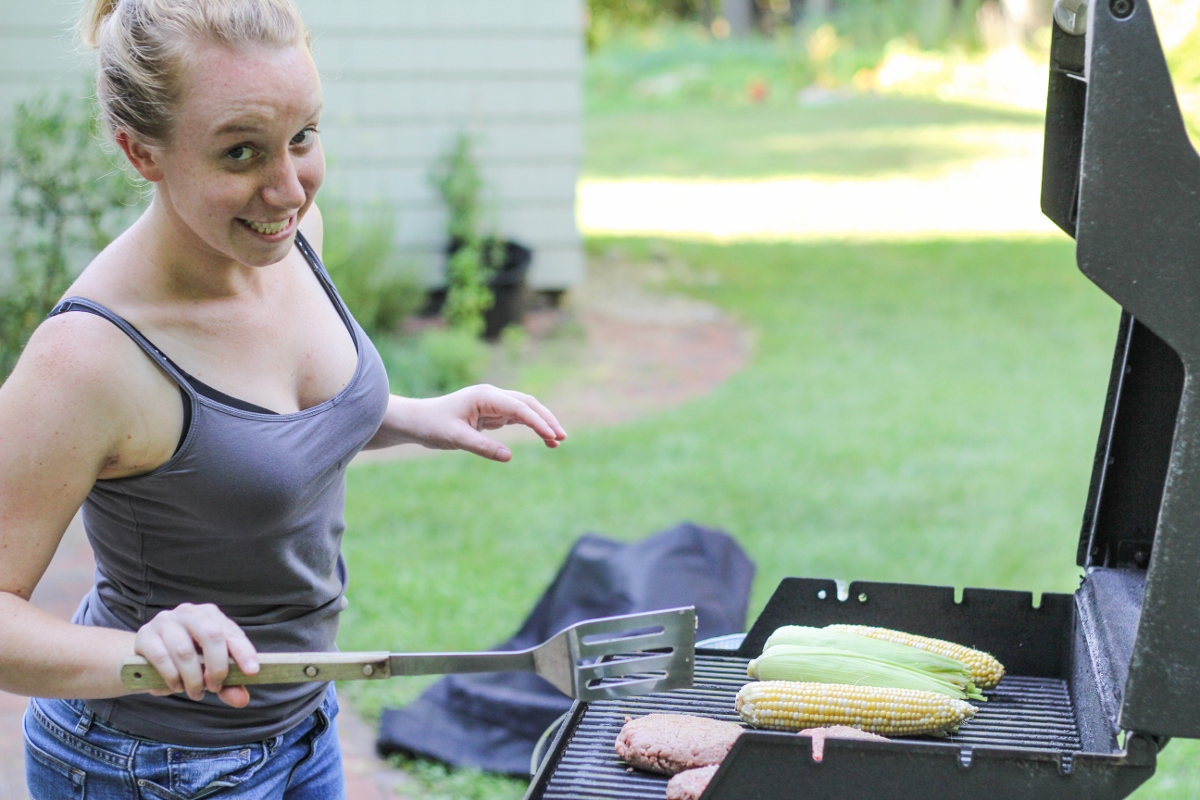
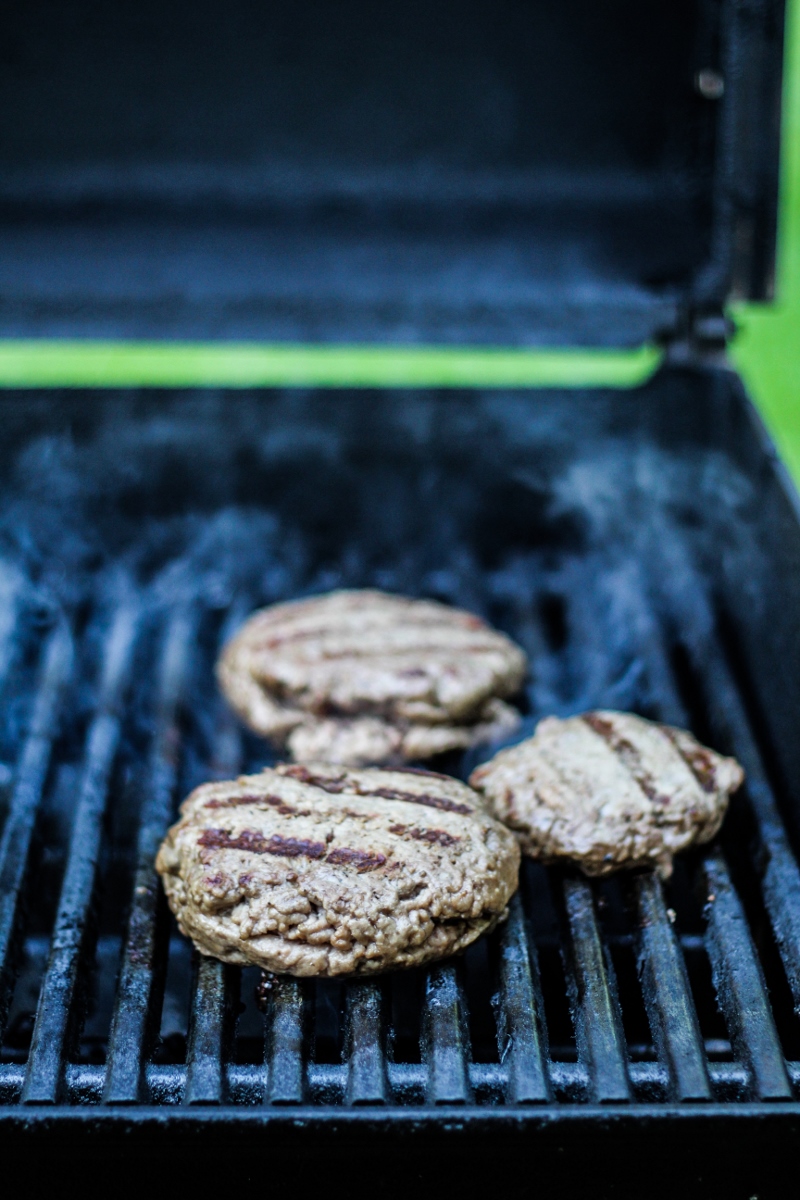
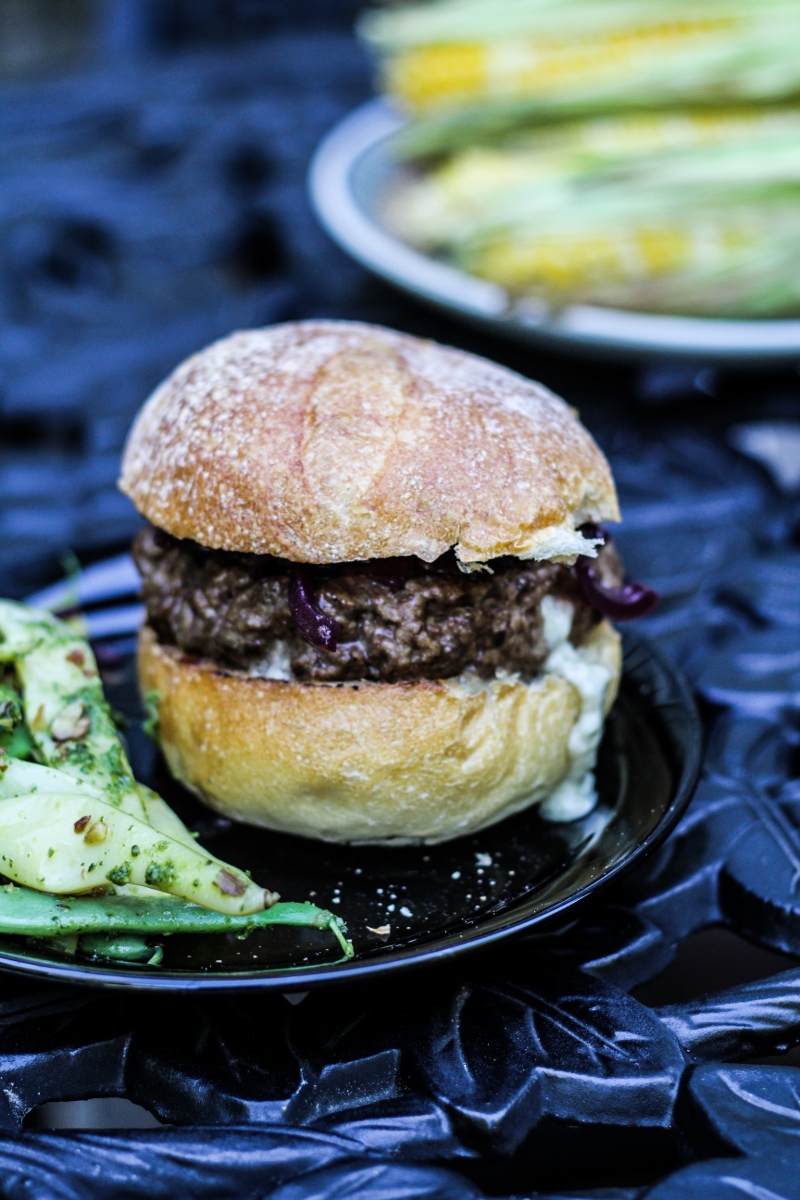
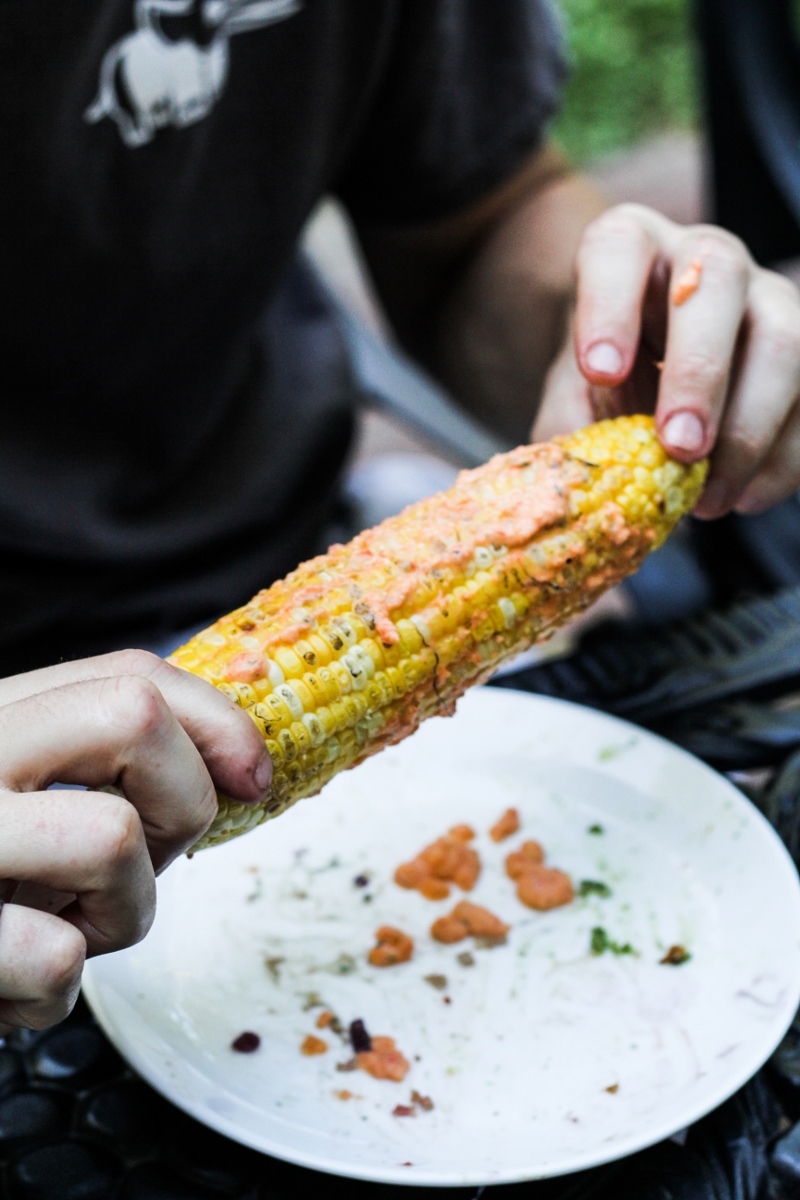
And the recipes I’ve already tried? Blue-Cheese Stuffed Burgers with Red Onion Marmalade and Grilled Corn on the Cob with Roasted Red-Pepper Butter. Both were a success – there’s nothing like a big, juicy burger with molten blue cheese oozing out of the middle, at least in my book. But for me, more important than the success of the flavors was the success of the process. I lit the grill, by myself. I prepped the burgers, by myself. I cooked the burgers, by myself, (OK, with Trevor’s supervision), and I didn’t even drop them when I flipped them. These sound like small accomplishments, but I get super nervous around the grill (fire, gas, burns, explosions…), and squeamish about cooking meat via any method other than braising it for hours and hours, so I was pretty proud of myself. And I’m grateful to Live Fire for enticing me to just get out there and do it.
- 2 medium red onions
- 1/4 c. olive oil
- 1/2 tsp sea salt
- 1/4 tsp freshly ground black pepper
- 2 tsp finely chopped fresh thyme
- 2 c. zinfandel, or other red wine
- 3 pounds ground chuck
- 3/4 c. crumbled blue cheese
- coarse sea salt and pepper to season burgers
- 6 sourdough rolls, cut in half
- To make the marmalade: peel the onions, then slice in half end-to-end. Slice into thin half moons. Heat the olive oil in a wide saucepan over medium heat. Add the onions, salt, and pepper, and cook, stirring occasionally, until the onions are soft and beginning to caramelize, about 10 minutes. Add the chopped thyme and cook one minute longer, then pour in the wine and cook util the sauce has reduced by about two-thirds, about 5 minutes longer. Remove from the heat and let cool while you prepared the burgers. (Can also be made in advance and refrigerated until ready to serve).
- To prepare the grill: Turn a gas grill to high or ignite charcoal. When the grill is hot, clean the rack with a grill brush. Decrease the temperature to medium high.
- To make the burgers: Shape the ground beef into 12 thin patties about 4 inches wide and 1/4 to 1/2 inch thick. Set aside 6 patties as your “top” patties, and 6 patties as the “bottom” patties. Spoon 2 TBS of the blue cheese on top of each of the 6 bottom patties, leaving 1/2 inch around the edge of the patty free of cheese. Lightly cover the bottom patties with the top patties, and gently press the edges together to seal. Season both sides of the burgers with sea salt and freshly ground black pepper.
- Grill the burgers for 5-6 minutes per side with the lid of the grill closed. Two minutes before the burgers are done, add the buns, cut side down, to the grill rack to toast. Serve the burgers on the toasted buns with the red onion marmalade.
Grilled Corn on the Cob with Red Pepper Butter
- 3 medium red bell peppers, roasted and peeled
- 2 tsp olive oil
- 2 tsp minced garlic
- 2 tsp chopped fresh oregano
- 1 tsp balsamic vinegar
- 1 tsp coarse sea salt
- 1/8 tsp freshly ground black pepper
- 2 sticks unsalted butter, softened
- 8 ears fresh corn, in their husks
- Coarsely chop the roasted red peppers and place in a food processor. Heat the olive oil in a small saute pan over medium heat, then add the minced garlic and saute for 1-2 minutes, until fragrant and just barely colored. Remove from the heat and stir in the oregano.
- Add the vinegar, sea salt, and pepper to the food processor with the red peppers, and pulse until smooth. Pour in the warm garlic-olive oil, and pulse a few times to blend. Add the softened butter, and process until the mixture is smooth with a consistent color. Refrigerate the red pepper until ready to use. If desired, roll into a log once it’s chilled and wrap in tin-foil.
- Prepare the corn: pull out all the corn silk from the ears without removing the husks. To do this, pull the husks down the corn without removing them, then tug the corn silks out and discard. Smooth the husks back over the corn. Soak the corn in cold water (easiest in a bucket), for 15-30 minutes before putting over the fire.
- Start your grill and set to medium-high. Place the corn on the grill and grill, turning occasionally, until the husks are brown and slightly charred, about 10-15 minutes. Test one ear to see if it’s done inside. Serve with the red pepper butter.

holy amazing! every picture is impeccable! hats off to the photographer!
Well, thanks! That would mostly be me, but I guess I’ll let Trevor have the credit for the ones where I’m the subject :-)
Haha! Great job to you both!
I love your pictures :)