In the spirit of daydreaming about farming and all things homemade, Trevor and I have been dabbling in cheesemaking recently. I’d love to say that it’s as simple as following a recipe and that we were pretty much ready to run out and buy a cow, but making cheese is hard. It’s more science than cooking. Very precise science. Like, whip out your digital thermometer and pH-meter precise science. Still, despite a few less-than-delicious final products, it’s been really cool to watch a pot of milk turn into something very closely resembling cheese, and hopefully we’ll only get better at it.
The first time we attempted to make cheese was actually almost two years ago, while living in Durham. We’d seen a bunch of recipes for “easy” mozzarella – no cultures, just junket tablets and lemon juice. We grabbed a thermometer from Kroger and gave it a shot. The result was not mozzarella cheese. It was sort of a crumbly, lemony, curdy mass resembling cottage cheese. It did not stretch. It did not melt. It did not look, taste, or smell like mozzarella cheese. Apparently, there are plenty of people around the internet that managed to get this recipe to work, but we were not those people. In hindsight, the recipe used so many shortcuts that it surprises me it even changed from it’s original milky state to anything else.
These days we’re a little bit more high tech, but still not quite ready to turn into full time fromagiers. We now work from recipes in a book called Artisan Cheese Making at Home, which is a fantastic book. It’s the perfect balance of technical and descriptive – with charts of cultures, troubleshooting tips, and mold types, and detailed instructions for all the cheeses you find regularly (cheddars, chevre, jack, parmesan, mozzarella) and a few more exotic cheeses (crescenza, brie, o’banon, and many more). There are also tips and sidebars for variations on cheeses, like a cocoa-rubbed jack cheese and a brew-curds cheddar. The instructions are long, and we typically have to read each recipe several times both before and during the process to get it all down. Thankfully, whenever we come up with a question part way through a recipe – like: how do we actually wax a cheese? What exactly is annatto and why does it say optional? How does one prepare a grape leaf so that it’s suitable for cheese-wrapping? – there’s always a section devoted to answering that specific question. Of minimal importance when it comes to cheesemaking (but a nice bonus), the book is beautifully presented, with great photographs and clear prose. I highly recommend it if you’re looking to getting into the whole cheesemaking thing.
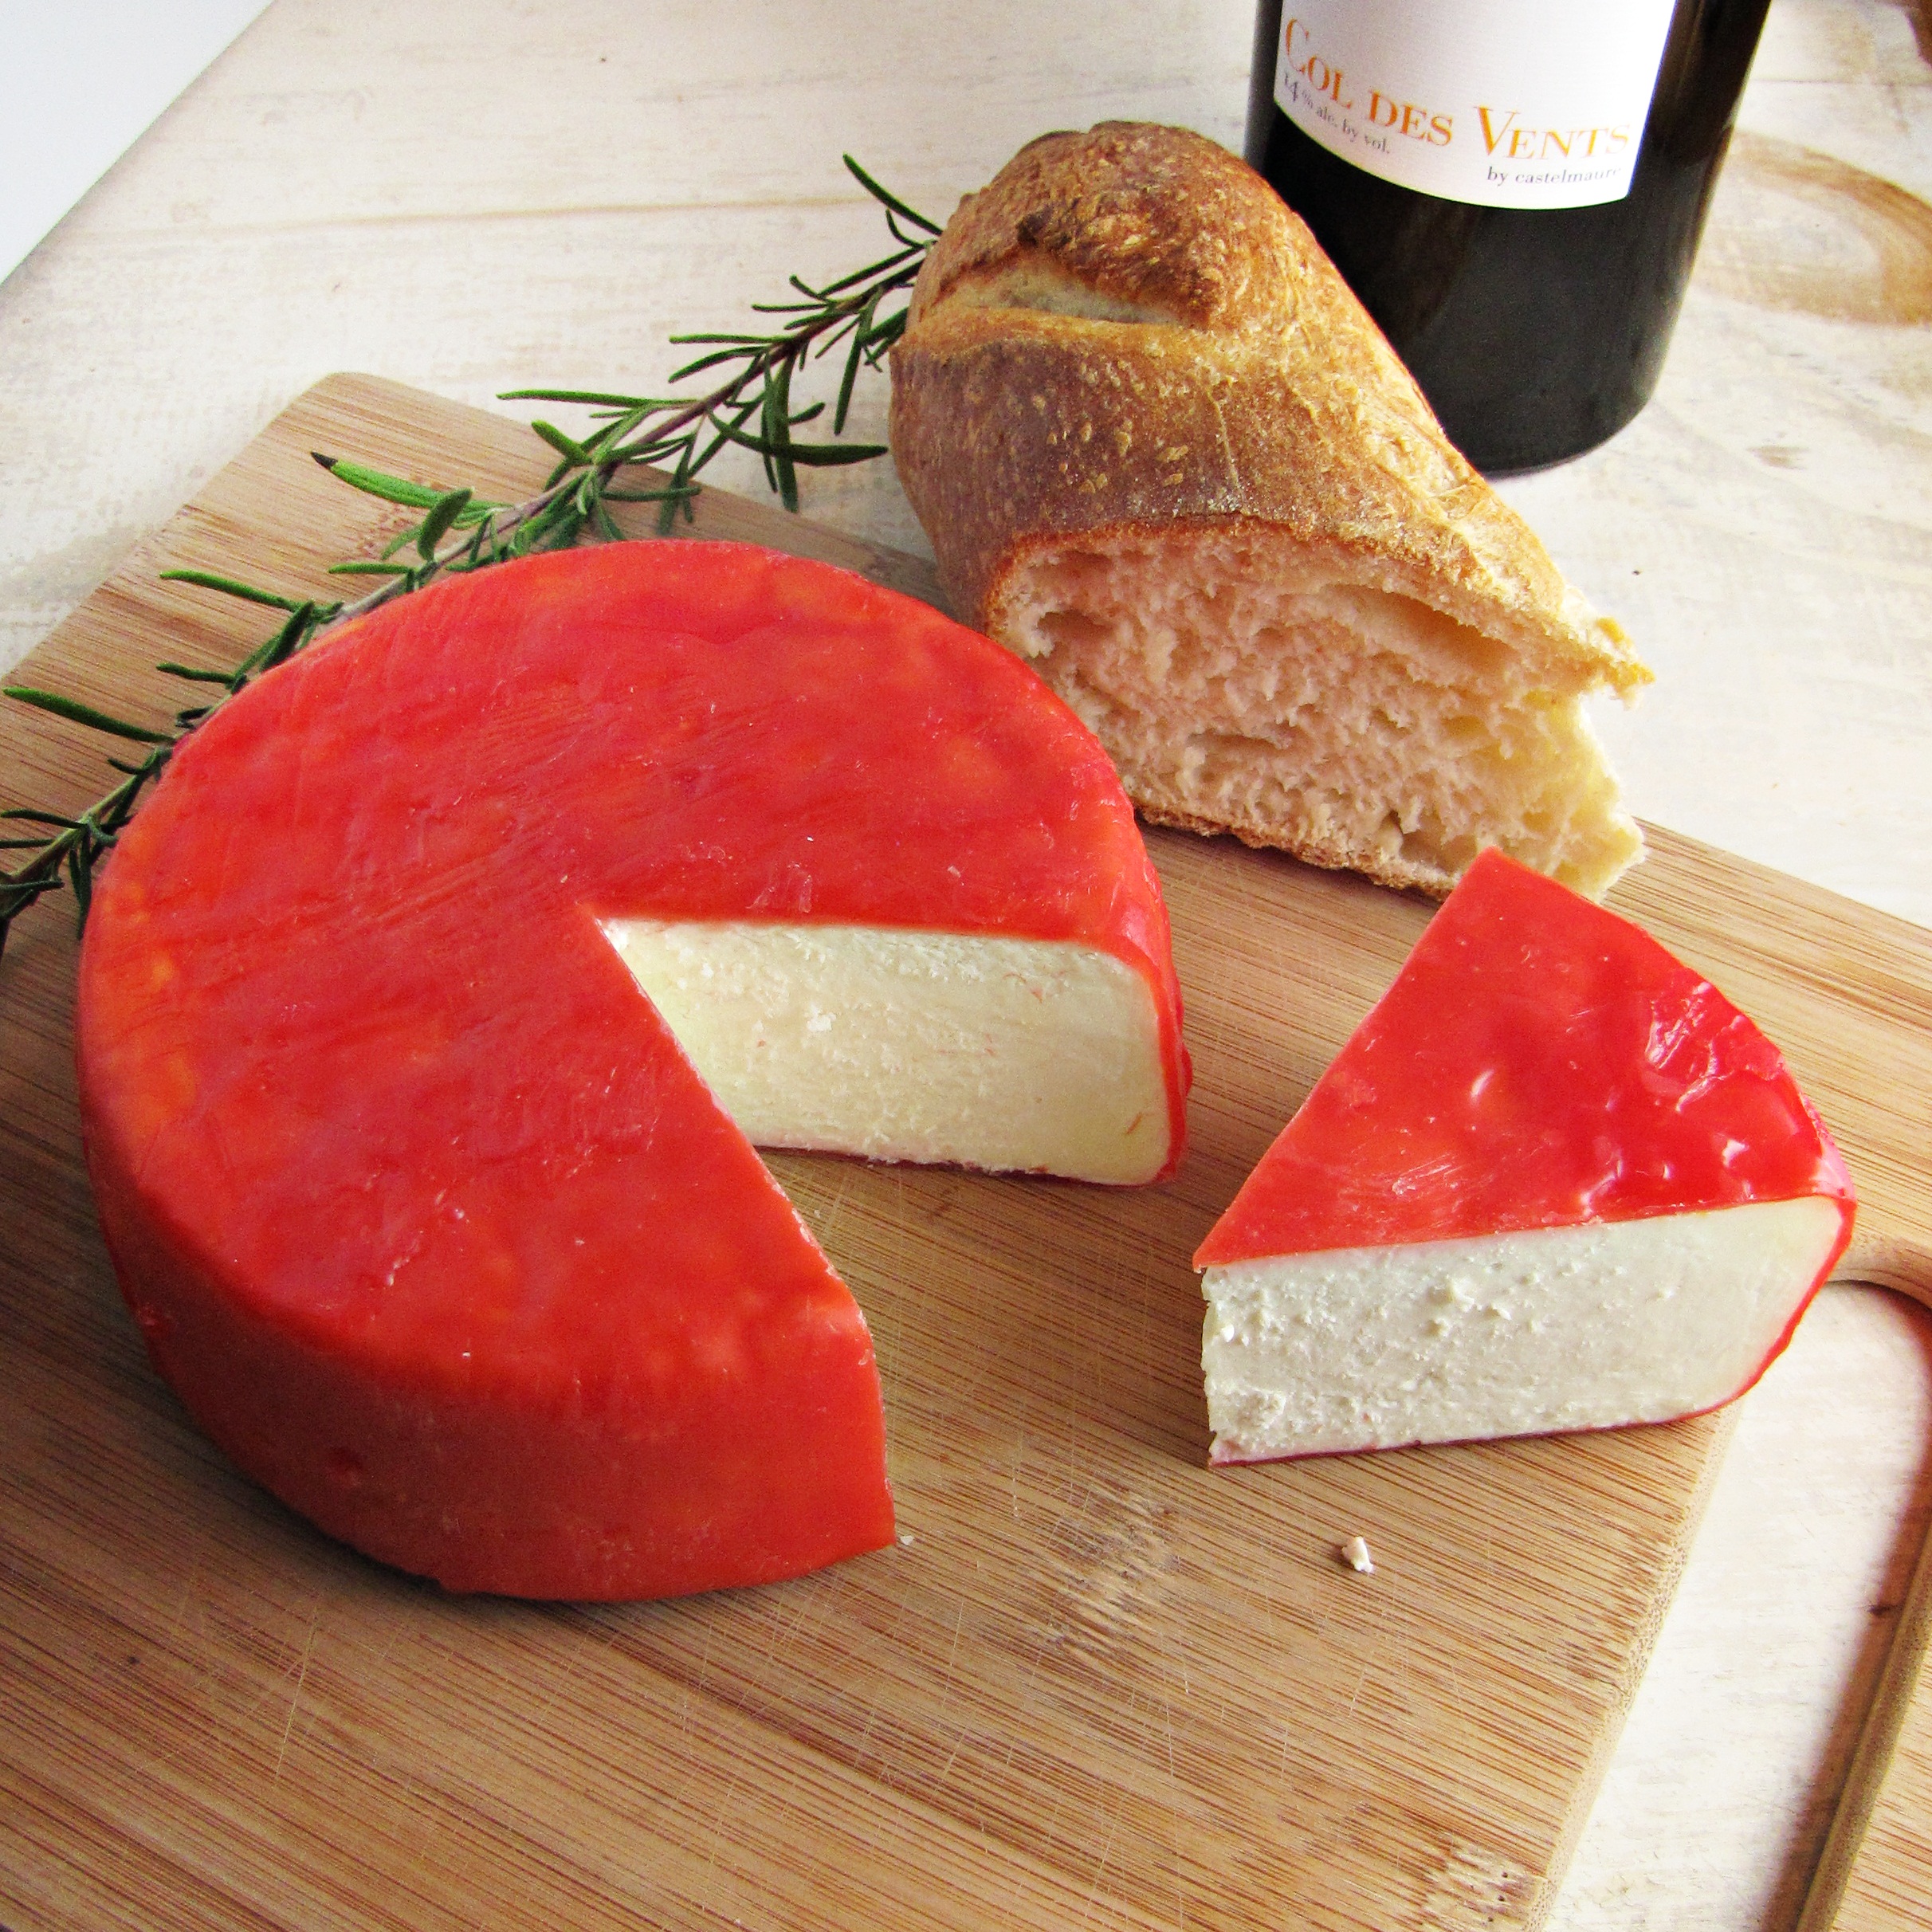
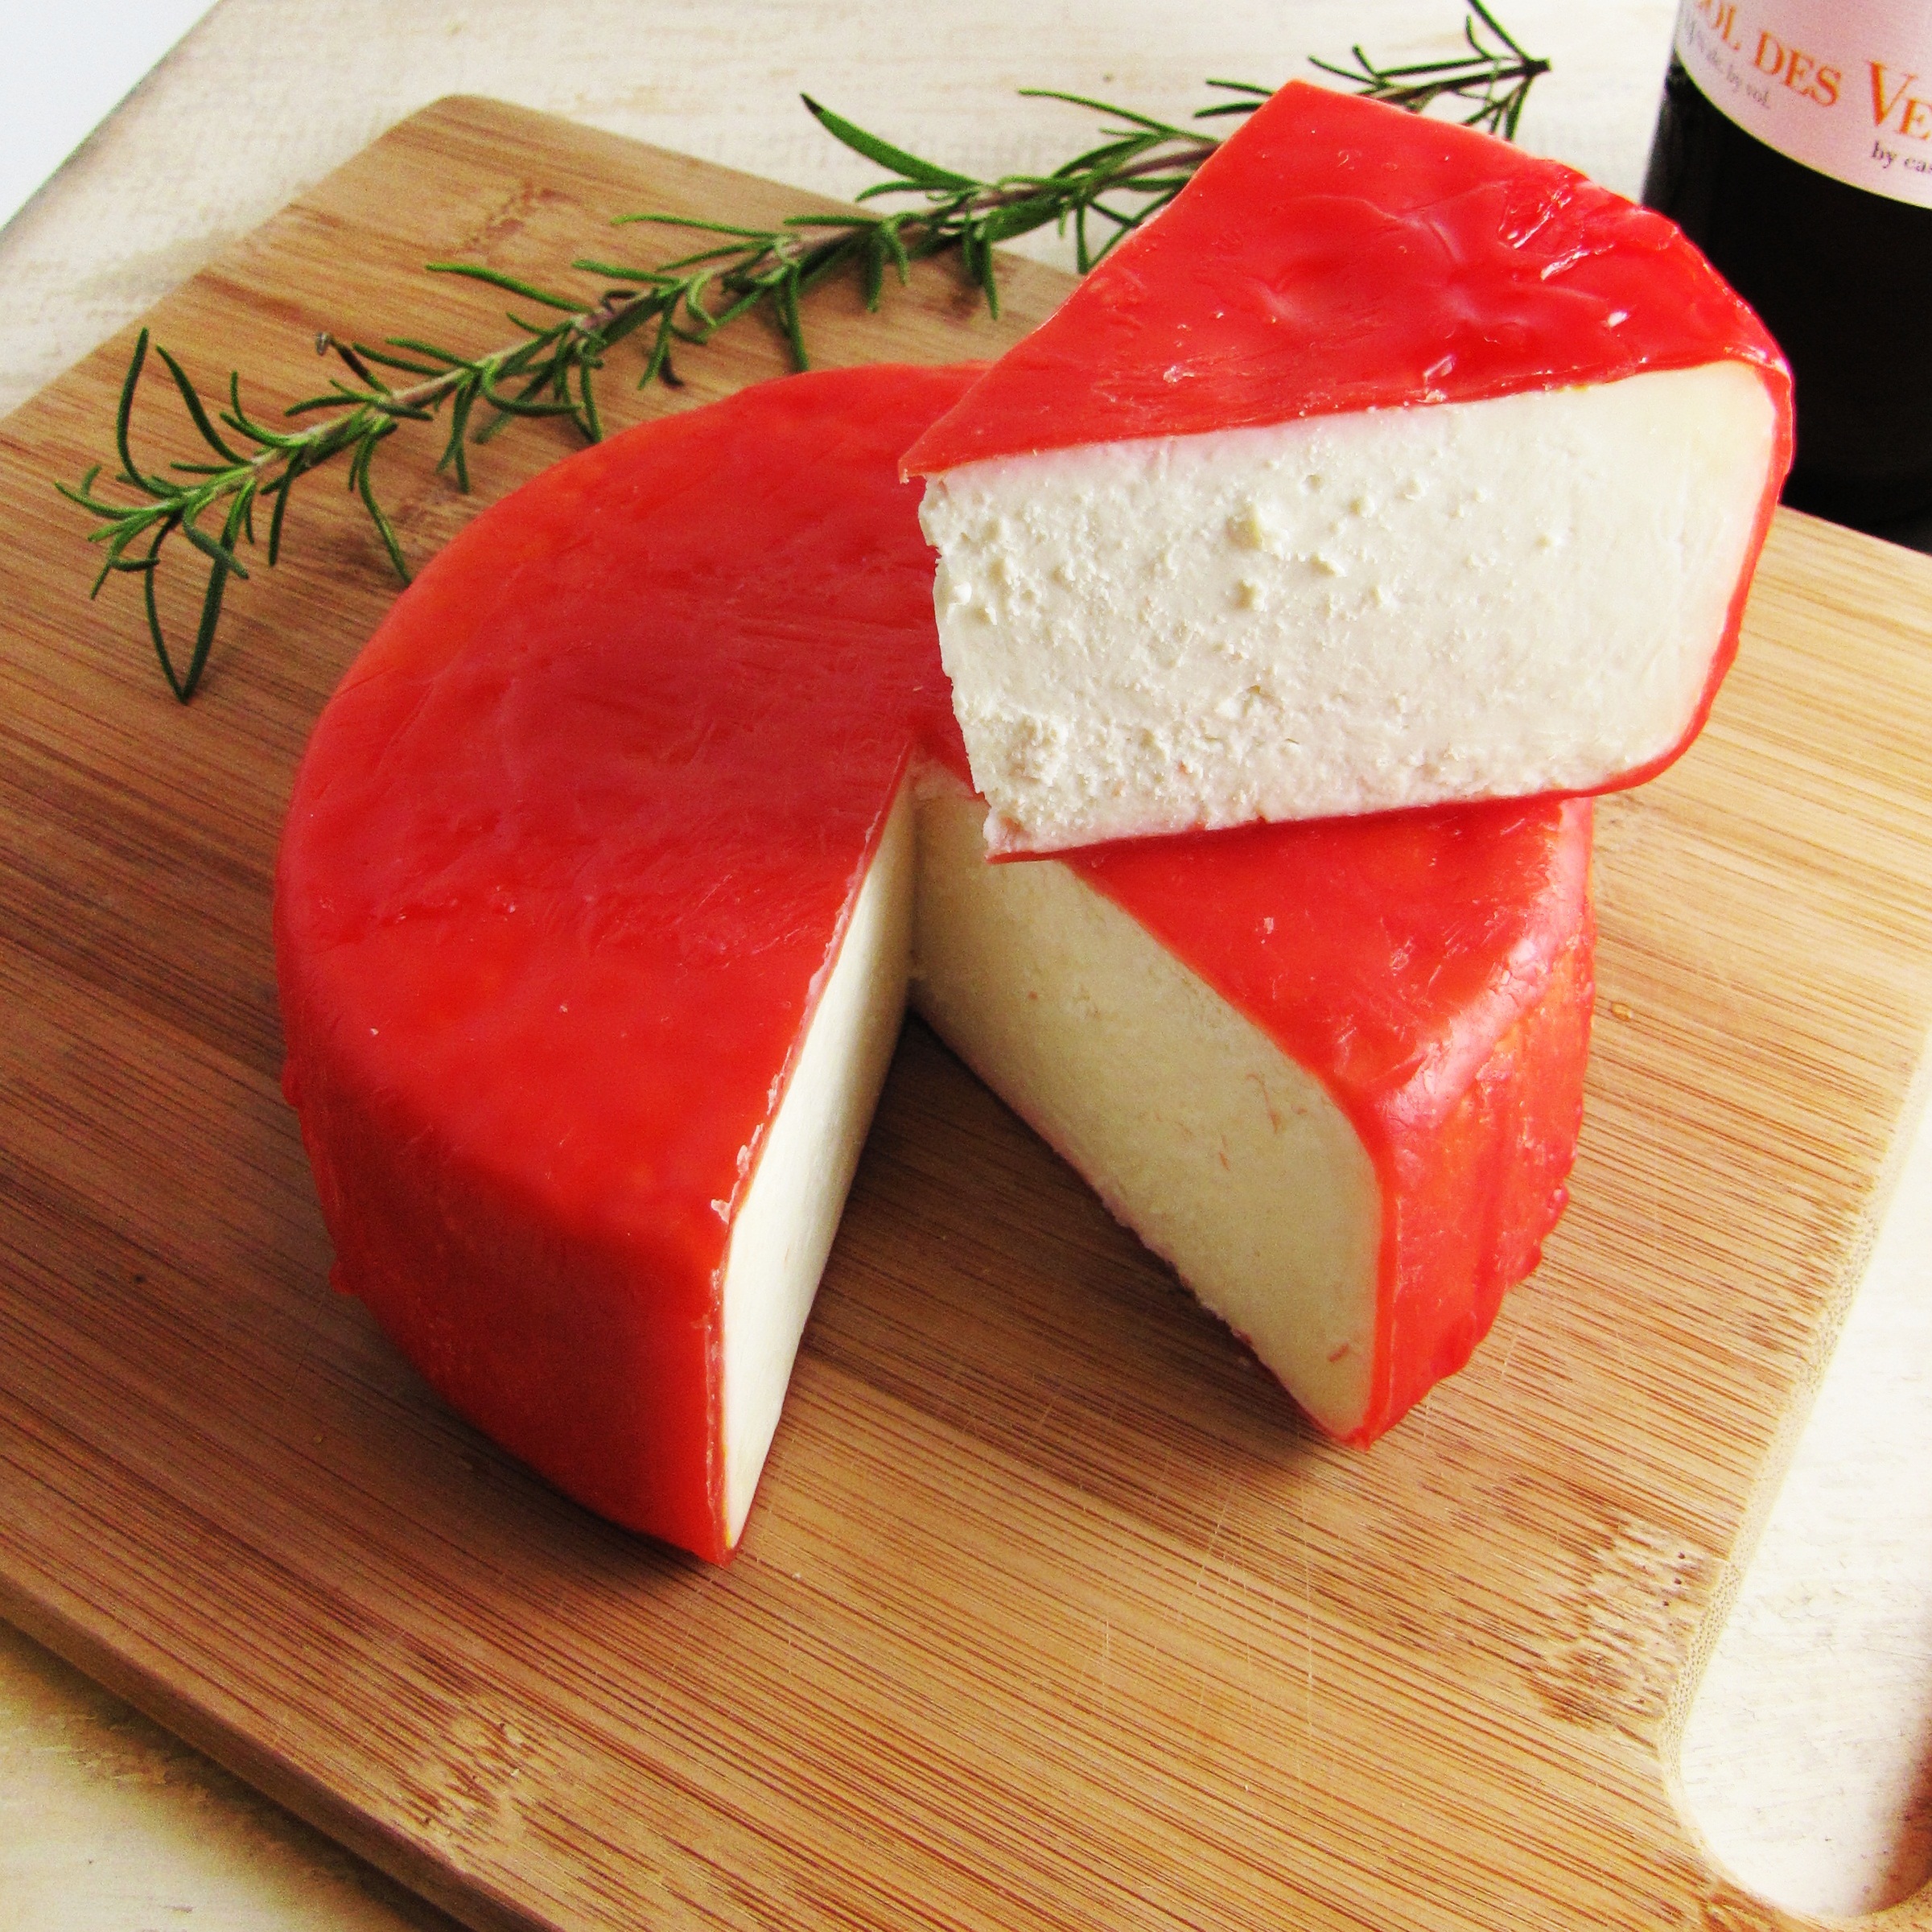
So far, we’ve made 5 cheeses from the book. Our first cheese was a soft cheese called a crescenza. Neither of us have ever had crescenza from a store, so we didn’t have a lot to compare it too, but ours was a quick, soft cheese, with a spongy texture similar to a feta. I thought it was a little bit too salty, but we ate it and considered it a decent success. Next up came an aged gouda, a bit of a risk considering we wouldn’t be able to taste it until 3 months after making it. The gouda has actually been our most successful cheese so far – after taking the first bite of it and finding it smooth, a little bit creamy, and definitively cheesy tasting, we jumped up and down a little bit we were so excited. So it didn’t taste exactly like your typical gouda – but it tasted and acted like cheese! And it was good! Third, we tried mozzarella again. Maybe mozzarella just isn’t our thing, because we can’t seem to get it to stretch right. It’s tricky. Dilled havarti was our fourth cheese, which ended up being kind of a waste, because, well… I forgot to take care of it. And therefore it grew an immense amount of mold and we had to toss it. Sorry, Trev. We didn’t really have high hopes for it anyway, given that our pre-aging taste test of it revealed something unpleasantly sour. Last, we have two boules of edam sitting in the basement for another month or so – and so far they seem pretty promising. All in all, a mixed bag, with failures outweighing success… but the successes were sweet enough that we’re not giving up yet.
Interested in trying one of these out? We definitely think you should. The processes for making these cheeses are really too detailed to share in blog form (without many links and culture tables and resources) but maybe in the future after we’ve really got it down we’ll pick one or two to highlight. What we can leave you with are some tips we’ve come up with through experience, and some of the resources we’ve found the most helpful:
- Start your cheese early. Unless you want to practice parenthood and wake up four times a night to flip and rinse your cheeses, getting them to their final resting state before bedtime is highly recommended. Many of the recipes take 5-8 hours total (about a third of that is active time), so read the recipe carefully before hand and mark out a timeline, and plan to make a day of it.
- Get a big pot (or two!). We typically use a gallon of milk per recipe and it almost fills my Cuisinart stock pot (I think it’s 5 qts…. that would be the logical size at least). This works, but it would be great to have more room to work with.
- Sources for cultures and other additives: ordering cultures from either New England Cheesemaking Supply or The Beverage People is fast and relatively inexpensive. Those in major cities should also be able to find basic cultures at local cheesemaking or brewmaking stores.
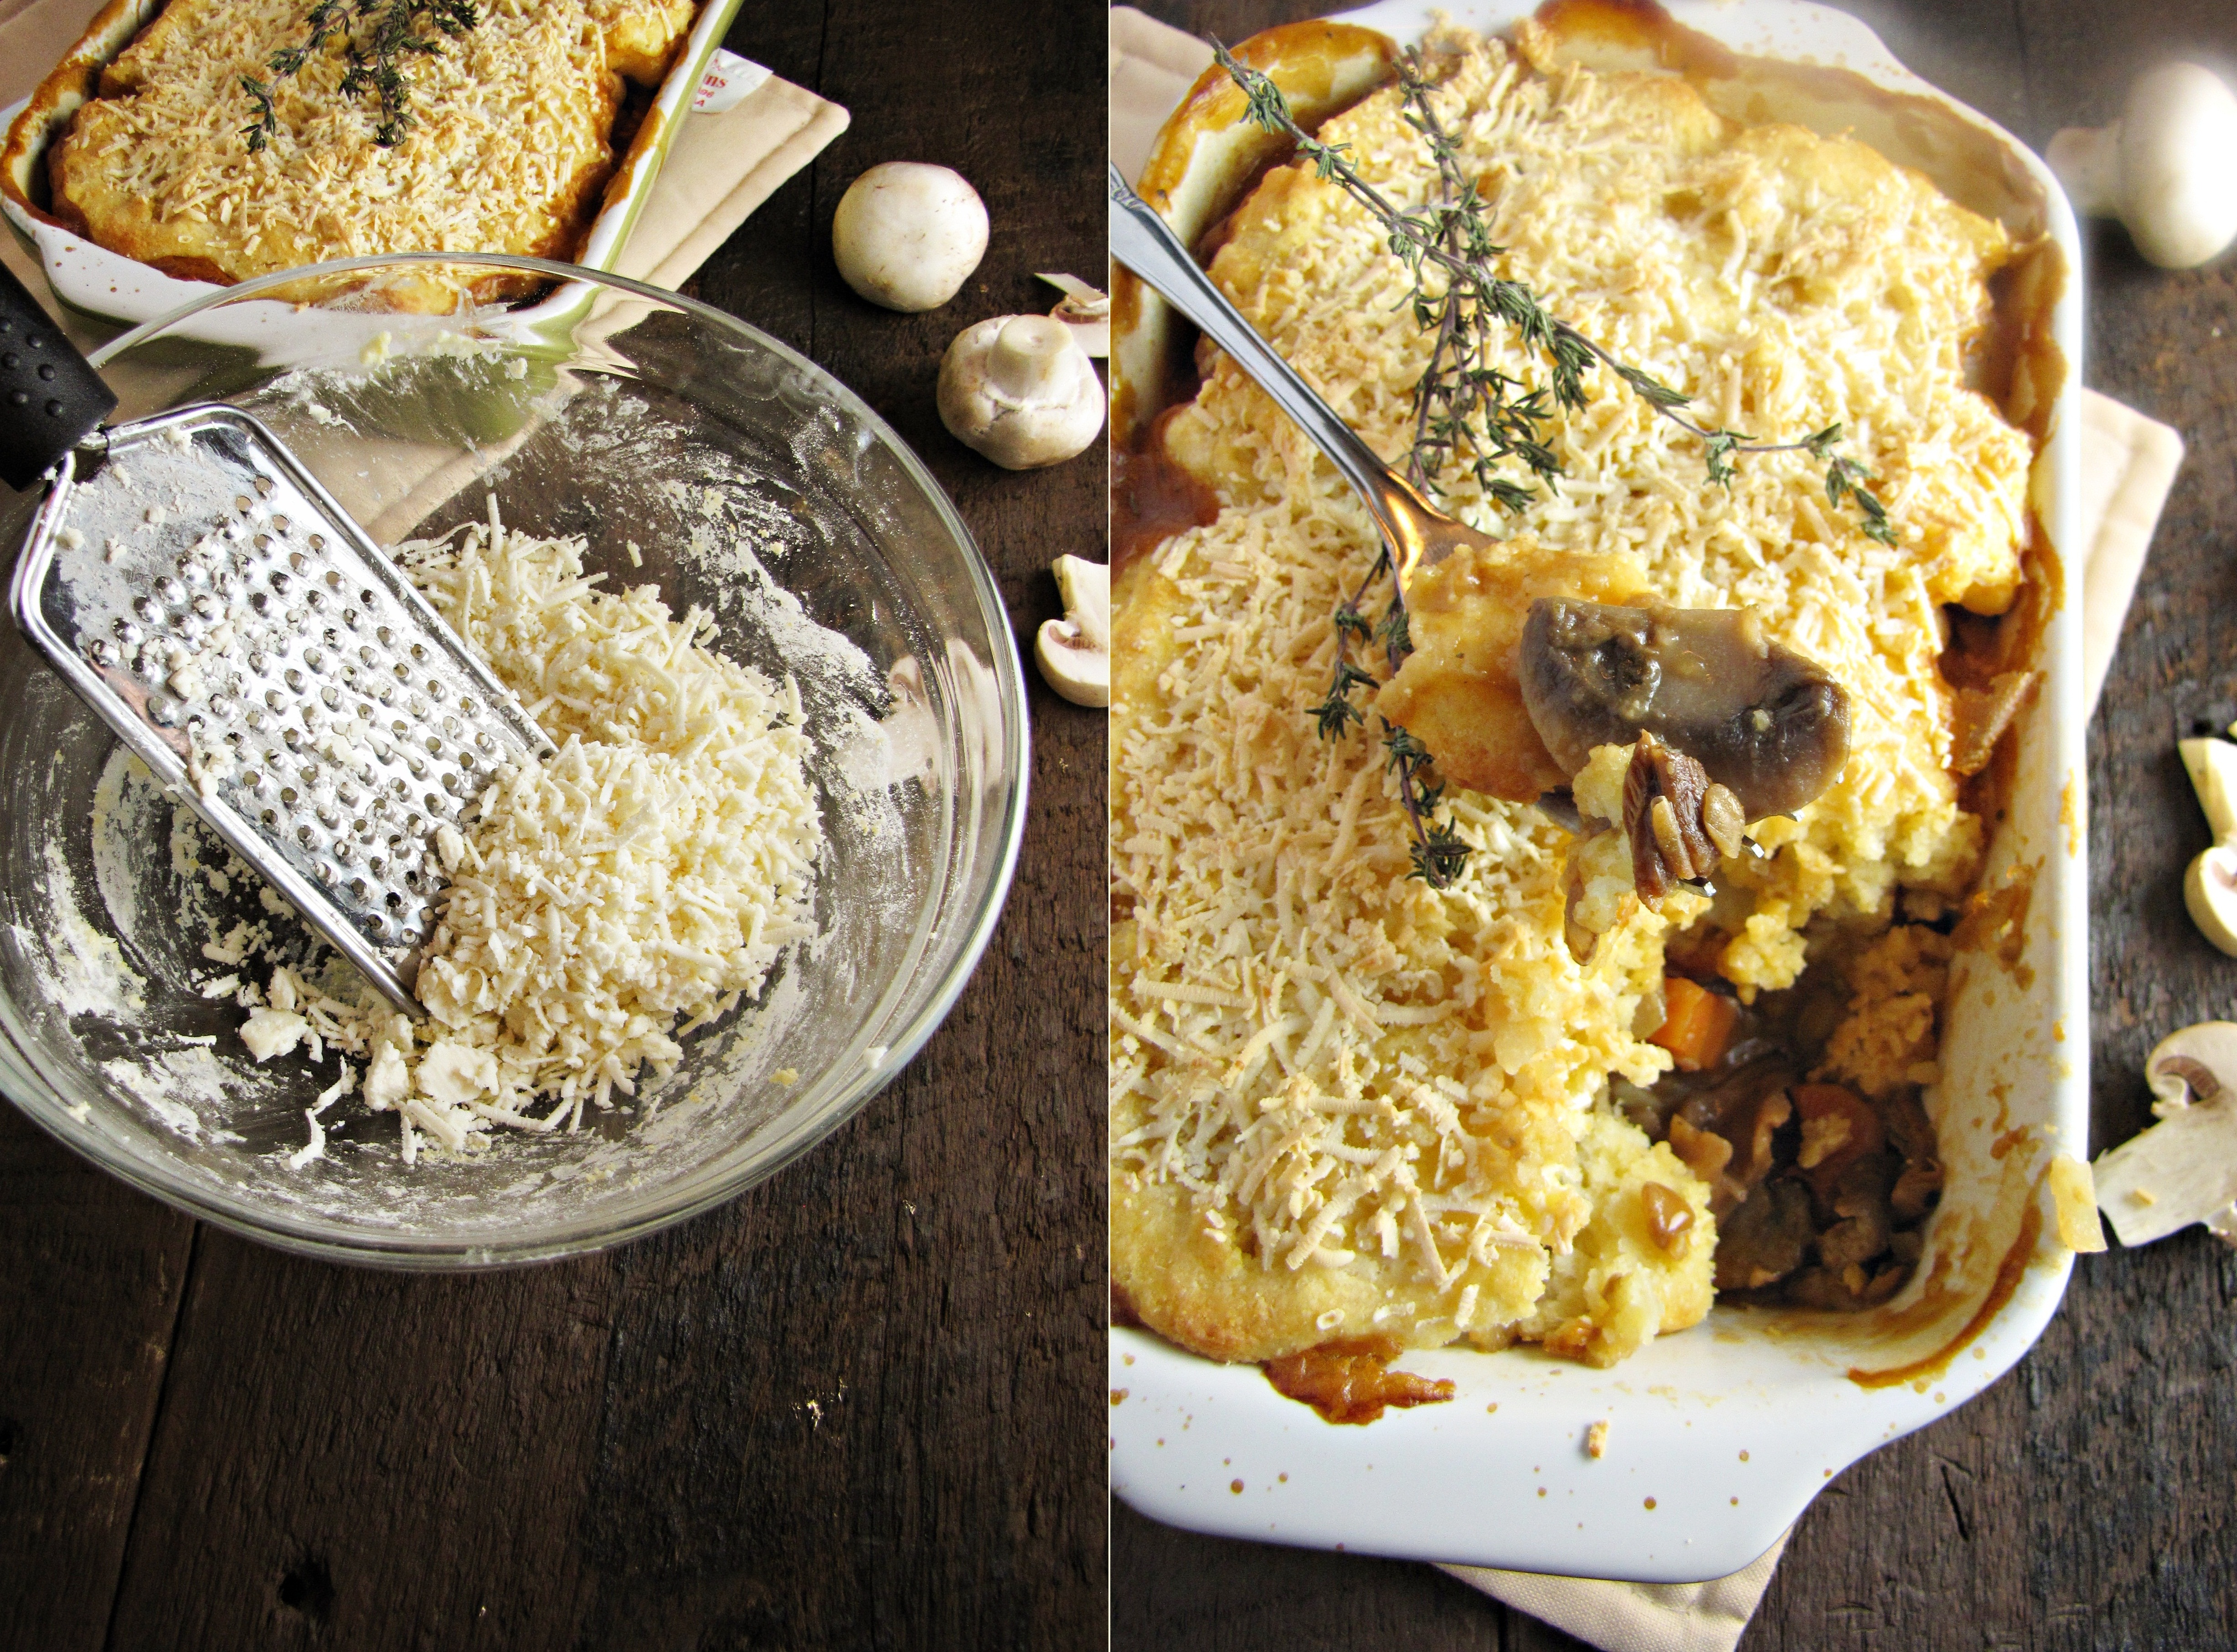
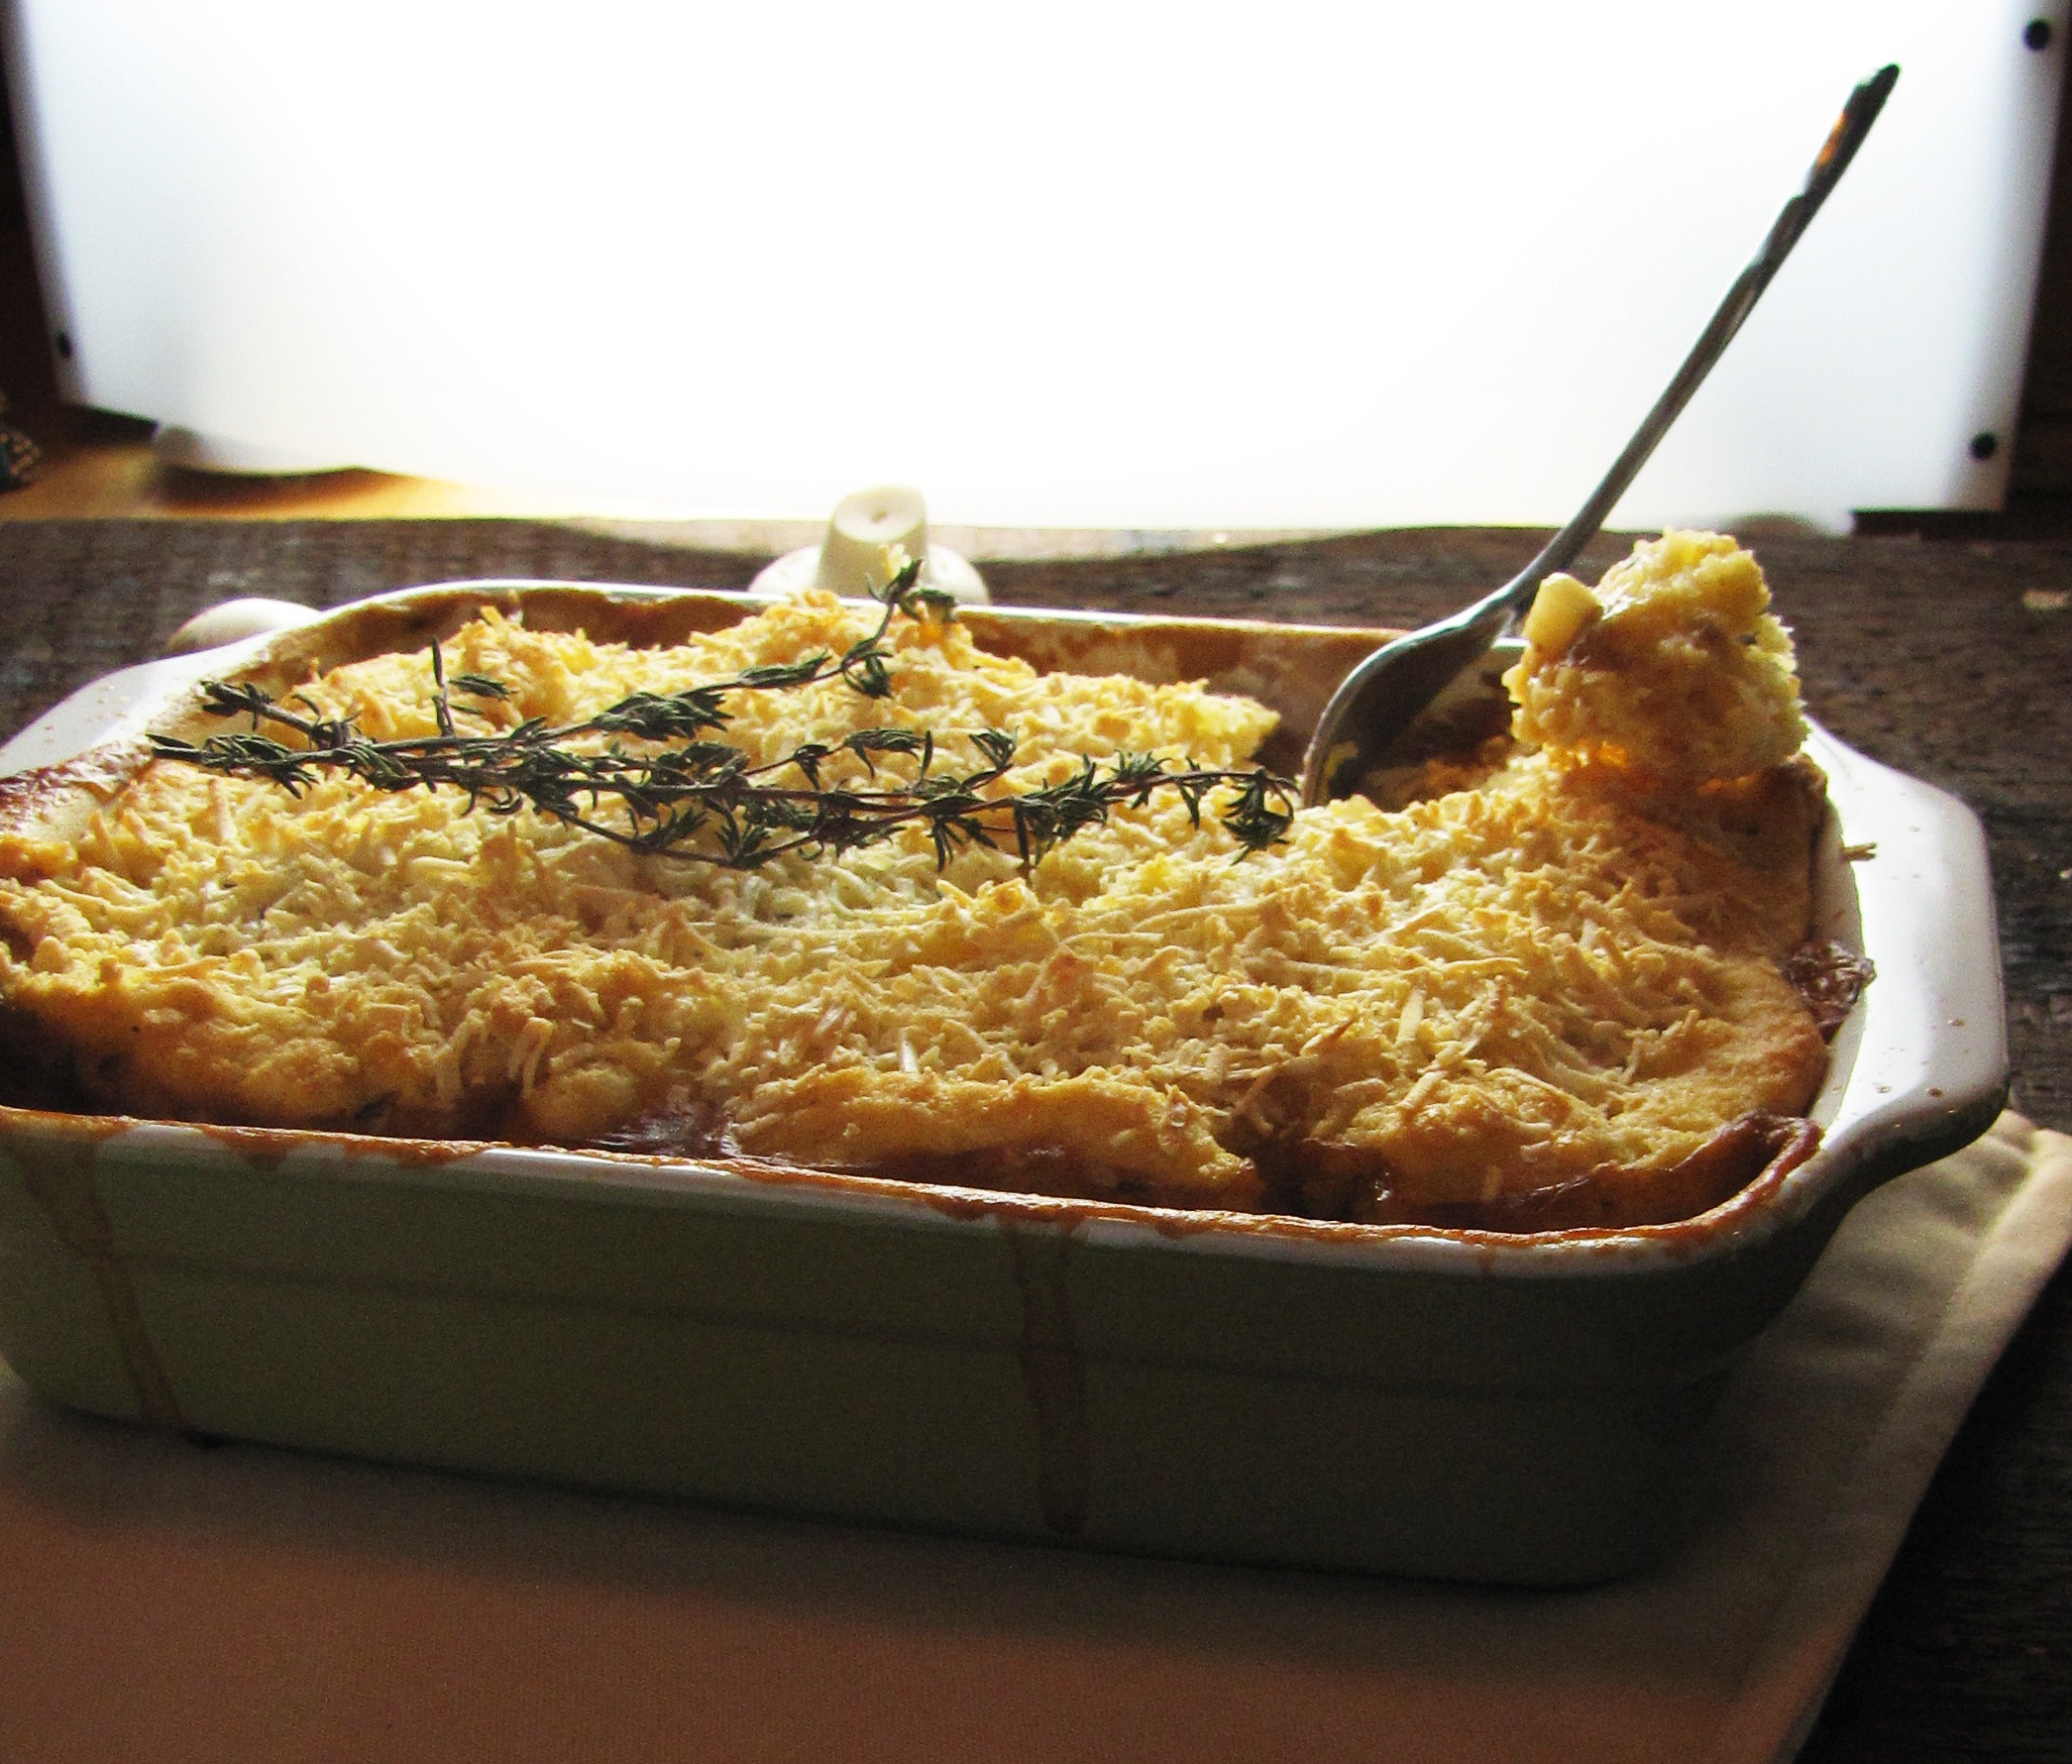
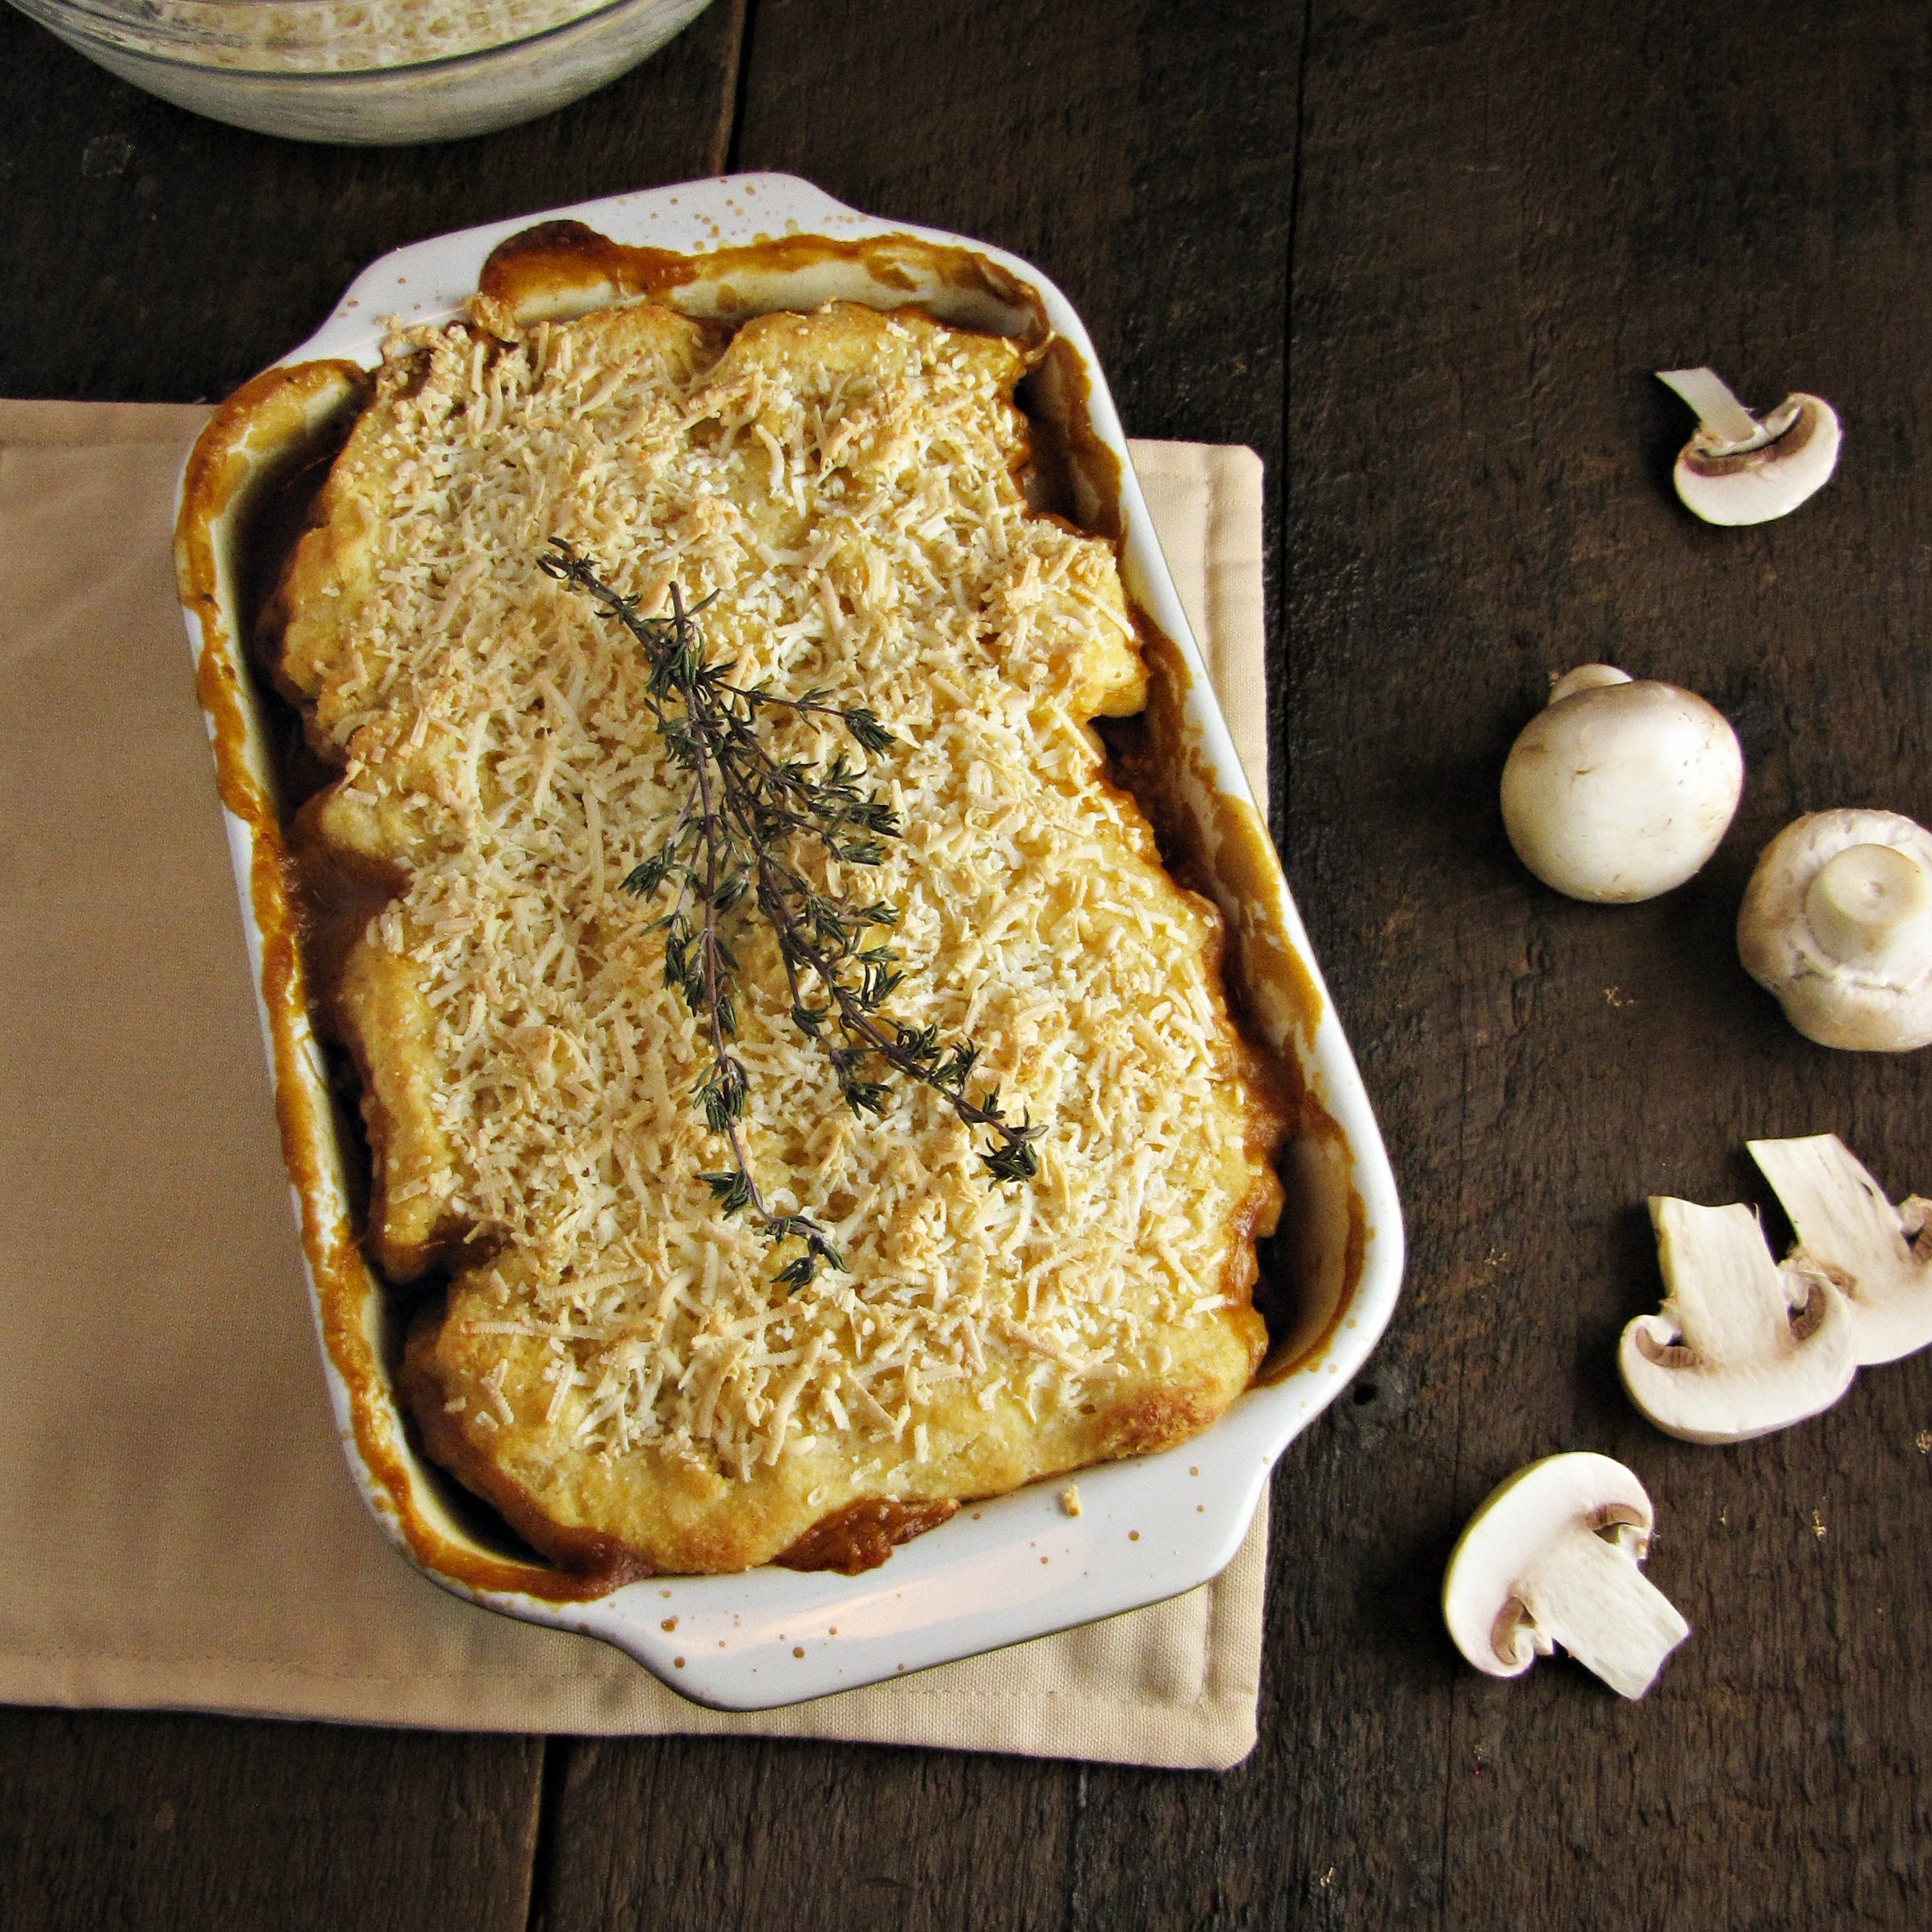
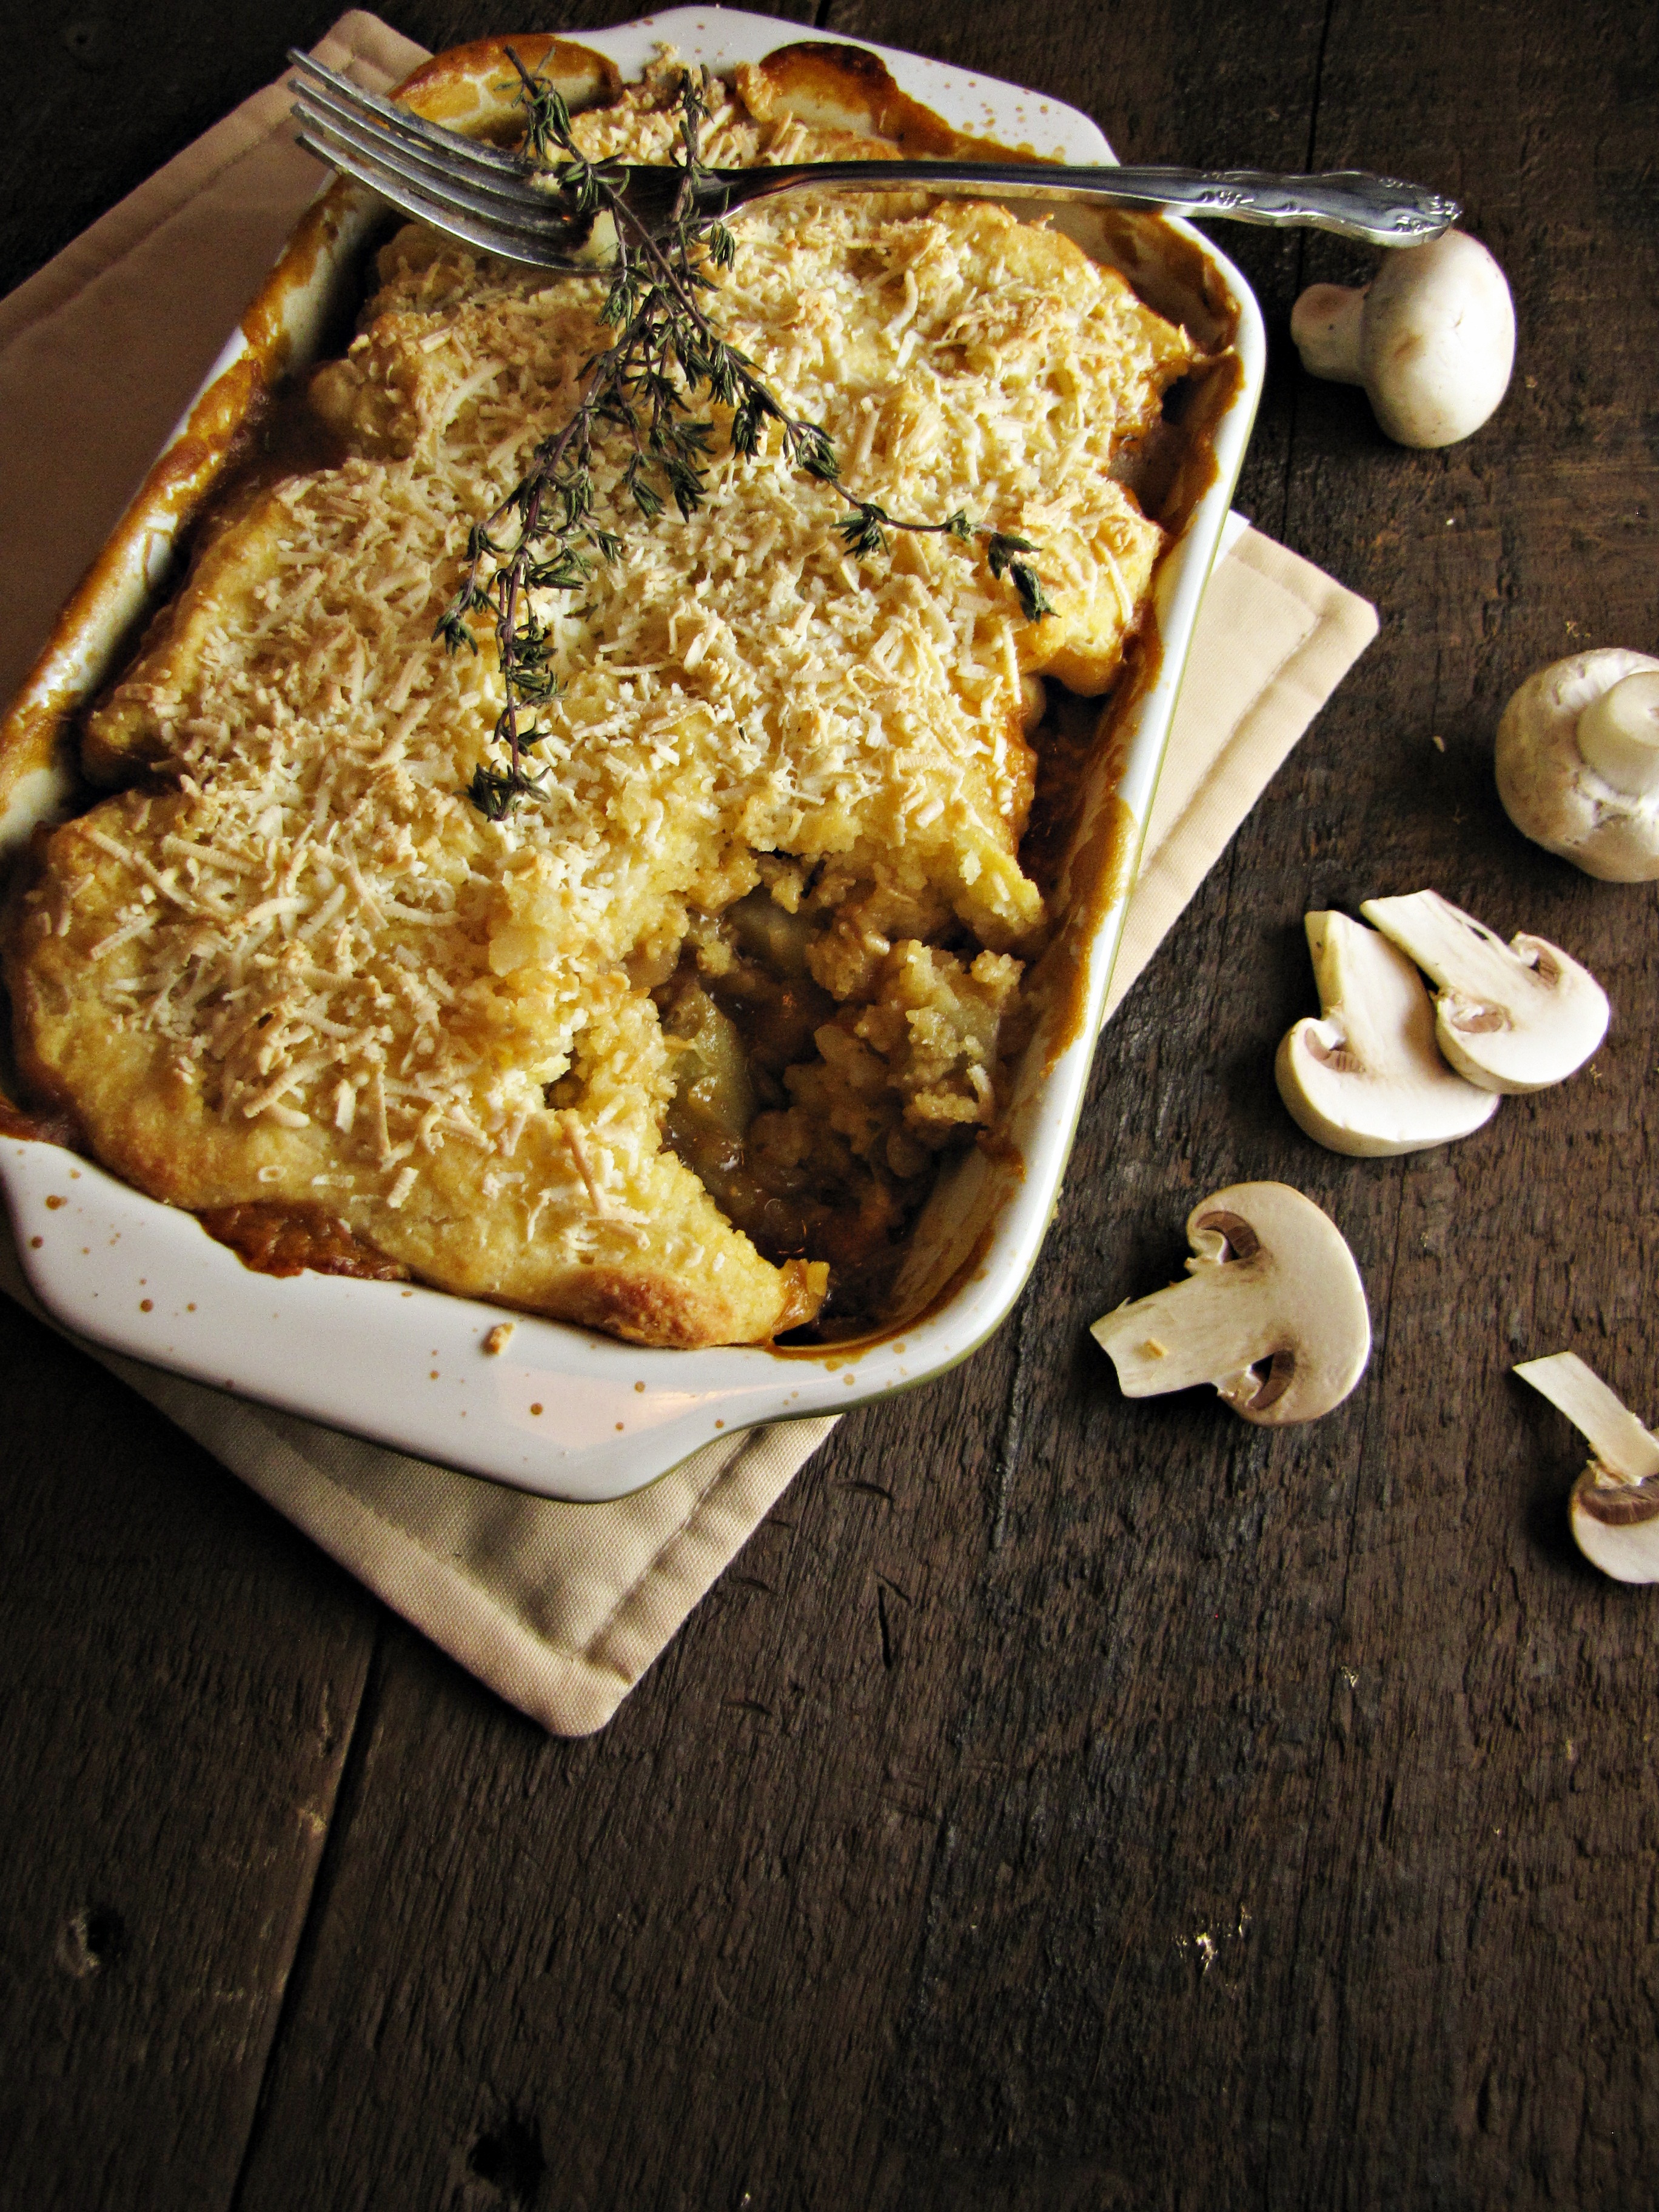
And if you don’t think you’ll ever have any desire to make your own cheese but do like to eat cheese, I can leave you with something as well – this recipe for mushroom and lentil pot pies with a buttermilk-biscuit and gouda crust. Delicious. It’s hearty, as satisfying as the more classic chicken version, and really healthy (well, aside from the gouda crust…) to boot. I halved the crust recipe and froze the second half of the filling to make just enough for two servings now, and two servings later. Enjoy! And look forward to more cheesy successes soon.
Mushroom and Lentil Pot Pies
Recipe adapted from Pink Parsley. Serves 4.
For the filling:
- 1/2 c. lentils
- salt
- 1/3 c. dried wild mushrooms (I used Oyster mushrooms)
- 1 TBS butter
- 1 TBS olive oil
- 8 oz. fresh button mushrooms, sliced
- 1 medium onion, diced
- 2 carrots, peeled and diced
- 1 1/2 tsp dried sage
- 1 tsp fresh thyme leaves
- 2 large garlic cloves, minced
- 2 TBS flour
- 2 small yukon gold potatoes, washed and cut into 1/2 inch cubes
- 1 TBS soy sauce
- 2 TBS tomato paste
For the crust:
- 1 c. flour
- 6 TBS cornmeal
- 1 1/2 tsp baking powder
- 1/2 tsp salt
- 4 TBS chilled butter, cut into cubes
- 1/2 c. buttermilk
- 3/4 c. shredded gouda cheese
- Cover lentils with water and add a pinch of salt. Bring to a boil, then lower heat, and simmer, covered, for about 20-25 minutes, until lentils are soft.
- Pour 3 cups of boiling water over the dried mushrooms, and let steep for 20 minutes.
- Meanwhile, heat butter in large saucepan over medium heat, and saute mushrooms in butter until golden brown, about 4 minutes. Add olive oil, onion, carrot, sage, and thyme, and cook for 5 minutes, stirring occasionally. Add garlic, and cook for 1 minute, stirring, then add flour, and stir to coat vegetables, cooking for about 1 minute. Add potatoes, soy sauce, tomato paste, and the warm soaking liquid from the dried mushrooms – reserve the rehydrated mushrooms, chop them into small pieces, and then add to the mushroom-potato mixture. Bring the mixture to a boil, then reduce heat, and simmer, covered, for 12-15 minutes, until potatoes are firm-tender. (They will soften more in the oven). When you cover the potatoes, begin preheating your oven to 400°F.
- Make the crust: whisk the flour, cornmeal, baking powder, and salt together in a small bowl. Mix in cold butter pieces with a fork or pastry cutter, mashing the butter pieces into the flour mixture, until the dough has a coarse, crumbly texture. Add the buttermilk and stir until the dough comes together. Knead dough briefly, about 1 minute, then stretch into a piece large enough to cover your baking dish.
- Add the lentils to the cooked potato-mushroom mixture and stir to combine. Remove from heat and spoon into baking dish. Cover lentil-mushroom-potato mixture with prepared dough, stretching to cover edges of dish, then top with shredded gouda. Bake for 25 minutes, or until potatoes are fully tender and crust is golden brown. You may want to place a baking sheet under your baking dish to catch any of the mixture that bubbles over the edges of the pan. Serve hot. Reheats well!

great pictures!
I am impressed. I really want to make cheese. Hopefull I will make the leap. Your post helps me realize that it will take attention and focus. Thanks!
I’m very impressed you made your own cheese, and so many different kinds too! I don’t think I’ll be ready to try that any time soon, but I am dying to try this recipe after seeing your gorgeous photos – it looks amazing!
Wow – this is so cool! Echoing the other comments, I am totally impressed by your cheese making. That is one of the do-it-yourself things that I haven’t really considered (other than making ricotta or paneer). Would love to hear more about it
yummy! I think I would like to try this recipe but adapted to a shepherd’s pie type dish, with potato toppping. Good job on the cheese!