A Day Off // Roasted Carrot and Tahini Soup with Chickpeas

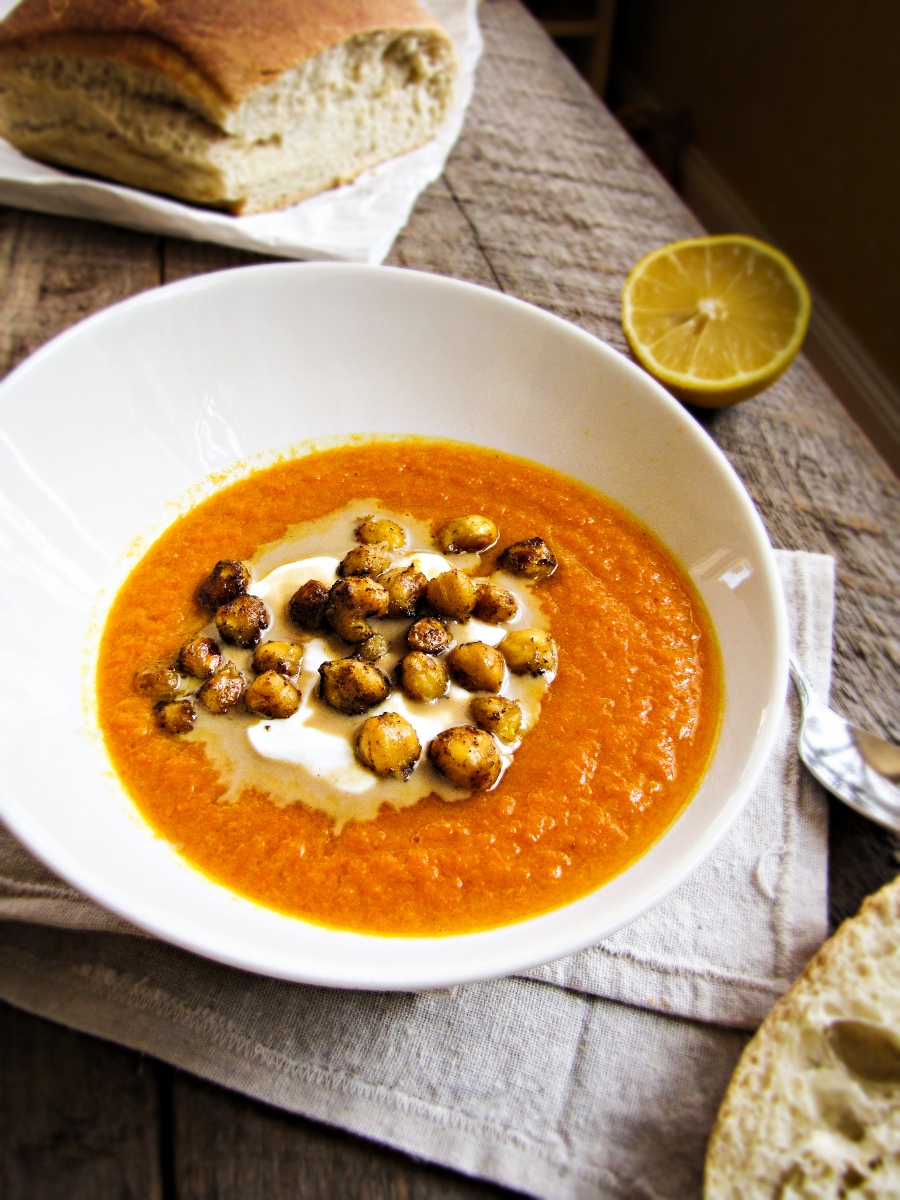
Roasted Carrot and Tahini Soup with Chickpeas {Katie at the Kitchen Door}

I took today off, not to do anything in particular, but just to have a whole day to myself, to catch up on things, clean, get organized, write, etc. A one day staycation, if you will. I love days like this. It helps that the temperature got up to 50 (50! Spring! I can feel it!) and that after a full week of sneezing I’m finally feeling better.

I wanted to ask – how were everyone’s Valentine’s Days? Mine was just right. Trevor brought me flowers (yellow, my favorite) and chocolate and 9 little airplane bottles of booze with 9 accompanying packets of hot chocolate – boy knows how I like to drink. We had planned on going ice skating, but I got home from work too late. Instead, we meandered downtown just to see if we could find space at a bar for a few drinks. We ended up at Saloon, a very hipster-esque underground bar/restaurant. They were having a singles Swing Dance night, and it was fun to drink our fancy cocktails and nibble on sliders and watch people. It was even more fun to be with my favorite person and just talk and laugh. I feel so lucky to have that.

Valentine's Day Loot

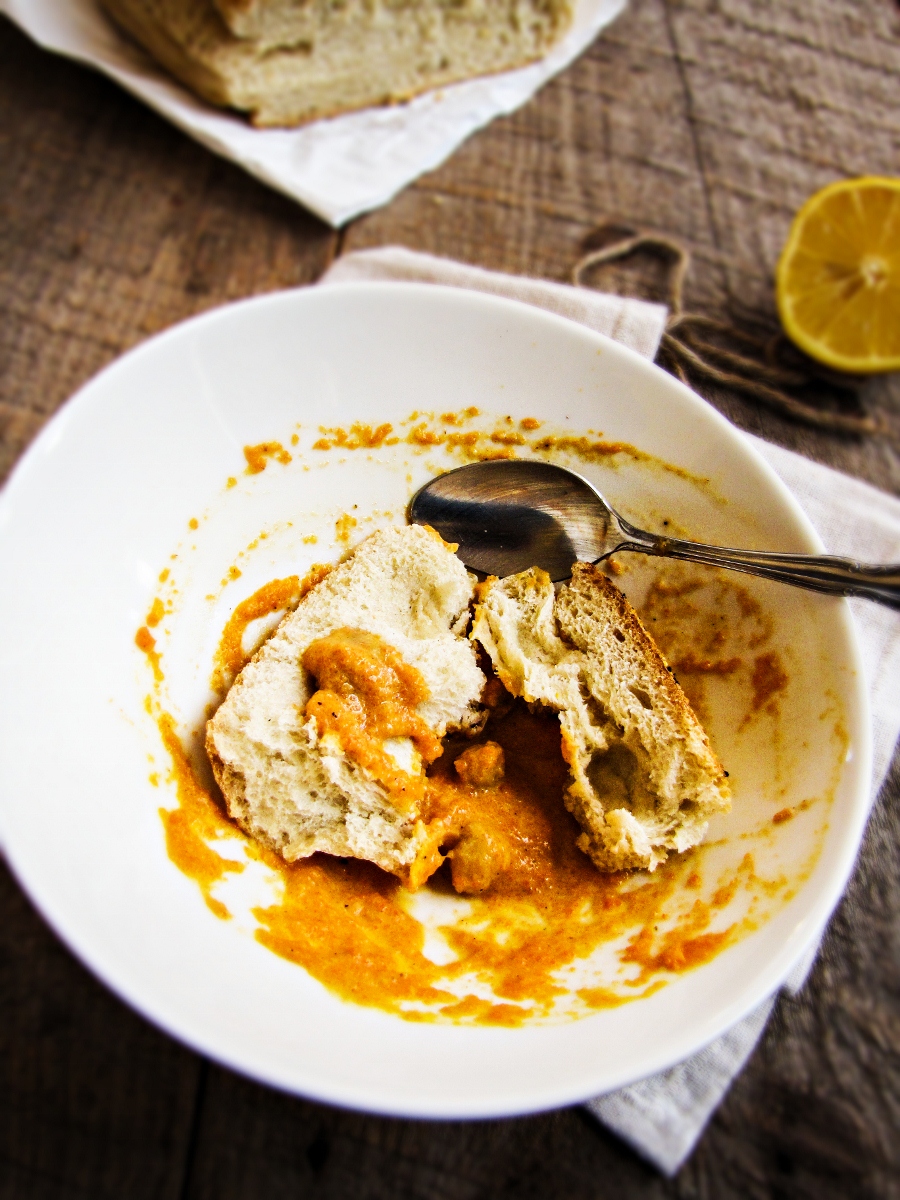
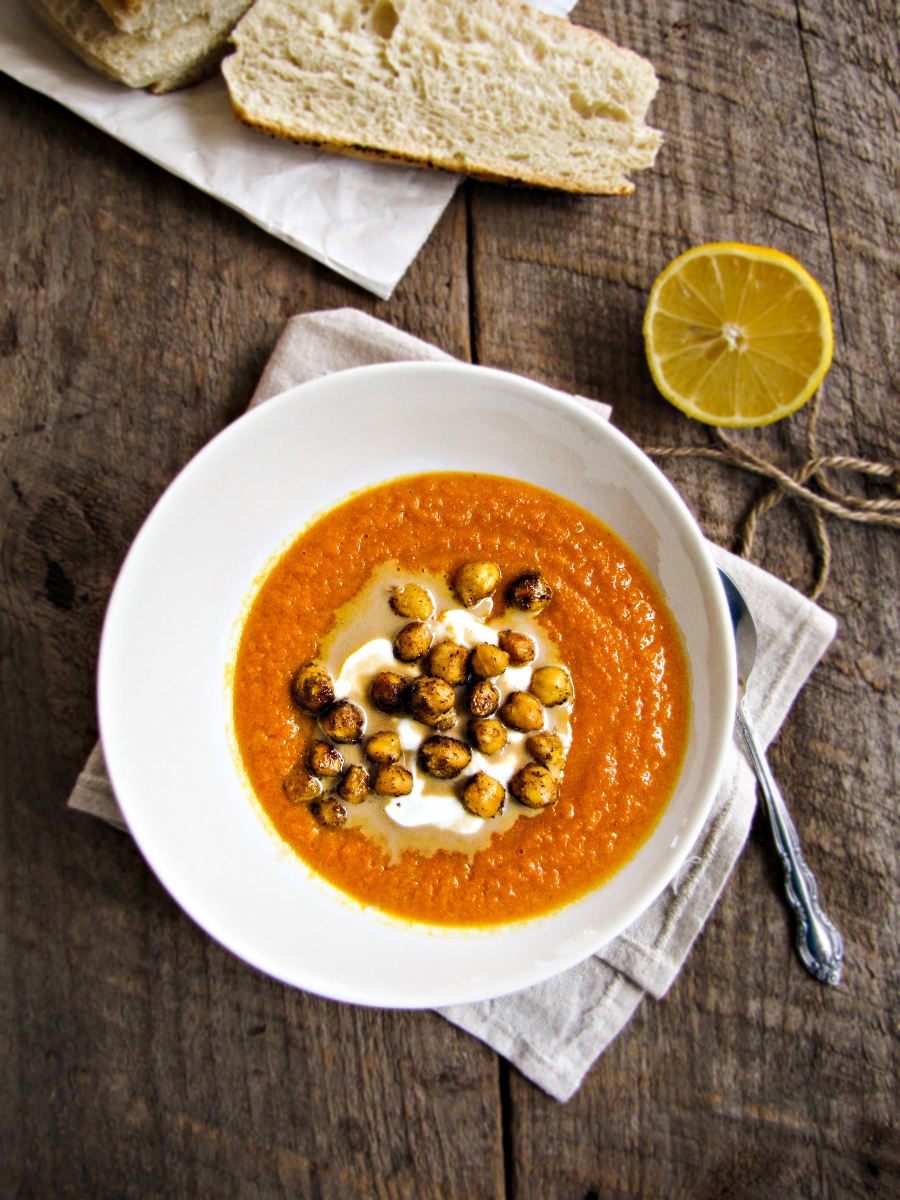
Sorry, enough schmaltz, back to my staycation. No day at home is complete for me without a little bit (or a lot) of cooking, and today was no different. I made another batch of these grapefruit and ginger thumbprint cookies (note to self, always make extra dough so you can whip up a batch of these in 10 minutes!), I worked on a spring salad feature for an online magazine (which you’ll have to wait to hear more about), I’m in the process of testing out Lindsay of Love and Olive Oil‘s new book, Breakfast for Dinner, and I made this roasted carrot and tahini soup, the perfect healthy and tasty treat for an afternoon lunch at home. I’ve tried a lot of different carrot soups over the past years, and never found one that I liked, until I realized that the trick was in roasting the carrots first. Now, I use this technique with most vegetable puree-type soups that I make. This particular soup was inspired by Smitten Kitchen – I used slightly different amounts and spices, I roasted the carrots instead of boiling them, and I went for a yogurt-tahini sauce instead of a thinner tahini-lemon sauce, but the gist of the two recipes is basically the same. The flavors are lovely and bright, the puree smooth and the crunchy spiced chickpeas addictive. I might just have another bowl for dinner.

Roasted Carrot and Tahini Soup with Chickpeas {Katie at the Kitchen Door}

Roasted Carrot and Tahini Soup with Chickpeas

Inspired by Smitten Kitchen. Serves 3-4.

  • 1 lb. carrots, peeled and chopped into 1/2 inch slices
  • 4 TBS olive oil, divided
  • coarse sea salt, to taste
  • 1 small onion, peeled and diced
  • 4 cloves garlic, peeled and minced
  • 1/4 tsp ground coriander
  • 1/8 tsp red pepper flakes
  • 3 c. chicken broth
  • 1 1/2 c. cooked chickpeas, or canned chickpeas, drained of their liquid
  • 1/4 tsp ground cumin
  • 1/4 tsp paprika
  • juice from 1/2 lemon
  • 1 6-oz. container plain Greek yogurt
  • 4 TBS tahini
  1. Preheat oven to 400°F. Toss the carrots with 2 TBS of the olive oil and sprinkle with salt. Roast the carrots for 25 minutes, flipping once, after 15 minutes of cooking.
  2. About 5 minutes before the carrots are done, heat 1 TBS of the remaining olive oil in a large pot over medium heat. Add the diced onion, and saute for 3 minutes, or until beginning to soften. Add the minced garlic, coriander, and red pepper flakes and saute for 2 minutes longer, until the garlic and spices are fragrant. Add the roasted carrots to the pot along with the chicken broth. Bring to a boil, then let simmer for 10 minutes.
  3. Add the cooked chickpeas to the same roasting pan you used for the carrots. Add the last 1 TBS of olive oil, to the chickpeas, then sprinkle with the cumin, paprika, and sea salt. Toss to coat evenly, then roast for 15 minutes.
  4. Blend the soup in a blender until it is a smooth puree. If it is too thick, add more broth to the blender. Add the lemon juice to the hot soup and pulse a few times to incorporate. Taste for seasoning and add more lemon or salt if necessary.
  5. Spoon the soup into bowls. Top each with a large spoonful of yogurt and 1 TBS of tahini, as well as a handful of the roasted chickpeas.

Roasted Carrot and Tahini Soup with Chickpeas {Katie at the Kitchen Door}

Snowstorm // Grapefruit Jam and Grapefruit-Ginger Thumbprint Cookies

Grapefruit and Ginger Thumbprint Cookies {Katie at the Kitchen Door}

So, fellow New Englanders, how did the blizzard treat you all? I’m refusing to call it Nemo, because I can’t imagine sitting on my porch in 50 years and telling my grandchildren  “I remember back when Nemo hit…” Nope. I’m gonna be sitting there grumping about the Blizzard of ’13. Because stoicism is a valuable quality in a New Englander.

Anyway, the storm was fairly uneventful for me. I woke up Friday morning with a nasty cold, so leaving work early on Friday and getting to spend most of the weekend sleeping was actually fairly well-timed. I did spend about 3 hours shoveling on Saturday afternoon. It was kind of weird – I don’t think I’ve ever seen more people outside in my neighborhood at one time. People were chatting, playing music, commiserating. Even on Sunday, the streets were filled with people walking around carrying shovels, only a handful of cars crawling by. It felt old-fashioned, somehow. I was a little bit disappointed to find out that city/adult-life blizzards mean mostly shoveling, while country/kid-life blizzards have a lot more playing in the snow and sitting by the fire playing board games. Of course, being sick may have had something to do with that trade-off.

Blizzarding

I’m still not feeling stellar, but, thanks to Trevor, I’ve eaten plenty of the world’s best homemade chicken noodle soup to speed me on my way back to health. With that taken care of, I wanted to make something a little sweeter. Specifically, I wanted to find a way to celebrate some of the super juicy grapefruits Trevor picked up for me during his trip to Texas last week. Grapefruit is a hard flavor to capture outside of eating it fresh – so much of what makes it wonderful lives in the refreshing burst of sweet-tart juice that it offers, and it doesn’t always translate well to desserts. Of the 6 grapefruit recipes I have bookmarked in my massive online recipe organizer, 5 of them are for frozen desserts, and the 6th is for a cocktail – neither of which I was in the mood for. I’ve had success in the past with concentrating the juice to be used in a buttercream, but I wasn’t feeling like cake, either. I wanted something juicy. So I made grapefruit-ginger bars, hoping for a smooth, tangy, filling that would be bursting with flavor and make me pucker up in delight. But, as you can see, there are no grapefruit-ginger bars pictured here – they just didn’t quite come out right. Option number 2? Jam. And cookies.

Grapefruit and Ginger Thumbprint Cookies {Katie at the Kitchen Door}

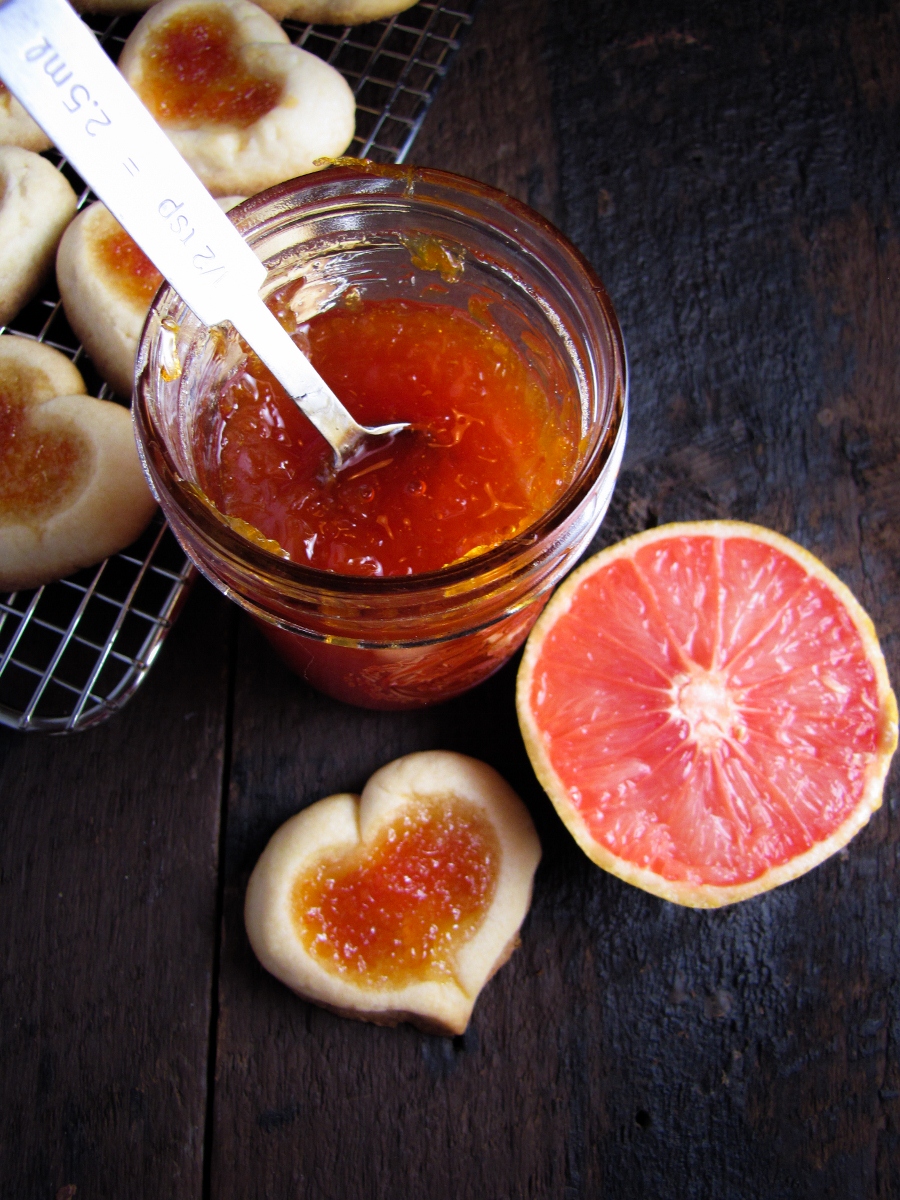
These cute little thumbprint cookies more than made up for the failure of the grapefruit bars. The buttery shortbread crust has just enough ginger to alert you to its presence without overwhelming the flavor, and the grapefruit jam is lip-puckeringly tart, without any trace of bitterness. Since Valentine’s Day is only two days away, and grapefruits are conveniently pink already, I made these cookies in a heart shape – check out Once Upon A Cutting Board for pictures that show you how to shape them. If you’re pressed for time though, or just don’t like schmaltzy heart-shaped things, they’ll be just as tasty in the standard circular form. I have plenty of jam leftover, and I’m most excited to try it out on scones. There’s just nothing like a scone with tart jam and thick cream. But until I get around to making scones, I’ll be trying to restrain myself from eating the rest of these cookies in a sitting. They’re really that good.

Grapefruit and Ginger Thumbprint Cookies {Katie at the Kitchen Door}

Grapefruit-Ginger Thumbprint Cookies

Recipe adapted from Not Your Momma’s Cookie and Once Upon A Cutting Board. Makes 24 cookies.

  • 1 1/2 stick salted butter, well-softened
  • 2/3 c. sugar
  • 1 egg
  • 1 tsp vanilla extract
  • 1 3/4 c. flour
  • 1/2 tsp baking powder
  • 1 tsp ground ginger
  • 1/2 c. grapefruit jam (recipe below)
  1. Preheat the oven to 350°F. In a large bowl, beat together the butter and sugar until light and fluffy, about 3-4 minutes. Beat in the egg and the vanilla extract until fully incorporated.
  2. In a medium bowl, whisk together the flour, baking powder, and ginger until combined. Add to the butter mixture and beat until the dough comes together into a smooth ball.
  3. Pinch off small pieces of the dough and roll into balls about 3/4 inch in diameter – you should get about 48 balls in total. Place the balls together in pairs on a baking sheet so that they’re touching (if it helps you envision this, they will look kind of like butt cheeks). Press your thumb into each ball at an angle so that your thumbprints make a rough heart shape. Pinch the bottoms of the two balls together to complete the bottom of the heart, then press the thumbprint a little deeper. The whole process is kind of like making a clay pinch pot. Fill each heart indentation with jam (don’t overfill or it may spill out during baking). Stick the baking sheet and cookies in the freezer for 5 minutes, then place directly in the oven and bake for 14-16 minutes, until lightly golden brown around the edges. Remove with a spatula to a cooling rack.

Grapefruit Jam

Recipe adapted slightly from Food in Jars. Makes one 1/2-pint jar.

  • 3 large red grapefruits
  • 3/4 c. sugar
  1. Cut the peel off the grapefruits, completely removing all of the white pith. Squeeze the peels out over a large saucepan to catch the juice. Supreme (remove the segments from the membranes) the peeled grapefruits – my favorite way to do this is simply to peel the fruit away from the membrane using my fingers, but some people prefer to use a knife to cut between sections. Remove all seeds and set aside. Place the grapefruit segments and any juice in the saucepan. Add the sugar and stir to dissolve. Place the reserved seeds in a small cloth bag designed for cooking and tie-off – the seeds will add additional pectin to the jam.
  2. Bring the grapefruit to a boil over medium-high heat. Cook, stirring regularly, until the jam reaches 220°F and  passes the plate test/sheet test. Remove from heat and ladle into your storage container (if plastic, let jam cool slightly first). I didn’t can this batch since I was only making one jar, but if making a larger batch follow canning instructions on Food in Jars.

Grapefruit and Ginger Thumbprint Cookies {Katie at the Kitchen Door}

Book Club: Every Grain of Rice // Gong Bao Chicken with Peanuts

Gong Bao Chicken with Peanuts {Katie at the Kitchen Door}

I’ve always been a bit of a bookworm. When I was at the height of my reading-frenzy, which was probably 4th or 5th grade, I used to keep lists of every book I read during the year, and in the summer, I’d frequently go through multiple books a day. Chapter books, of course. Now, a lot of my book time is spent with cookbooks, although don’t be surprised if you find me sitting on the floor in the used paperback section at the bookstore, a stack of 9 books I want to buy at my side. Because I had so much fun writing cookbook reviews this fall, I’ve decided to make it a more regular feature here. Hopefully, weekly, although I’m not off to a good start, given that I planned to post this on Thursday… I’m blaming blizzard preparations. So I bring you “Book Club,” a column that will feature mostly newly released cookbooks, sometimes old cookbooks, and occasionally great fiction or non-fiction I’ve been reading on the side. I hope you enjoy it!

First up is Every Grain of Rice: Simple Chinese Home Cooking, a book by Fuchsia Dunlop, which was just released on Monday. This is Fuchsia’s 3rd cookbook focused on Chinese cuisine – she is also the author of Land of Plenty: A Treasury of Authentic Sichuan Cooking and of Revolutionary Chinese Cooking: Recipes from Hunan Province. In addition, she wrote the memoir Shark’s Fin and Sichuan Pepper detailing her food-driven journeys through China. Although not ethnically Chinese, Fuchsia certainly knows the ins and outs of Chinese cooking better than most.
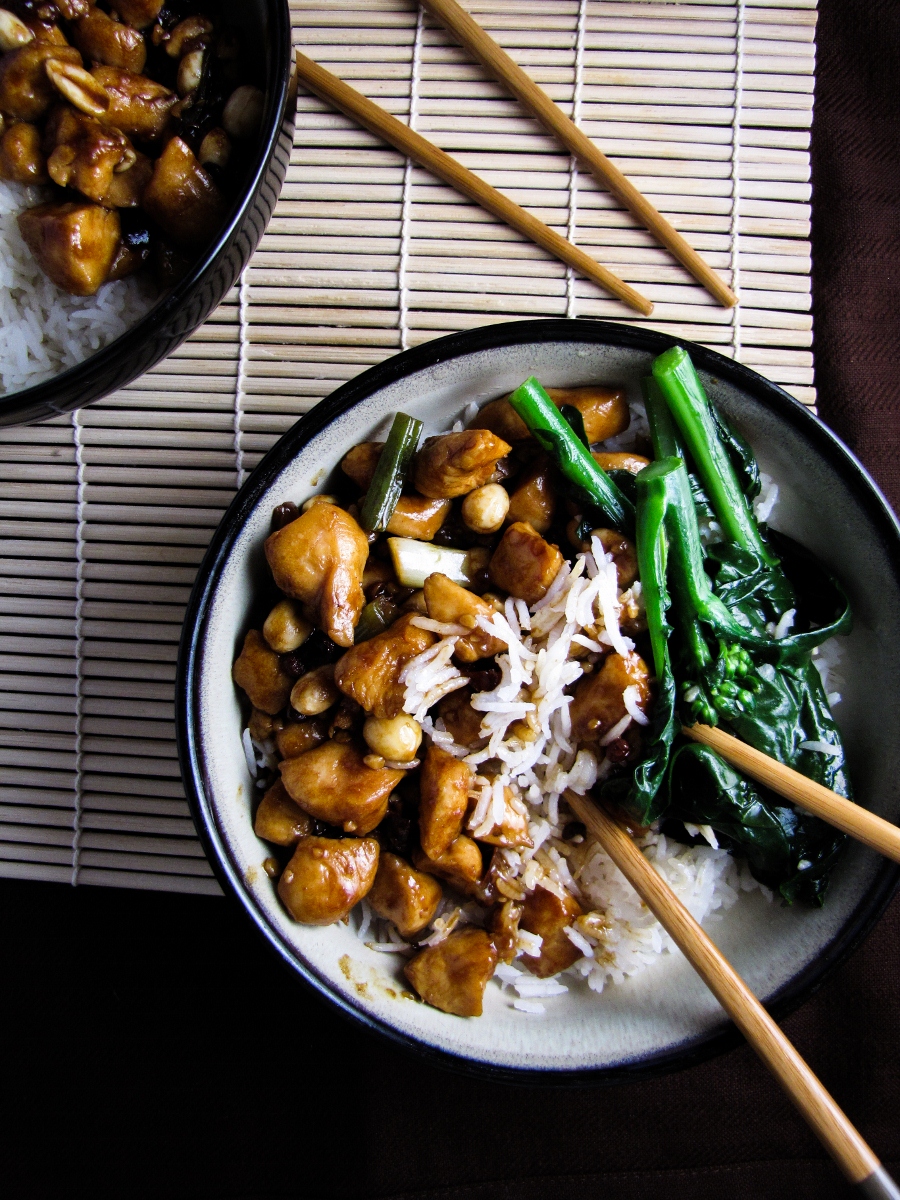
Gong Bao Chicken with Peanuts {Katie at the Kitchen Door}

Every Grain of Rice is a solid cookbook. It starts with an introduction to Chinese ingredients, utensils, and techniques, and quickly moves into recipes organized by main ingredient – tofu, leafy greens, chicken & eggs, root vegetables, mushrooms, noodles, dumplings, etc. Every recipe has a lengthy headnote, often describing the history or cultural importance of the dish, as well as the flavor and any adaptations you can make. I’m a big fan of good headnotes – when you’re confronted with a book full of a hundred recipes, it makes it so much easier to know what recipe to choose! Almost every recipe also has a beautiful, clean, full-page photograph to go with it. The photographic style is simple and bright, perfectly reflecting the food it depicts.

As I started flipping through the recipes, one of my first thoughts was: “This is how Rongjie eats.” Rongjie is my friend/co-worker who sits across from me at work. Both she and her roommate are Chinese, and everyday she brings in a lunch that one of them has made consisting of rice, some sort of dark and saucy meat or tofu dish, and dark leafy greens. It’s very different from how I eat, but also very healthy. I decided that for my recipe testing for this book, I would try and emulate this typical Chinese way of eating, by making Gong Bao Chicken, served with Chinese Broccoli in Ginger Sauce and plain rice. And this is where things got interesting.
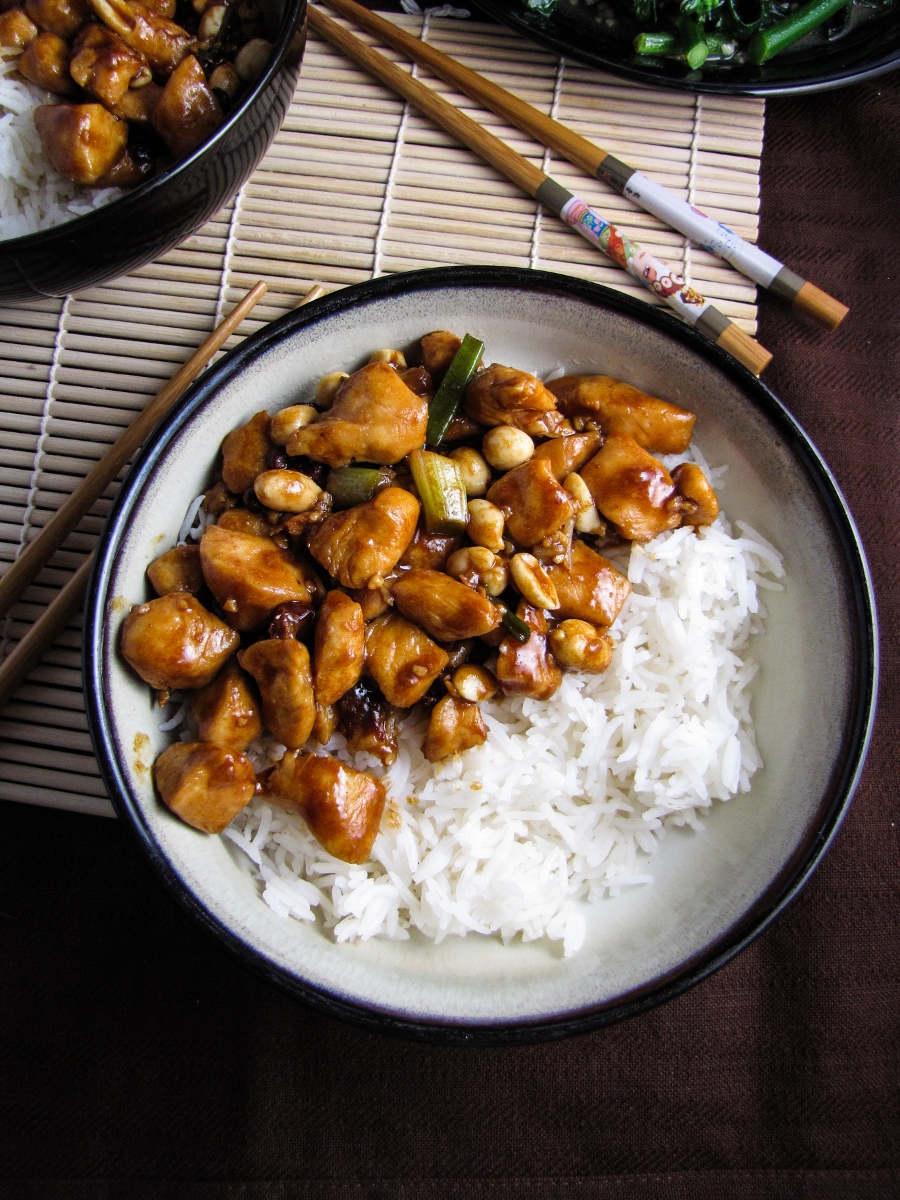
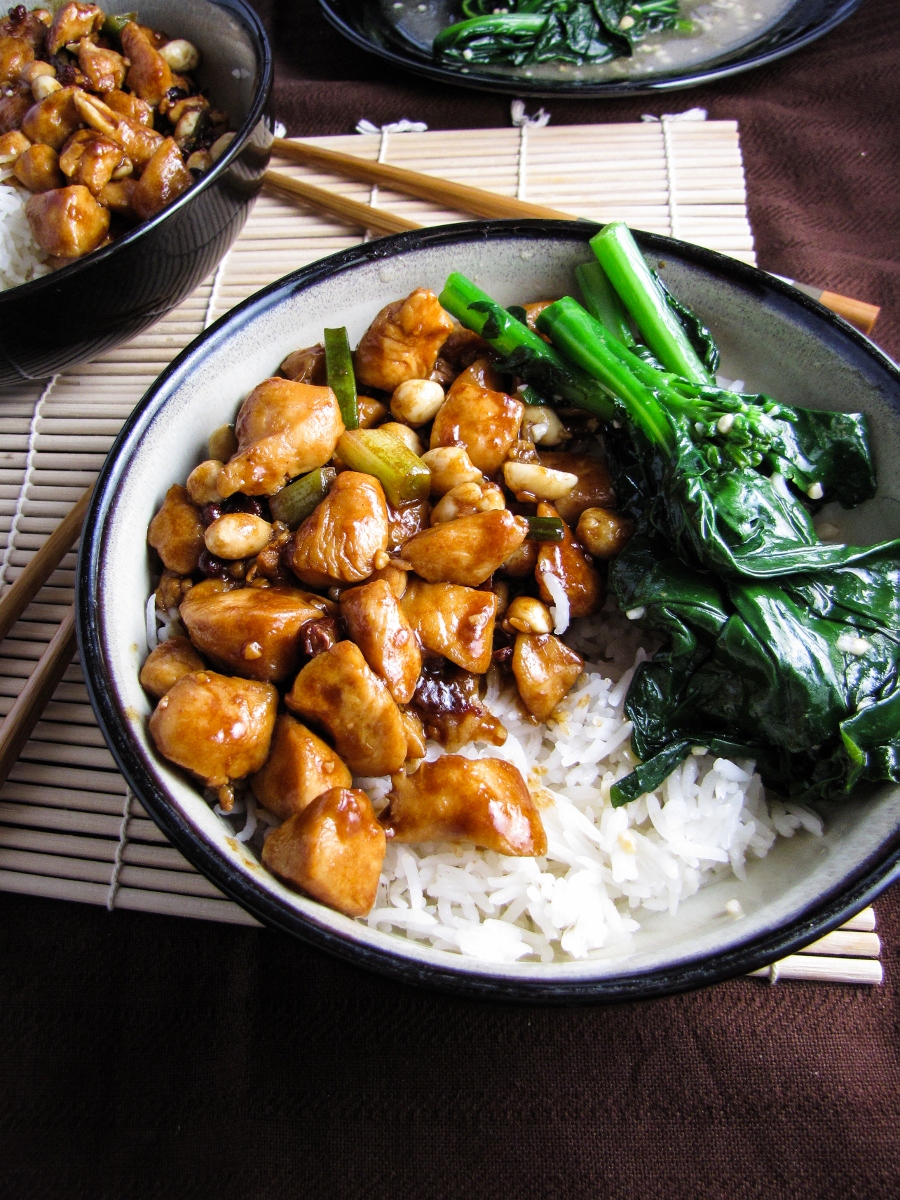
Gong Bao Chicken with Peanuts {Katie at the Kitchen Door}

One challenge of Chinese cooking is that you need Chinese ingredients – which can be hard to find, depending on where you live. Since I’m fairly unfamiliar with Chinese cooking, I brought in a list of the ingredients I needed to show Rongjie and to pick her brain on what they were like, and what might be good substitutes if I could’t find them. Her suggestion? Just go to Chinatown. But I didn’t want to go by myself, so I coerced her into coming with me to show me where to go, which is how both of us ended up in an insanely crowded Chinese grocery store, two hours before the MBTA shut down for the blizzard, and two days before Chinese New Year. INSANE. But really exciting. I was super over-stimulated in there – rows and rows of bright and unfamiliar ingredients, being pushed on all sides by tiny old Chinese ladies, the smell of fish in the air, occasional announcements in Chinese that seemed to cause quite a stir among the other shoppers… it was an experience. But I got what I needed – dark soy sauce, Shaoxing wine, Chinkiang vinegar, potato starch, and Chinese broccoli.

Chinatown Grocery

When I got home, snow swirling outside, I was ready to start cooking. But after all that adventuring, I discovered that both my garlic and my ginger had somehow managed to go bad. Sigh. I went forward anyways, borrowing minced garlic and using dried ginger instead. Not as authentic as I wanted, but both dishes still tasted great, so it was all OK. The chicken in particular was delicious – sweet, salty, and spicy, with a thick tangy sauce, it was as good as any Chinese takeout I’ve had. And since I have massive bottles of soy sauce, wine, and vinegar leftover, I’m excited to start trying some of the other recipes – like Stir-Fried Beef with Black Bean and Chili, General Tso’s Chicken, and Buckwheat Noodles with Red-Braised Beef. The real test of any of these dishes, though, will be when I bring the leftovers in for lunch and get Rongjie’s expert opinion. If she has any comments, I’ll report back.

The bottom line: Every Grain of Rice is a solid cookbook that serves as a great introduction to simple Chinese cooking. Based on my limited knowledge of Chinese cuisine, the recipes seem authentic, and the few that I’ve tried have been delicious. Cooking from the book will require an investment in a few special ingredients, but once you have the basics, you’ll be able to cook most of the recipes in the book. From a design standpoint, Every Grain of Rice is clean and well organized, with plenty of beautiful full-page photographs. I’d recommend this to anyone who likes eating Chinese food, or who is interested in learning a new cuisine.

Disclaimer: I was sent a free review copy of Every Grain of Rice by the publisher, W.W. Norton, but I was not otherwise compensated to write this review and all opinions are my own!
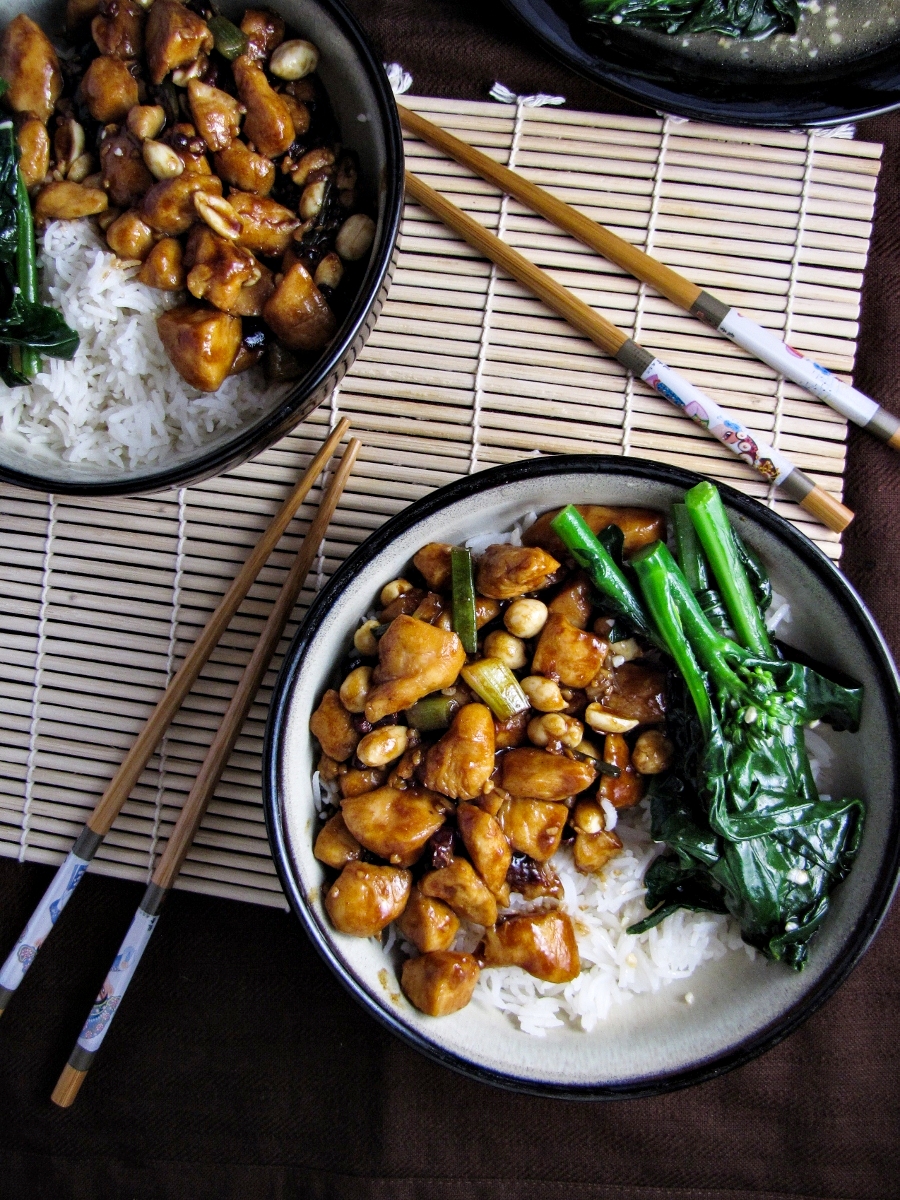
Gong Bao Chicken with Peanuts {Katie at the Kitchen Door}

Gong Bao Chicken with Peanuts

Reprinted from Every Grain of Rice: Simple Chinese Home Cooking by Fuchsia Dunlop. Copyright © 2012 by Fuchsia Dunlop. With the permission of the publisher, W.W. Norton & Company.

  • 2 boneless chicken breasts, with or without skin (11–12 oz/300–350g in total)
  • 3 garlic cloves
  • An equivalent amount of ginger
  • 5 spring onions, white parts only
  • A handful of mild dried chillies (about 10)
  • 2 tbsp cooking oil
  • 1 tsp whole Sichuan pepper
  • 3 oz (75g) roasted peanuts

For the marinade:

  • 1/2 tsp salt
  • 2 tsp light soy sauce
  • 1 tsp Shaoxing wine
  • 11/2 tsp potato flour

For the sauce:

  • 1 tbsp sugar
  • 3/4 tsp potato flour
  • 1 tsp dark soy sauce
  • 1 tsp light soy sauce
  • 1 tbsp Chinkiang vinegar
  • 1 tsp sesame oil
  • 1 tbsp chicken stock or water
  1. Cut the chicken as evenly as possible into 1/2 in (11/2cm) strips, then cut these into small cubes. Place in a small bowl. Add the marinade ingredients together with 1 tbsp water, mix well and set aside while you prepare the other ingredients.
  2. Peel and thinly slice the garlic and ginger and chop the spring onions into chunks as long as their diameter (to match the chicken cubes). Snip the chillies in half or into sections. Discard their seeds as far as possible. Combine the sauce ingredients in a small bowl.
  3. Heat a seasoned wok [or frying pan] over a high flame. Add the oil with the chillies and Sichuan pepper and stir-fry briefly until the chillies are darkening but not burned (remove the wok from the heat if necessary to prevent overheating). Quickly add the chicken and stir-fry over a high flame, stirring constantly. As soon as the chicken cubes have separated, add the ginger, garlic and spring onions and continue to stir-fry until they are fragrant and the meat just cooked through (test one of the larger pieces to make sure).
  4. Give the sauce a stir and add it to the wok, continuing to stir and toss. As soon as the sauce has become thick and shiny, add the peanuts, stir them in and serve.
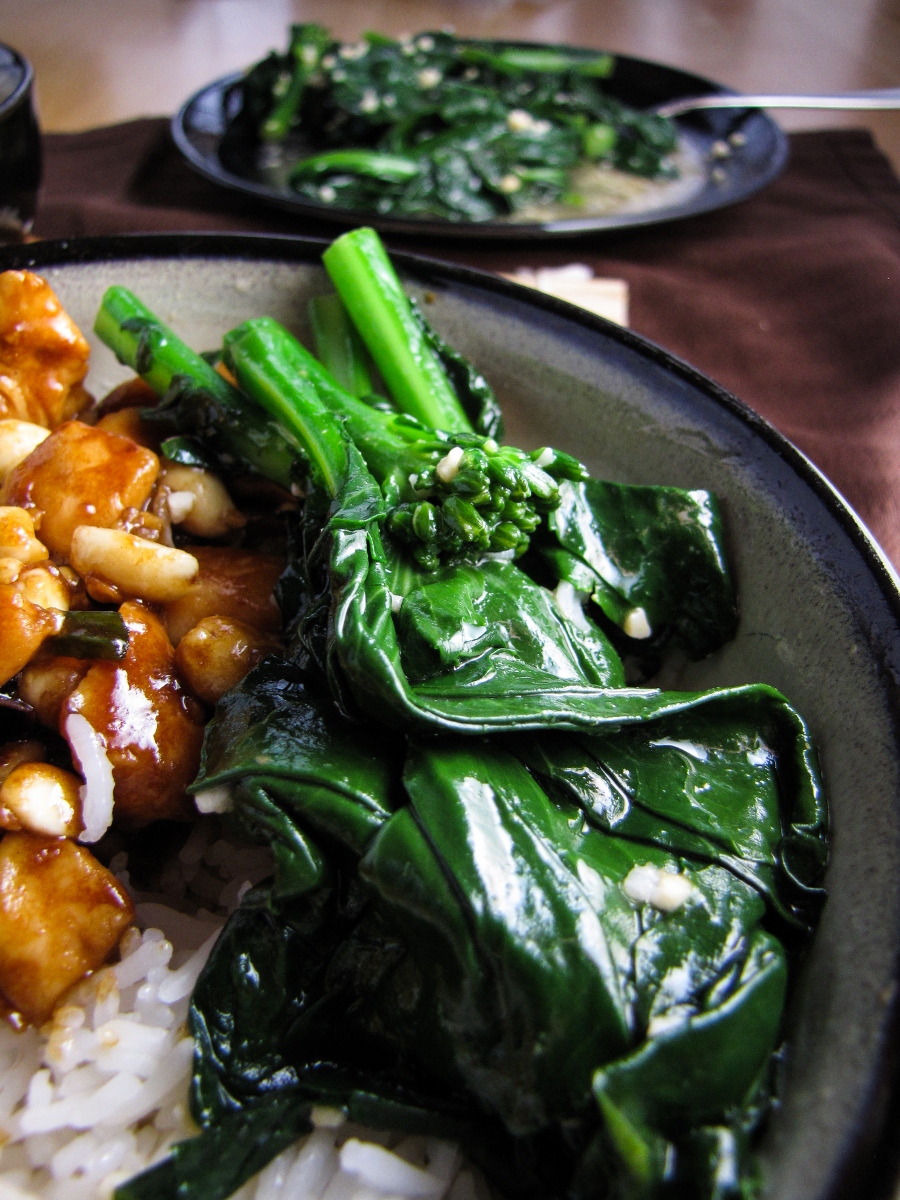
Chinese Broccoli in Ginger Sauce {Katie at the Kitchen Door}

Chinese Broccoli in Ginger Sauce

Reprinted from Every Grain of Rice: Simple Chinese Home Cooking by Fuchsia Dunlop. Copyright © 2012 by Fuchsia Dunlop. With the permission of the publisher, W.W. Norton & Company.

  • 3/4 lb (350g) Chinese broccoli
  • Salt
  • 4 tbsp cooking oil
  • 2 tbsp finely chopped ginger
  • 1 tbsp Shaoxing wine
  • 1/2 tsp sugar
  • 1 tsp potato flour mixed with 1 tbsp cold water (optional)
  1. Bring a large panful of water to a boil (a generous 21/2 quarts/21/2 liters will do). Wash and trim the Chinese broccoli. If the lower parts of the stems are thick and fibrous, peel away their outer skin with a potato peeler.
  2. When the water is boiling, add 1 tbsp salt and 1 tbsp oil, then the Chinese broccoli. Blanch it for a minute or two to “break its rawness.” The stems should be just tender, but still crisp. If you are stir-frying them immediately, simply drain the broccoli stems and shake dry in a colander; if you want to serve them later, refresh the stems under a cold tap to arrest cooking before draining well.
  3. When you wish to serve the broccoli, add the remaining oil to a seasoned wok over a high flame, swirl it around, then add the ginger and sizzle briefly until you can smell its fragrance. Splash in the Shaoxing wine and add the sugar. Add the broccoli and stir-fry, adding salt to taste, until it is piping hot. (If you are using broccoli blanched earlier, then cooled, you will need to pour 2–3 tbsp water or stock into the wok and cover it, so the stems reheat thoroughly.)
  4. Remove the stems from the wok and lay them neatly on a serving dish. If you wish to thicken the juices, give the potato flour mixture a stir and add just enough, in stages, to thicken the sauce to a clingy consistency; then pour the sauce over the broccoli and serve. If you do not wish to thicken the juices, simply pour them and the ginger over the broccoli.
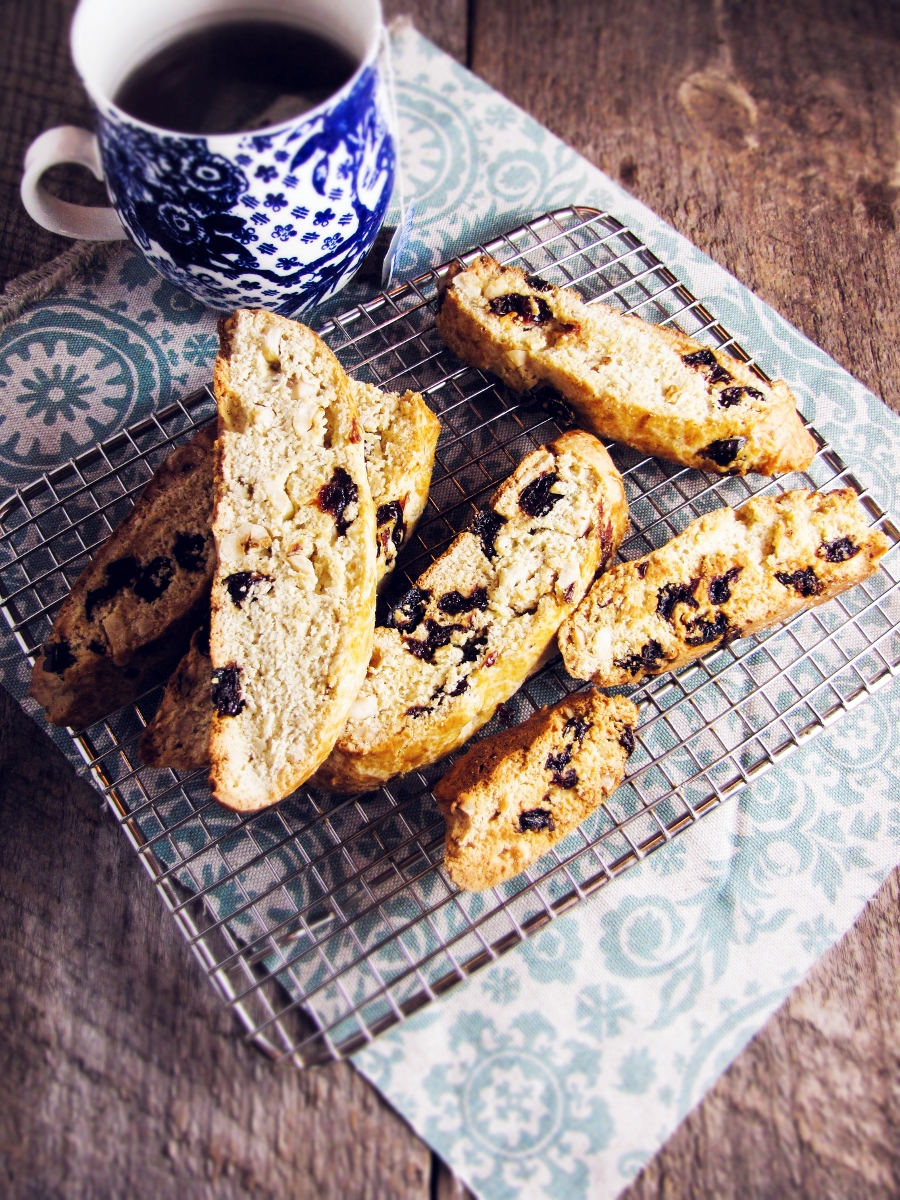
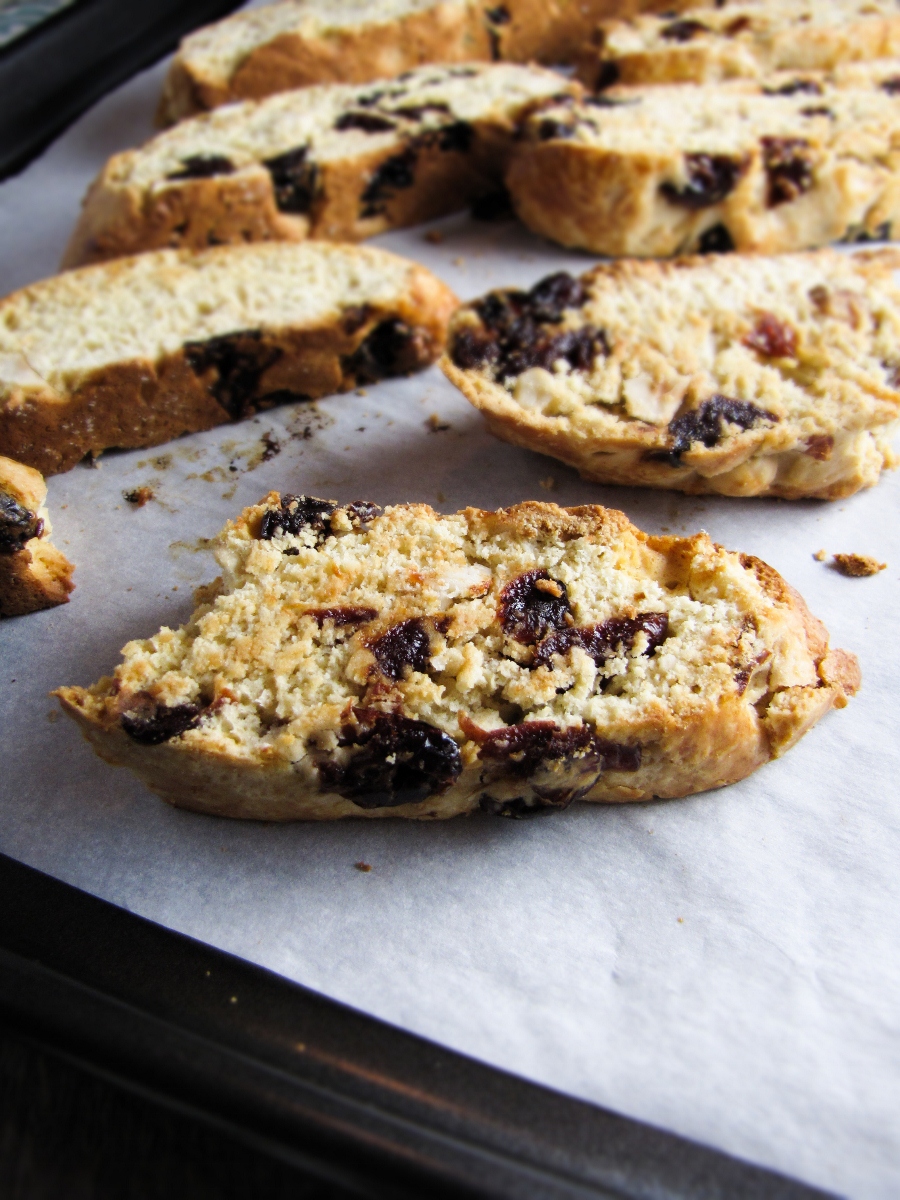
Cherry-Hazelnut Biscotti

Cherry-Hazelnut Biscotti {Katie at the Kitchen Door}

Even though my last post was only five days ago, I somehow feel like I’ve been avoiding writing here, and I feel guilty. What is that all about anyway, blogger’s guilt? It’s unwelcome, and I would like it to leave. I tried in earnest to post yesterday – something healthy, since I seem to have been avoiding healthy food posts since finishing the cleanse. I was planning on sharing lamb-and-beet burgers with goat cheese and fried eggs, inspired by Nigel Slater’s Tender. But they came out more like lamb-and-beet sloppy joes, probably because I skipped half the steps out of laziness, and I also didn’t measure any of the ingredients. My bad.

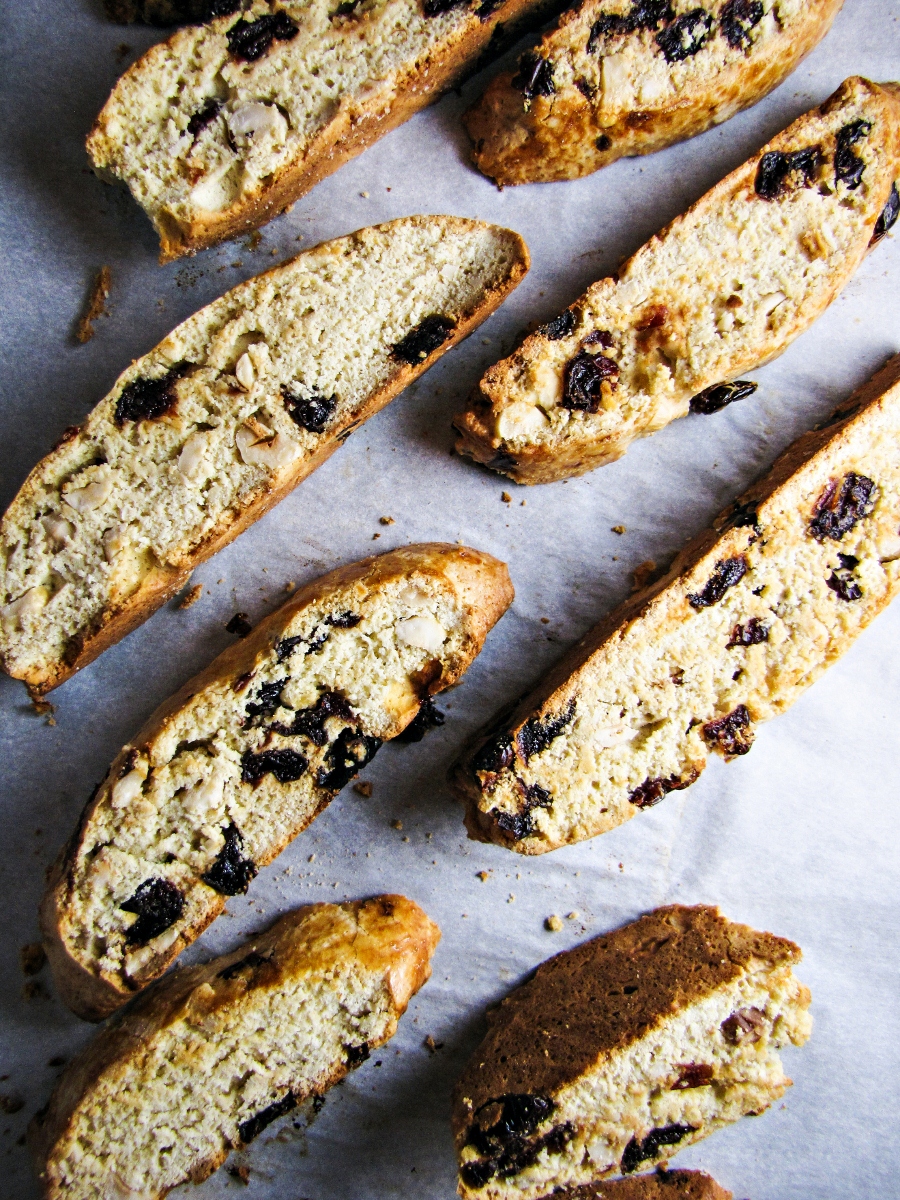
So I’m reverting to cookies. Biscotti, actually, since somehow they seem to me to be a healthier sort of cookie, something just a little sweet and crunchy to have with your tea and help tide you over until dinner. I seem to need a lot of “tiding over” the past few weeks – winter is starting to drag on, and when the light starts to leave the sky and you can tell just by looking that it’s going to be breathtakingly cold as soon as you leave the building, it’s a little depressing. So I’ve been guzzling mug after mug of cinnamon spice tea, and trying my best not to snack mindlessly from the office snack drawer. Tomorrow, though, mindless snacking won’t be a problem – I’ll bring a few of these little guys, and have them to look forward to all morning. A cup of tea, a small plate of biscotti, and I’ll have made it over the hump. And soon, I know the days will get longer and the weather warmer, my seedlings will start to flourish, spring will be back, and maybe I’ll no longer need tiding over. It isn’t so much longer, you know.

Cherry-Hazelnut Biscotti {Katie at the Kitchen Door}

Cherry-Hazelnut Biscotti

Adapted slightly from Martha Stewart. Makes about 3 dozen.

  • 1 3/4 c. dried cherries
  • 1/2 c. frangelico liqueur
  • 3 c. flour
  • 2 tsp baking powder
  • 1/2 tsp coarse salt
  • 4 TBS salted butter, softened slightly
  • 1 c. sugar
  • 4 eggs (3 for dough and one for brushing the cookies)
  • 2 tsp vanilla extract
  • 3/4 c. coarsely chopped hazelnuts
  1. Preheat oven to 325°F. Place dried cherries and frangelico in a small saucepan, and bring to a low simmer over medium-low heat. Cook until cherries have softened, 5-8 minutes, stirring occasionally. Strain the cherries, reserving the cherry-frangelico liquid.
  2. In a medium  bowl, whisk together flour, baking powder, and salt. Set aside. In a separate, larger bowl, beat together softened butter and sugar until pale and creamy. One at a time, beat 3 of the 4 eggs into the batter – it should be pale yellow and fairly runny. Beat in the vanilla, and 2 TBS of the reserved cherry-frangelico liquid. Add the flour to the wet ingredients a cup at a time, stirring between additions, until dough is smooth. Stir in cherries and hazelnuts until evenly incorporated.
  3. Lightly flour a work surface and turn the dough out onto it. Divide the dough in half, and shape into two logs about a foot long each. Flatten the logs to make rectangles that are a half inch thick. Transfer to a baking sheet lined with parchment paper. Beat the remaining egg lightly in a small bowl. Brush the beaten egg on top of the dough. Bake for 35 minutes, then remove from oven and allow to cool for 20 minutes on wire racks.
  4. Reduce the oven temperature to 300°F. Slice each log on the diagonal into cookies about 1/2 inch thick. Lay cookies down on the baking sheet, and bake for 8 minutes. Remove from oven, flip the cookies, and bake for another 8 minutes. Remove and let cool. Store in an airtight container.

Cherry-Hazelnut Biscotti {Katie at the Kitchen Door}